
Twin Headboard Bench With Shelf
As an Amazon Associate, I earn from qualifying purchases.
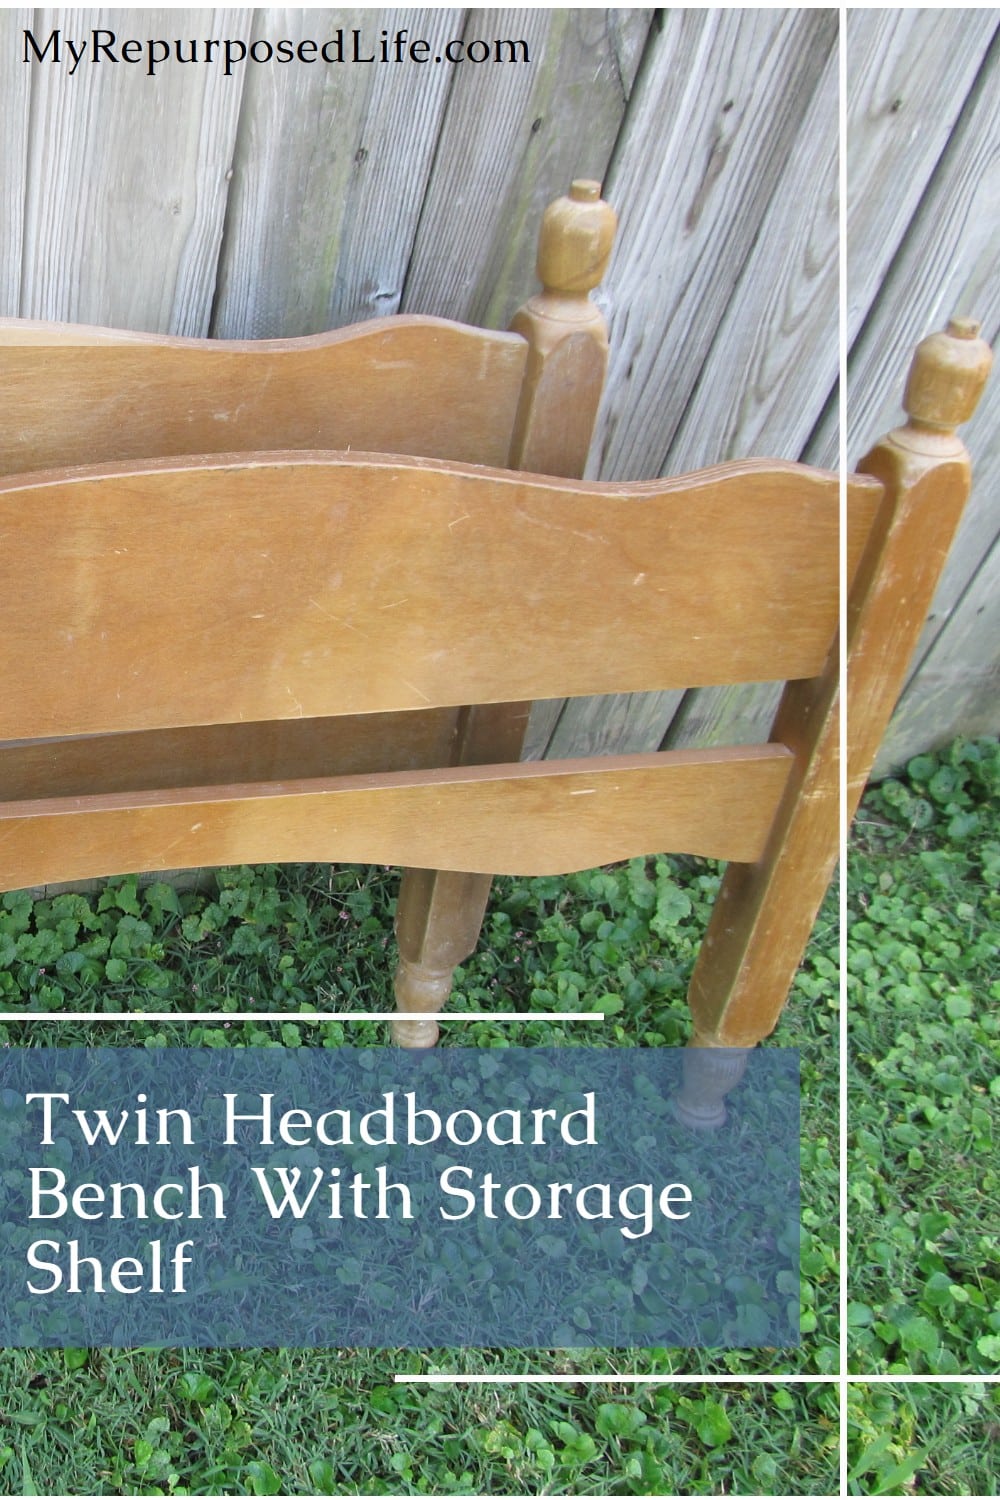
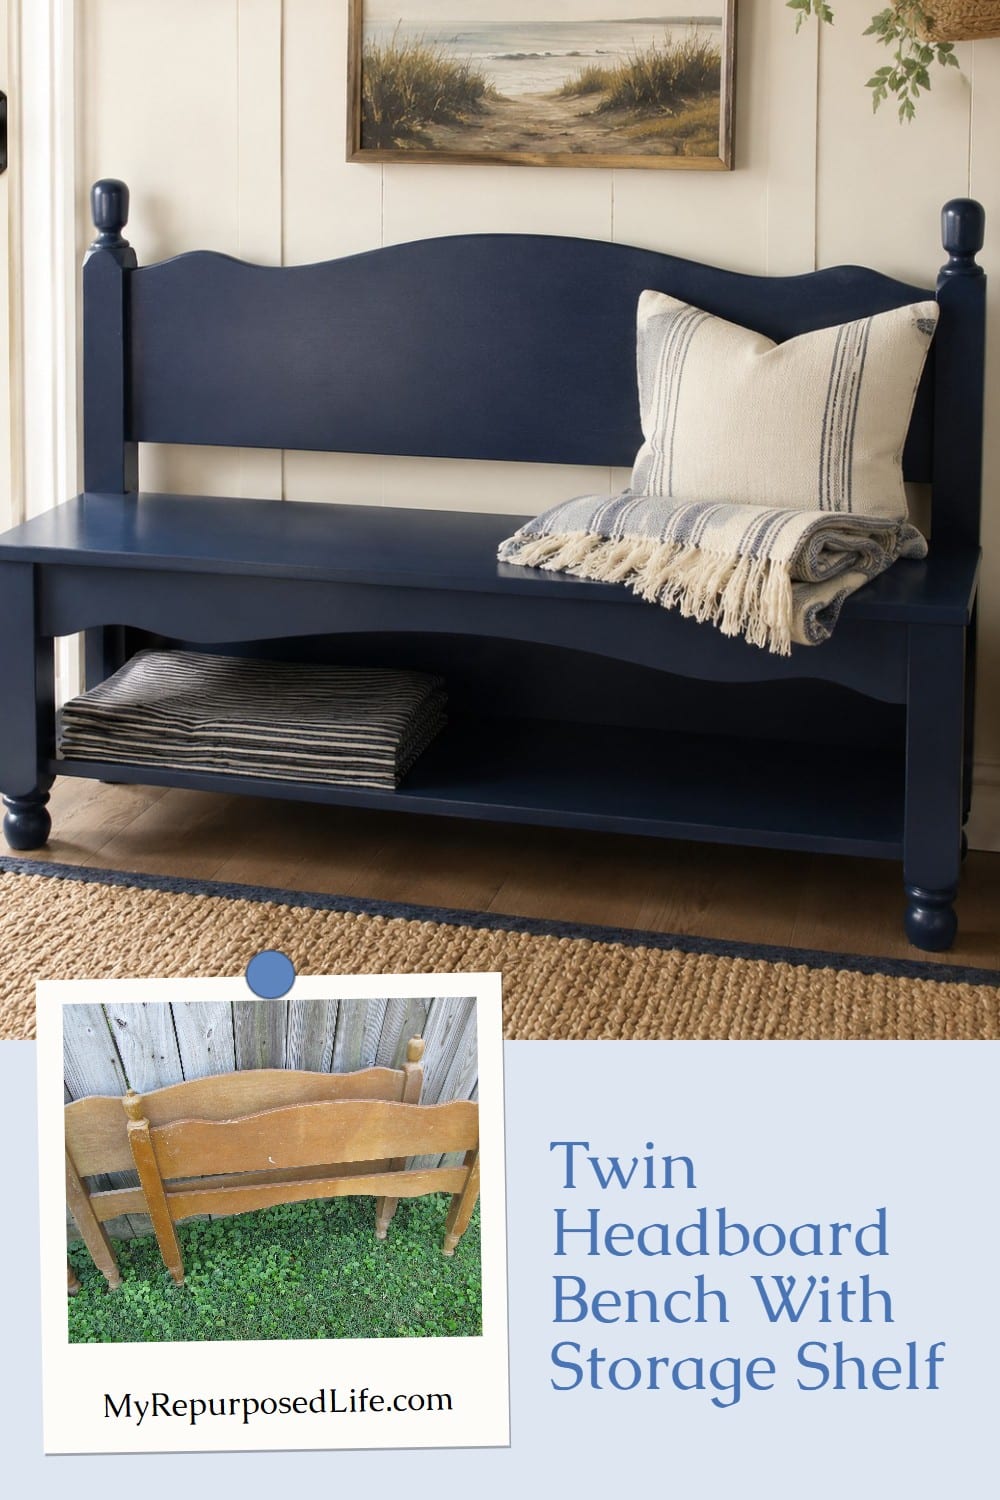
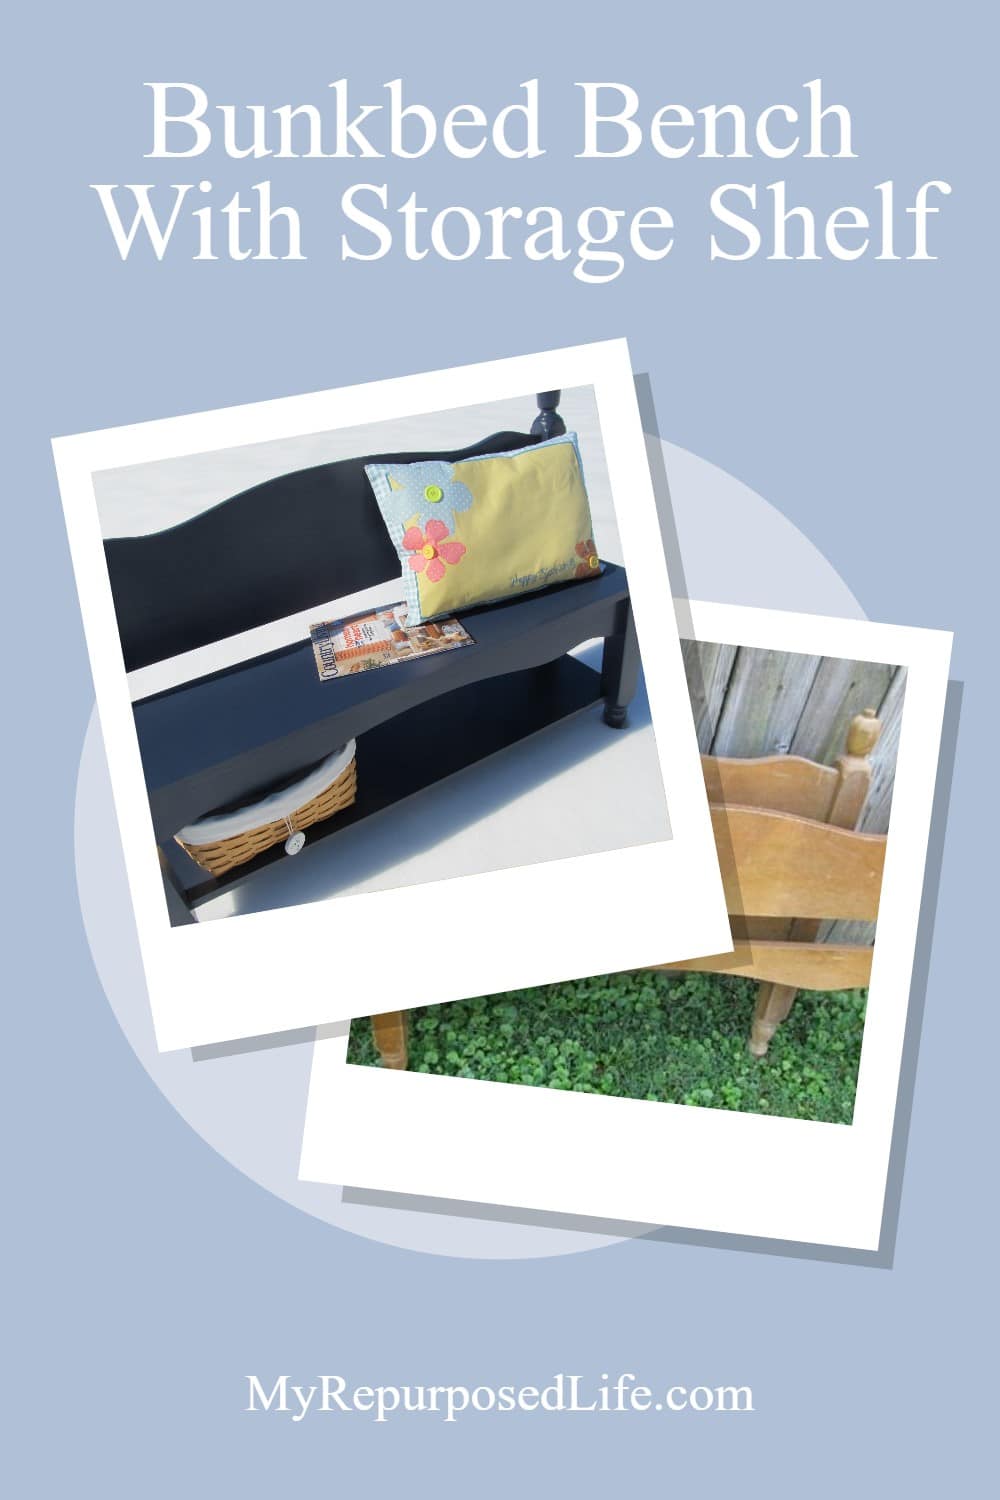
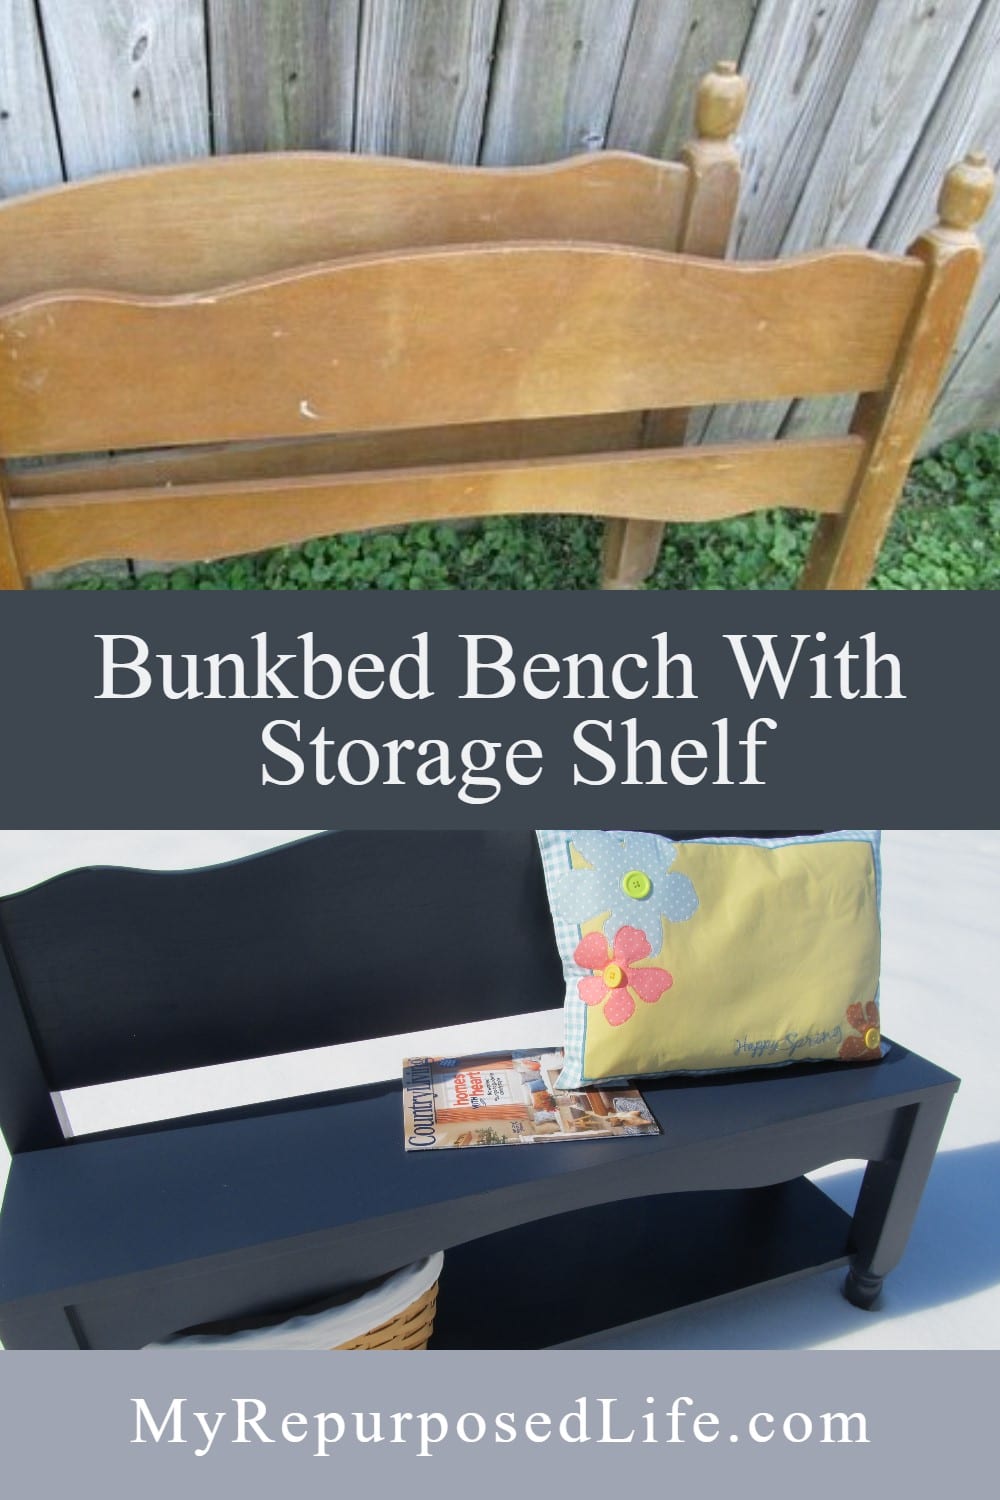
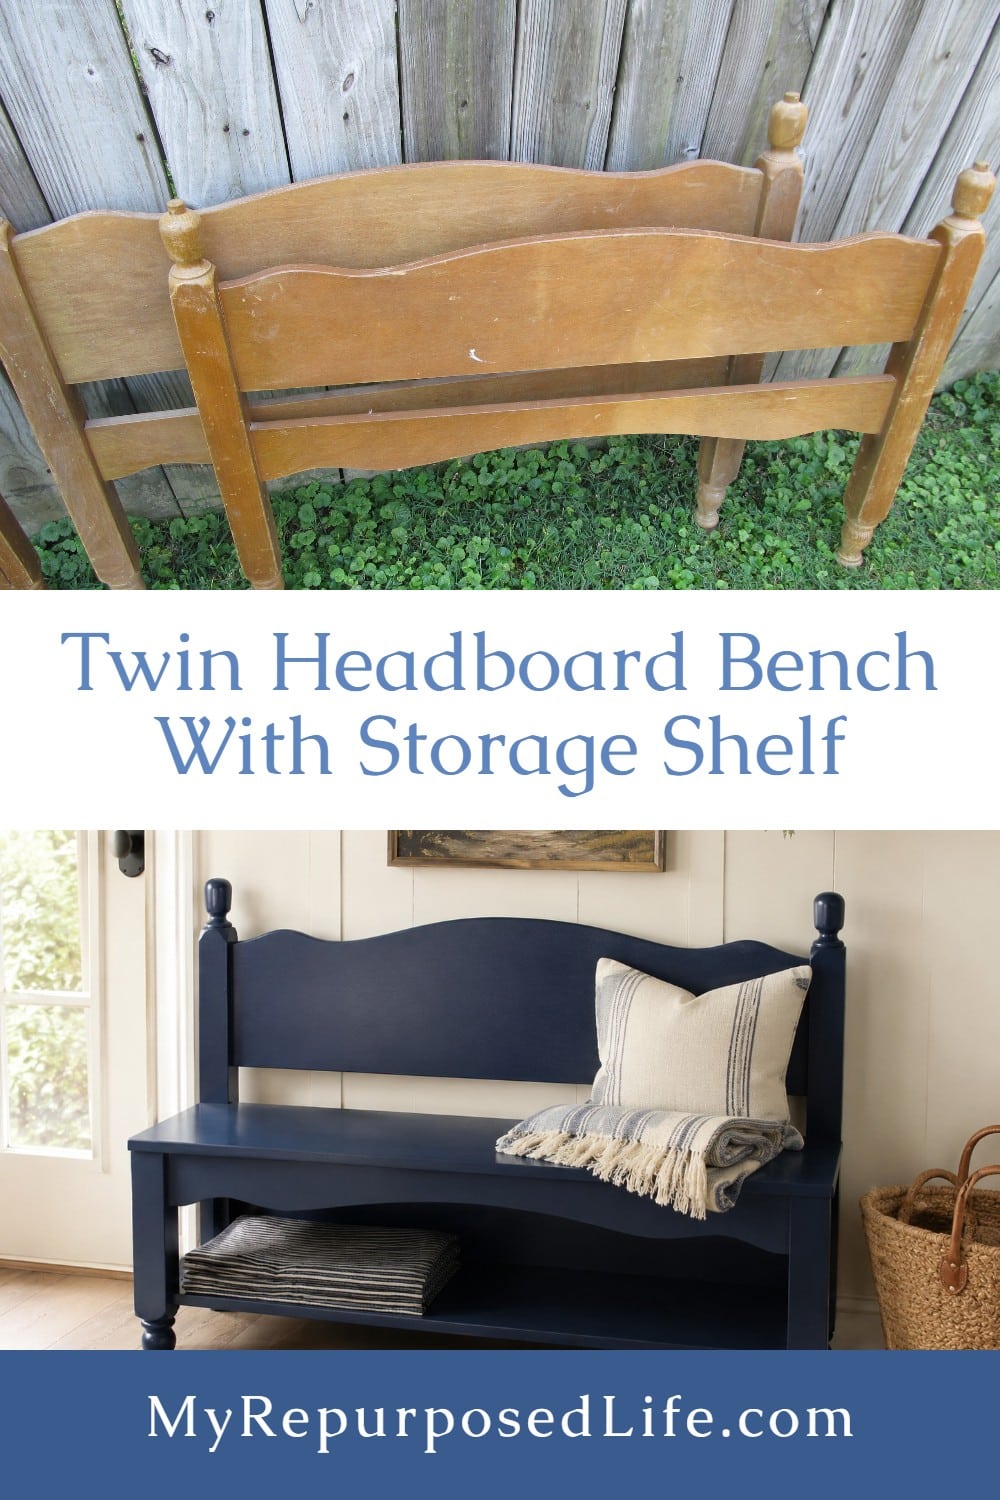
I’ve made a lot of headboard benches over the years, but this one came together a little differently. Instead of using the footboard for the arms, as I usually do, I used part of it for the front legs and the skirt. That gave this petite twin headboard bench a completely different look, plus room for a handy lower storage shelf.
This is the kind of project that proves even small bed pieces are worth saving. A twin headboard or bunk bed may not look like much on its own, but with a few cuts, some simple framing, and a pretty paint color, it can become a useful bench for an entryway, bedroom, or small nook.
Because of the weather, I have been working in the basement shop. Therefore, some of the pictures may not be of the sharpest quality.
Twin Bunk Beds
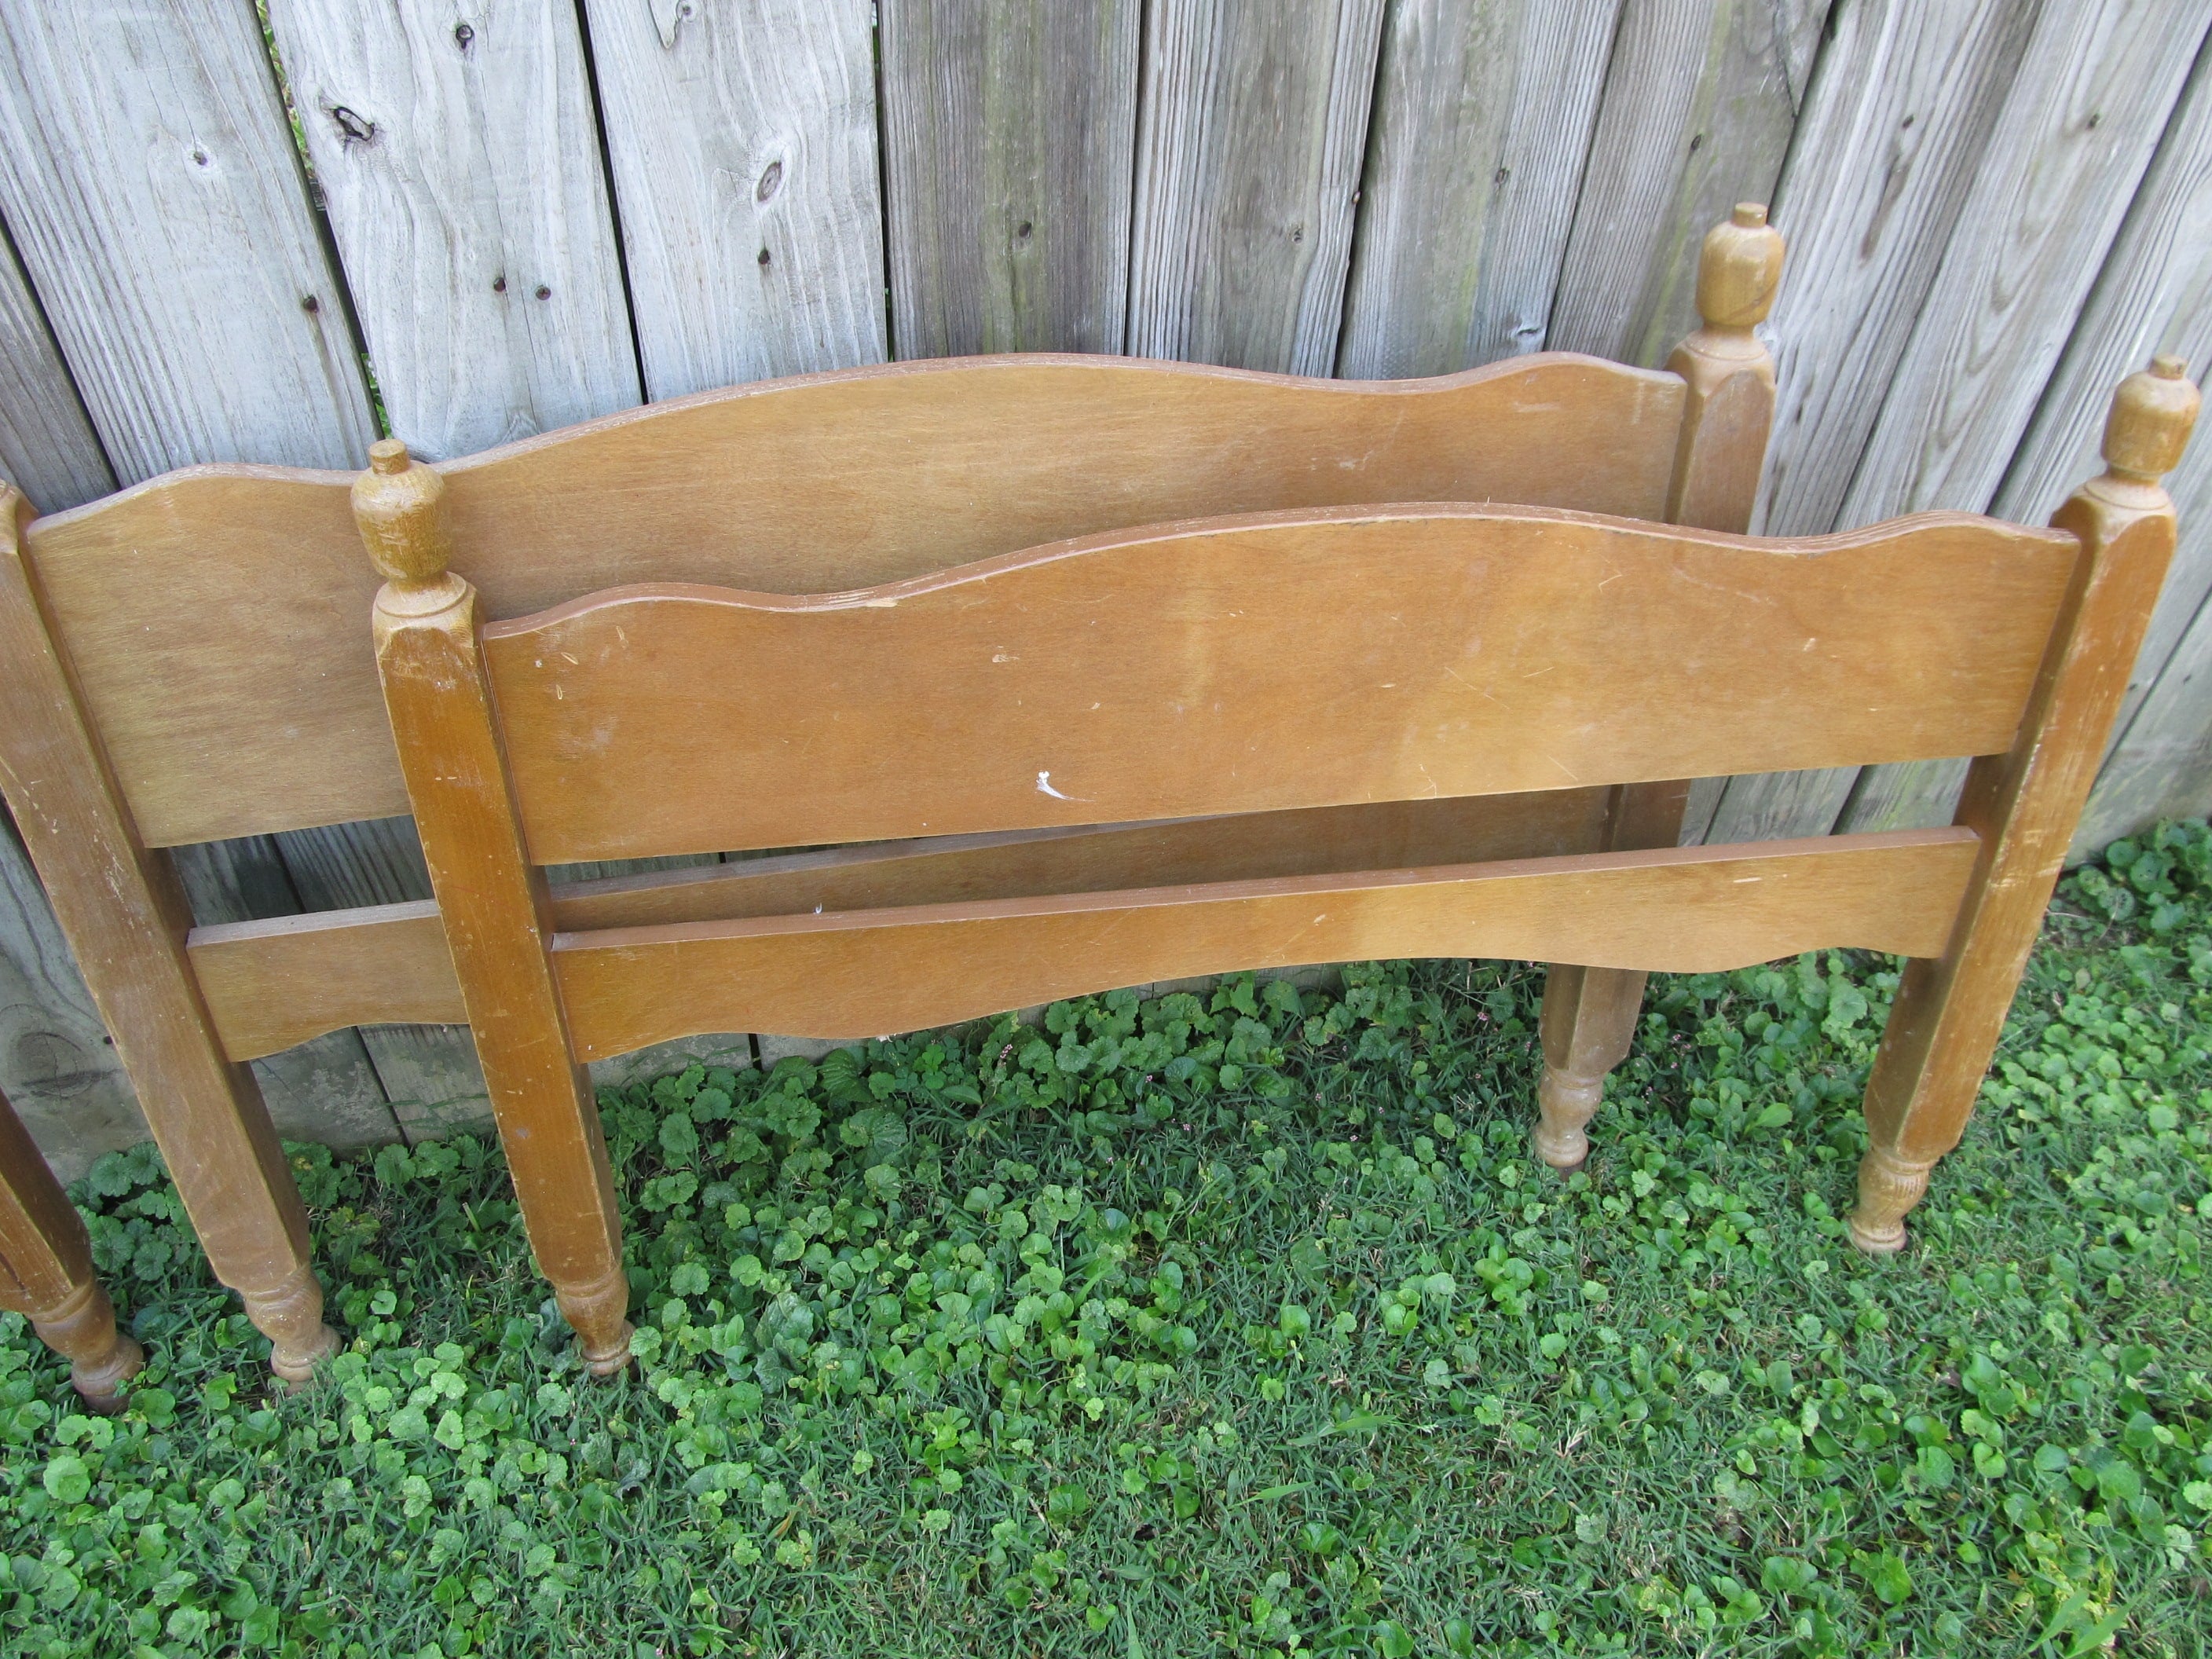
I picked up two of these beds last fall for really cheap. Because they are bunk beds, they are quite small.
Use a Saw to Cut Down One Bunk Bed
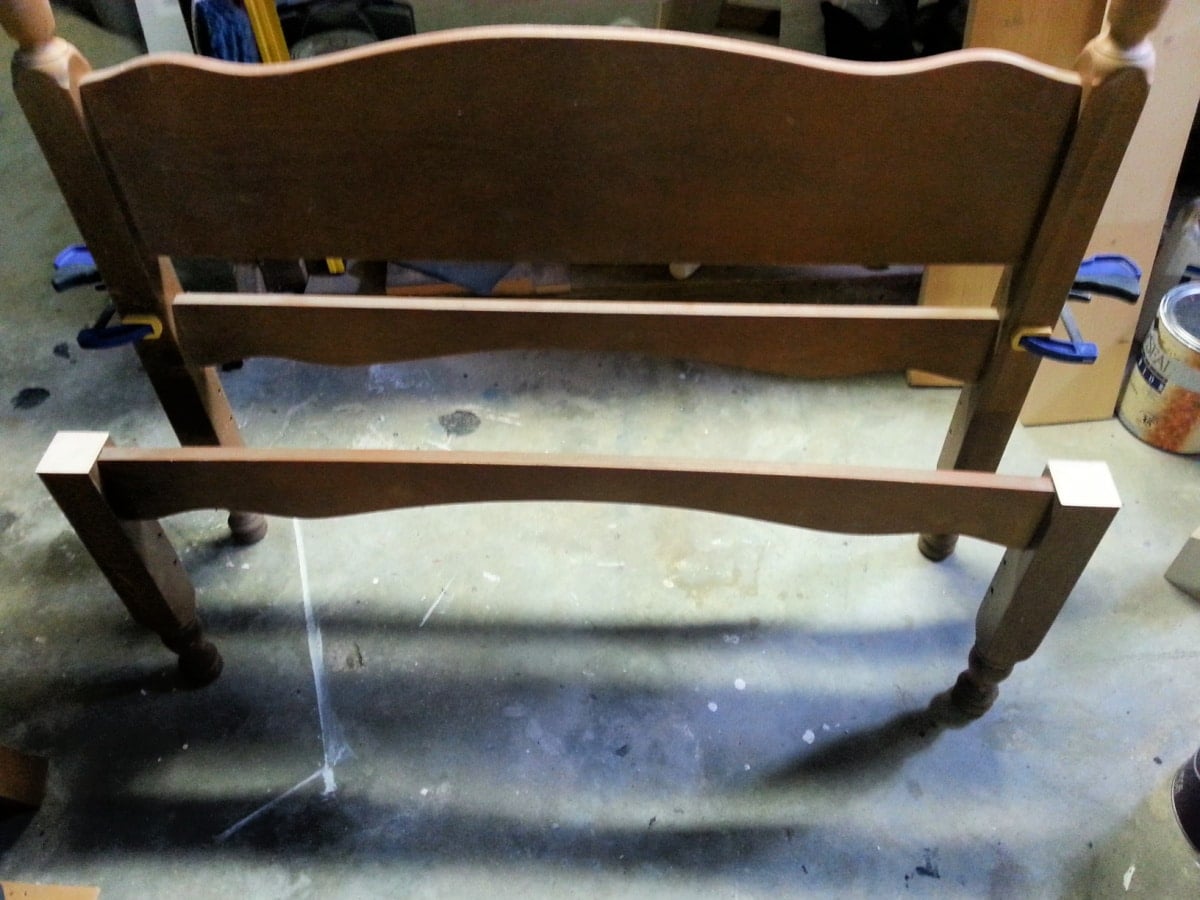
I took one set of the beds to the basement and got started. The first thing I did was design something different from what I normally do. Typically, I use the footboard for the arms of my benches. I wanted to do something different this time. This time, I wanted to make a headboard bench with shelf storage.
I used the footboard for my bench’s front legs and front skirt. The posts were cut just above the lower portion of the footboard. The quick clamps are in place to rest the seat board to determine the side braces’ placement.
A Flush Cut Tool Trims off the Post of the Bunk Bed
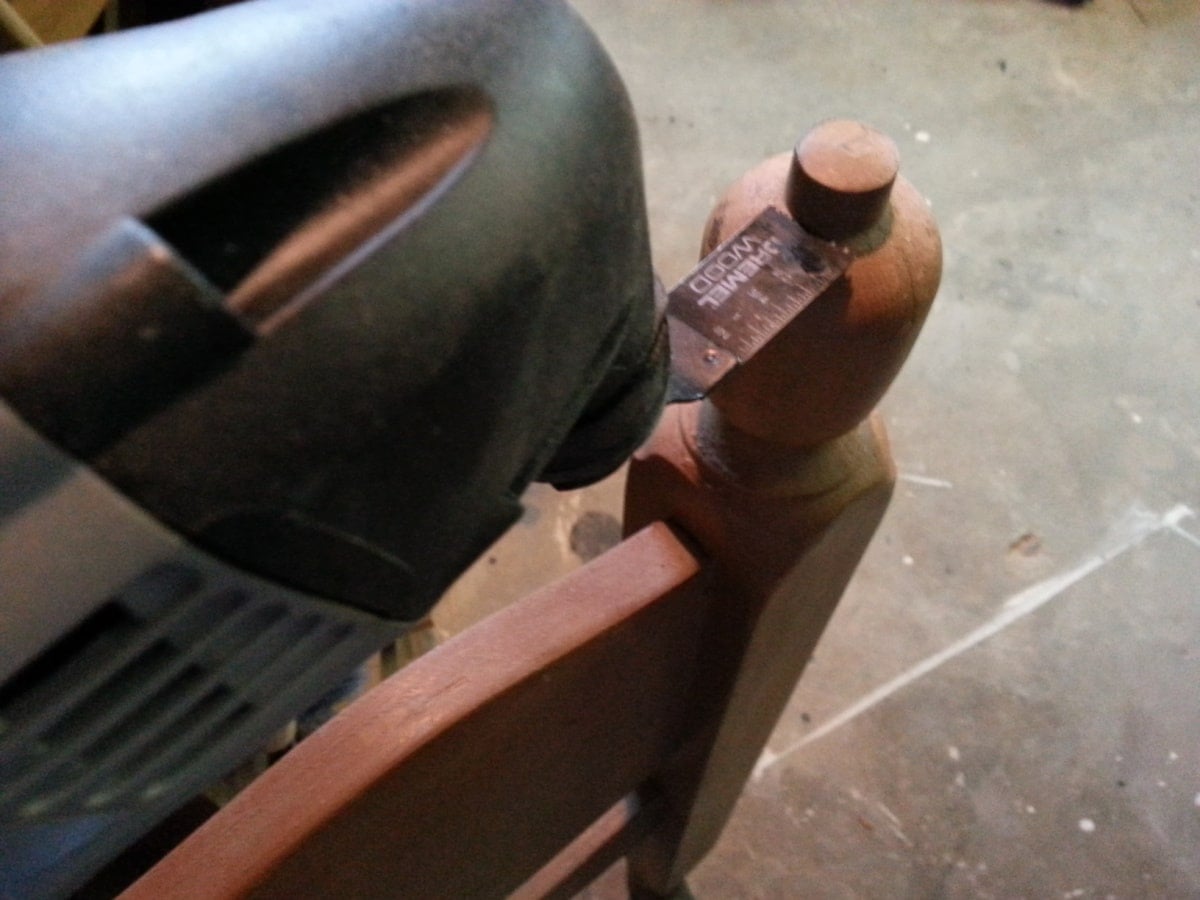
After getting started, I realized I needed to remove the little bunk bed “pegs”. To do that, I used my Dremel Multi-Max . I love the way it cuts flush so smoothly. You could use a handsaw or jigsaw.
Sand the Bed Post Smooth
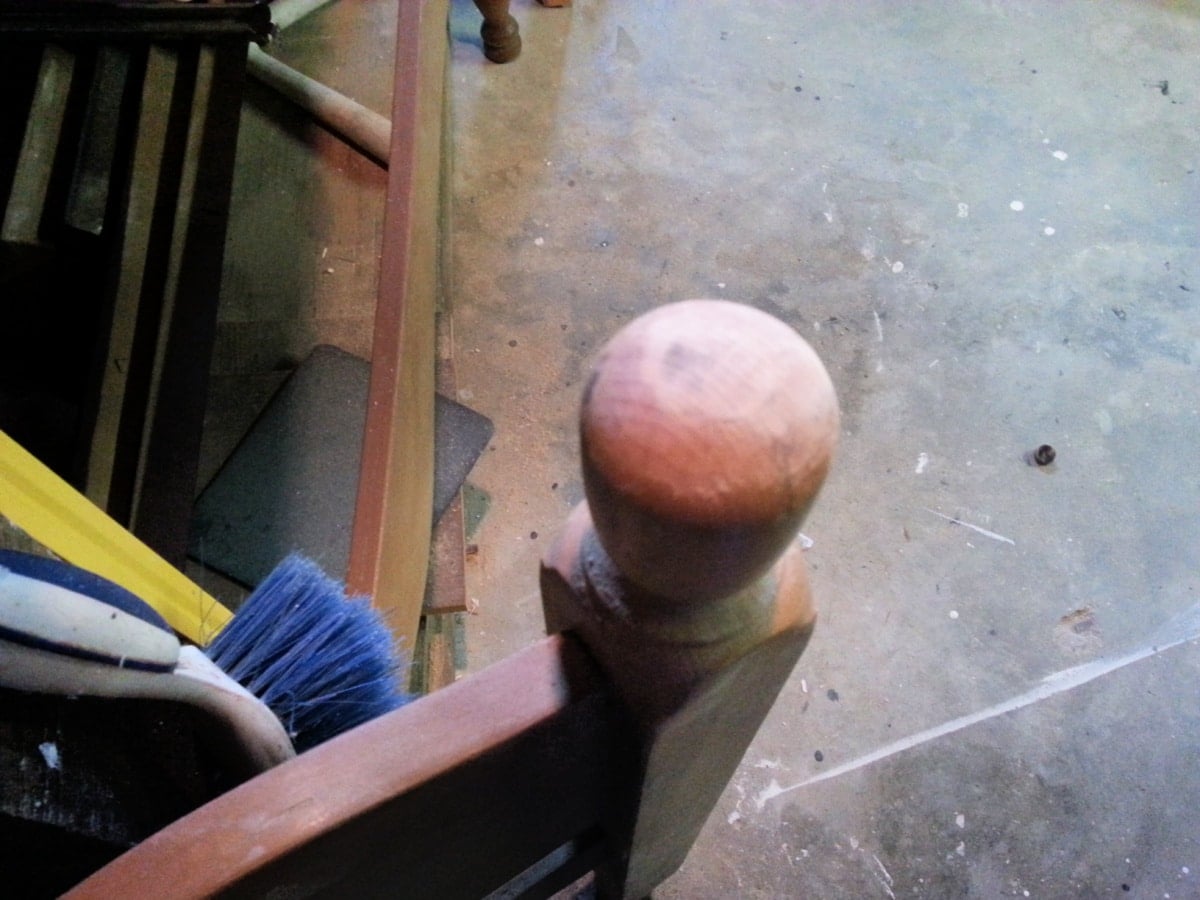
After cutting the pegs, I gave it a good sanding.
TIP: Don’t skip this step; it turns your bunk bed into a bench!
Frame the Twin Headboard Bench by Cutting Side Aprons
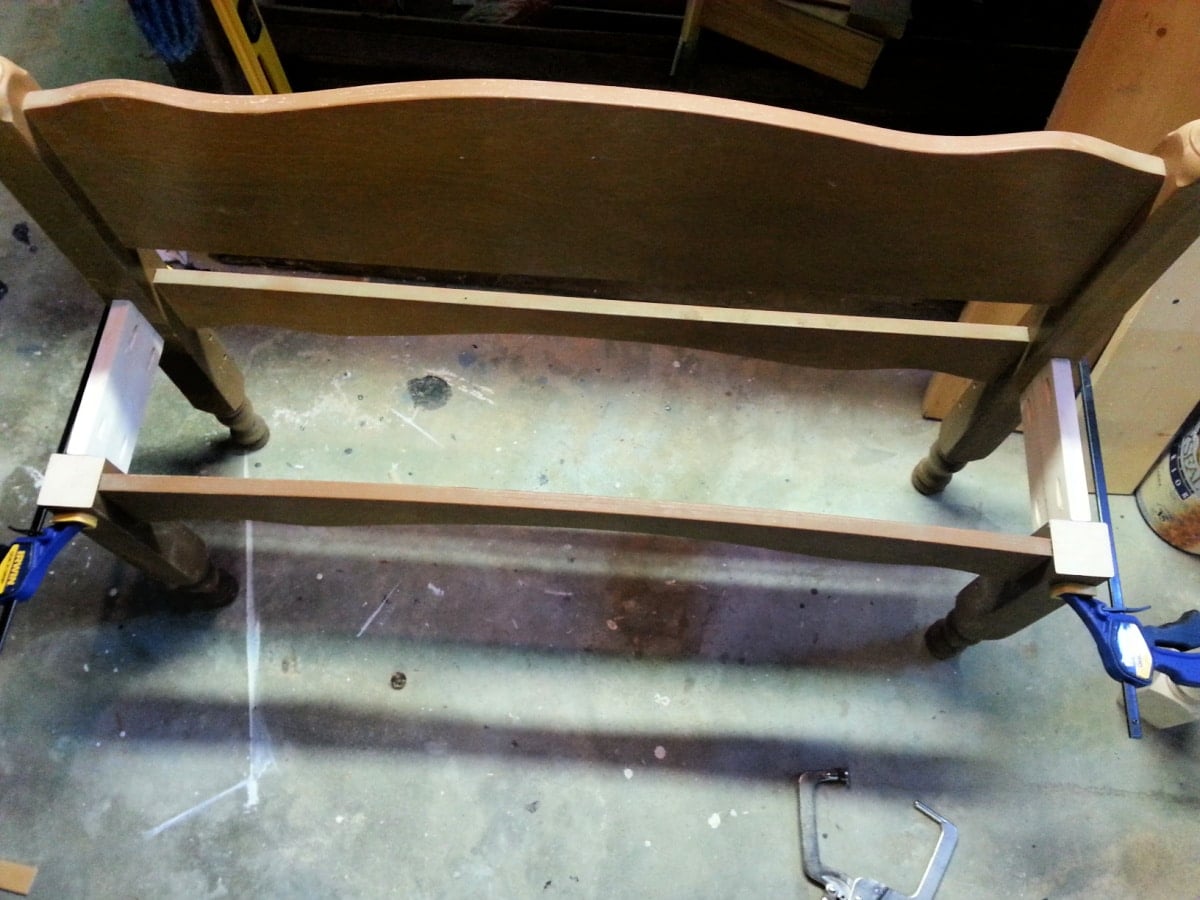
I used 1x4s for the side braces, drilling pocket holes at each end.
Pocket Hole Assembly is my Favorite Way to Build Headboard Benches
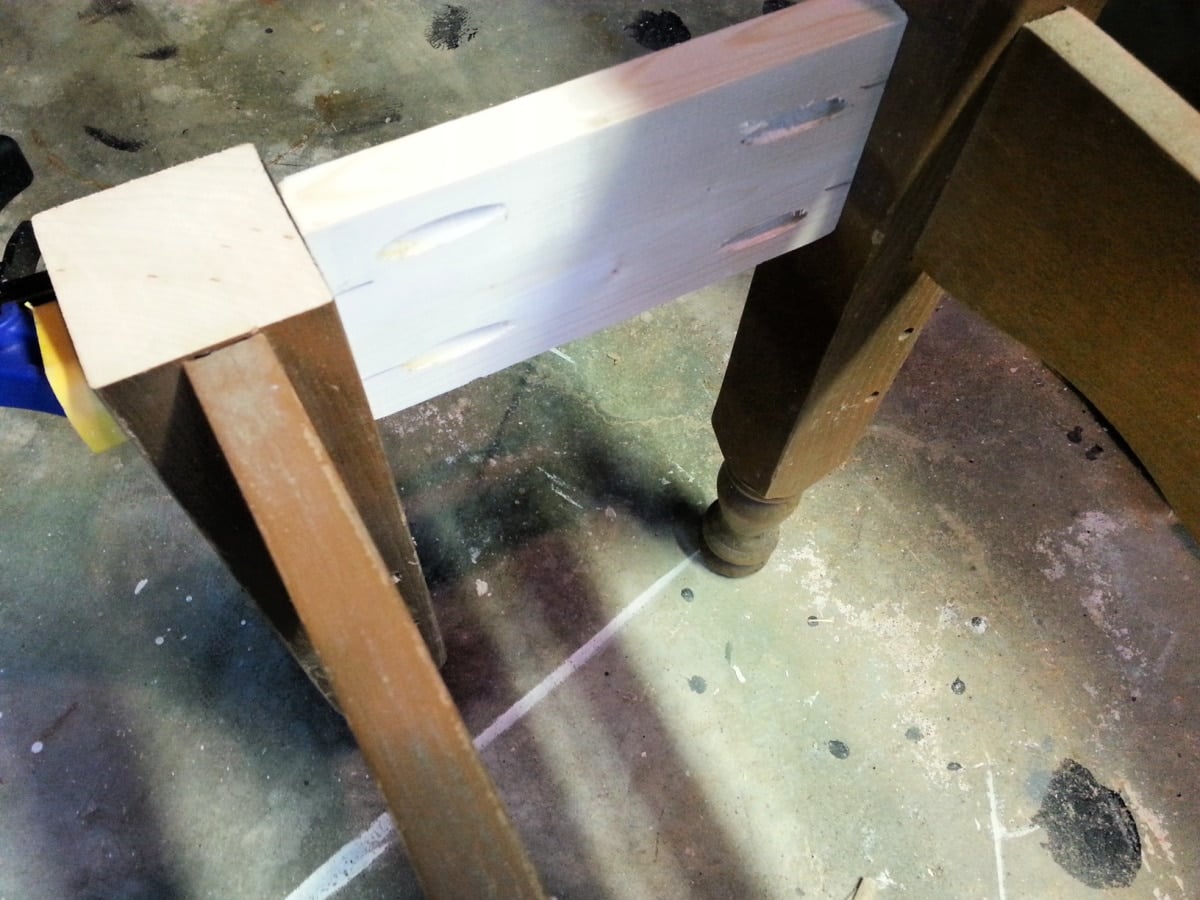
Here, you can see a close-up of how I made the pocket holes with my Kreg Jig. If you don’t have a Kreg Jig, you could use “L” brackets.
I secured the pocket holes with a right-angle drill because of the tight quarters.
This is a really, really tight fit for a drill. Option #2 is to place the pocket holes on the outside of the bench and fill them with wood putty.
You could also make connections like I did when I first started building benches. See my Four Poster Headboard Bench, and this Headboard Bench Tutorial.
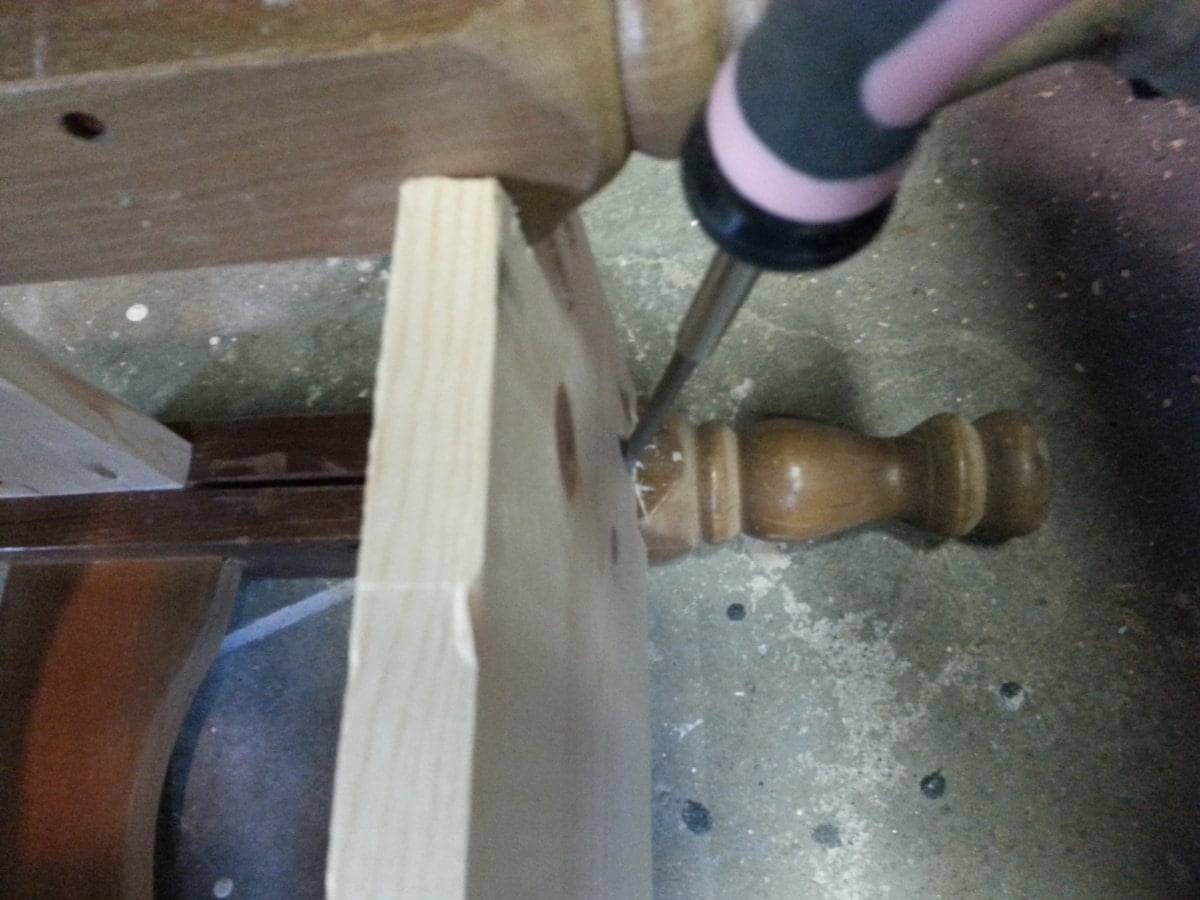
This is the bottom shelf of the bench. I had to use a ratcheting screwdriver for all the pocket-hole screws because the fit was too tight for my drill. Not good on the shoulder.
Add a Lower Storage Shelf
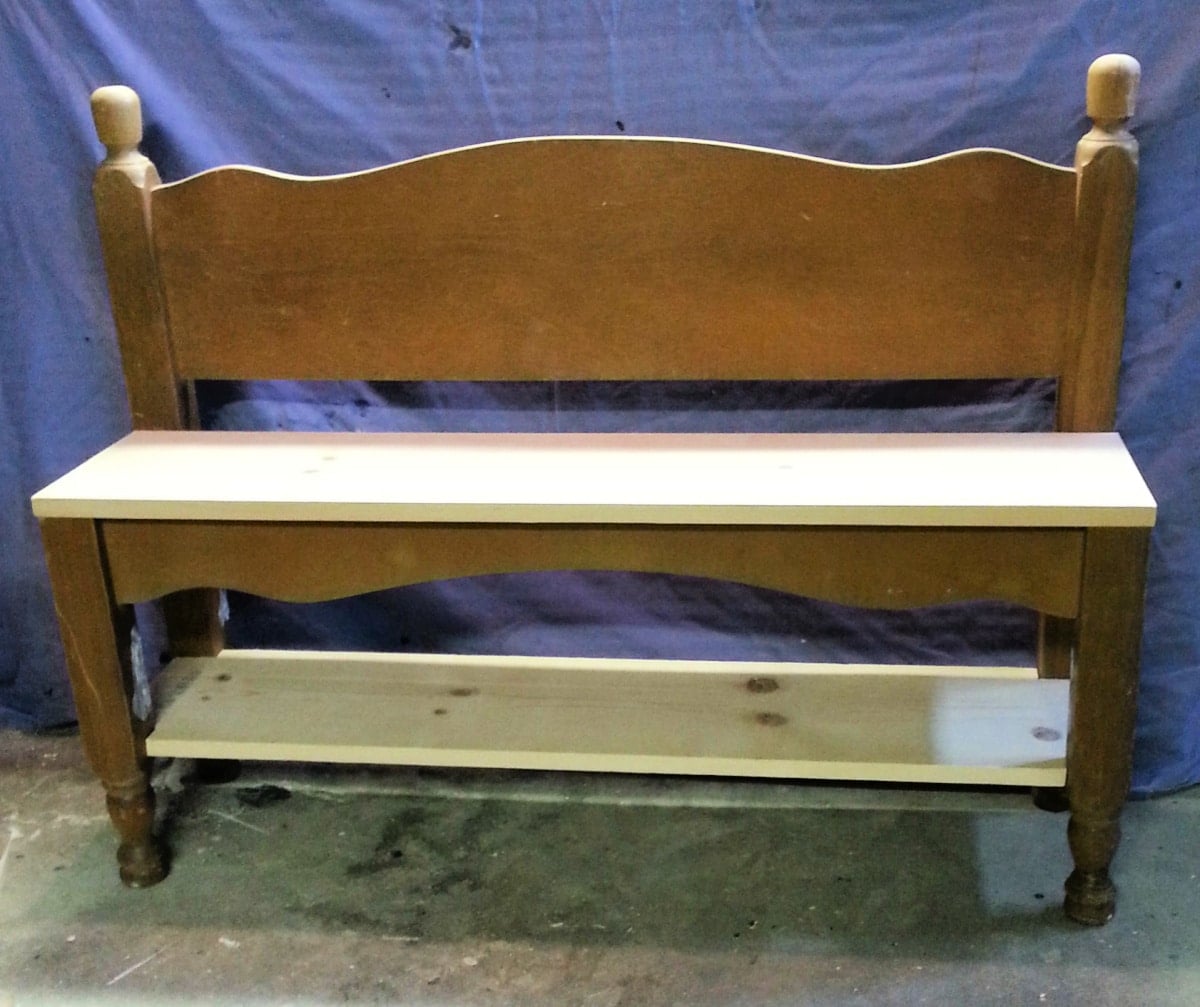
I notched out the headboard bench storage shelf to fit between the legs. Then I secured the seat with Gorilla Wood Glue and my nail gun. I used a 1×10 for the seat and shelf.
Primer and Paint Headboard Bench With Storage Shelf
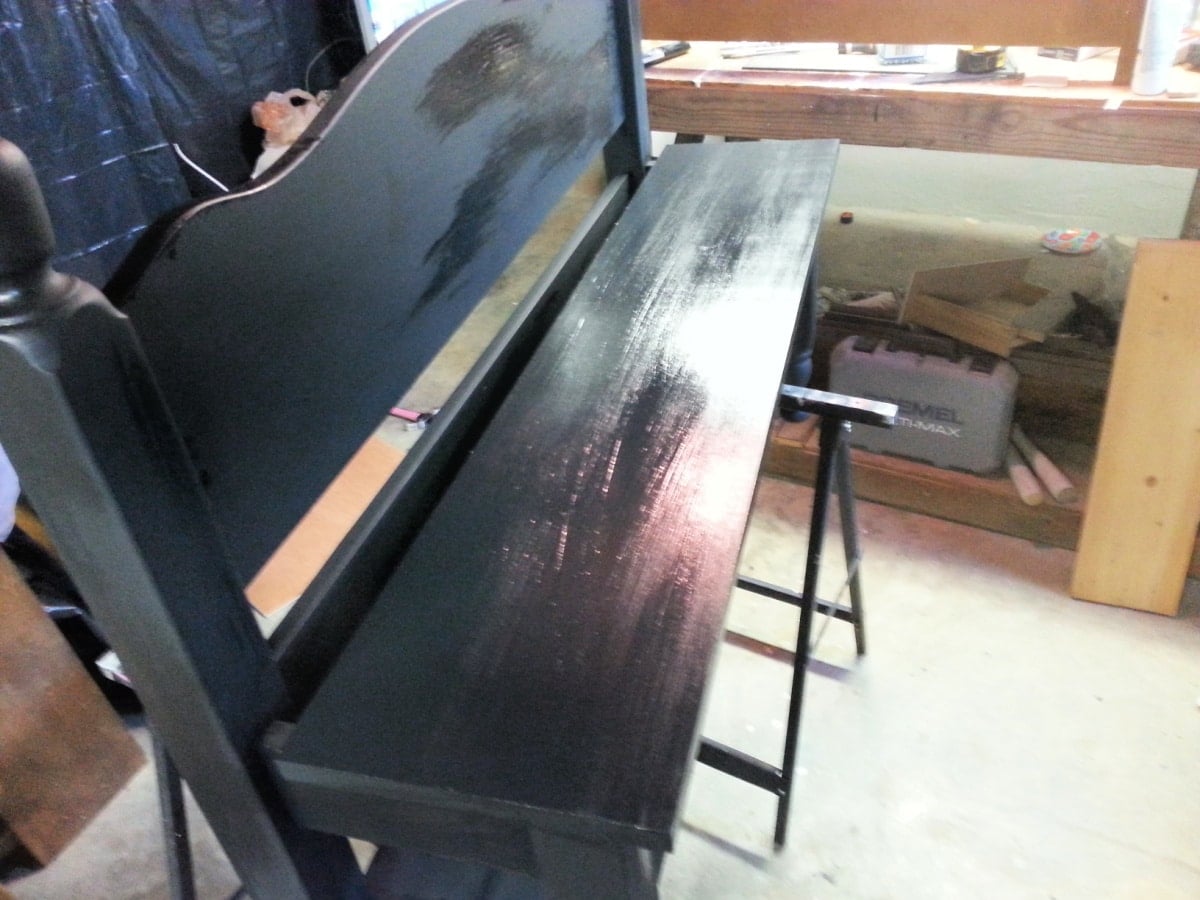
I did a couple of quick coats of DIY Chalk Paint as a primer all over it, then two coats of Naval (Behr Premium Plus).
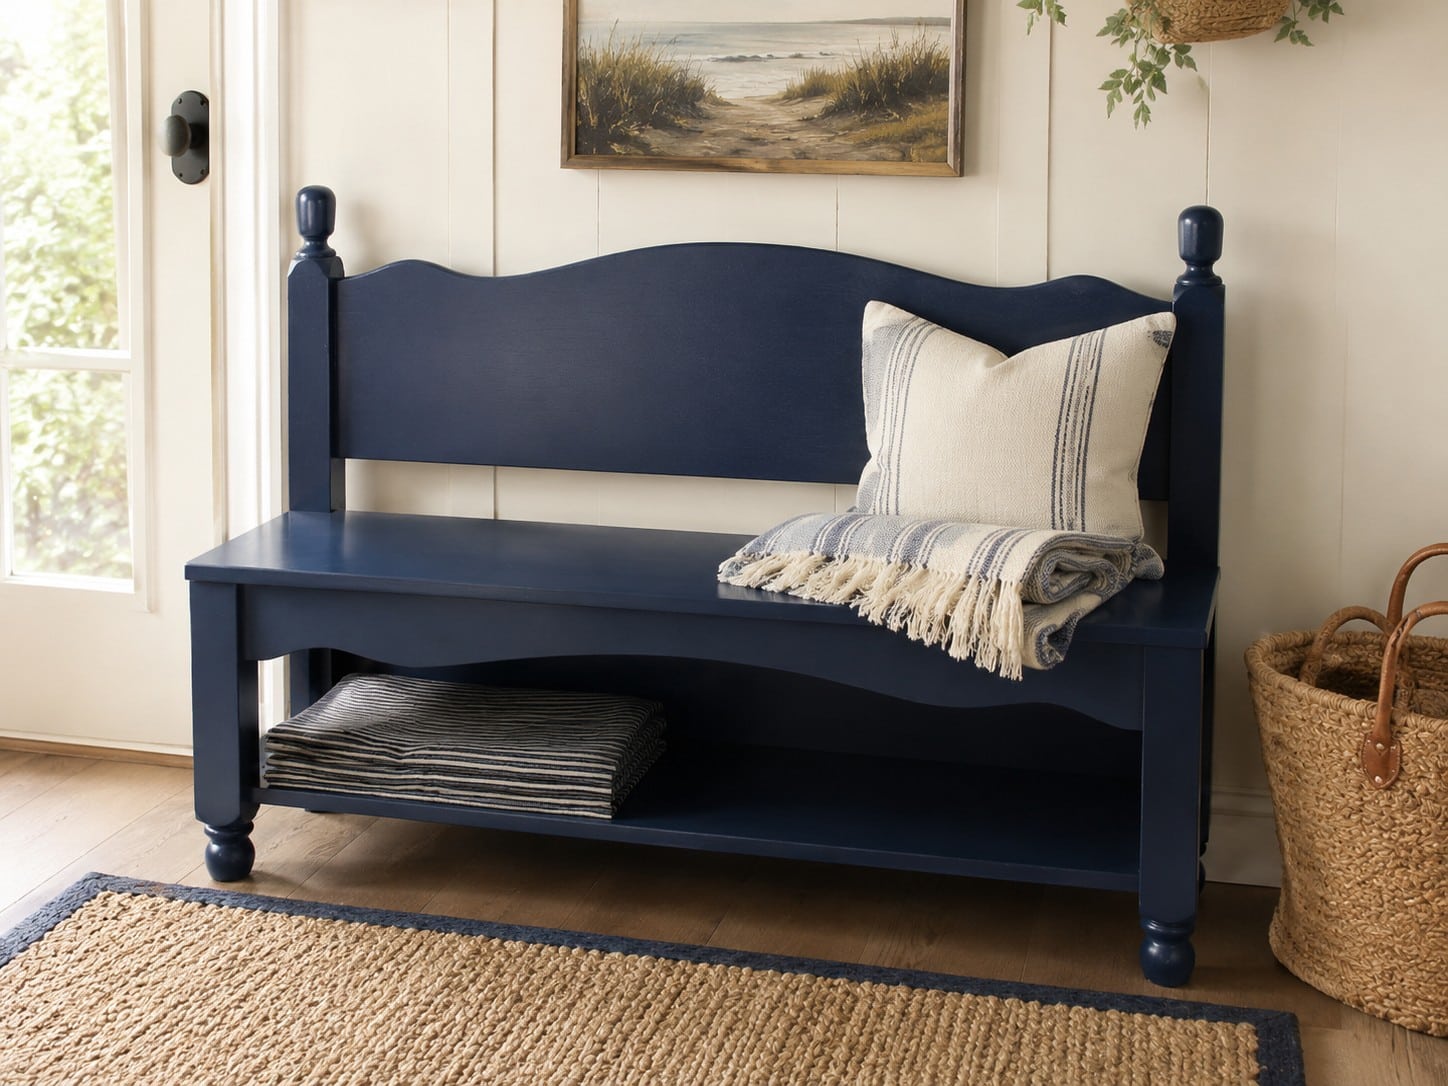
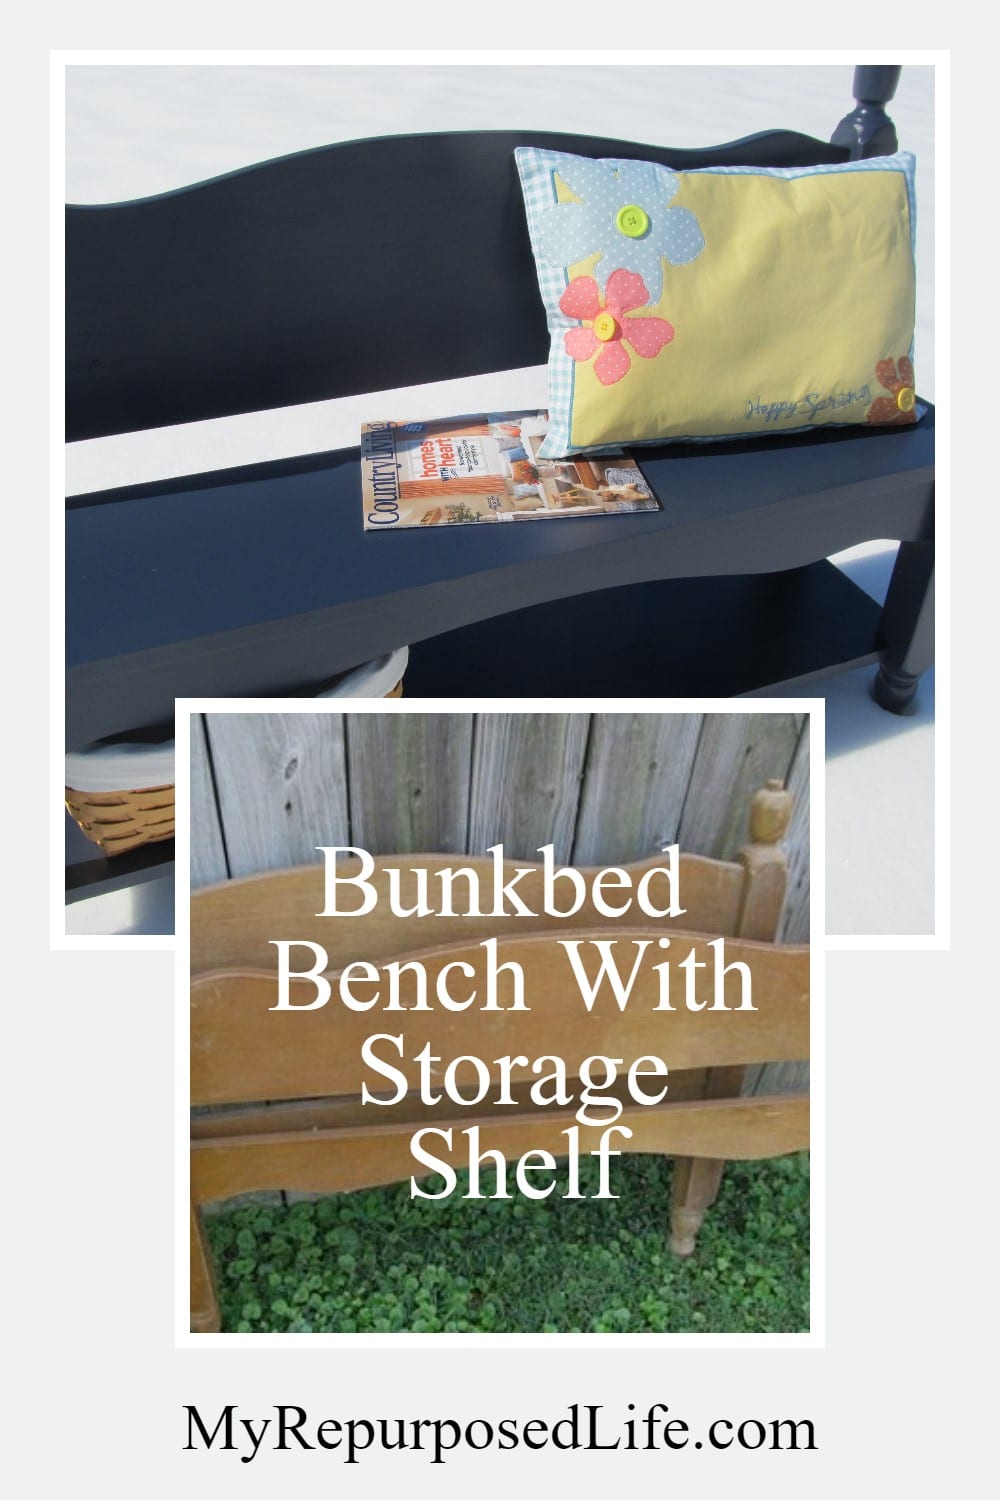
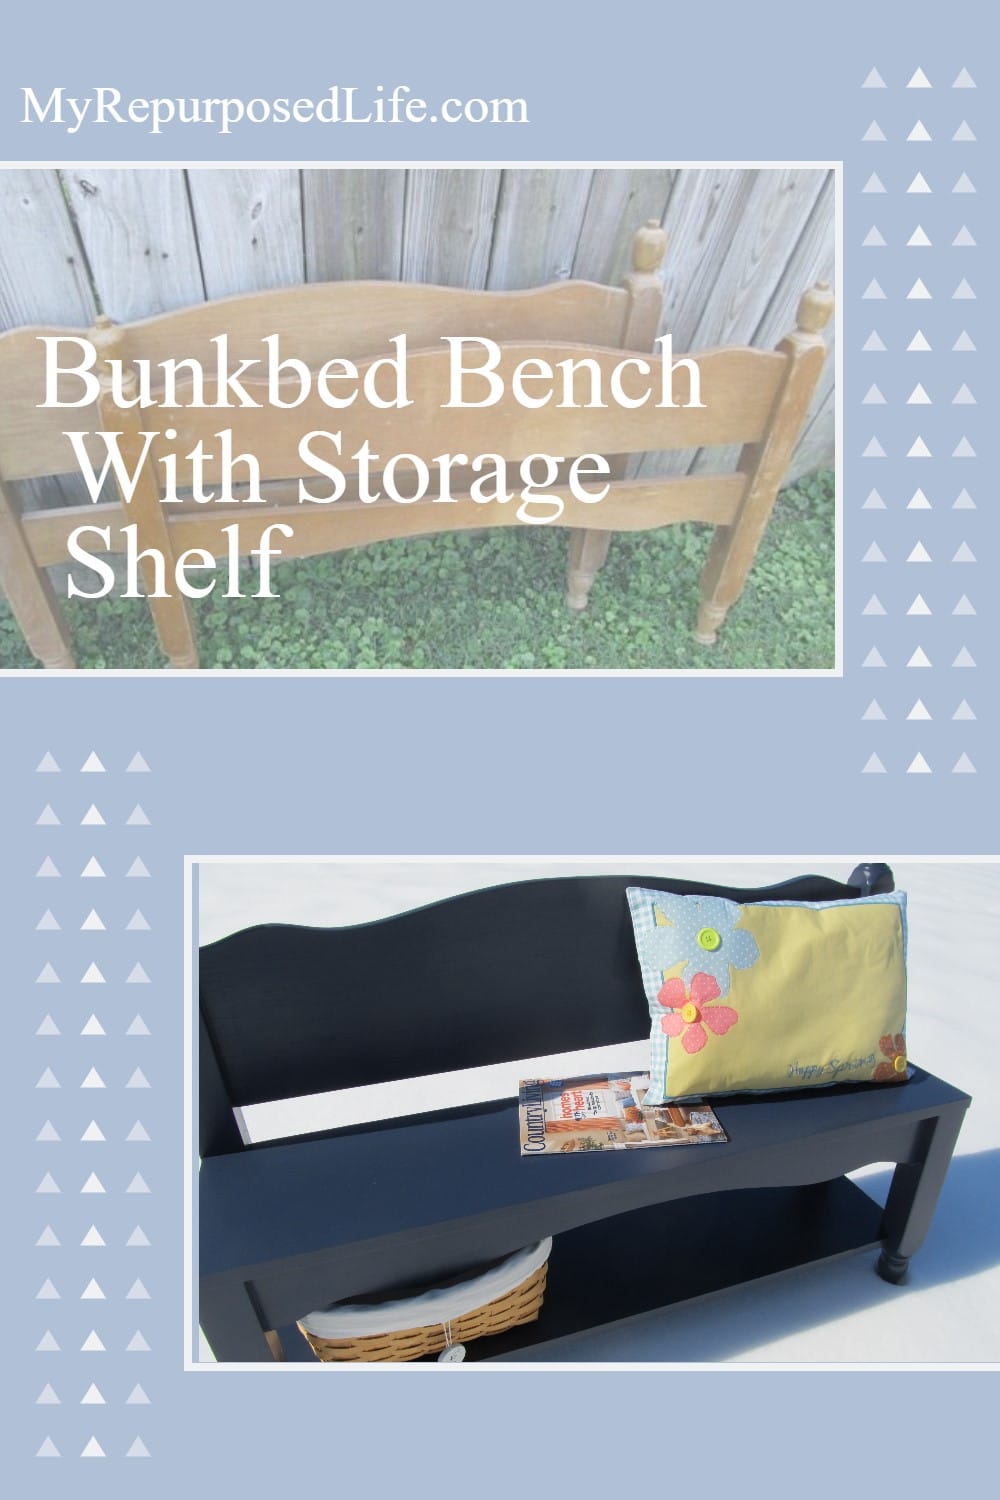
I believe the dark blue makes this small twin bed bench look so classy, don’t you? I have never added a bottom shelf before, and I love it!
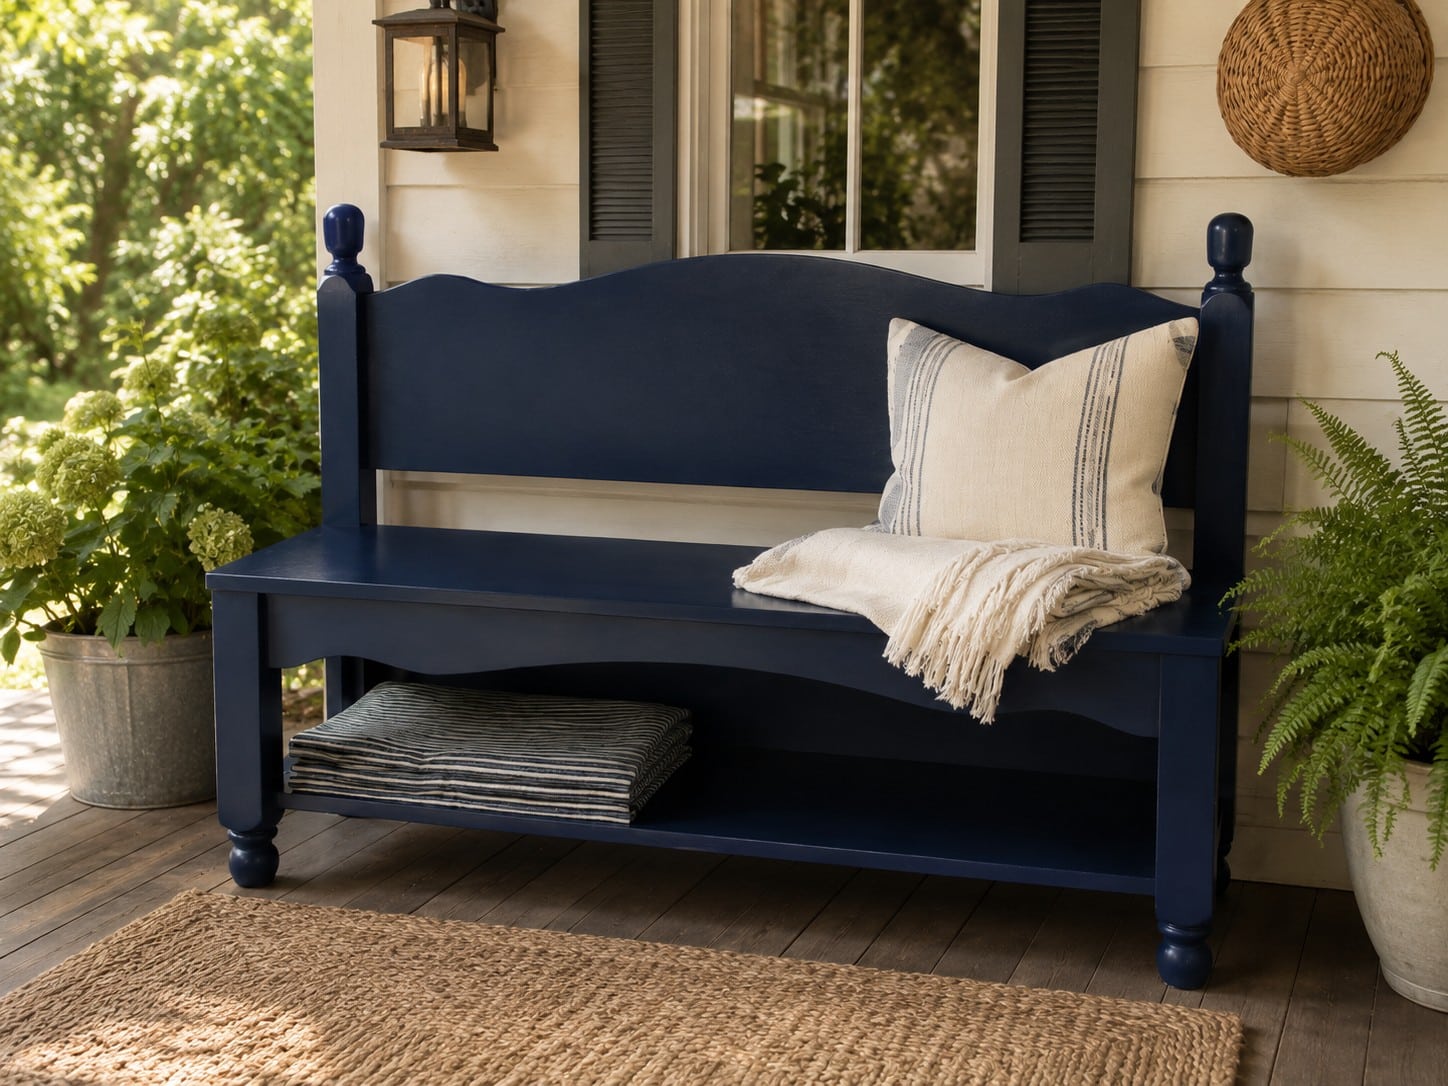
The bench is so versatile that you can use it in many ways. It’s just so darn pretty! Not at all like the benches I’ve made before. It’s petite and would make a great addition to an entryway or even at the end of a bed.
Related Content: Navy Blue Furniture Projects
The color is scrumptious! Can you see what the pillow says? “Happy Spring!” Wishful thinking on my part!
Do you like this bench better than my regulars?
See my favorite Mission Style Headboard Bench with Storage-The Complete Tutorial
gail
sharing at Becky’s under $100 Linky Party
how did you connect the seat to the legs?
Linda,
Gorilla Wood Glue and my nail gun were used to secure the seat to the skirt and legs. Hope this thelps.
gail
why did you make pocket holes? How were they used?
Mary
love this so much better !! It is so much cleaner not as fussy.
Ha! Thank you for giving me the name of the drill thingy that lets you make those holes: a pocket hole jig! I have a full-sized headboard/footboard which is kinda plain, and I want to do just this, with a big saying on the back of it, and burlap-covered cushion and pillows, to put on my porch! Thanks so much for the tutorial!!
I think a pretty quote across the back would be super cute! 🙂 I love this simple sleek bench!
Oh now that is a keeper! The shelf serves so many purposes and adding baskets gives it texture. I love Naval Blue, love it. Nice change from the black 🙂 You out shined yourself on this one Gail. I love it against the snow. But your crazy to do that!
Ohhhh…I LOVE it!!!
It is perfect!! I love the shelf on the bottom! I think you scored on this one, but I love all your headboard benches! I still have a stash in my garage waiting for a transformation, I totally want to do another one now. I also like how small it is, not too deep! Great job Gail! And take it easy with that shoulder! I have had to drill my pocket holes on the outside in those tight spaces, but that stinks cause then I have to fill them, but it is much easier to build!
Love this! I need something like this for my entryway – I’m tired of sitting on the stairs to put on my boots!! Thanks for the inspiration!
Wow…what timing…just bought a hbfb at the local thrift store for $10 with the intent of making my first bench! Hopefully I can get to it soon! I will share the final pic! Thanks!
This one’s my new favorite of all your benches. I just love the shelf, proportions, and color. I can’t believe you lugged it up your stairs by yourself! Next project: freight elevator. lol!
Beautiful. Can’t choose a favourite, they are all wonderful creations.