Vintage Coffee Table Makeover | How to replace a damaged table top
As an Amazon Associate, I earn from qualifying purchases.
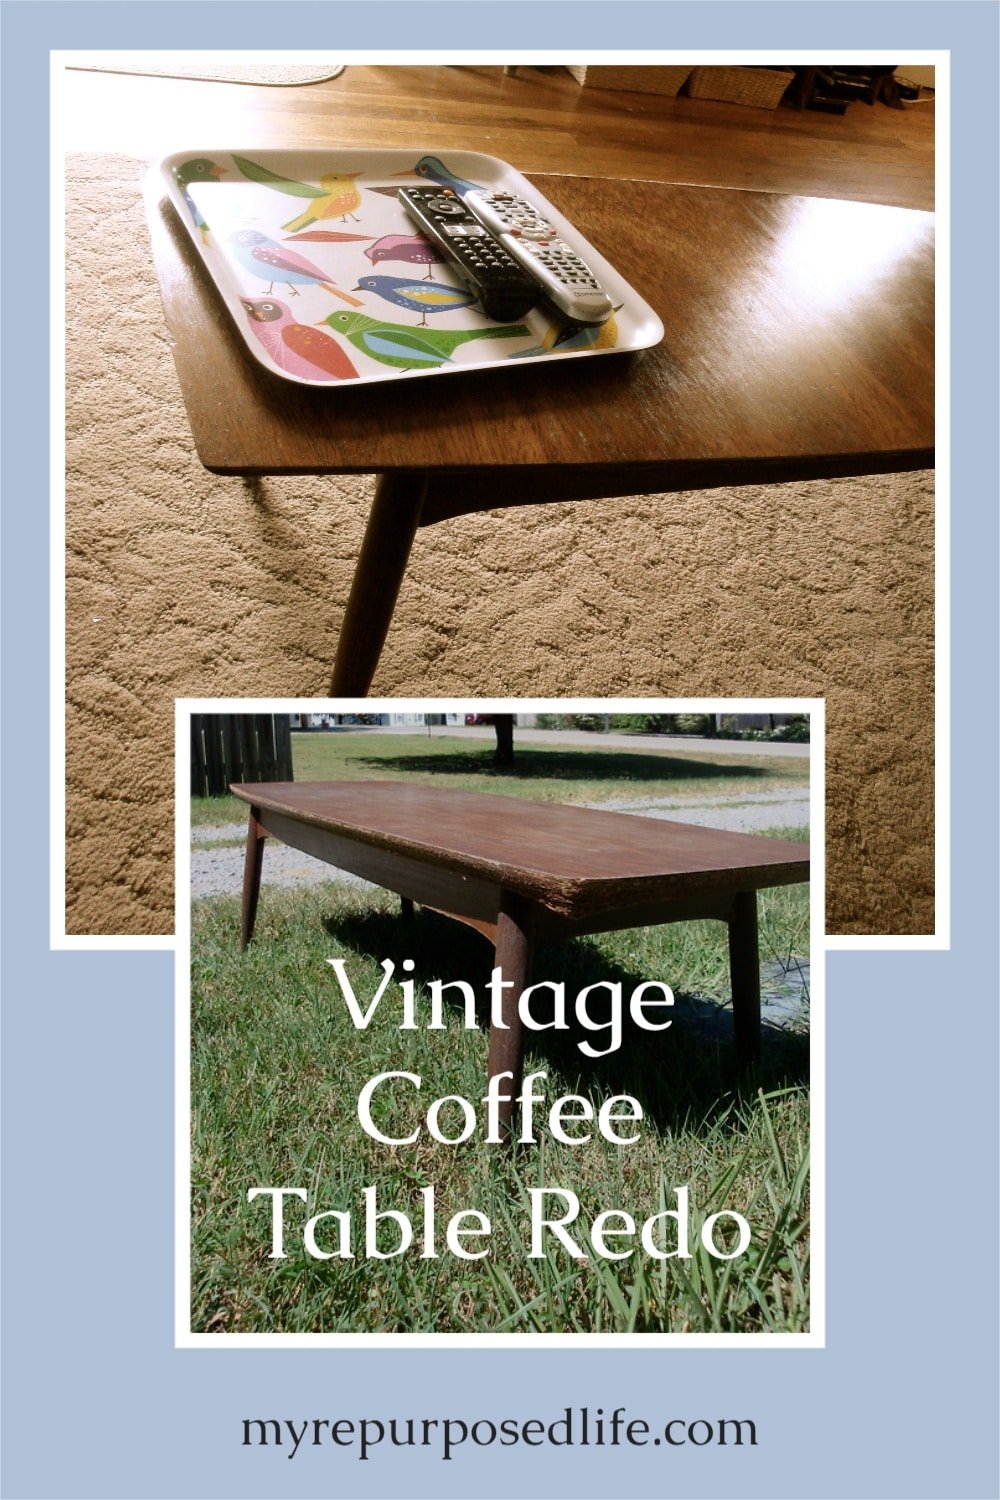
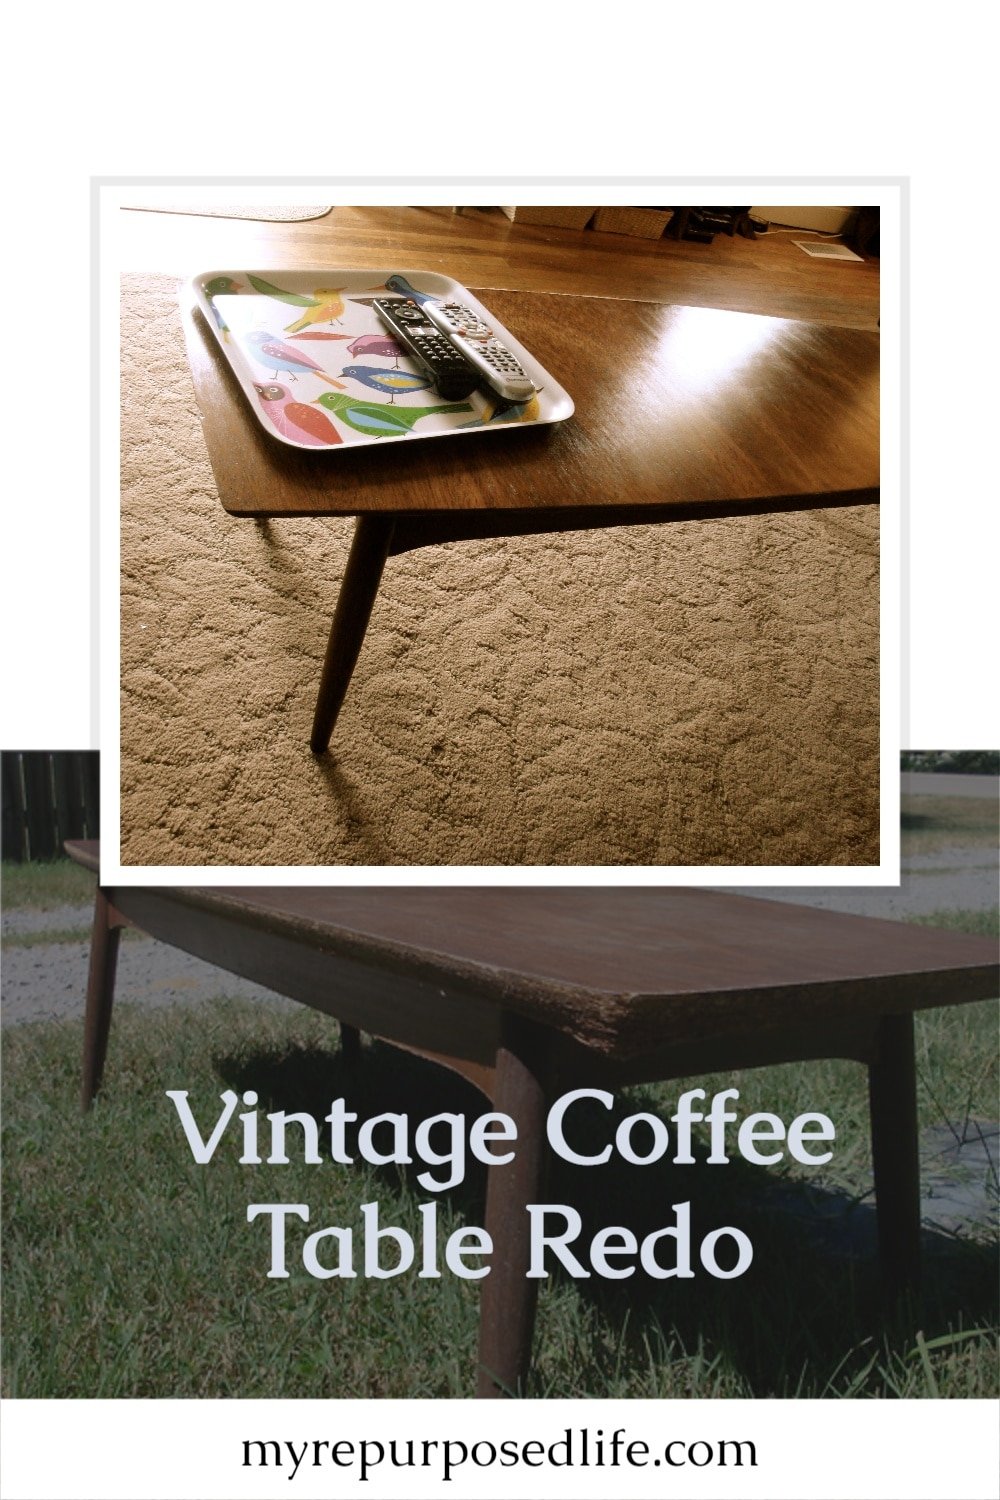

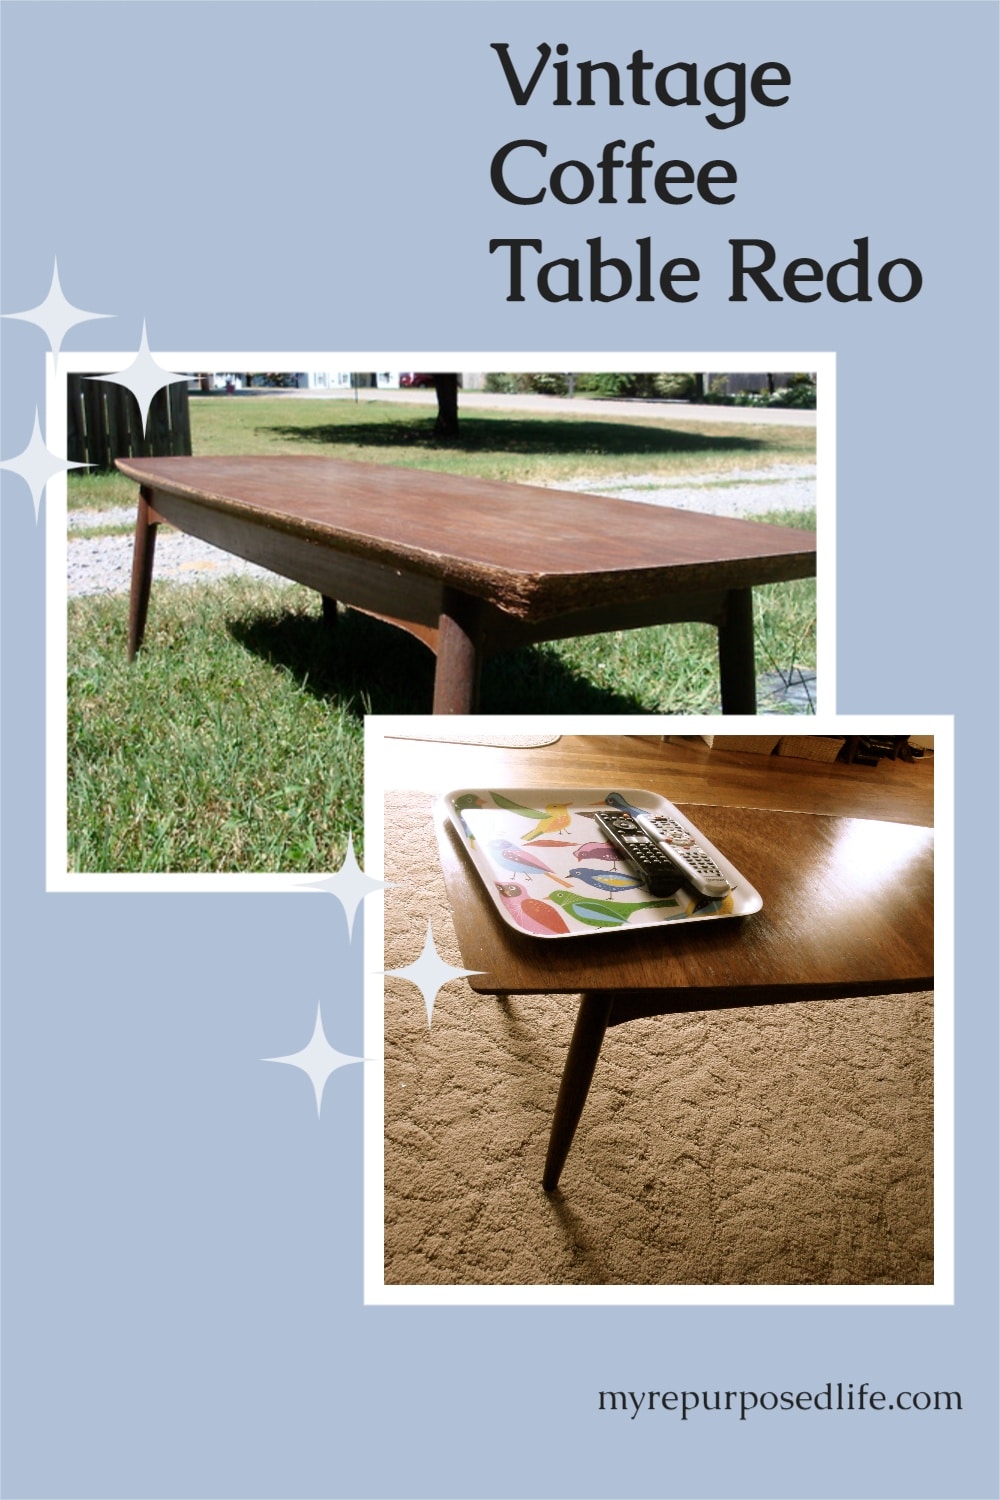
Don’t toss that vintage coffee table, give it a makeover by reusing the base and cutting a new table top for it, I’ll show you how!
Save & Share on Pinterest

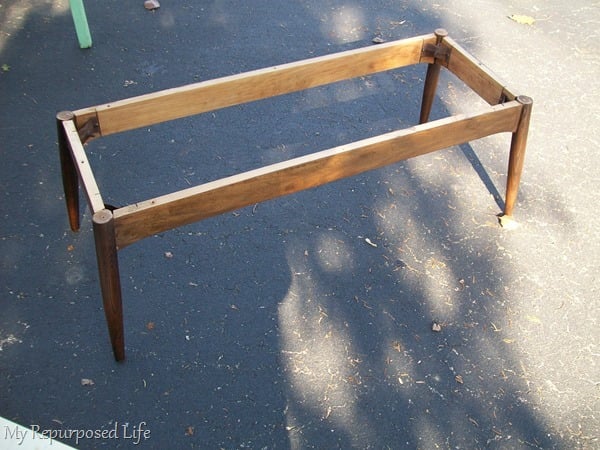
My daughter Jamie found this vintage coffee table at a yard sale. The price tag? FREE! The top of the table had suffered some water damage and it was swollen. I guess she’s enough like her momma to see a diamond in the rough!

Looking for more great table ideas, visit this article 50+ Table Makeovers and Repurposed Table Ideas
Damaged vintage coffee table
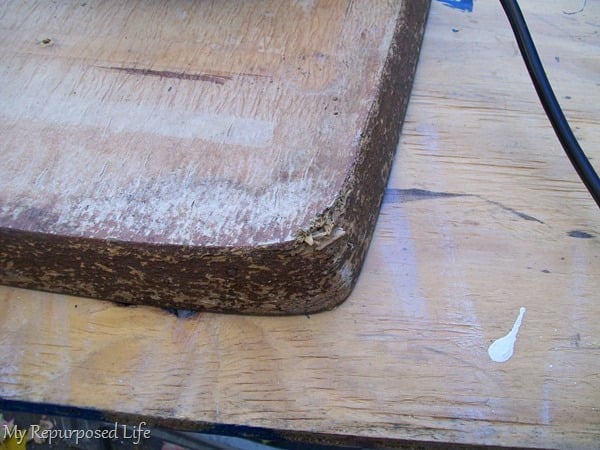
You can see the damage here. You can also see that it has an angle on the cut.
Use old table top for pattern of new table top
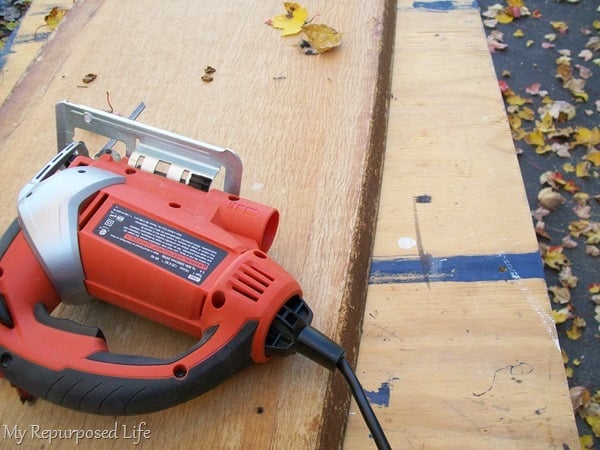
I decided to experiment to see which saw would do the best job. I actually practiced on my work surface board–my sheet of plywood that I use all the time. For some reason I didn’t take any pictures of the practice cuts on that plywood. I first used the jig saw. That didn’t work so well.
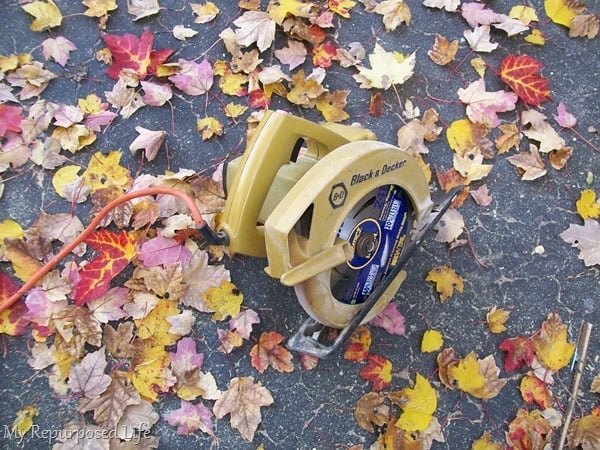
So, I went with this little baby! This saw was compliments of a good blog friend Missy. Her dad gave it to me when I built the twin window cabinets for her mom Mary.
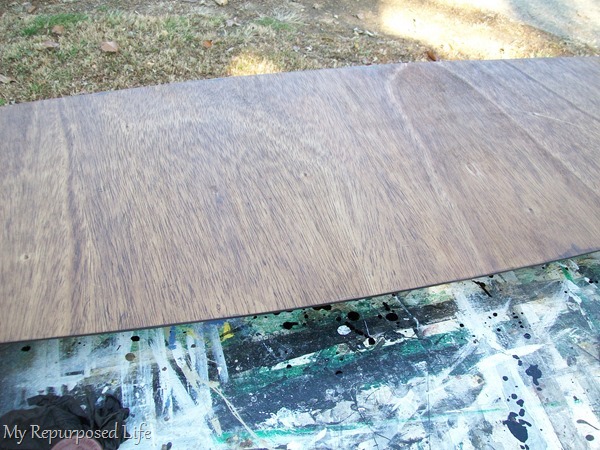
Trace pattern onto plywood
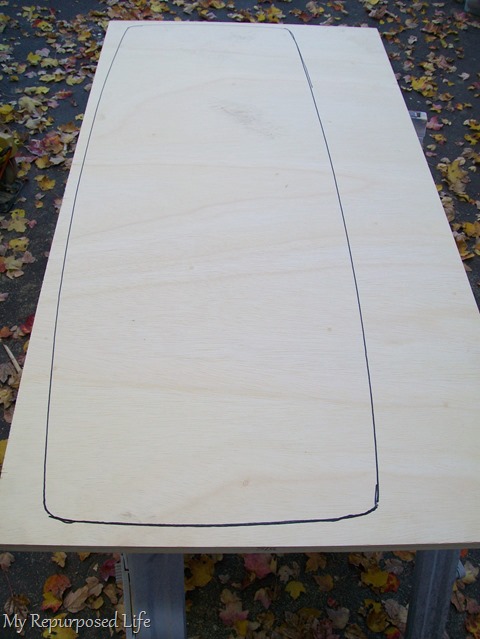
I laid the vintage coffee table top onto a piece of nice plywood and drew the pattern. Instead of centering it side to side, I started all the way to one side, so that if I messed up, I would still have enough room to start over.
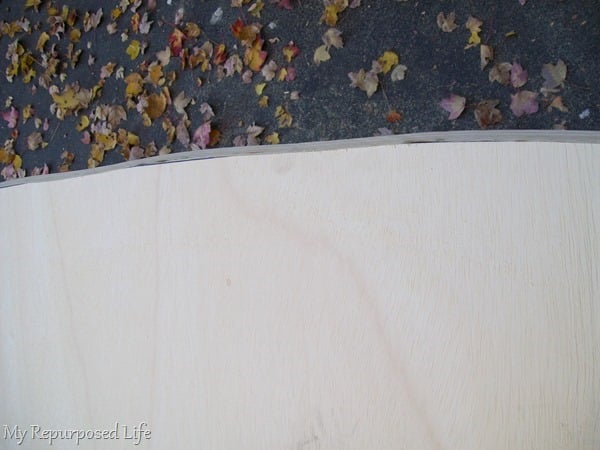
Not so good! It’s a little wavy.
Let’s try that again
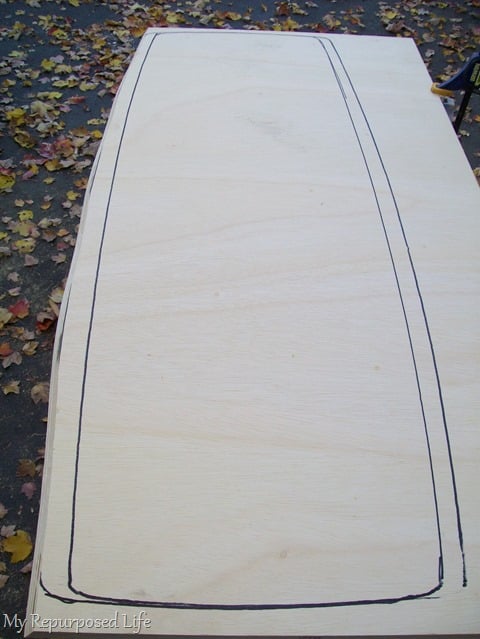
See how wavy it is? I scooted the top over and drew the pattern again.
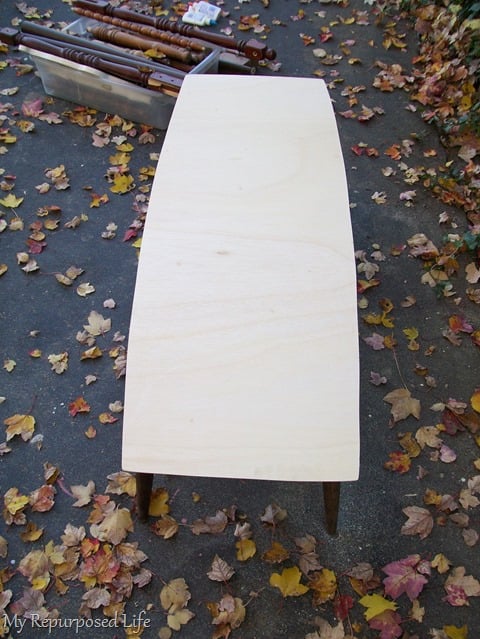
Getting a little closer to replacing the vintage coffee table top?
New top for vintage coffee table

There ya go! That is looking a lot better! I laid the circular saw on the original top to get the right angle. Sawing very slowly I was able to achieve the curve pretty easily, probably due to the small blade on the saw. (Thank you Mr. Sams)
It has an odd shape to it in addition to the angle of the edge.
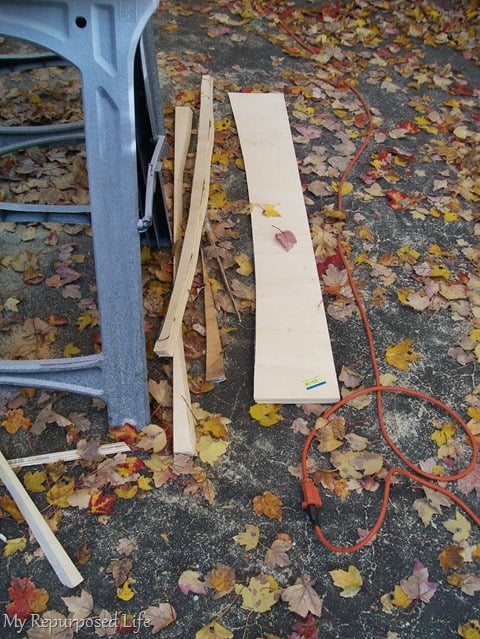
Here are the scraps from my practice cuts and the real cuts.
This vintage coffee table was supposed to be a Christmas gift for Jamie. The weather turned cold and I decided that I didn’t need it to be totally finished by Christmas. Jamie would be visiting, but wouldn’t have room in her car to transport it, so I thought I would stain and poly it after she came home for Christmas and we decided on a color. When Jamie visited for Thanksgiving, I figured out she was pretty anxious to have it, so I got busy trying to work on it.
How to stain when it’s cold outside
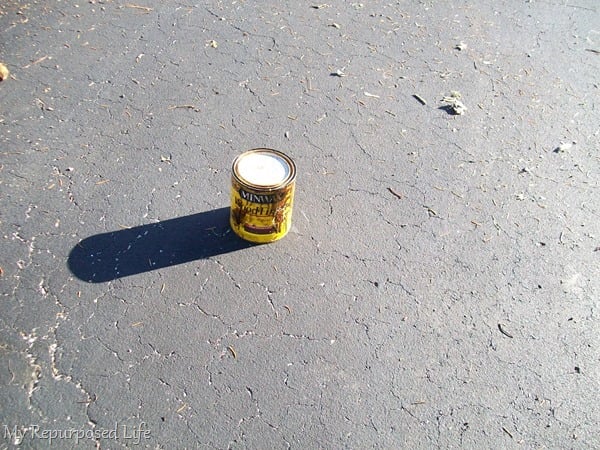
We had a semi-warm day. I placed the stain on the driveway in the sun to try to warm it up.
Meanwhile, I sanded the base, and put some stain on it. Doesn’t the vintage coffee table base look fabulous?
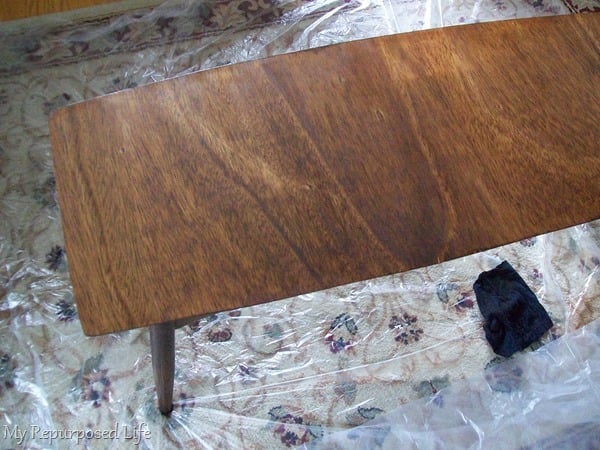
I stained the top of the table with dark walnut.
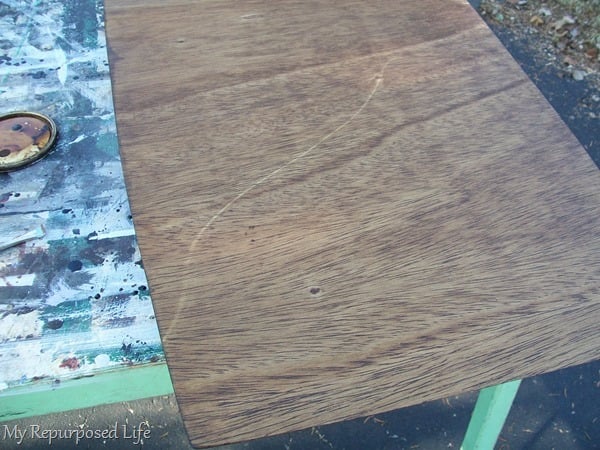
huh? Where did this scratch come from? It didn’t show up until I stained it! I sanded it back to try to even out that scratch.
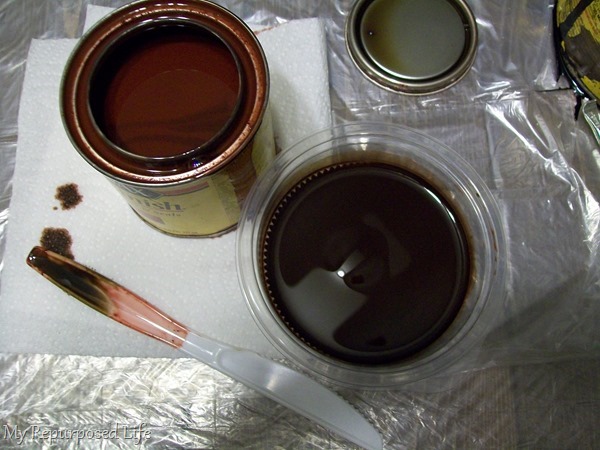
Fast forward to the week before Christmas! The table is still not done, but I don’t think it’s that big of a deal since Jamie can’t take it back with her. WRONG! Andy will also be visiting us—he has an SUV! Time to get to work on finishing this Christmas present! I bring the coffee table and the stain indoors to warm up. I’m trying to match the existing base (color). The dark walnut was not working.
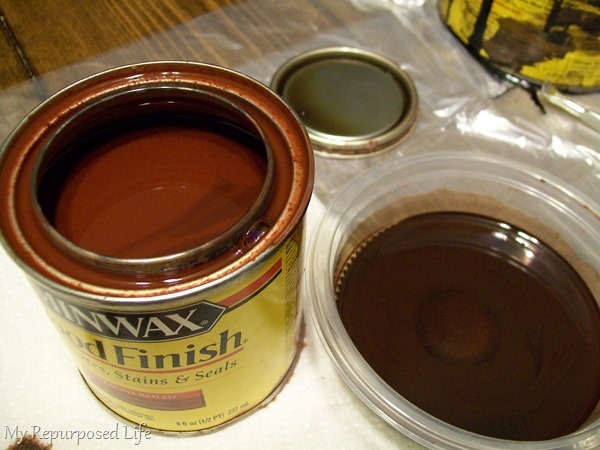
I ended up using some dark walnut with some Sedona Red mixed in.

The dark walnut on the left, the custom stain on the right.
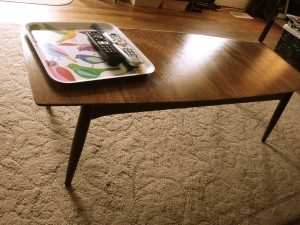
voila! What cha think? It matches the base pretty well, don’t ya think?

Working in the living room. You can see another present for Jamie here (bottom right).
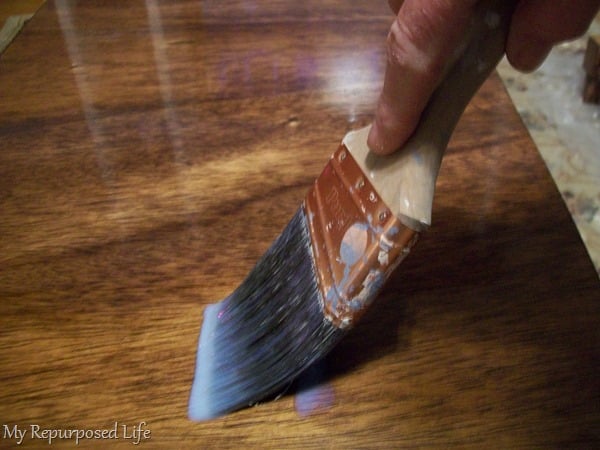
After all work, it was time to seal the coffee table top and base.
I applied a water based polycrylic with a great Purdy brush.
I gave the table to Jamie Christmas Eve, she loved it! The table is now back in Nashville with Jamie and she sent me a message on Facebook saying how much she loves her new (old) table!
do you like vintage-mid century modern as much as Jamie does?
gail
Updating to add a picture of the table at Jamie’s House:
How about another update?
EIGHT years later, in a new home with a new addition to the family, and the table is still holding up. My grandson Eli gives this table it’s fair share of abuse on a daily basis. He plays with his toys, he climbs on the table and uses it in various make believe fashions!
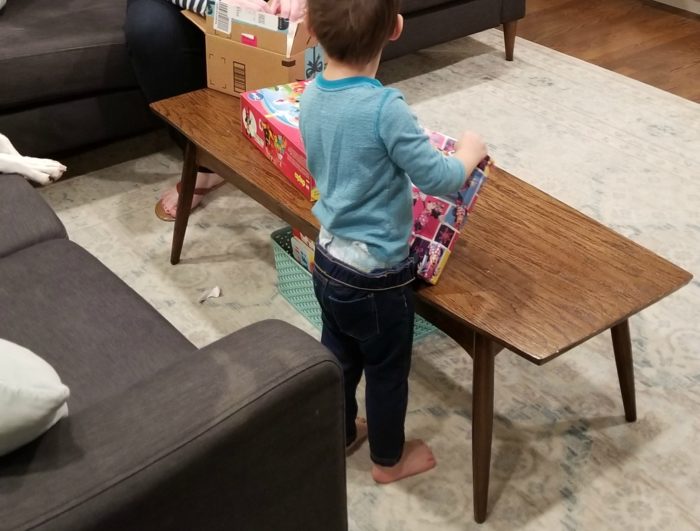
As of publishing this post in November 2020, that table is still hanging in there. As I was visiting this week, I happened to look over from the kitchen and Eli (4 1/2) was standing on the table wearing the cutest Captain Hook Costume ever! Of course, I wasn’t quick enough to get a picture!
So, if you have a chance to pick up a vintage coffee table at a yard sale or thrift store, don’t despair over the shape of the table top.
gail
Related Content: Flipping Furniture: Table Makeovers
Why is the grain running left to right in one picture & lengthwise in the last picture. Was it recovered a second time.
Good eye John!
Yes, it was! My daughter Jamie tried to DIY a change…. sanding? Staining? I can’t remember. But it went wrong. So somewhere over the 10 years, I did cut a second top for the table. I forgot to mention that. 🙂
gail
looked awesome then and stil looks awesome now! wonderful job with it!
Thank you Nova! It was difficult to cut. John noticed that the wood grain was different. I had forgotten that I actually cut a second top after she failed to change it up over the years.
gail
Great job mixing the two colors to get the stain you were looking for. The table looks fantastic. Keep it up!
-Bruce
That’s some precision cutting! It looks great. You matched the stain really well.
My daughter loves mid-century. She mixes it with antiques and traditional things, and some how it all looks good.
What a terrific transformation!