Vintage Oak Kitchen Table Makeover Before And After
As an Amazon Associate, I earn from qualifying purchases.
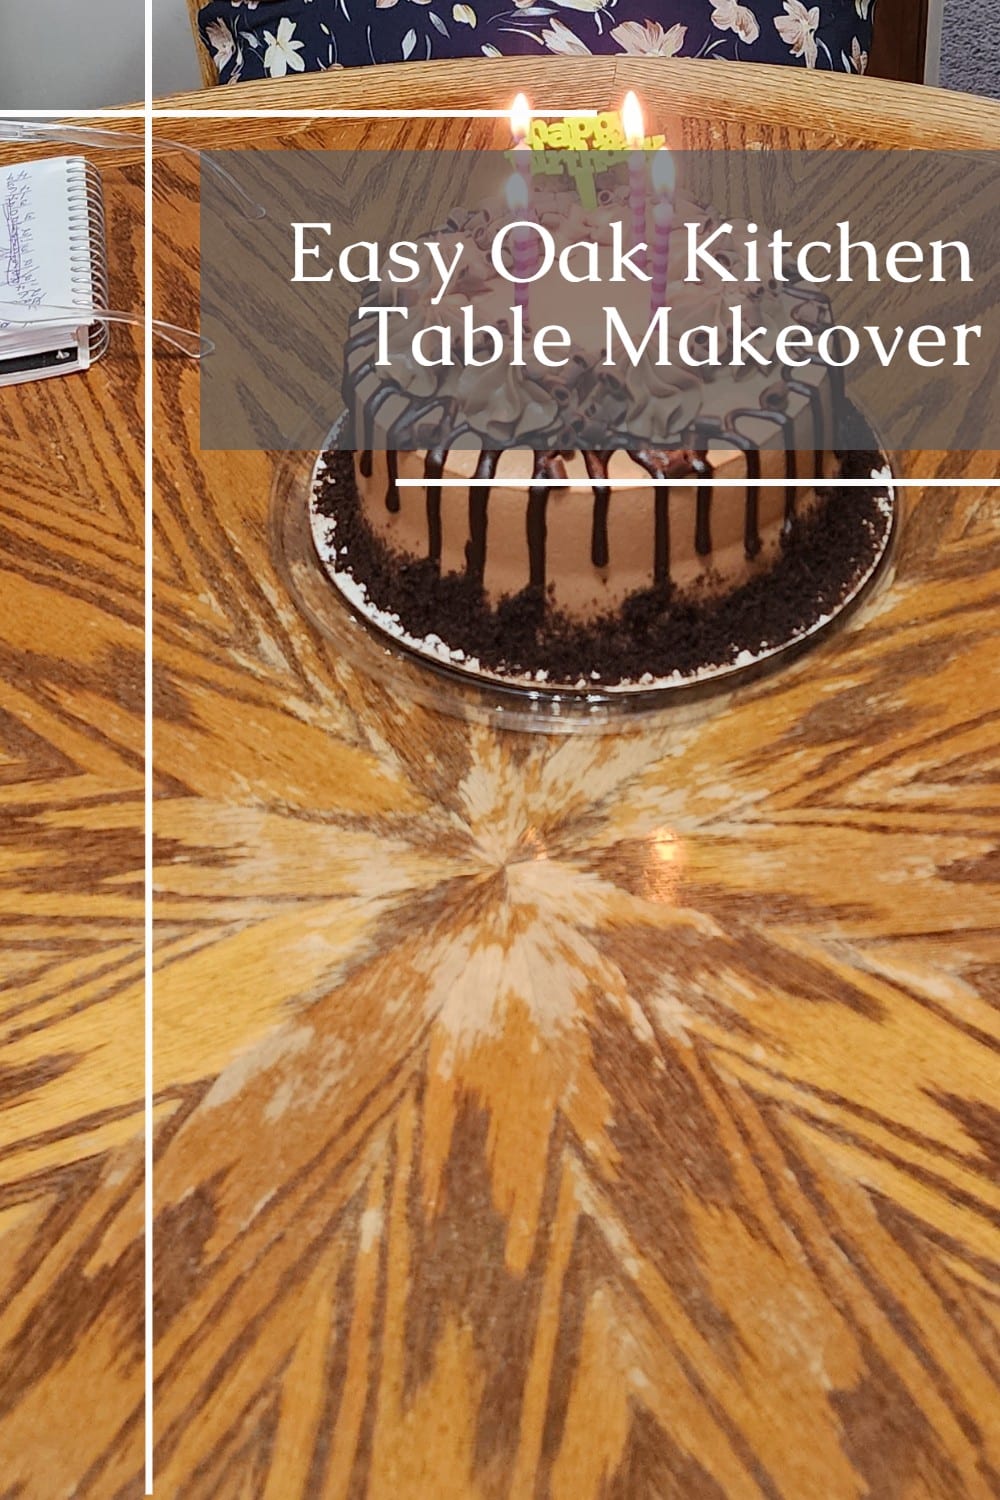
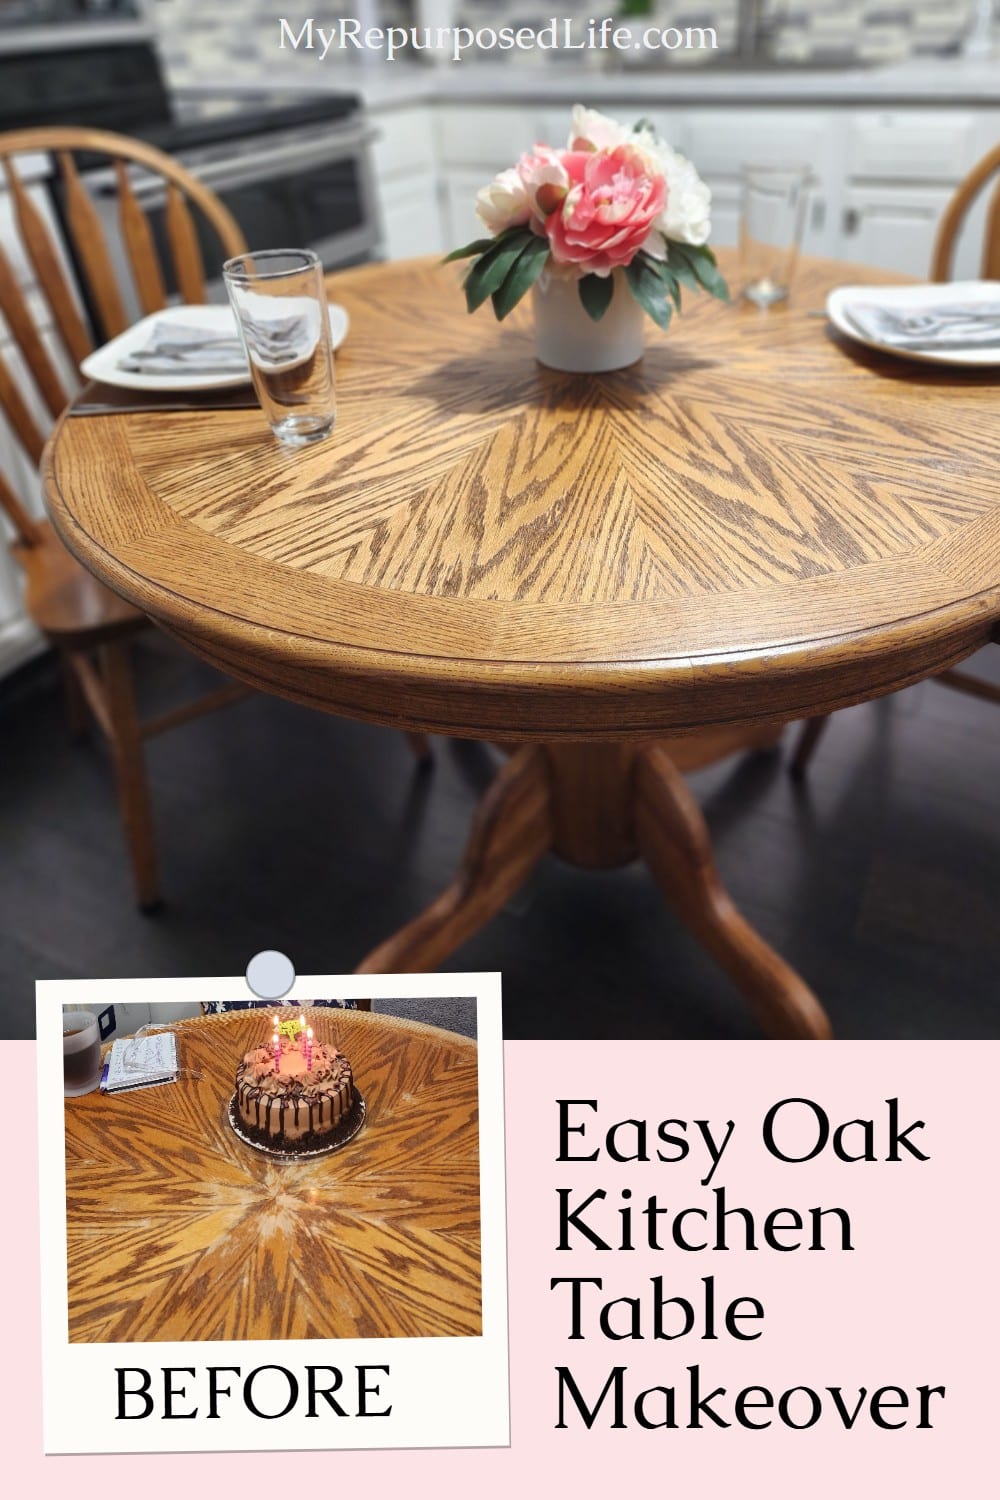
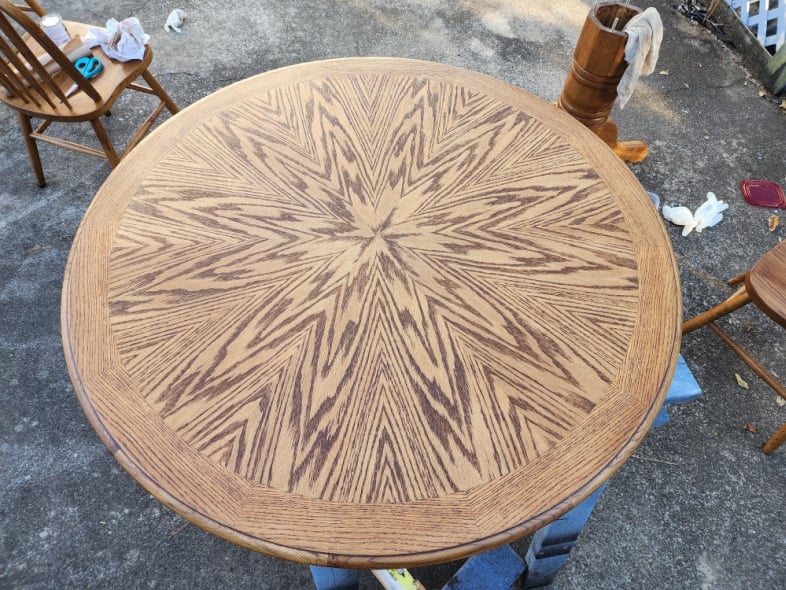
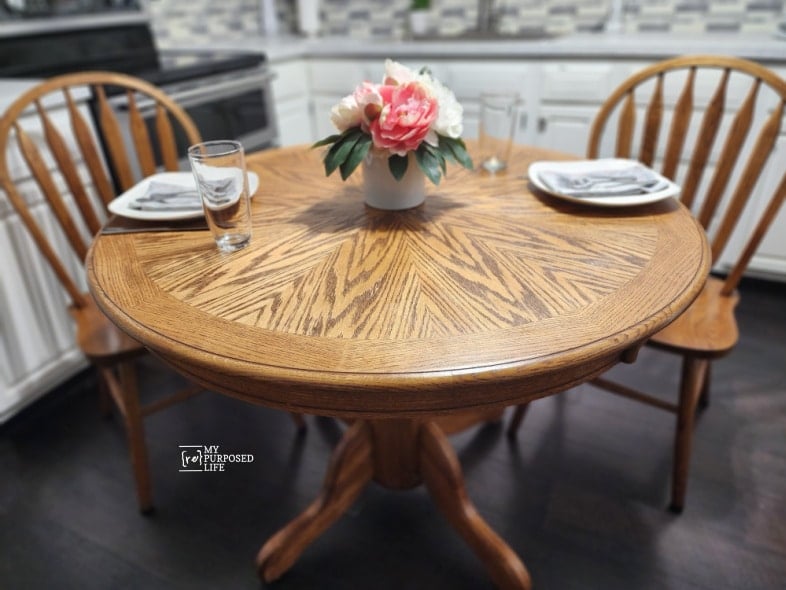
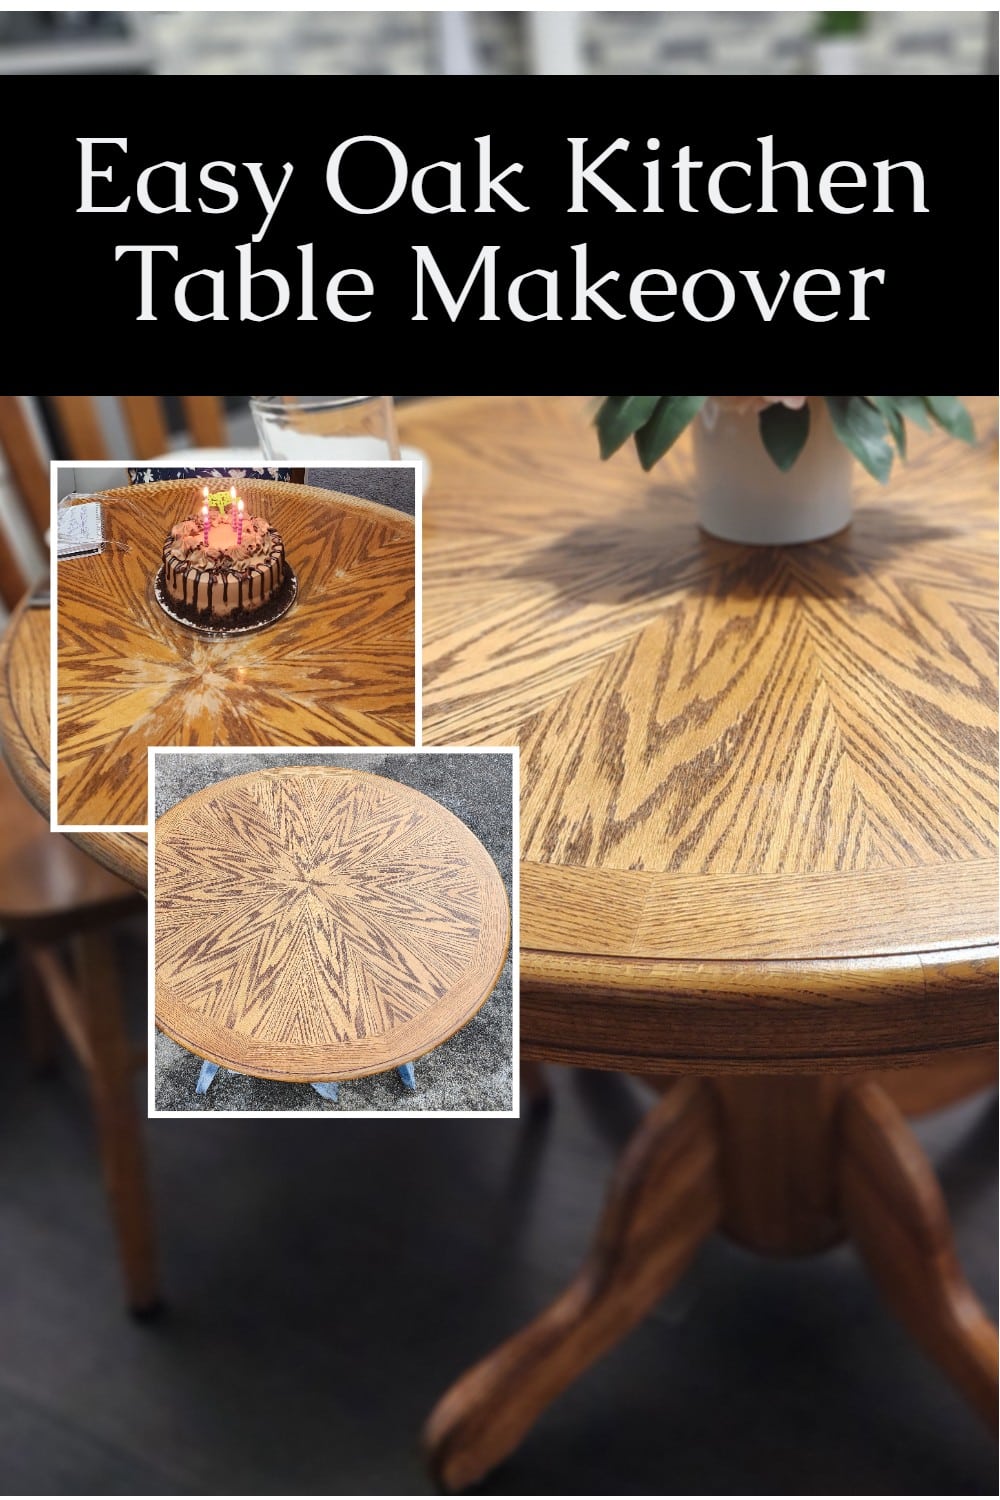
A solid oak kitchen table can take a beating from family dinners, craft projects, weekly card parties, and birthday parties, and this round vintage beauty was no exception. The starburst veneer pattern was still gorgeous, but years of cloudy finish and worn spots made the surface look tired. This makeover demonstrates how a little patience, sanding, and a fresh finish can revive a dramatic pattern, allowing the table to shine in the kitchen once again.
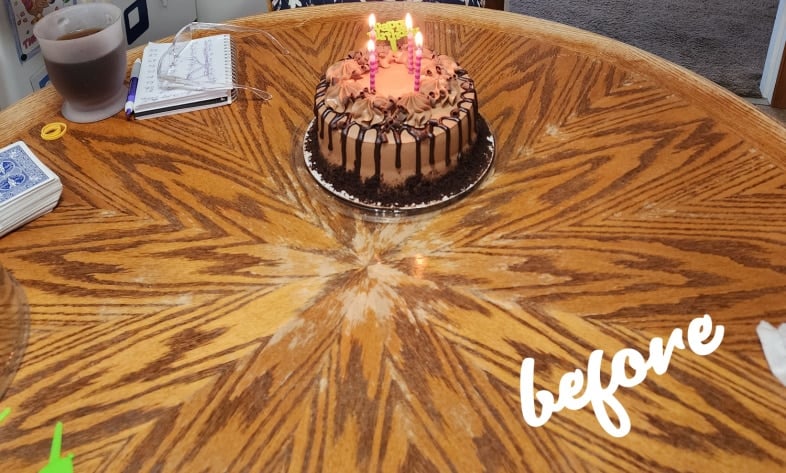
I’ve spent thousands of hours at this table for special occasions and weekly “game days”. Do you see the playing cards and a notepad full of hundreds of scores? The open page displays a large R, indicating that my friend Regina won the most recent game.
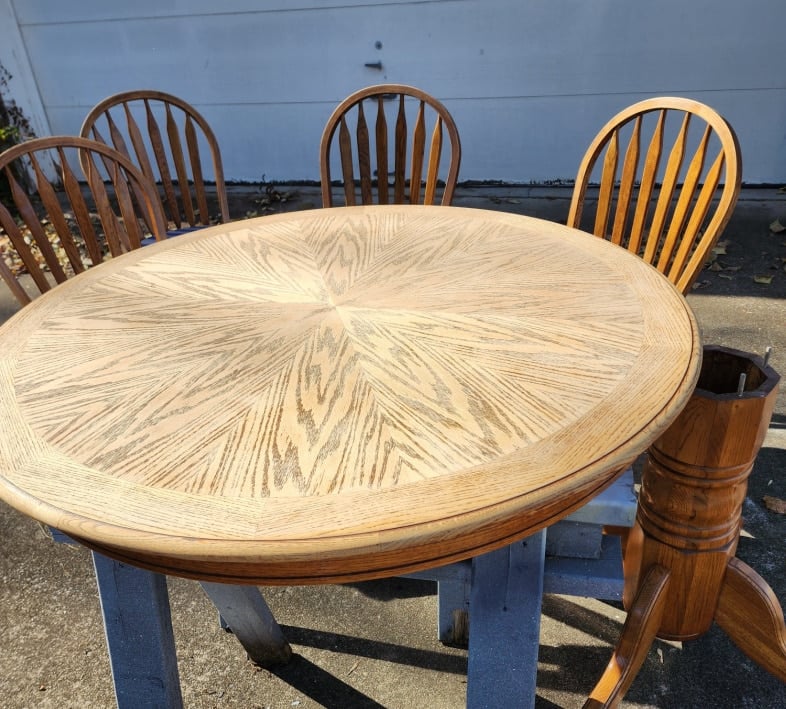
Well-Loved Oak Kitchen Table
The finish was aged and worn. Regina decided to accept a free table and chair set from a friend and let go of her beloved 38-year-old set. So, naturally, she gave me the table and chairs to use as a future project. We tried to welcome the new table with open arms, but secretly each of us longed for the return of the oak kitchen pedestal table.
This Vintage Oak Kitchen Table project is my contribution to our monthly Furniture Fixer Upper Tour.
The Furniture Fixer Upper Tour is a monthly furniture makeover series featuring a small team of furniture-painting friends. Each month, we all start with a tired or thrifted piece and share how we clean it up, repair it, and give it a fresh new finish. After you check out this project, be sure to visit the links at the bottom of the post to see what the rest of the Furniture Fixer Upper team did with their finds.

Without Regina’s knowledge, I began working on the table, knowing that I would give it back to her with its new look.
Sanding or Stripping Finish on Oak Kitchen Table
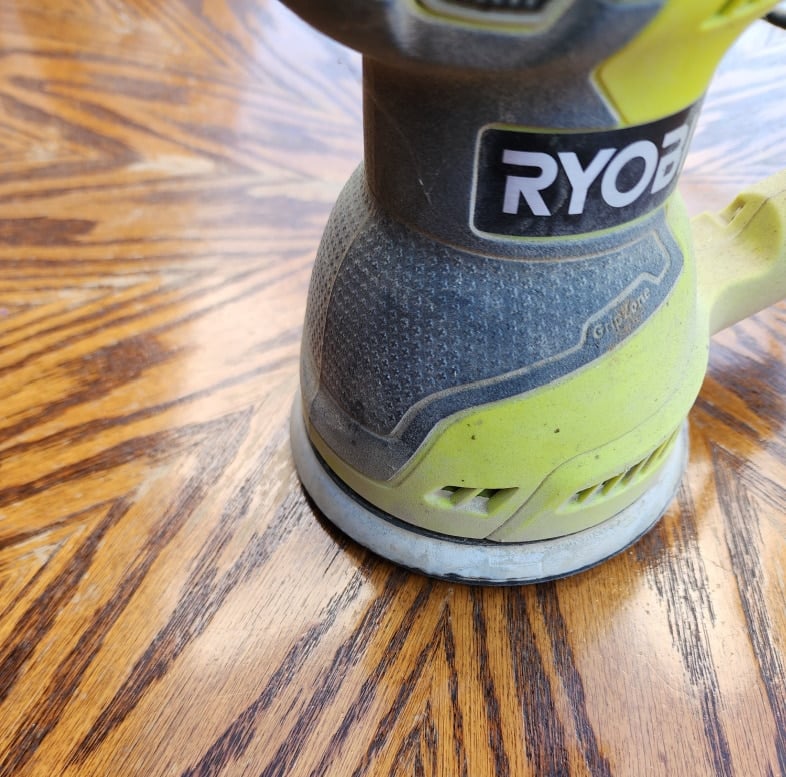
I’m not a fan of using a paint stripper. The goal of this oak table makeover was to be quick and easy. So, I brought out my favorite Ryobi orbital sander and started with 150-grit sandpaper.
If you know someone who loves a good DIY, please pin this project or share it on Facebook. Your share helps me keep teaching these ideas for free.
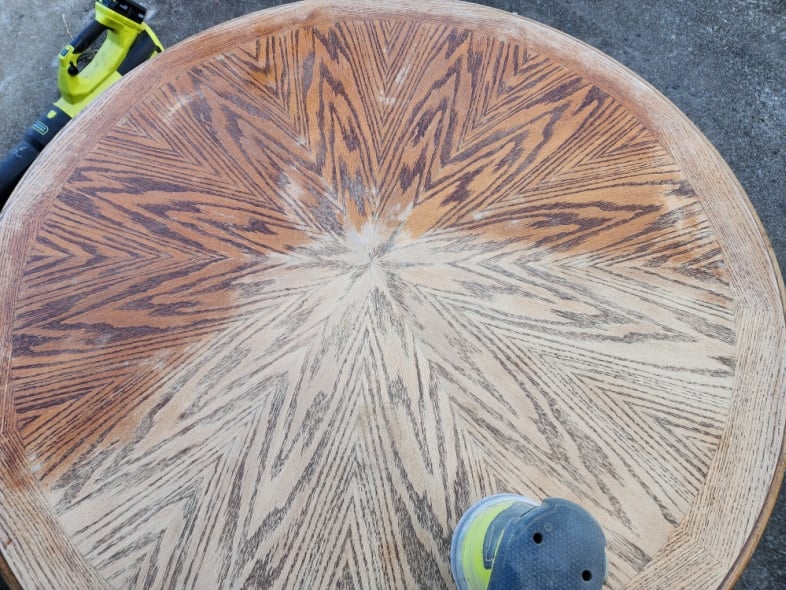
If your tabletop is veneer like this one, you should use caution not to sand too deeply. A light touch is the best option.
Save and Share these ideas on Pinterest
Sanding Pads for an Orbital Sander
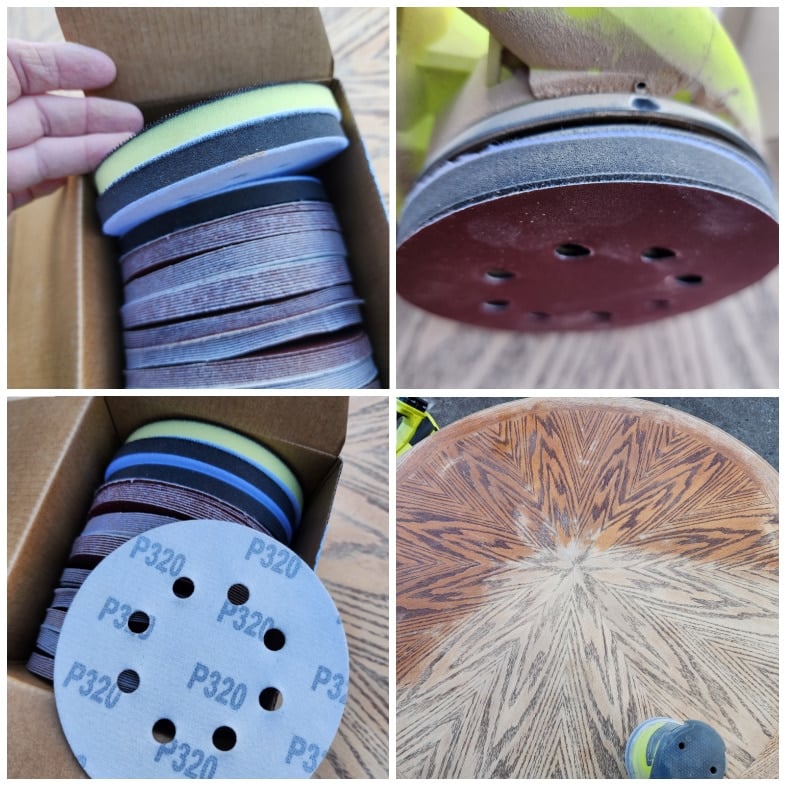
I ordered a large box of sanding pads and sandpaper a few months ago. They have really come in handy. The foam sanding pads are helpful on the rounded edges of the tabletop. The sandpaper grits were 150, 220, and finally 320.
Temporary Storage of Table Hardware
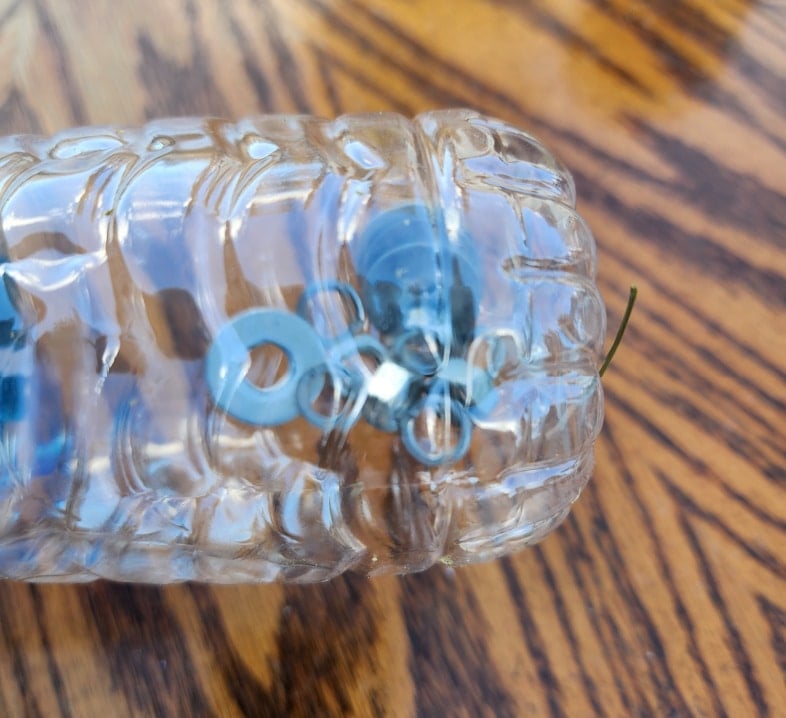
Do you have a difficult time keeping up with parts during a big project? Oh, wait, that’s me! I have misplaced screws, bolts, and nuts more than a few times. There was a half-empty water bottle nearby, so I emptied it and put the washers and nuts inside for safekeeping.
Clean With HTP Surface Prep
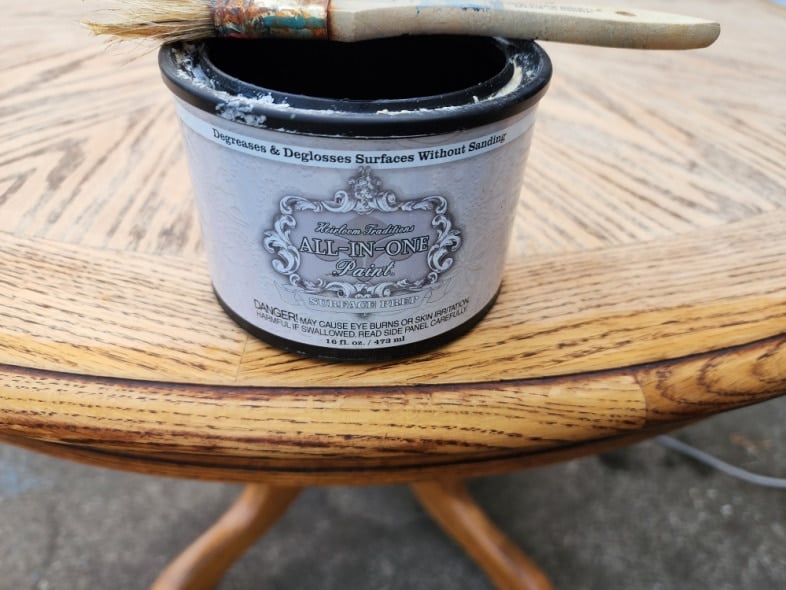
There was some grime around the rim of the oak table. I used a chip brush, Surface Prep, and a clean cloth before hitting it with a sanding sponge.
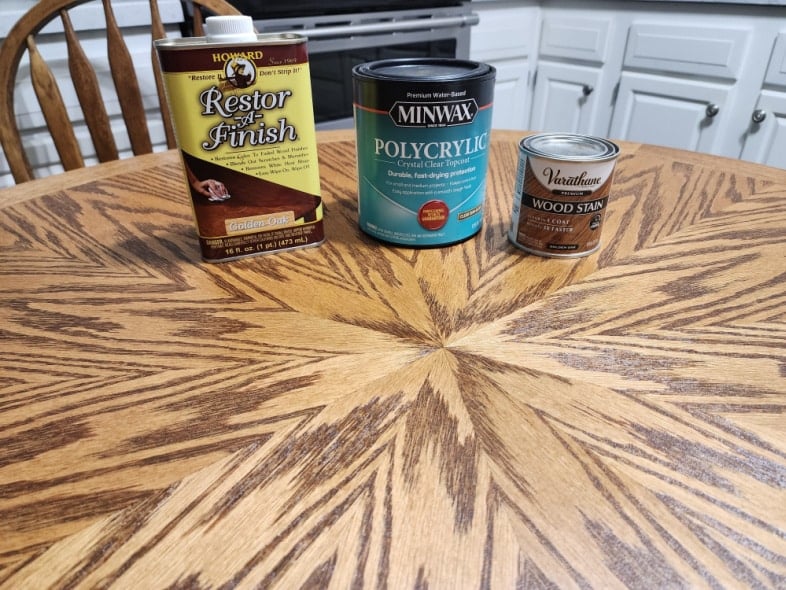
Materials to Restore Oak Kitchen Table and Chairs
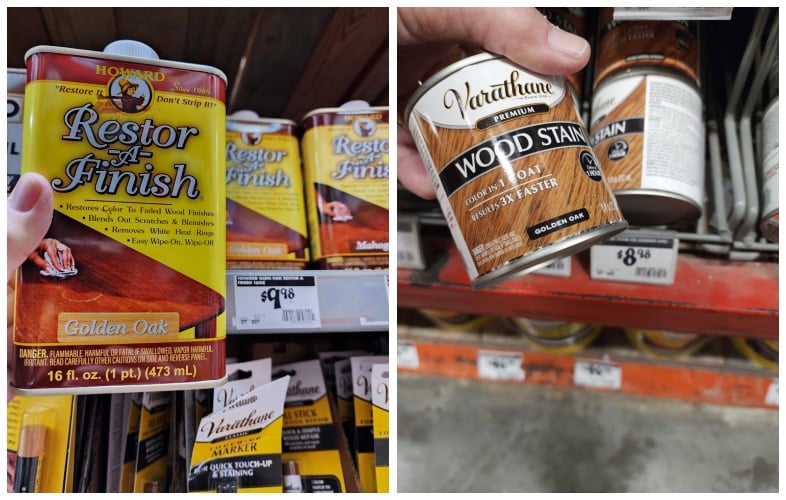
You can see that I purchased Restor-A-Finish and Wood Stain in Golden Oak. If this were my table, it would definitely get painted, or maybe a Dark Walnut stain.
The oak tabletop is ready for the Golden Oak stain.
Apply Golden Oak Stain
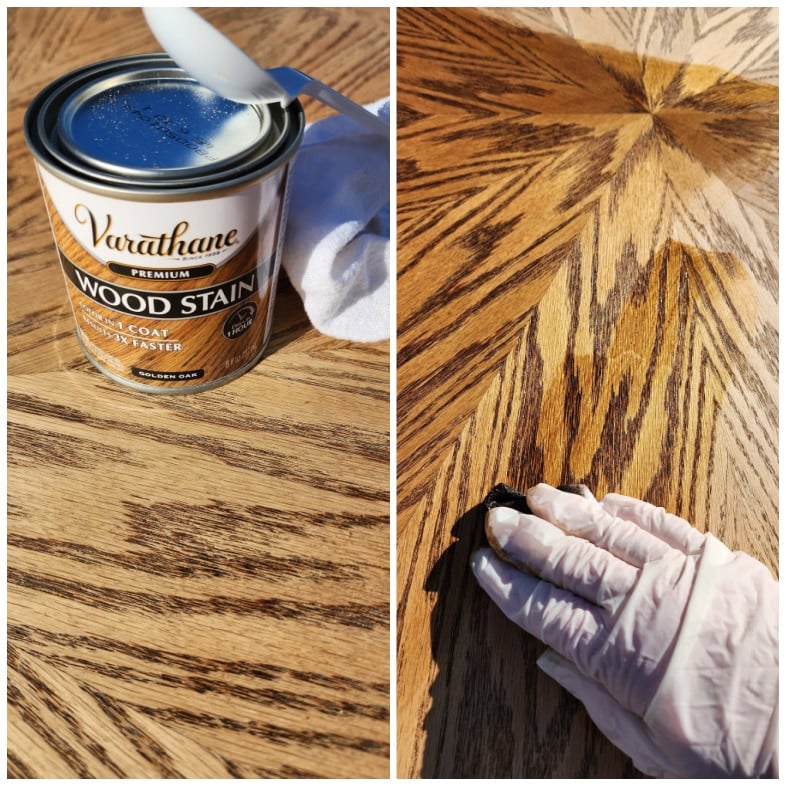
I used a plastic spoon to stir the stain before and during use. A clean, lint-free cloth was used to apply the stain while wearing latex gloves.
I was pleased with the coverage after just one coat of the Golden Oak stain.
Applying Polycrylic to Protect the Tabletop
It may be recommended not to use a water-based sealer over an oil-based stain. However, I’ve done it on several of my own projects, including my coffee table and the kitchen table. See image below.
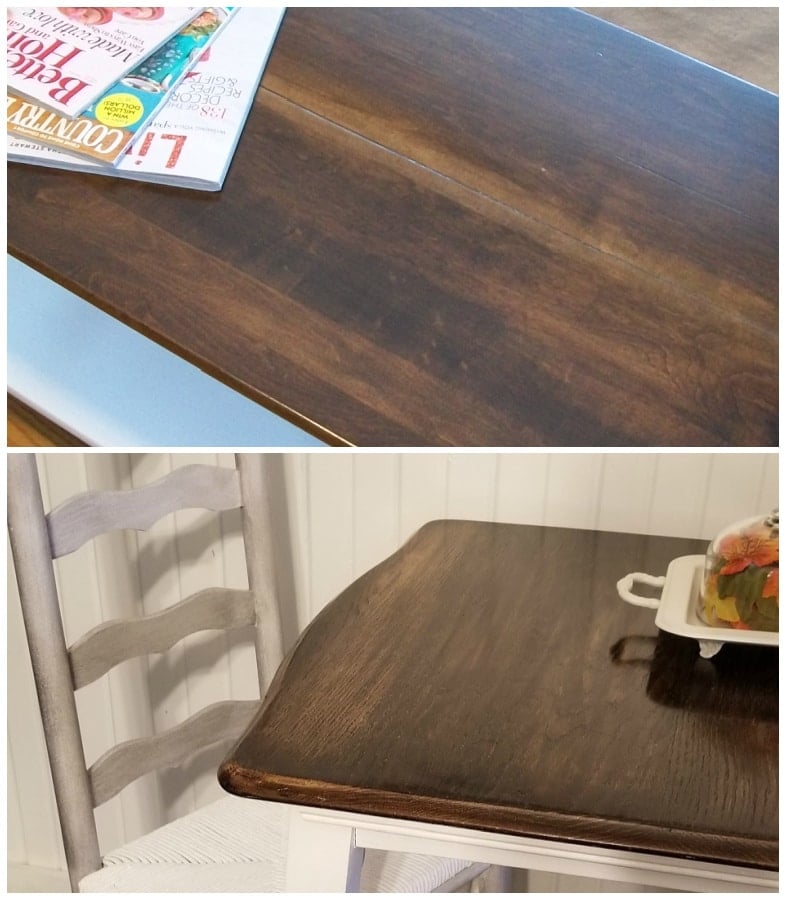
As I was trying to decide what sealer to use, the laptop was resting on the coffee table. I gently rubbed the top of the coffee table’s smooth surface and immediately decided it would be polycrylic—Bonus: it’s water-based, which makes cleanup a breeze.
Sanding in Between Coats of Polycrylic
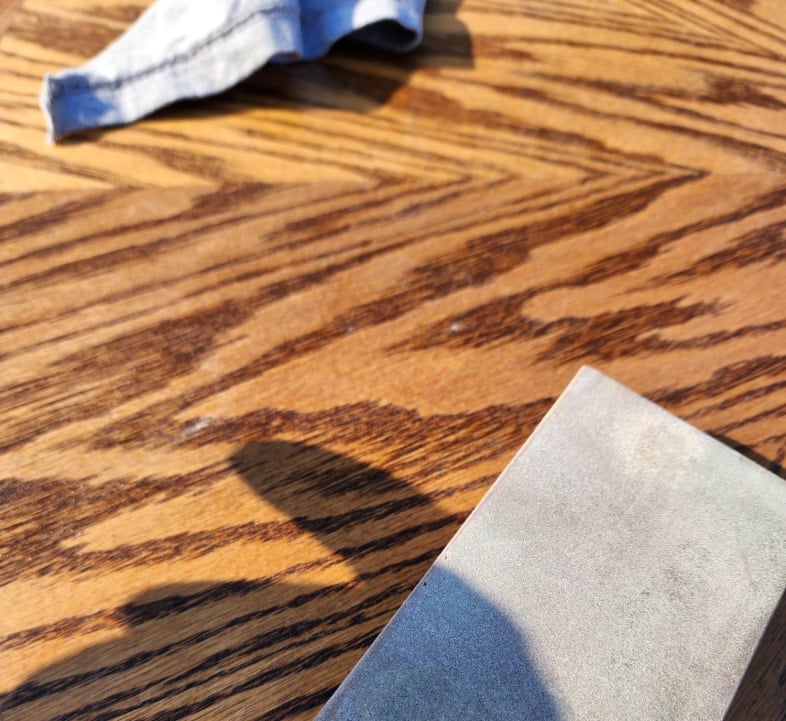
It’s crucial to sand in between coats of polycrylic. I used a 220-grit sanding sponge. If you look at the shadow of my pointing finger, you will see a white spot left from sanding.
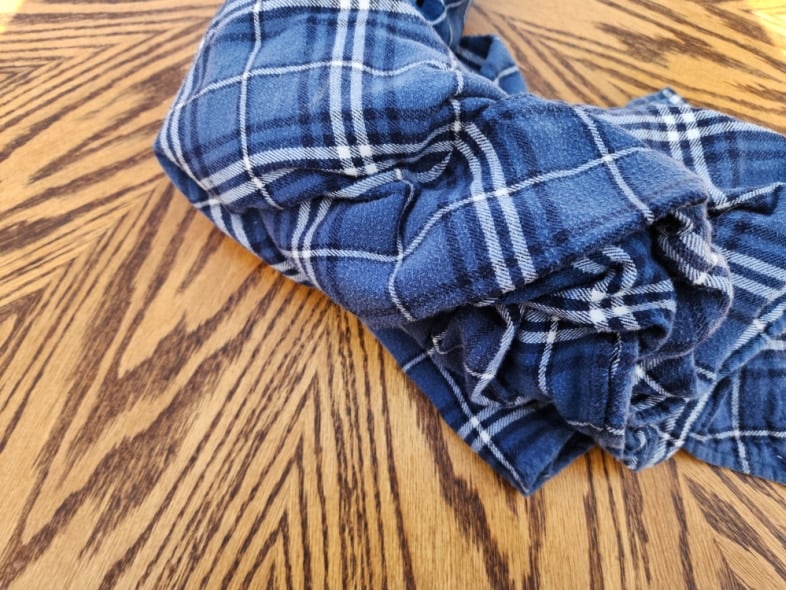
Therefore, it is equally important to wipe away any dust after sanding before applying another coat of polycrylic. Because I didn’t have a clean cloth handy, I took off my flannel shirt and wiped the table clean with it.
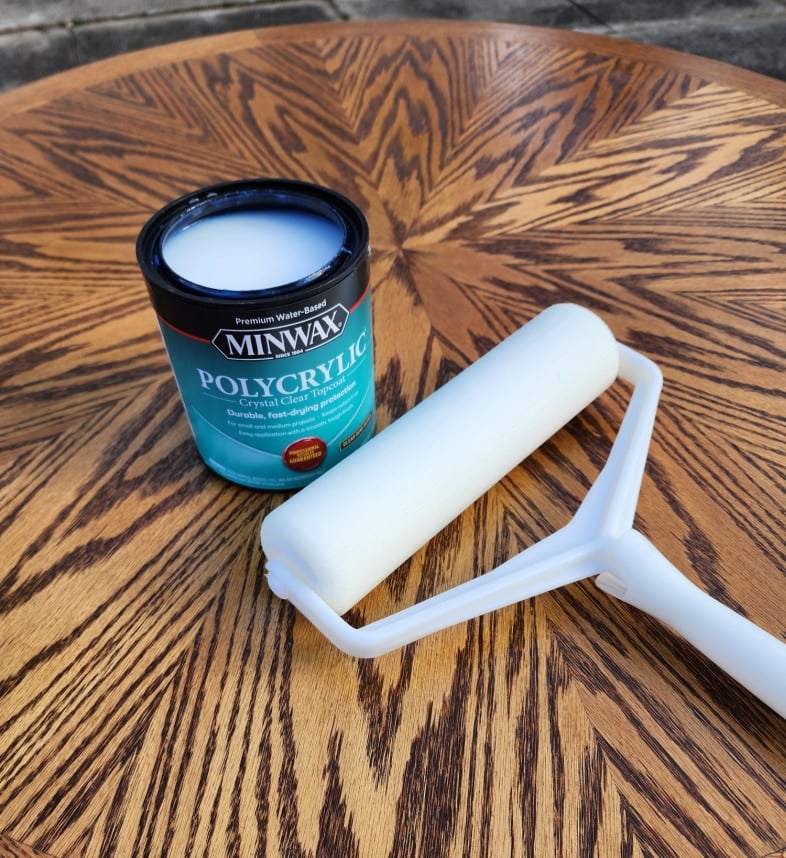
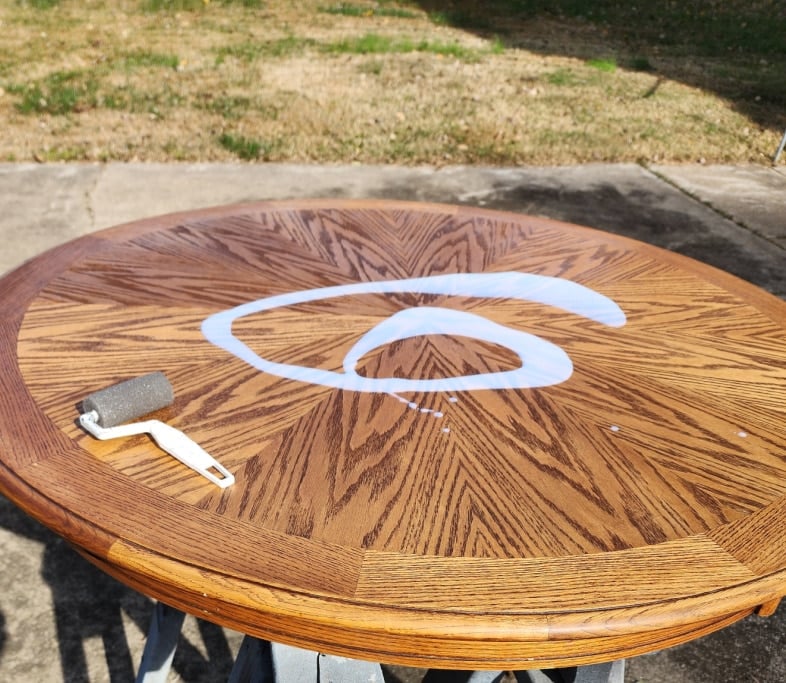
All in all, I did five coats of Polycrylic over three days. The last two coats were applied with this large foam paint roller from Heirloom Traditions. It worked really well and was easy to clean. A final light sanding was done for a smooth, flawless finish.
Refurbishing Oak Chairs
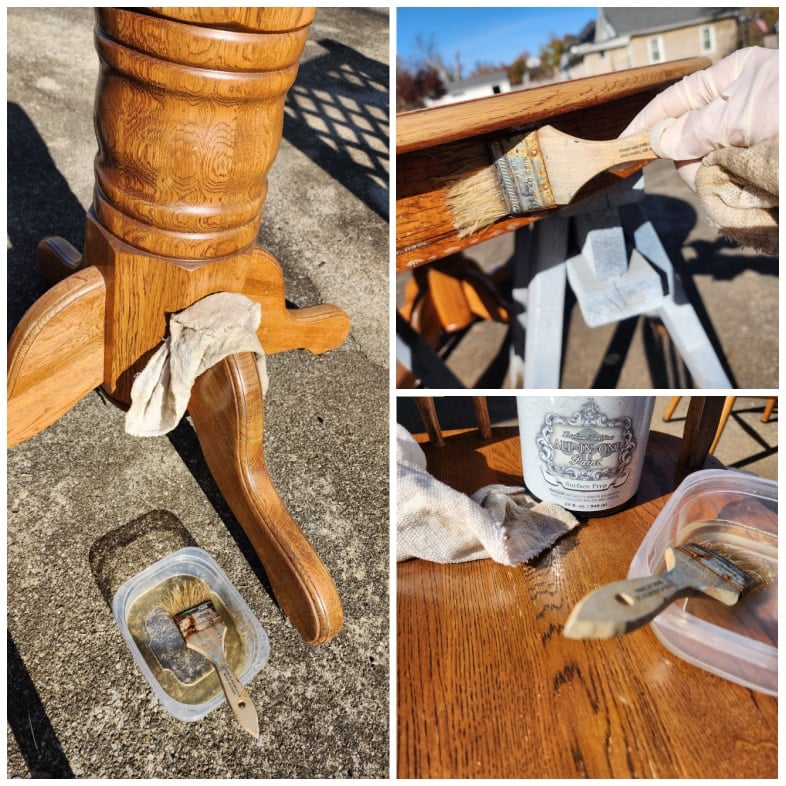
Every furniture flip project must be cleaned. I wiped down all components with HTP Surface Prep using a chip brush and a clean cloth.
Applying Howard’s Restor-A-Finish
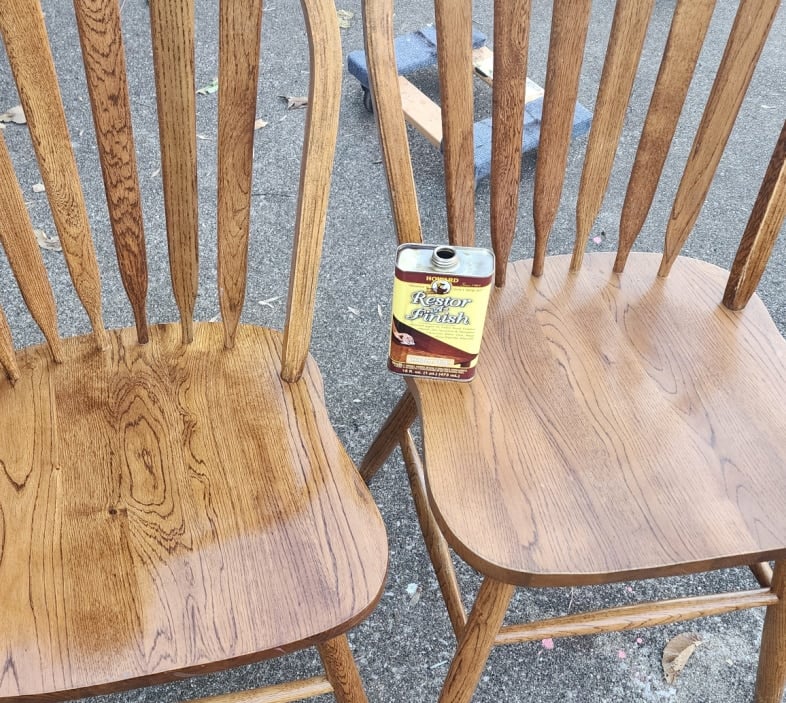
The Golden Oak Restor-A-Finish was applied to the chairs, pedestal, and table skirt using a clean cloth while wearing latex gloves.
Not shown: I had to give the chair’s back a little extra TLC. From all the years of pulling the chair away from the table, the wood was very worn. I lightly sanded away what little finish remained and dabbed on a bit of stain that had transferred from the tabletop to the cloth during application.
Materials for Refurbishing a Vintage Oak Kitchen Table
These are the products that revived this well-loved 38-year-old kitchen table and chairs.
Pretty Oak Kitchen Table Makeover
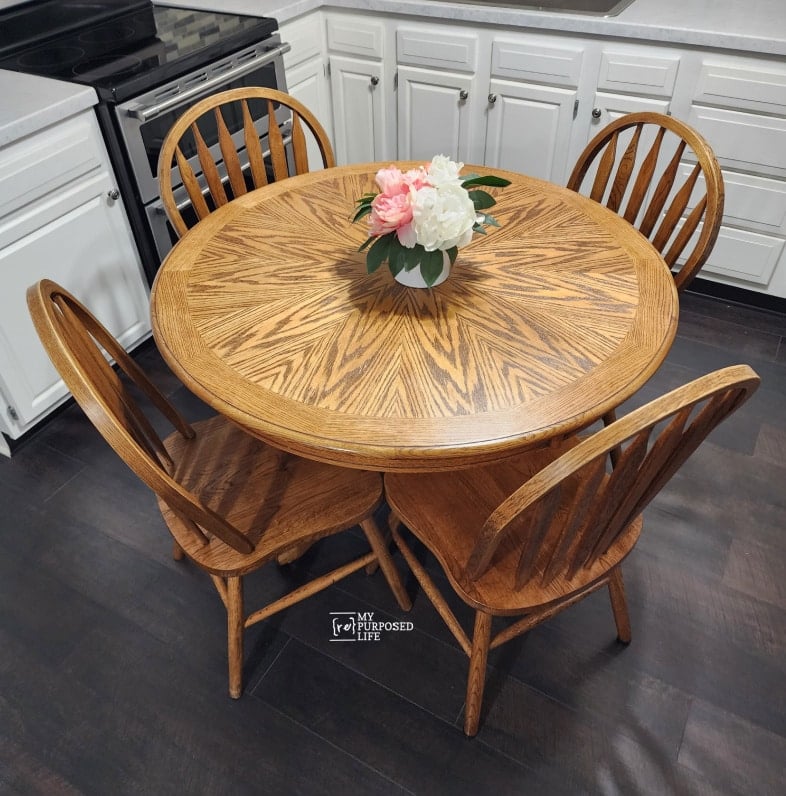
This oak kitchen table and chair set makeover was pretty straightforward using the projects listed above. So, my advice to you is: “Don’t overlook the sad furniture at the thrift store.” It may not be as intimidating as it looks.
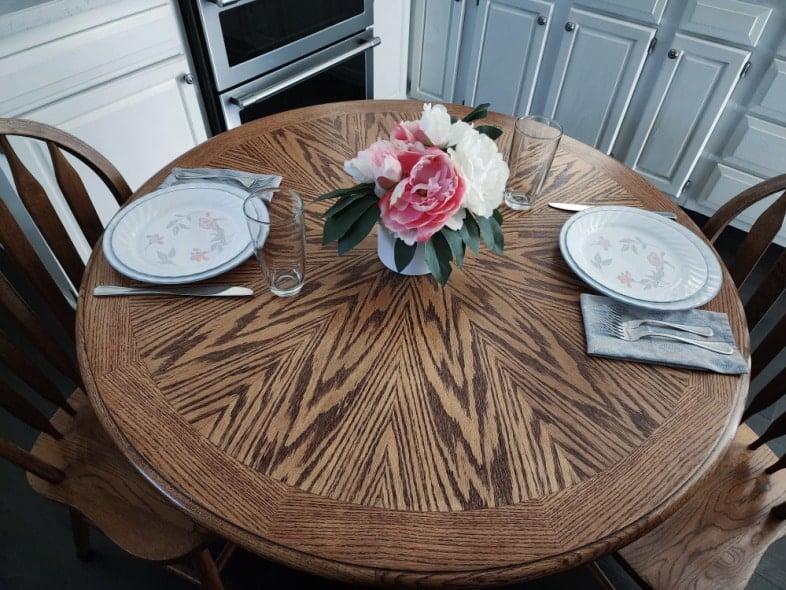
This photo captures the beauty of the new finish on the tabletop.
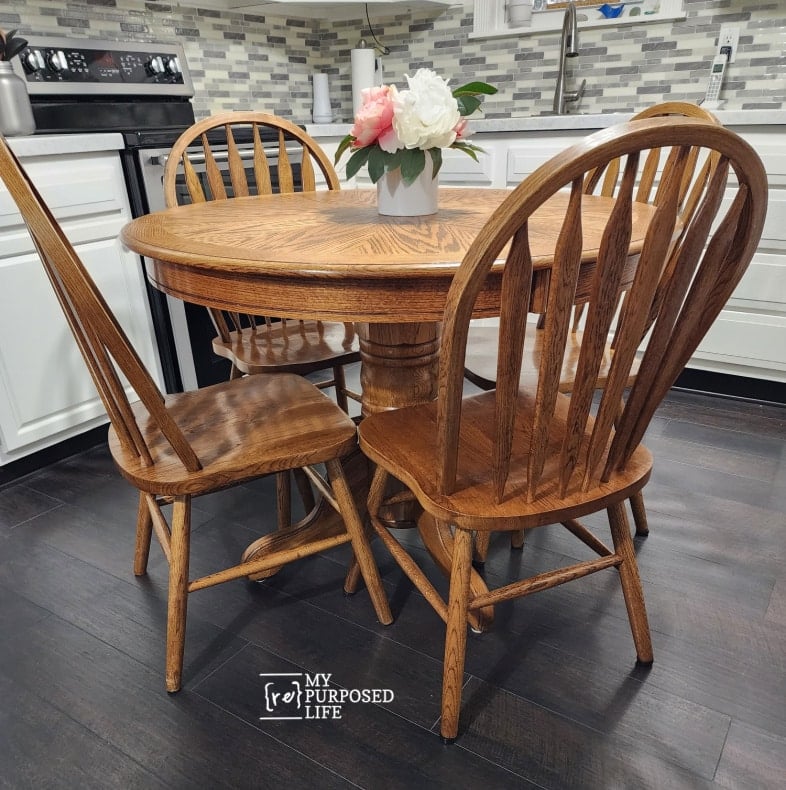
I’m excited to gather around this table for our weekly game day very soon. The kitchen table set is in the storage garage until my friend Regina is ready to swap the temporary set for the original set.
I’m so pleased with the outcome, and I know my friend will enjoy many more years with this set. I imagine that she will eventually pass it down to her daughter. It is really sturdy, even after 38 years.
Now, let’s see what the rest of the team has been working on!
Furniture Fixer Upper Project to Inspire You
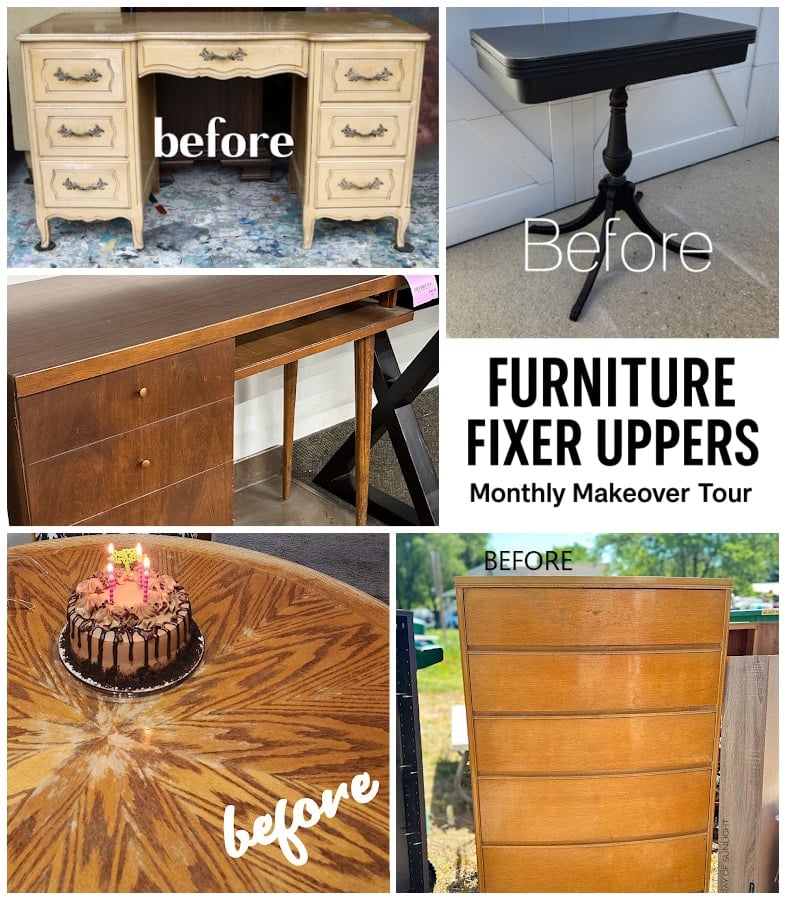
- How to Paint a French Provincial Desk
- Vintage Game Table Makeover
- Mid-Century-Modern Writing Desk Makeover
- Oak Table Makeover (You are here, thank you)
- One Day Furniture Makeover
More Related Content:
Furniture Fixer Upper Tour Projects
If you love seeing old furniture get a second chance, be sure to visit more Furniture Fixer Upper Tour makeovers. Each project starts with good bones and ends with a fresh new story.
See more Furniture Fixer Upper makeovers here
You will find everything from small side tables to large statement pieces, all transformed by talented DIY bloggers who believe in saving furniture rather than replacing it.
Wow, looks great!
Thank you Kathy, I appreciate you stopping by and leaving a comment.
gail
Beautiful job, I love seeing the wood grain.
Thank you Lynn. I appreciate you stopping by and taking the time to leave a comment.
gail
Beautiful refinish !! Love the top grain pattern. This older set is surely much better quality and more sturdy than stuff made today.
Great save !!
Such a wonderful thing to do for a friend 😉
Thanks P
I appreciate your kind words. I know her entire family will welcome the table back into the family. I was really happy I could do it for her.
gail
Not gonna lie, I was kinda hoping you’d stain it black and ceruse the grain with white pigment. That would have popped with the veneer pattern! I don’t know if you’re friend would have been up for that, so you did a great job!
Yeah, my friend wouldn’t have been keen on that style. I know her so well, that’s why I decided to refurbish it and give it back to her with it’s original look. We’re both looking forward to it being back “home” very soon. First, she has to re-home the table that is currently in her kitchen. Thanks for stopping by to leave a comment! Makes my day!
gail
I am so glad you were able to restore this table to its former glory! It is gorgeous! And now every time you’re sitting around it with your friends, you will enjoy all your hard work! XO
Yes, Christy-you are right. I can’t wait until she can swap out the table and chairs. I love the size of this old table, it’s perfect for her tiny kitchen.
gail
This looks AWESOME Gail! It’s ready for another 35 years of family meals, fun card games, and lots of love. Pinnned! XOXO
Thank you Denise! Yes, you are right-it has many years left in it. Thanks for pinning.
gail
You did a fabulous job. Thanks for sharing and at the right time! My daughter just bought a house and I’ve been holding onto a table that was given to me a few years ago. They don’t want it painted, so you’ve inspired me that I can make it beautiful with a lighter stain (which will match their chair set I bought them last year.) How wonderful you did this for your friend. I would’ve loved to see her reaction in your post. 🙂 Nothing better!
Jeanne,
I’m so happy you found my article and that it has inspired you to tackle your own DIY project. That’s exactly why I do what I do. My friend is happy to be getting her old table back. When I asked her if she told her husband, she smiled and said “Yes, he is grateful” That made my day!
good luck with your project!
gail