Headboard Wall Shelf Coat Rack
As an Amazon Associate, I earn from qualifying purchases.
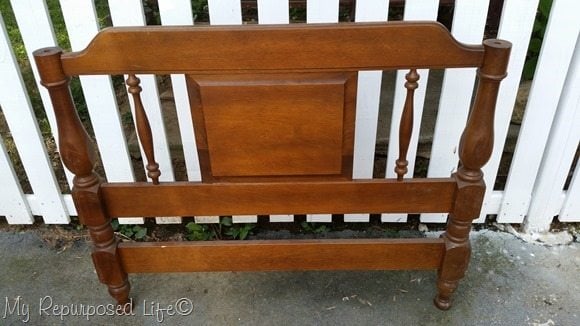 This is the mate to the headboard I’m using in today’s headboard wall shelf project. Imagine this headboard missing one of the spindles.
Dismantle headboard
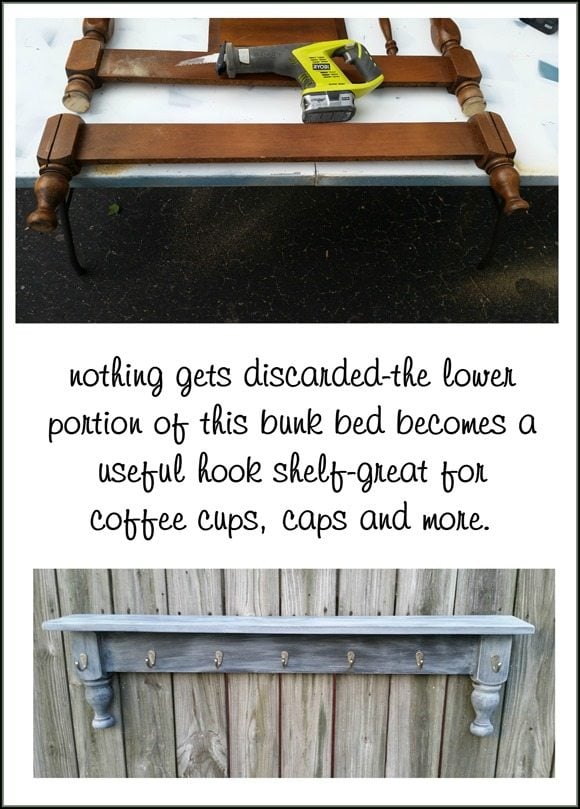
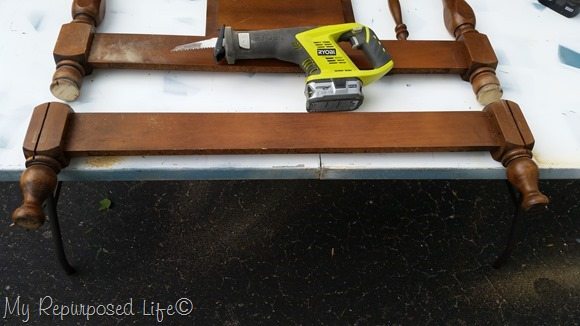 Because I’m making two projects out of this one twin headboard, I needed to do a little modification with the reciprocating saw. I’ll be using the lower portion for this project. The upper portion became a Christmas stocking holder with a chalkboard.
Sand bedposts smooth
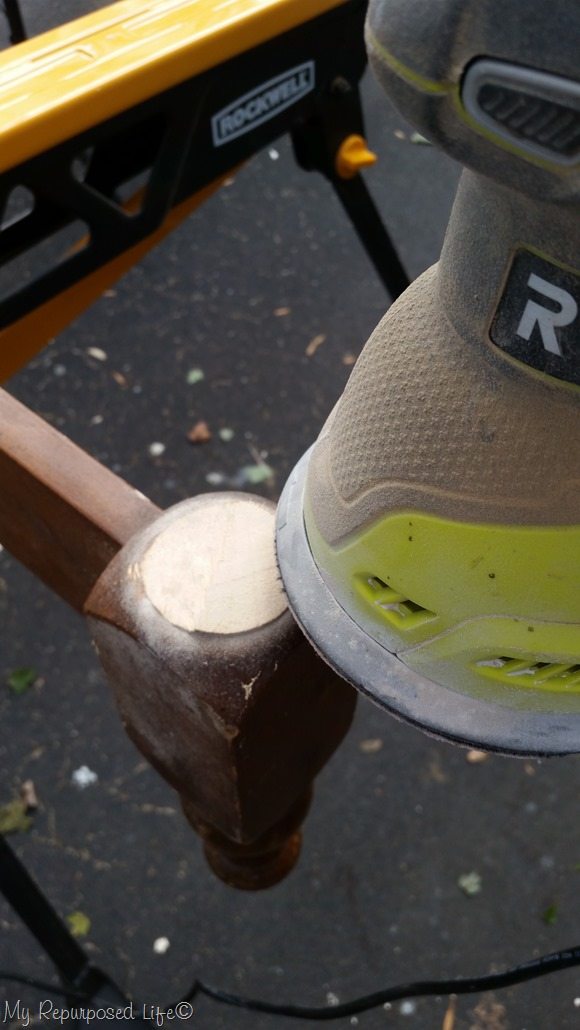 I used my orbital sander to smooth out the rough edges. I used my Rockwell Jawhorse to clamp this project in order to work on it.
TIP: I use 2 orbital sanders, one with 150 grit sandpaper and the other with 220 grit. Since I’ve been doing this, it saves me a LOT of time not having to switch out sandpapers constantly.
Prepare bed posts for shelf
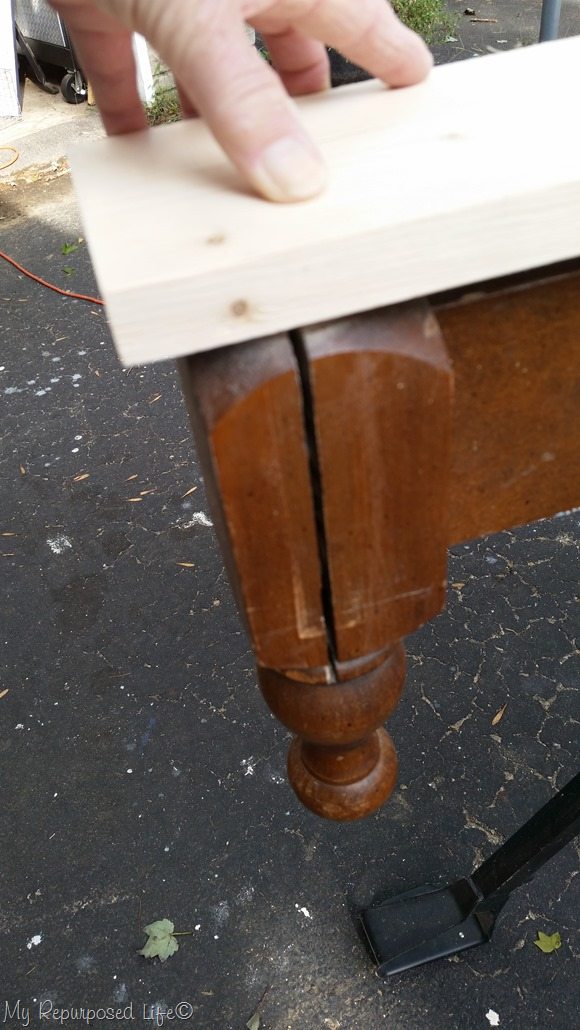 After testing (dry fit) a 1×4 board as a shelf, I see that it is only going to be connecting atop of the former bed posts, so I will have to make some extra pocket holes to secure it properly.
Pocket holes secure shelf
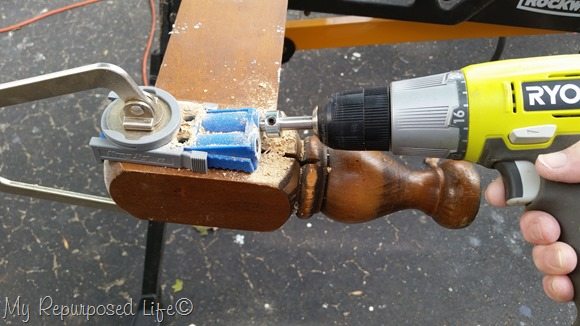 I used my kreg jig K3 which is a little more portable to create the pocket holes on the back of the bed post using a Kreg face clamp to secure the jig while I drill.
If you don’t have a pocket hole jig, you can use “L” brackets. However, if you do a lot of projects, I highly recommend you investing in one of these jigs. For more details see my post How To Use A Kreg Jig
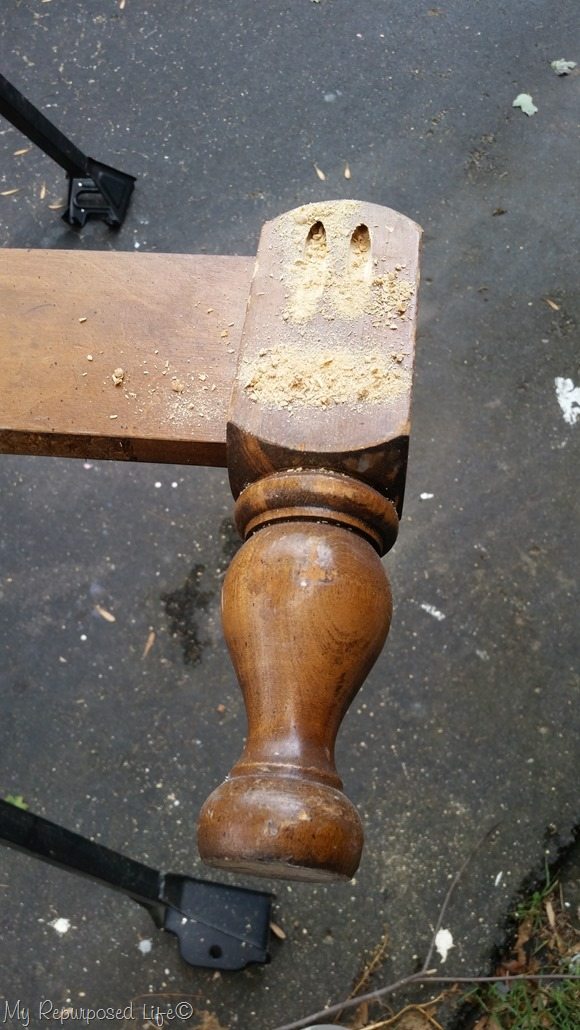 To make the shelf more secure I had to do pocket holes on the front of the bed post as well.
Gorilla wood glue insures a good hold
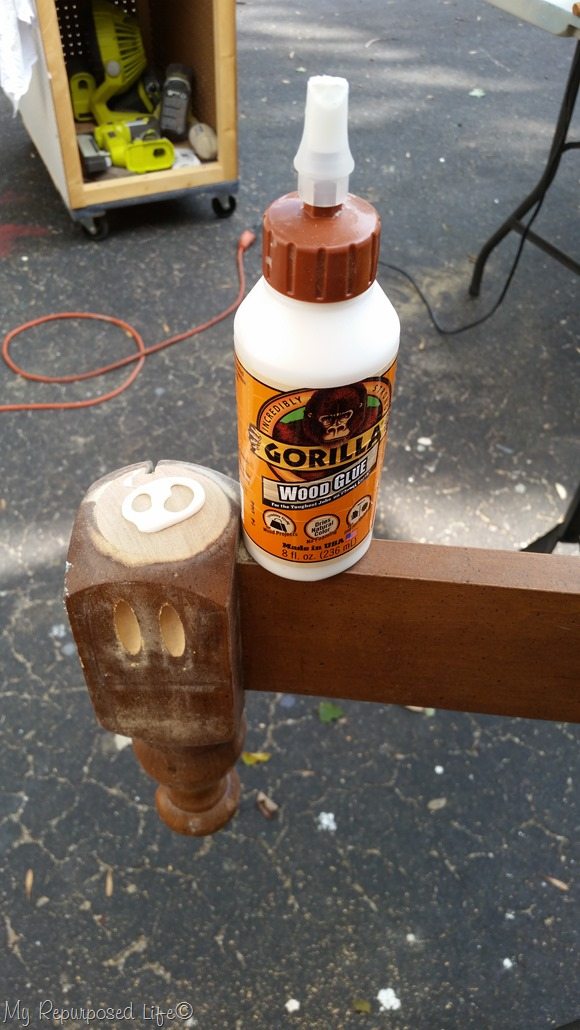 For even more security, I used Gorilla Wood Glue on the top of each bed post.
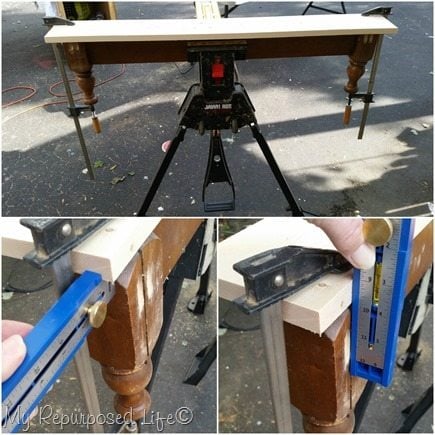 Using large bar clamps hold everything in place so I can make all the adjustments to get the shelf properly placed. The Kreg mulitmark is helpful for spacing and to make sure that the board will be flush against the wall along with the bed post.
DID YOU KNOW: When using wood glue and clamps, you don’t want all of the glue to ooze out. Therefore, don’t tighten the clamps too much.
Sand headboard wall shelf
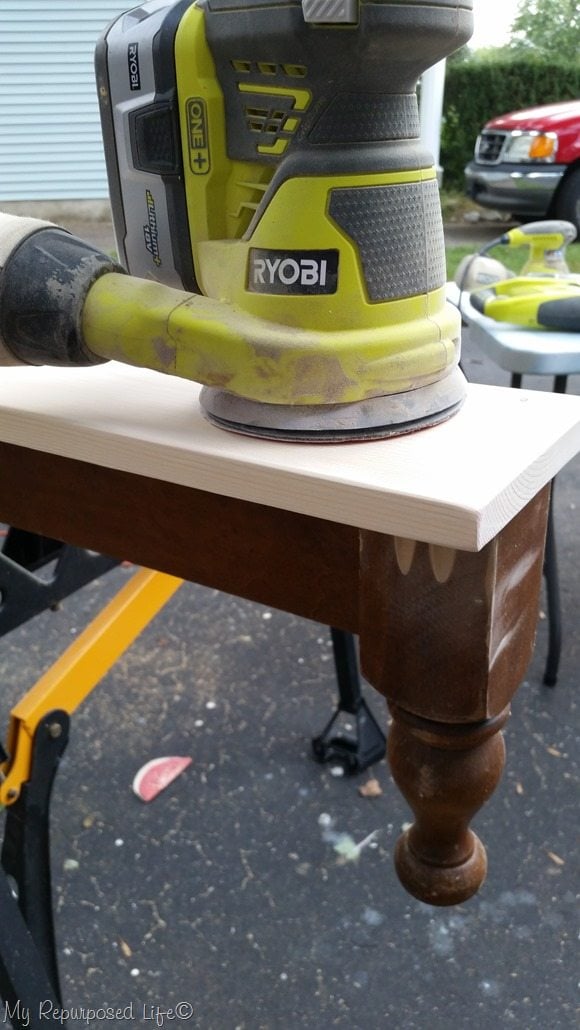 I used the orbital sander with 220 grit sandpaper to sand the pocket holes and the top shelf smooth, smooth, smooth. I prefer to round over the edge of the shelf board slightly with my sander to remove the hard edge of the mill. It makes it look more like it was original, than something DIY.
Time to paint
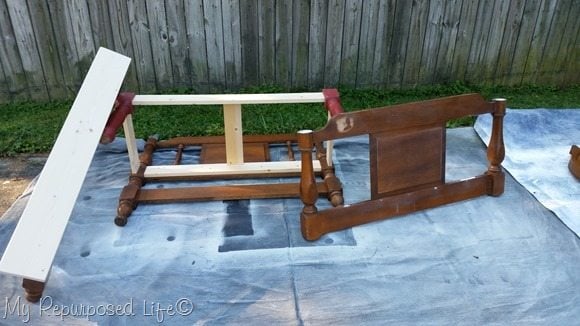 I painted a bunch of projects with my Homeright Finish Max including the simple twin headboard bench.
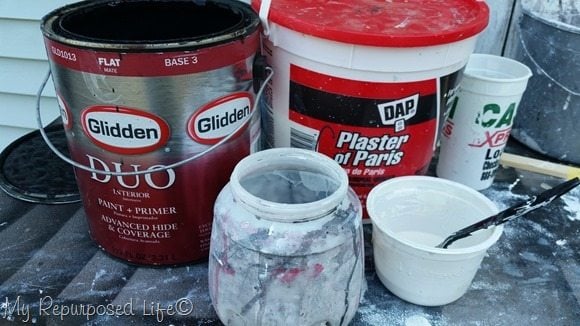 Of course I used my diy chalky paint primer. It’s still my favorite way to paint.
I love a good dry brush technique
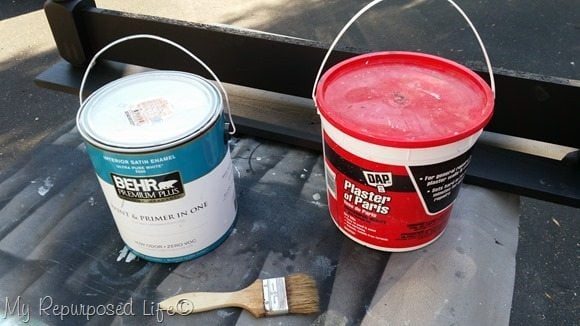 The diy chalky paint primer was also used for the top coat (dry brush technique)
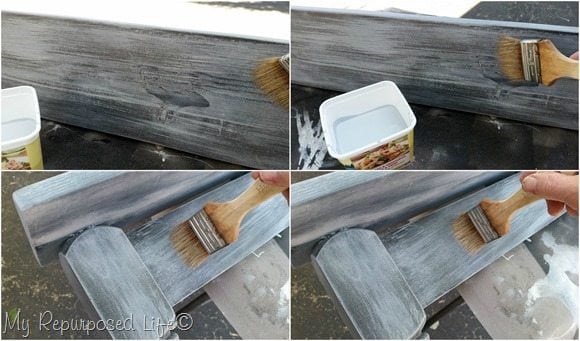 This perfect gray is leftover from what I used on diy portable wall.
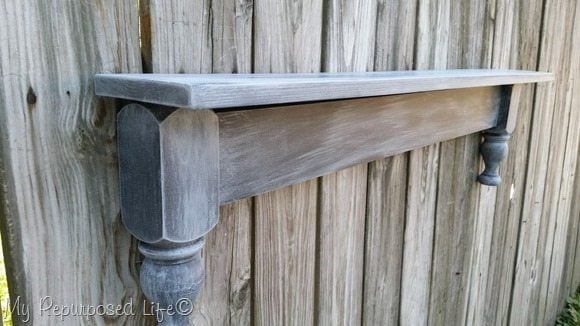 It’s a great looking shelf, but I think it should have hooks, don’t you?
Add hooks to wall shelf
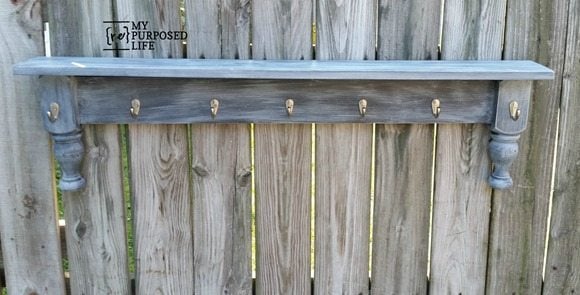 I used single hooks from D. Lawless Hardware thinking this would be great for a kitchen to hang coffee cups. But of course whoever bought it at Glendale will decide what will hang on the hooks and display on the shelf.
 ![]()
This headboard wall shelf sold pretty early in the day at Glendale 2016. I love using bits and pieces to make projects come together.
What do you do with bed parts?
gail


I have not pulled my small Kreg Jig out from the box yet. I thought it would be hard to use but after seeing how you use it with the clamp I think I’ll try it 🙂 Love the headboard shelf!
Wendi,
The Kreg R3 definitely comes in handy because it’s so portable! Great for repairs and quickies.
gail
love the way you re-designed the headboard parts! the dry brush technique you use really brings out a nice finish!
Thank you Nova, and I appreciate you sharing your pictures for the Glendale 2016 post!
gail