simple twin headboard bench step by step tutorial
As an Amazon Associate, I earn from qualifying purchases.
How to make a Simple Twin Headboard Bench from a thrift store twin bed.

My cousin Terry picked up two of these headboards for me for a great deal at Unique Thrift Store in Louisville KY. I made a stocking holder and a shelf out of the other one. (it was missing one of the spindles) I will share that in a couple of weeks.
I made this other cute headboard bench for Glendale last year and it sold really quickly. It seemed like a no-brainer to make several small headboard benches for Glendale 2016.
*This Post Contains Affiliate Links*
Materials*
- Twin headboard
- 2 spare legs (mine were from a side table)
- 1×4 36” (2) front and back
- 1×4 15” (3) left, right and middle brace
- 1×6 43” (3) seat
- 2” pocket hole screws (18)
- 1 1/4 pocket hole screws (4) middle brace (8) for bench seat
TOOLS
- Tape Measure
- Compound miter saw
- Drill
- Kreg Jig (and bits)
- Level
- Pliers
- Homeright Finish Max
Supplies
- Spackling
- Wood Putty
- Sandpaper
- Paint
- Wax
*Your materials and supplies may very depending on the size and shape of your headboard.
Simple Twin Headboard Bench-choose the front legs
 Several months ago, I got a free table at Vendors’ Village. I used the skirt to make a scrap wood jewelry shelf. I decided if I split the legs, I can use them for 2 benches, which means I have less money invested, which improves my profit.
 ![]() Of course, I had to remove the screws and hardware from the old legs. As I’ve said many times, when you’re making a headboard bench without a foot board, your first step is to decide what you will be using as the front legs.
Of course, I had to remove the screws and hardware from the old legs. As I’ve said many times, when you’re making a headboard bench without a foot board, your first step is to decide what you will be using as the front legs.
 They don’t have the same shape, but the size is almost perfect! I did trim just a bit off the top of each red leg to use for the front legs of this simple headboard bench.
Easy Pocket Hole Assembly for Headboard Bench
 Making sure my bit was set correctly, I drilled three holes in each end of the front brace and the side pieces.
If you don’t have a pocket hole jig, you can use “L” brackets. However, if you do a lot of projects, I highly recommend you investing in one of these jigs. For more details see my post How To Use A Kreg Jig
Attach Side Aprons to Front Legs
 I drilled the holes for 3/4 stock, but instead of using the normal 1 1/4’ pocket hole screws, I used 2” screws since I was securing the front and sides into the thicker legs. Remember to bring in the side and the brace leaving a little room on the outside of the squared off leg for the best look. (see photo below)
Attach Front Brace to Front Legs
 You may find it easiest to drill “down” toward the leg like I am here. It’s easier to place the board where you want it.
Attach Frame of Simple Twin Headboard Bench to the Original Headboard
 Can you see that the cross brace in the front isn’t right at the edge of the legs, but “set back” a little? I have each side clamped so that I can level all of the parts. A rubber mallet is helpful to tap the boards into the right placement.
TIP: always use the flat part of the bar clamp on the part of your project that is most visible, and the adjustable “circle” in the least visible area. If you can’t do that, use a scrap piece of wood under the small round portion of the clamp to prevent “denting” of your wood.
REMEMBER: Two inch pocket hole screws were used in every pocket hole, even though each pocket hole was drilled at 3/4”.
Attach Filler Board for Back and Center Brace
 Because I decided to run my bench seat planks lengthwise, I had to cut a center brace to help support the weight of humans.
 ![]() I used pocket holes and 1 1/4’ screws (4) for this step.
I used pocket holes and 1 1/4’ screws (4) for this step.
Assemble Seat for Headboard Bench
 Three 1×6’s were perfect for the seat, with now ripping of a board needed. I buy 8 ft boards so it took 1 1/2 boards for the seat. I opted to join my boards together with pocket holes using 1 1/4” screws.
 This is a dry fit of the seat. I prefer to sand the edges of my boards to give it a softer look and feel.
Prepare for Primer and Paint
 It’s time for paint, using my diy chalky paint primer mixed with Beluga Satin by Behr, sprayed in my Homeright Finish Max.
 I painted several projects with the chalky primer, which will hopefully help me decide what color to use for the topcoats.
Related Content: 50 Headboard Bench Ideas
Stain Seat for Headboard Bench
 I used some less than perfect stain that I ended up disliking. Therefore I sanded it back, and re-stained it using dark walnut by Minwax.
Seal Seat with Polyurethane
 After the stain dried, I used some Minwax Poly to protect it and give it a little shine.
Using Pocket Hole Screws to Attach Simple Twin Headboard Seat
 As I was adding pocket holes to the frame (for the seat) I found a piece of tape on the leg. I have no idea how I had missed it through building and painting. The pocket hole screws will give a very secure hold for the seat.
 I accidentally put pocket holes on the back frame board. oops! The seat doesn’t go back that far.
 ![]() I patched and touched up the holes.
I patched and touched up the holes.
 Forgive the poor picture, but this is how I attached the bench seat with the pocket hole screws.
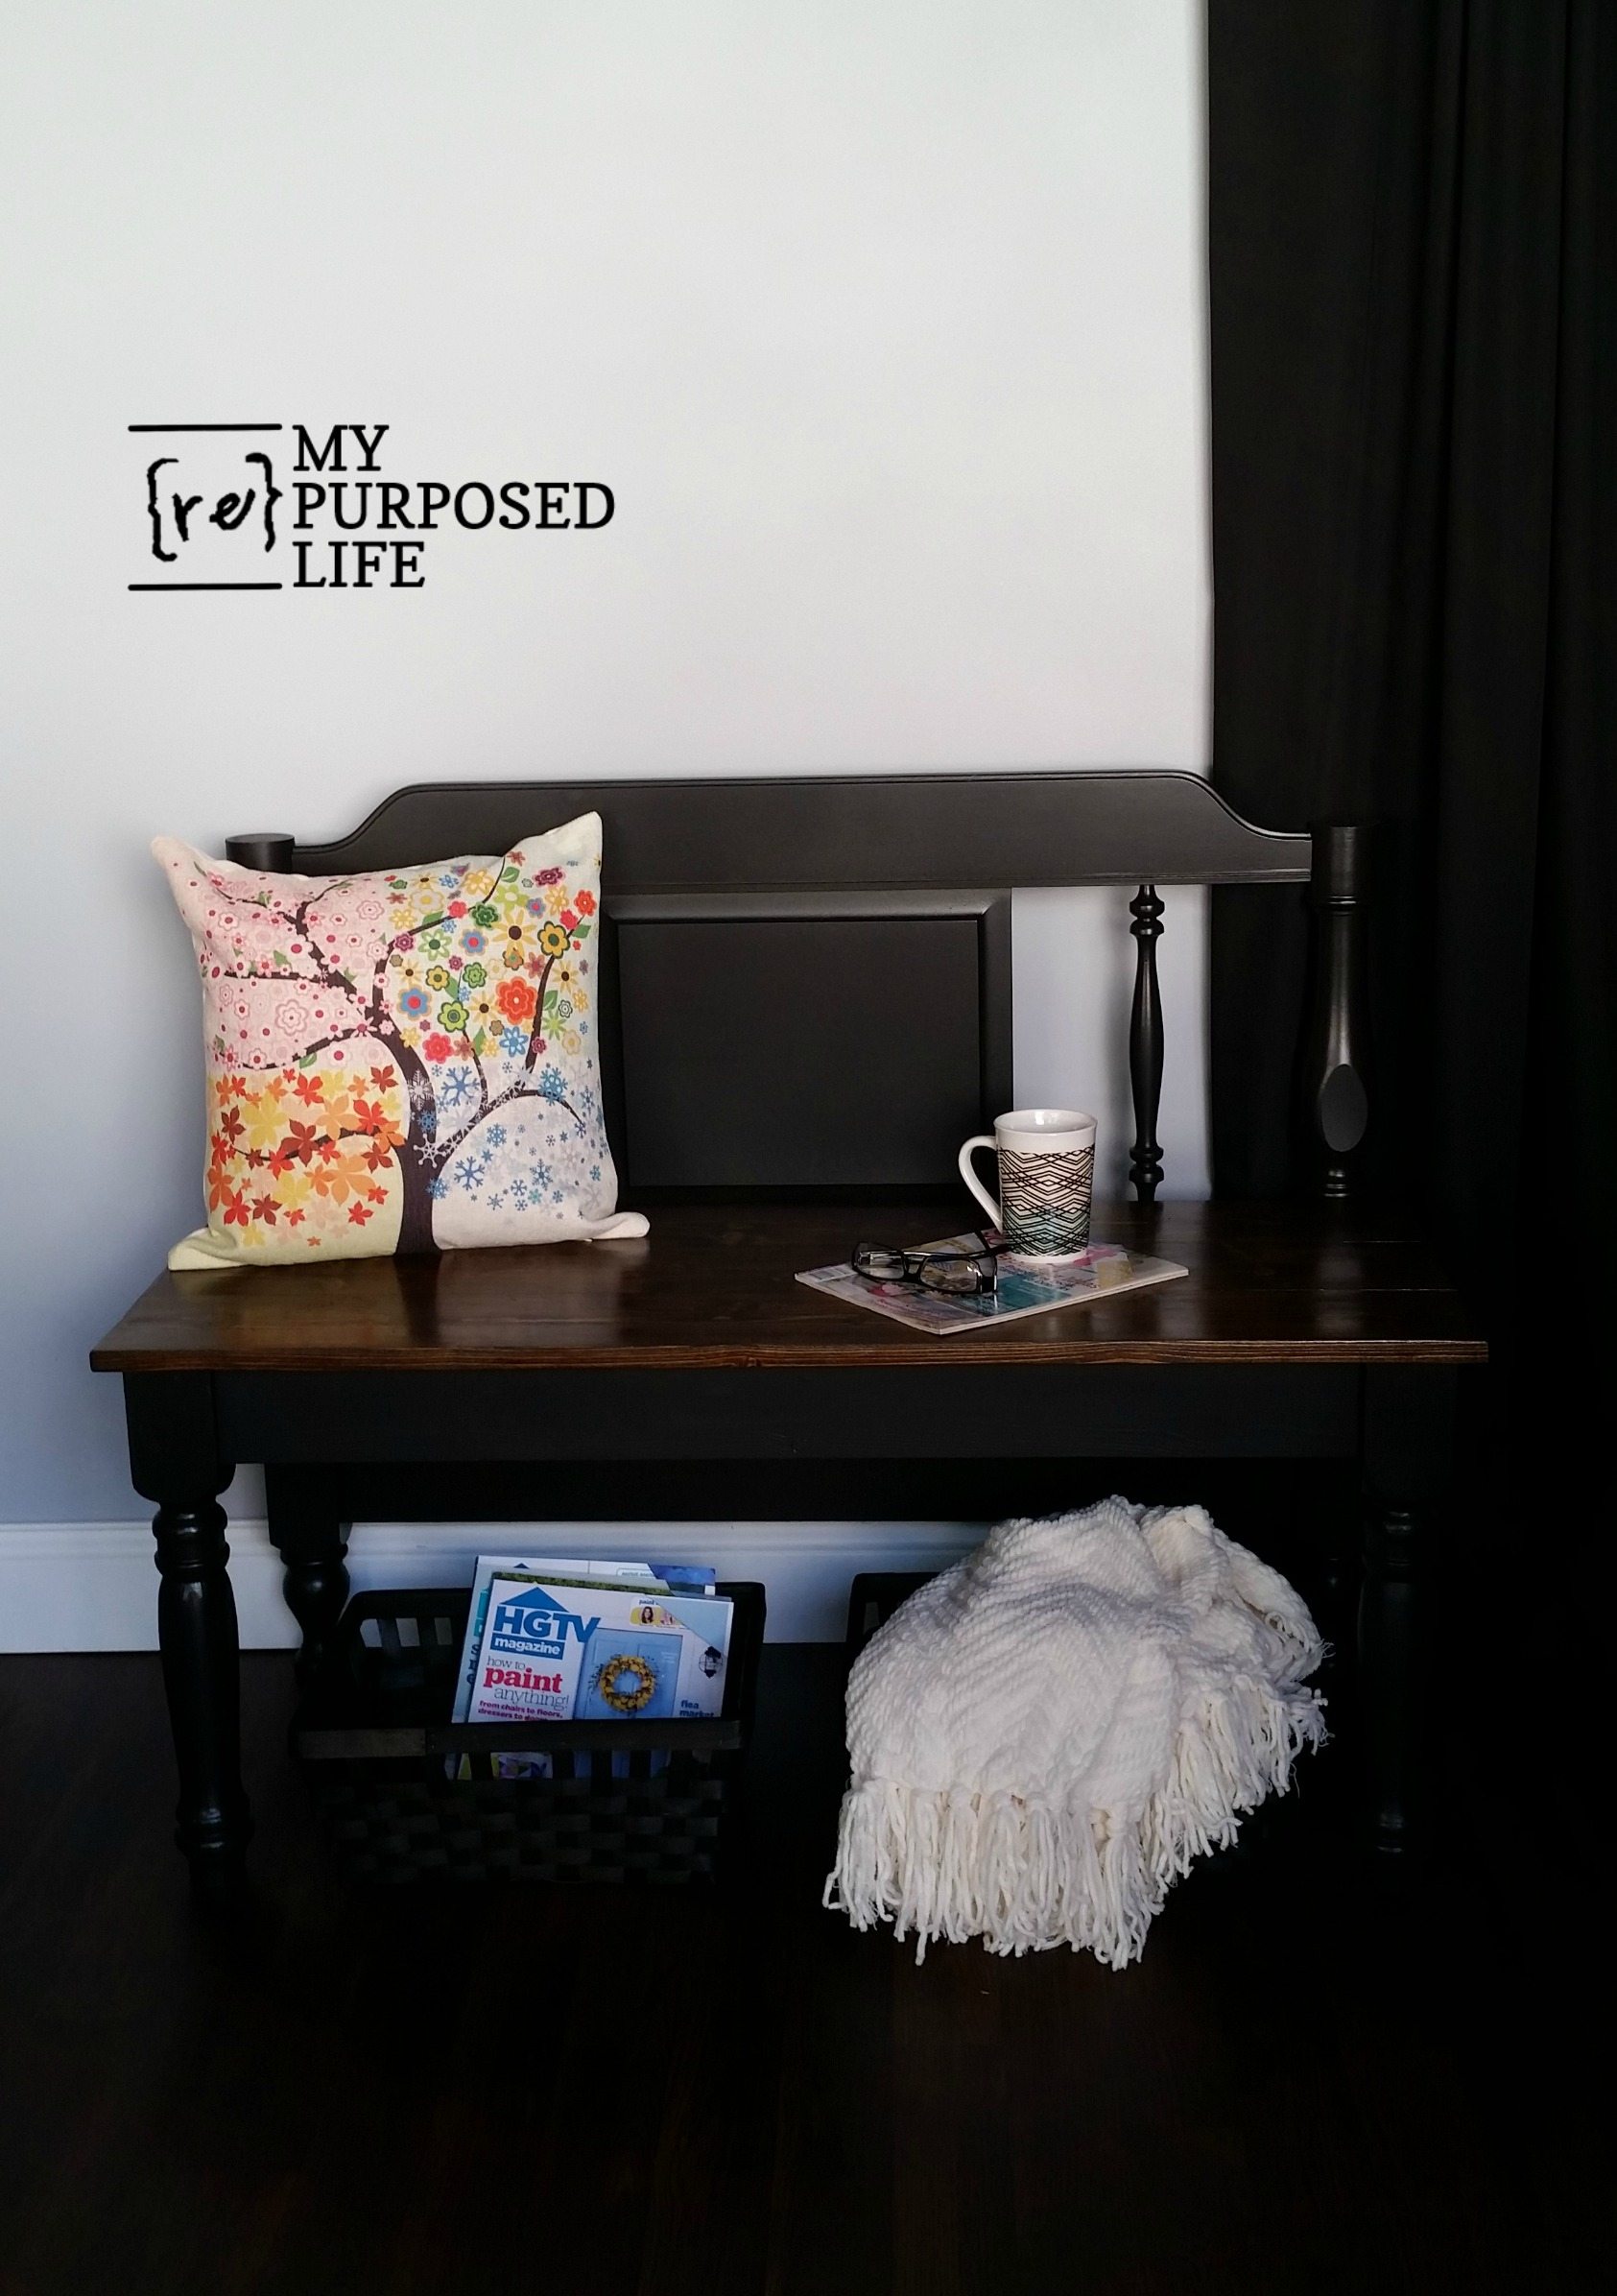
Black Headboard Bench with Dark Stained Seat
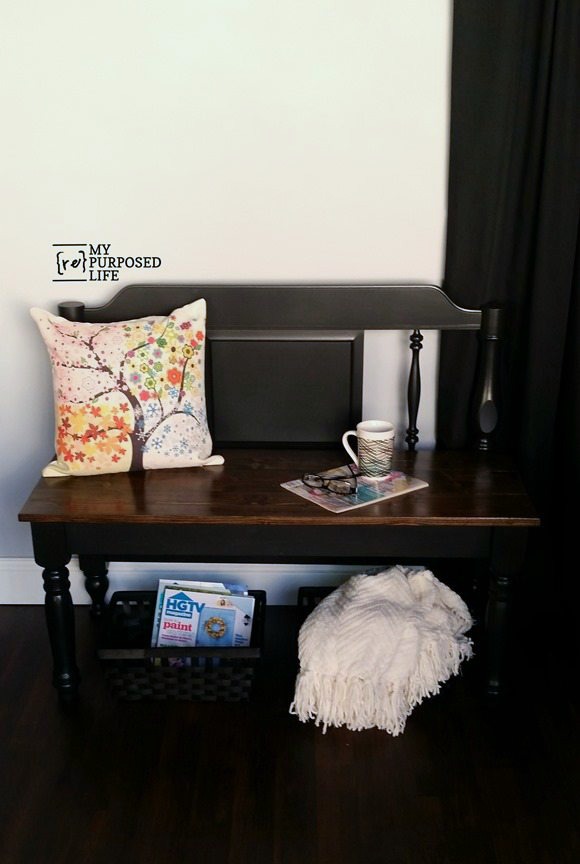
Voila! A beautiful, simple twin headboard bench.
 This little beaut will be going to Glendale (KY) this weekend.
Have you ever made a headboard bench? If not, you don’t have any excuses now because I’ve just taught you everything you need to know to make a bench out of a twin bunk bed headboard.
gail
See my favorite Mission Style Headboard Bench with Storage-The Complete Tutorial
How high do you make the seat? Is there a standard Height?
I usually measure a chair or some other seat that is comfortable to me and try to accommodate the existing headboard to that height. Sometimes, the headboard determines the height of the seat.
Wishing you luck!
gail
That looks great with the mix of paint and stain. Great job Gail.
Gail, another great bench; I cant figure how you used that C clamp I think it was on the sides. I see where u attached in the front but not on the sides and for what purpose if they were screwed. just wondering. beautiful color too but I am partial to the blue bench you did a while ago. good seeing your work; haven’t done anything. getting cold here in Pennsylvania.
thanks for sharing.
Phyllis,
I attach the sides and the front to the legs, then use the bar clamps to dry fit, and secure the sides to the bed using more pocket hole screws.
I hope that helps!
gail
I love it very very nice!!
Thank you Albert!
gail