Waterfall Vanity Redo
As an Amazon Associate, I earn from qualifying purchases.
Revamping vintage furniture is a great way to breathe new life into old pieces, and this waterfall vanity makeover is no exception! With its signature curved edges and timeless appeal, a waterfall vanity can be transformed into a stunning, functional piece with just a little creativity and effort. In this project, I’ll take you through the steps of this restoration, sharing the challenges, techniques, and final touches that brought this beautiful vanity back to life as a desk. Whether you love refinishing furniture or enjoy a good before-and-after story, this makeover will inspire you!
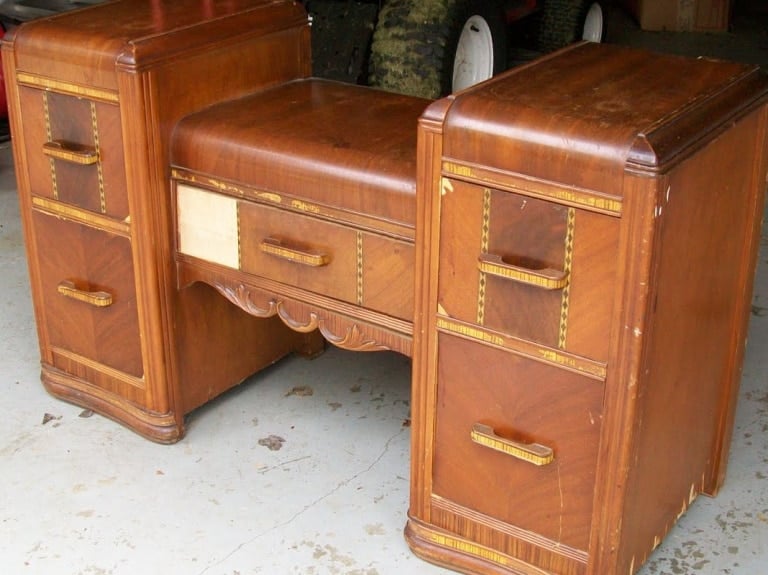
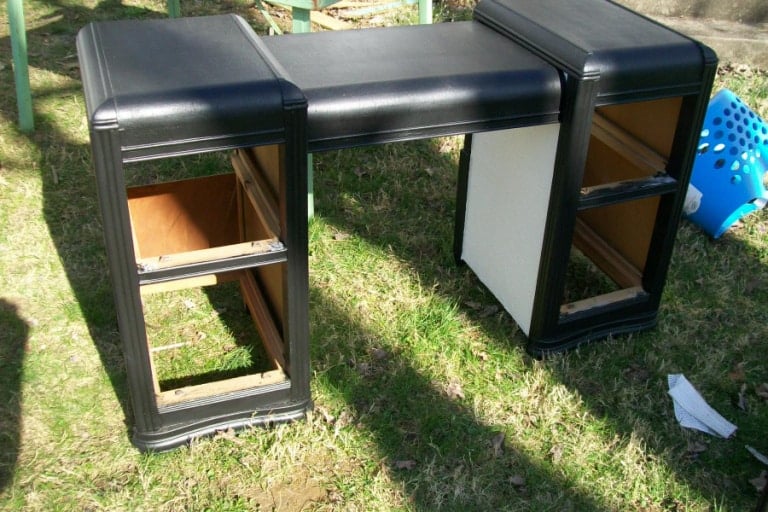
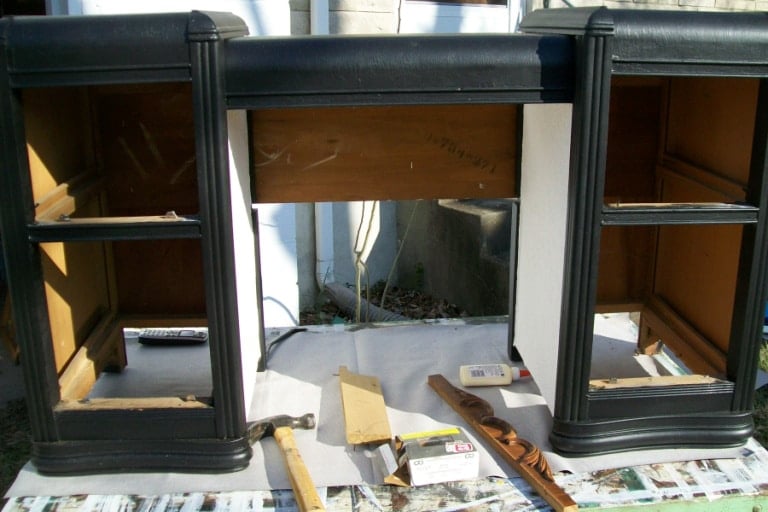
Here is the “before” of my $5.00 vanity. See how low the middle part is? That’s what I didn’t like about this piece. I felt no one would want it unless they could get their legs under it. So, I had three choices.
- I could separate it and use it as two nightstands.
- I could raise the middle portion to make a desk. 3)
- I could lower the middle portion to make it a settee piece.
How to Disassemble a Waterfall Vanity
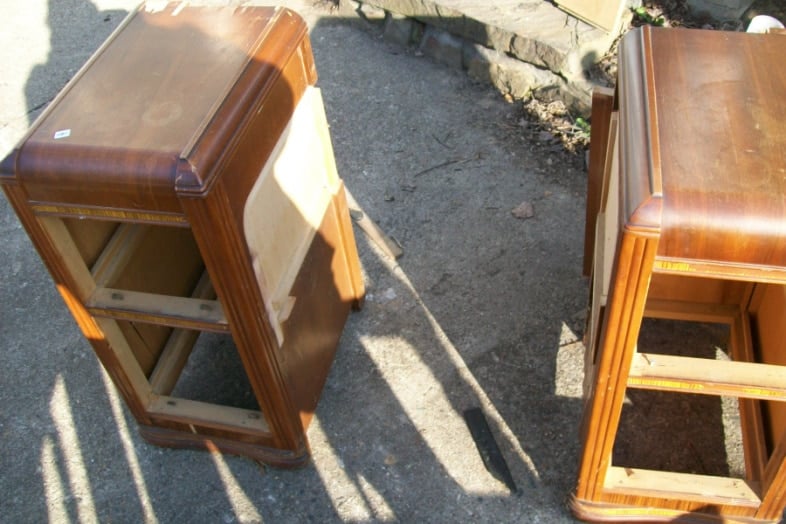
Disassembling the antique waterfall vanity was sort of like a puzzle. It was a reasonably simple task after I figured out how it was put together.
This is an inside view of the top right drawer portion. Only a few nails were holding the desktop to the side pieces. I was able to get them out with a small pry bar.
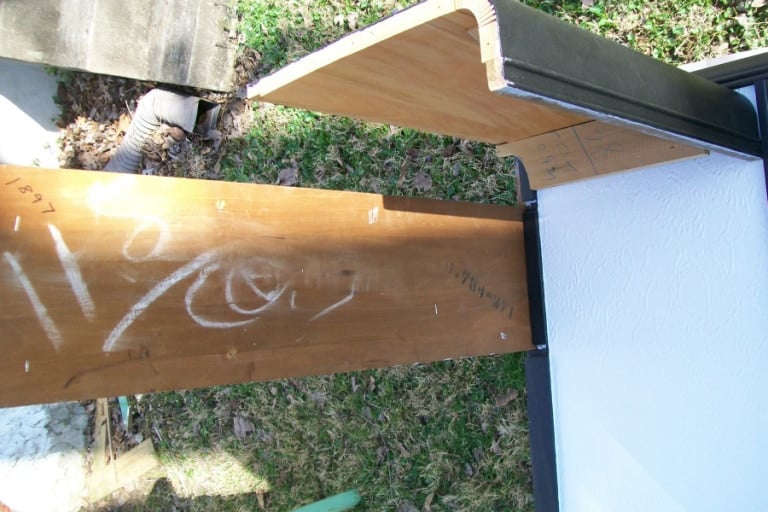
Transform a Waterfall Vanity into a Desk
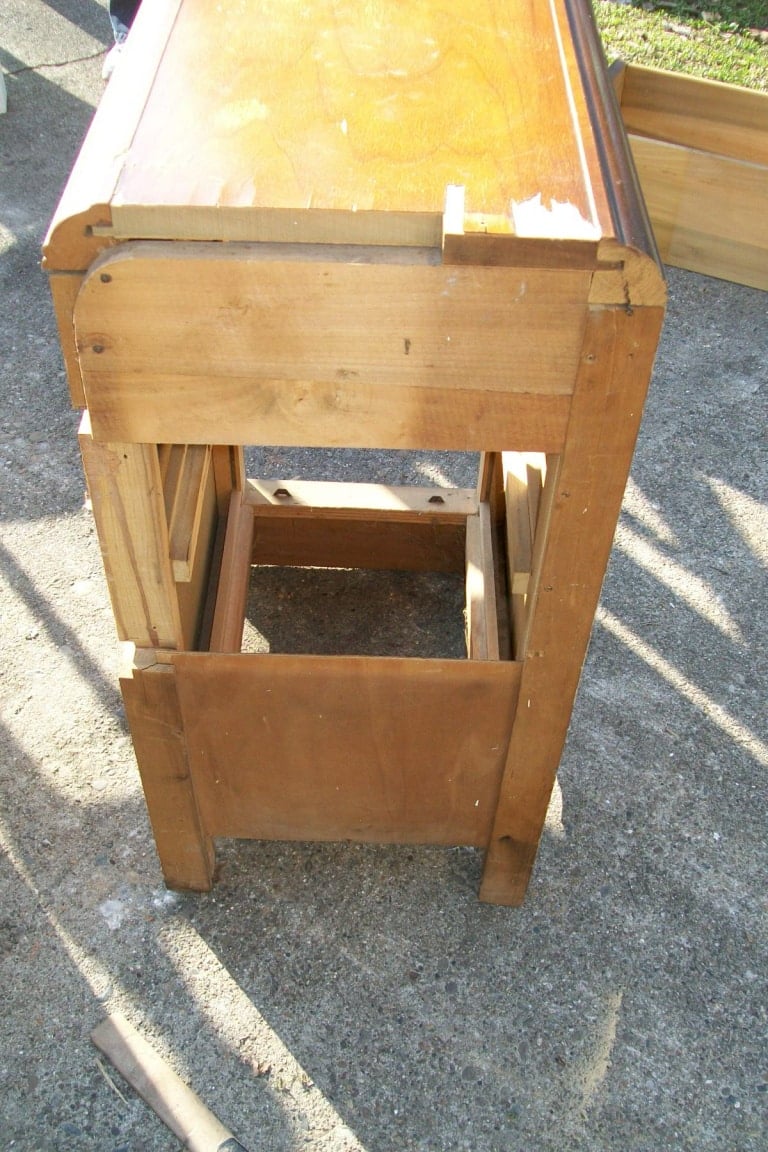
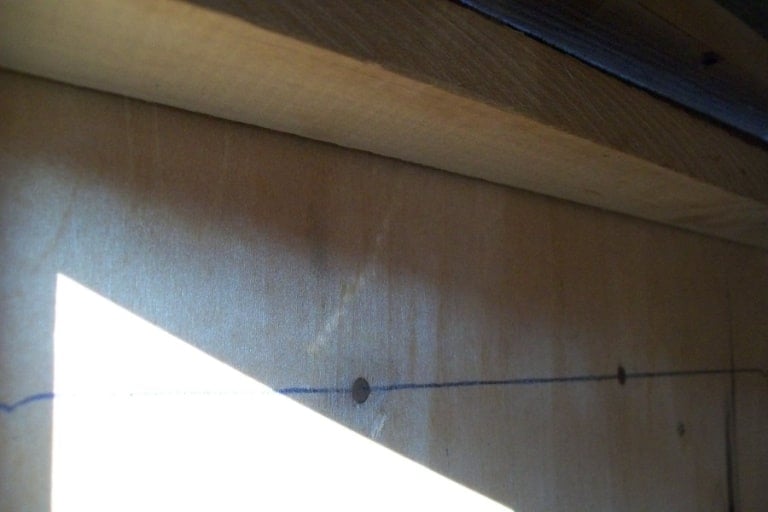
There was a cross brace on the back. After removing the nails, it was simply a matter of sliding the two pieces away from each other. This was a two-person job. See the lauan? The cross brace had a groove that slid onto the lower square piece of lauan. It also had a “tongue” that slid into the far right side. I worked on this during the yard sale between customers. Once I get my mind set on something, it’s hard for me to step away from it!
Remove Bad Veneer
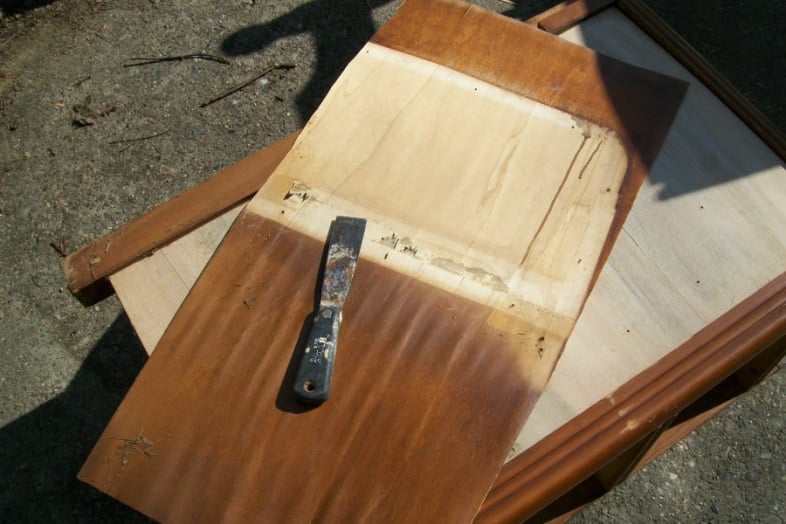
As you can see in the “before” picture at the top of this post, the veneer was in pretty bad shape. I removed the four veneer pieces on each side of the end pieces. Look how easily this veneer came off! All in one piece. There was very little glue holding this veneer in place. I planned on using the brown paper bag technique, but plans have changed.
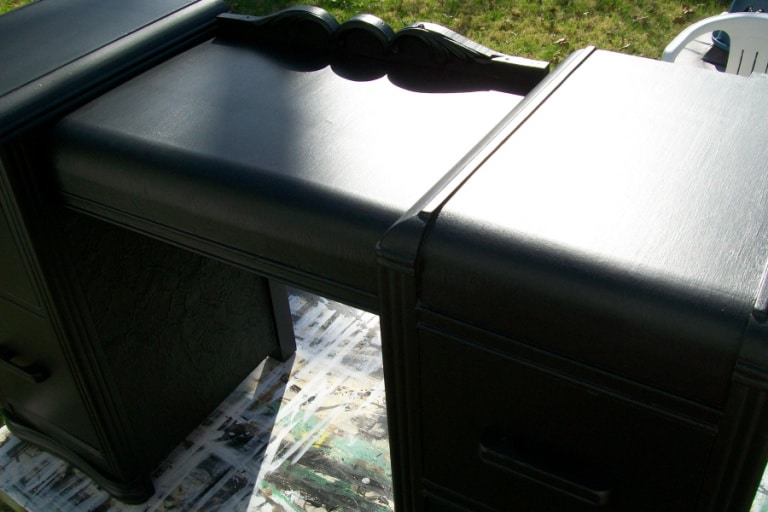
Painting the Desk With Black Paint
As you see, the veneer came off 3 of the four sides perfectly.
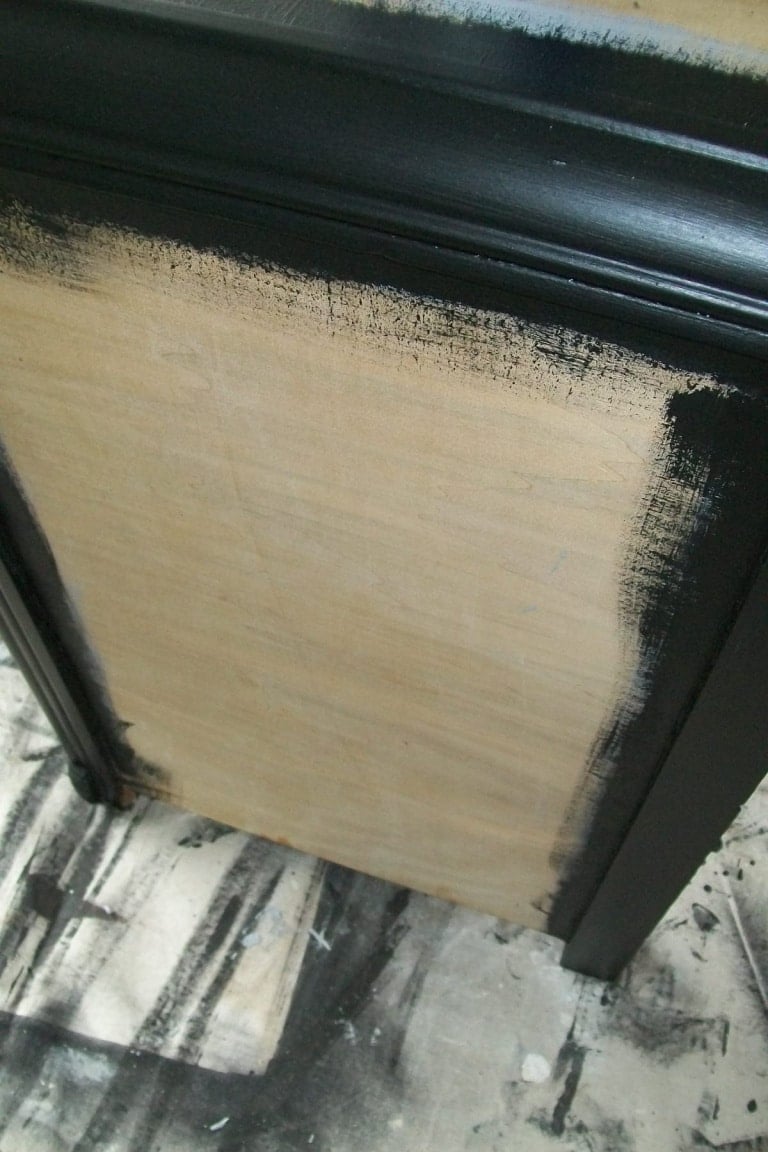
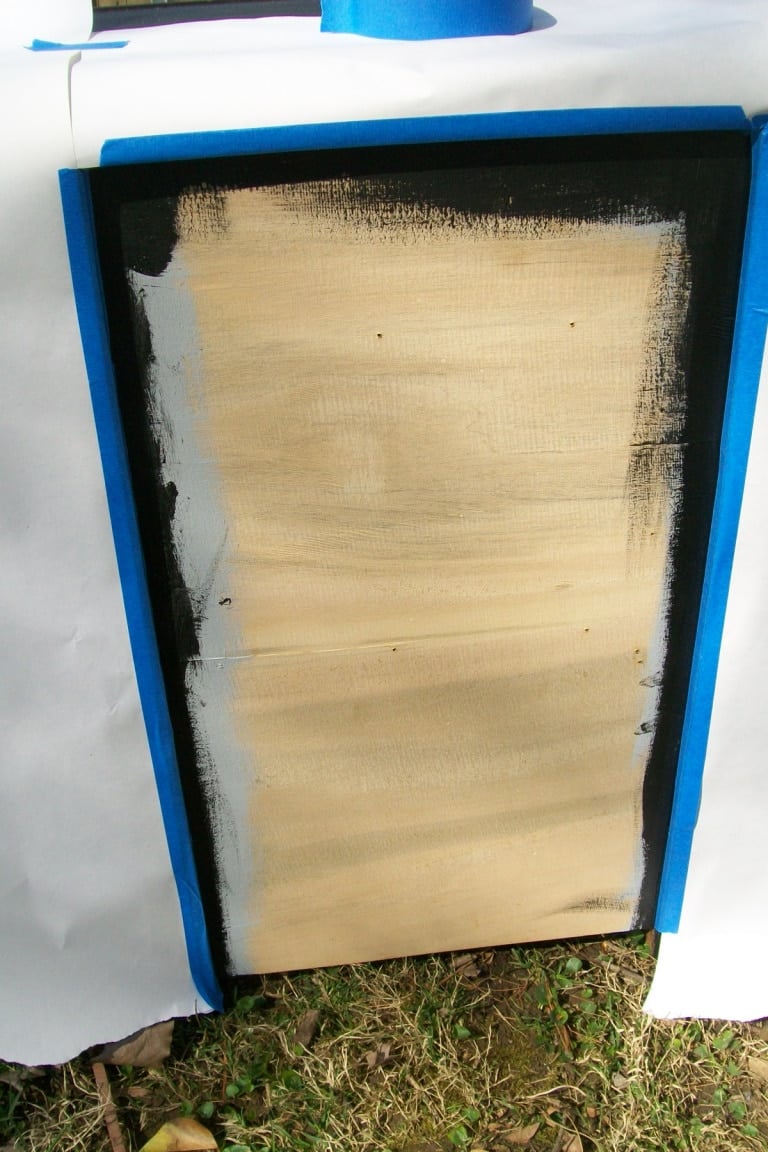
How to Disguise Bad Veneer
But, on this side, the veneer was glued really well. I was not going to be able to paint this piece. I would have to cover up the uneven layers. Should I use the brown paper bag technique that I used on another vanity? However, I felt like doing something new and maybe easier. You can see that I used some gray primer under the black paint.
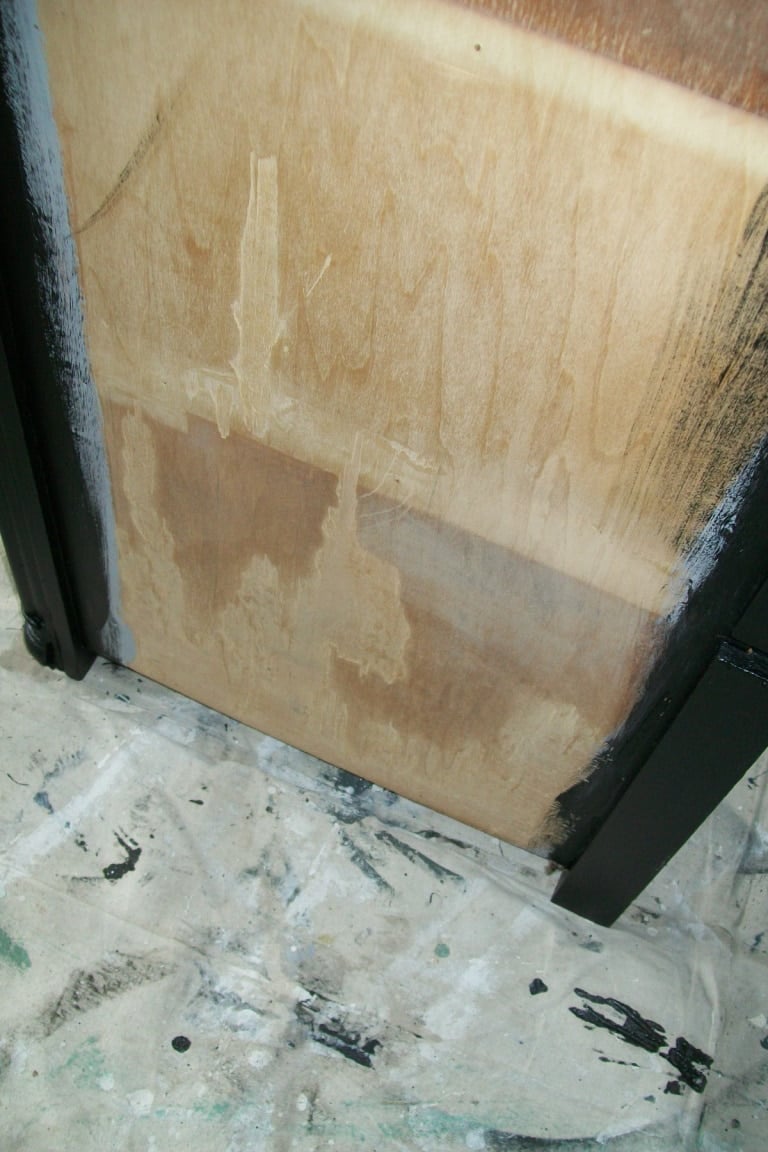
Adding Textured Wallpaper
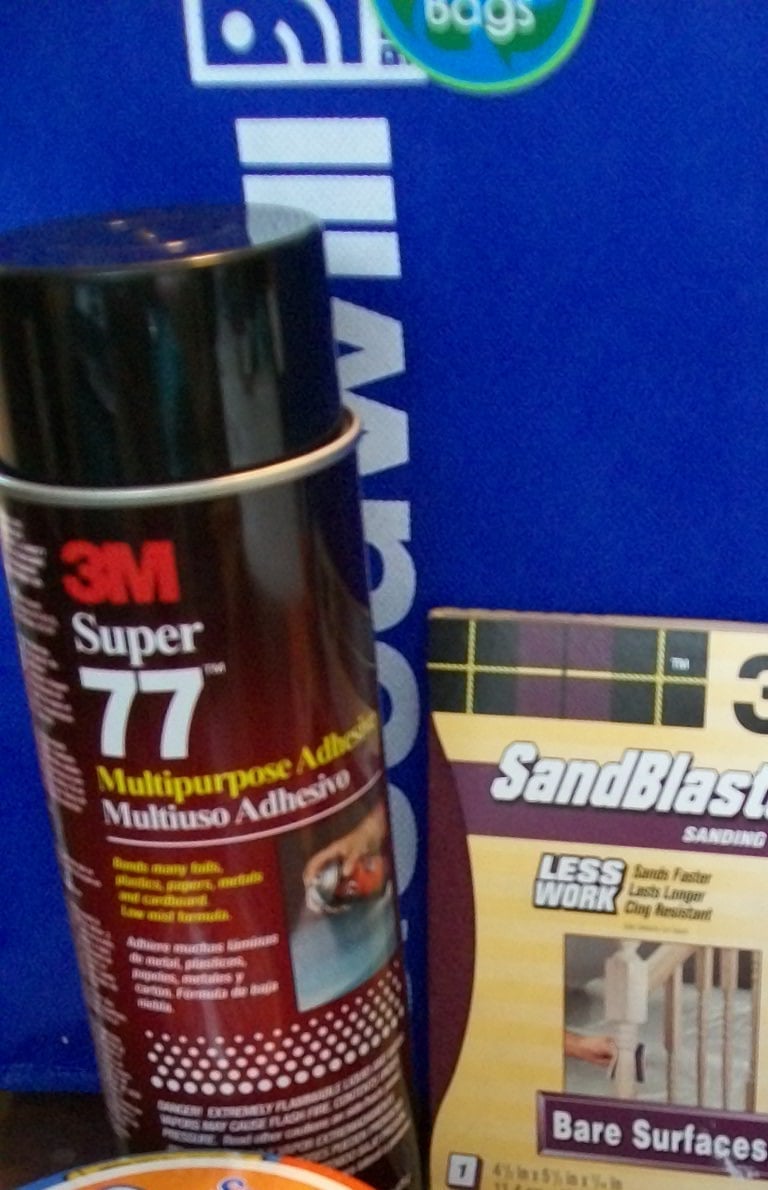
I used my 3M super 77 multipurpose spray adhesive to adhere to the textured wallpaper where I had removed the veneer on the side pieces.
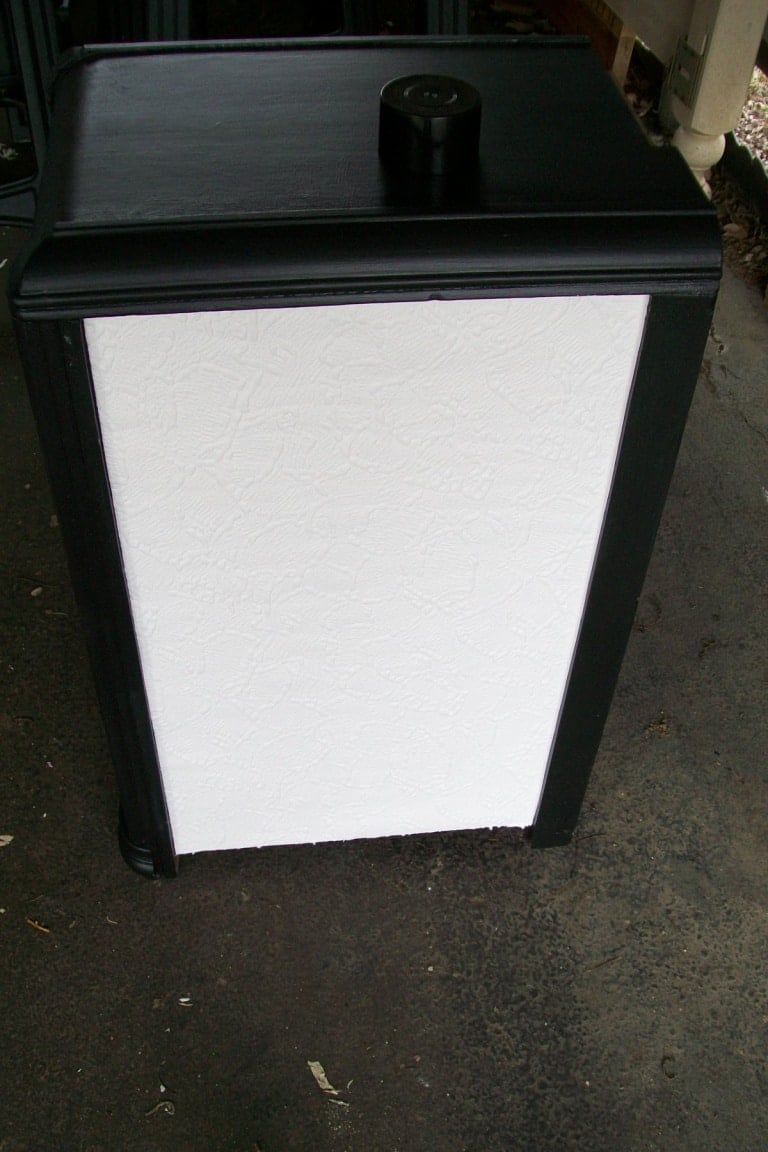
I sprayed the adhesive on the back of the wallpaper and stuck it on.
However, it didn’t adhere very well.
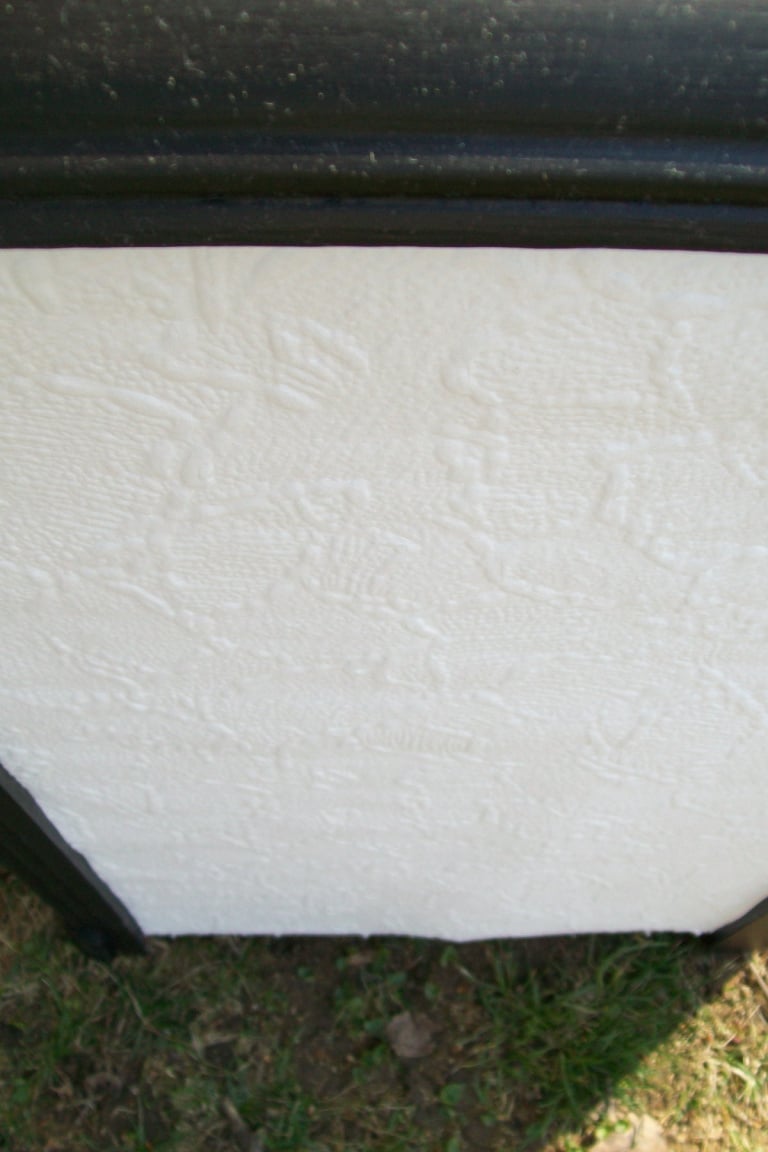
Plan b – I used painter’s tape and paper to protect my paint job. I sprayed the adhesive onto the wood and the wallpaper. The directions say to do this for an extra strong bond, but I didn’t know I needed one.
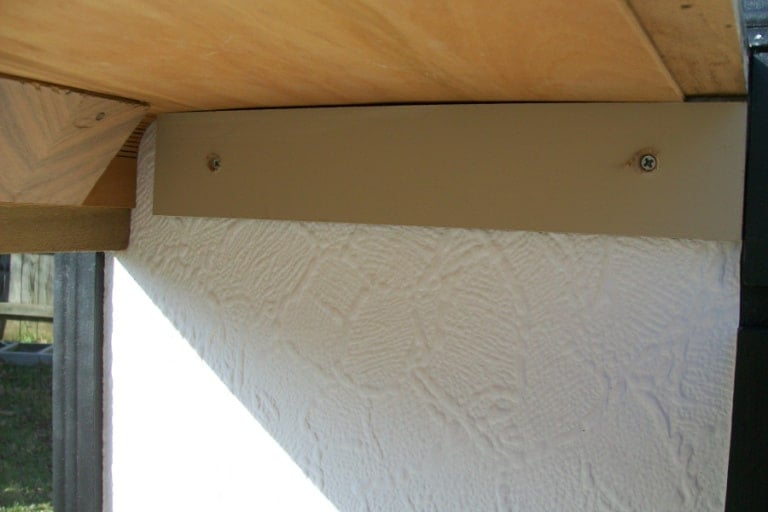
How a Cleat Holds the Desktop in Place
Now, this is where I go with idea #2 from above. To raise the middle piece so it can be a desk in its new life, I added a cleat on each side (inside) of the outer pieces. This cleat will help support the middle desk section.
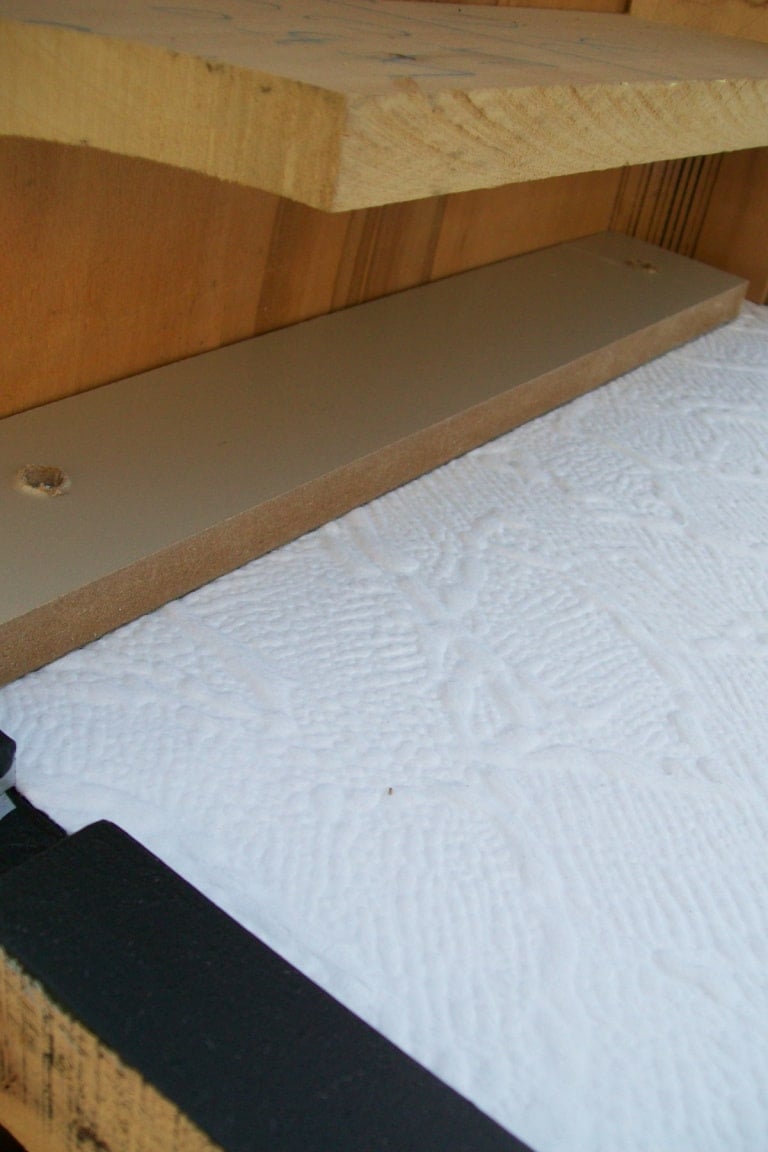
In this picture, you can see that the middle piece fits snuggly on top of the cleat.
Isn’t it amazing that I could change a waterfall vanity into a new, improved desk?
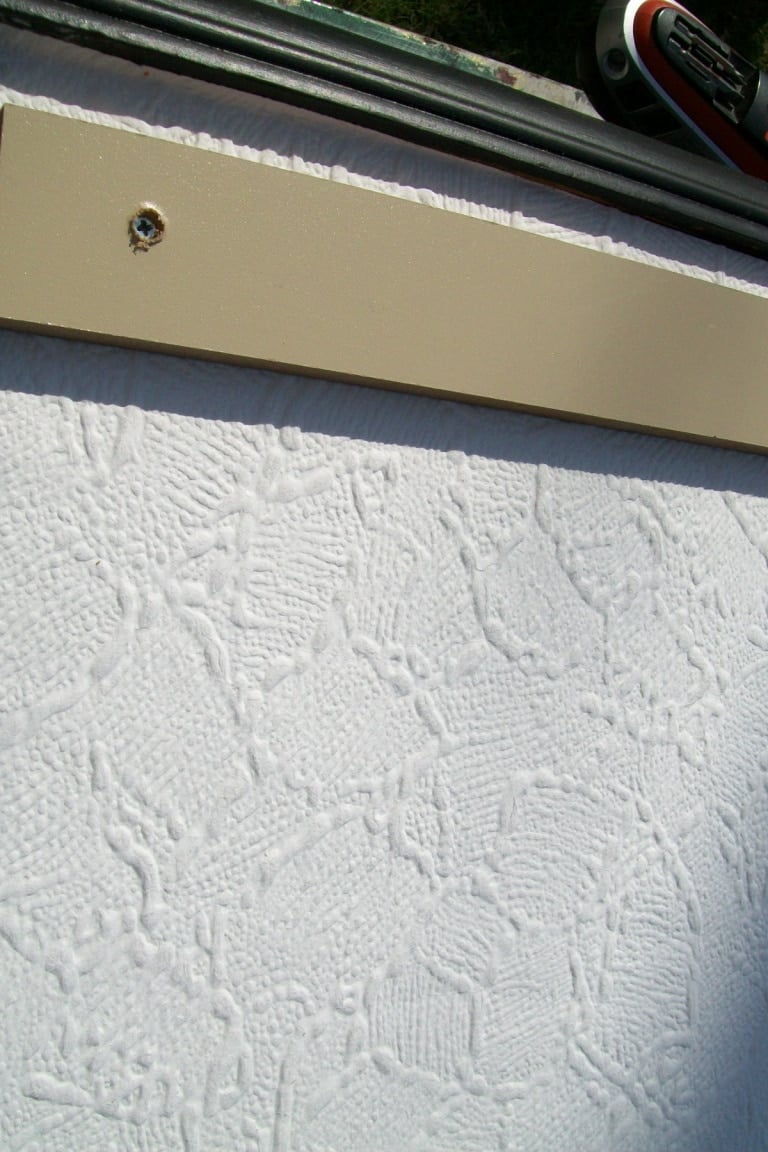
Adding Decorative Trim
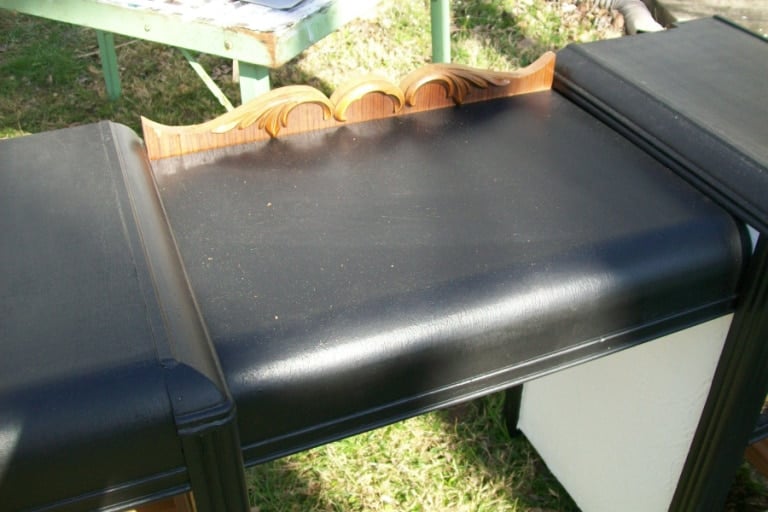
Testing out the cute little ornate decorative piece. It rises too much on each end. I’ll take care of that with my saw.
Another view of how the middle pieces fit against the side. I slid the back cross brace back into place.
The former waterfall vanity has been reassembled and is on its way to completion.
Another view of how the middle pieces fit against the side. I slid the back cross brace back into place.4
The Completed Transformation

With the drawers installed and the painting finished, I love the architecture piece on the back of the former waterfall vanity, now a useful desk.
I couldn’t be more thrilled with the end result of transforming a new desk from an old waterfall vanity.

Here, you can see the cross brace in the back. See all those hammer dings? They are NOT from me. If you look under the middle piece, you can see that I added an “L” bracket to strengthen the hold of the middle piece and the end piece. I don’t usually paint the back of desks, but it was pretty outside, and the paint was free, so why not? I still need to do a second coat.
The Completed Transformation of the Waterfall Vanity to a Desk
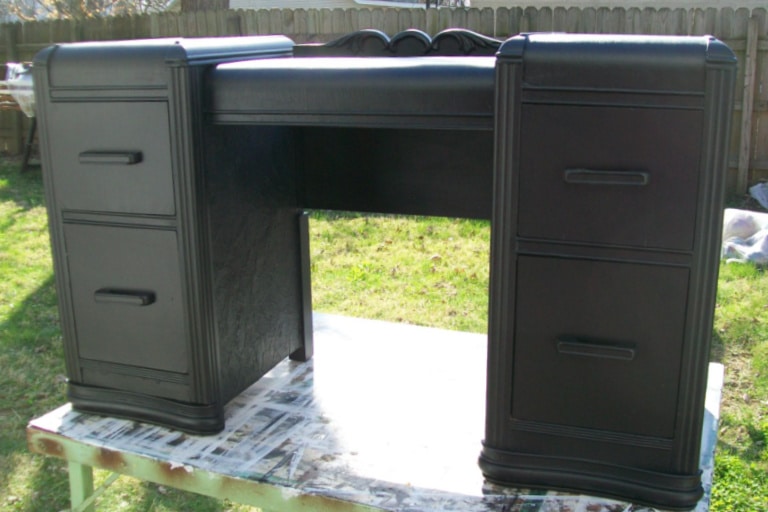
I love the new look of the old waterfall vanity.
Good job, much more modern looking.
Thank you Jackie!
This was a fun project.
gail
Well… I was skeptical…. But, you did a wonderful transformation. I love the scalloped trim showing behind the desk surface. The black makes it so updated.
I do envy your creative carpentry skills. 🙂
Beautiful job !
Sometimes I amaze myself. I rarely plan things, I prefer just jumping in and seeing what happens. Especially when projects are free or only $5. What’s the worst that can happen?
Thanks for being here!
gail
Juli,
I sure hope you see this reply. You must see how I did mine here: https://www.myrepurposedlife.com/waterfall-vanity-re-do-pt-2/
gail
Juli,
I sure hope you see this reply. You must see how I did mine here: https://www.myrepurposedlife.com/waterfall-vanity-re-do-pt-2/
gail
Juli,
I sure hope you see this reply. You must see how I did mine here: https://www.myrepurposedlife.com/waterfall-vanity-re-do-pt-2/
gail
Juli,
I sure hope you see this reply. You must see how I did mine here: https://www.myrepurposedlife.com/waterfall-vanity-re-do-pt-2/
gail
Juli,
I sure hope you see this reply. You must see how I did mine here: https://www.myrepurposedlife.com/waterfall-vanity-re-do-pt-2/
gail
Juli,
I sure hope you see this reply. You must see how I did mine here: https://www.myrepurposedlife.com/waterfall-vanity-re-do-pt-2/
gail
Juli,
I sure hope you see this reply. You must see how I did mine here: https://www.myrepurposedlife.com/waterfall-vanity-re-do-pt-2/
gail
Juli,
I sure hope you see this reply. You must see how I did mine here: https://www.myrepurposedlife.com/waterfall-vanity-re-do-pt-2/
gail
Juli,
I sure hope you see this reply. You must see how I did mine here: https://www.myrepurposedlife.com/waterfall-vanity-re-do-pt-2/
gail
Juli,
I sure hope you see this reply. You must see how I did mine here: https://www.myrepurposedlife.com/waterfall-vanity-re-do-pt-2/
gail