How to Make a Wooden Letter Board
As an Amazon Associate, I earn from qualifying purchases.
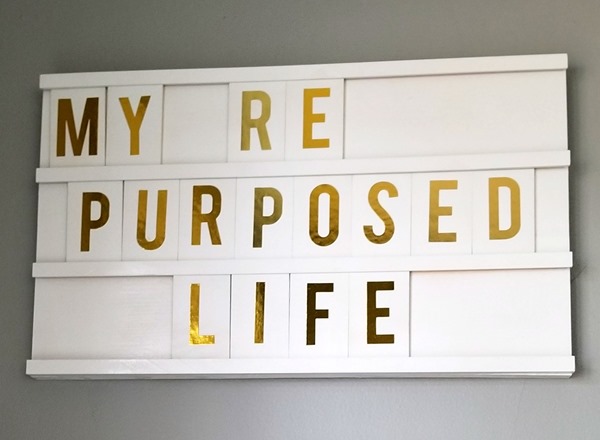
It’s time for our Monthly DIY Challenge project. This month’s challenge was “Wall Art”. I’m not sure that my DIY Wooden Letter Board is actually art, but it sure is fun to arrange the letters and speak my mind! The DIY wooden letter board is also fun to write a message, snap a photo and text family or friends with their very own personal message!
Be sure to check out the “wall art” projects from my friends at the bottom of this post.
I Was Inspired By This Letter Board
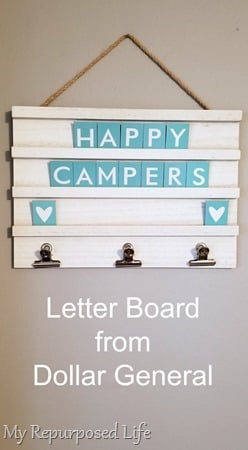
This was my inspiration for this project. I bought this letter board from Dollar General. I can’t find them online in their store. The letters are cardboard. I used the letter configuration to decide how to apply my letters to my rectangle wooden pieces.
*this post contains affiliate links, read more here*
Balsa Wood Planks
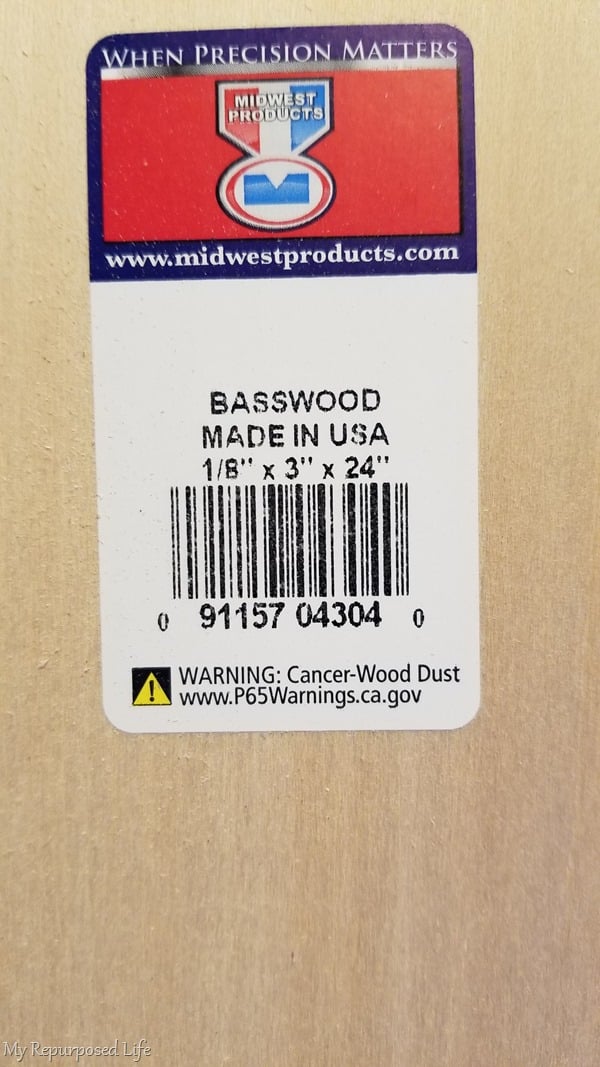
I purchased these balsa wood slats at Michael’s for my letter stickers. Five of these planks with coupons were about $17. However, if I make another wooden letter board, I’ll be using these Wooden Rectangles on Amazon. My friends are loving this project, so I see more in my future.
Easy Stop Block for Miter Saw
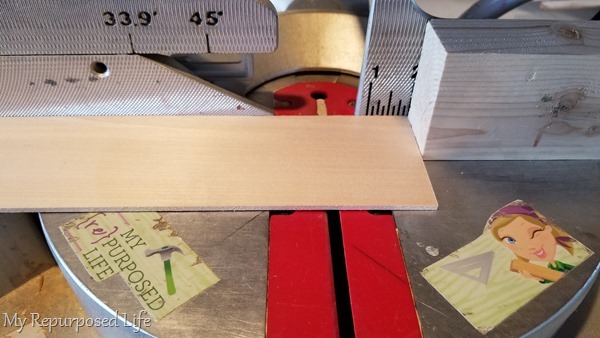
The wooden discs needed to be approximately 2×3 inches. I used a stop block clamped to my miter saw for quick and easy cutting. The five planks netted me 55 large rectangles, and 5 end pieces that I saved for punctuation marks.
Lightly Sand Wooden Discs for Letter Board
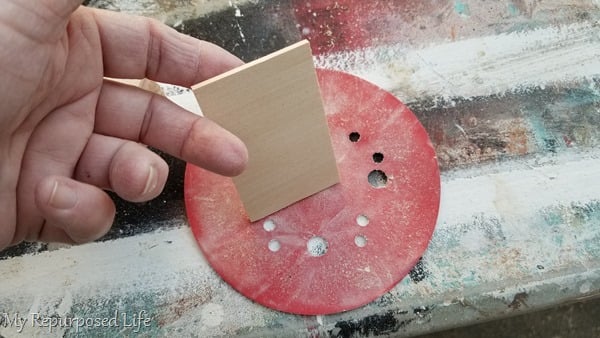
I quickly ran the discs along a piece of sandpaper to smooth any rough edges.
Route Ledge With Rabbit Bit
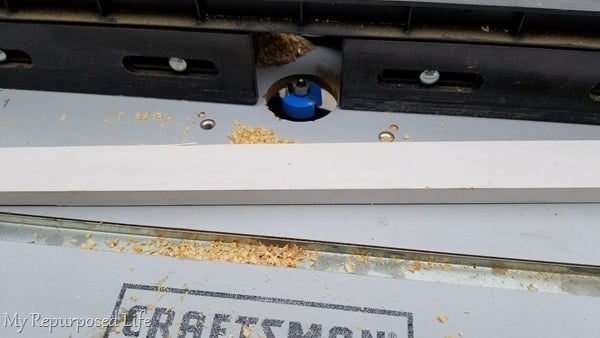
Using a rabbit bit on the router table and some 1/2 inch scrap stock, I created the small ledges needed for holding my wooden discs.
Rip Ledge on Table Saw
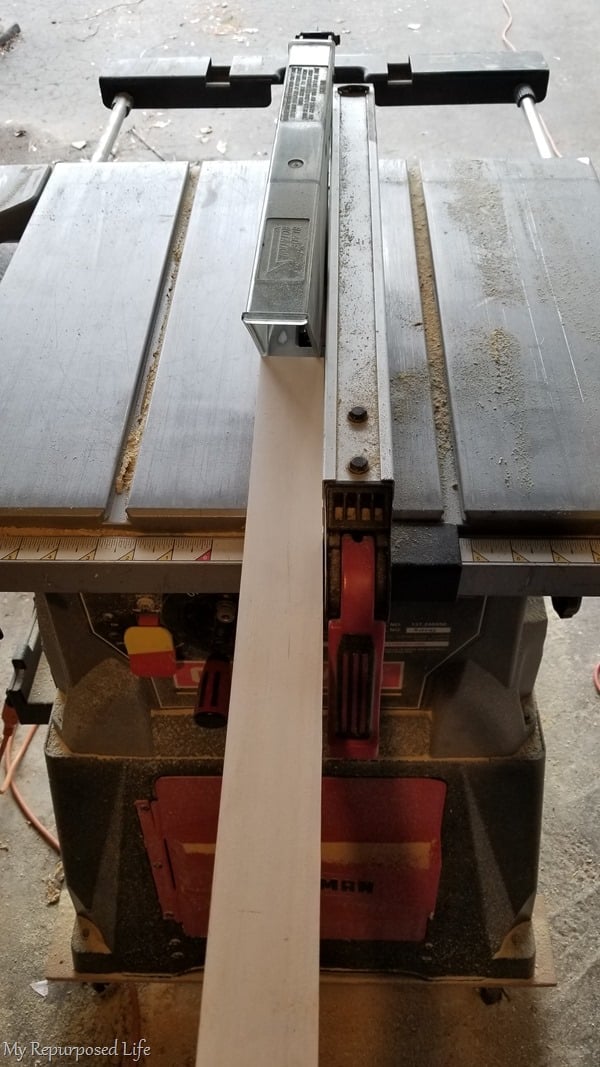
After the edge was routed, the board was ripped on the table saw.
Cut Letter Board Ledge to Length
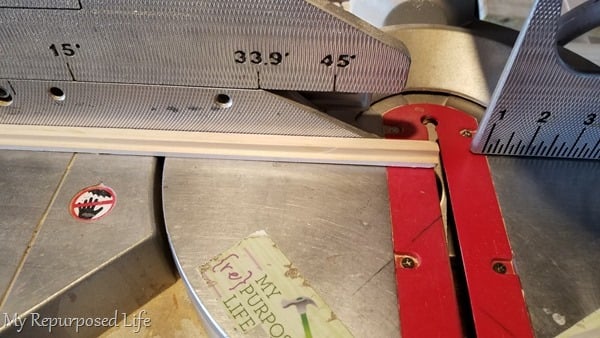
Then the small ledge was cut to size on the miter saw.
This 1/2” scrap stock is baseboard I purchased in bulk at $1 each. Sometimes I prefer using thinner stock than your typical 1×4 (3/4” stock) from Home Depot.
Spray Paint Wooden Letter Board and Letter Discs
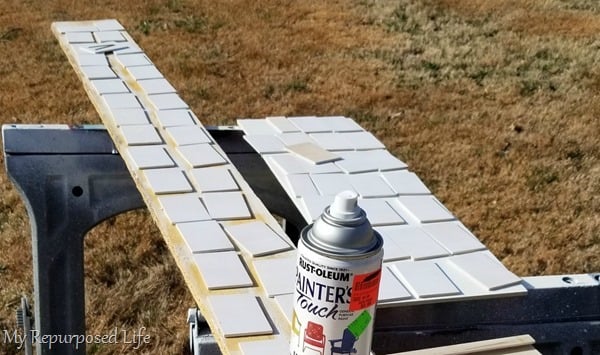
The 2×3 discs were spray painted with a glossy white spray paint. The thin pieces of plywood holding the discs were left over from my plank ceiling project.
Design DIY Wooden Letter Board
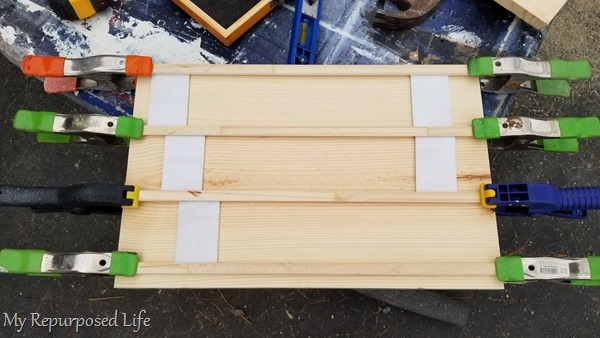
At this point I wanted to make sure the ledges and the letter discs would fit on the 1×12 board I’m using. Do you see there was a little extra room left over on the bottom?
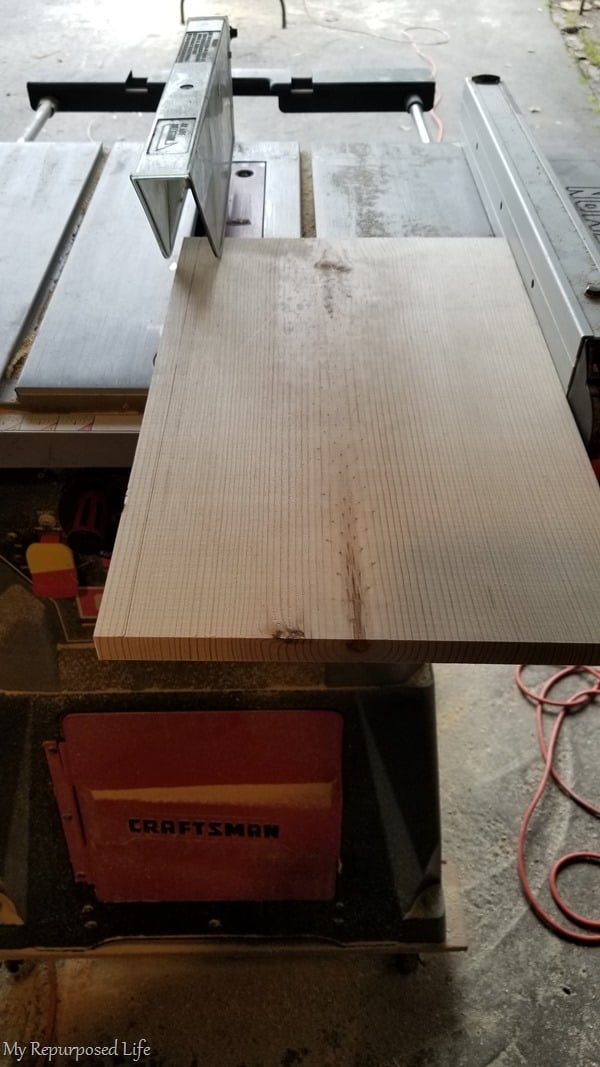
I trimmed the 1×12 on the table saw, so the ledges would fit top to bottom.
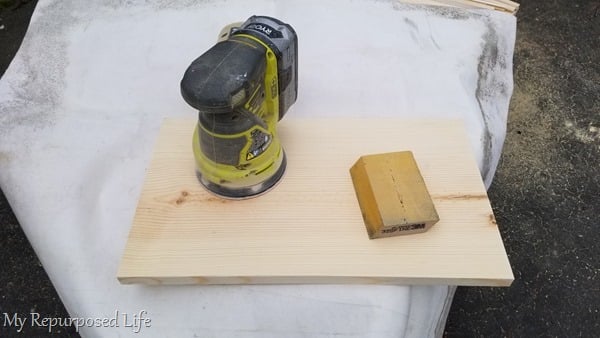
So, then I sanded my board using my orbital sander and a sanding sponge.
Assemble Wooden Letter Board
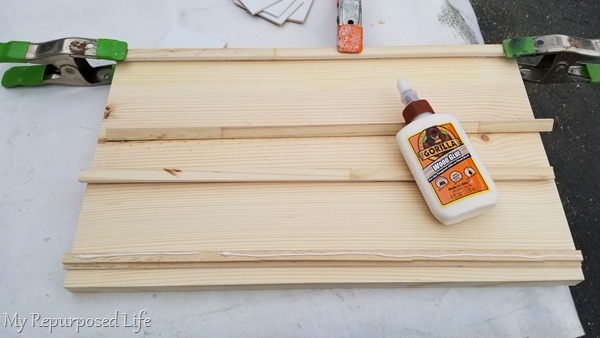
I used gorilla glue and clamps to attach all of the ledges in place.
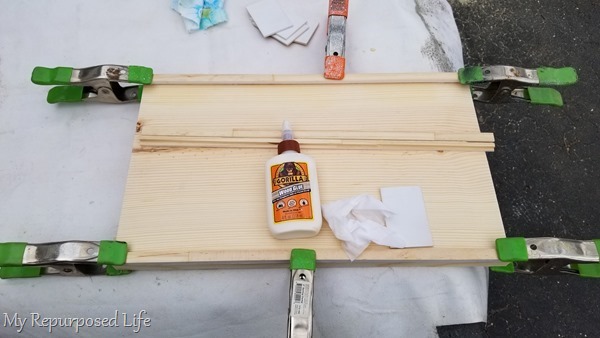
To remove any oozing glue, I used one of the wooden discs and baby wipes. I dragged the disc along the ledge to make sure there wasn’t any glue that would snag the discs after it set up. Baby wipes are great for removing glue on your project and from your hands!
No router? No problem!
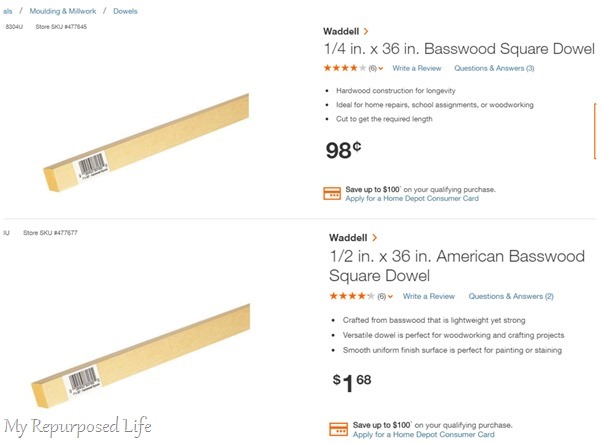
If you don’t have a router, you can achieve a small ledge to hold your letters. Use two small square dowels to make your own ledges for the letters to rest on. Simply glue a small and medium size together for the three lower sections of the letter board.
By doing that and using the Wooden Rectangles on Amazon this would be a great project even for a novice!
Spray Paint Wooden Letter Board
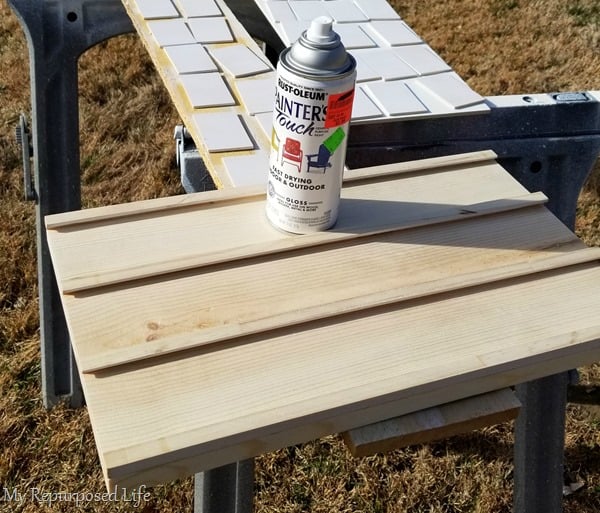
The ledge on the top and bottom are only routed on one side. The middle ledges are routed more shallow on the top, being a little deeper on the bottom ledge where the disc rests.
Add Saw Tooth Hanger
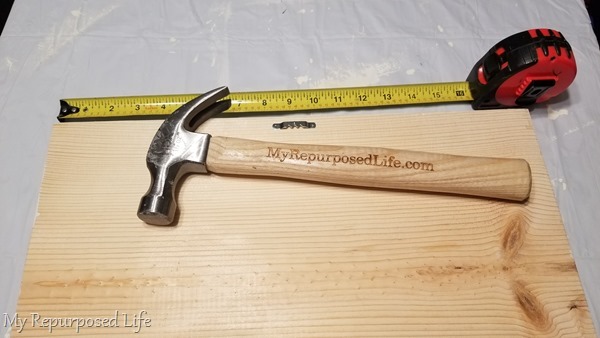
This wooden letter board is very light, so I added a saw tooth hanger to the back.
DIY Wooden Letter Board Fun
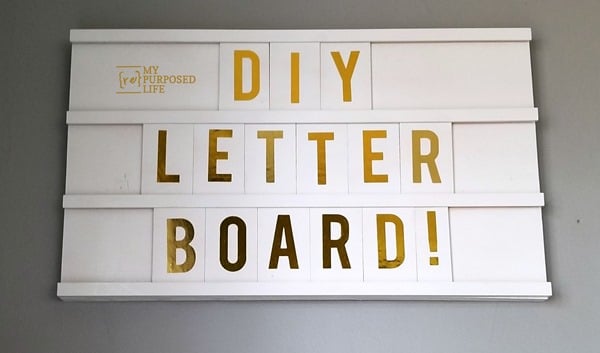
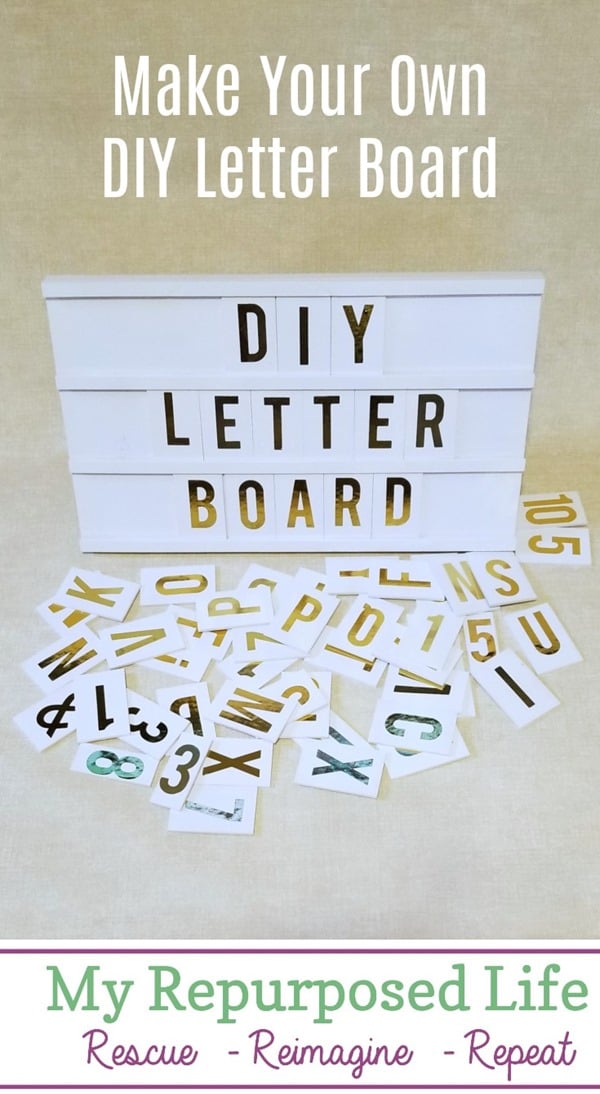
DIY Letter Board
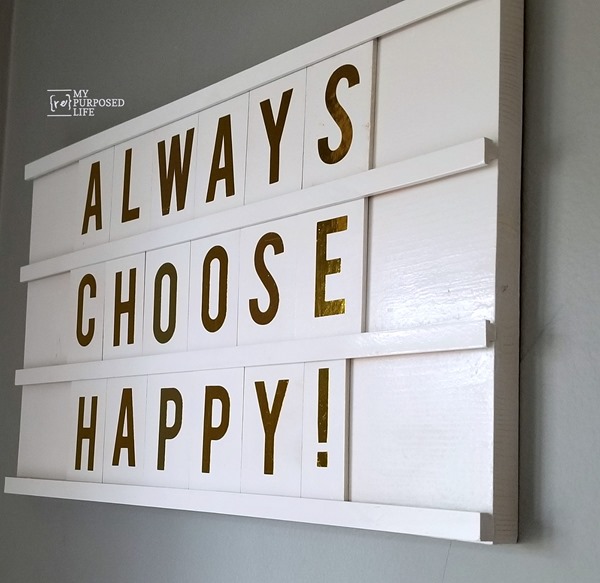
Always Choose Happy!
Letter Board & Letters
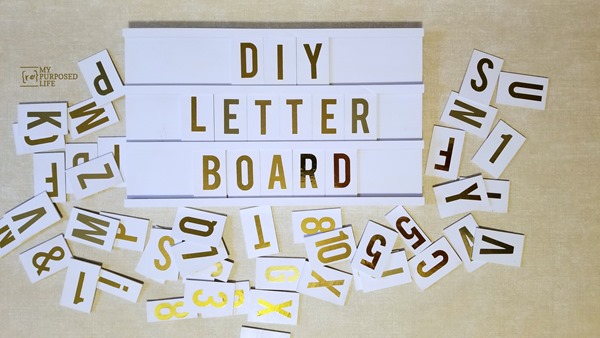
There are lots of options with numbers letters and a few punctuation marks. You can download the letter assignment for diy letter board here.
Save & Share on Pinterest!
Be sure to check out these great wall art projects from my friends:
Modern Quilt Blanket & Textile Hanger
Which is your favorite?
gail

I can’t wait to do a letter board. It is exactly what I need for a weekly motivational saying.
This is so fun, Gail! I love how you can change out the message throughout the year.
I love this project, Gail! I can definitely see you getting a lot of requests from friends for these. This would make a perfect housewarming gift as well!
I LOVE this letter board! Definitely have to try it!
So cool! love the gold!
Fun idea, Gail! Love the gold too.