Chalkboard Coat Rack from a desk panel
As an Amazon Associate, I earn from qualifying purchases.
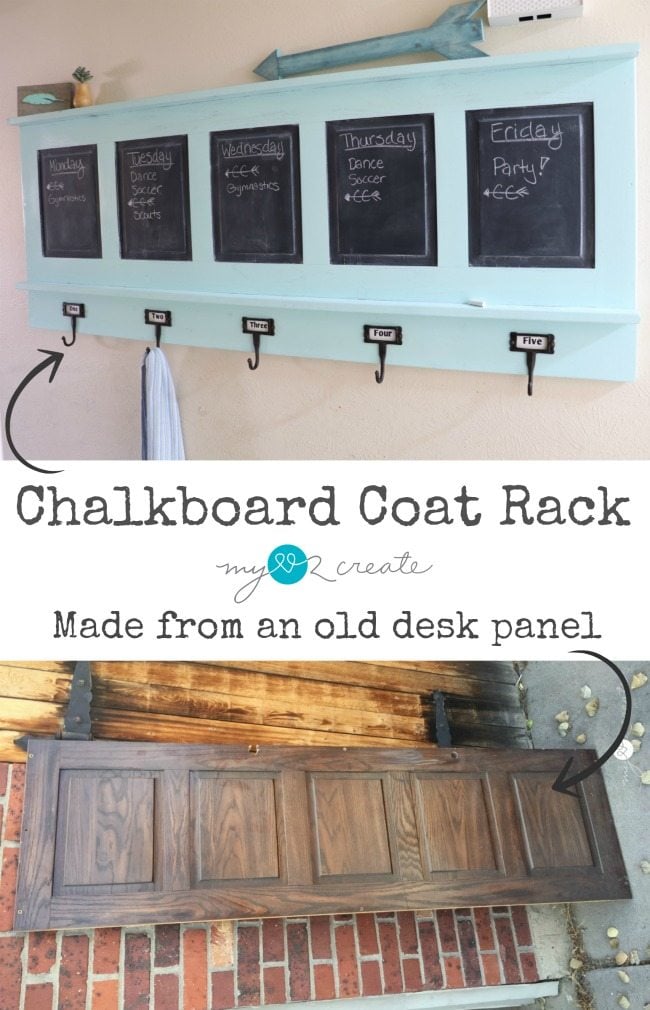
How to make a chalkboard coat rack
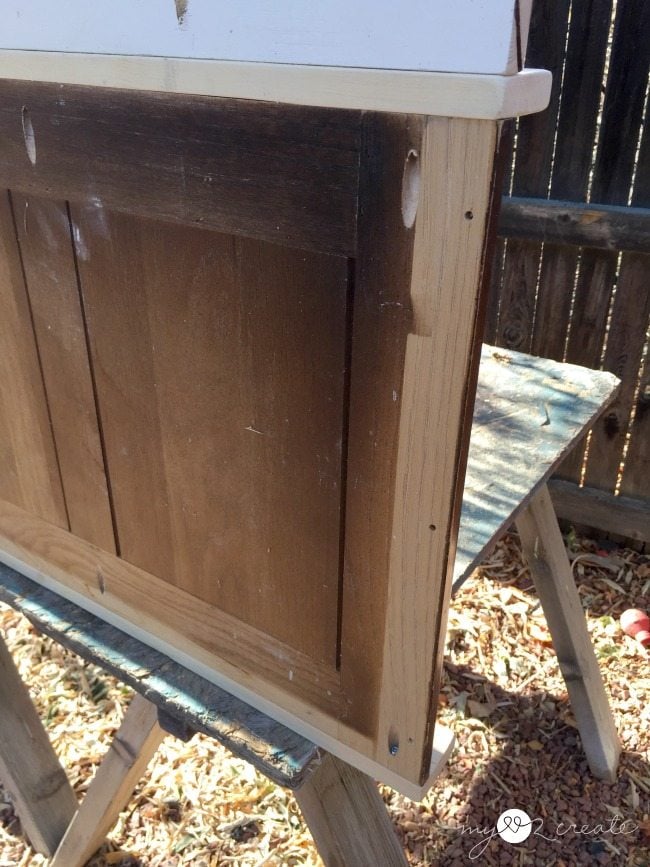
Begin with a desk panel (or door)
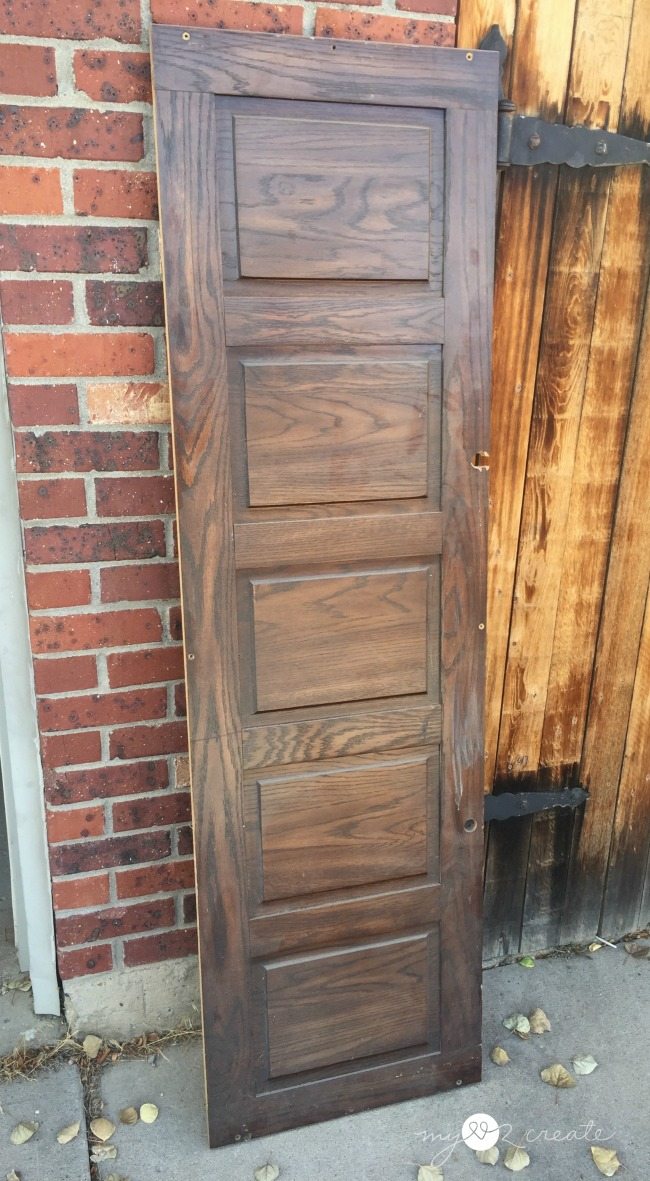
This is the before, and the inspiration piece. I picked this up from someone’s yard with a free sign.
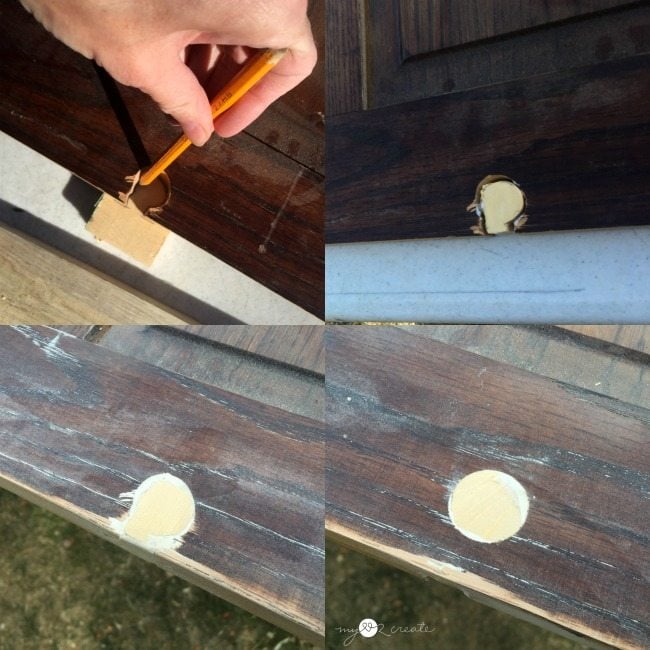
The first thing I needed to do was patch the huge holes that were on the side. I decided to trace the shape of the holes on a scrap piece of wood (top left) and then cut them out with a jigsaw. In the top right photo you can see they were not cut out perfectly, and that was fine, because after I filled it with spackle, let it dry, and sanded it flat, it was perfect! Perfectly smooth, and filled.
Add top and bottom shelves
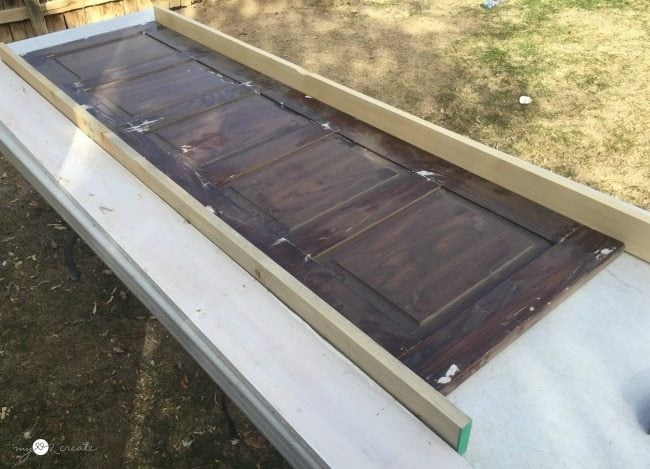
Now that I had the holes filled I grabbed some scrap wood and started figuring out what I was going to do. I decided to add a top and bottom 1×3 to make shelves, but I still wanted to add hooks. So I scrounged around and found a 1×6 that would work to attach to the bottom as a spot for my hooks.
Attach shelves using pocket holes
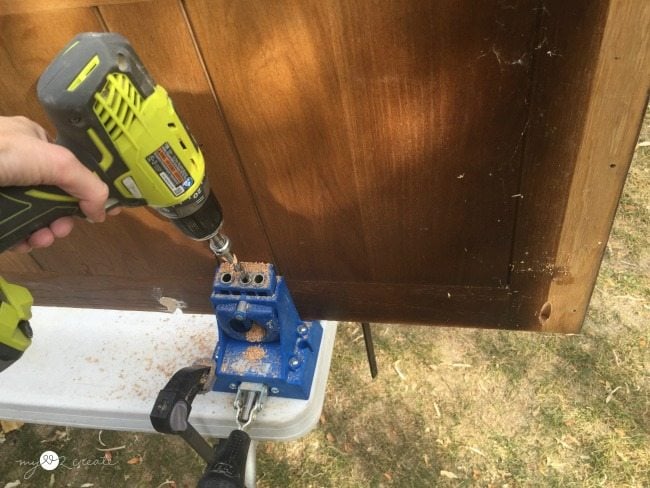
I decided that attaching with pocket holes was the sturdiest and easiest method. I drilled them into the desk panel on the top and the bottom. They were also drilled into the 1×6 as well (not pictured).
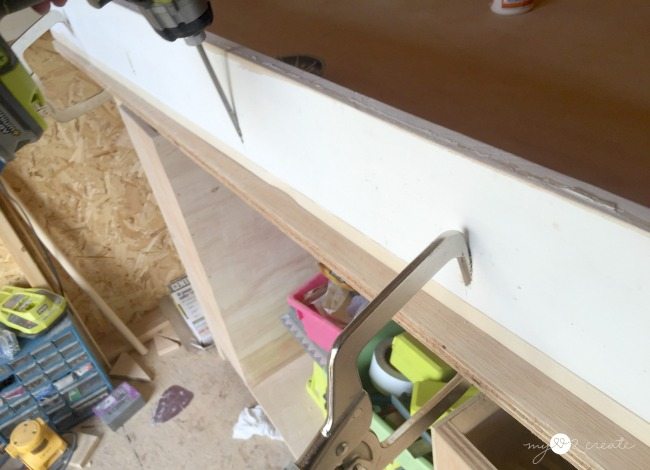
I connected the 1×6 to the 1×3 bottom shelf with 3/4” pocket holes and 1 1/4” pocket hole screws. You can see I used my right angle clamps to hold things in place.
Next, I needed to attach the panel to the bottom shelf section. I clamped the shelf down then used wood glue and screwed the desk panel onto the 1×3 bottom shelf with my pocket hole screws.
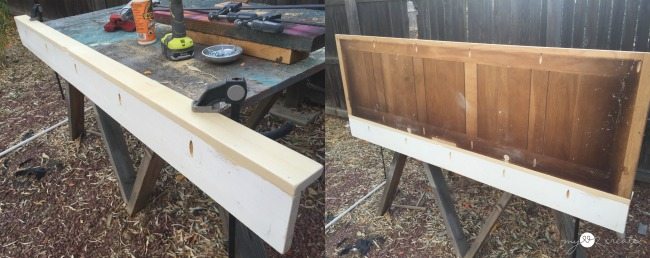
Last, I flipped it over and attached the panel to the top 1×3 shelf, and that was it!
Chalkboard Spray Paint

Once I had it built I decided to use up the rest of my chalkboard spray paint on the raised panels, instead of brushing it on.
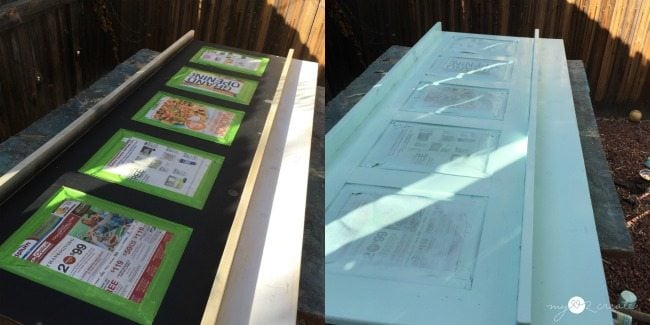
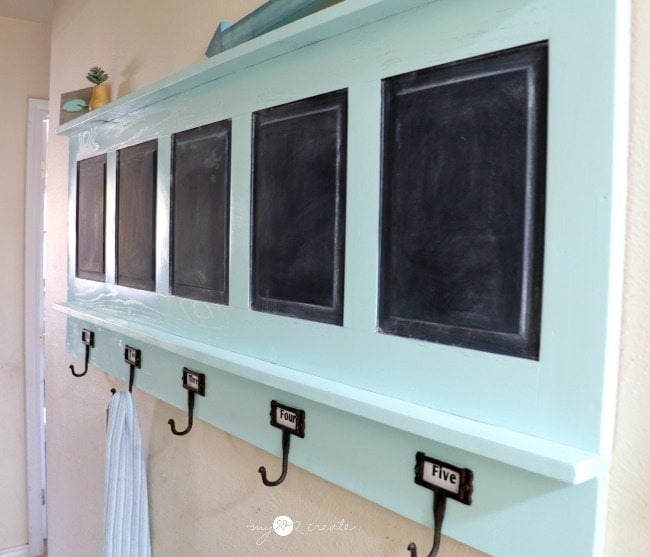
When the paint was dry I taped over the panel sections that I wanted to stay as chalkboards, and spray painted the rest of the coat rack with Rustoleum’s Gloss Ocean Mist. I had some left over from my Repurposed Cupboard Door Bookshelf so I decided to go with what I had. Plus it is a really pretty color. 🙂
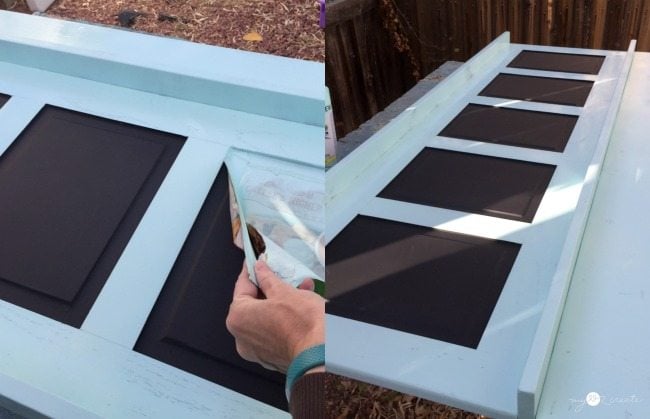
While the paint was still wet, I carefully pulled off the paper and tape. How cute are those chalkboard sections! I love Chalkboards!
Add coat hooks
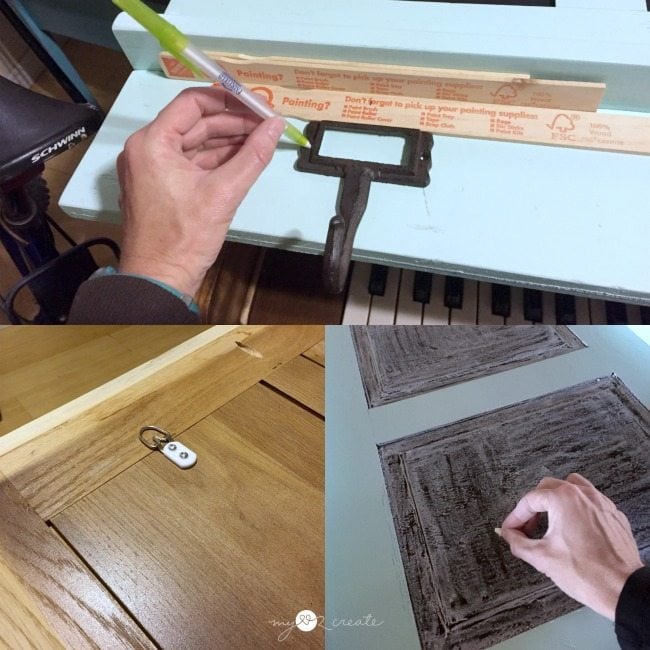
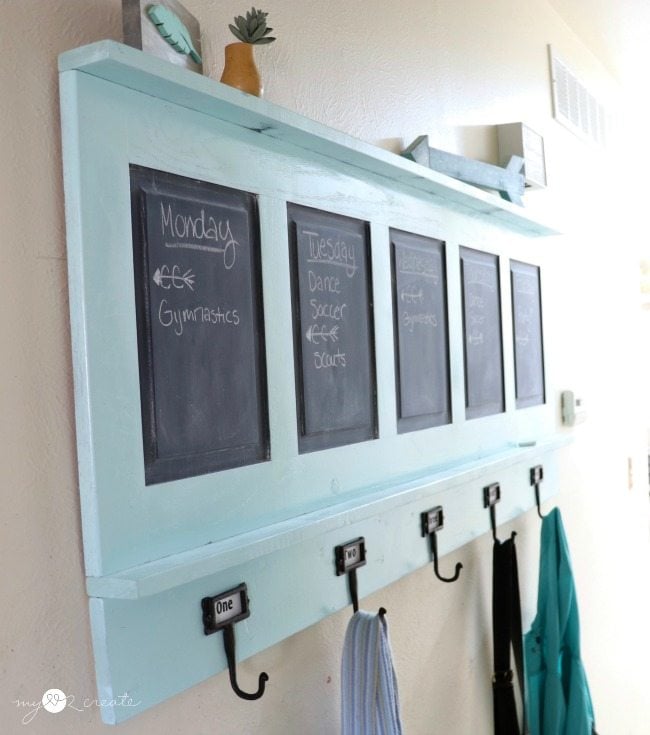
To finish things up I marked where my hooks needed to be and used some paint sticks as spacers. 🙂 Then I added two large d-rings to the back for hanging, this thing is heavy! It is 64” long! Lastly I primed my chalkboard surfaces and it was ready to hang!
Repurposed door coat rack
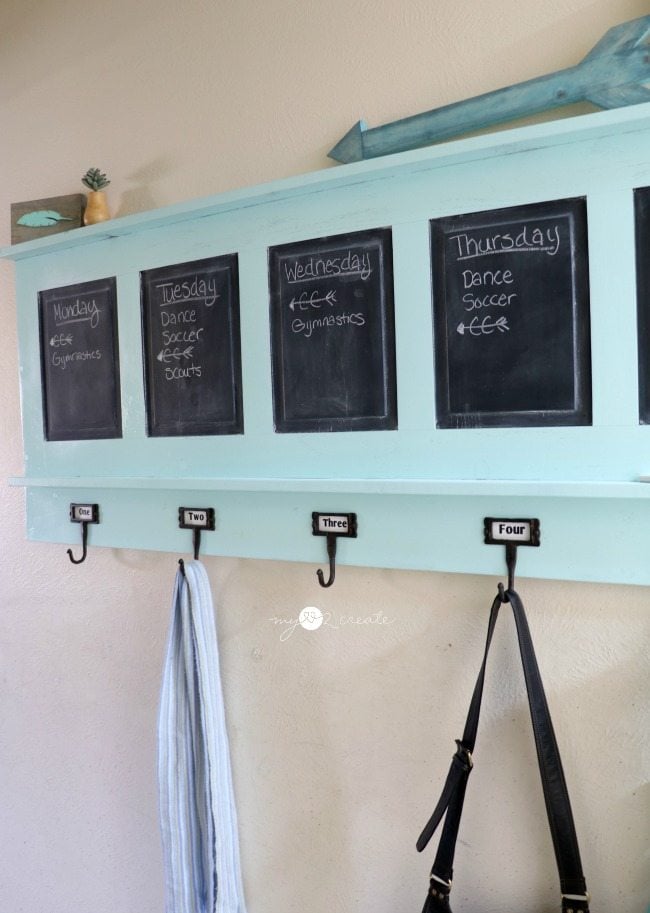
I love the versatility of the chalkboards. You could used it as a calendar, command center, or recipe boards!

The cast-iron hooks came from Hobby Lobby at 50% off. So I spent $10 on hooks, and that was it! I made the number labels for the hooks since they didn’t come with any, I think they would be cute with names too.
The shelves are a fun addition to add decorative accents and such!
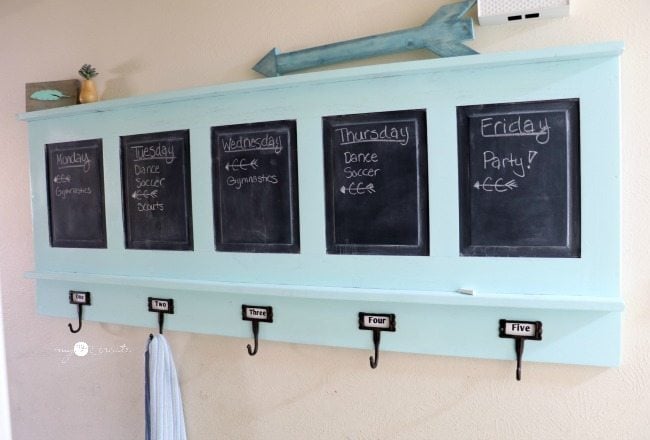
I was planning on selling this, but now that it is hanging in my hallway, I may keep it!
What would you use this for?
Thanks for reading! Visit me for more great Repurposed Ideas!
Hugs,
Mindi
Lovely idea, perfect for our mudroom.
Mindi,
Your chalkboard coat rack is sooo darn cute! I love the hooks you used, and of course I love that BLUE!
gail
Absolutely love this coat rack, Mindi. The blue color is my favorite and I’m with you, there’s just something so charming about chalkboards.