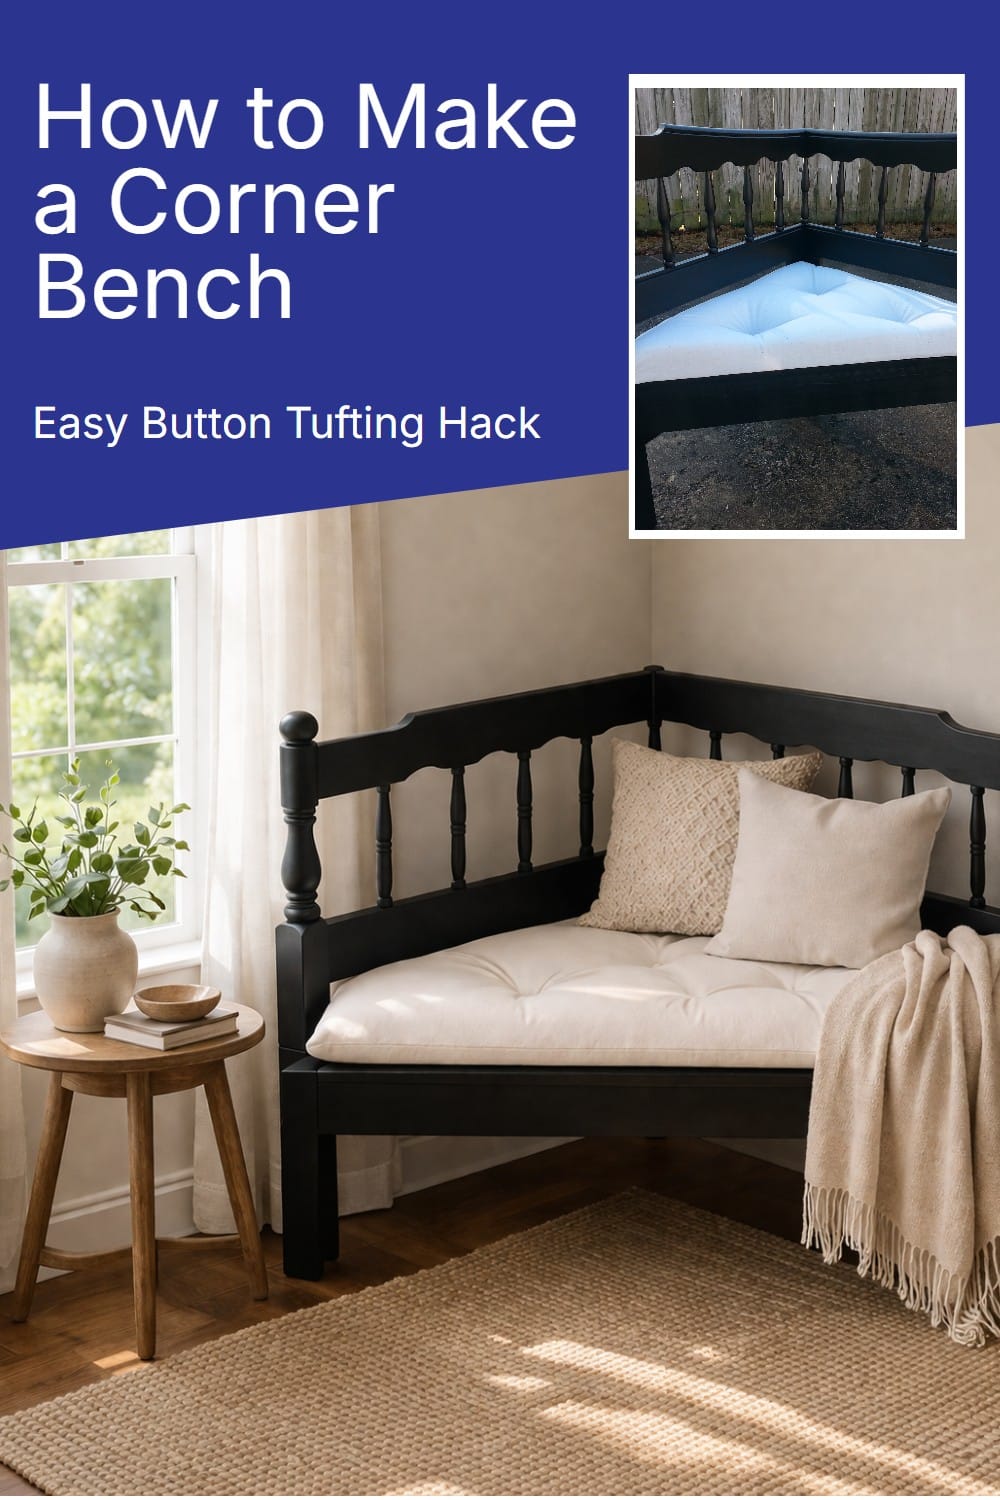
Easy Button Tufting Tutorial in 3 Steps
As an Amazon Associate, I earn from qualifying purchases.
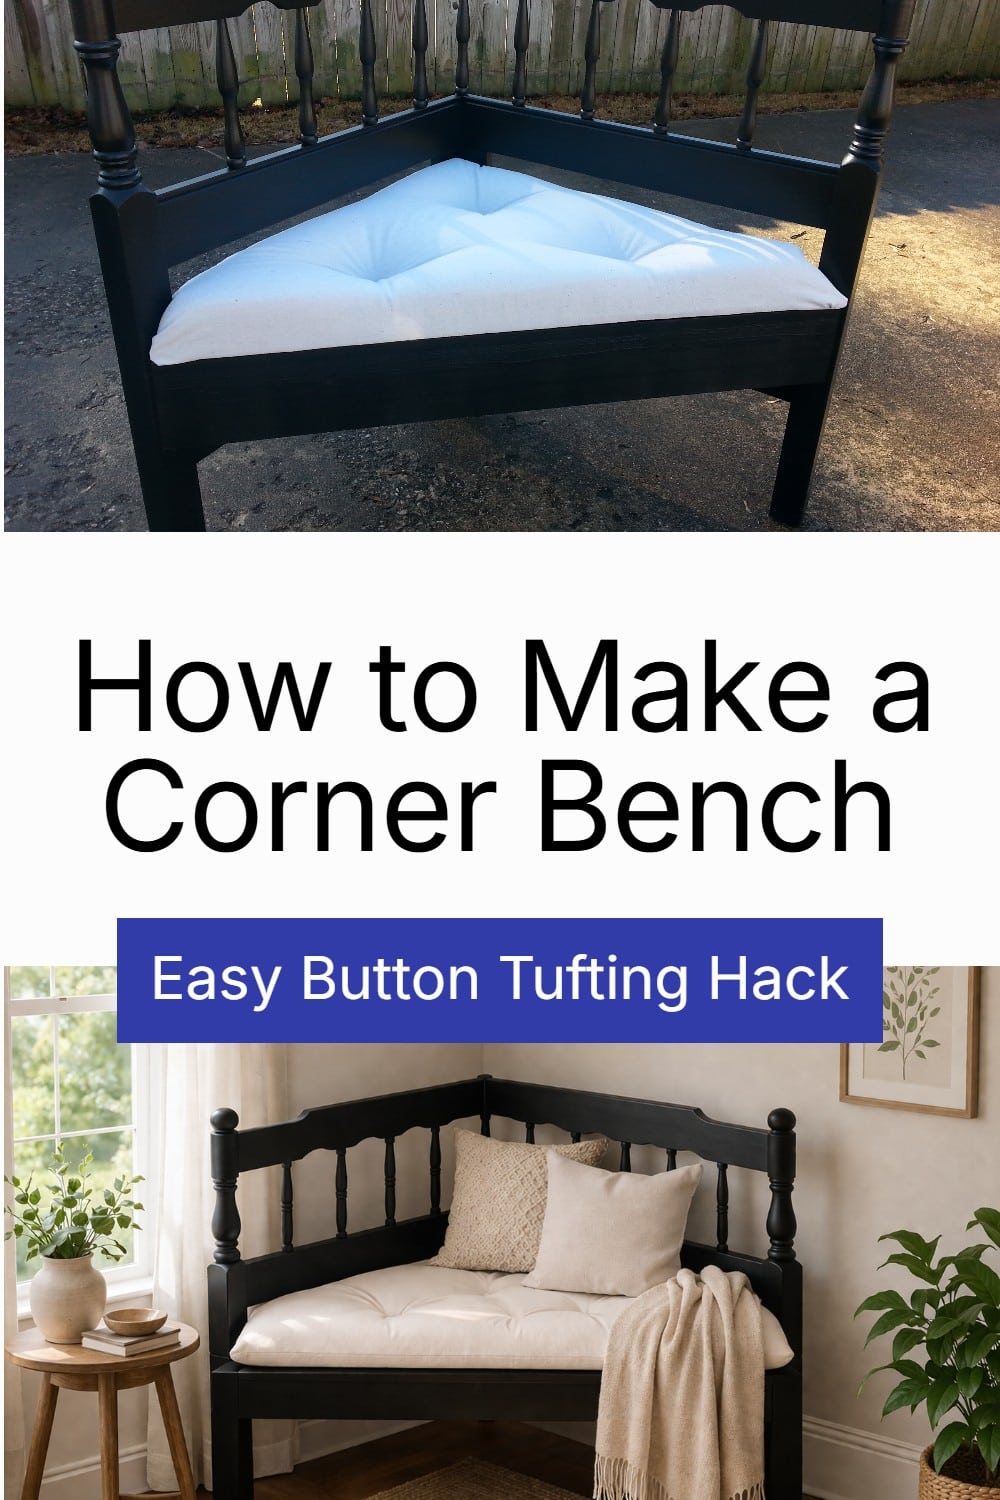
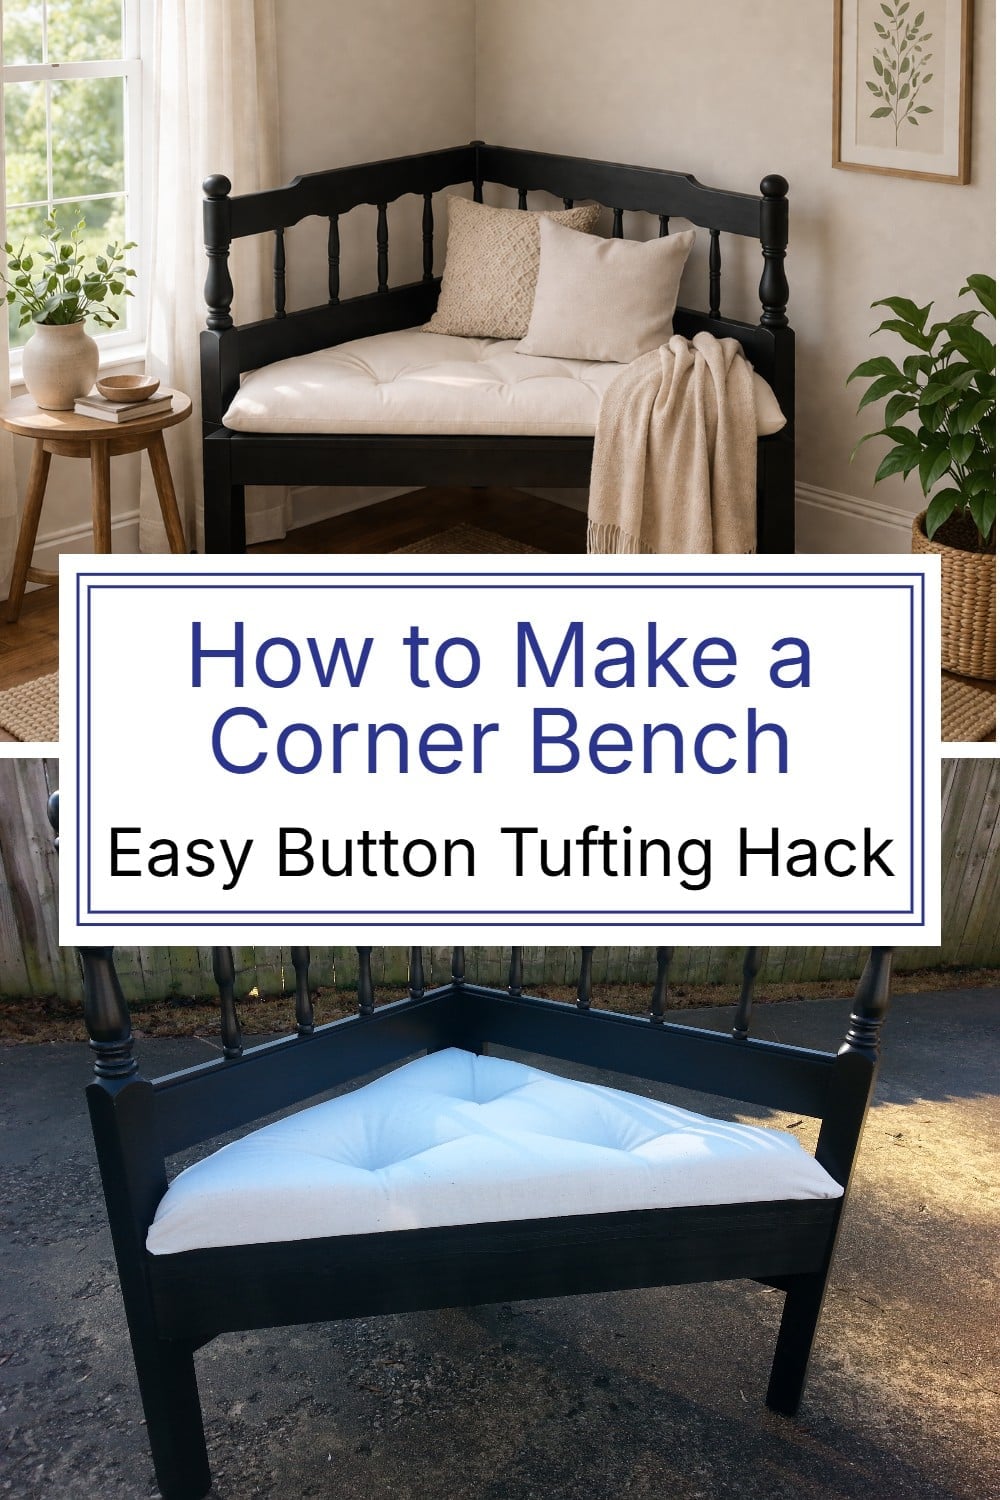
Button tufting can look complicated, but this project proves it doesn’t have to be. Instead of dealing with long needles, string, and drilled holes, this easy method keeps the process simple and beginner-friendly. With a few basic supplies and a clever shortcut, you can get that classic tufted look without all the fuss.
Everyone loves a good hack; how about this awesome button tufting hack done in three easy steps?
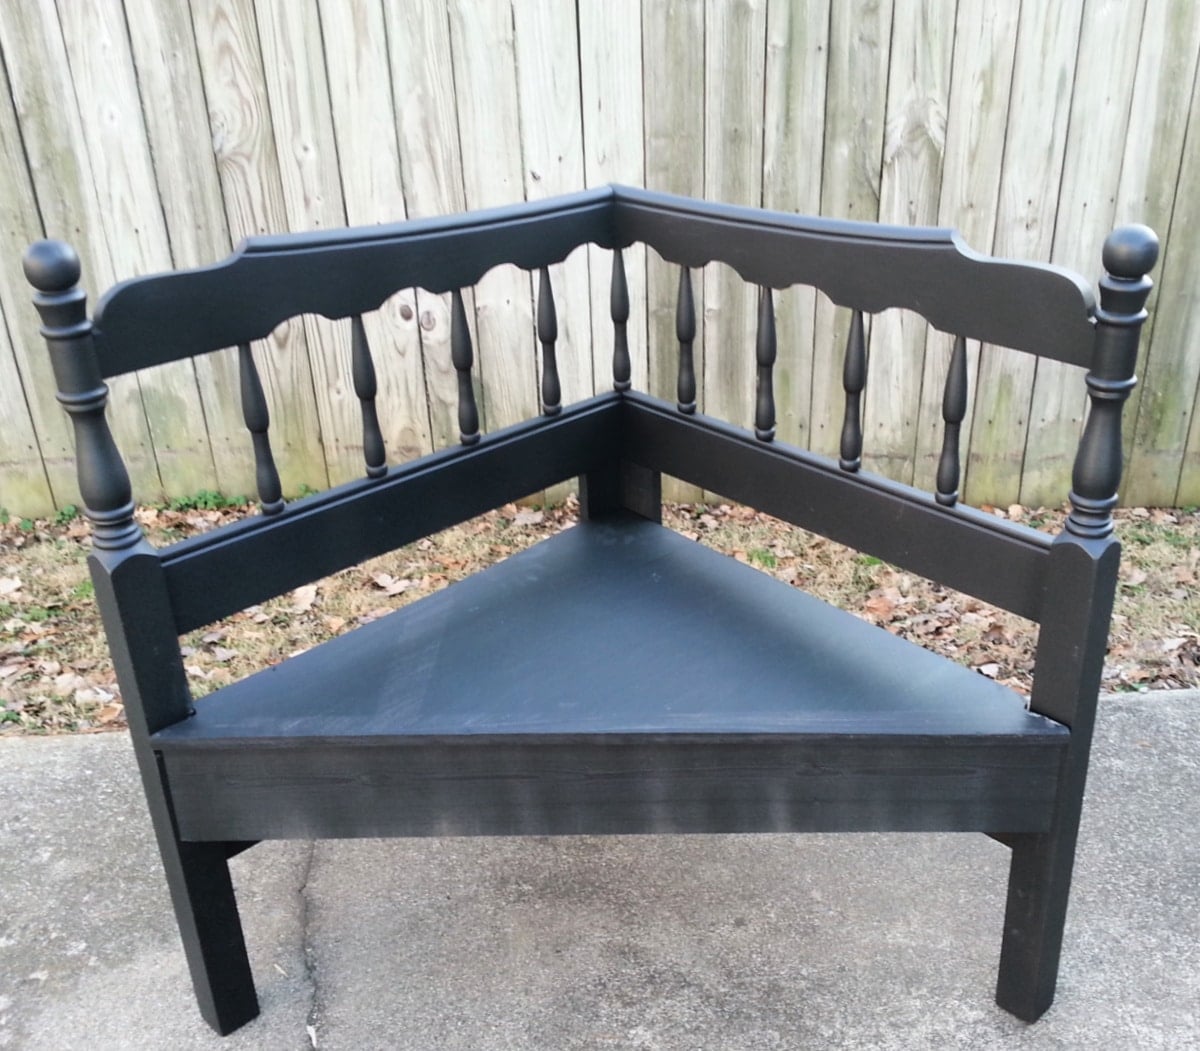
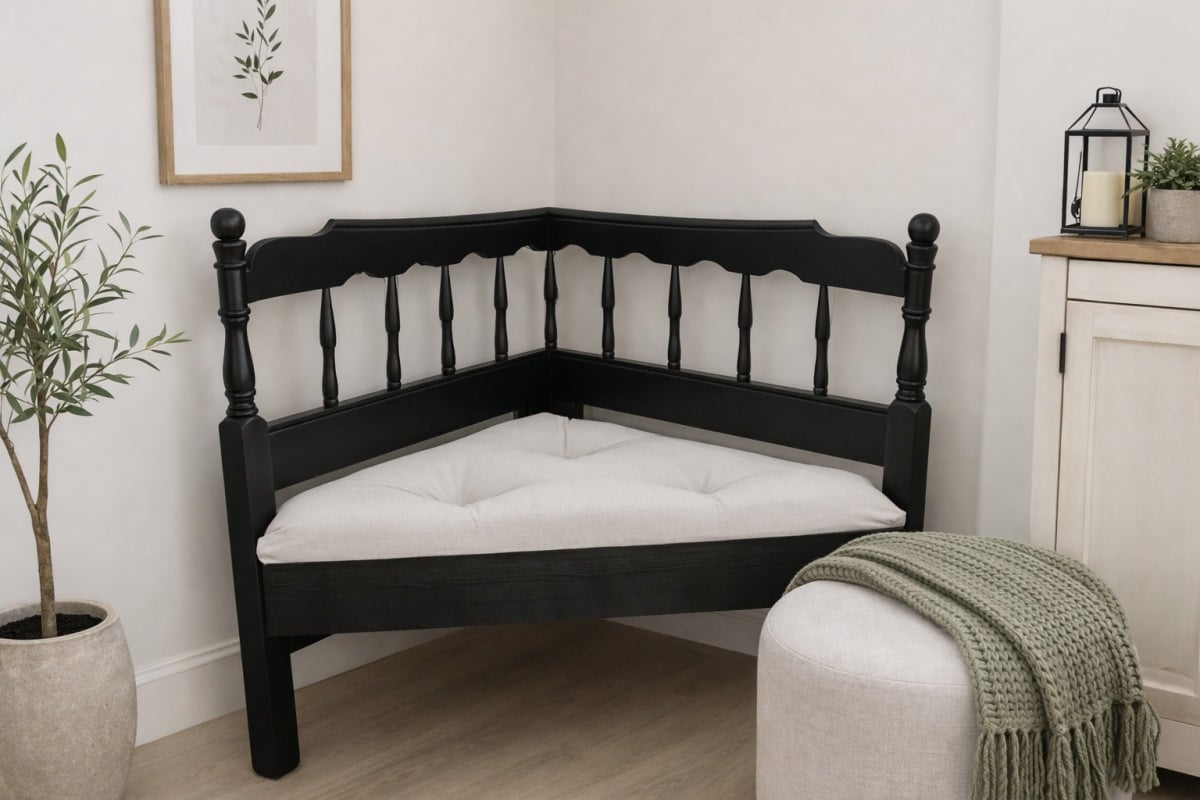
Do you remember this corner bench I built from a headboard?
Have you ever wanted to try button tufting but felt overwhelmed by all the tools and steps? This easy shortcut keeps it simple and gives you a polished upholstered look without the usual struggle. Save this idea for your next bench or seat makeover.
Easy Button Tufting using Screws
I hadn’t shown you that I’d attempted to upholster it with a button-tufting technique, but I left too much overhang on the front seat. (wood seat) I had to remove all of the staples and foam and start over. After trimming the wooden triangle seat on the table saw, I put all the foam, batting, and fabric back together.
I decided I wanted to do some button tufting on it. I saw a tutorial using screws, but I added an extra step that makes this button tufting hack even easier.
Mark Button Areas and Shoot a Staple
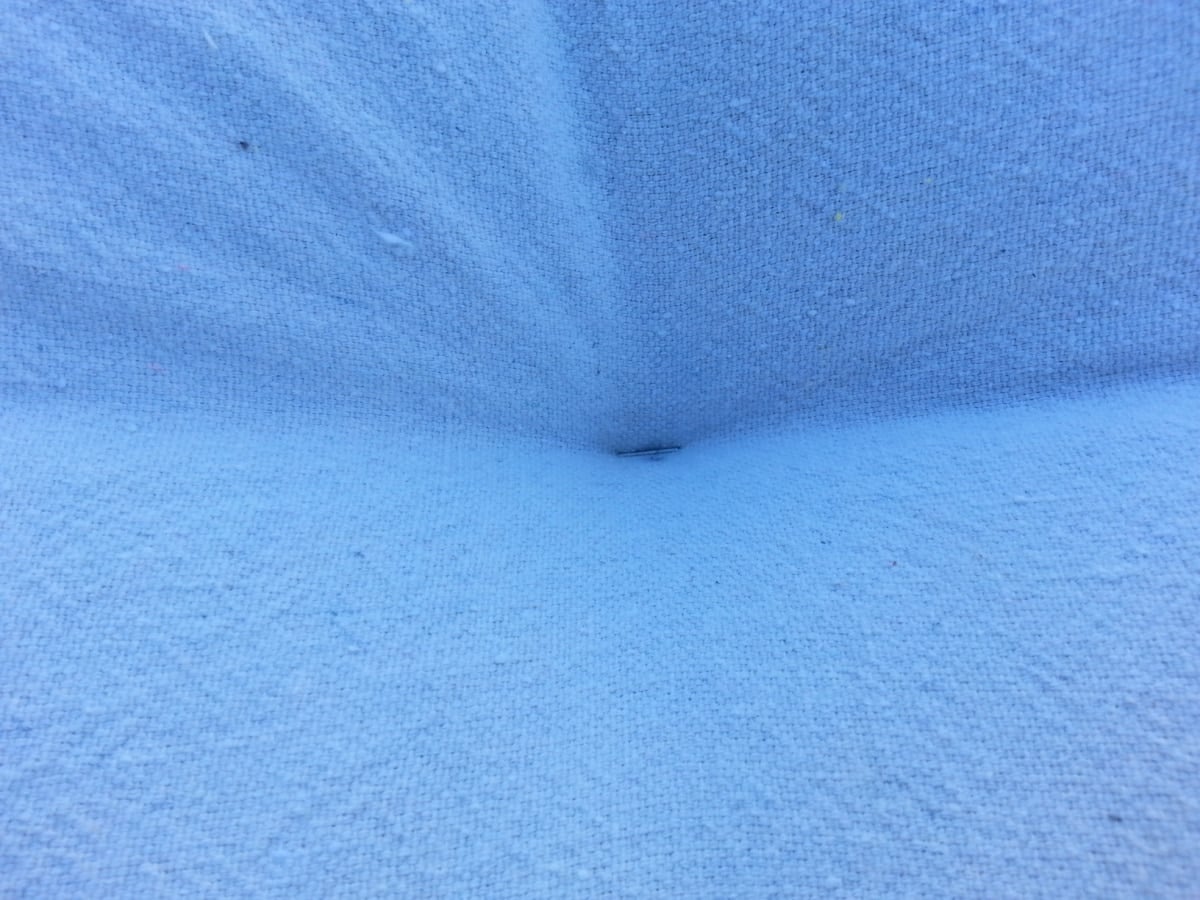
It seemed easiest to make little marks where I wanted my buttons to go; then, I shot a small staple through all the layers into the wooden seat.
Please take just a moment to share this idea. It helps more than you know.
Add a Washer and a Small Screw for Easy Button Tufting
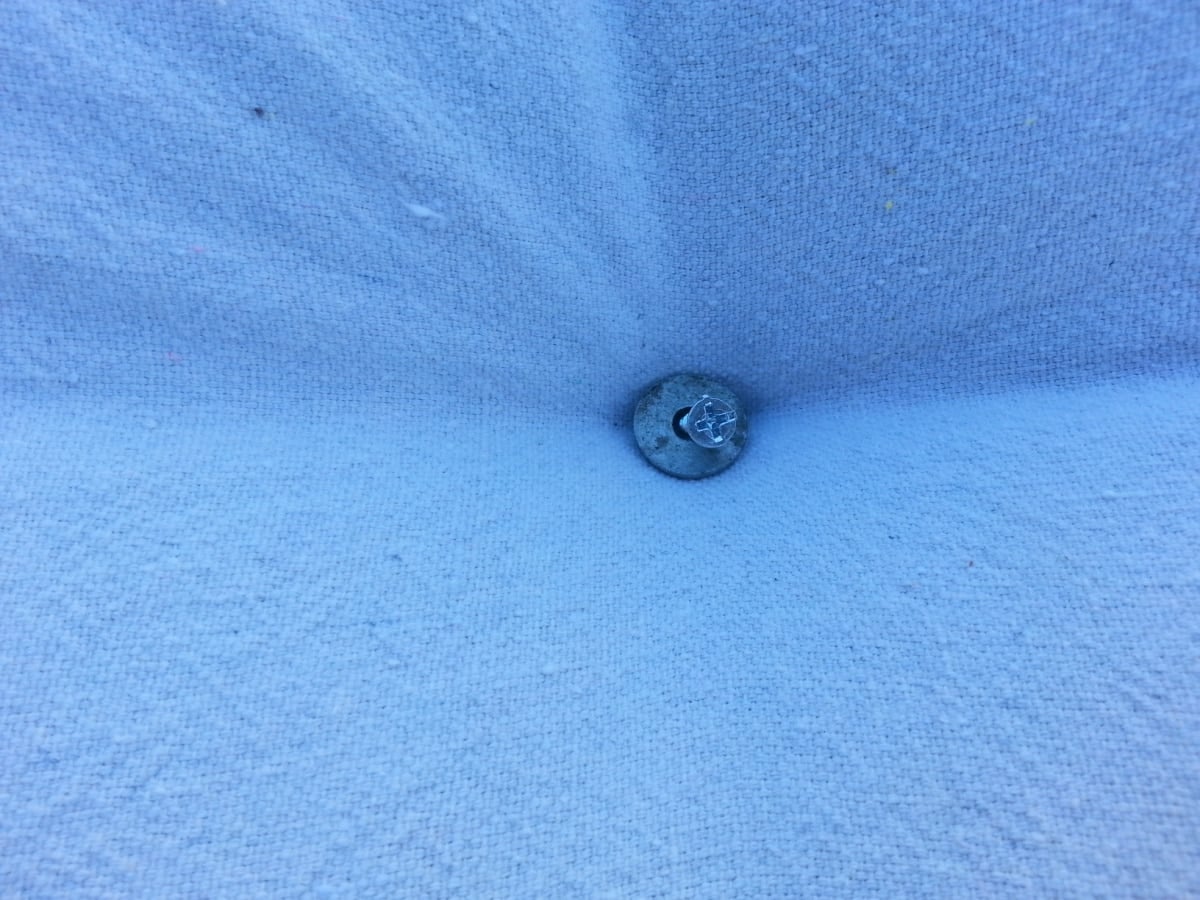
I started a screw (with a washer) right next to the staple. Stapling it first eliminated any snagging during screw and washer installation, as it held the material in place.
This picture shows the partially secured screw; I finished drilling it in after this picture.
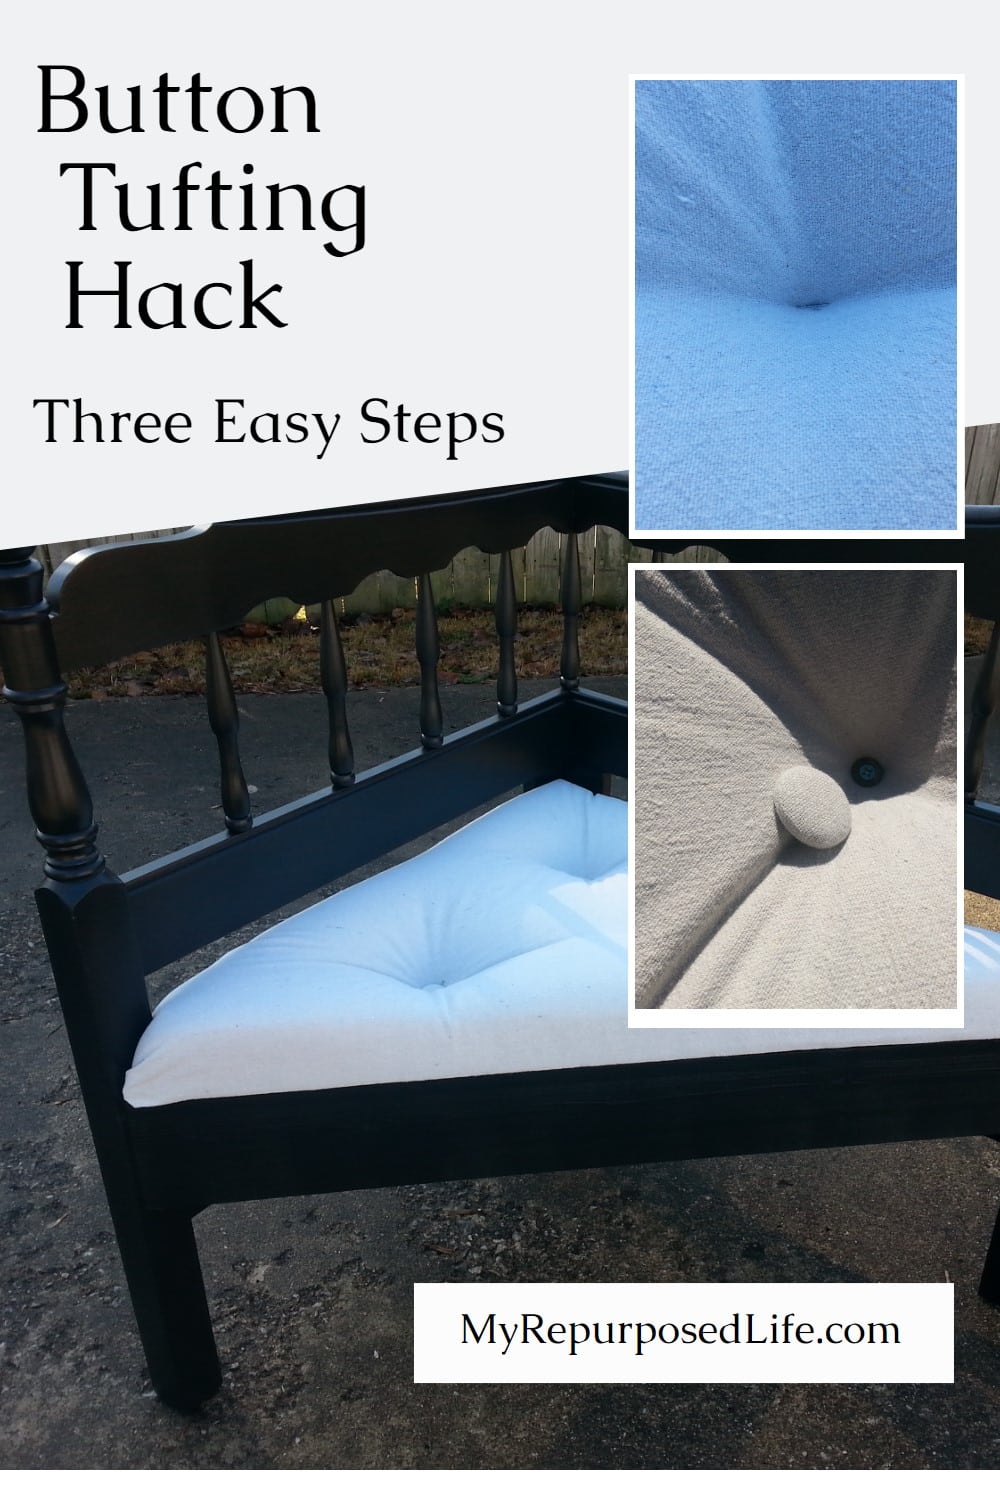
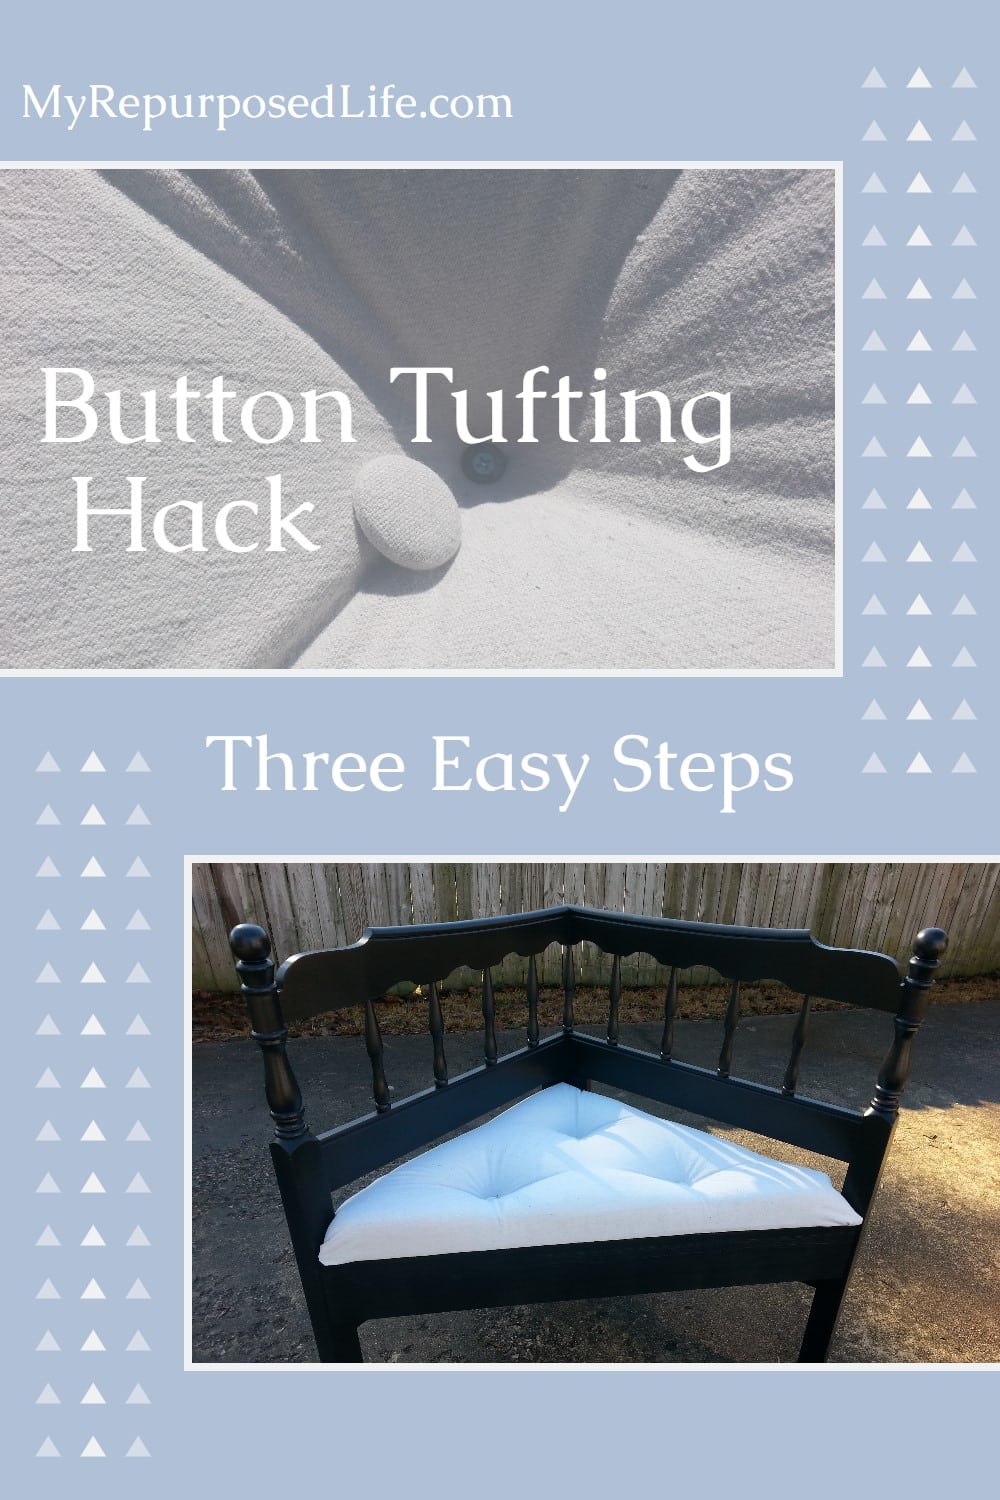
Apply the Button Cover to the Area With a Glue Gun

You can see the tight hold the screw and washer make. I made a puddle of hot glue where the screw was and pushed the button down into it. I did have to hold it for quite a while. If you use this technique, be careful; the button gets very hot.
Covering Buttons with a Drop Cloth Material
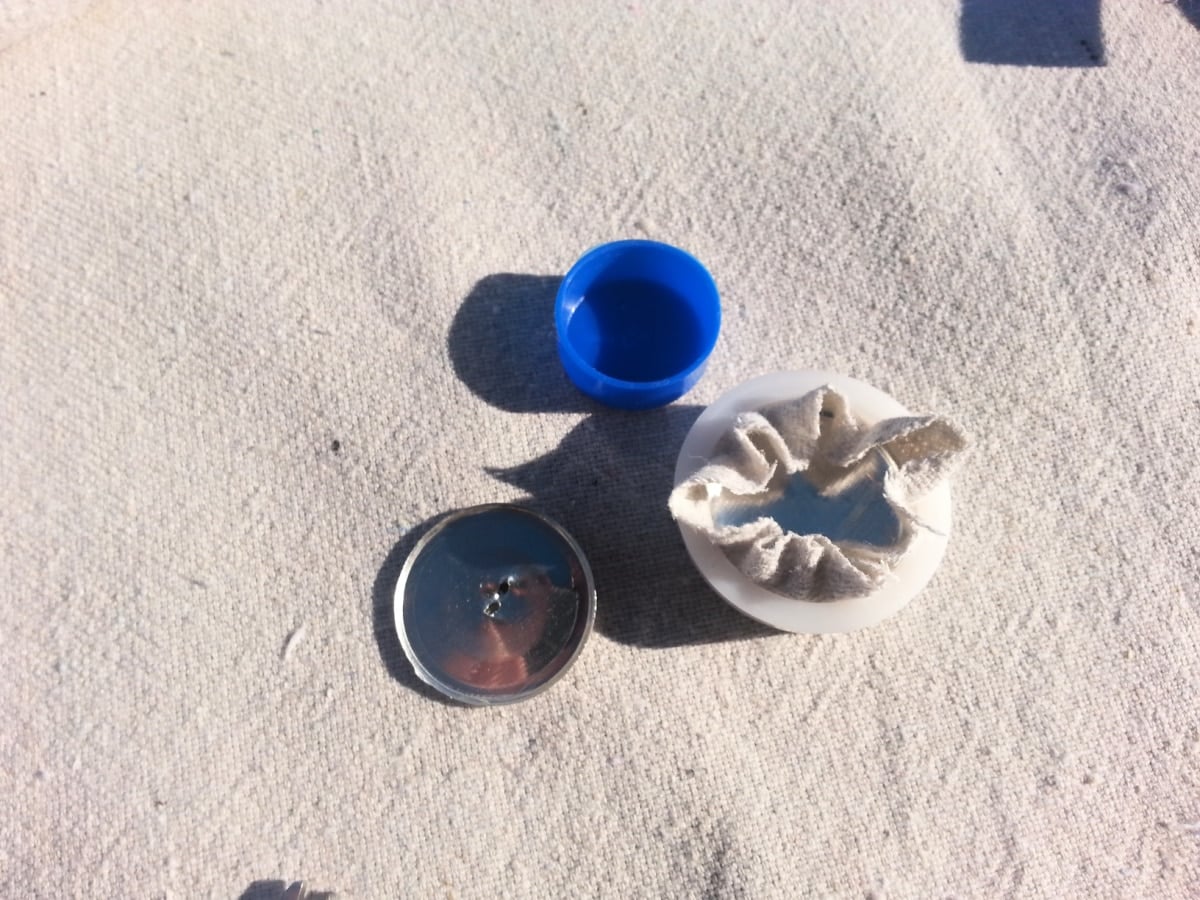
Now, about the buttons…have you ever covered your own buttons? I have a few times, but I didn’t have this kit before. OMG, it was so easy this time.
These are the types of buttons I used, and I LOVE how easy it was to cover them. Cut the fabric via the pattern from the package, place it in the white mold, insert the top of the button, fold the fabric into the circle, place the other part of the button on top, and use the blue pusher to make it all come together. Removing the shank seemed the best way to do this. When, in fact, I realized later that it was best to leave it intact.
Button tufting works so well on smaller projects because it adds texture, dimension, and a custom look without requiring a full upholstery overhaul. It’s an easy way to make a simple bench or seat feel more finished and a lot more special.

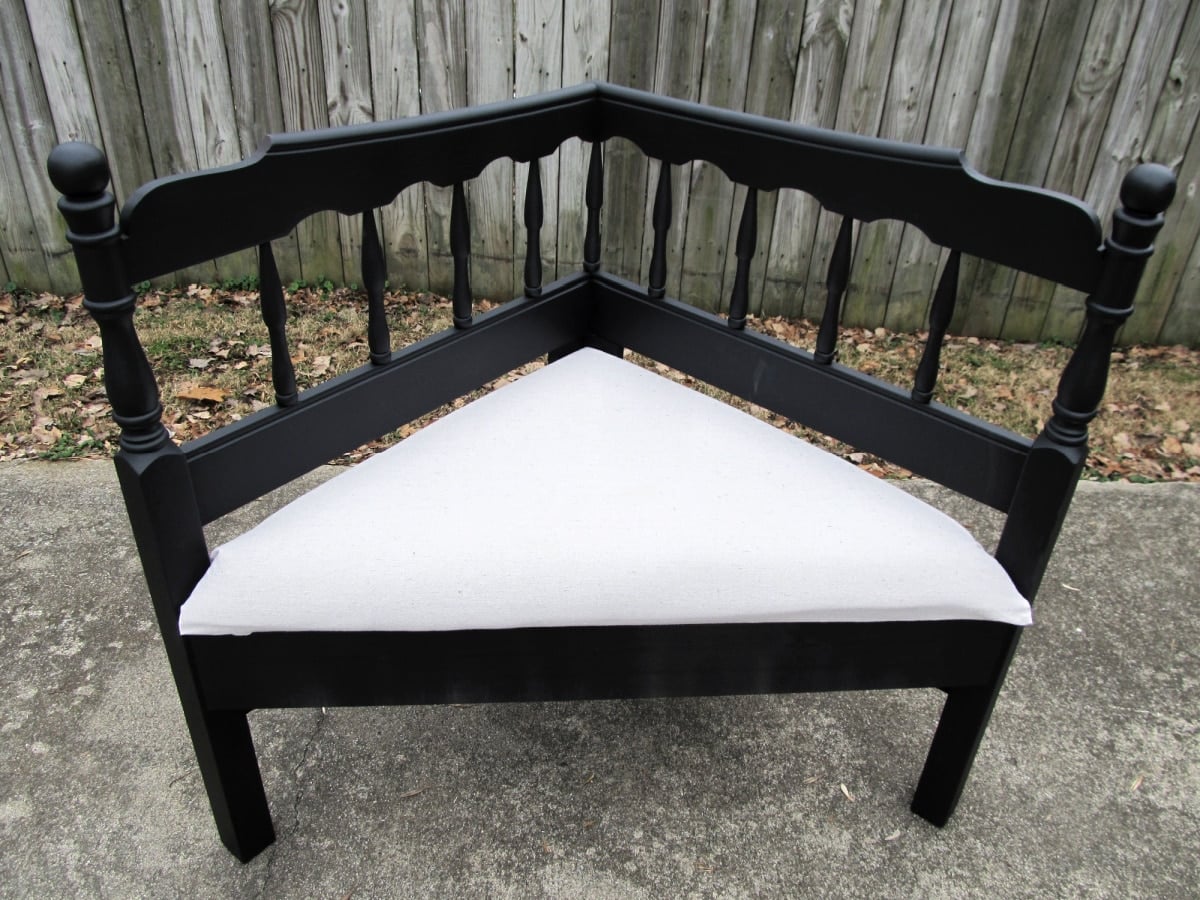
Voila! I LOVE how it looks with the upholstered, button-tufted seat.
Button Tufted Corner Bench Made From a Headboard
Now you know the absolute EASIEST way to cheat on button tufting. No holes drilled, no long needles, with all that string tied and stapled on the underside. Easy Peasy Button Tufting in 3 simple steps.
I hope you try this technique; it is so easy. Or, maybe you have already tried one or both of these cheat options? Do tell!
Be sure to check out my Easy Coffee Table Bench with Button Tufting Project
gail
If you love this headboard bench, see my favorite Mission Style Bed Bench with Storage
Love love it! I am all about easy! I had seen the screw with the washer technique, but I like how you used both! I looks so good with the tufts! Pinned!
clever and easy,i’m trying this
I think your cushion competes your bench to perfection. Great tutorial!
Great option. I tufted a 6′ X 6′ headboard for my king size bed. I drilled holes etc. It turned out nice but this would have been easier. It hung on the wall. Now in my new smaller place it sits on the floor behind the bed and is still large enough in proportion.
Oh my goodness Gail you read my mind!!! I have a bench I’m working on right now and I wanted to do a tufted cushion. Looks super easy. Thank you!
Cool trick! I want to make a tufted headboard and I’ll have to try this!
This is great, Gail!! I love tufting, but diying it has always put me off. Too hard. I love this method!
This turned out so cute, Gail! Love that tufted cushion.
it looks fabulous!!! I am definitely going to try it, just to see if I can do it. If I can, anyone can!!
Pinning this in case I’m ever temporarily insane and want to attempt to sew or something similar, that needs tufting.
I’ve cheated with the staple, but the screw and washer. I will definitely have to try that sometime. And it looks really great on that bench!
Love this idea! Mind if I share on my blog or in the upholstery class that I teach??! Great idea!