Chair Back Jewelry Display
As an Amazon Associate, I earn from qualifying purchases.
I love old chairs, and today I have a fun and easy chair project for you. I turned an old chair back into a jewelry display.
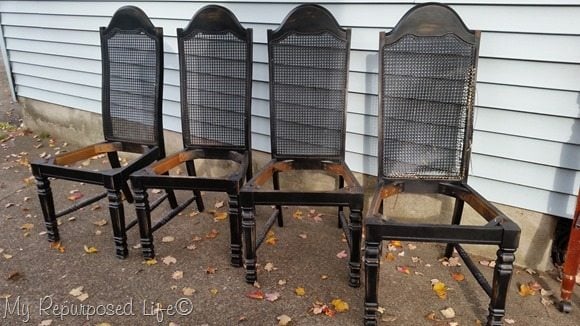 Check out these four chairs I got from a local reader last year. I’ve already used some of the legs to make a coffee table/bench.
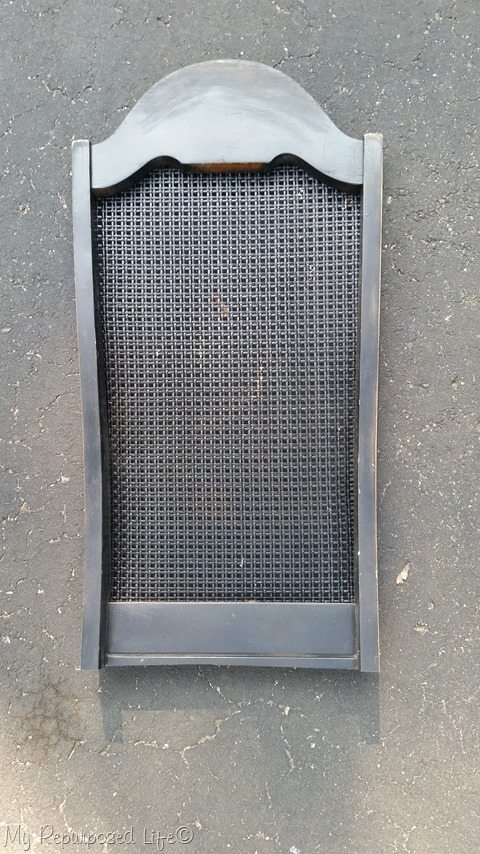 After cutting off the legs for the table/bench, I used the nicest looking back to make this jewelry display. I did a little more trimming with my saw to get a great edge at the bottom. I laid it flat on the driveway so I could see how it was going to hang on a wall.
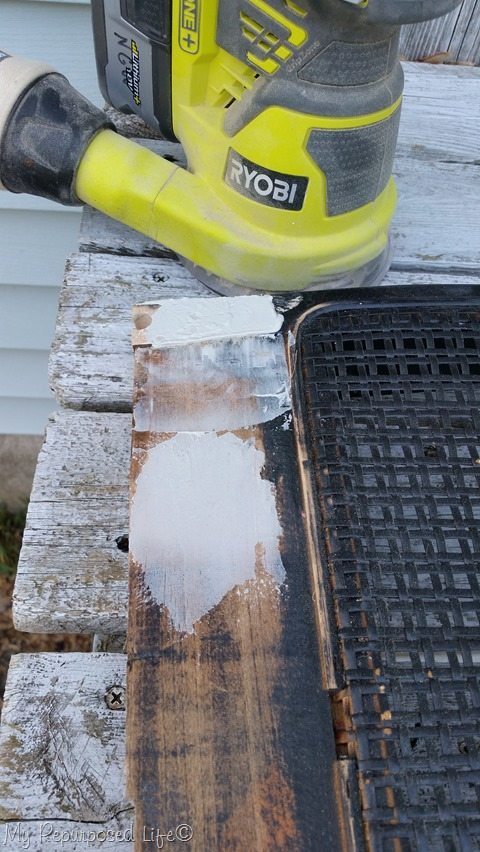 There was patching and sanding to do.
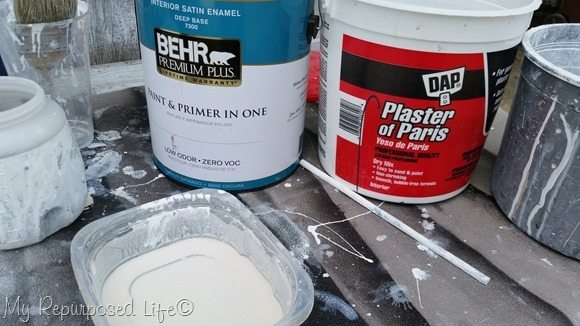 I mixed up some diy chalky paint primer with Beluga and Plaster of Paris to do a nice coat of primer.
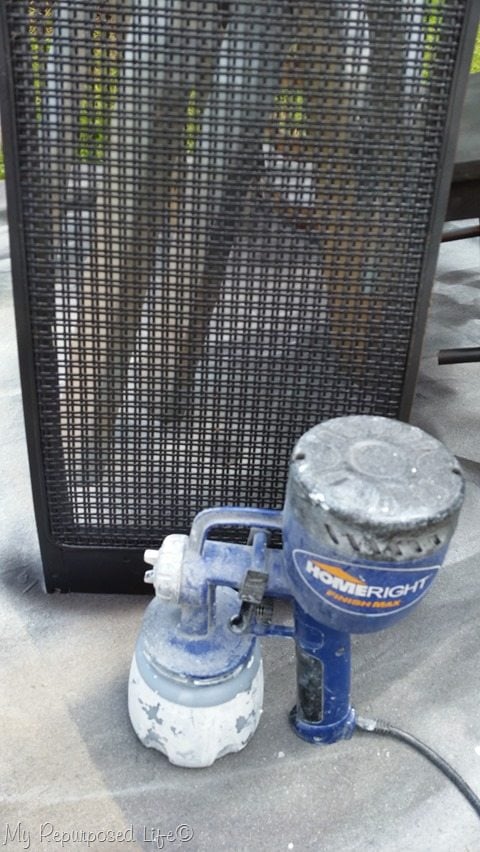 Don’t you agree that this cane chair would be a pain in the patootie to paint with a brush?
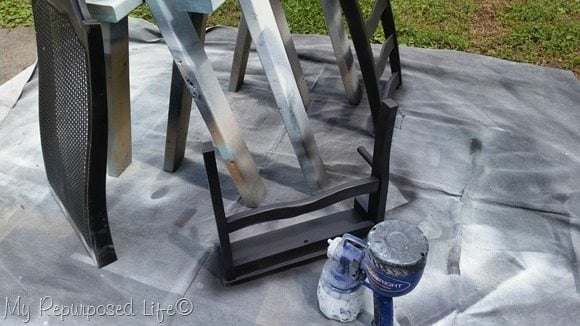 The Homeright Finish Max made easy work of this project for sure! Especially since I was painting other chair projects as well. You can see the chair seat shelf and the chair back shelf by clicking those links. Both are great for the kitchen, guest room, or bathroom.
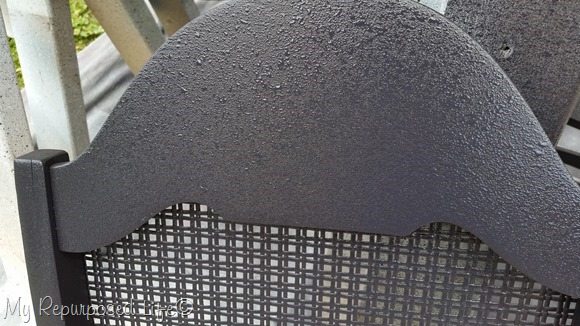 I get so many questions about using a Finish Max. I wanted to set you at ease about being “perfect” when you paint. Different paints react differently in the sprayer. You can see in this picture that there is some “bubbling” going on after I sprayed with the Finish Max. This was the final coat and I simply left it alone. I didn’t spray again, nor did I hit it with a cheap chip brush.
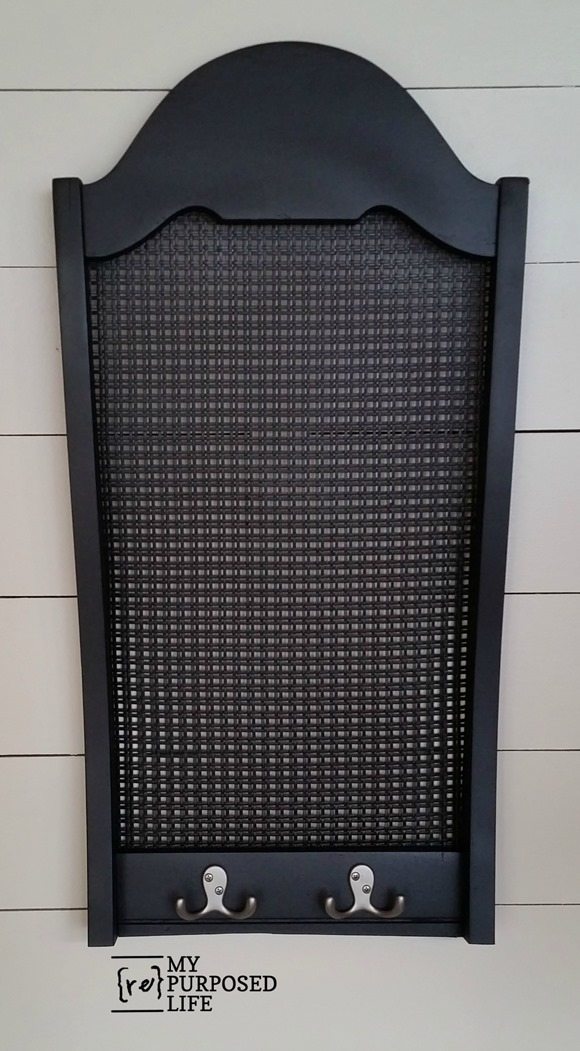 It’s hard to explain how it works, but the bubbles simply settle down if you leave them alone.
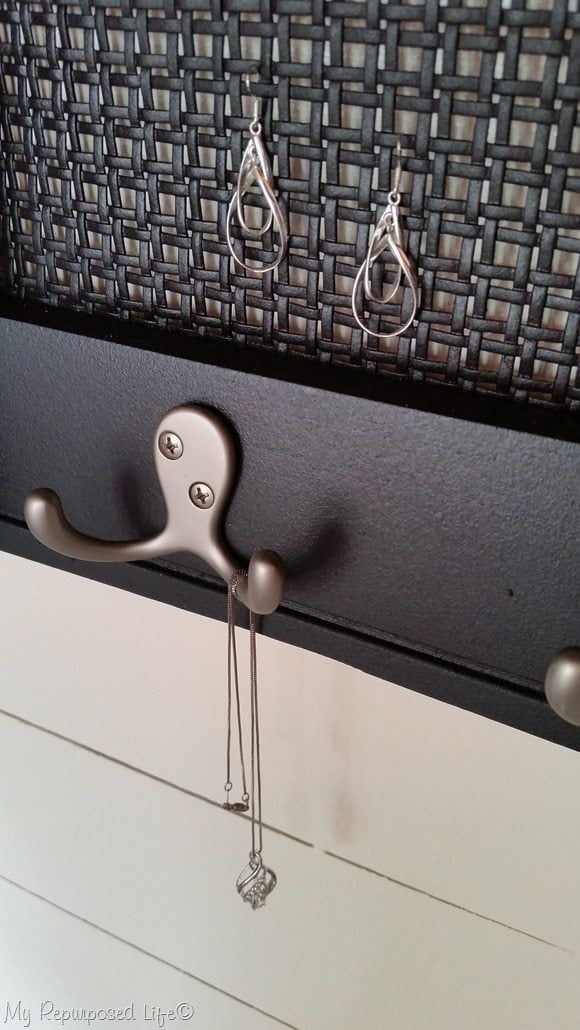 A couple of light coats of the chalky paint primer, then a couple more light coats with Beluga (satin) works best. I love, love, love the finish on this chair back jewelry display piece. I added a couple of hooks for chains, necklaces or scarves. You can get them from my friends at D. Lawless Hardware.
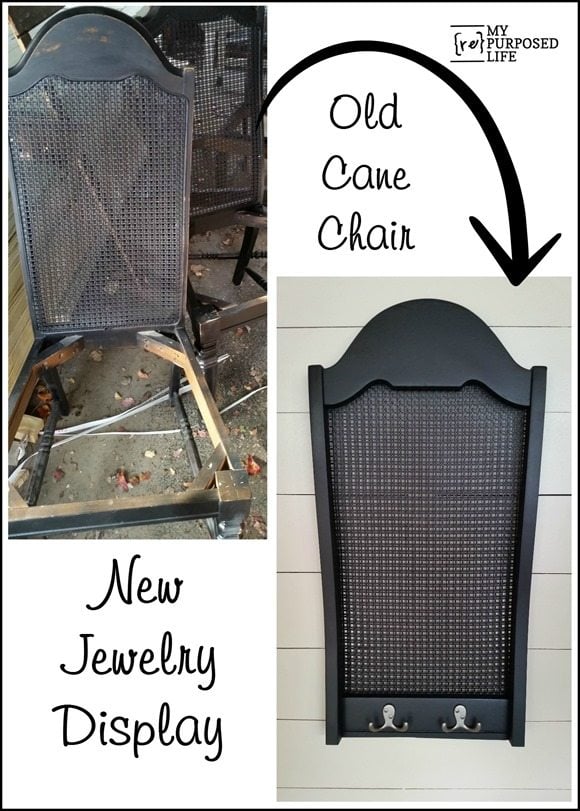
The best thing about DIY is that you can customize YOUR jewelry display piece however you want. I’m just here to inspire you to pick up some power tools and get busy! I think this would look great with some embellishment or hooks on the simple plain top of the chair back. But not knowing what a future buyer would want, I kept it simple. I even think it would look great to stencil the caned chair back.
What would you do differently?
gail
I used the legs of these chairs to make a coffee table!
See one of my first, and an all-time favorite chair projects here

Sooo nice. I like!!!
thank you Mary! I put it in my booth today, I hope it finds a new home soon.
gail
That was a great idea. Those chair backs would hold a lot of earrings or necklaces. Thanks for sharing with us.
love it! if it were mine, i would “chair-ish” (lol) it forever!!!
awww, Nova– what a clever comment! 🙂
gail
Gail! This is beautiful. Looks so luxurious in the Beluga color. The only thing I’d add for mine, would be something for bracelets and rings. Maybe some short, stubby dowels? Of course, I don’t know where I’d put them because I need to find that “perfect” chair back 😉 Thanks for the great ideas you share and for your attitude towards DIY!!