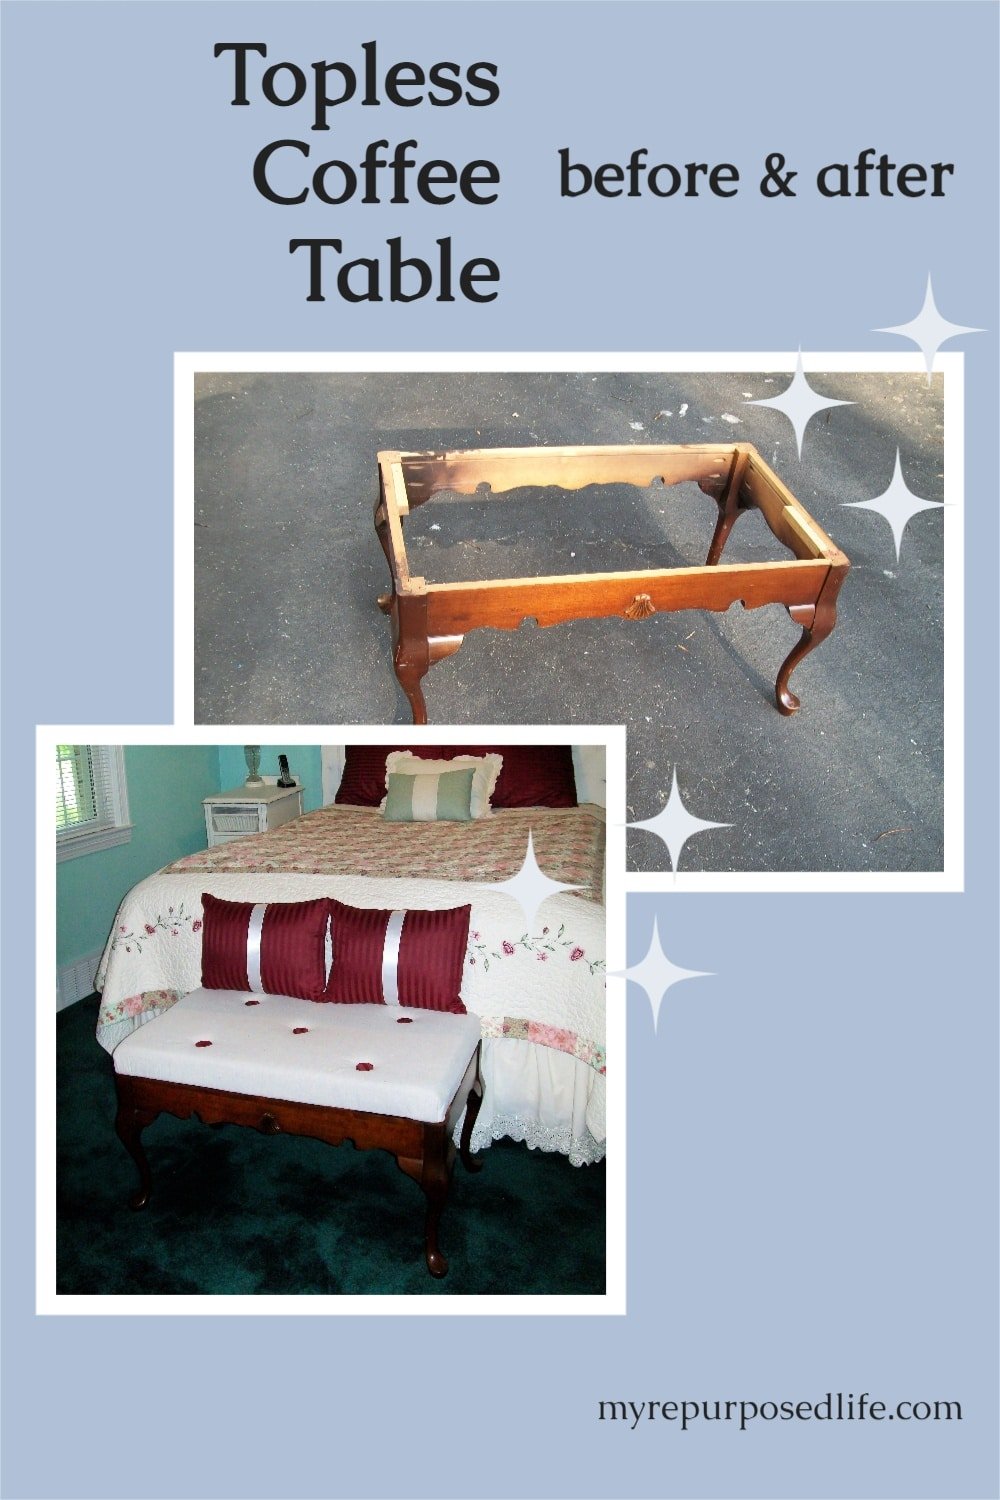
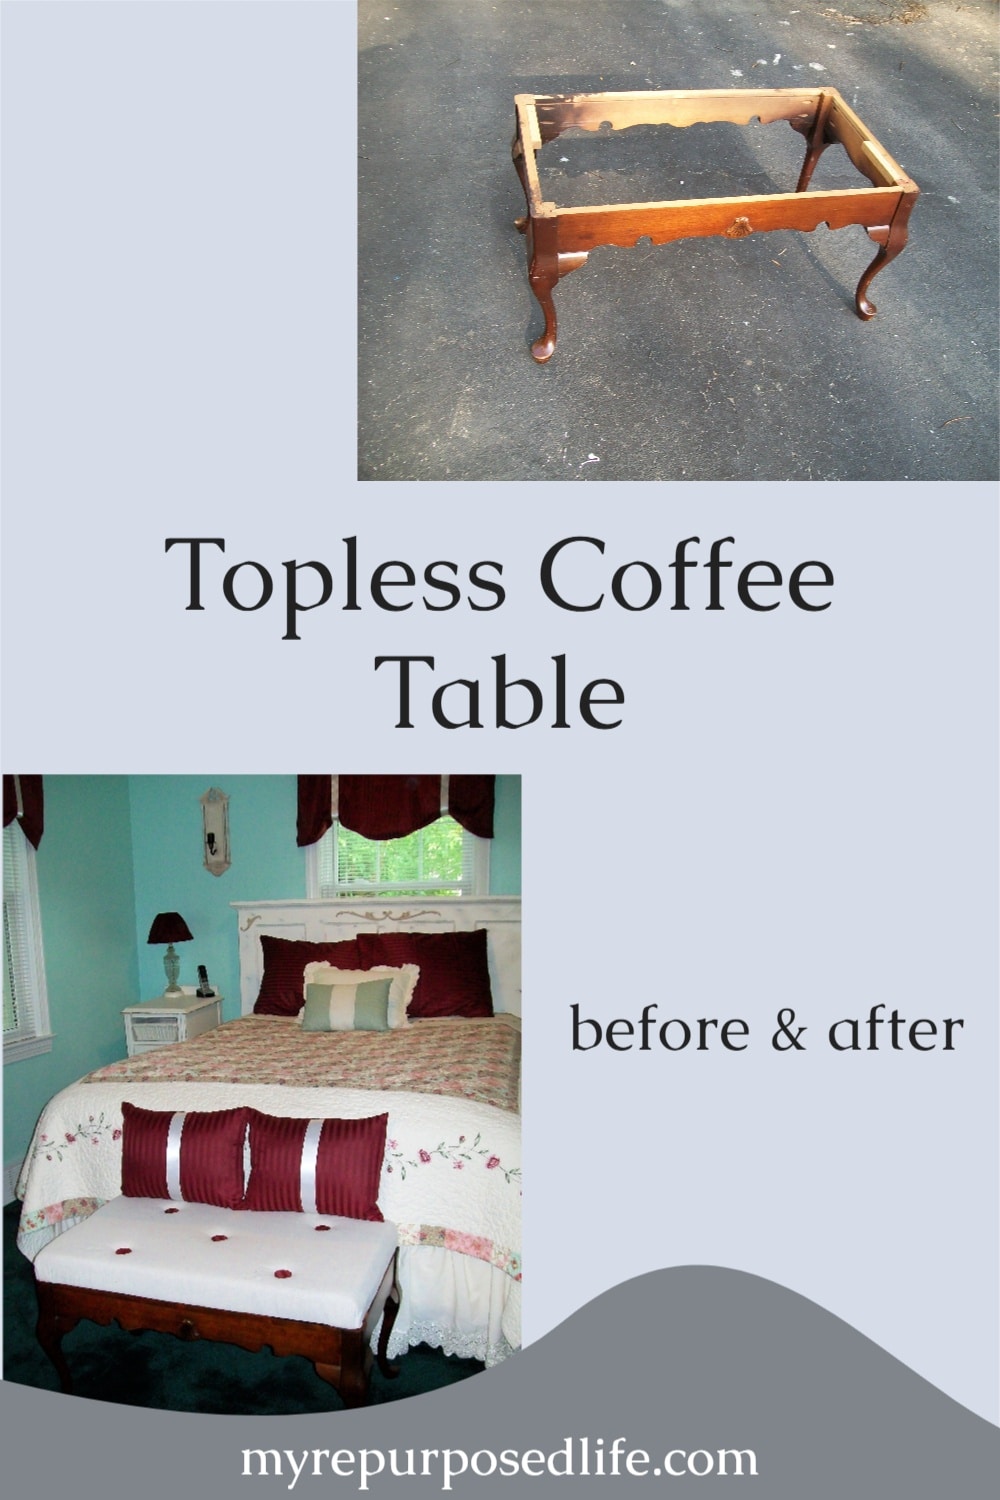
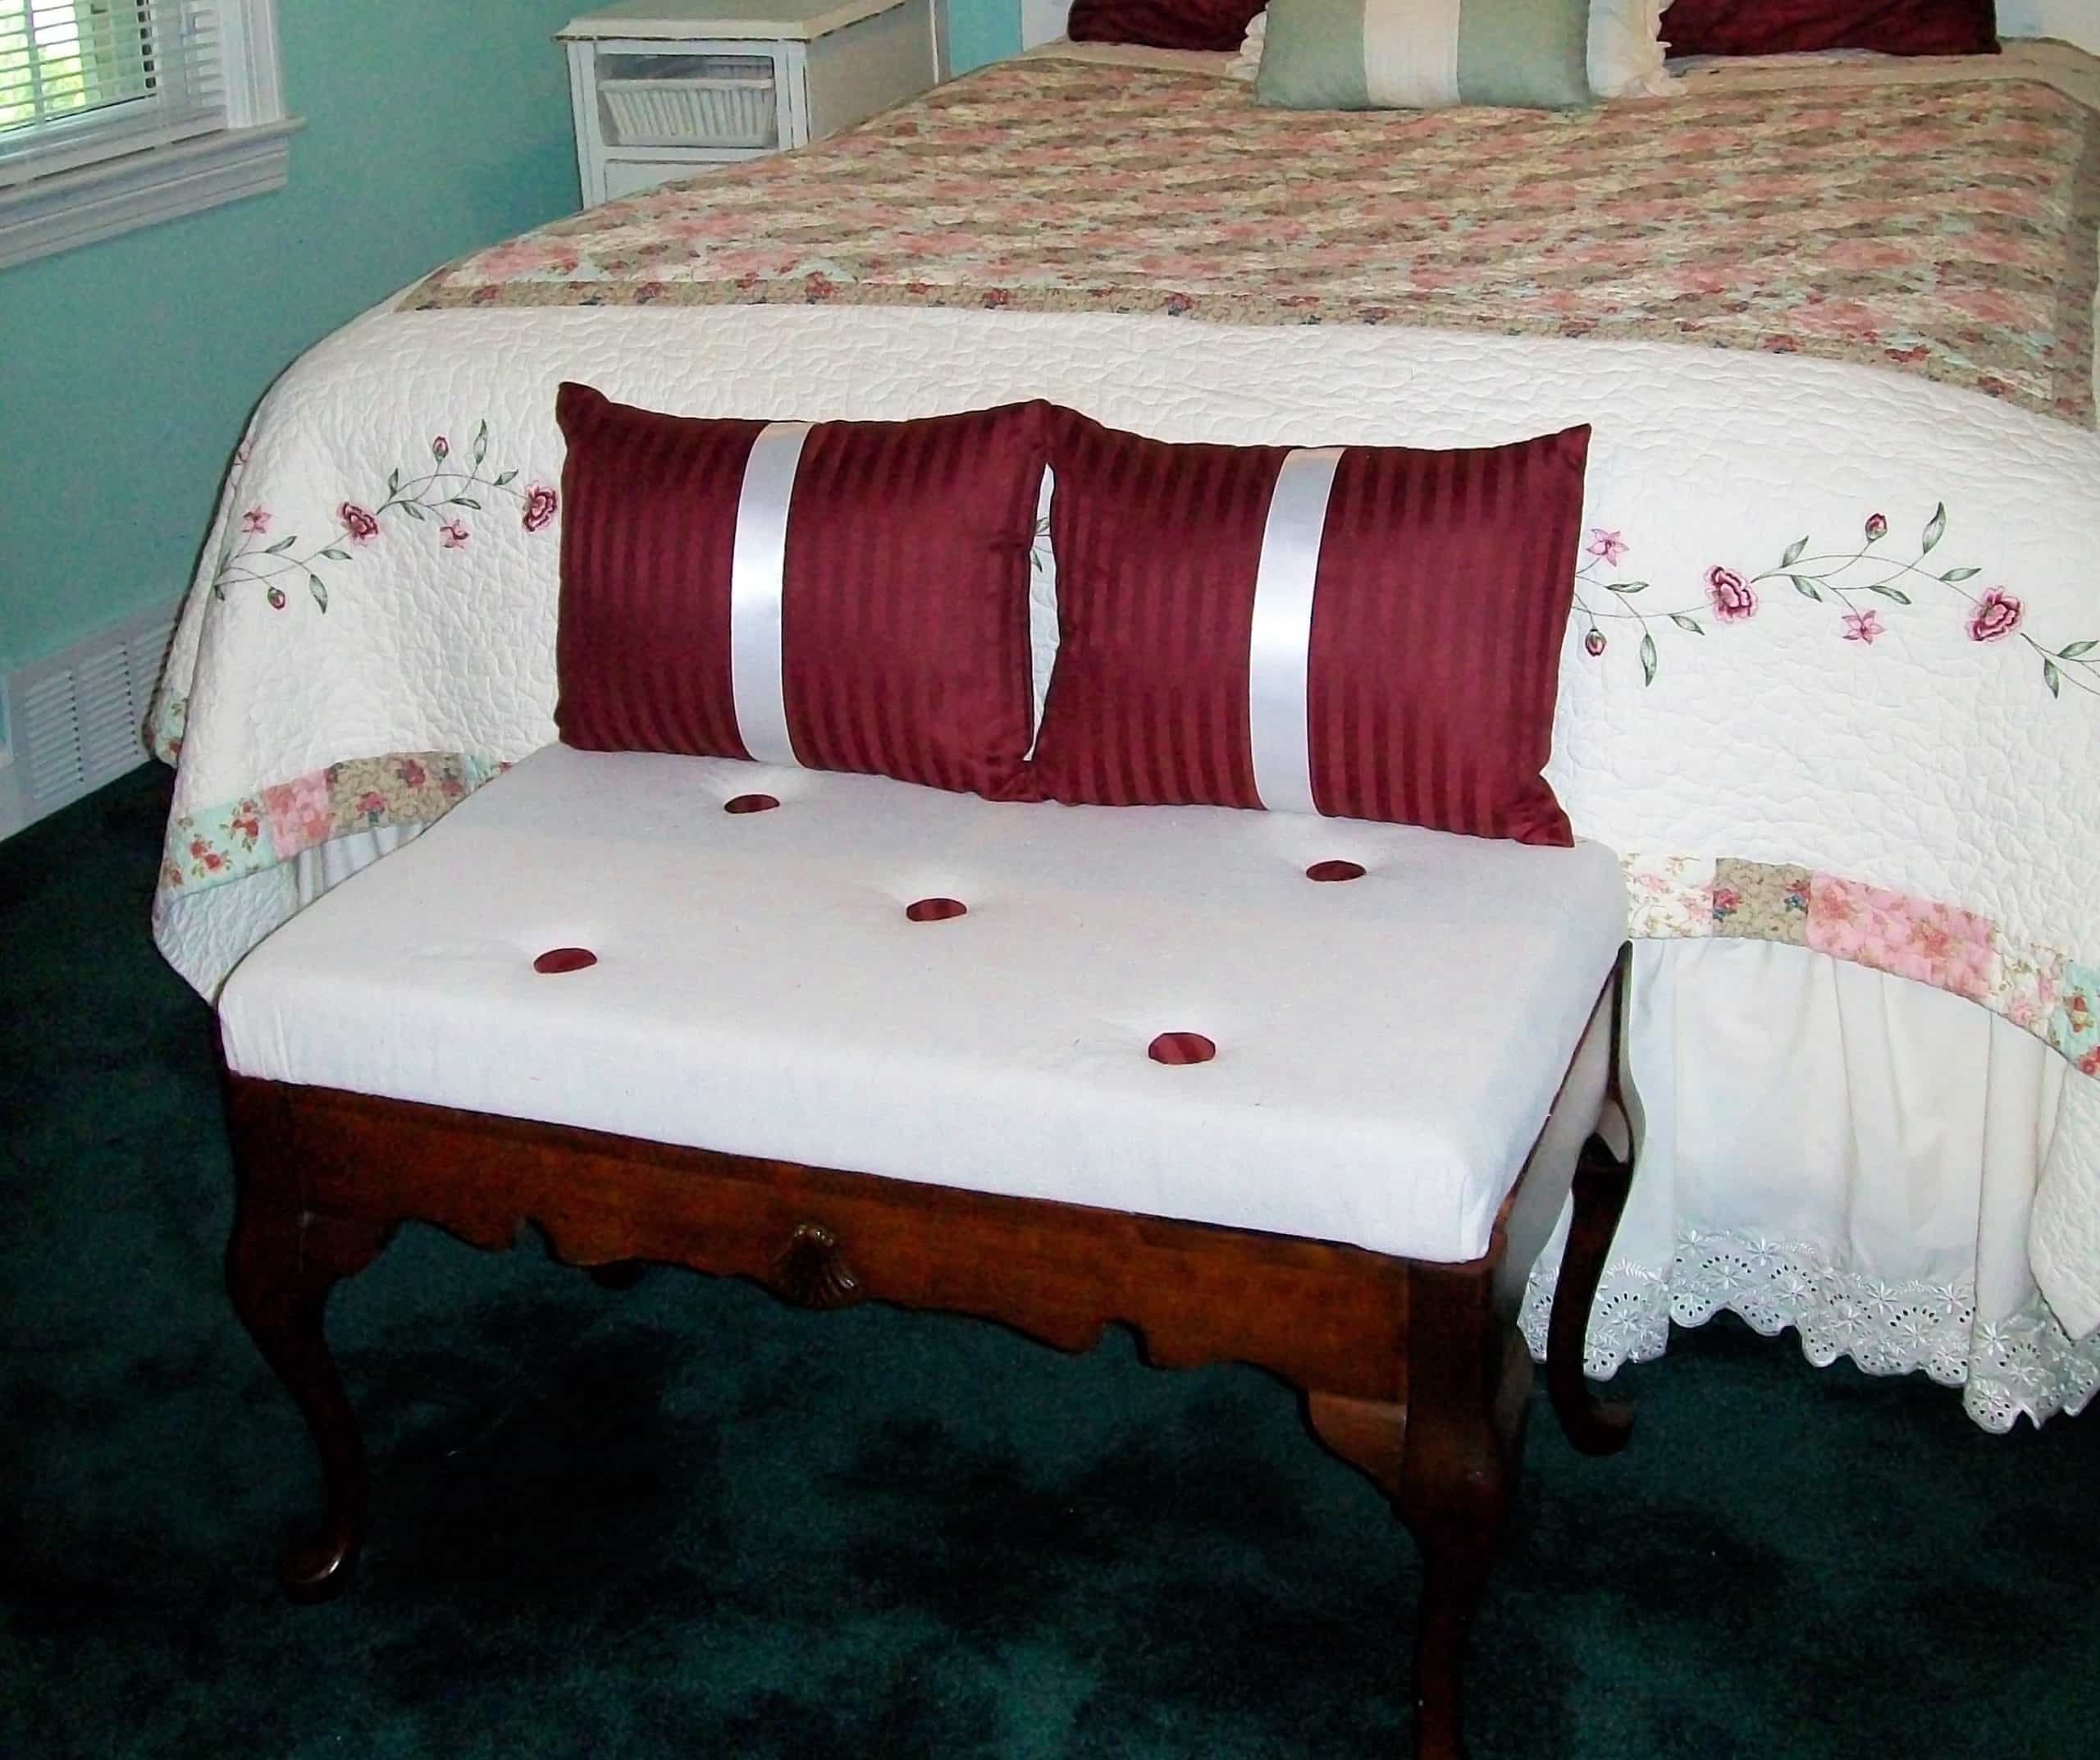
This DIY Coffee Table Bench project is a must for your bedroom!
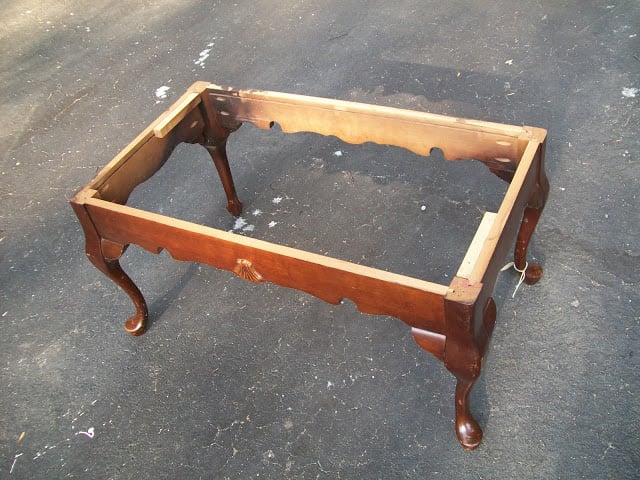
I’m sure you recognize this topless coffee table. I got it from Joey’s booth for $3.96.
Looking for more great table ideas, visit this article 50+ Table Makeovers and Repurposed Table Ideas
Coffee Table Into Bench
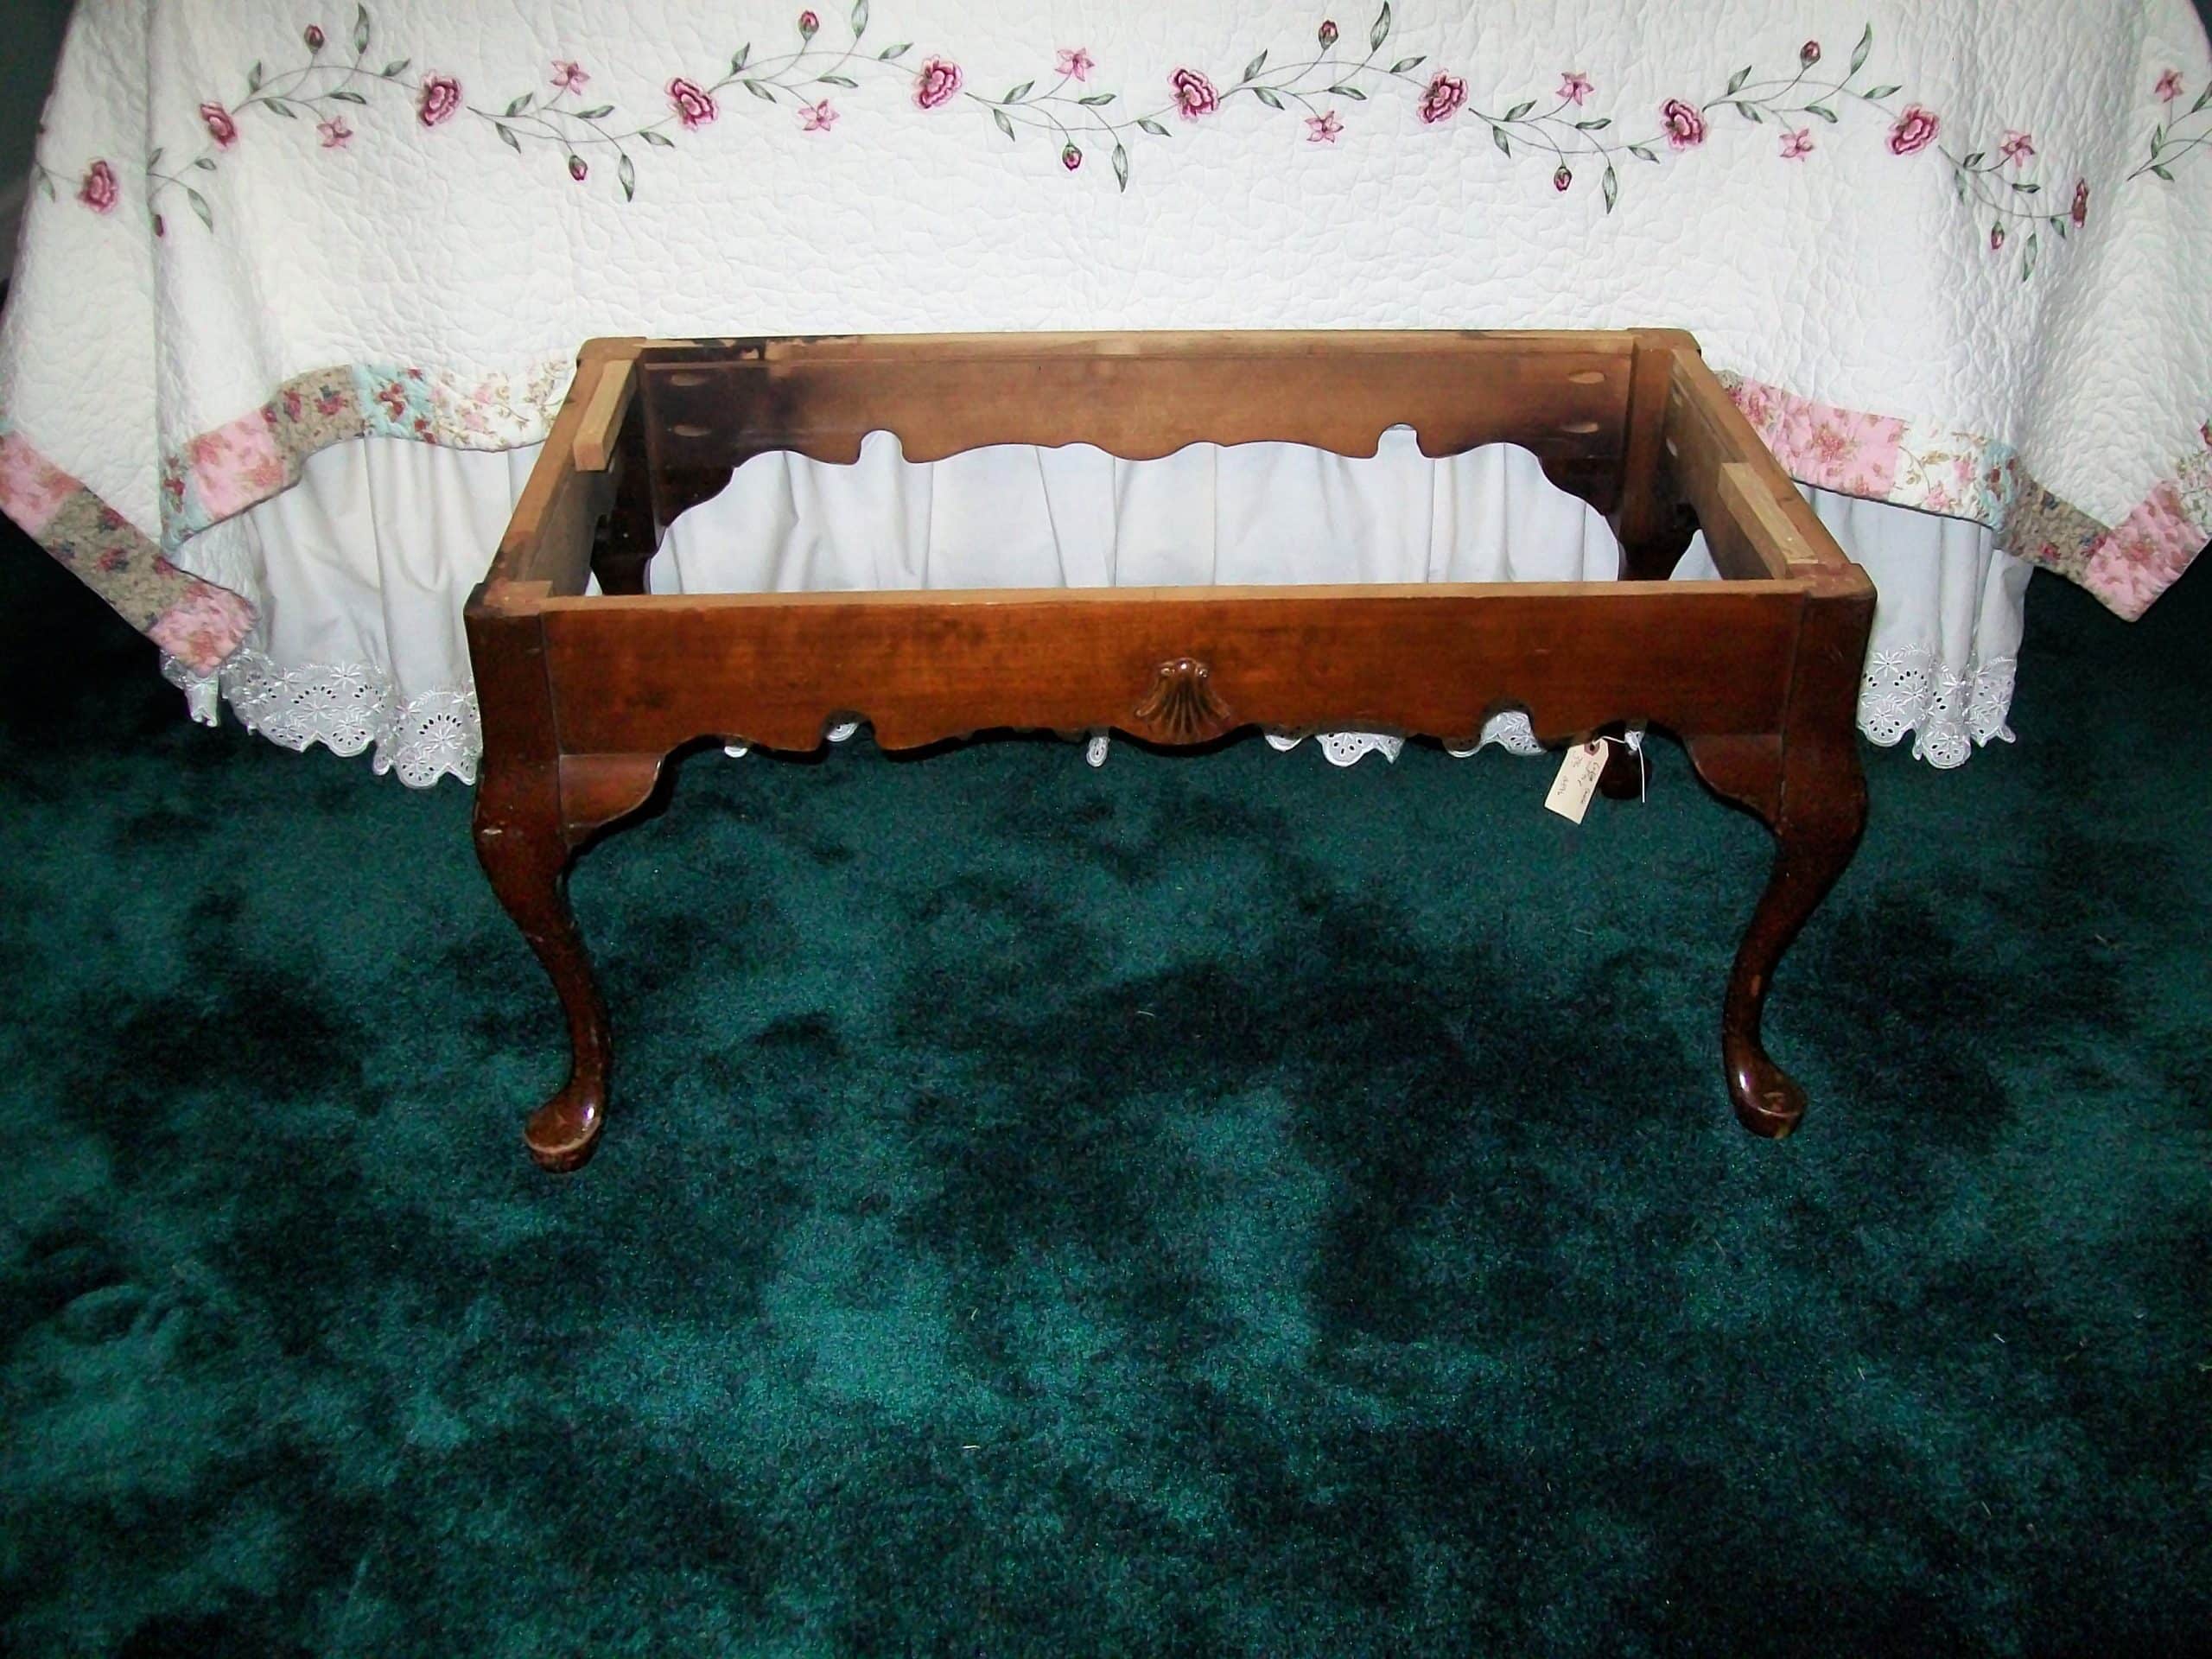
I put it at the end of the bed for a couple of days to see if it was the right size. Once I decided that it would work perfectly, I wiped it down with TSP so that I could paint it. After I wiped it down I thought it looked pretty good, but when I actually started to change it into a bench I was having second thoughts about the finish.
Touch up scratches with Restor-a-Finish
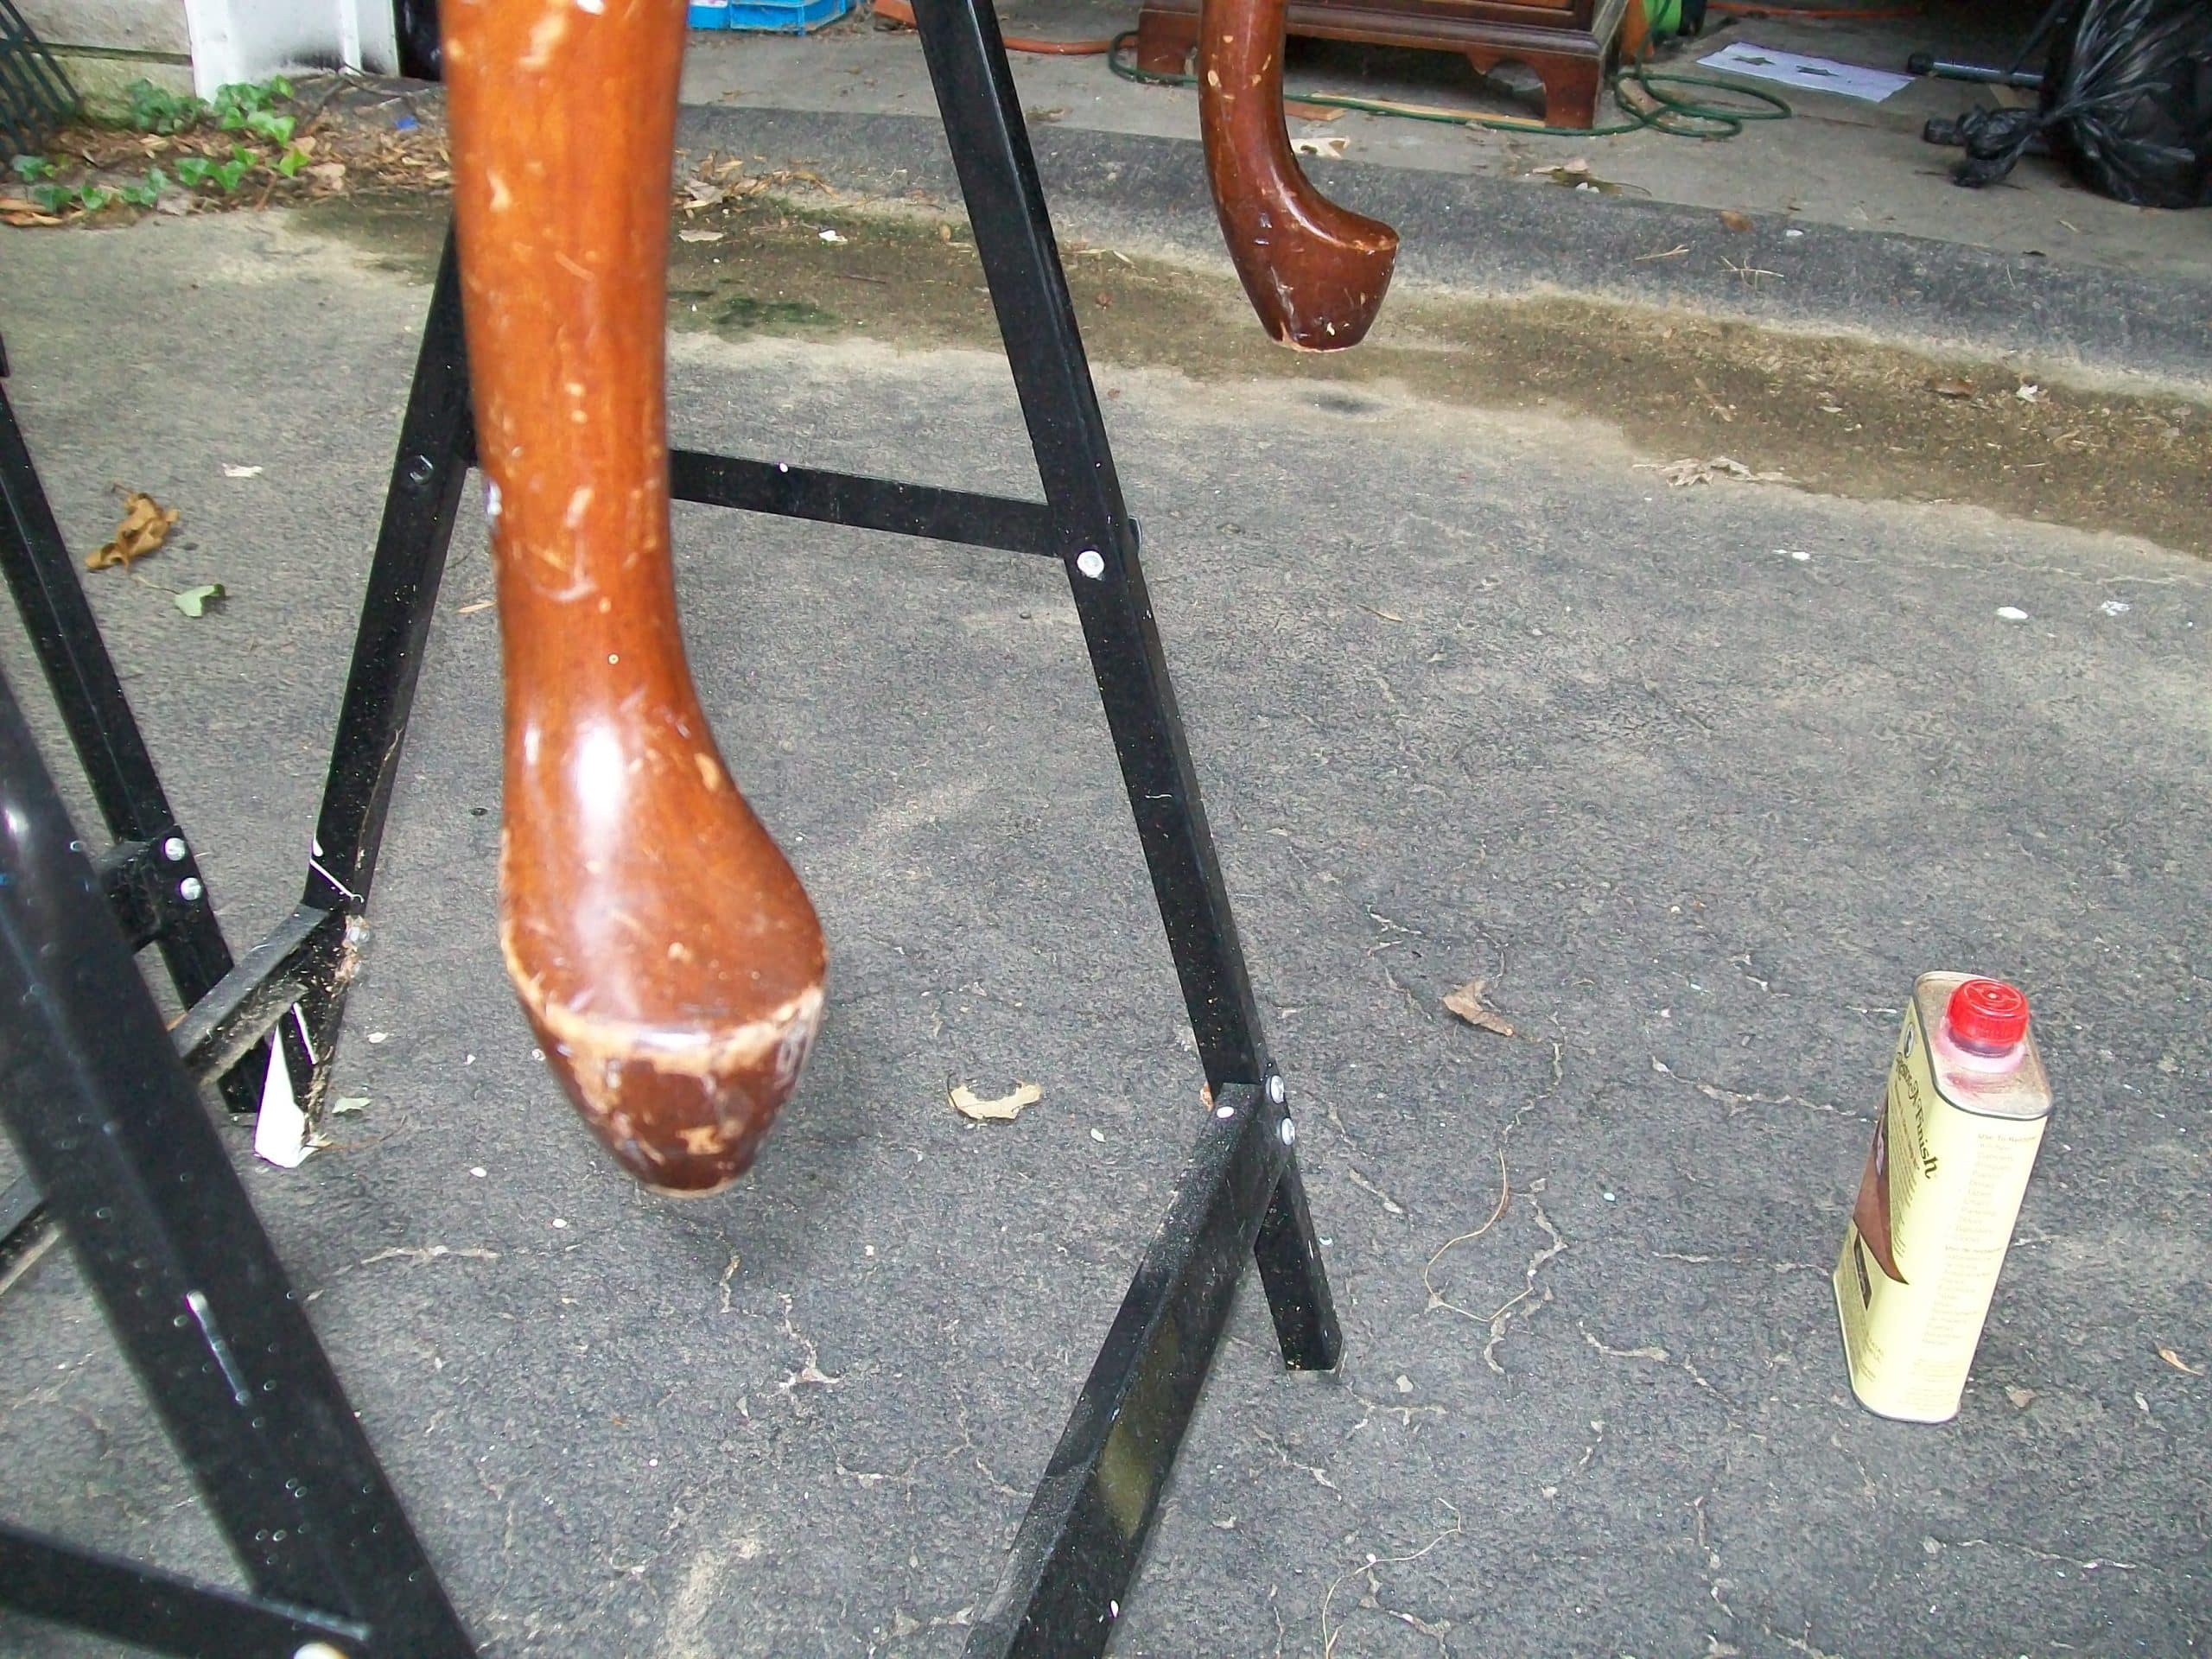
See? It was a little scarred.
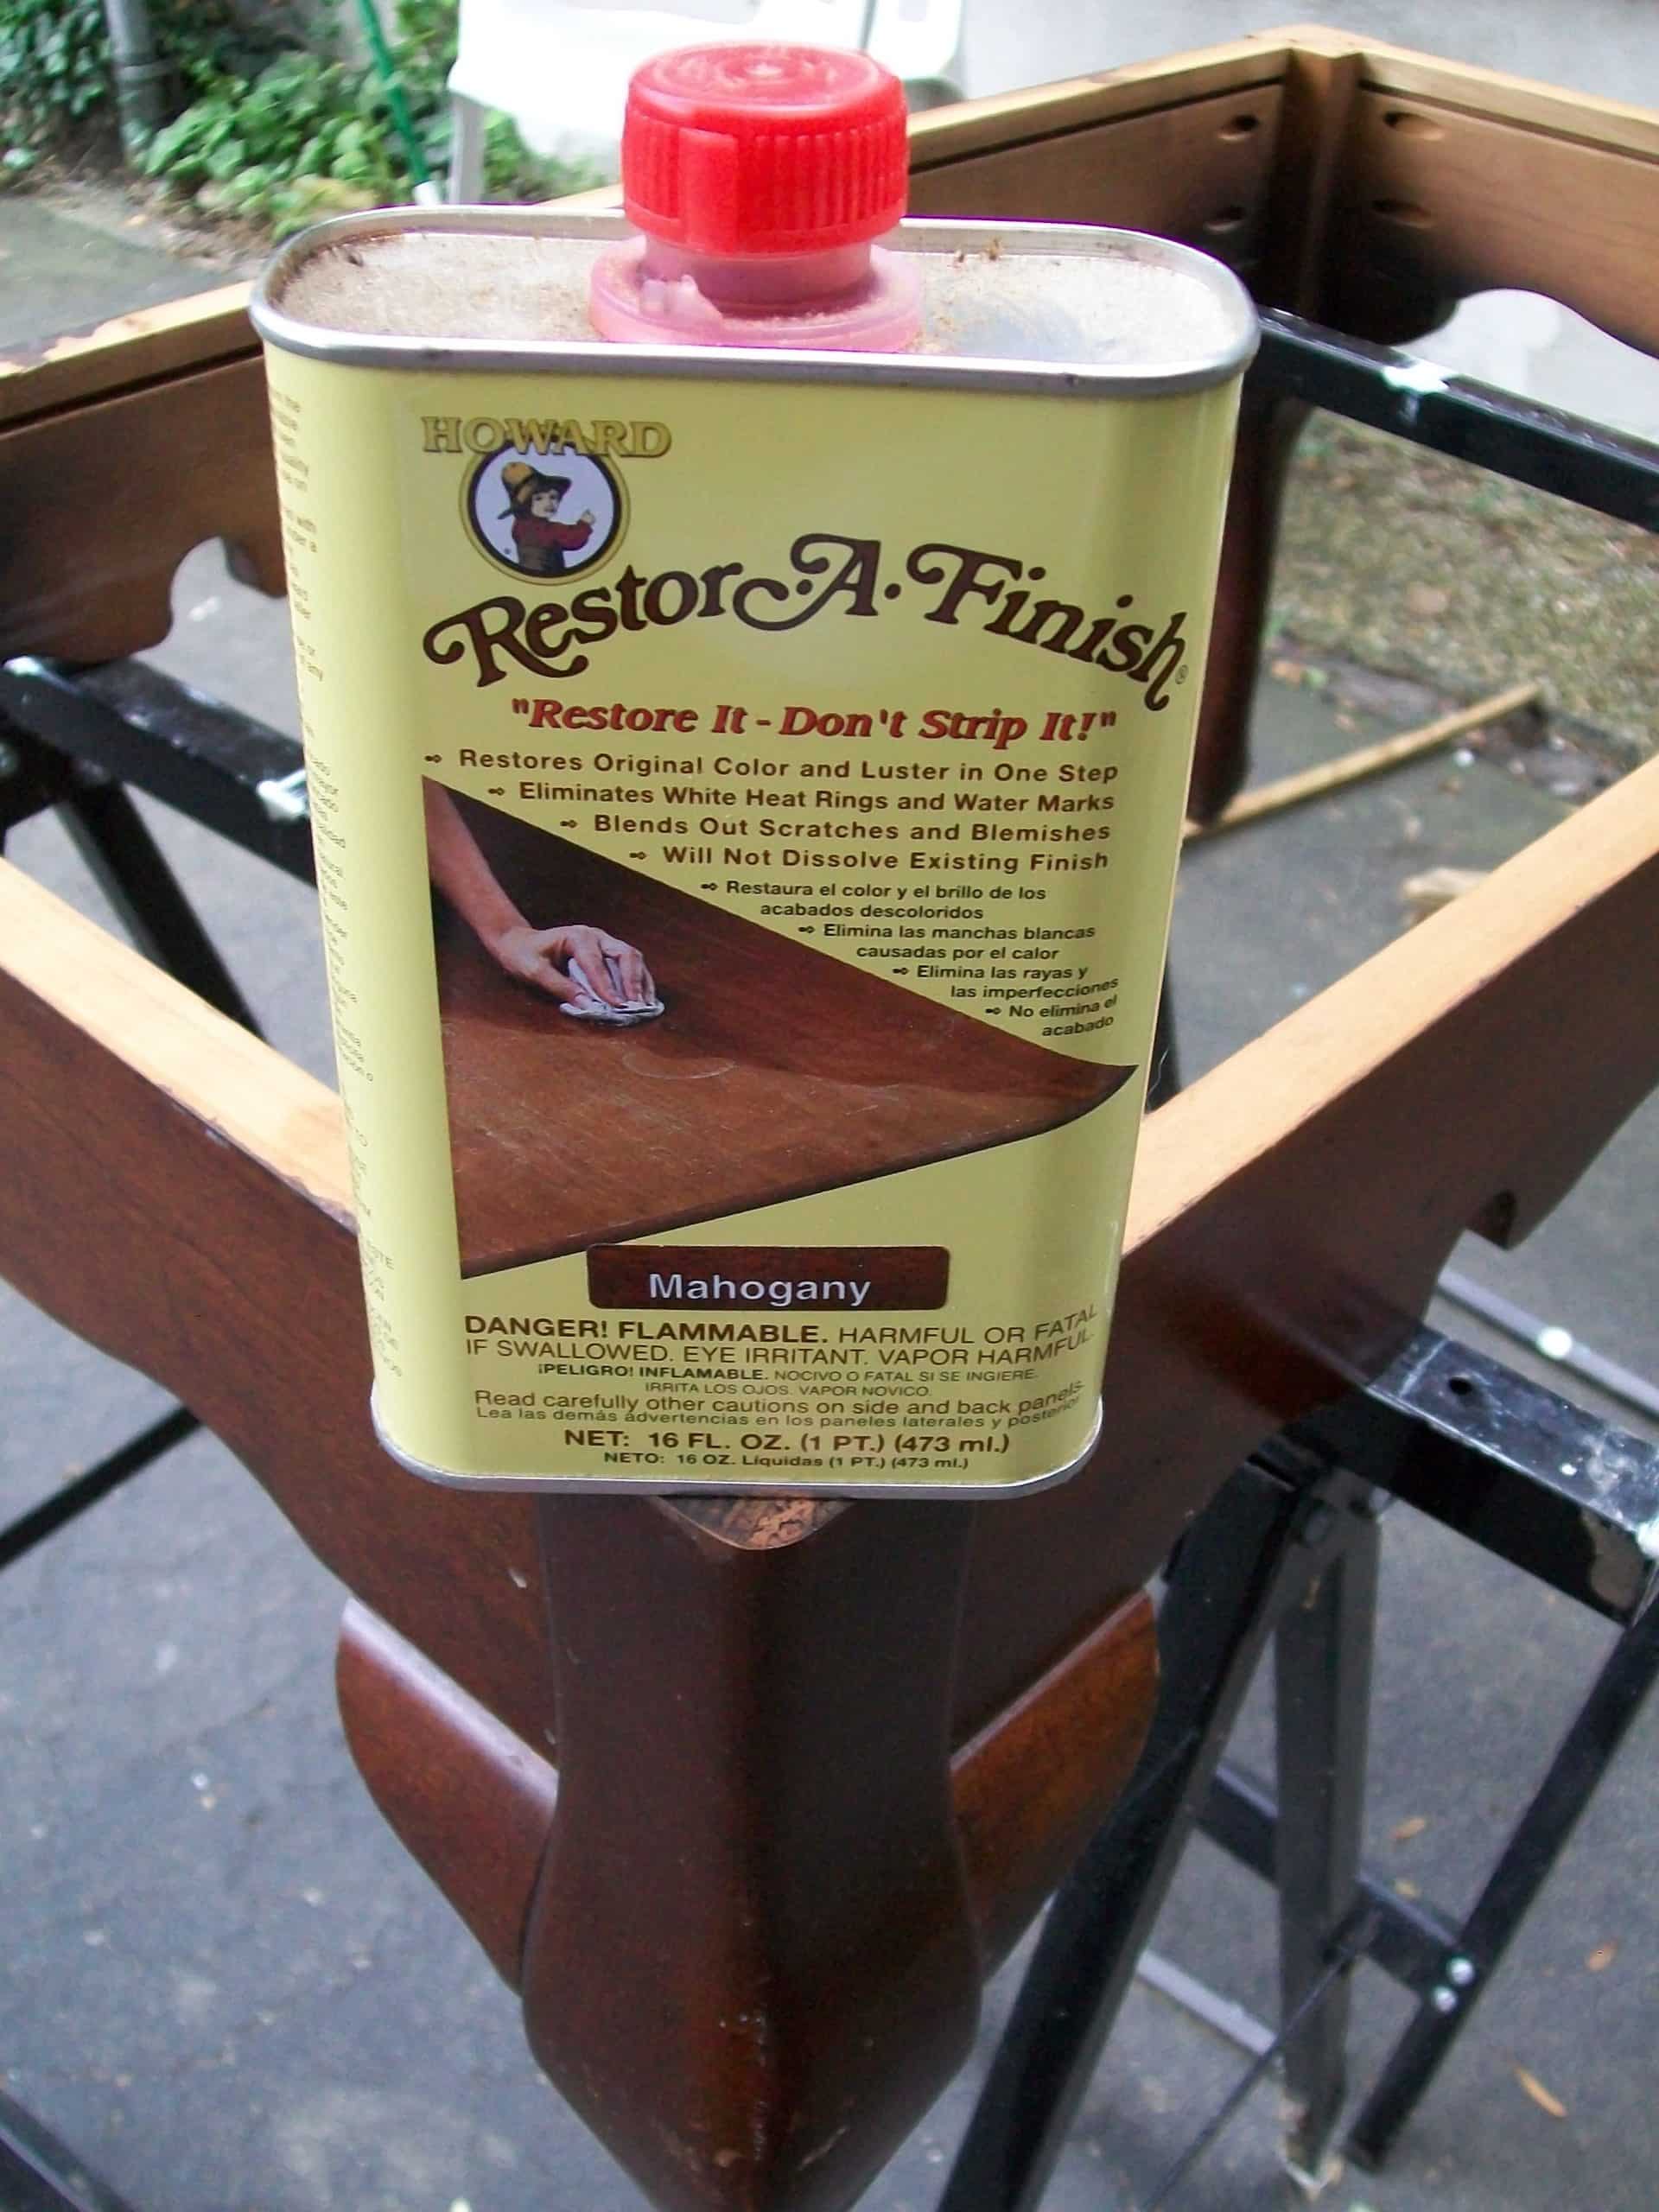
I had a lot of stain on hand, but decided to bring out the RestorAFinish instead. Mahogany wasn’t the perfect match, but it would do. You know I’m all about using what you have.
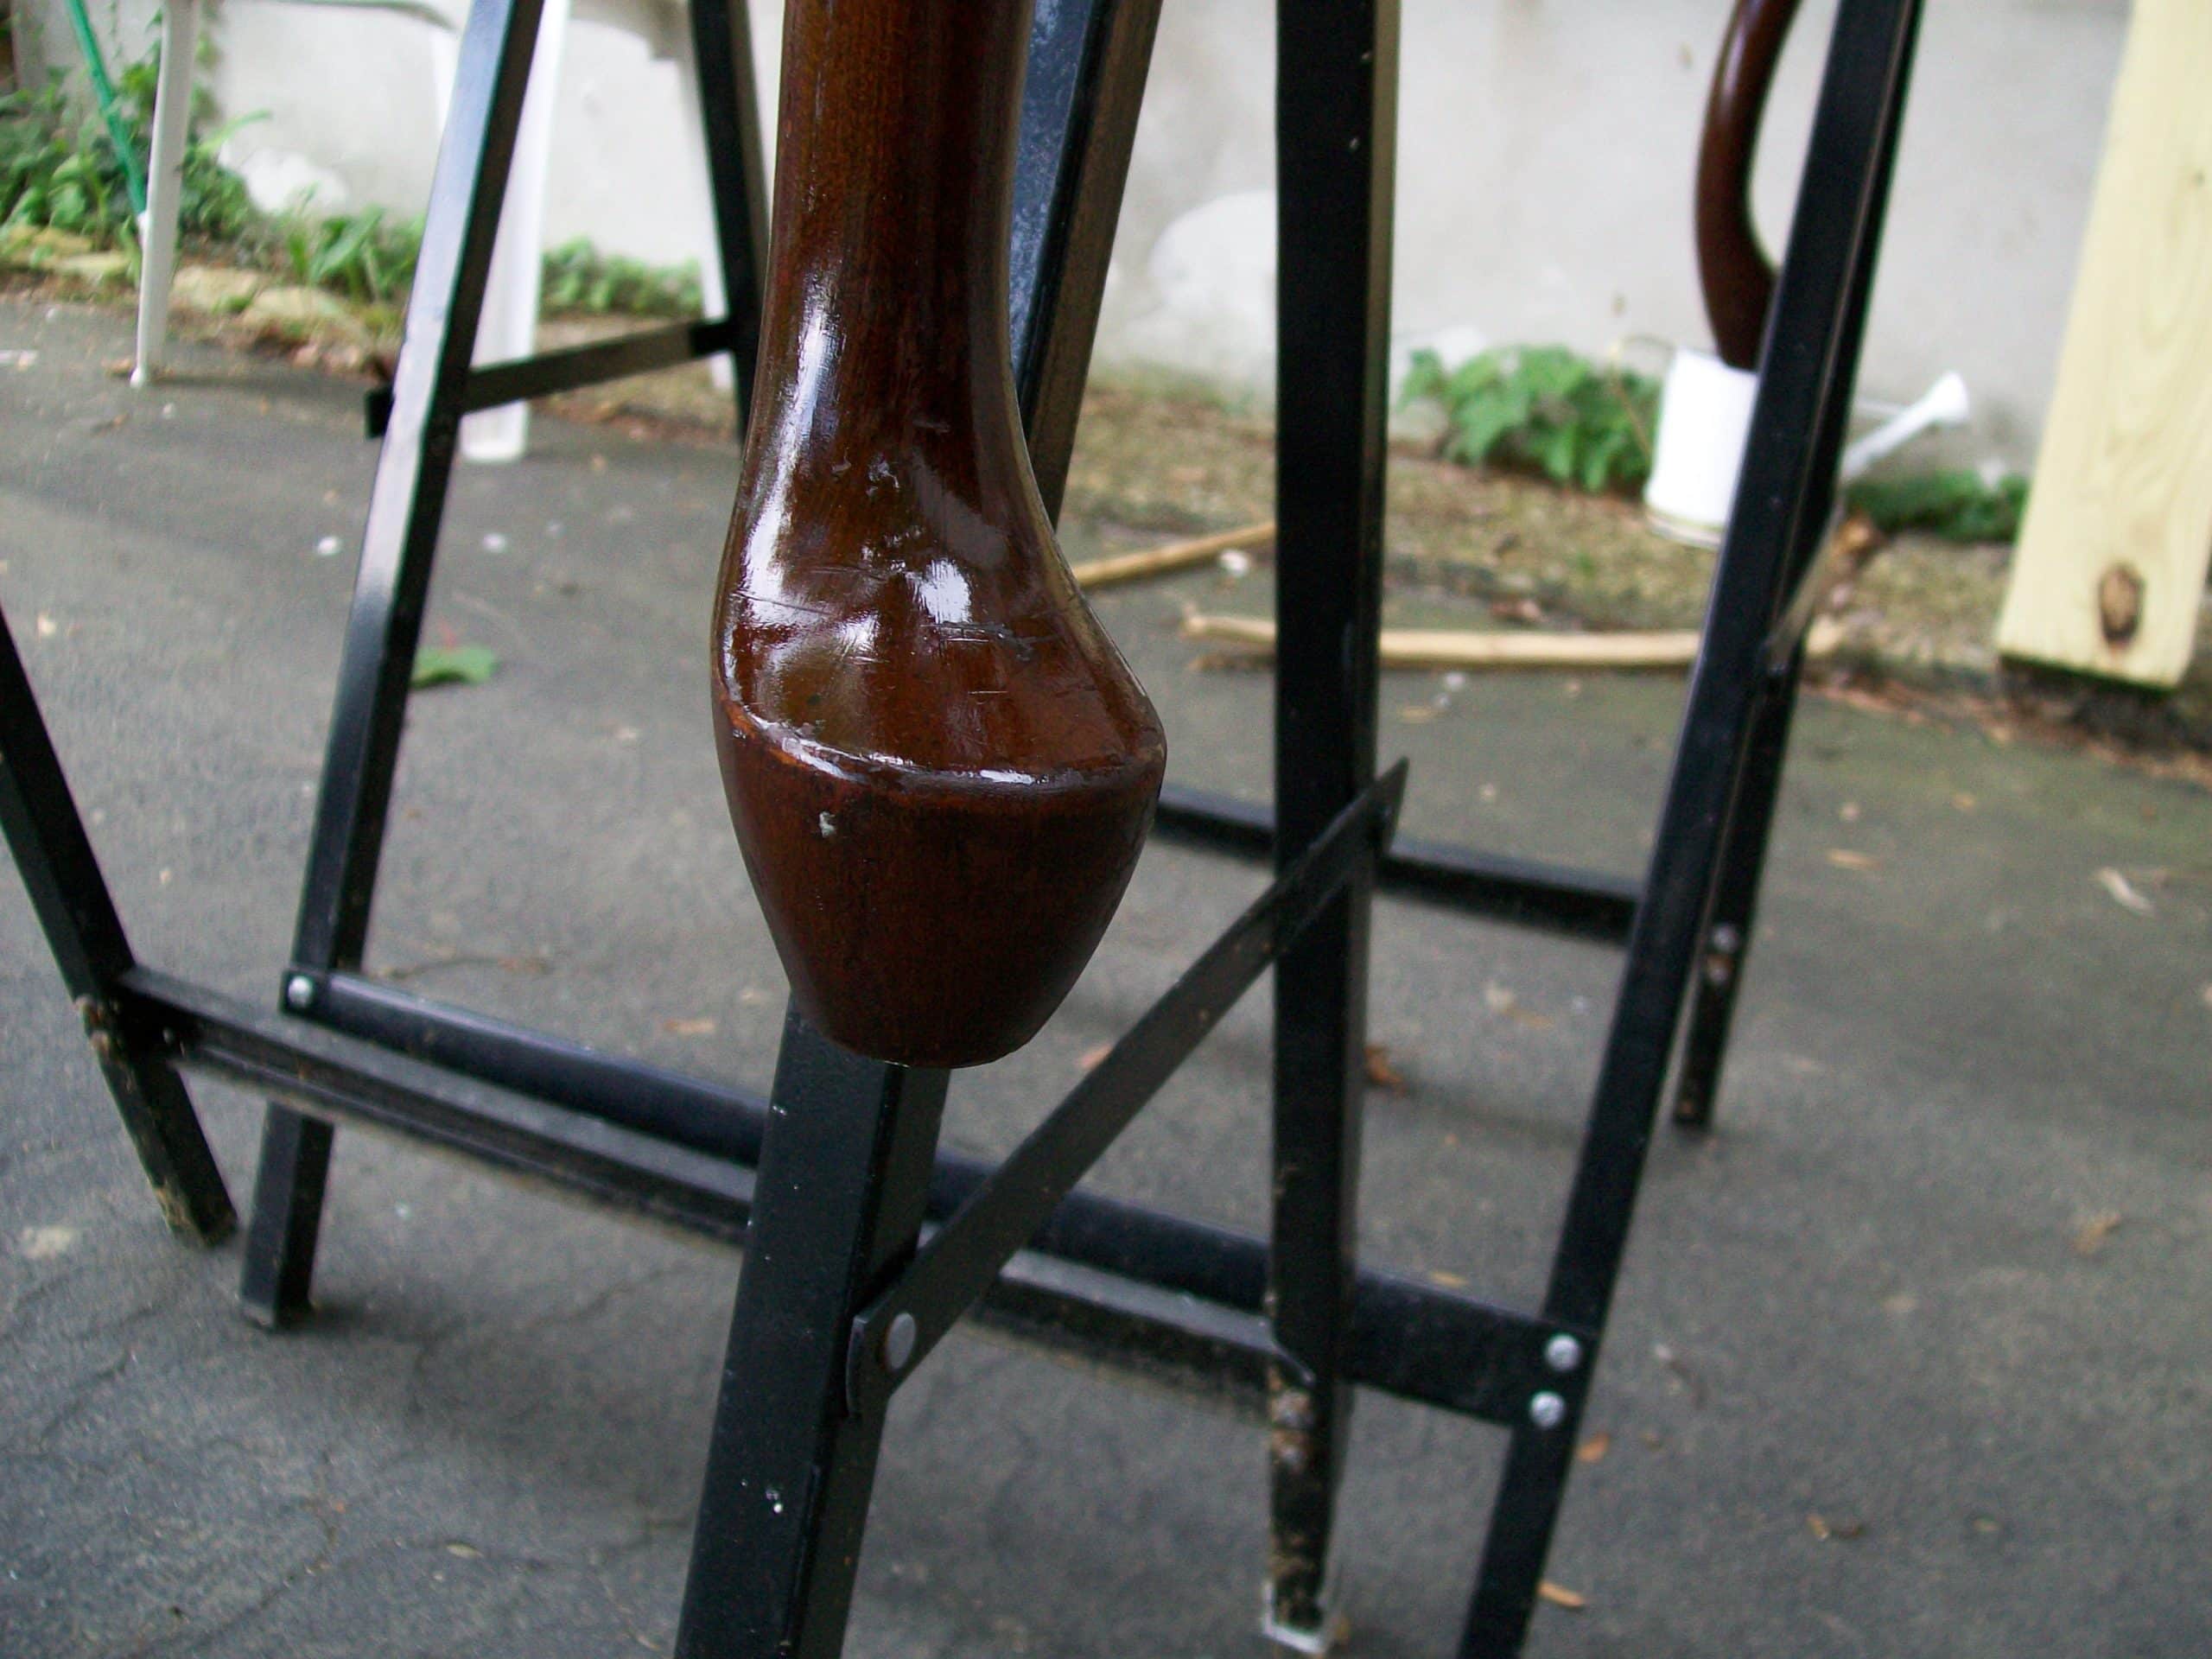
Here is what it looked like after I put it on while it was still wet. It's going to be the prettiest diy coffee table bench for my bedroom!
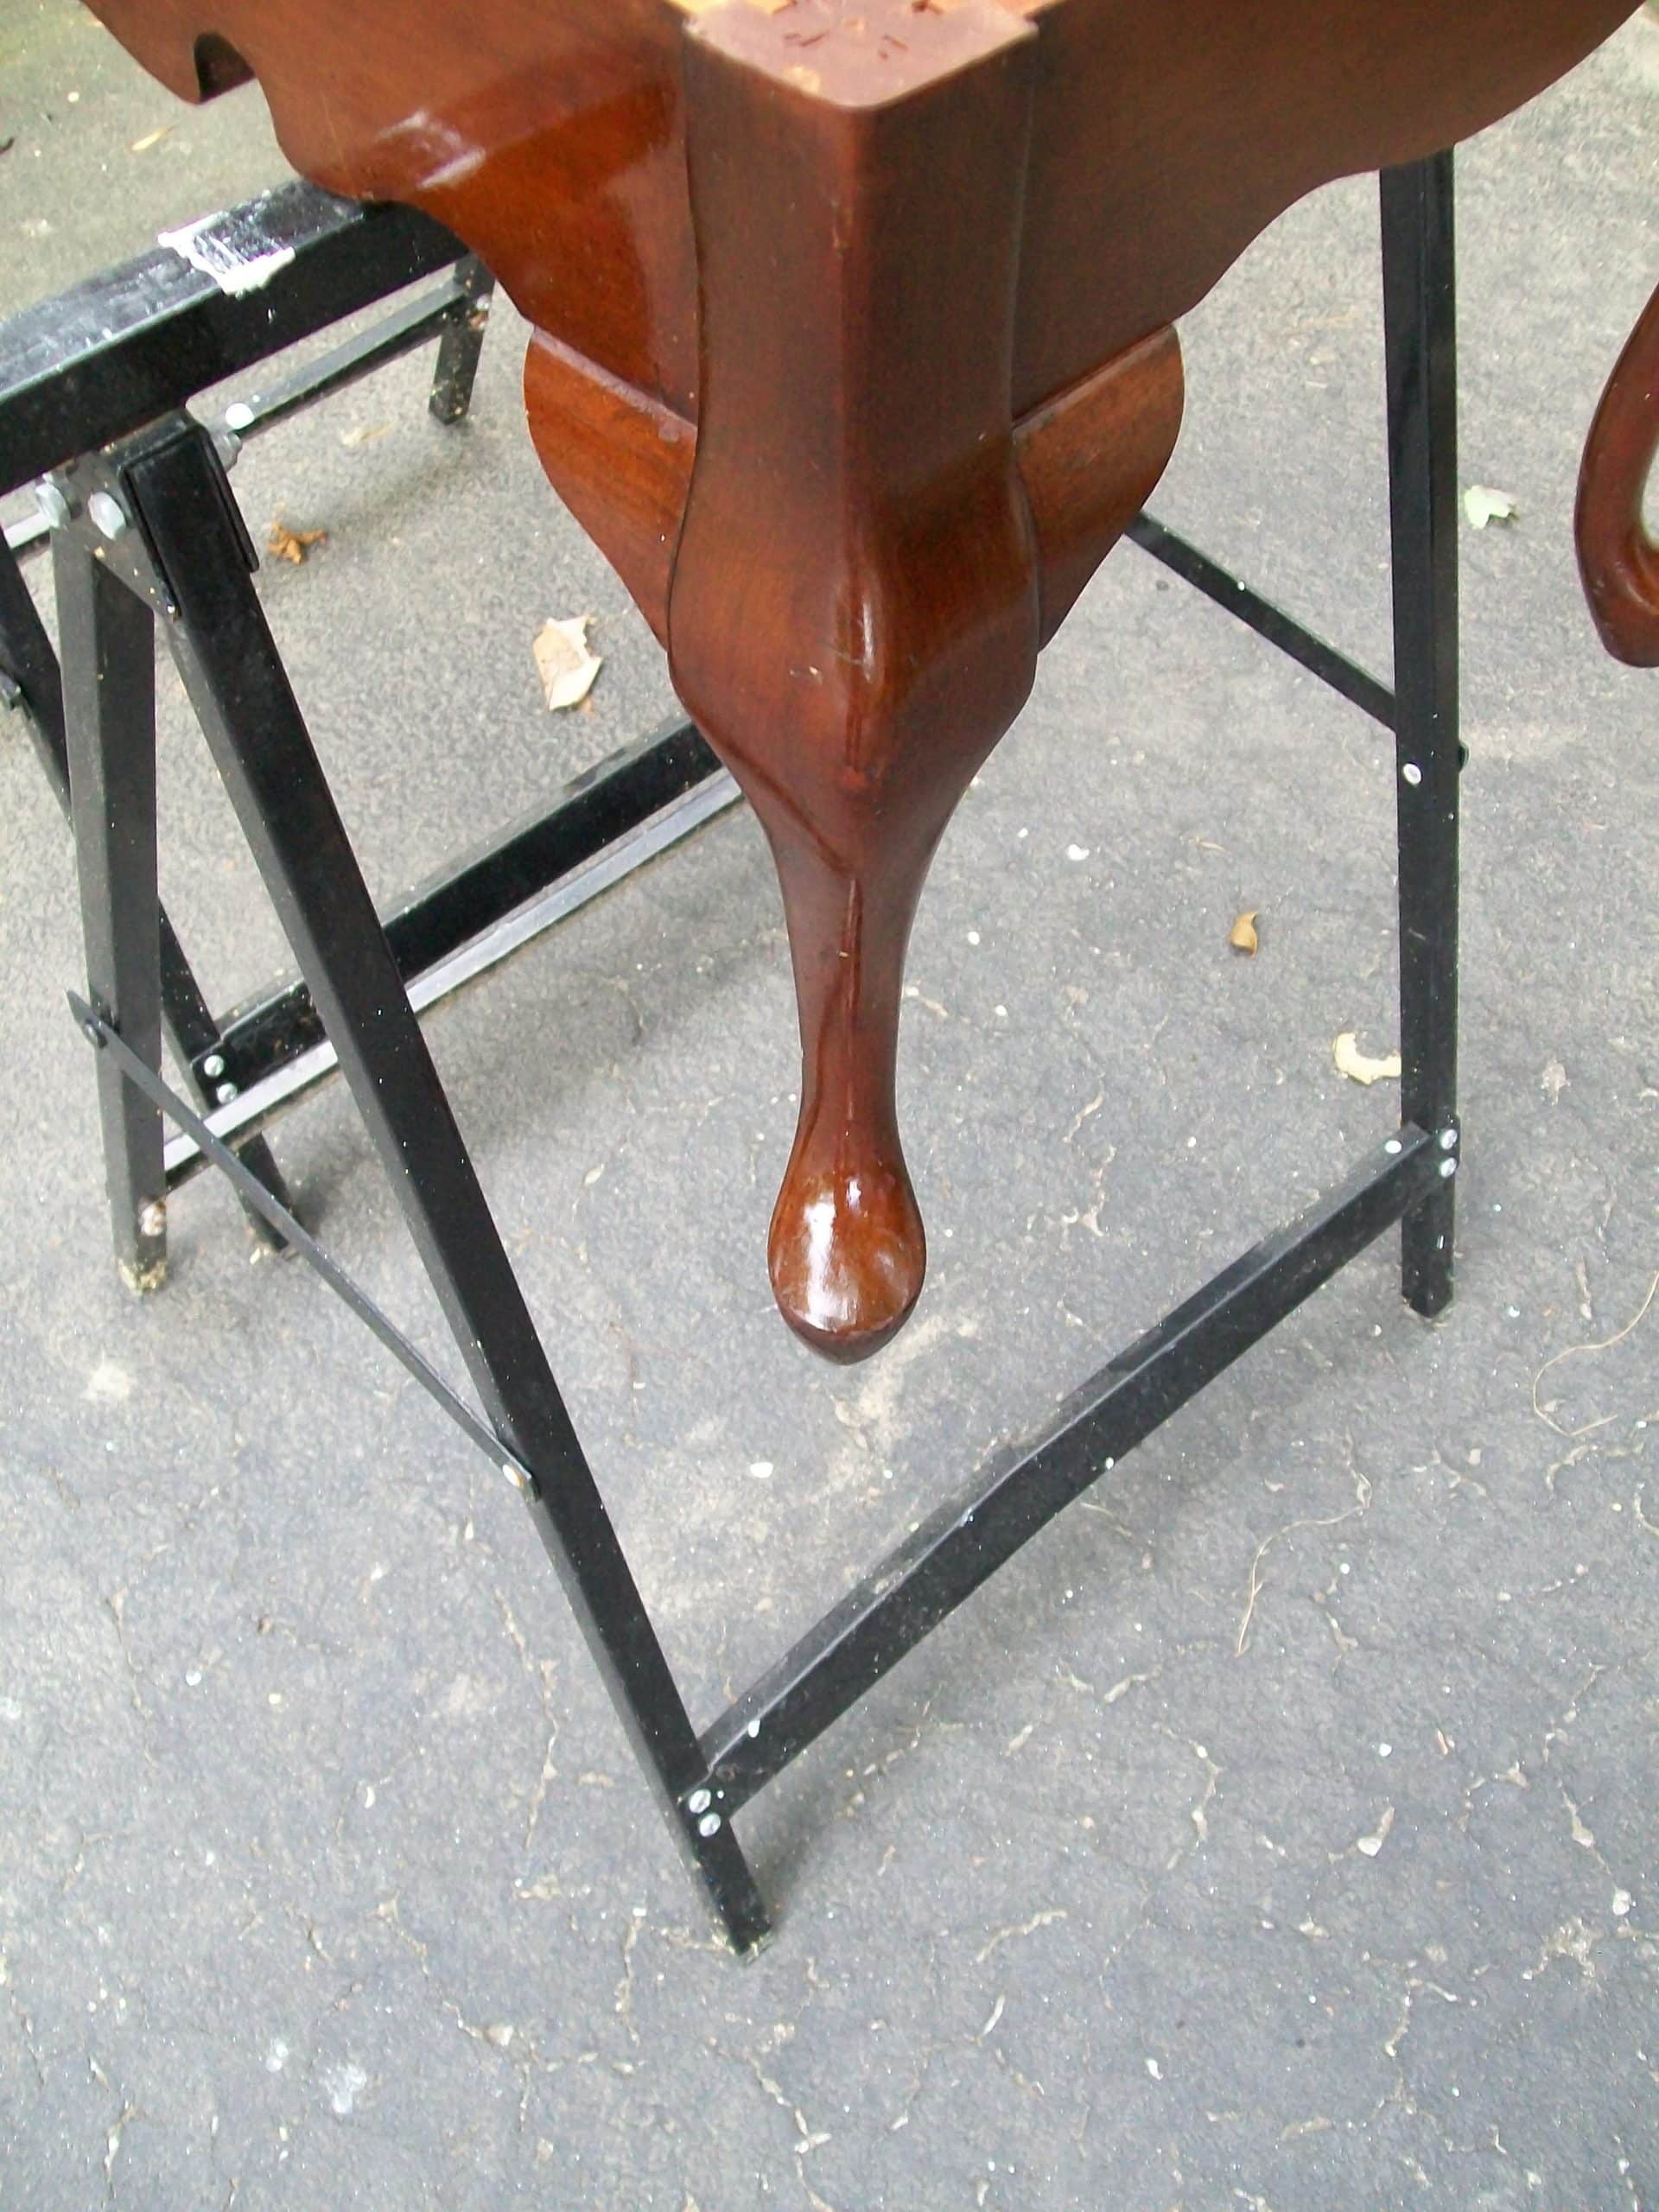
I let it dry, then wiped it off a little. It is okay with me that it doesn’t look brand new.
Make a new top for former coffee table
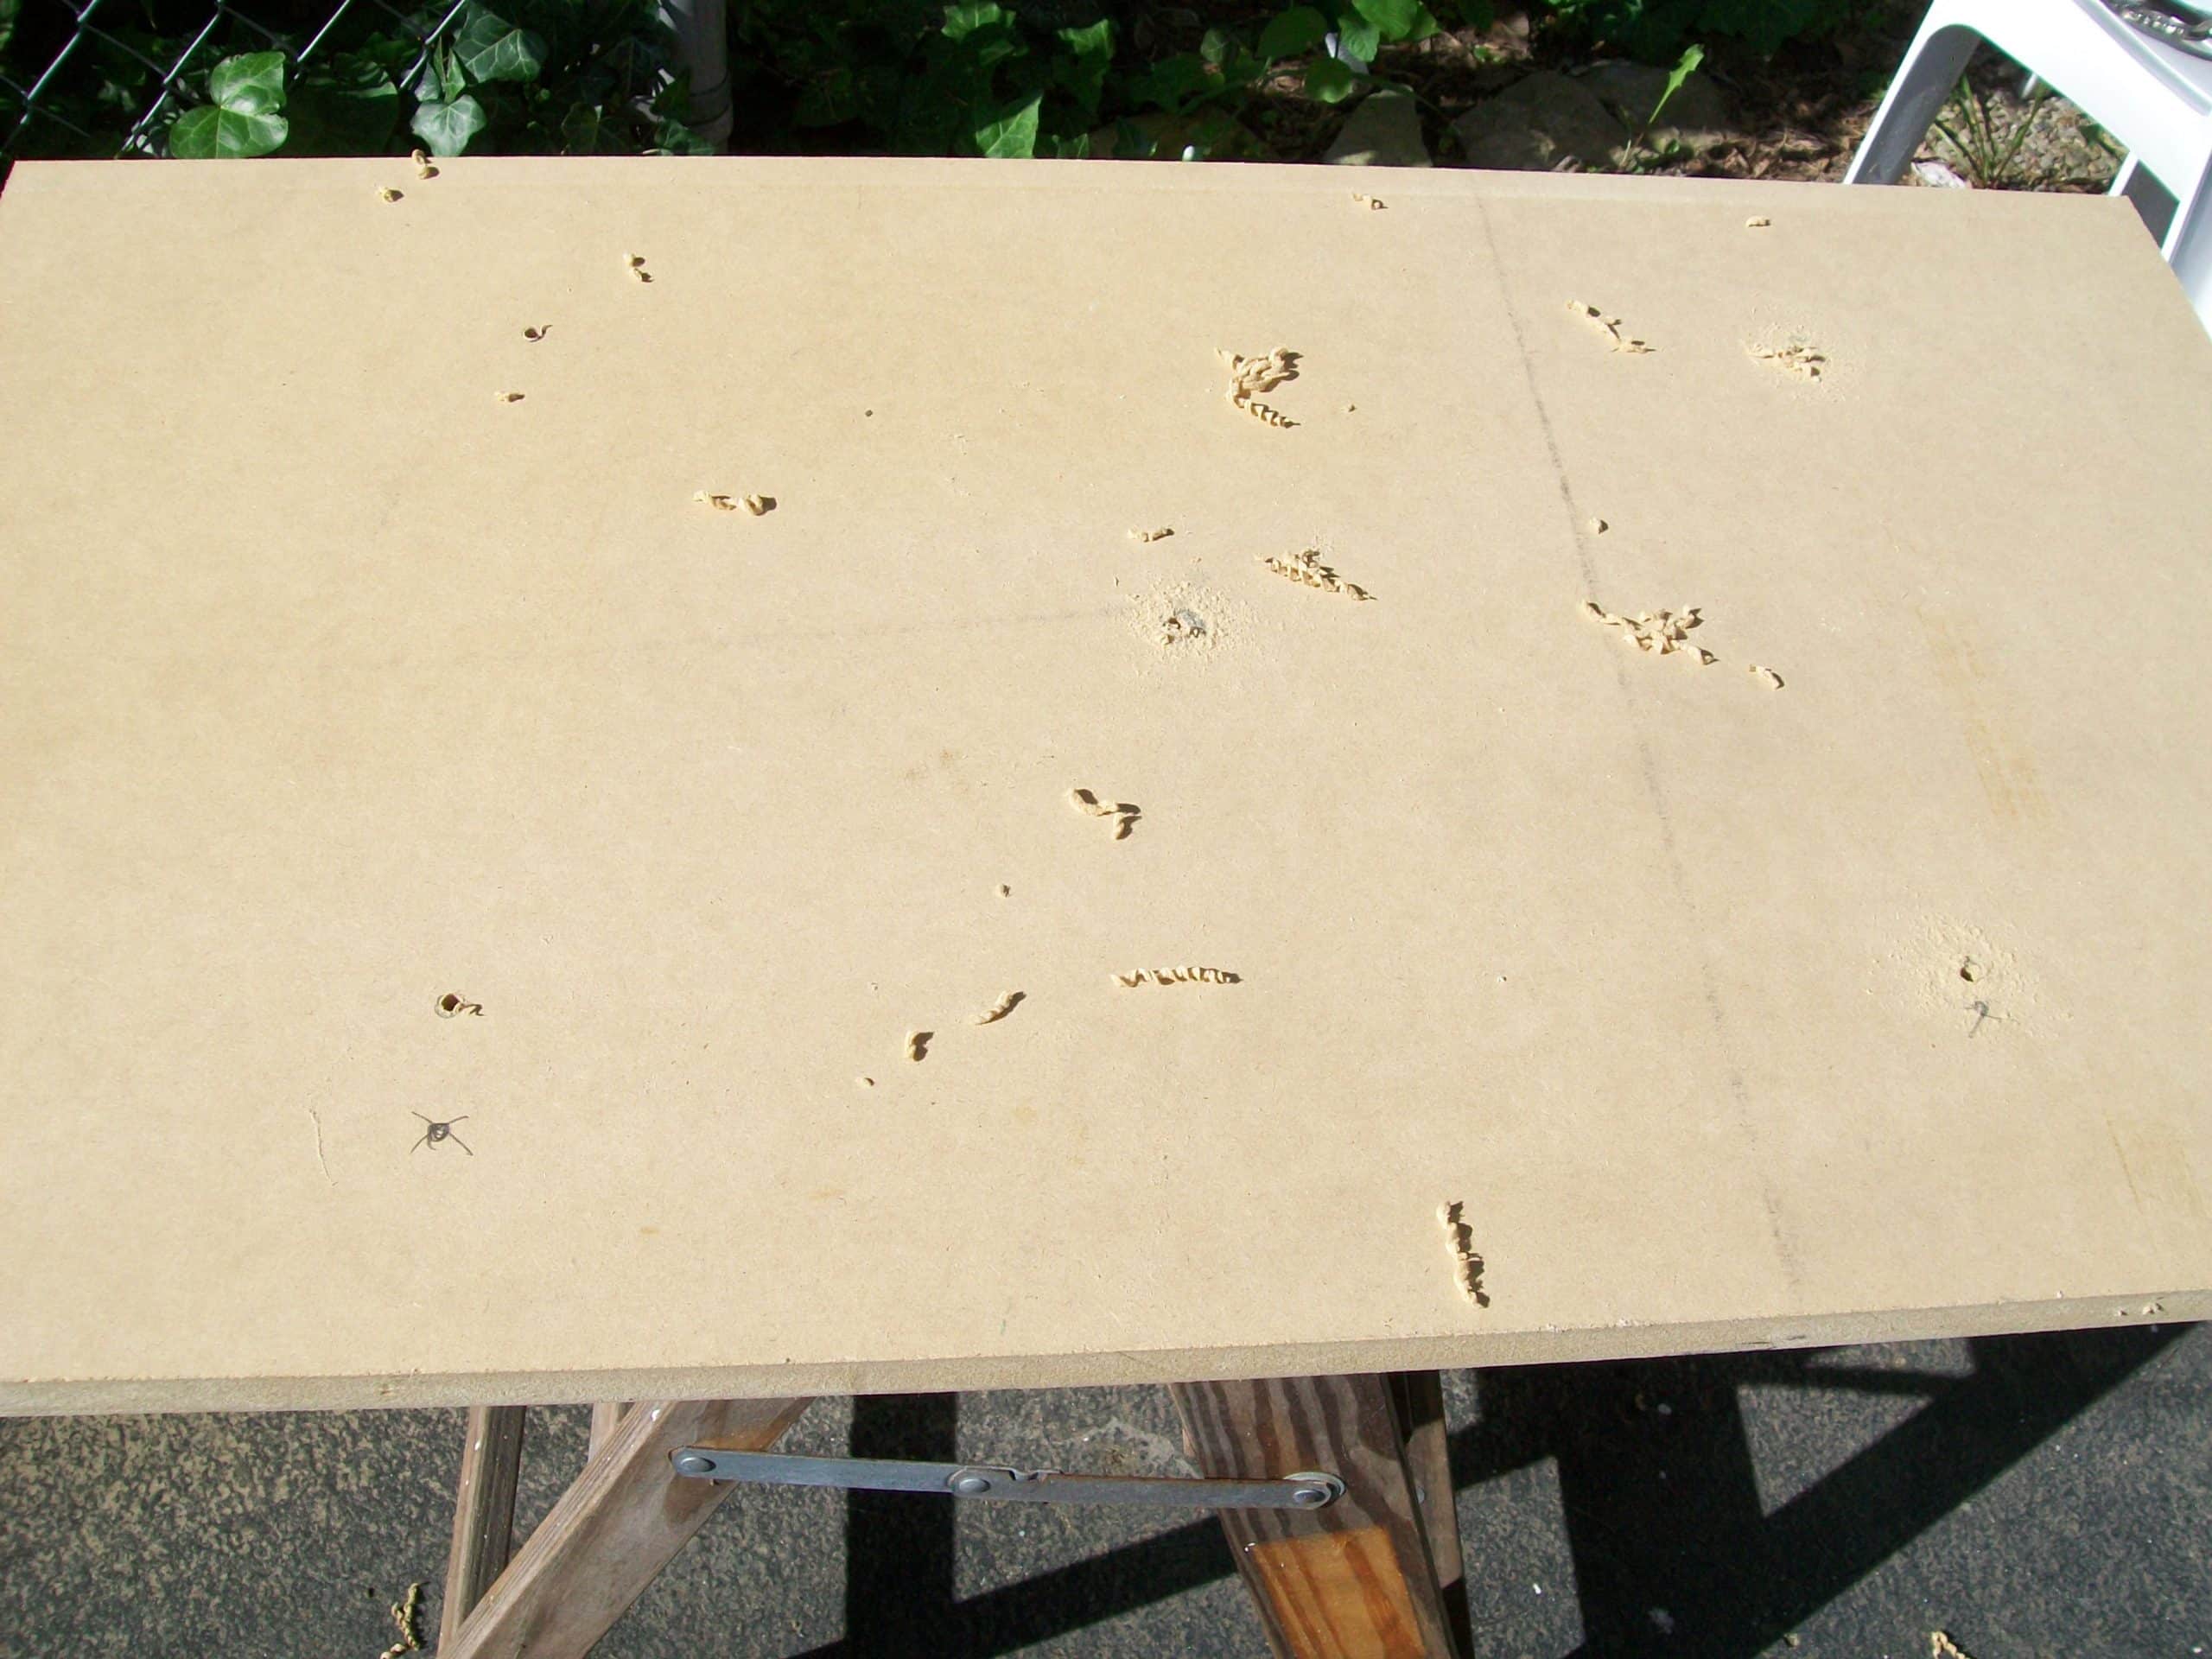
I had a piece of scrap mdf. I cut it to the proper size and drilled holes in it so I could do some button tufting. The drill bit I used was probably too small. If I were to do it again I would use a larger bit.
Using reclaimed foam for new project
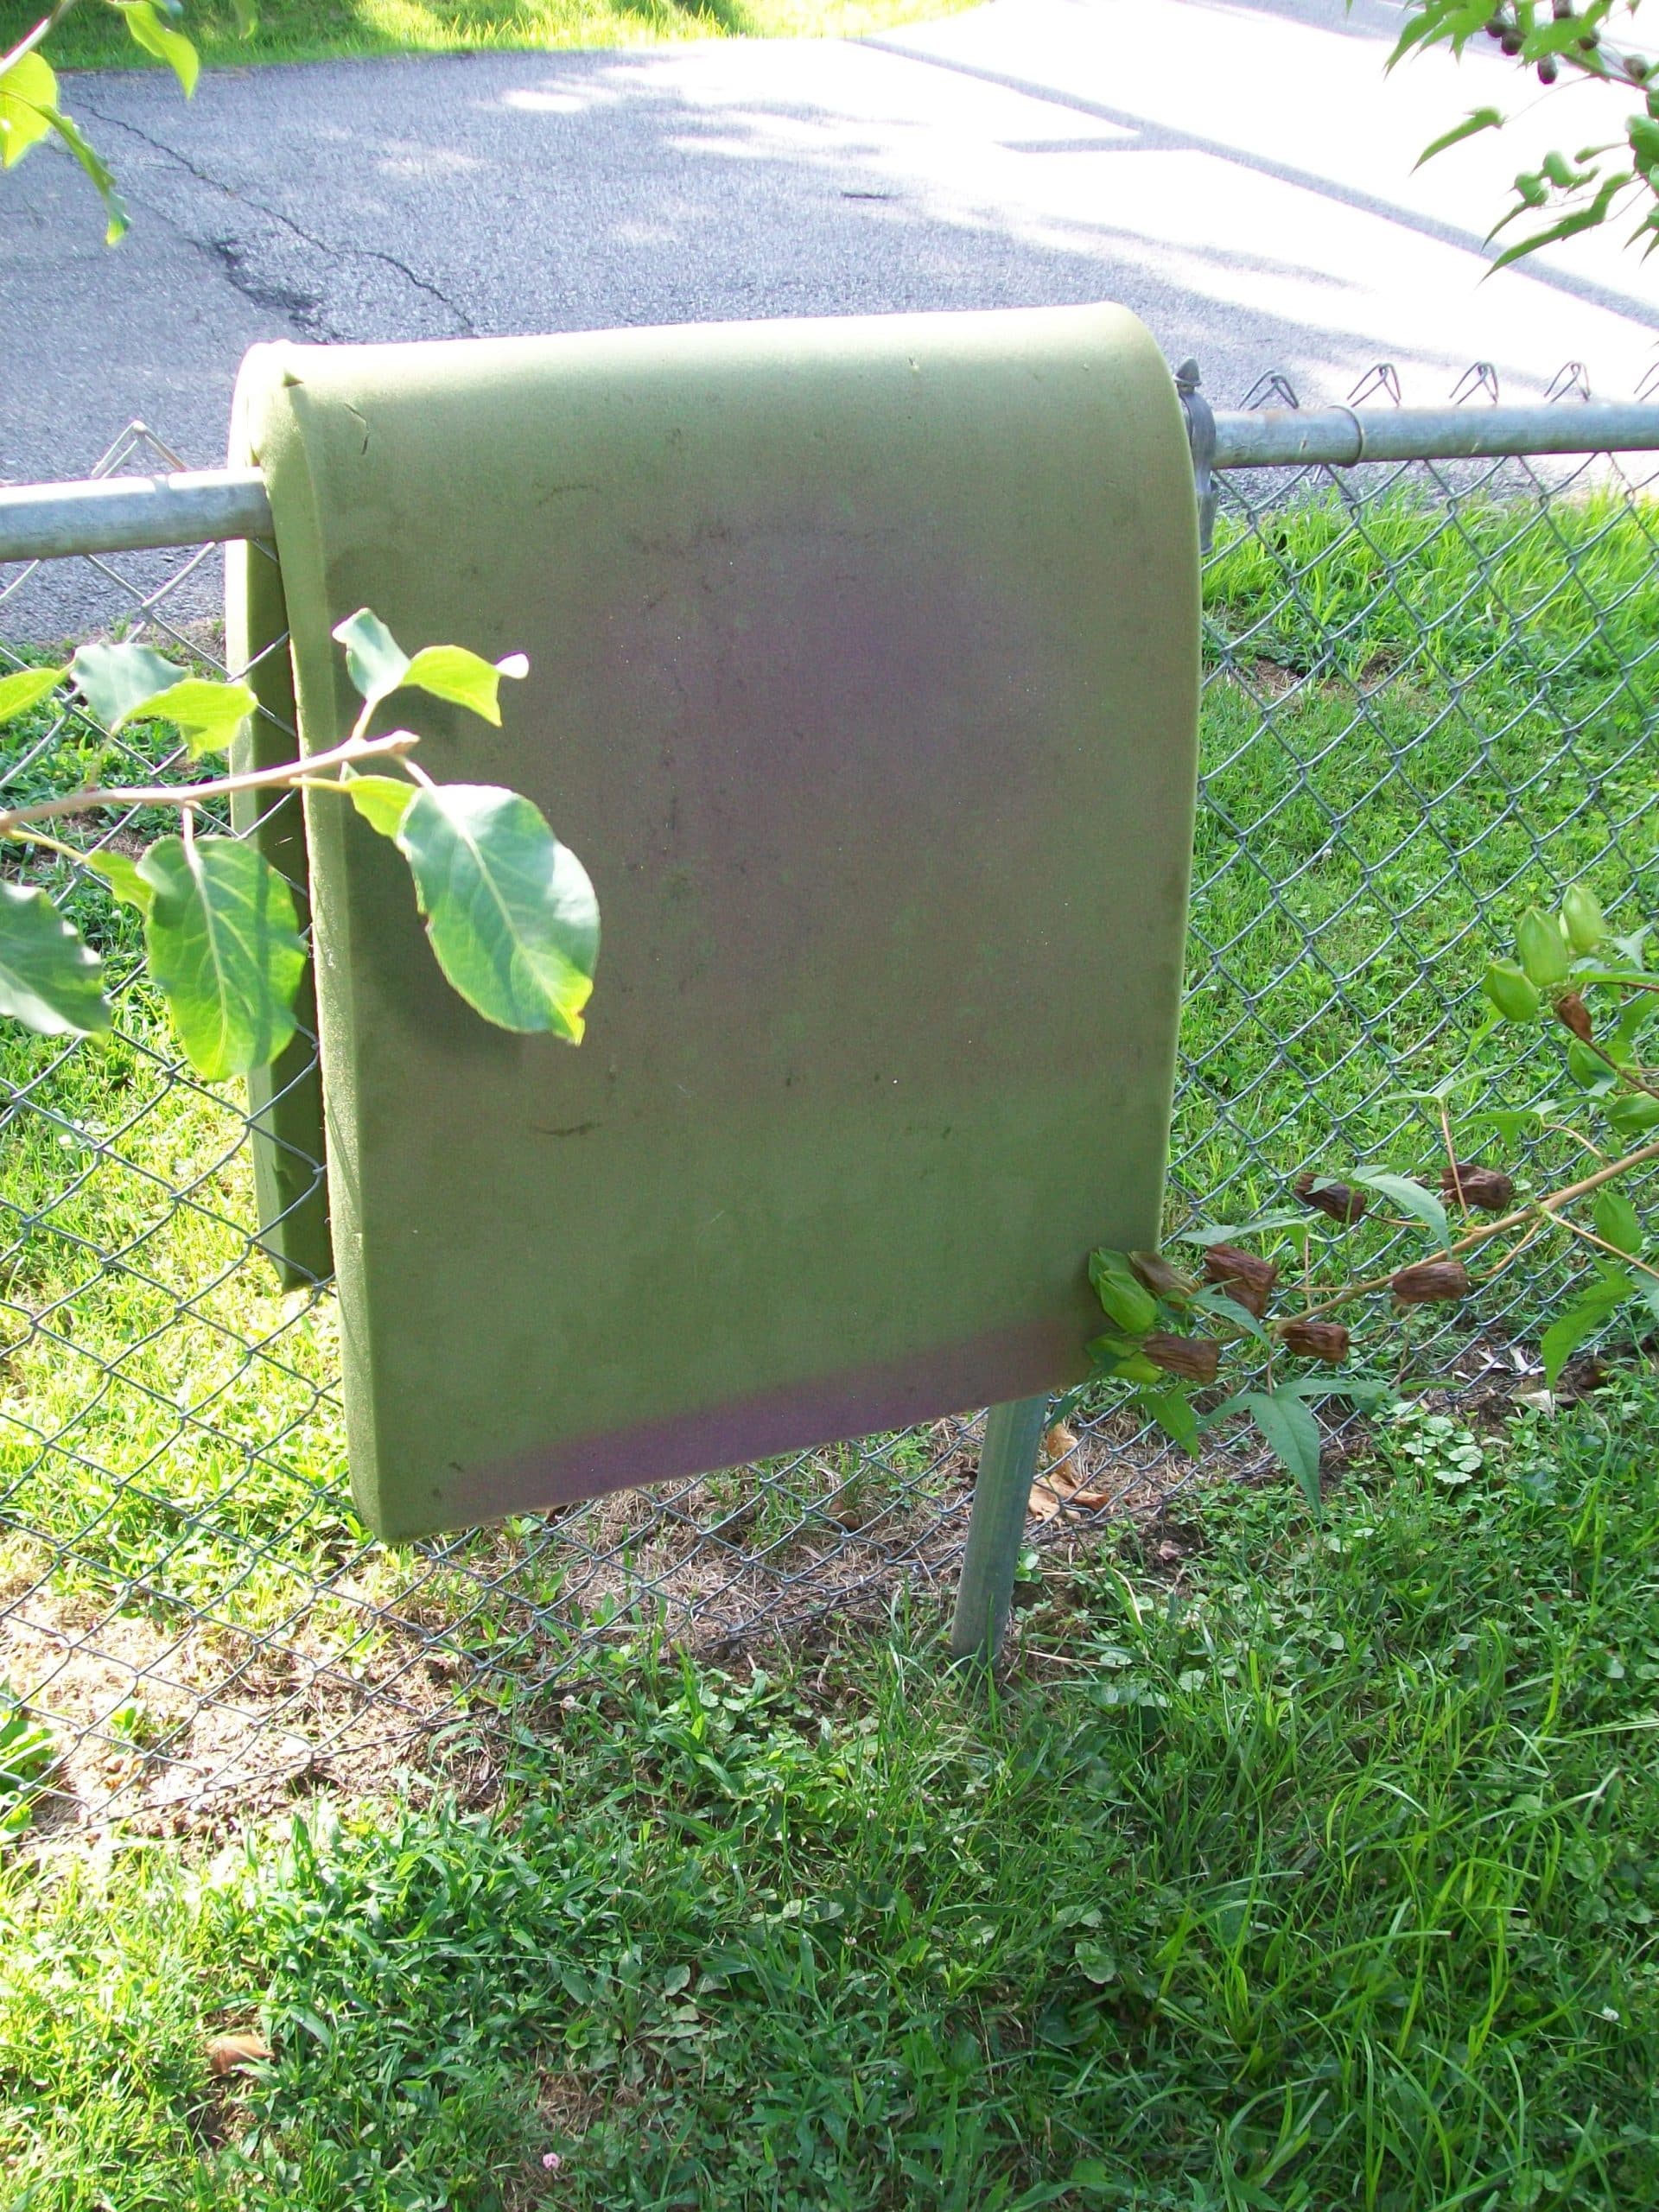
This is where my project got delayed. I had a piece of foam that a friend had given me last year. I thought it was too dirty, so I got the bright idea to hose it down. It was drenched! I hung it on the fence for an entire day while the sun was brightly shining and the temperature was about 95 degrees. It did not dry at all. That night I took it for a spin in the dryer (two cycles).
The next morning I let ‘er rip for another 90 minute cycle in the dryer. I cut the foam to size I actually needed for the top of the bench, and continued to let it dry in the sun for another whole day. The next day I put it outside in the sun, but this time on the black top driveway. That night I put it in front of a fan in the living room and I left it there for 36 hours. Finally I felt like it was dry enough to continue.
Upholster DIY coffee table bench project
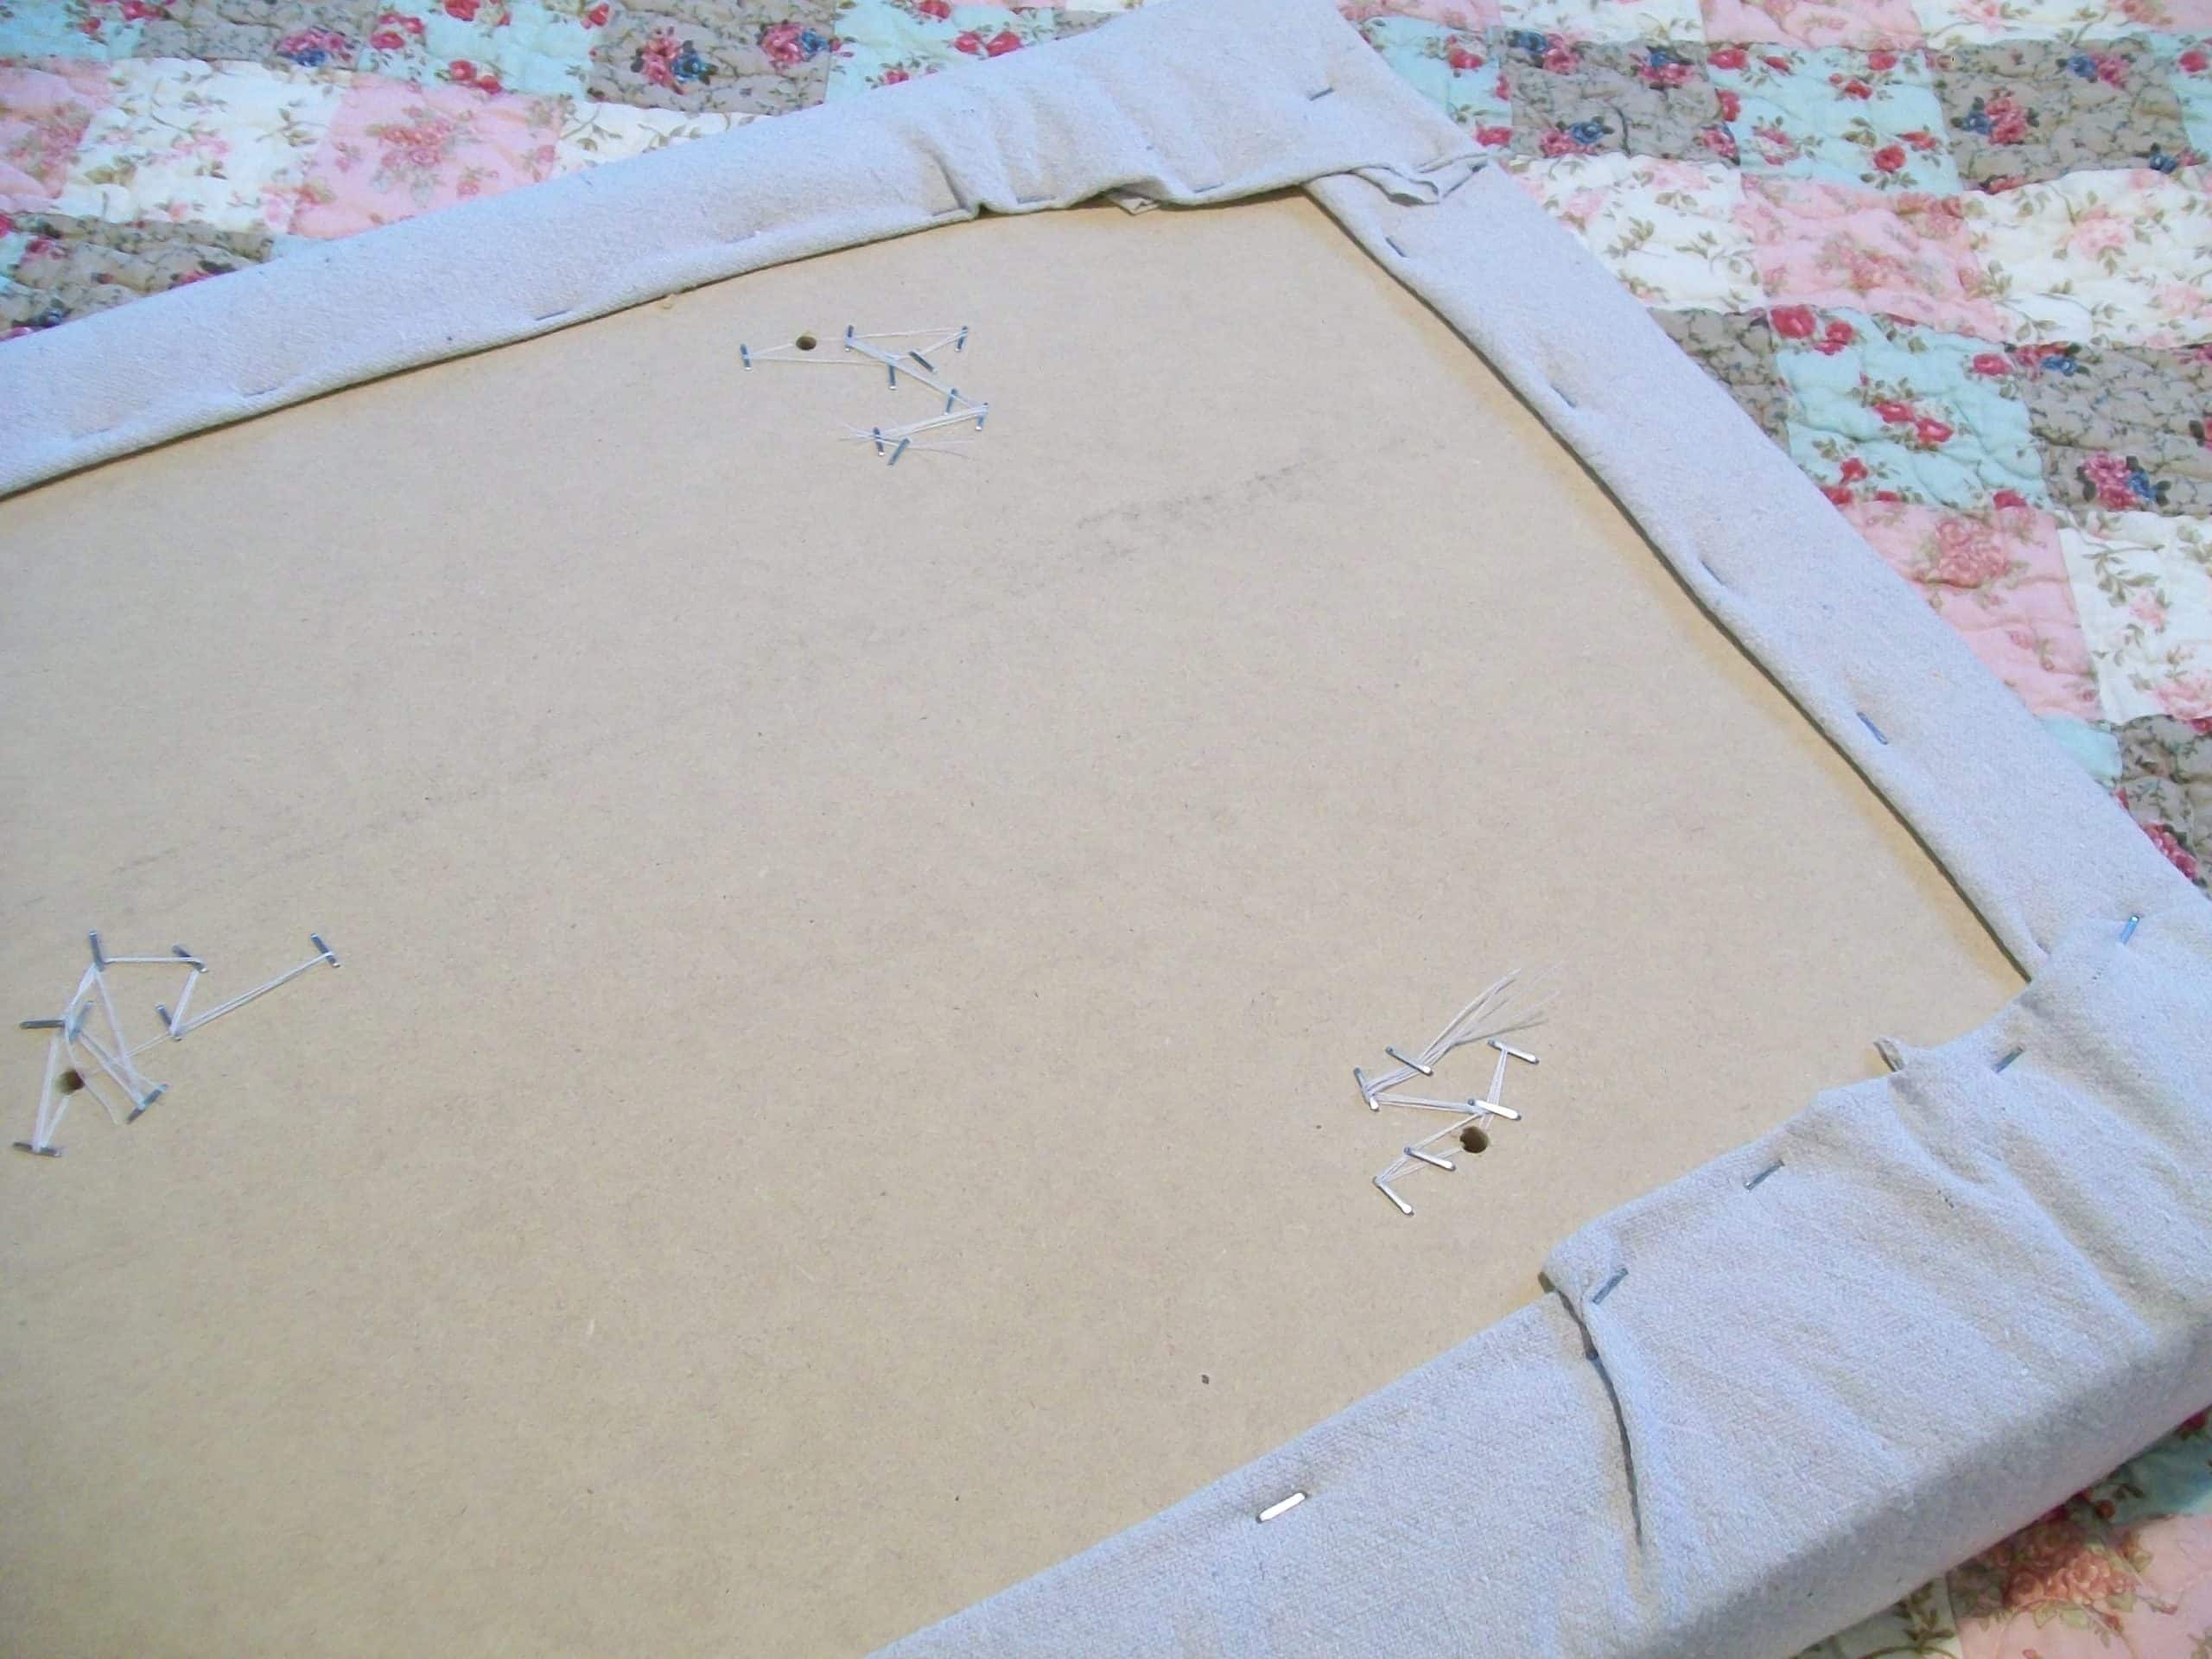
I covered the top with the foam and some batting, using a drop cloth for the upholstery fabric. You can see how tiny my holes were for the button tufting.
How to diy button covers
I covered the buttons with the sheet fabric that coordinates with the rest of the accessories. If you’ve never done the button kits, they really aren’t that hard. I do think they were a little on the pricey side, (a little under $3.00 a package) but I had already decided that I wanted the buttons to match the other accessories.
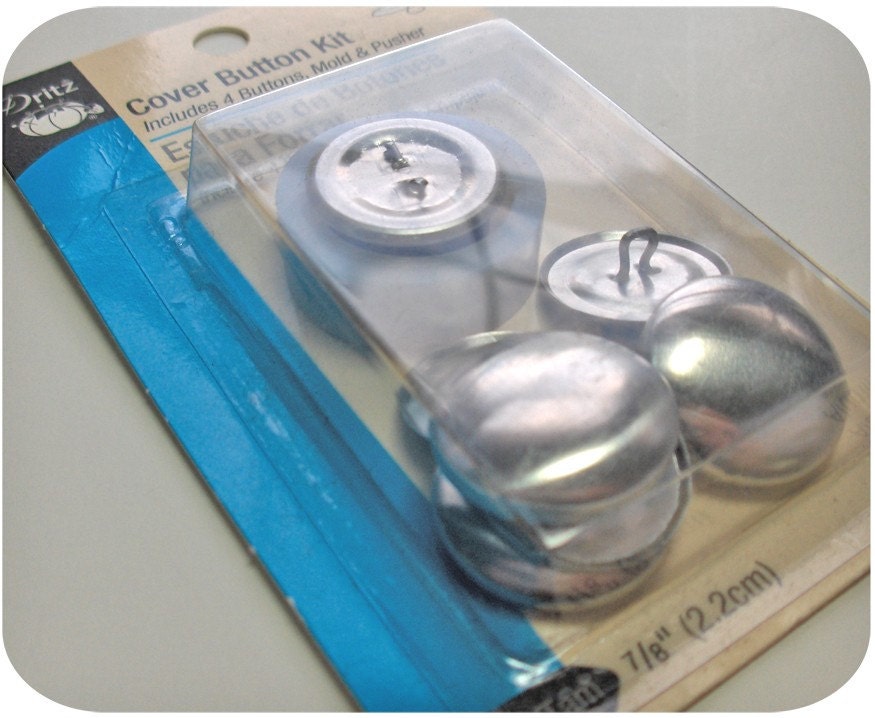
This is what they look like. These are not the ones I used, this is a picture from the internet.
Coffee Table into Bench
Again, I’m fighting with the lighting. I will show with and without flash.
Using a Coffee Table as a Bench at the End of the Bed
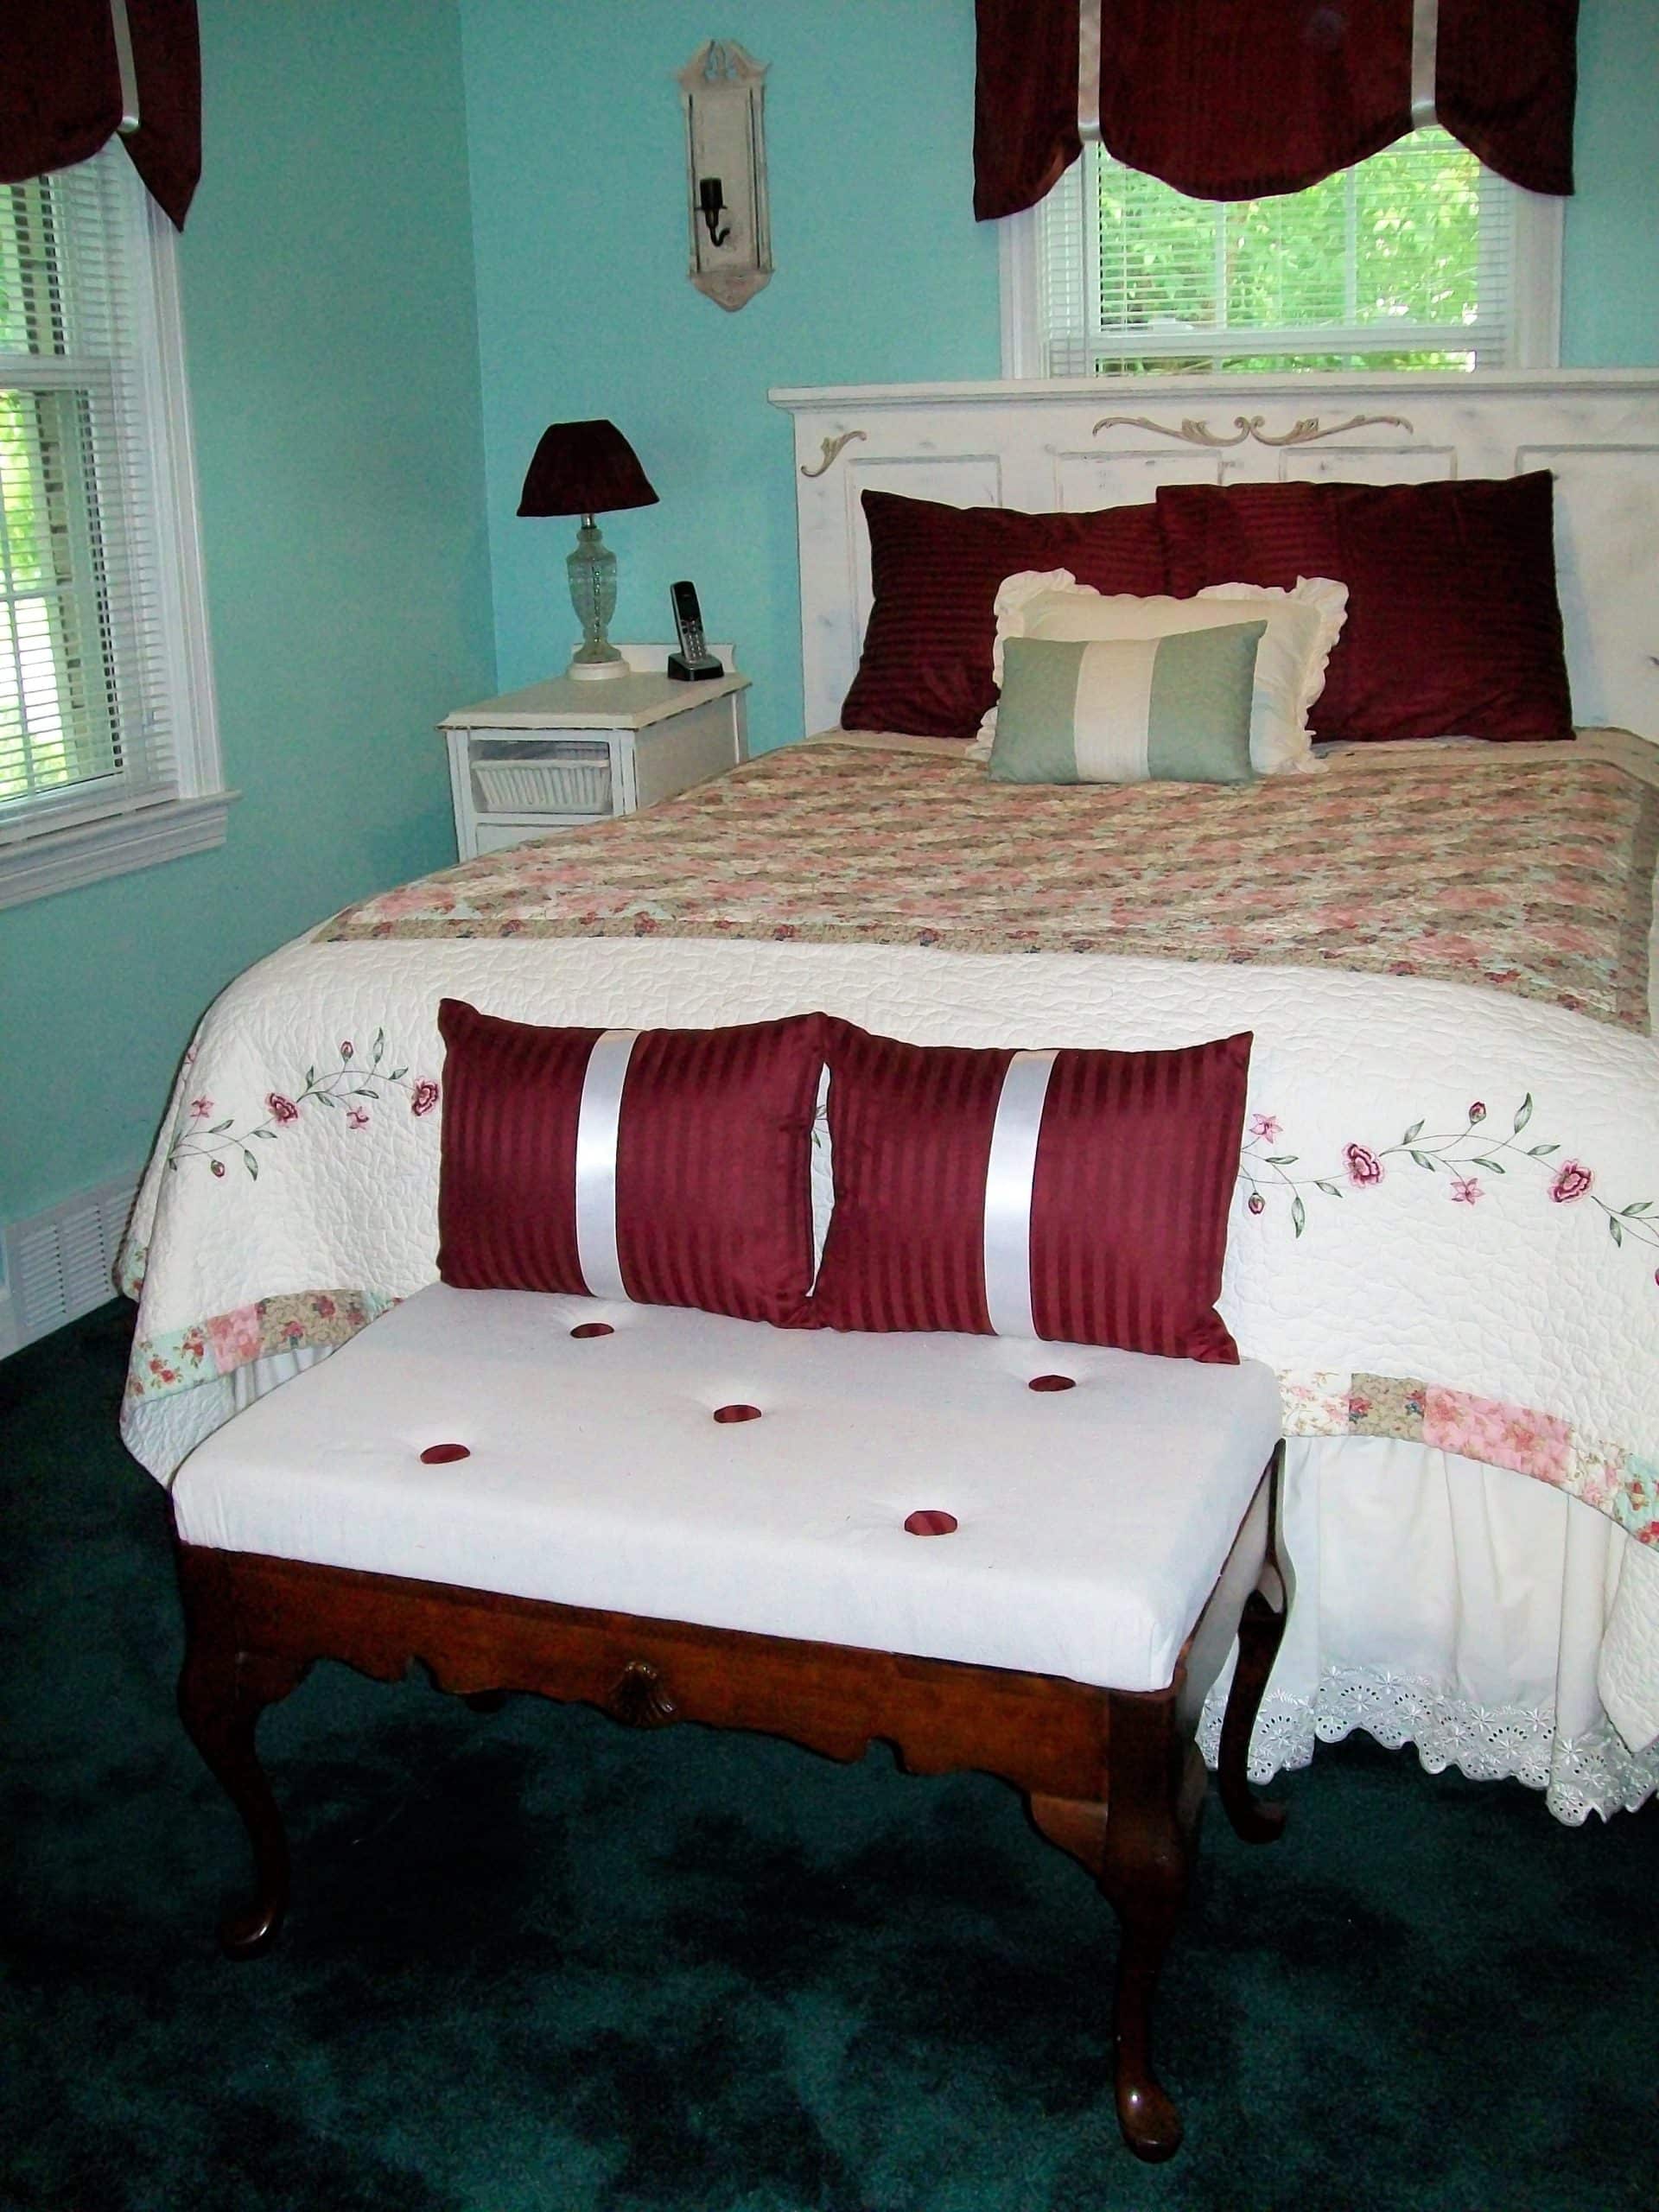
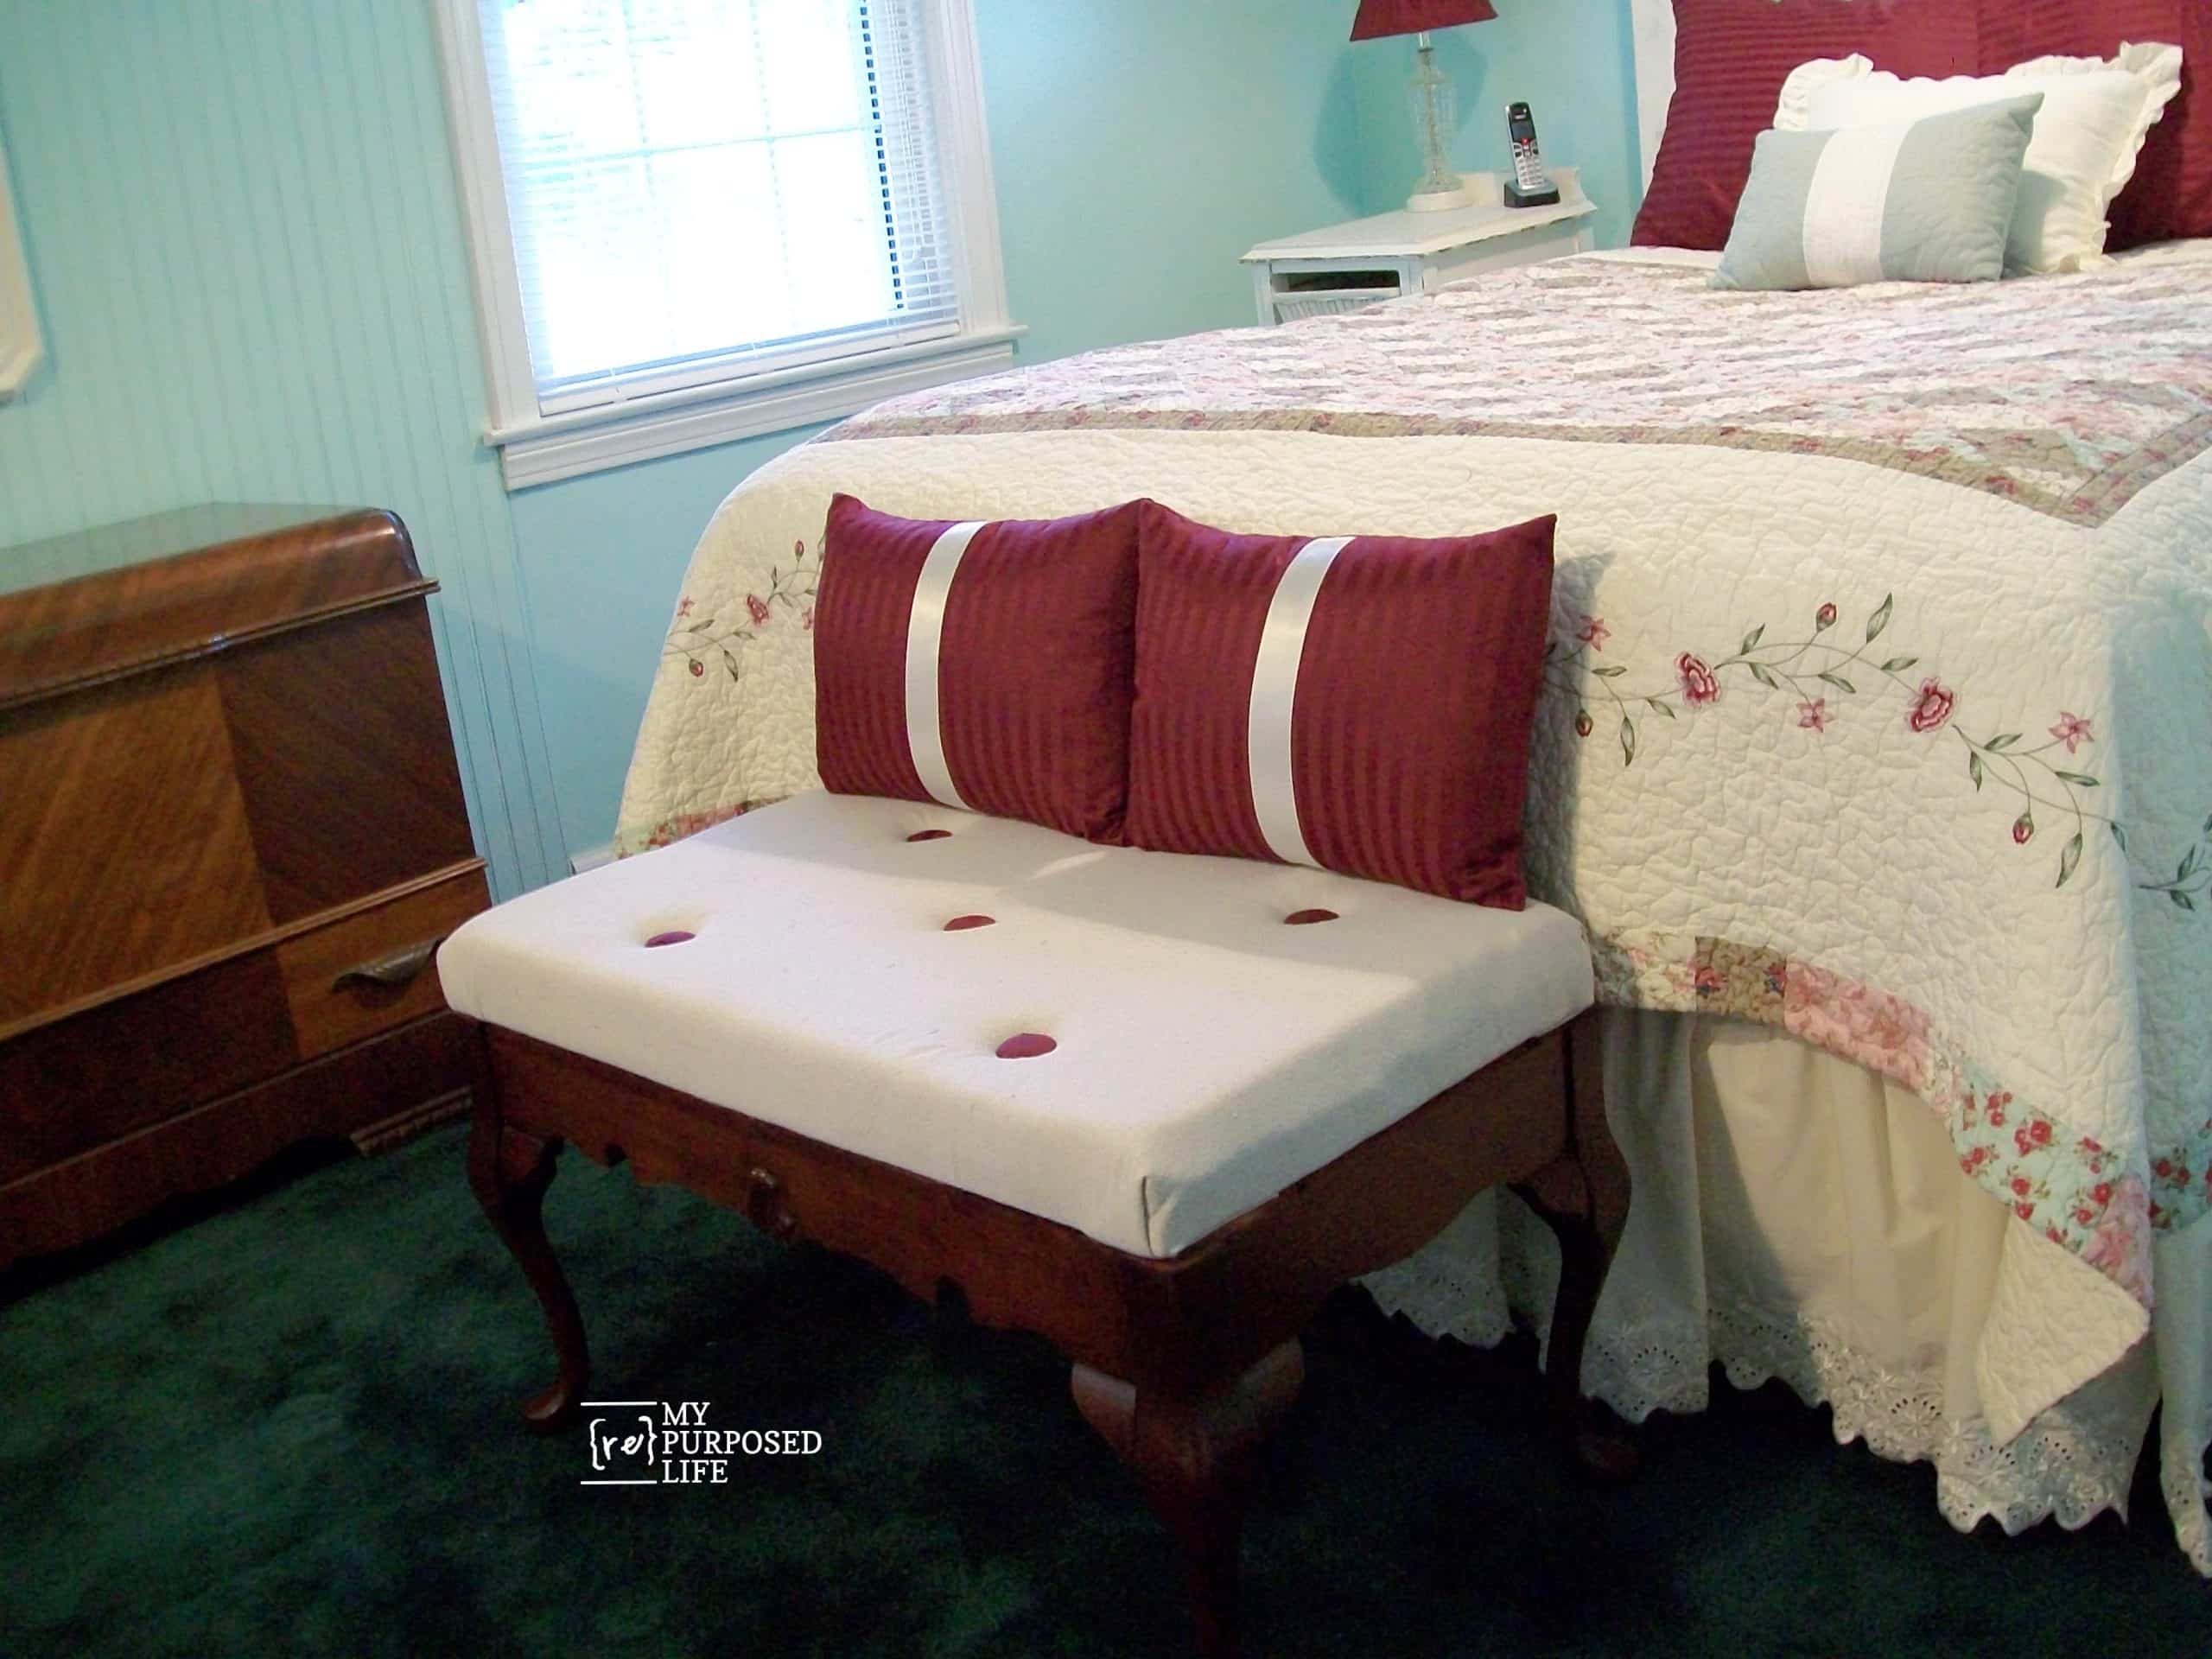
So, I have a new DIY coffee table bench at the end of my bed for only the price of the button kit and less than $4.00 for the topless table. I had everything else on hand.
Edited to add:
Want to see how I updated the this project for my sweet Lulu Mae?
gail
See other fun benches here
Looking for projects for your pets?
Hi, there! Iām Gail, the author and mastermind behind My Repurposed Life. Iām obsessed with finding potential in unexpected places and believe that with a little hard work and imagination, any old thing can be made useful againāmyself included! I hope youāll enjoy the journey and pick up a few tools along the way⦠literally!
Anonymous
I love this. How did you attach the top to the base?
Debbie
I love that! It's very attractive at the foot of the bed and I like the colors. I learned two things today. (well, more really) I didn't even know about the product Restore It, and my husband can't seem to understand the Gorilla Glue rule. He thinks if a little is good, then a bunch must be really good and we've had some little accidents and issues but I digress. If you run for president, I'm voting for you!
Diann
Tha turned out absolutely perfect!
Rebecca
What a great project! It looks so professional! I write a column for Examiner.com about crafting on a budget. This month's theme is DIY home projects and I would love to feature this! I would link back to your blog and give you credit for your photos. It's just a way to share low budget projects! Please let me know if you are interested. Thanks!
Bonnie@Creative Decorating
Stopping by from Furniture Feature Friday! Looks great!
freckled laundry
Beautiful! Your foam drying story had me laughing.
Have a great Friday,
Jami
The Decorating Diaries
I've always wanted to try this project. Yours turned out great.
Janet
Lisa
Terrific Idea~~! It turned out fabulous and it fits perfectly at the end of your bed.
Julie
Great job! I'm wanting to do one of these, too (as soon as I find the right table!)
The Polka Dot Closet
I love it, note to self do not wash foam! How did you attache the wood under the cushion to the coffee table frame?
Carol
Momma Button
I am totally in love!! Looks beautiful.
La
Looks great! La
Homemade Quilts by Granny
Looks good and matches your room perfectly. Trish
Always Nesting
That bench turned out fabulous! You are so creative and I can't believe the price to make it. That's my kind of project š
Kelli
Hi Gail,
I love that bench, and really love that you left the color. You made it look so easy...I may even attempt it in the future (if I can find a good deal on the table!). Once, I saw someone on TV use an old button on the back side of their 'tufting' to hold the thread. They just threaded it through the holes and tied it off really well (instead of stapling). It seems like a simple (and maybe quicker?) way to finish off the back side of the tufting. It looks great, and that is one embellishment that I'm intimidated by! Thanks for sharing your wisdom and creativity!
Lenore @ Lather. Write. Repeat.
Beautiful Gail! Nice work!
XO
Lenore
Jill
Wow. I can't believe it took that long to dry! I probably would have lost interest. lol It looks great though!
Nana's Fun Stuff
Oh Gail I love how that turned out!!! Gave me an idea now š Thanks!
thimblecottage
Hey Gail, love your blog! I never buy the pricy button kits , I take an old button and cut a circle of batting and a circle of fabric and put the button in the center and do a running stitch around the circle of fabric. then draw it tightly and you have a covered button .They are much stronger than the kits as thet don;t pop apart. of course stitch it firmly after you pull it tightly around your button. I hope this makes sense .it is really very simple to do and costs next to nothing. Mary thimblecottage@bellsouth.net
judi
love the makeover gail...and the use of the drop cloth...love those! it looks great in your new bedroom.
judi š
Denise
It looks awesome! I love Howard, Deb from Proper Prim introduced us š I have a few pieces of older furniture that I want to rub some on and it will look so much better. I think that you, Deb & Rose should get together and write a book or make a fun how to video!
Angie
I love this! I wish we had room in our bedroom for something similar. You have me hitting up Craigslist and thrift stores trying to find somthing fabulous!
Meg
So cute! I love the buttons. I've been looking for a bench like that FOREVER! They are so expensive in the retail world. I like your solution!
Debilou~Mississippi Mama
Hey Gail.. the bench looks great, love drop cloth!! lots of uses for that stuff. So how do you attach the covered top to the bench when you're finished covering??
Beans and Buttons
Really great bench! Love the tufting!
LisasCreativeHome
Great Job! Love it. I just got an old coffee table and am planning on turning it into an ottoman for my livingroom!
A Pretty Pastime
Great repurpose Gail! I absolutely love it! The covered buttons are the perfect finishing touch and the bench looks marvelous in your bedroom.
KTY
Proper Prim
That is perfect for the end of your bed... great job.
How frustrating when you are waiting for something to dry... I would have caved and bought a piece... patience is not one of my stonger traits.
Hugs, Deb
Granny J
Girlfriend you have outdone yourself on this one. It is fabulous! The bench is the perfect size. I'm gonna have to get some of that restorer. Although it took forever for the foam to dry it's good that you rinsed the dirt out. There's nothing stinkier than dirty foam rubber.
If that bench were at the end of my bed Trixie would be using it to get on the bed. Has Louie claimed the bench yet?
Lindy
I think you are so right about the size of the table being perfect for the foot of your bed... and thanks to you, if I ever attempt this project I will NOT WASH THE FOAM!
Pam
Terrific makeover! I had to laugh about your cleaning the foam piece.....I've done the exact same thing and resorted to all sorts of methods (as you did) for getting the darn thing dry. LOL The covered buttons were the perfect finish. Great job! Pam @ Sallygoodin