DIY Corner Cabinet
As an Amazon Associate, I earn from qualifying purchases.
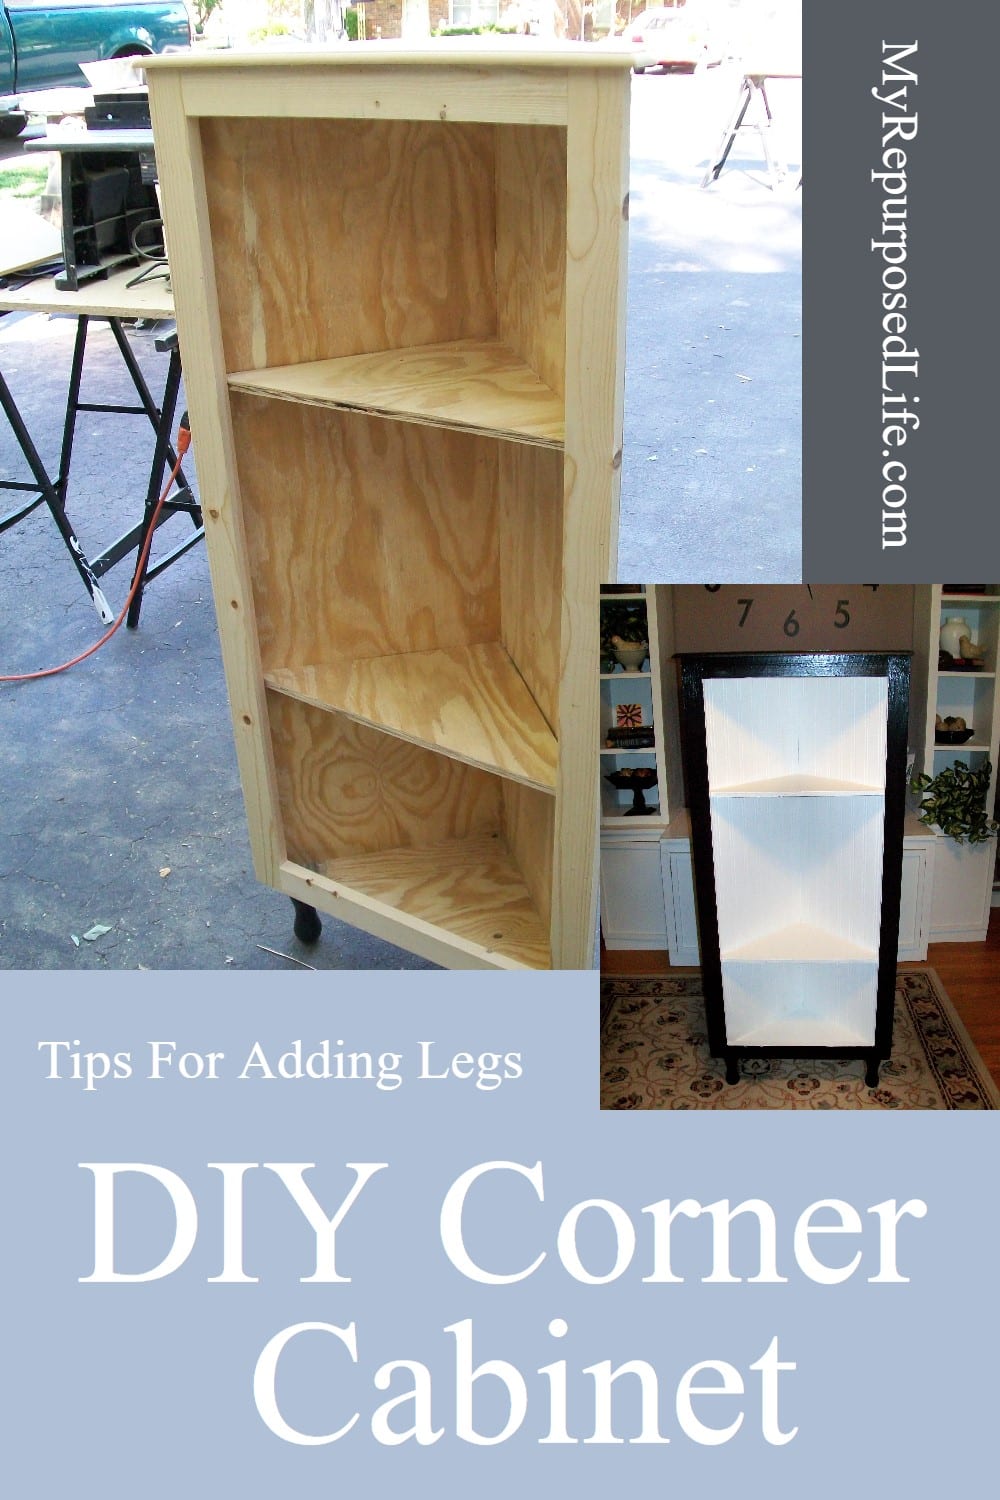
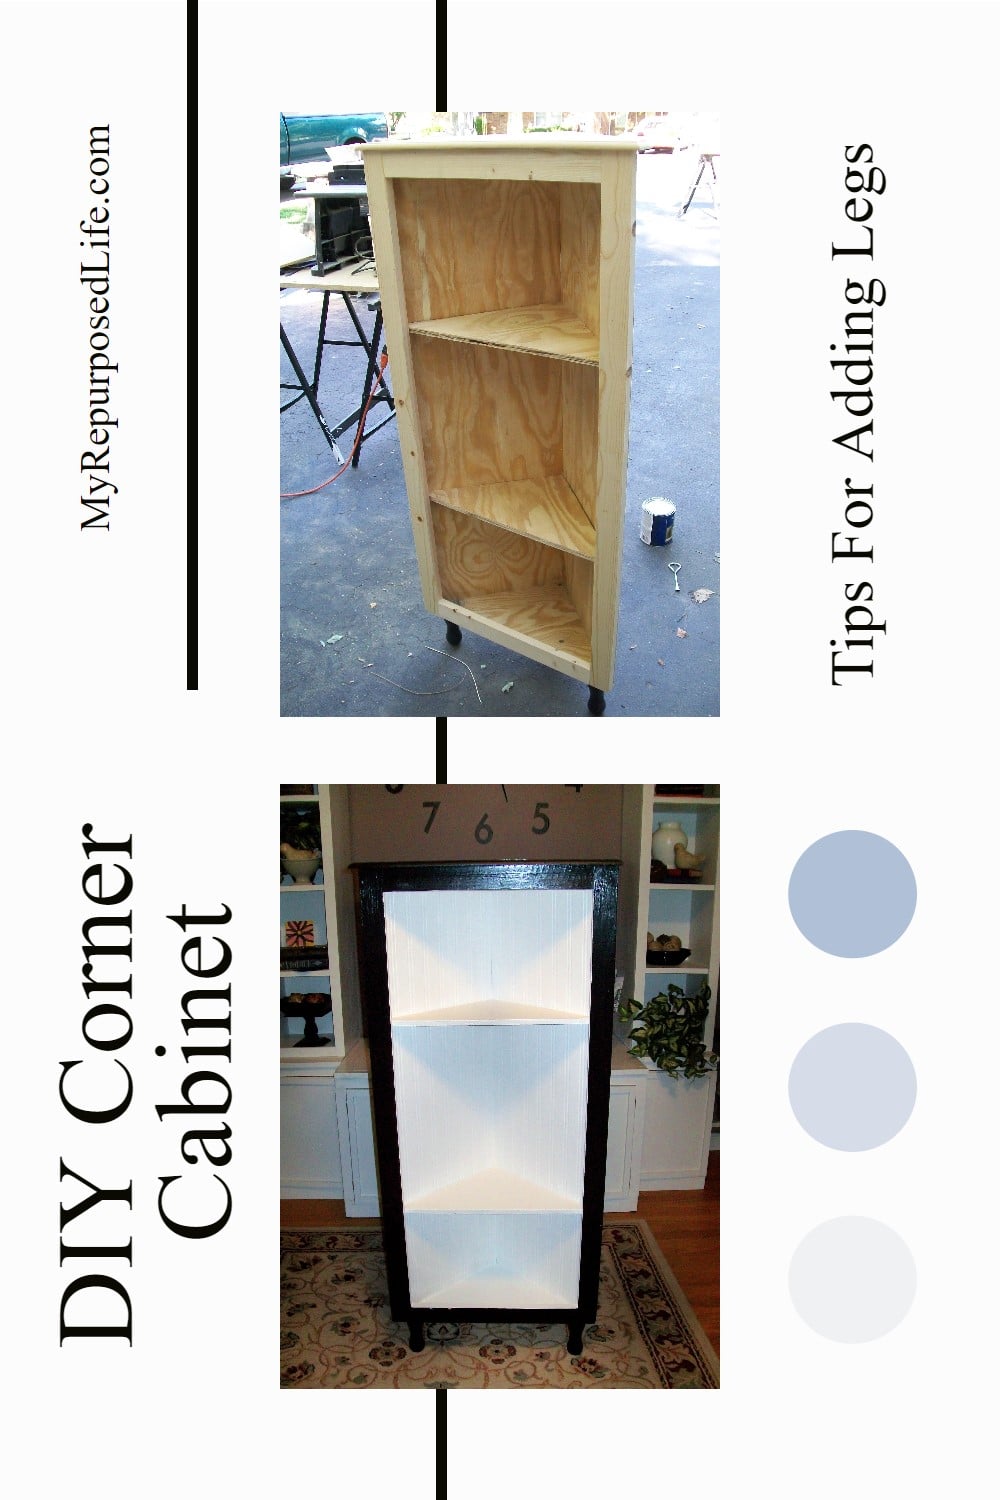
How do you make a DIY corner cabinet with reclaimed plywood? I hope to explain that to you in this tutorial.
This project was started but was set aside due to the weather.
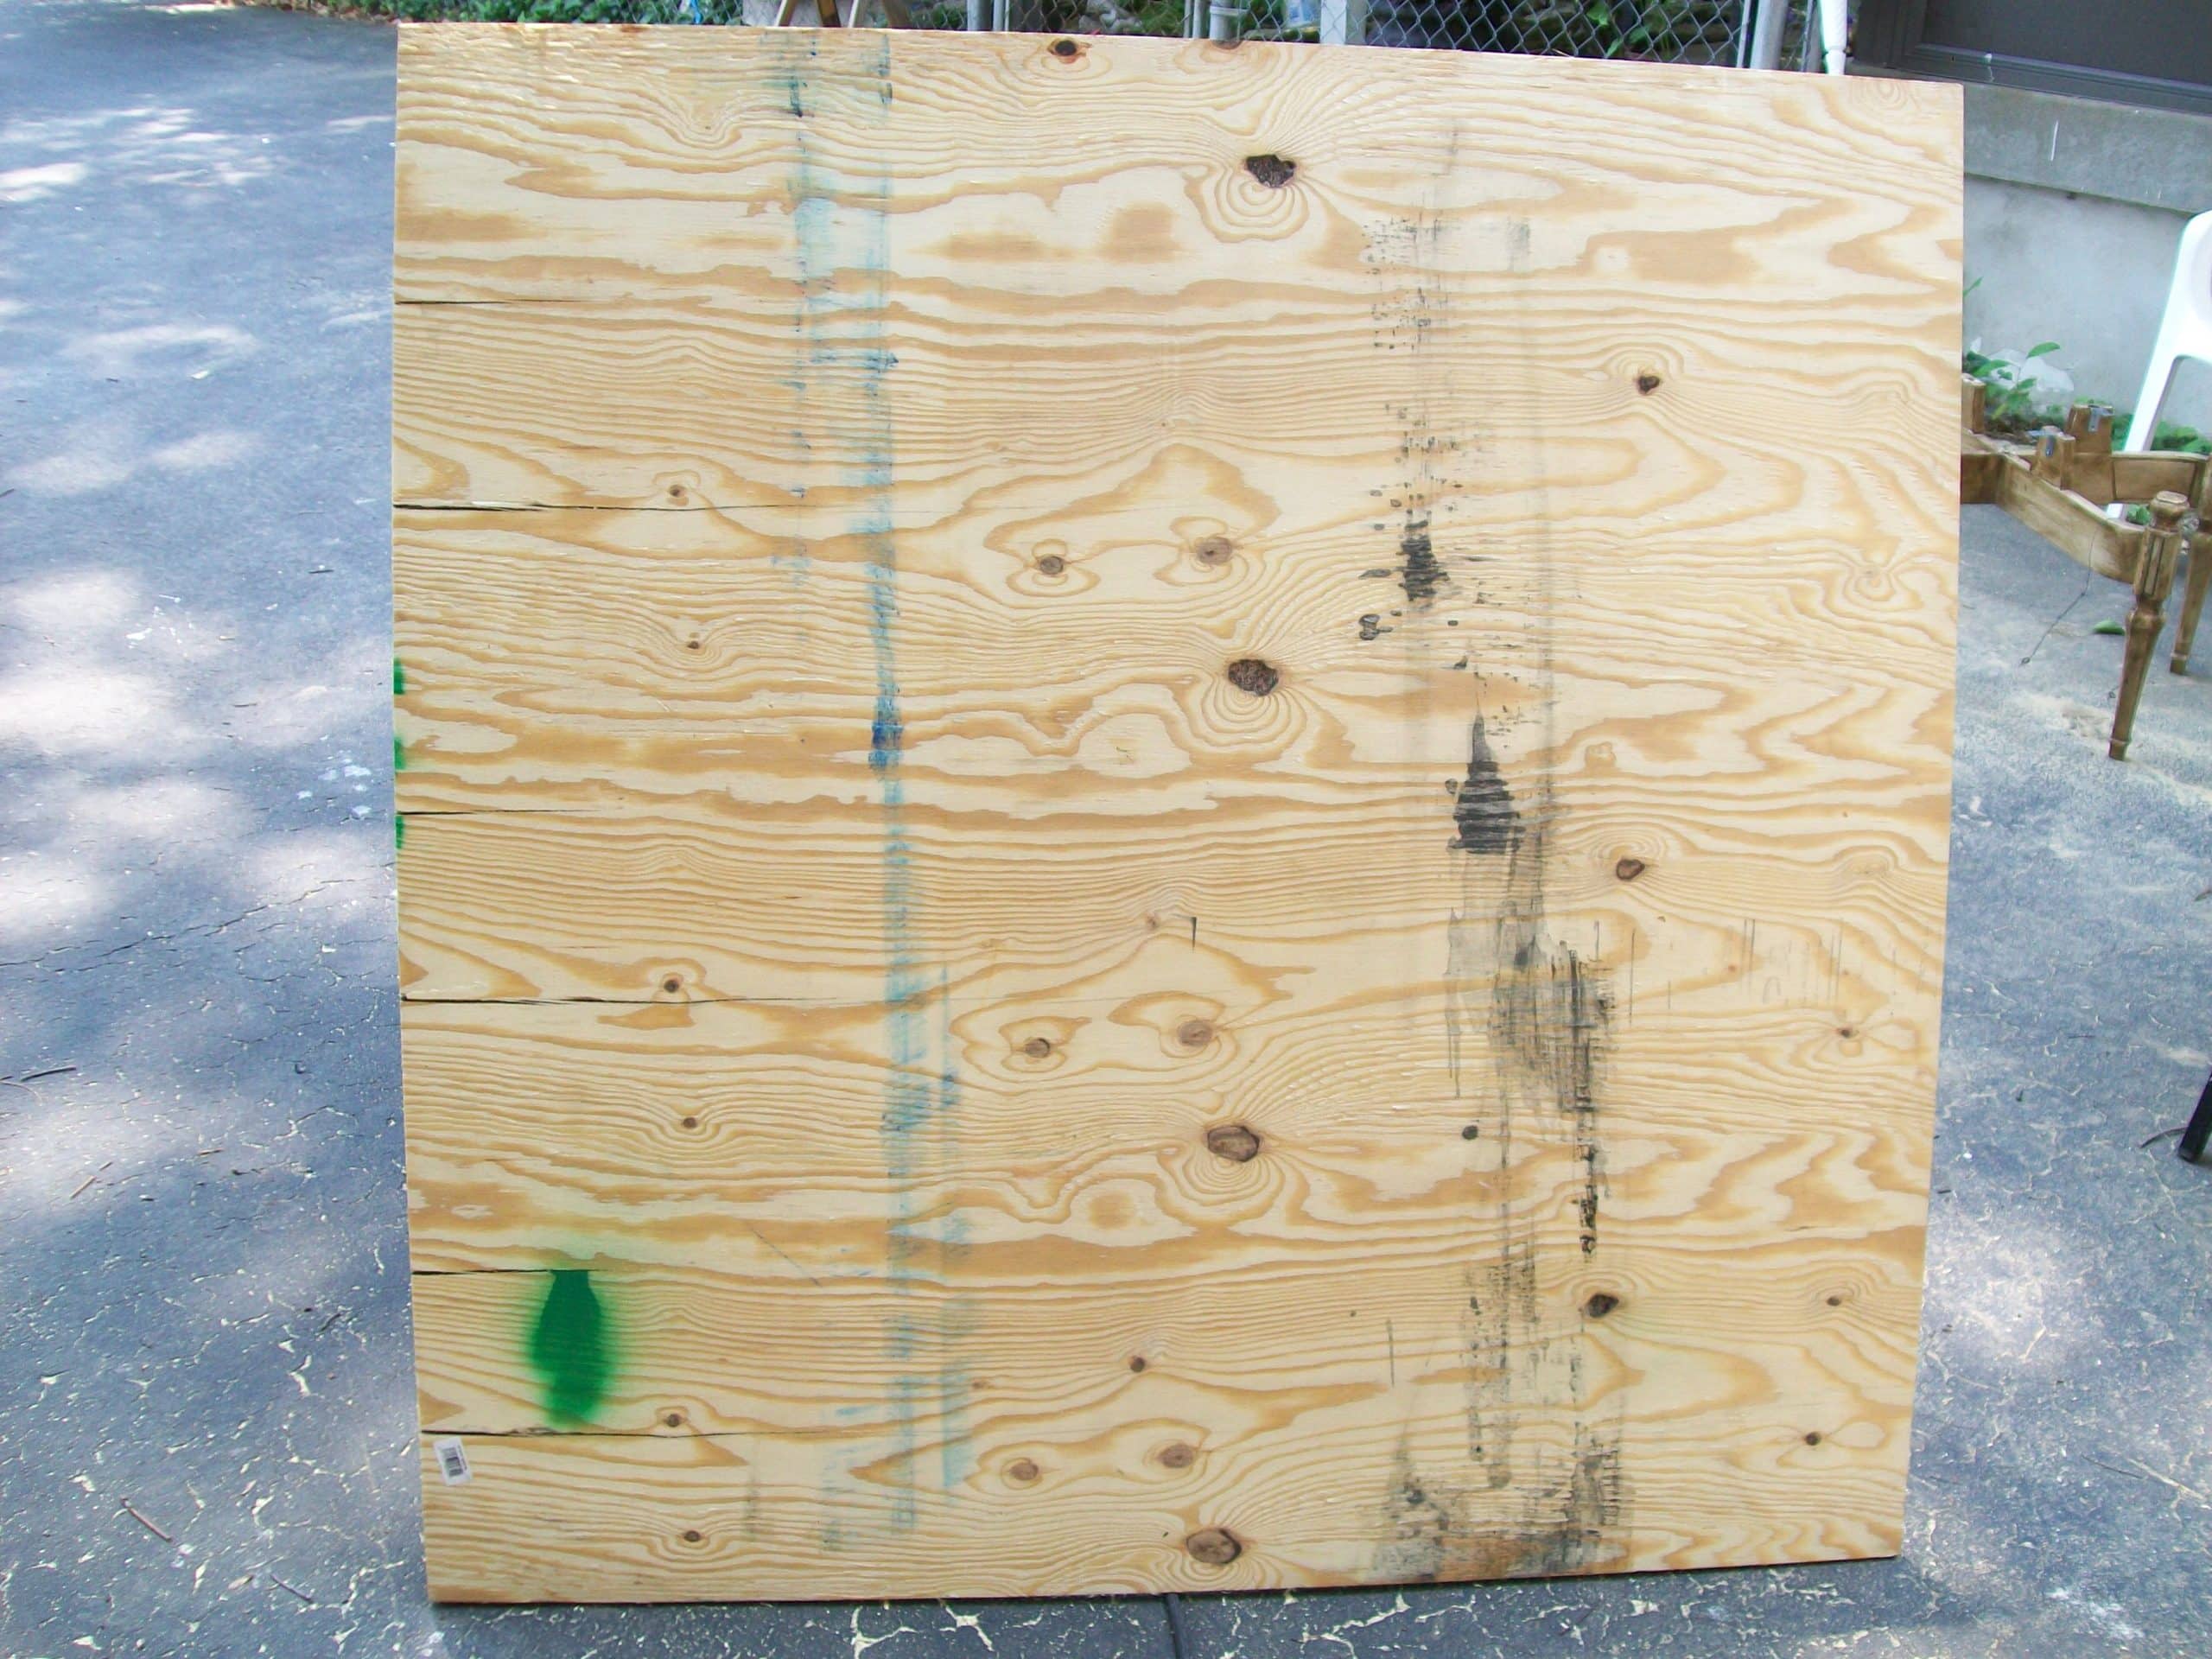
I started with a piece of cull bin 1/2 inch plywood. The green spray paint identifies it as a piece of lumber that sells for 51 cents.
Visit the My Repurposed Life Amazon Store to shop my favorite items.
Rip the plywood on the table saw
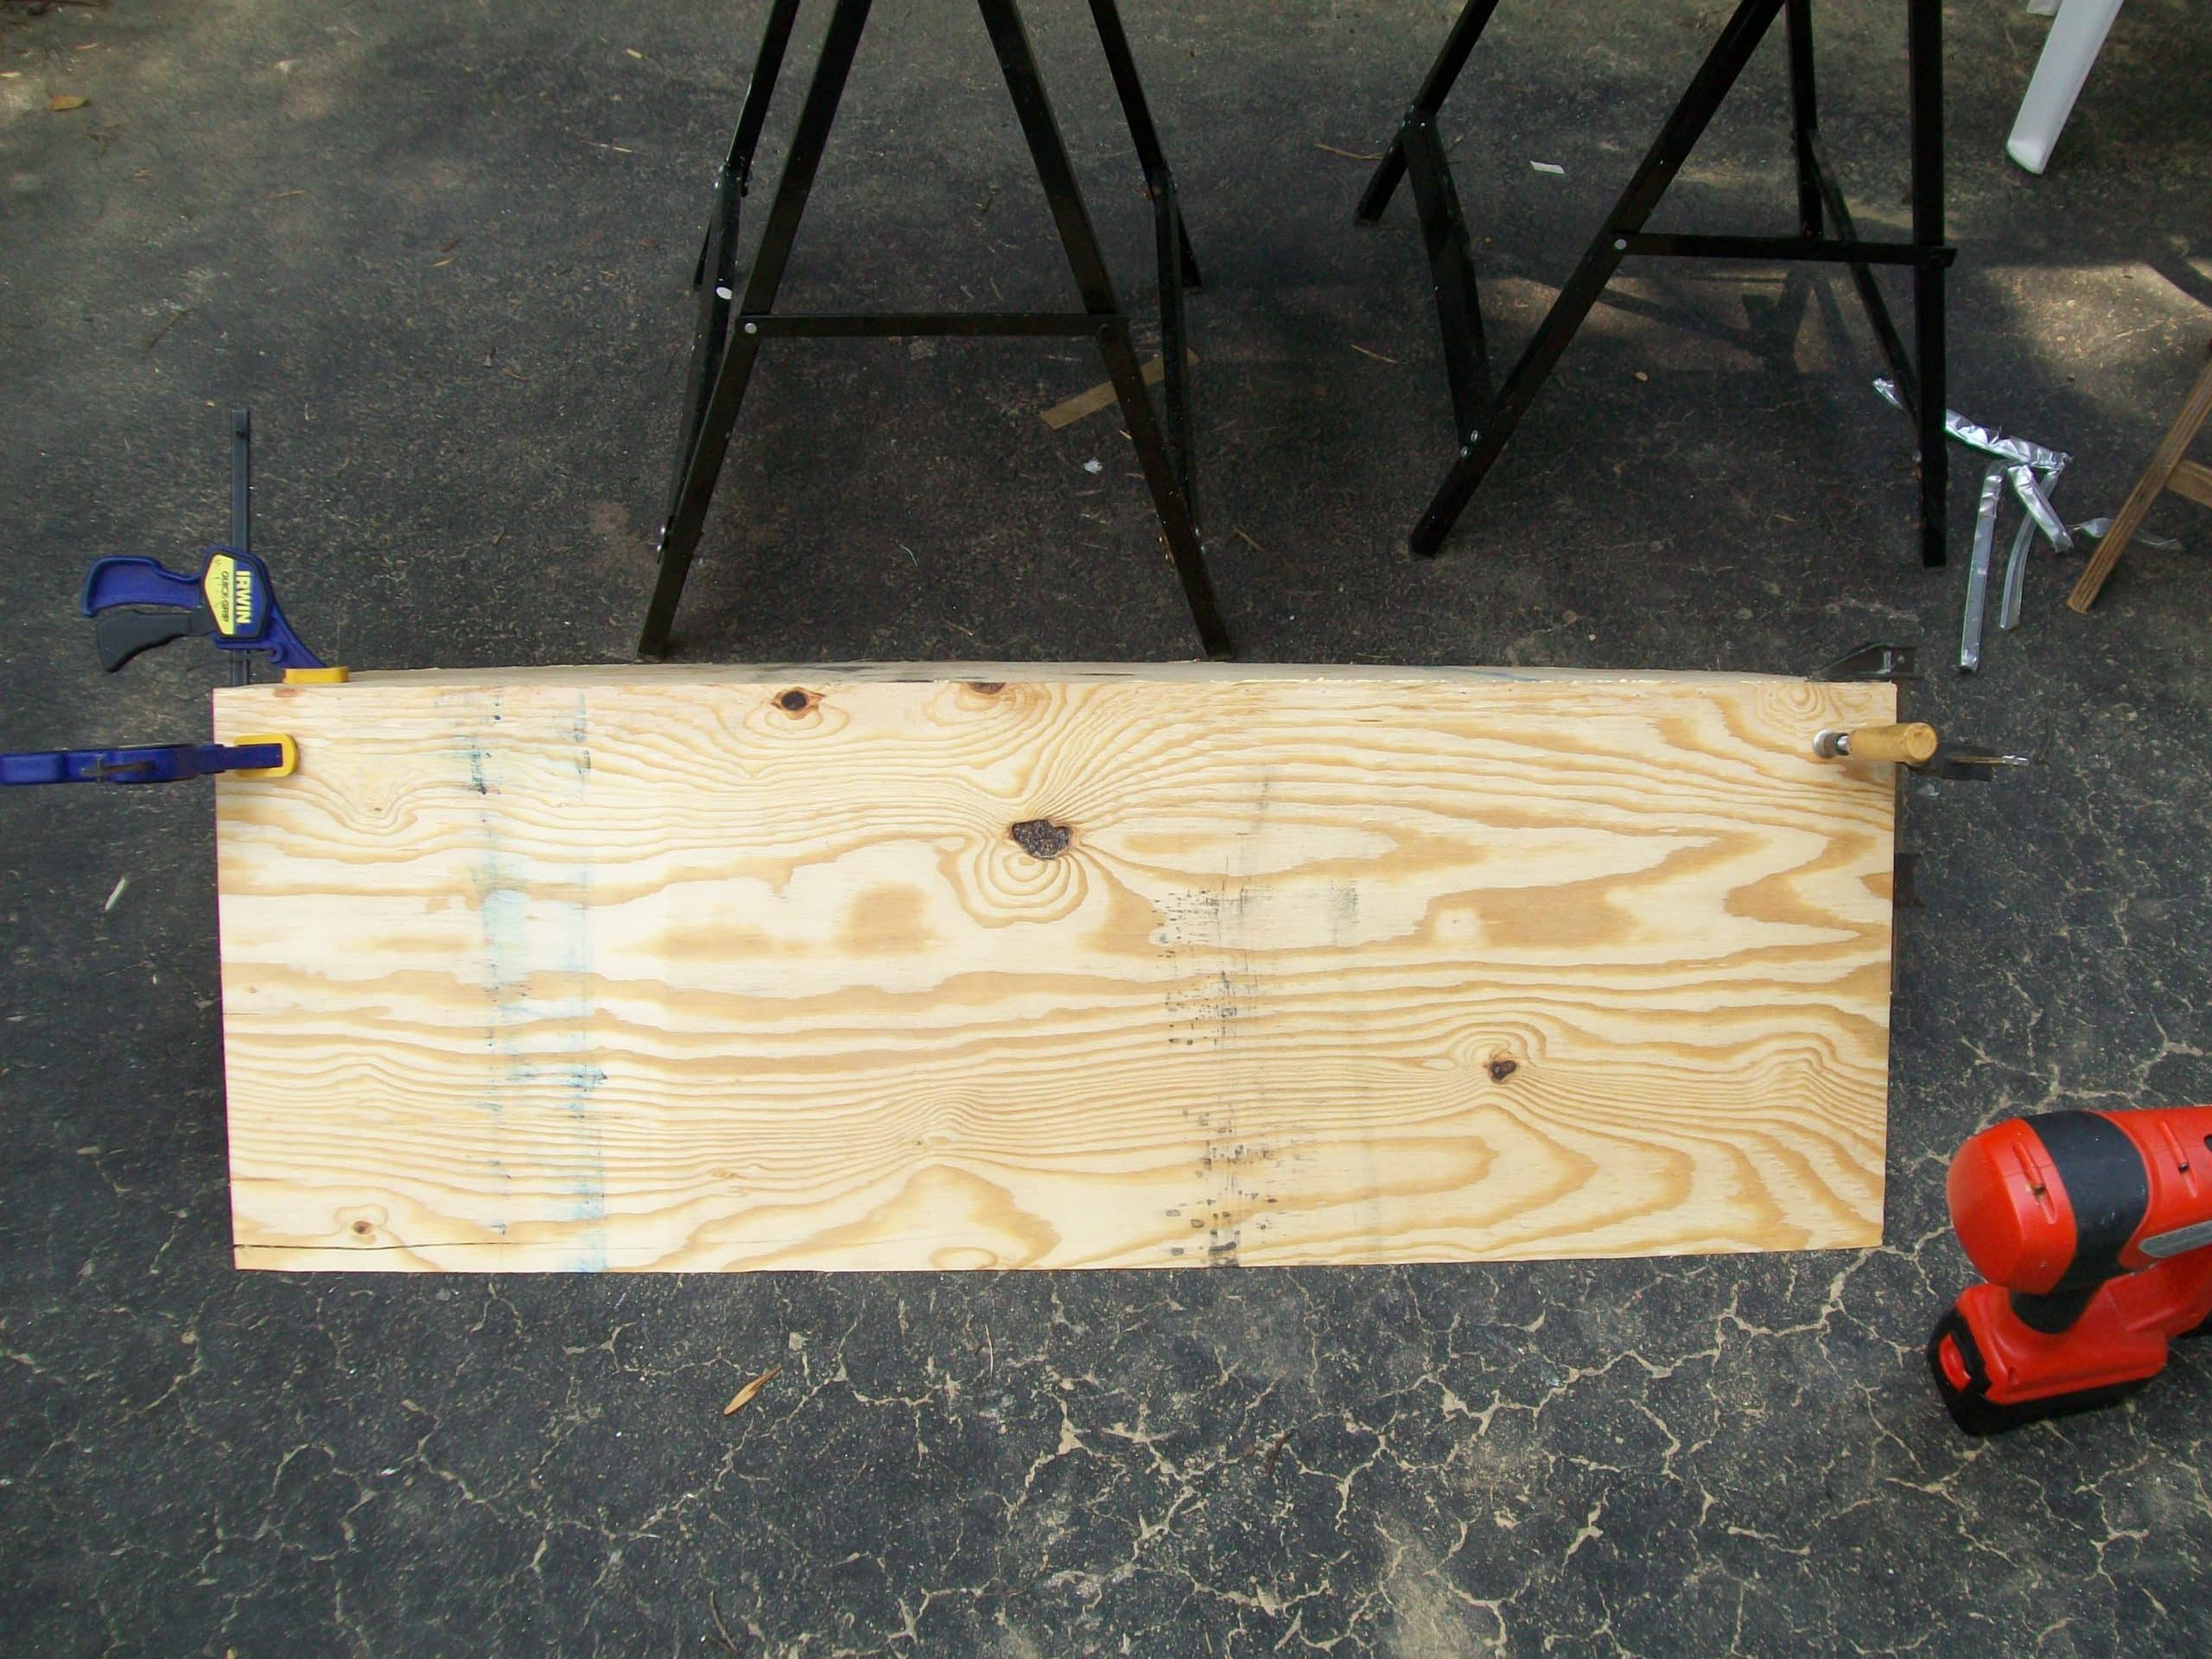
I ripped it to size and ran one side of each piece through the table saw with the blade set at a 45-degree angle. (The angled part is lying on the driveway.)
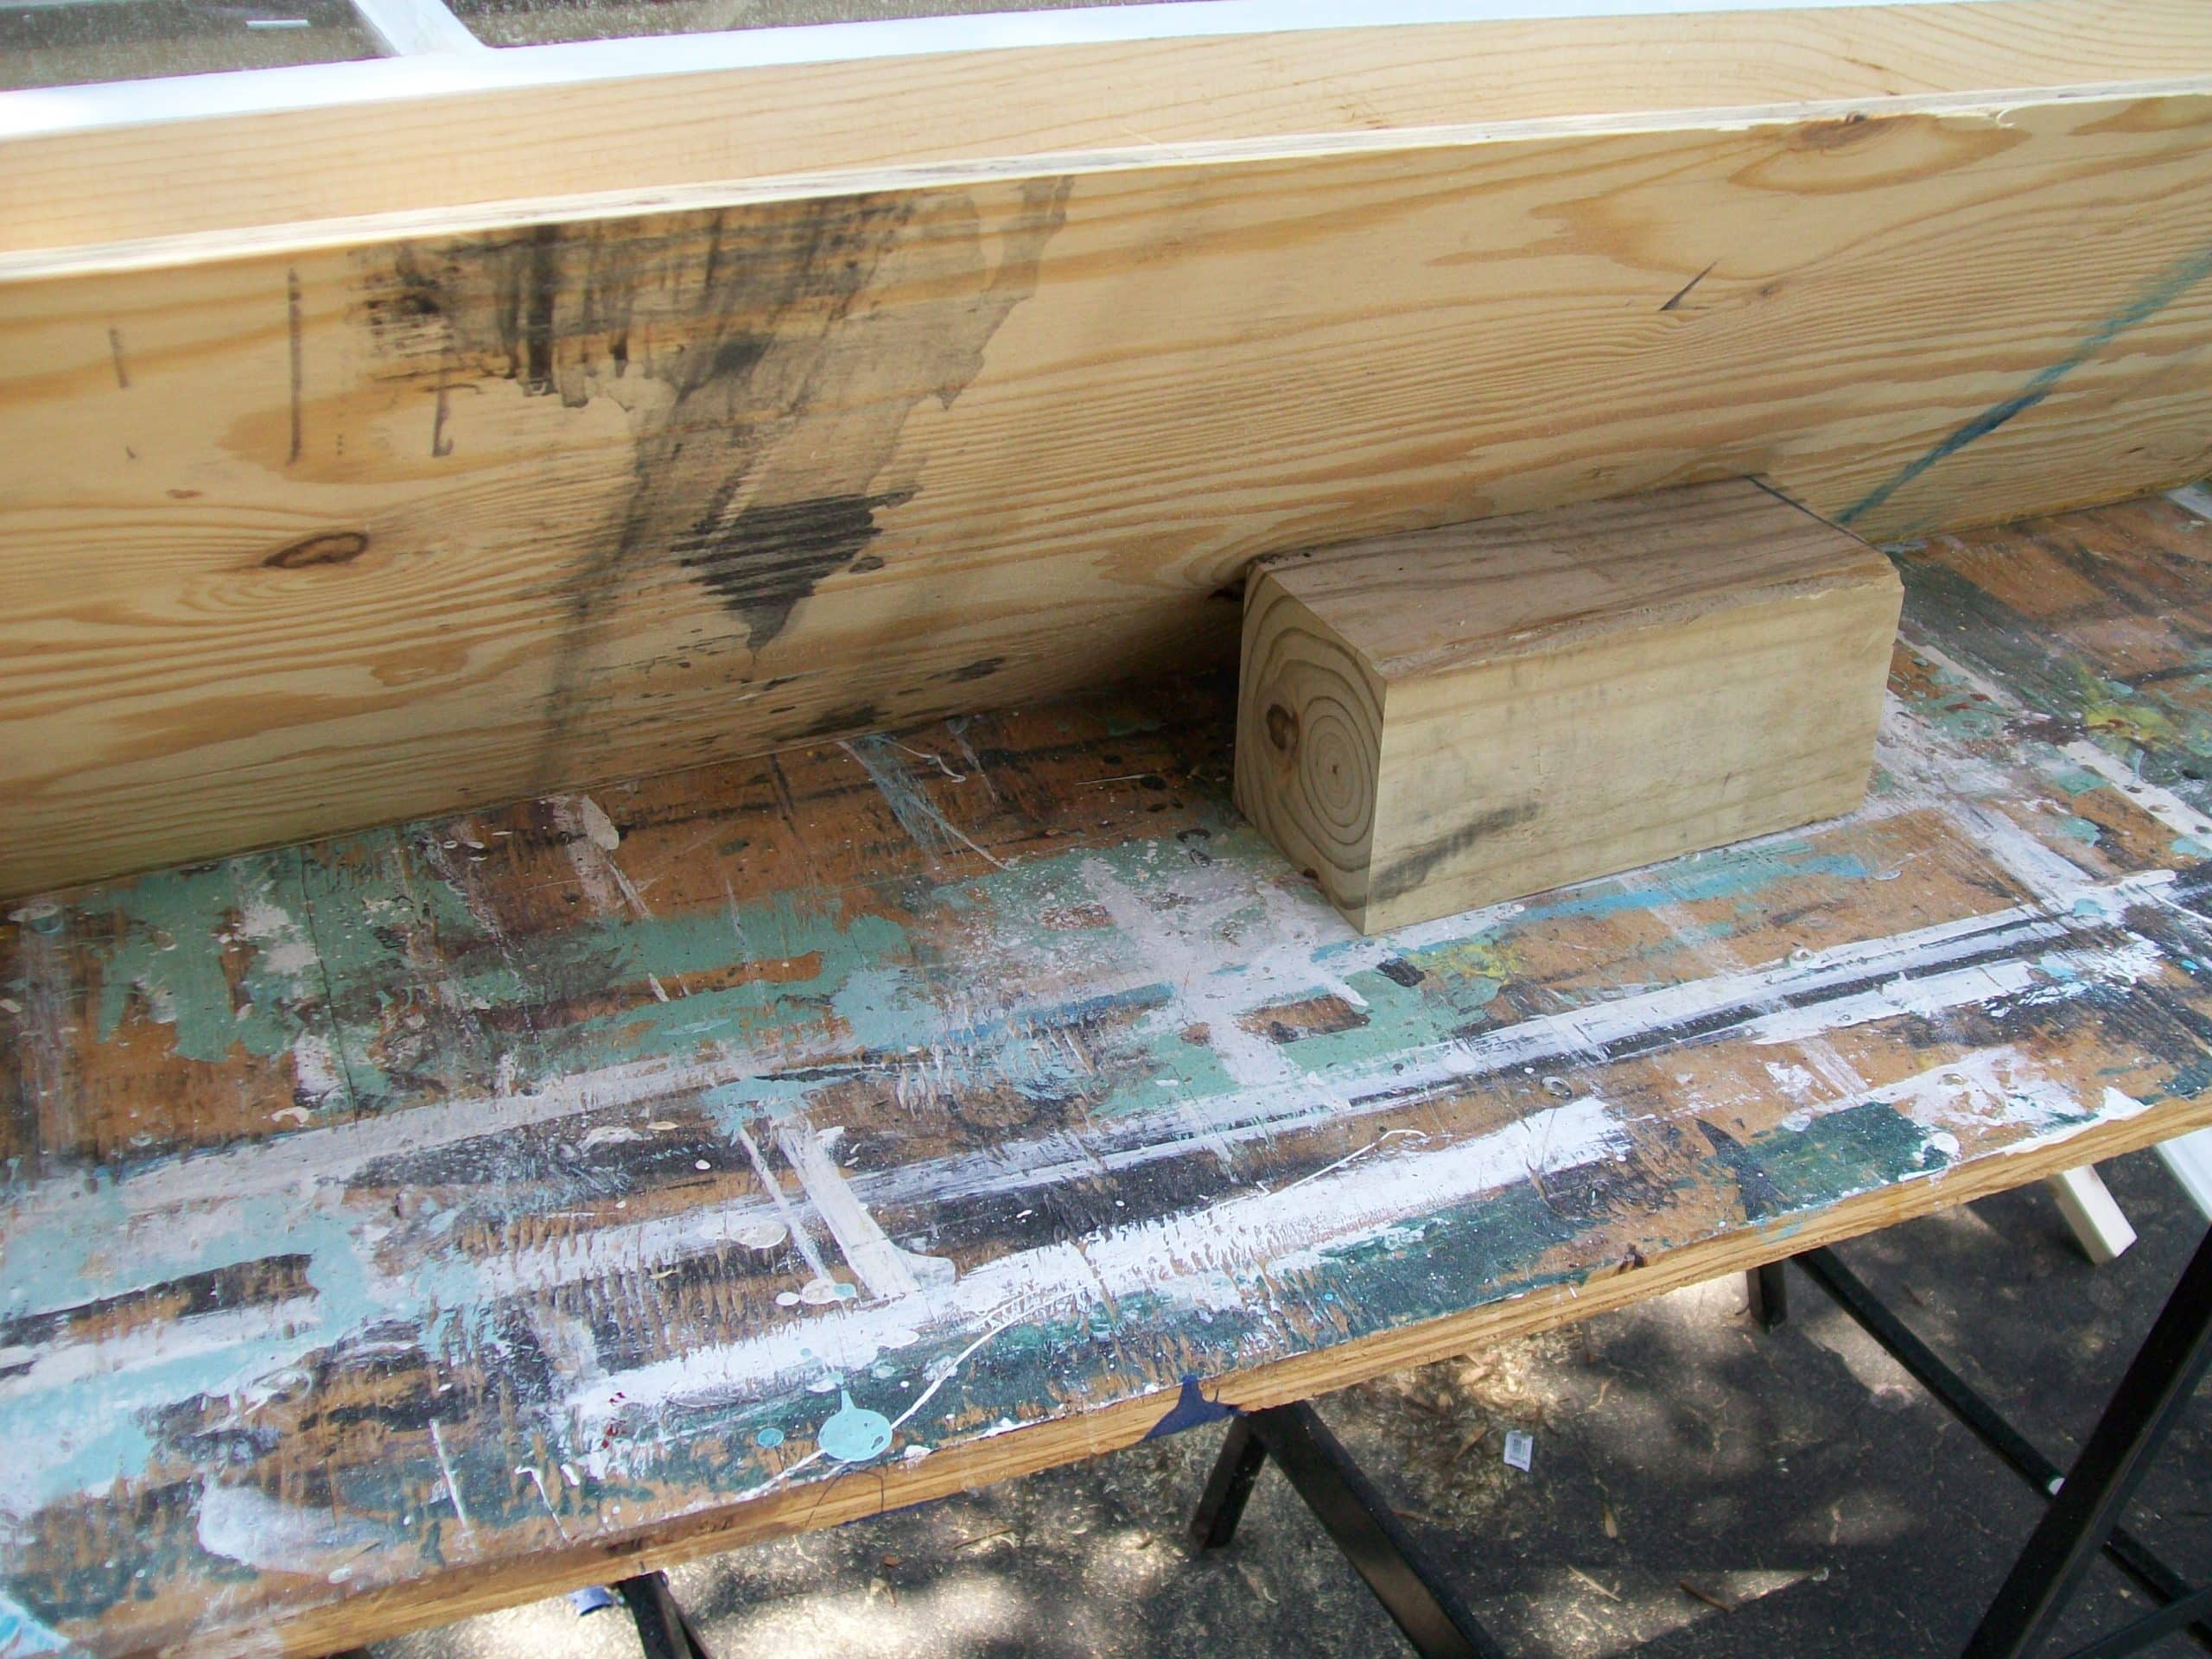
Clamp using a 4×4 to keep the corner square
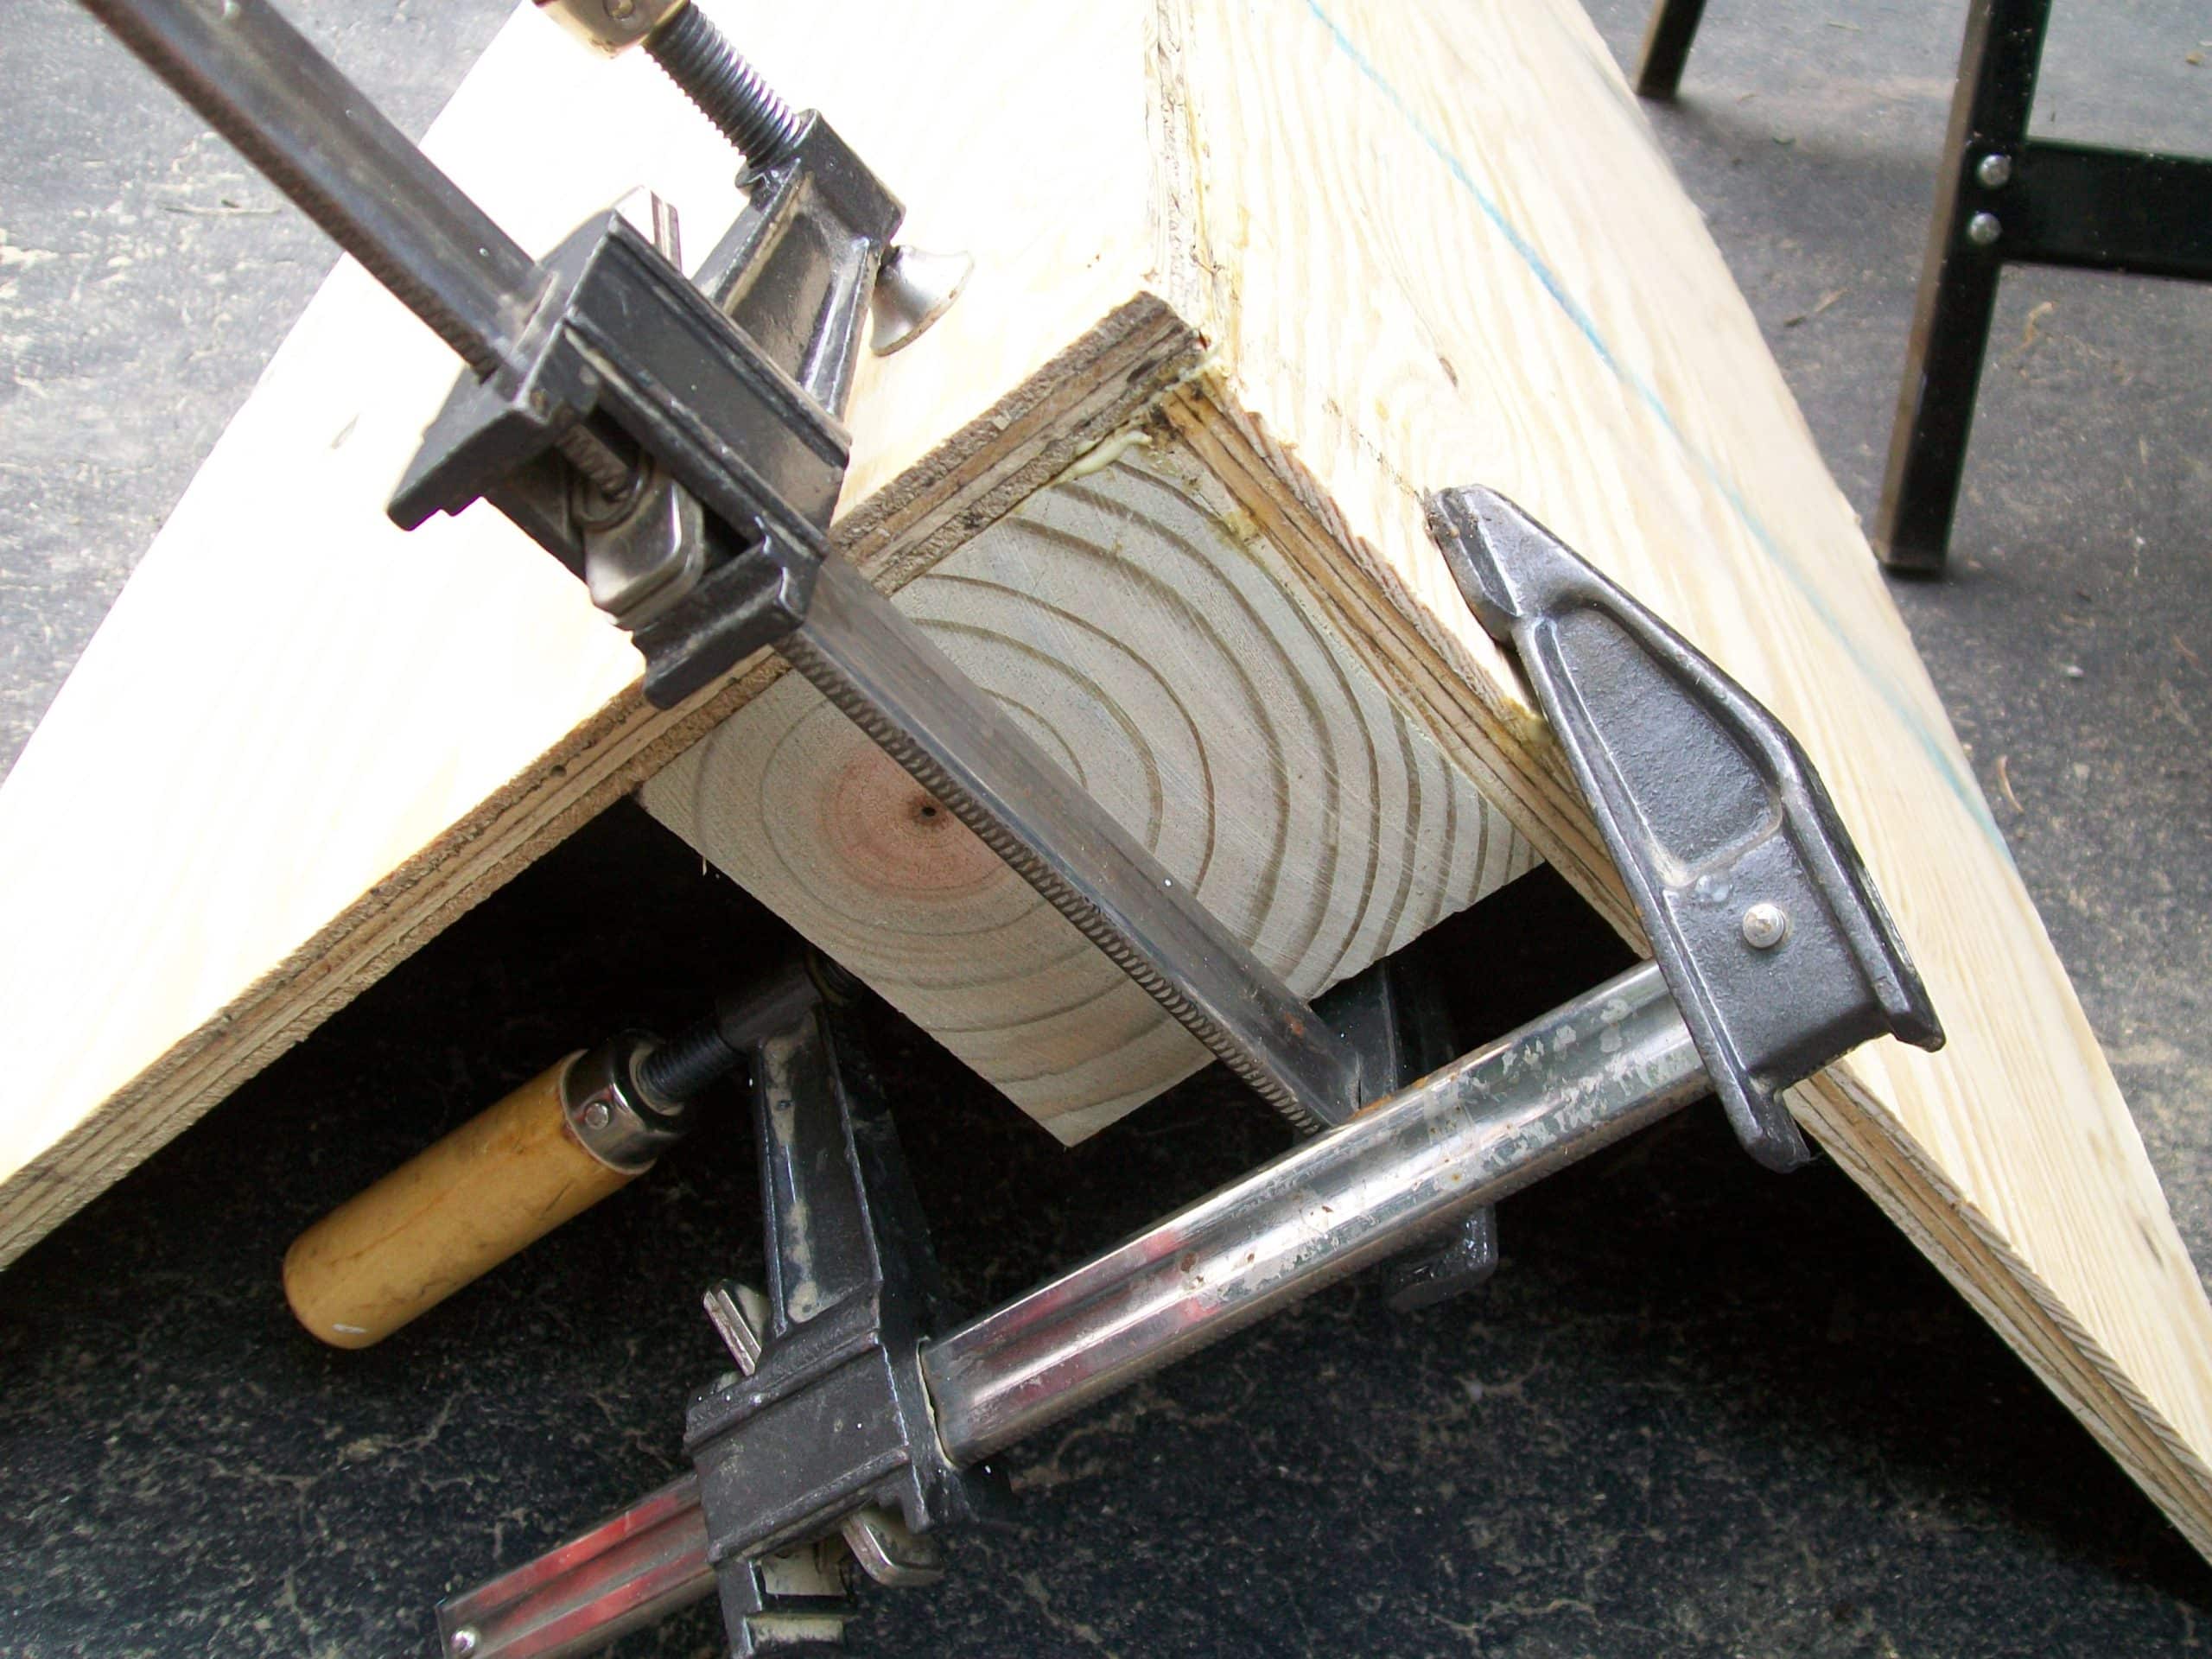
This was done the same way I do corner benches. One side is 1/2 inch shorter than the other to allow them to end up the same width. I have it glued and clamped on each end using a 4×4 to keep it “square.”
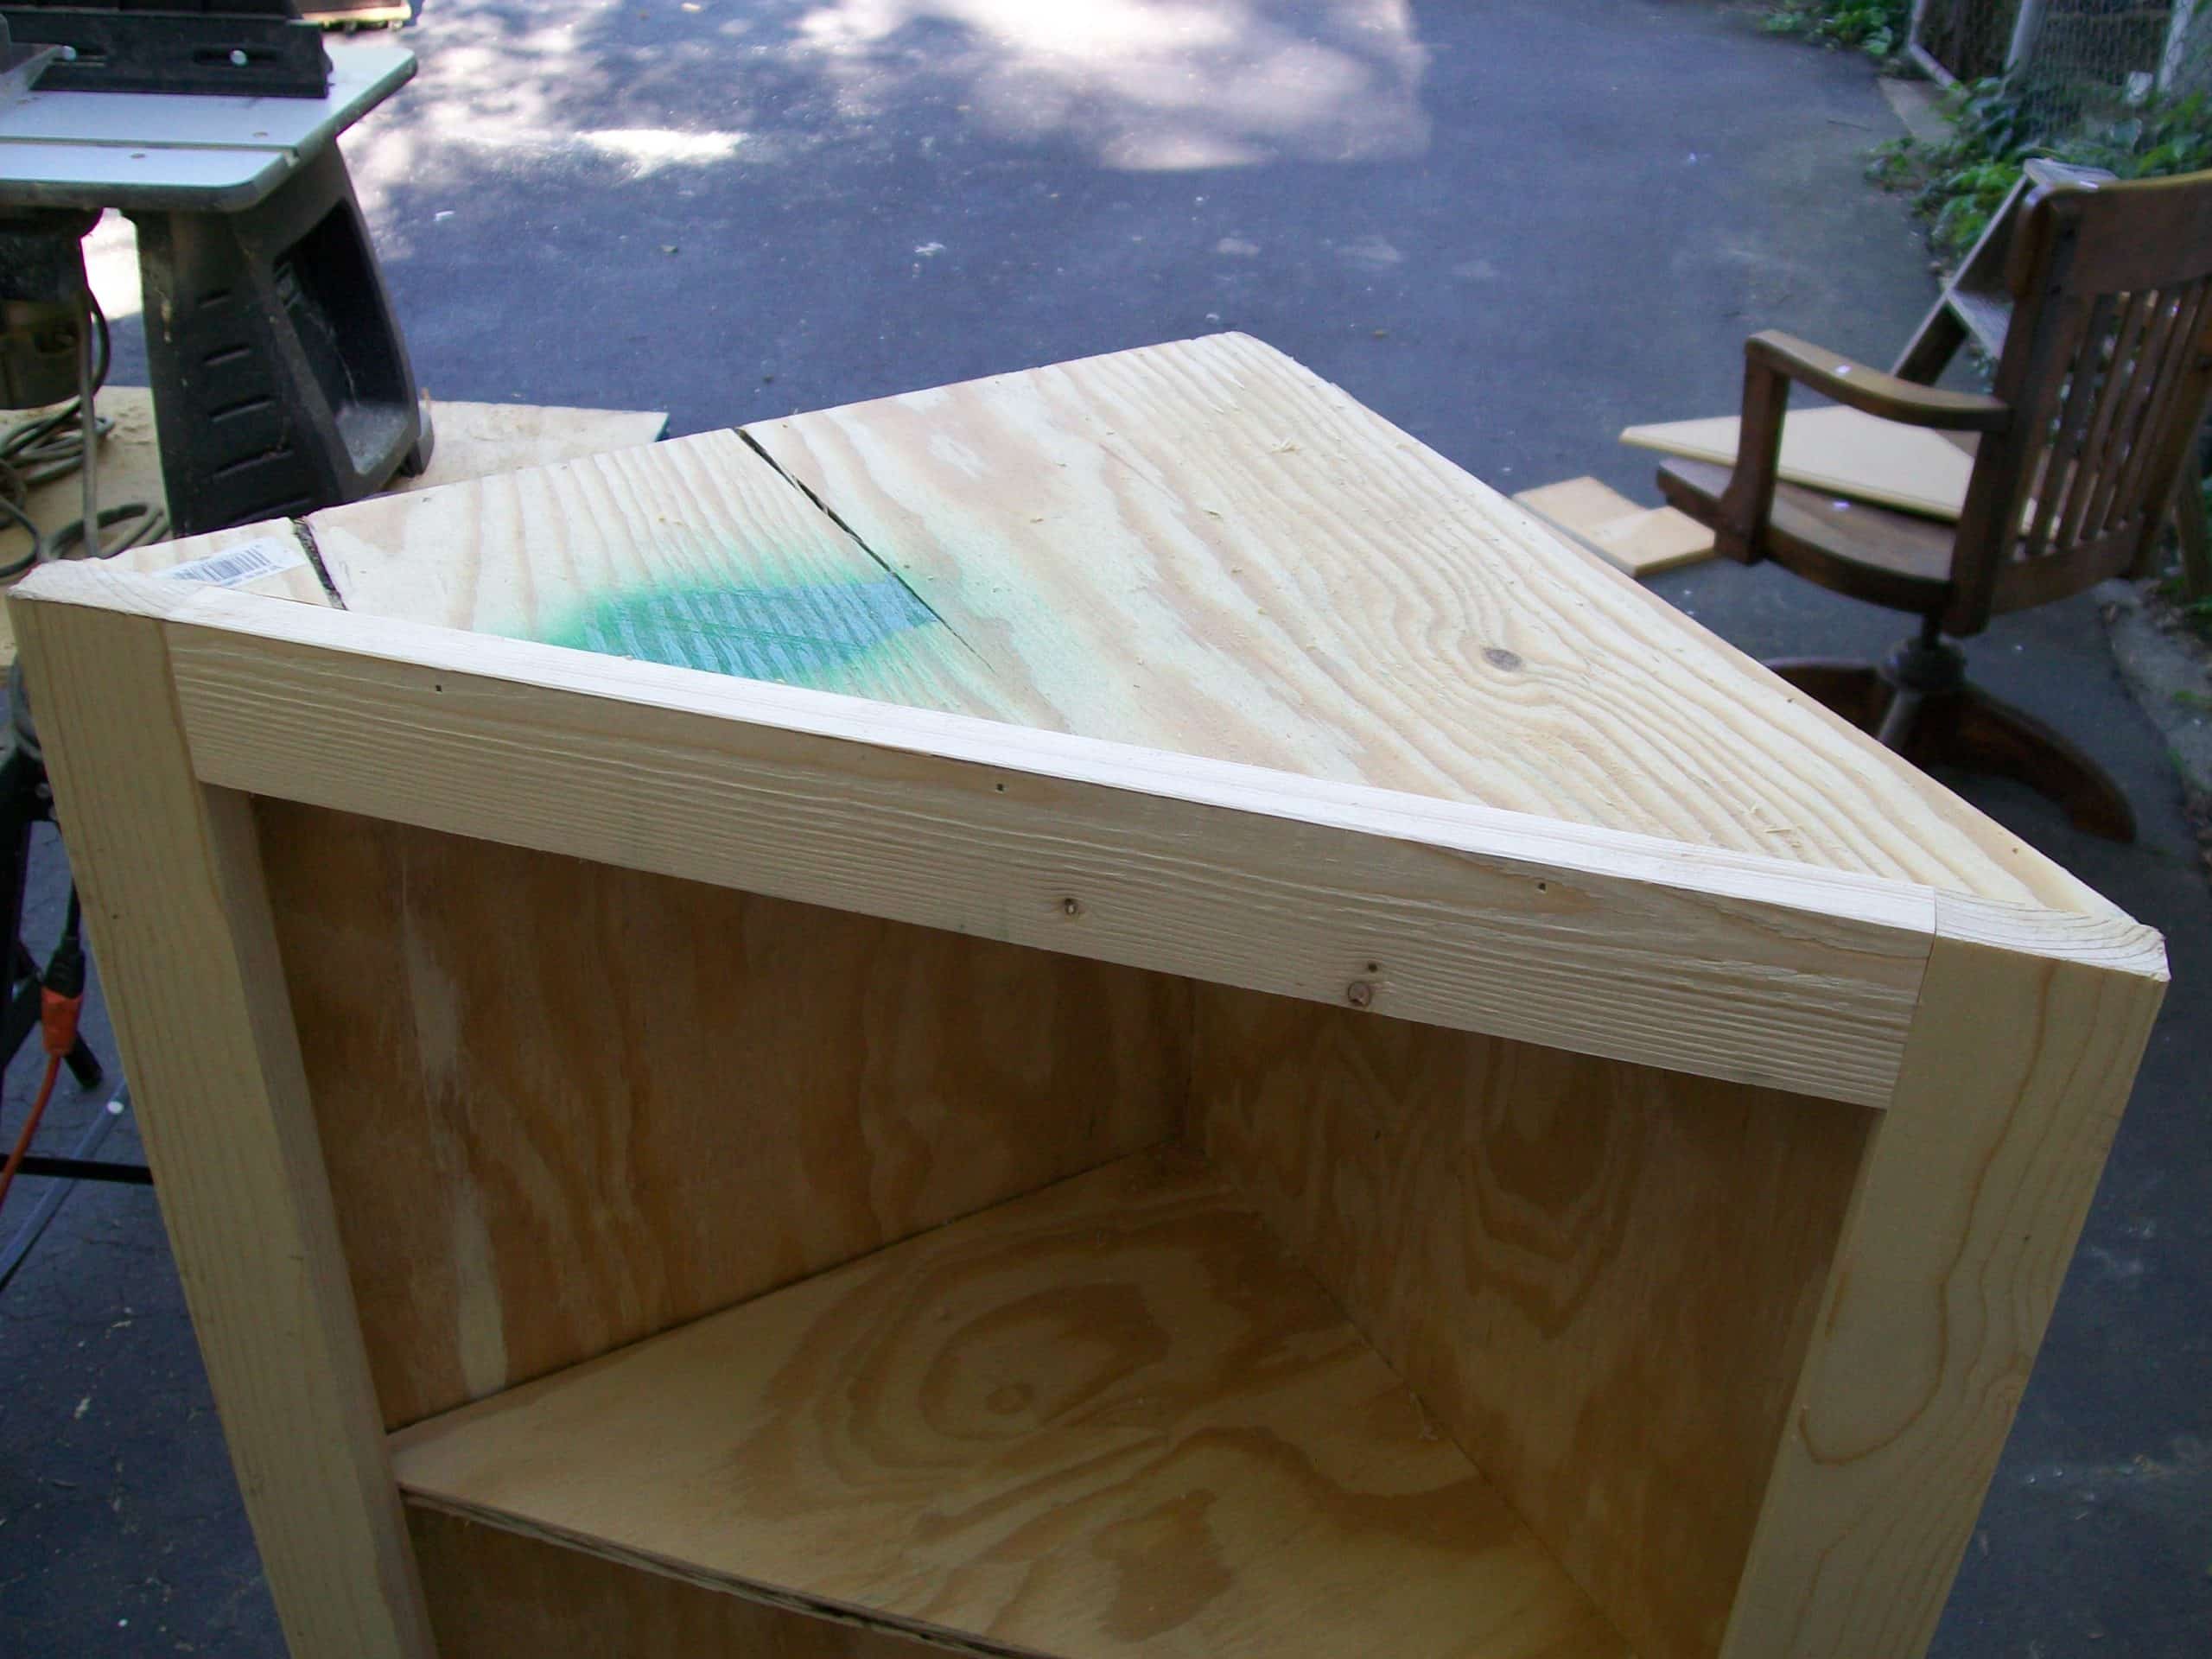
How to measure and mark the top and bottom of a DIY corner cabinet
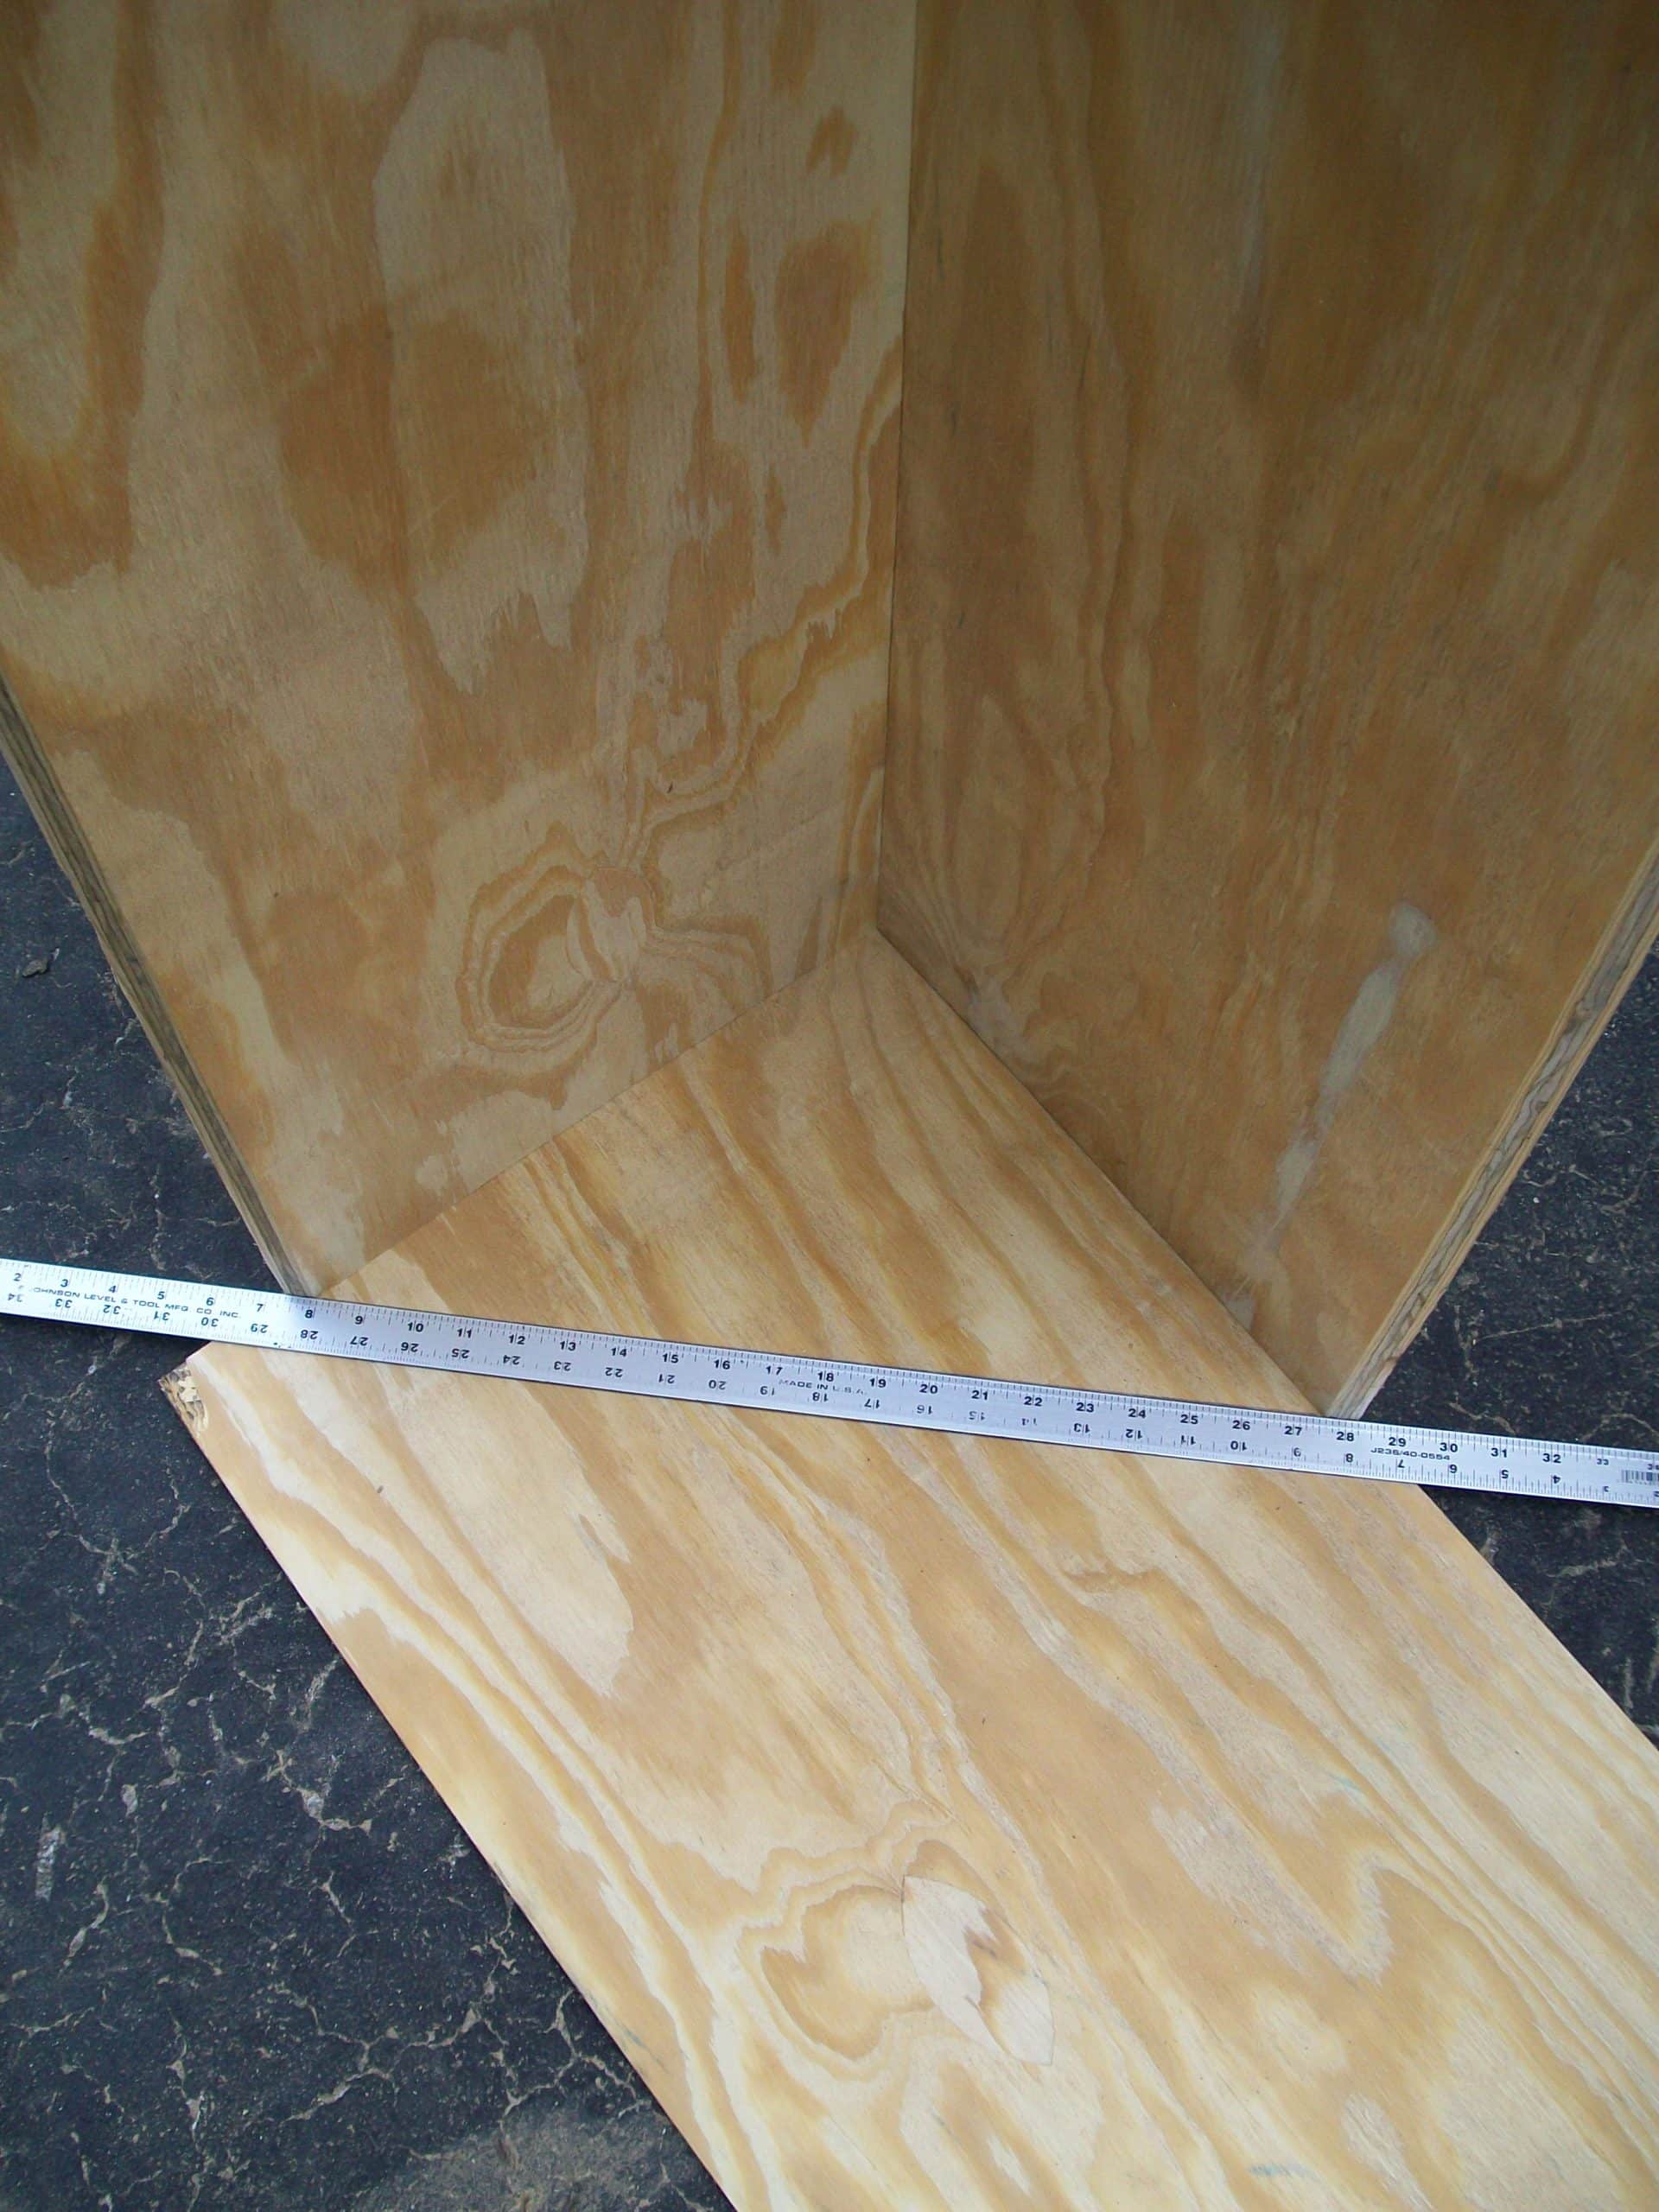
This is how I marked the pieces for the top and bottom. Can you see that the sides are cut at an angle?
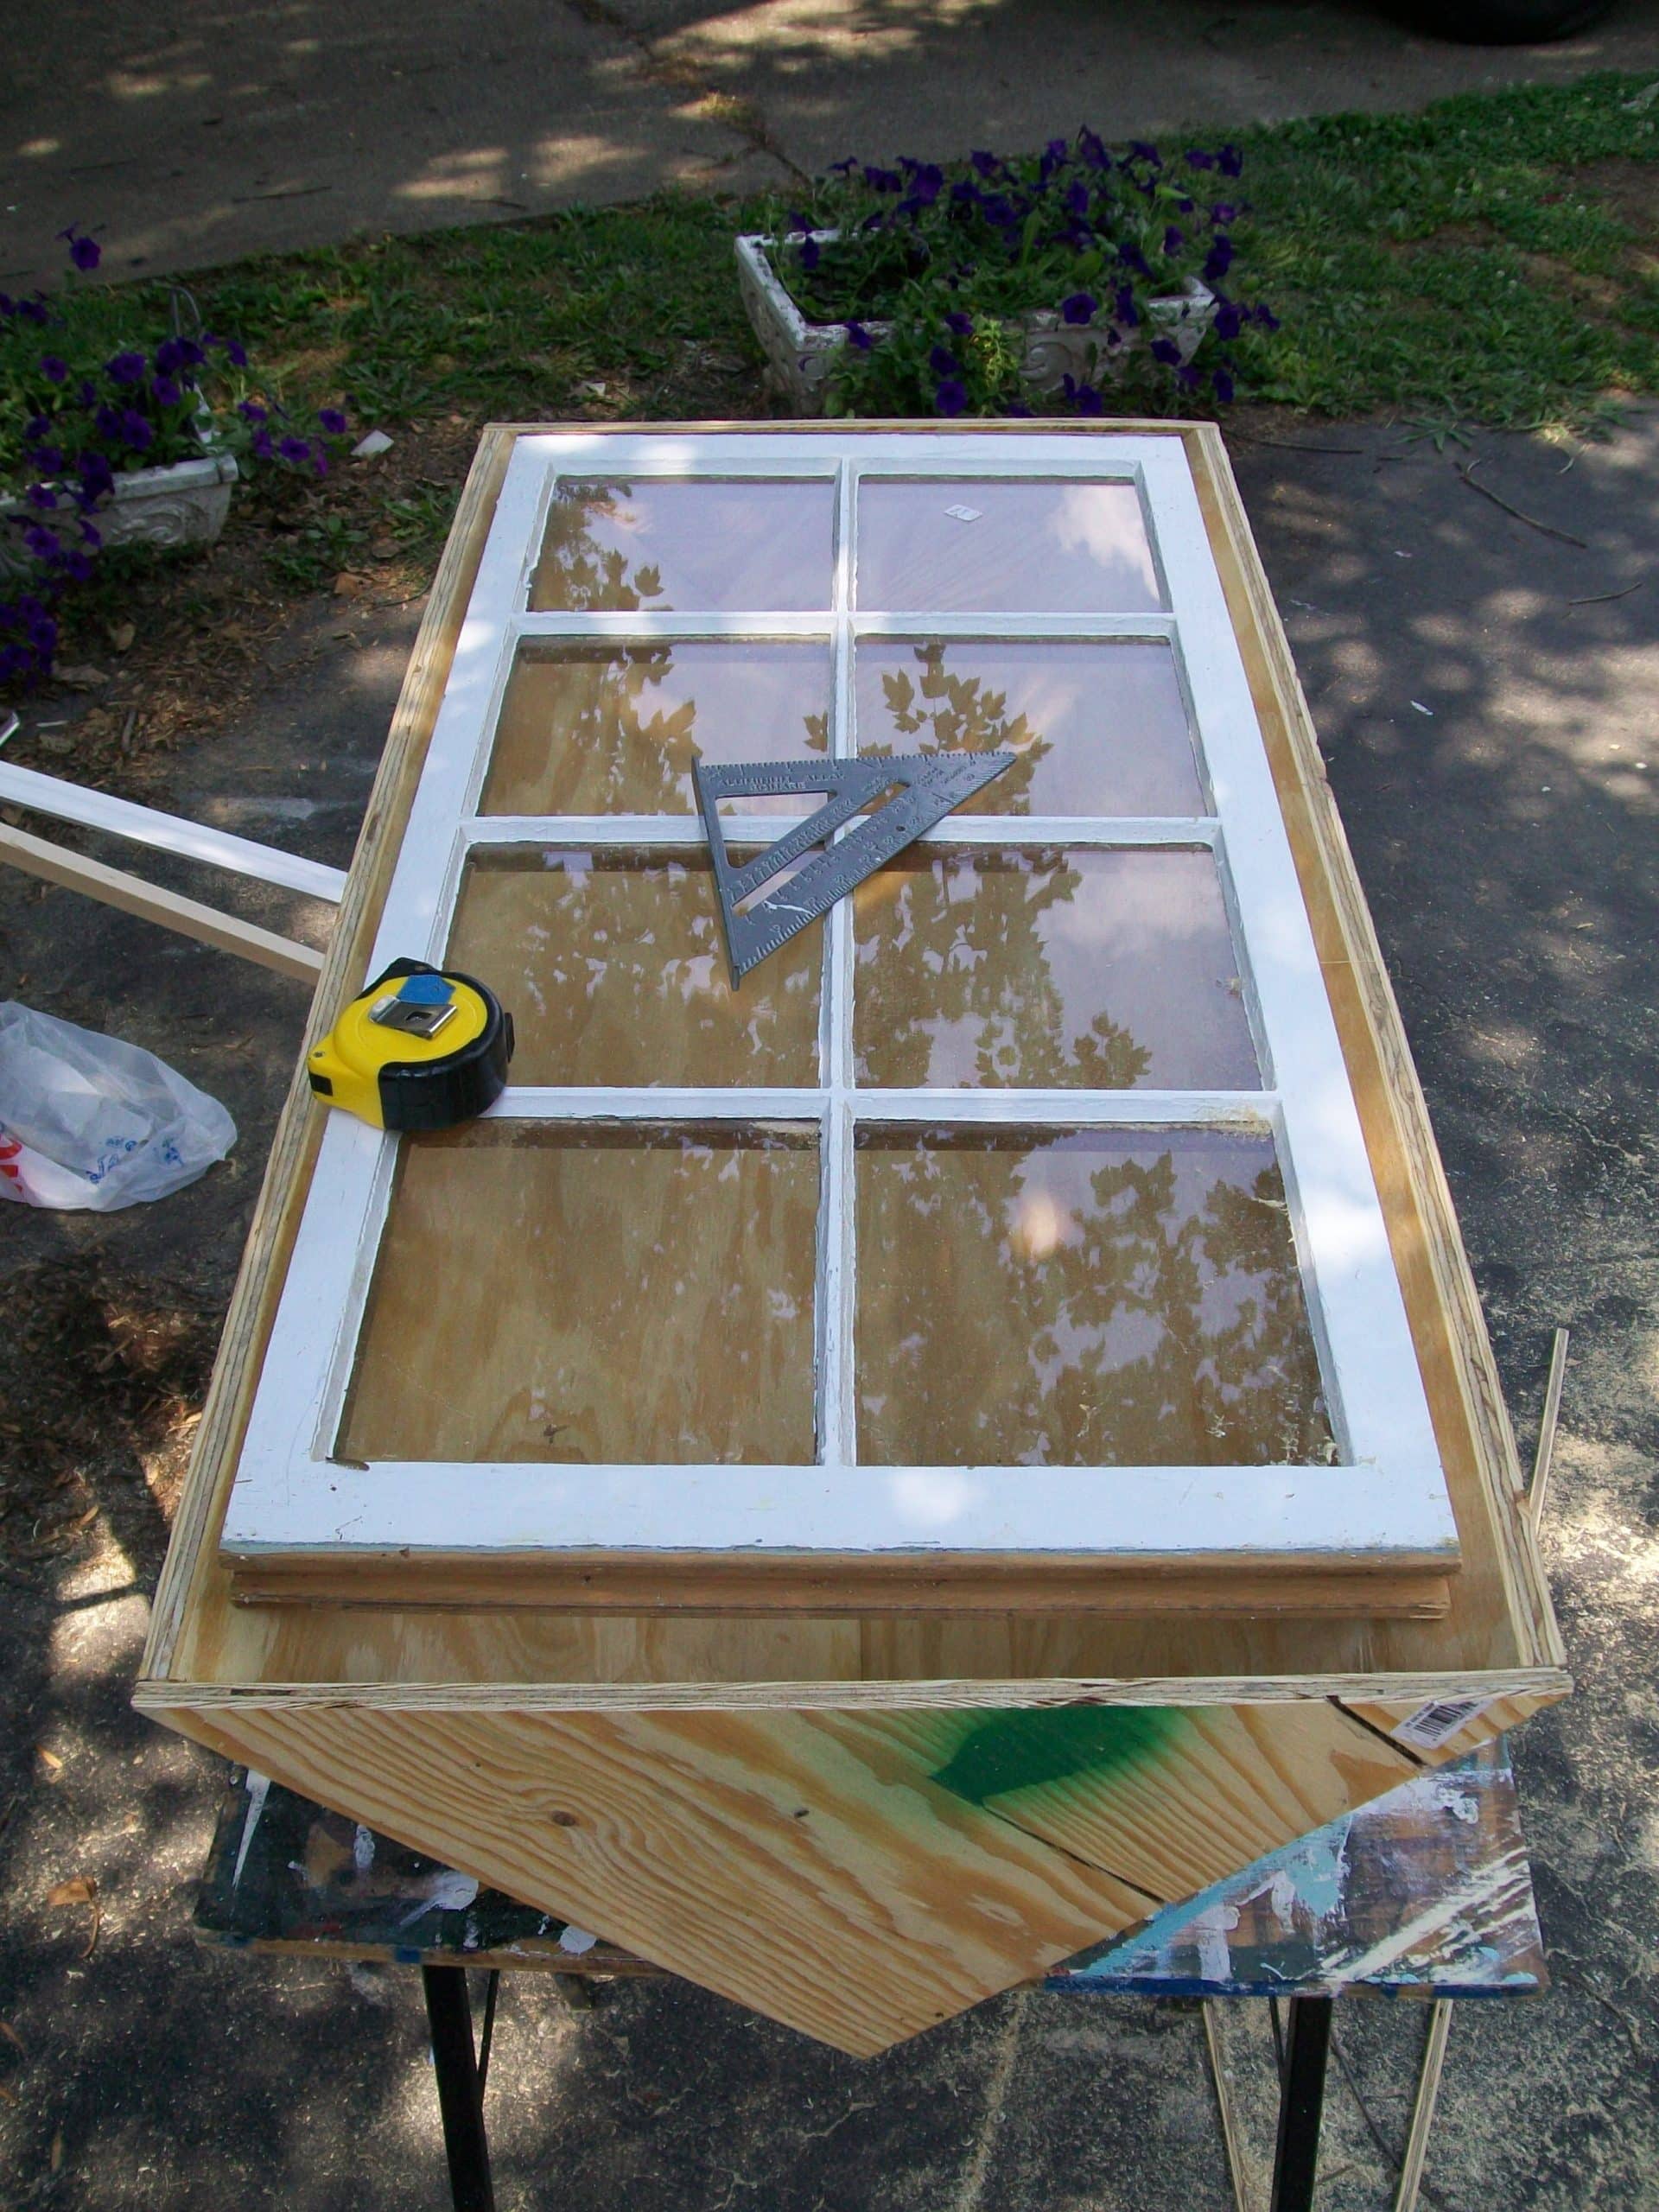
Should I add a window as a door?
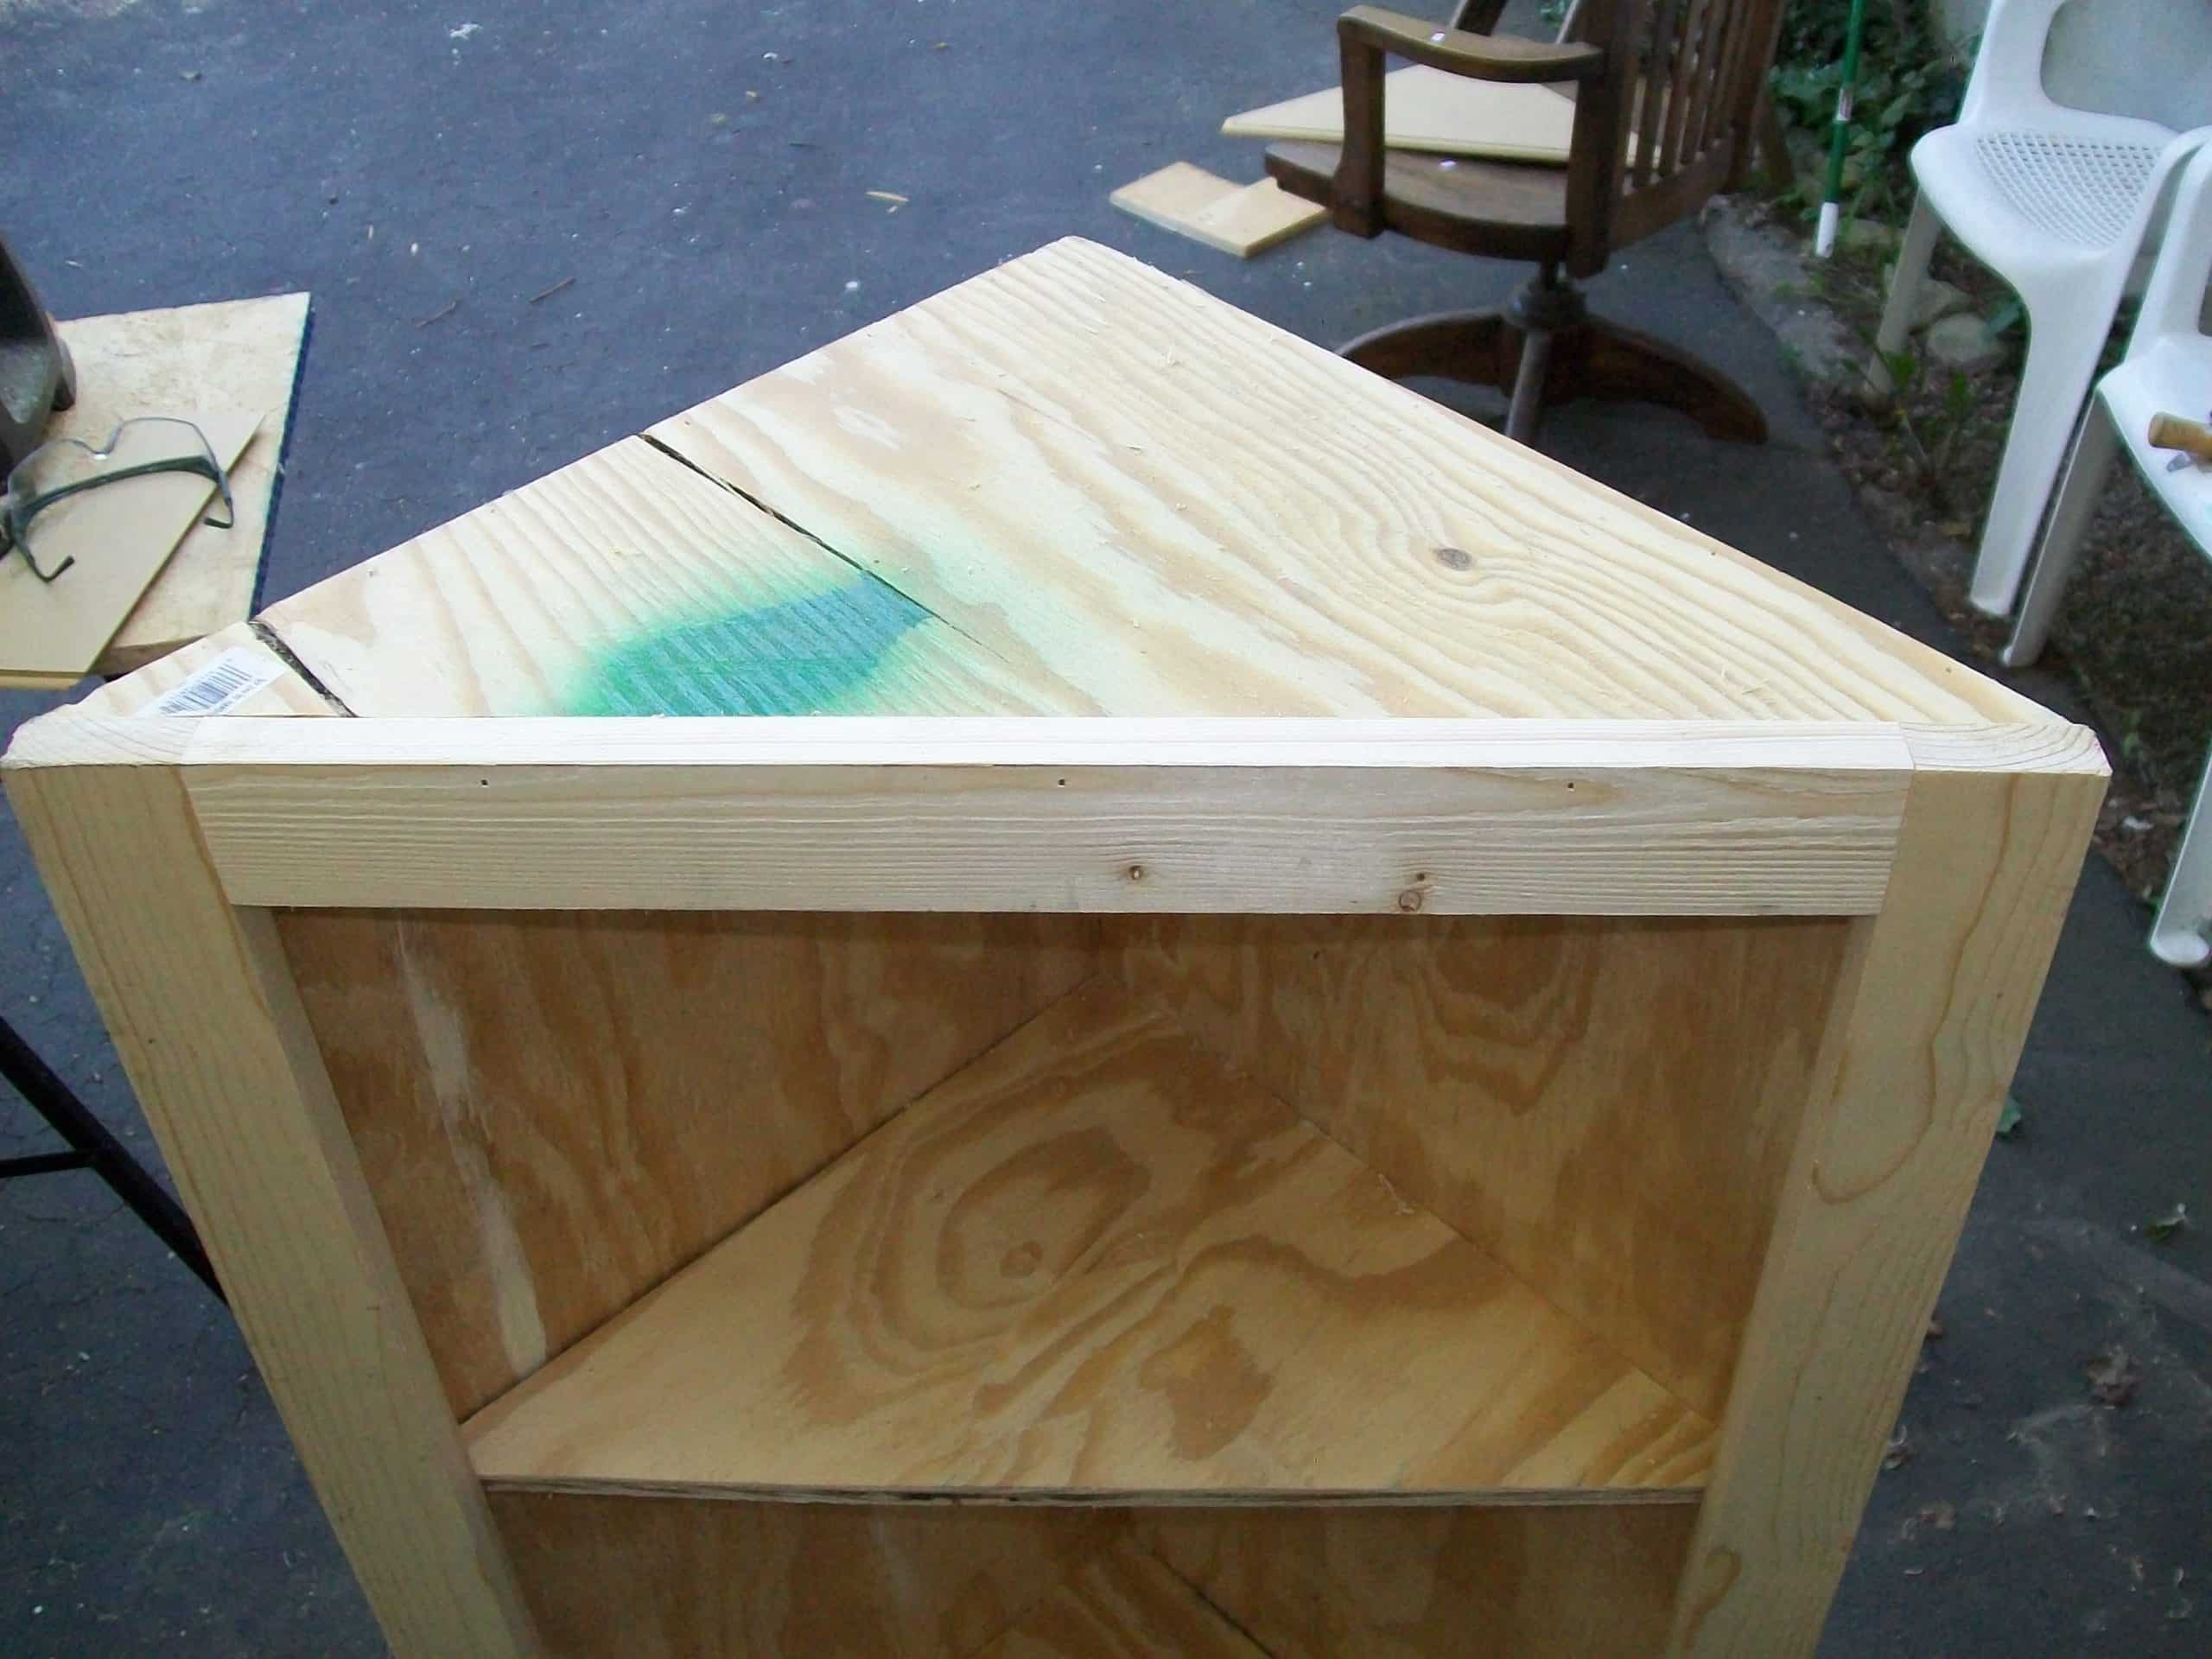
After the glue dried, I cut a triangle piece for the top and the bottom. Here, I see that I somehow measured a little wrong on the “height” of the cabinet. It isn’t very easy, but it had something to do with crown molding, thinking I had to add some height. This is the point where I put it in the garage for almost eight weeks. DIY building doesn’t always go as planned.
I took this picture to show you how I kept the cabinet upright to work on it. I used scrap 4x4s as “chocks” to hold it in place.
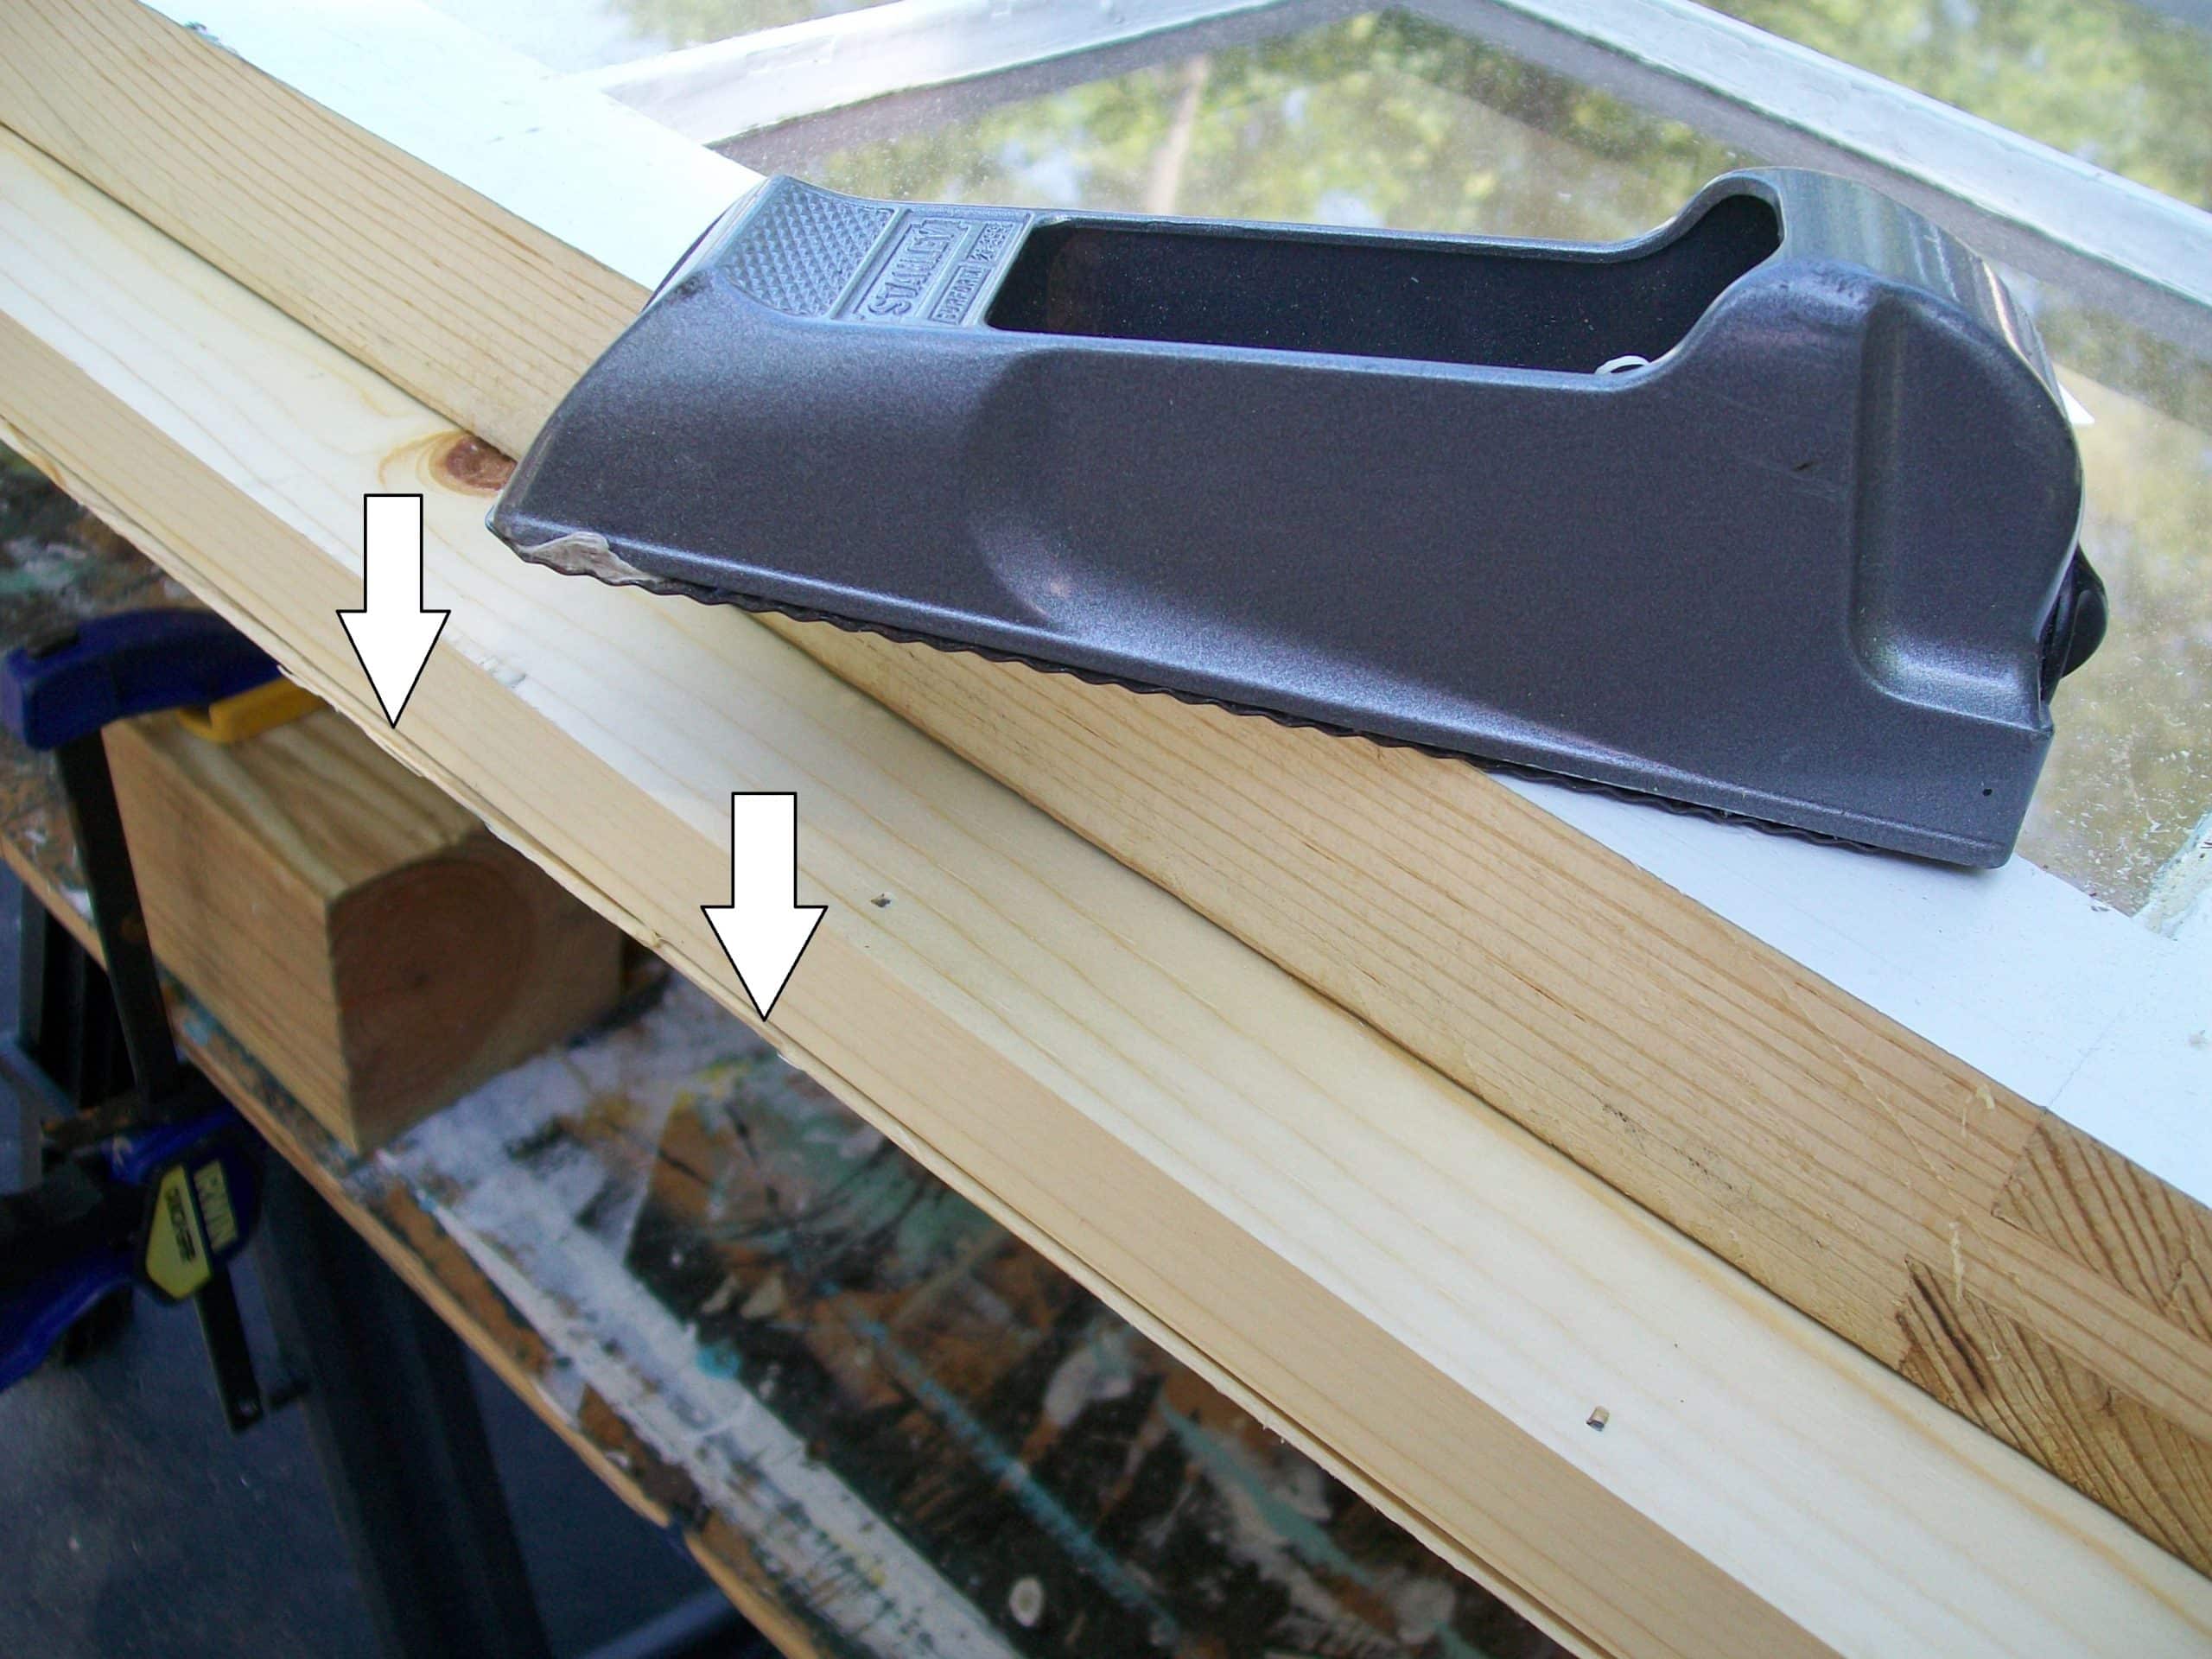
Use extreme caution when trimming a window frame
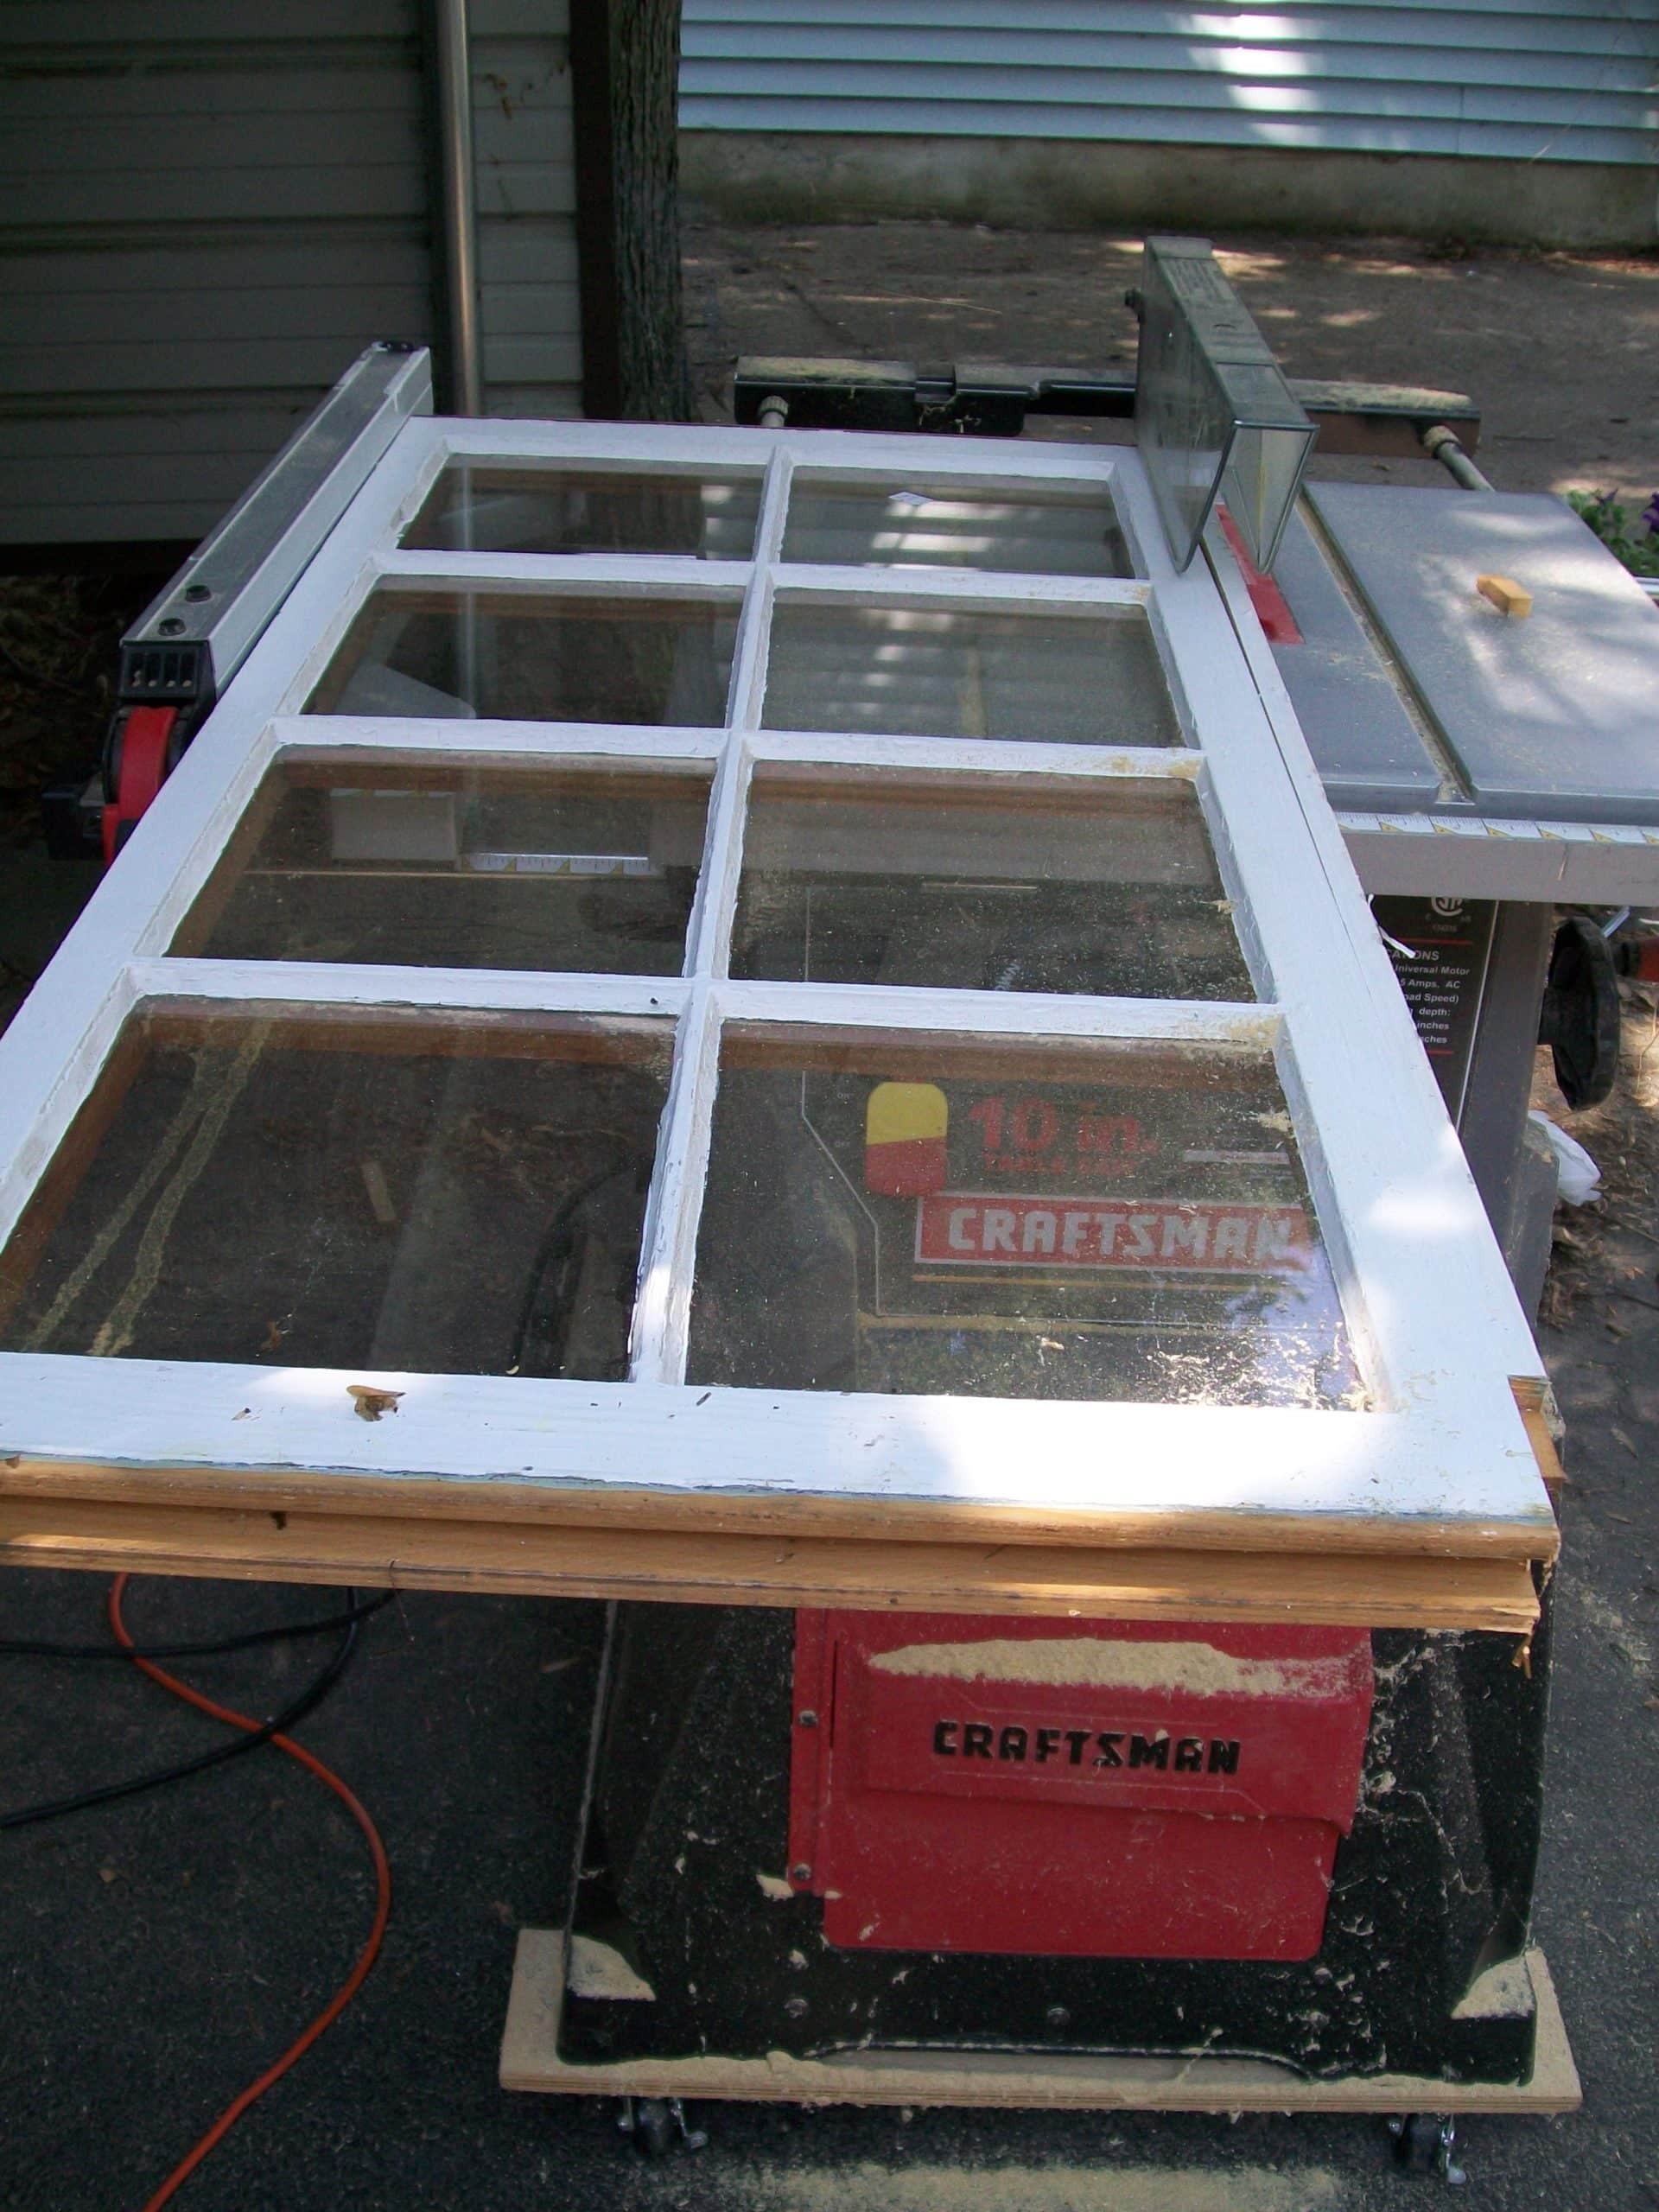
Windows are not even on all sides. Laying this way, one side is wider than the other. I put it on the table saw and VERY carefully trimmed it down.
Kreg Pocket Hole joinery for face frame
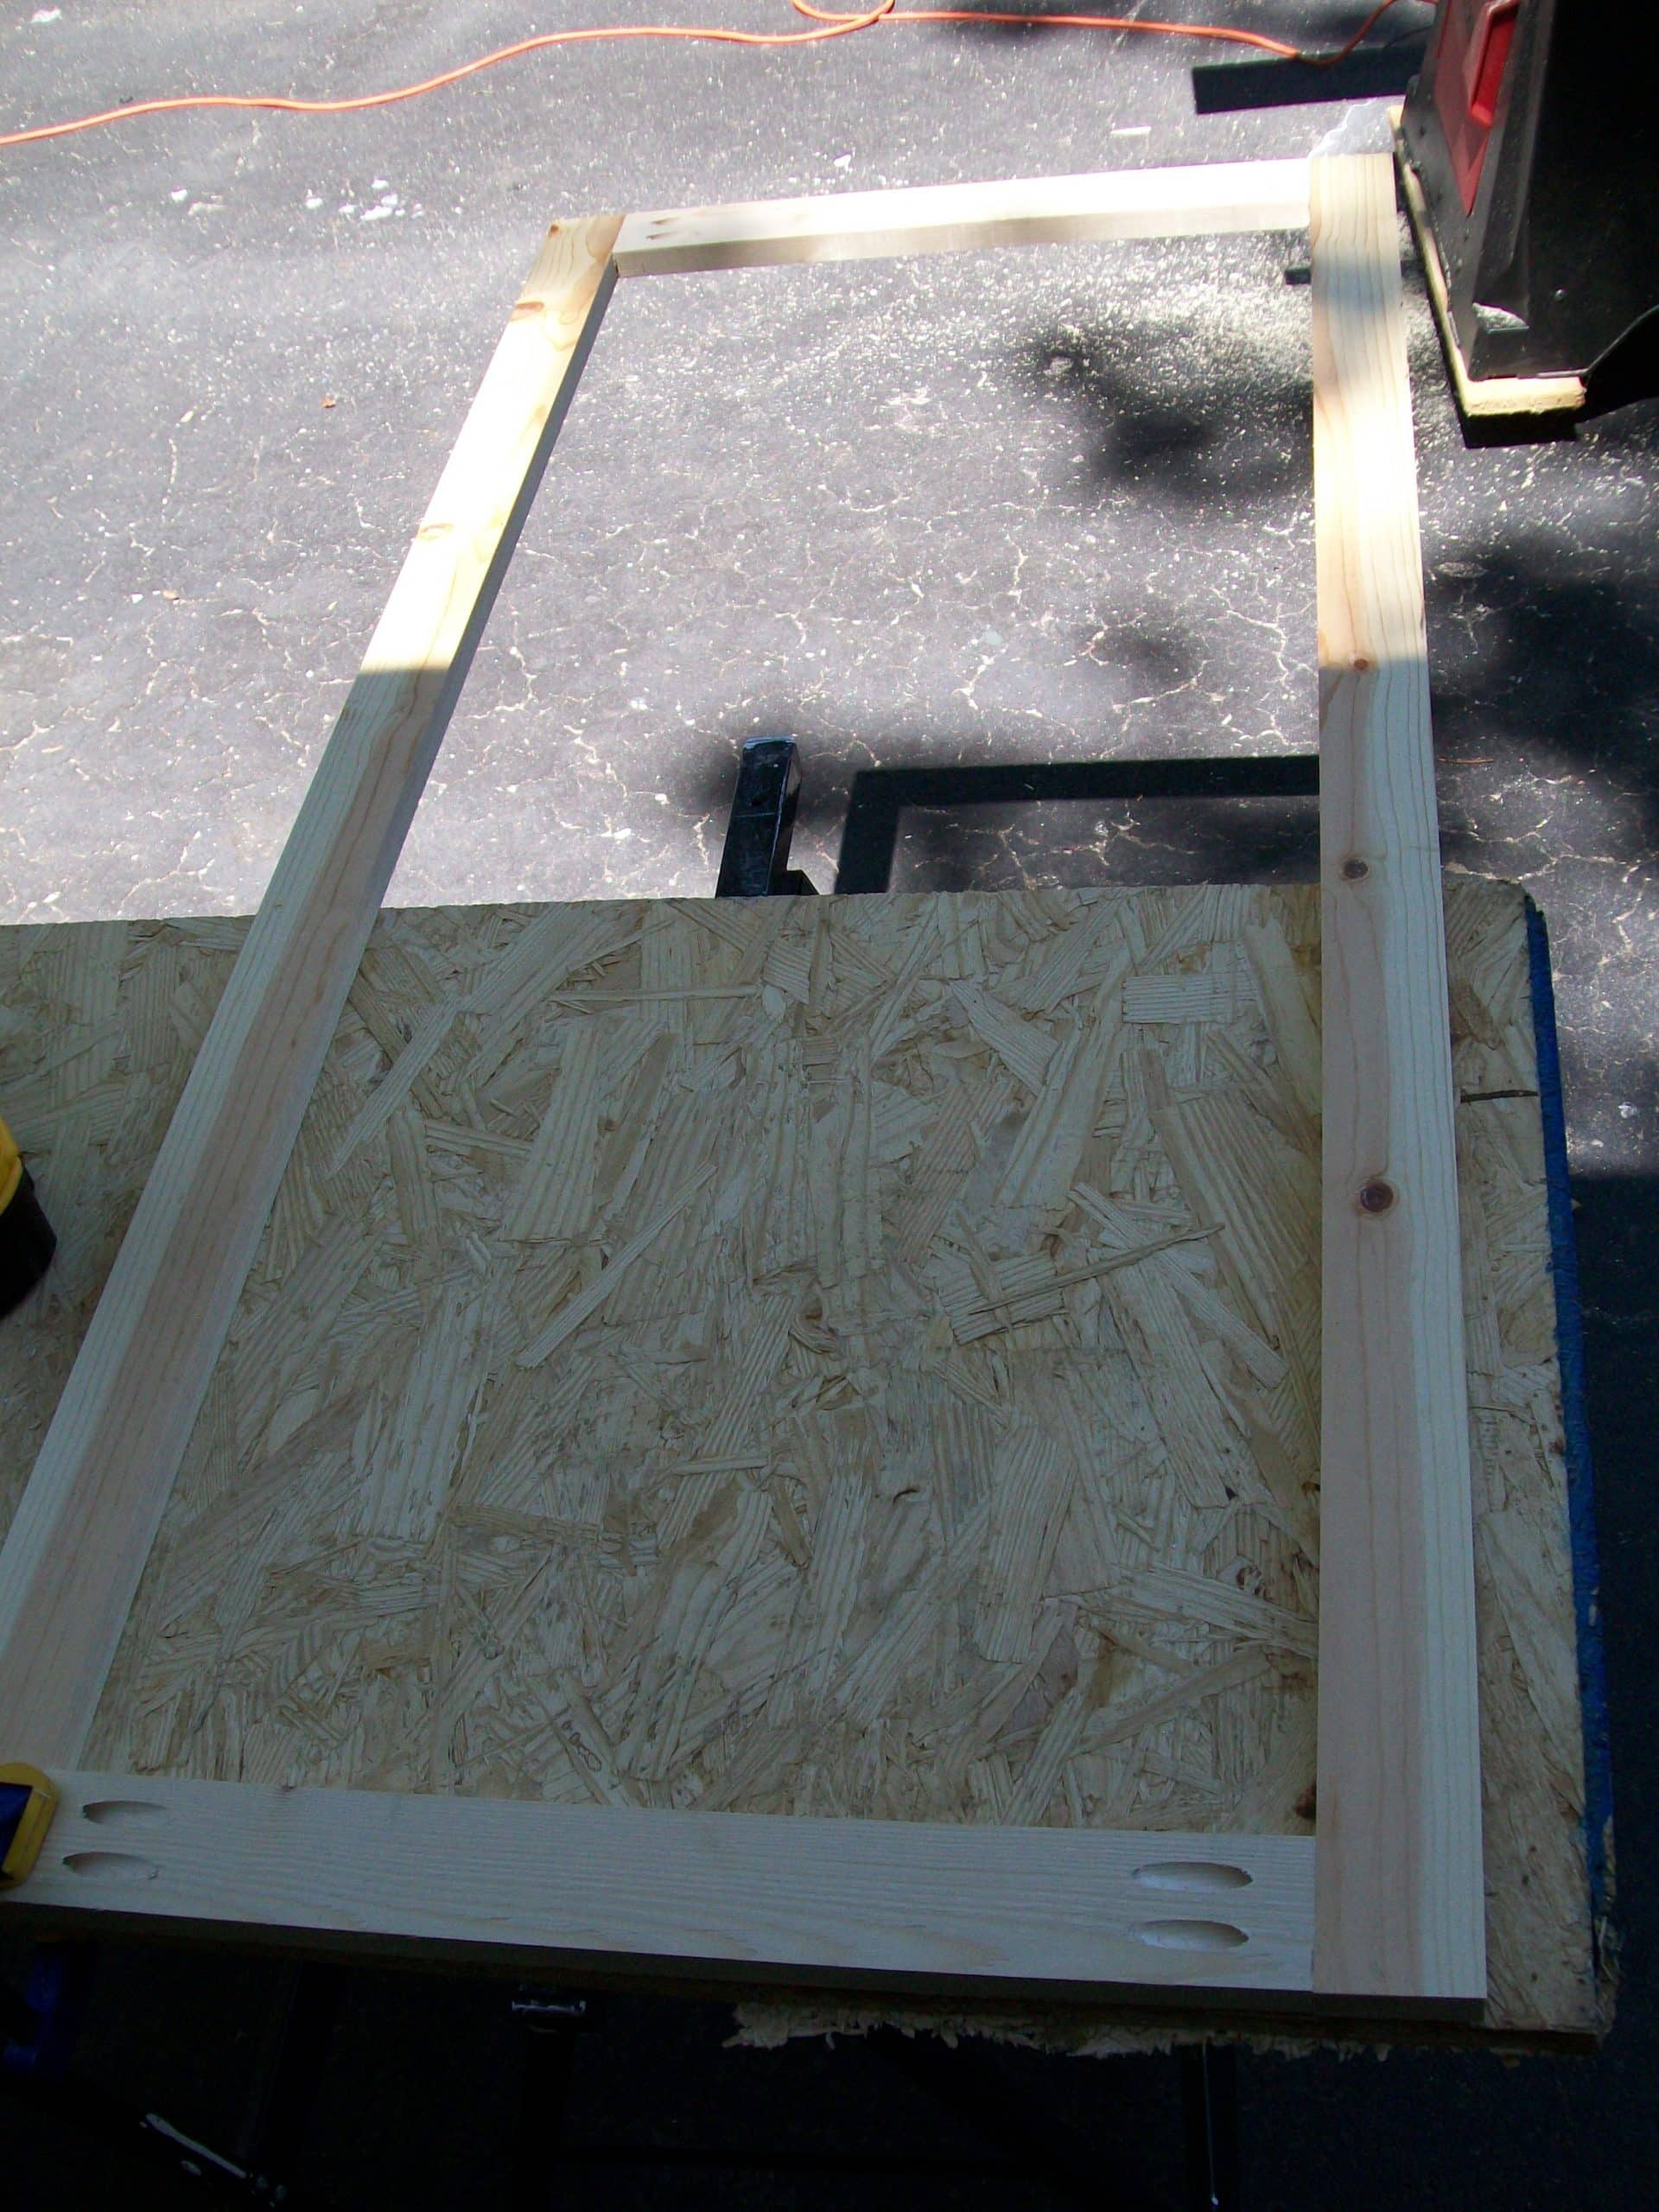
This is the front facing made by ripping 1x’s and attaching them with my Kreg Jig® R3.
Attach front facing to corner cabinet
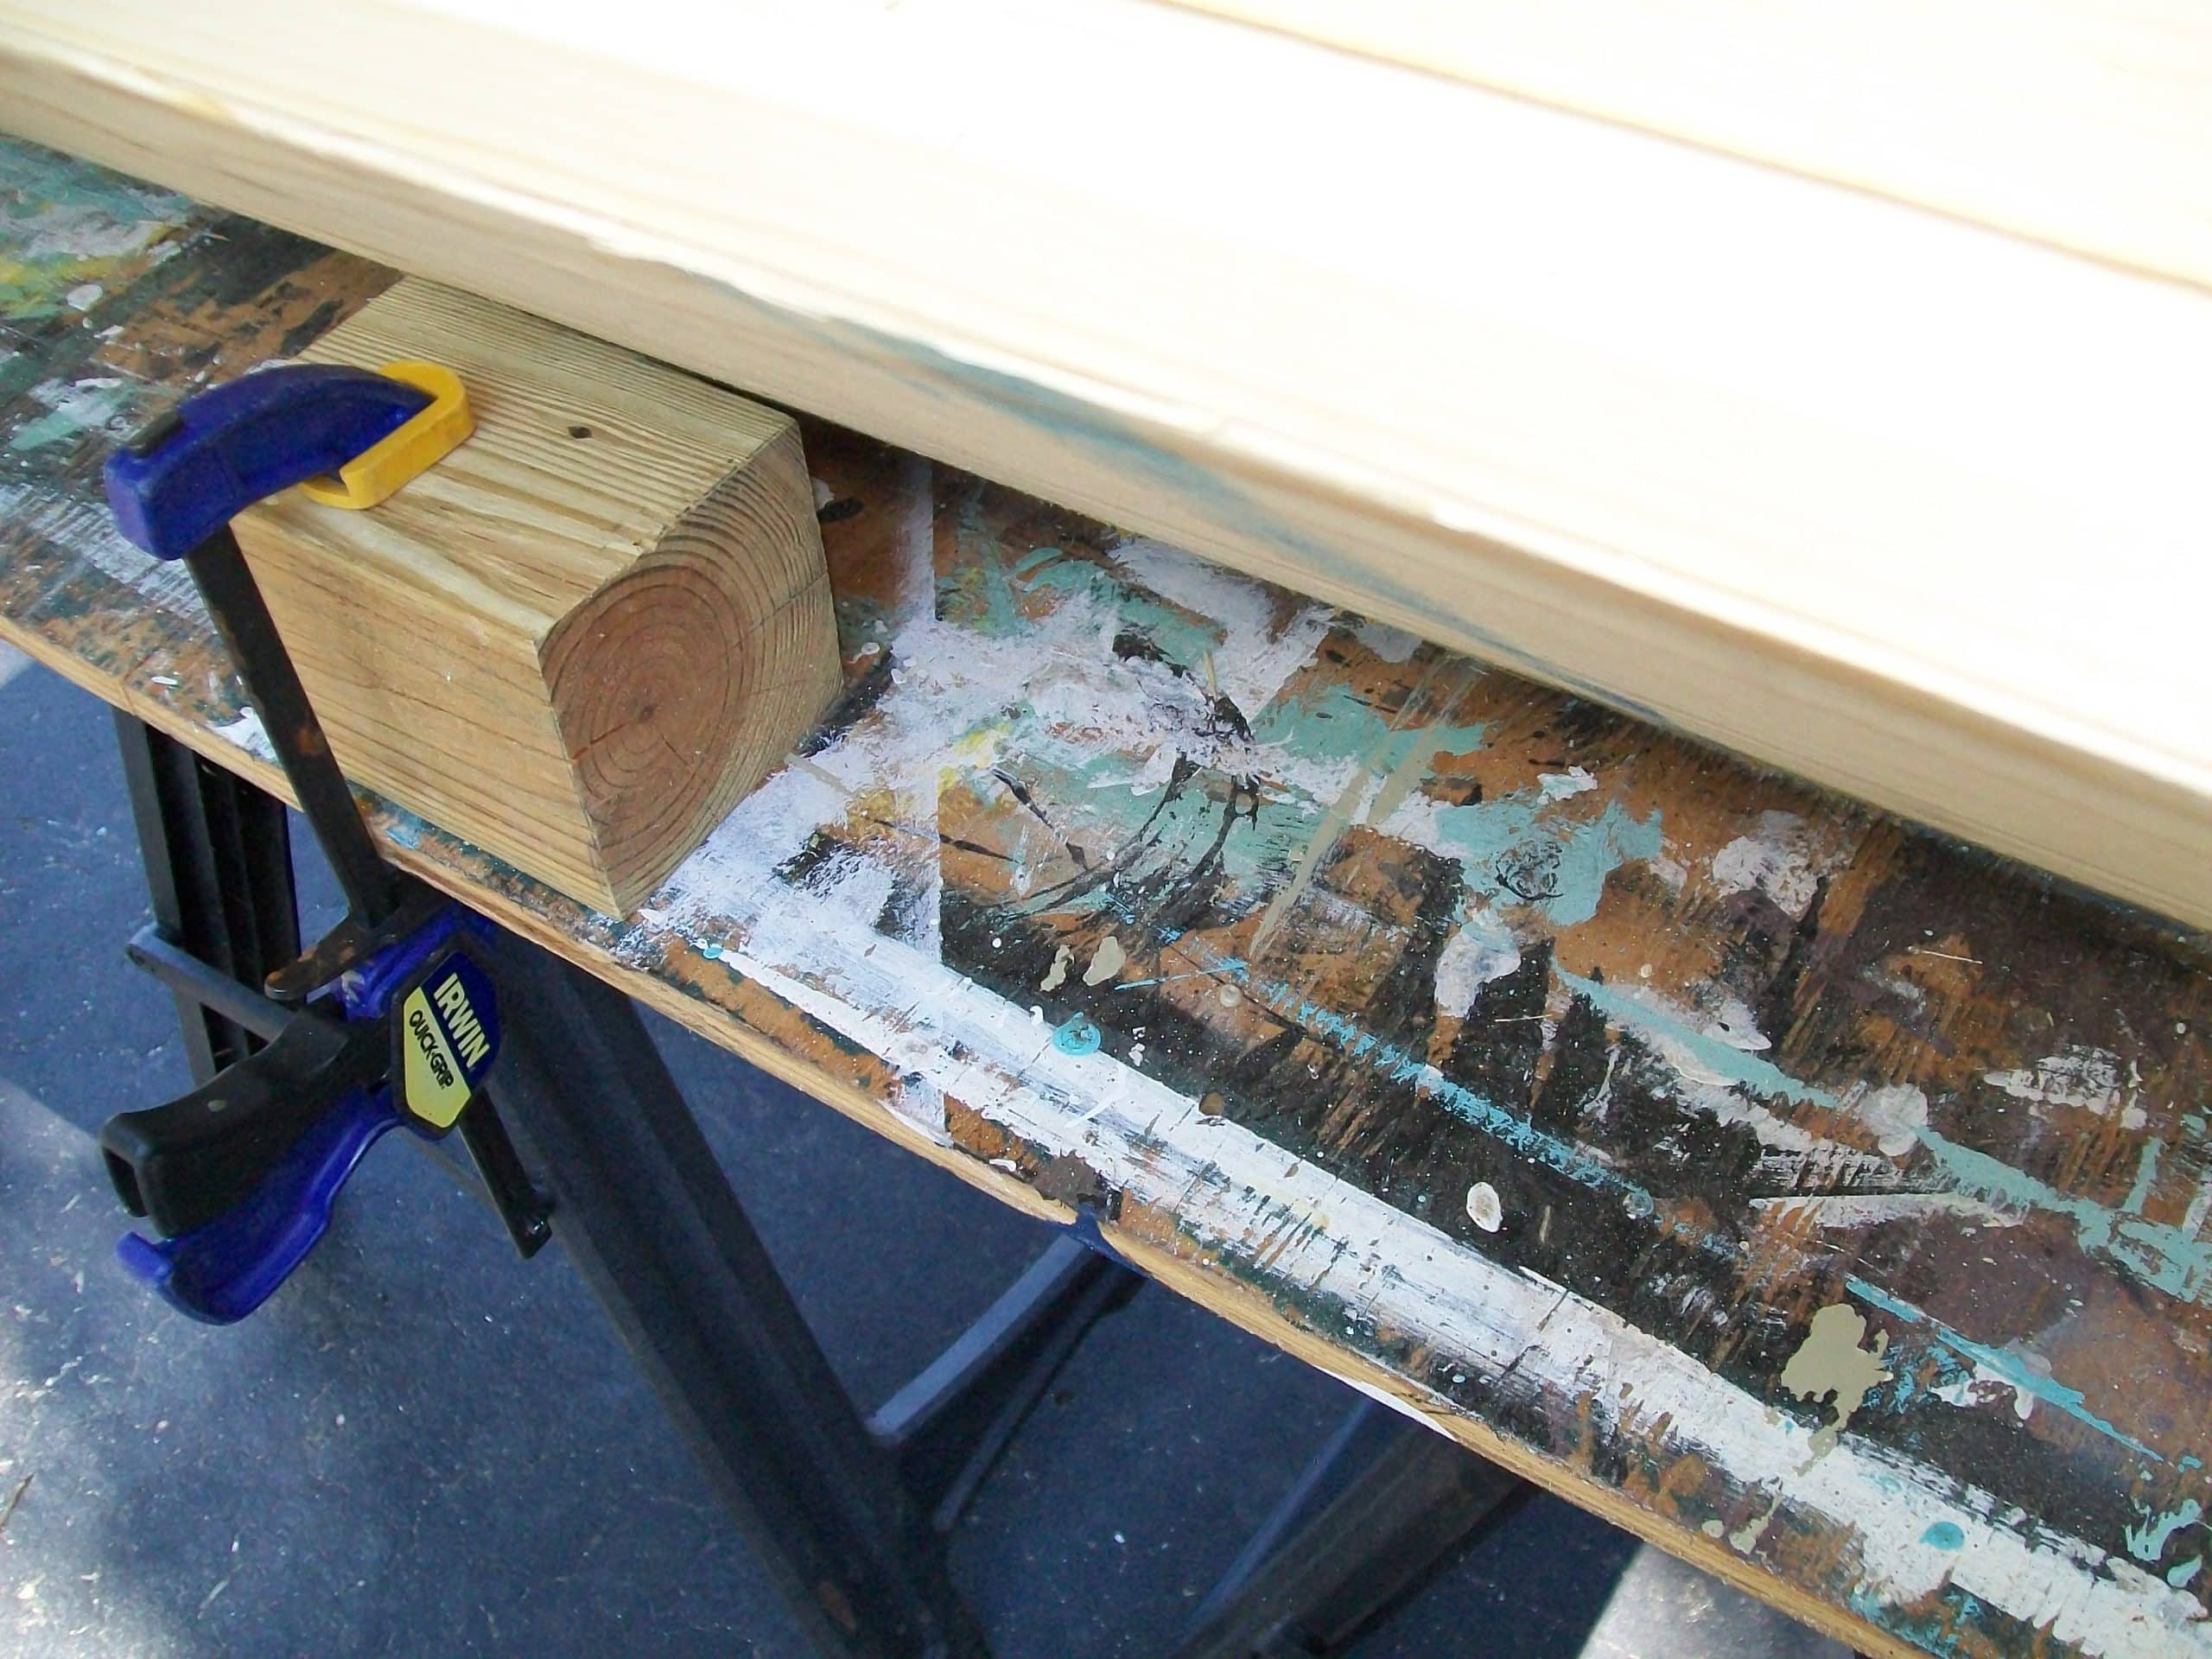
I attached the front facing with wood glue and my nail gun. It was slightly bowed because the plywood was out of the cull bin. I drew it up the best I could before I shot the nails in.
Using a rasp
However, it would not sit flush. I used the handy rasp to “shave” off the edges to make it smooth. If you don’t have a rasp in your toolbox, I highly recommend it.
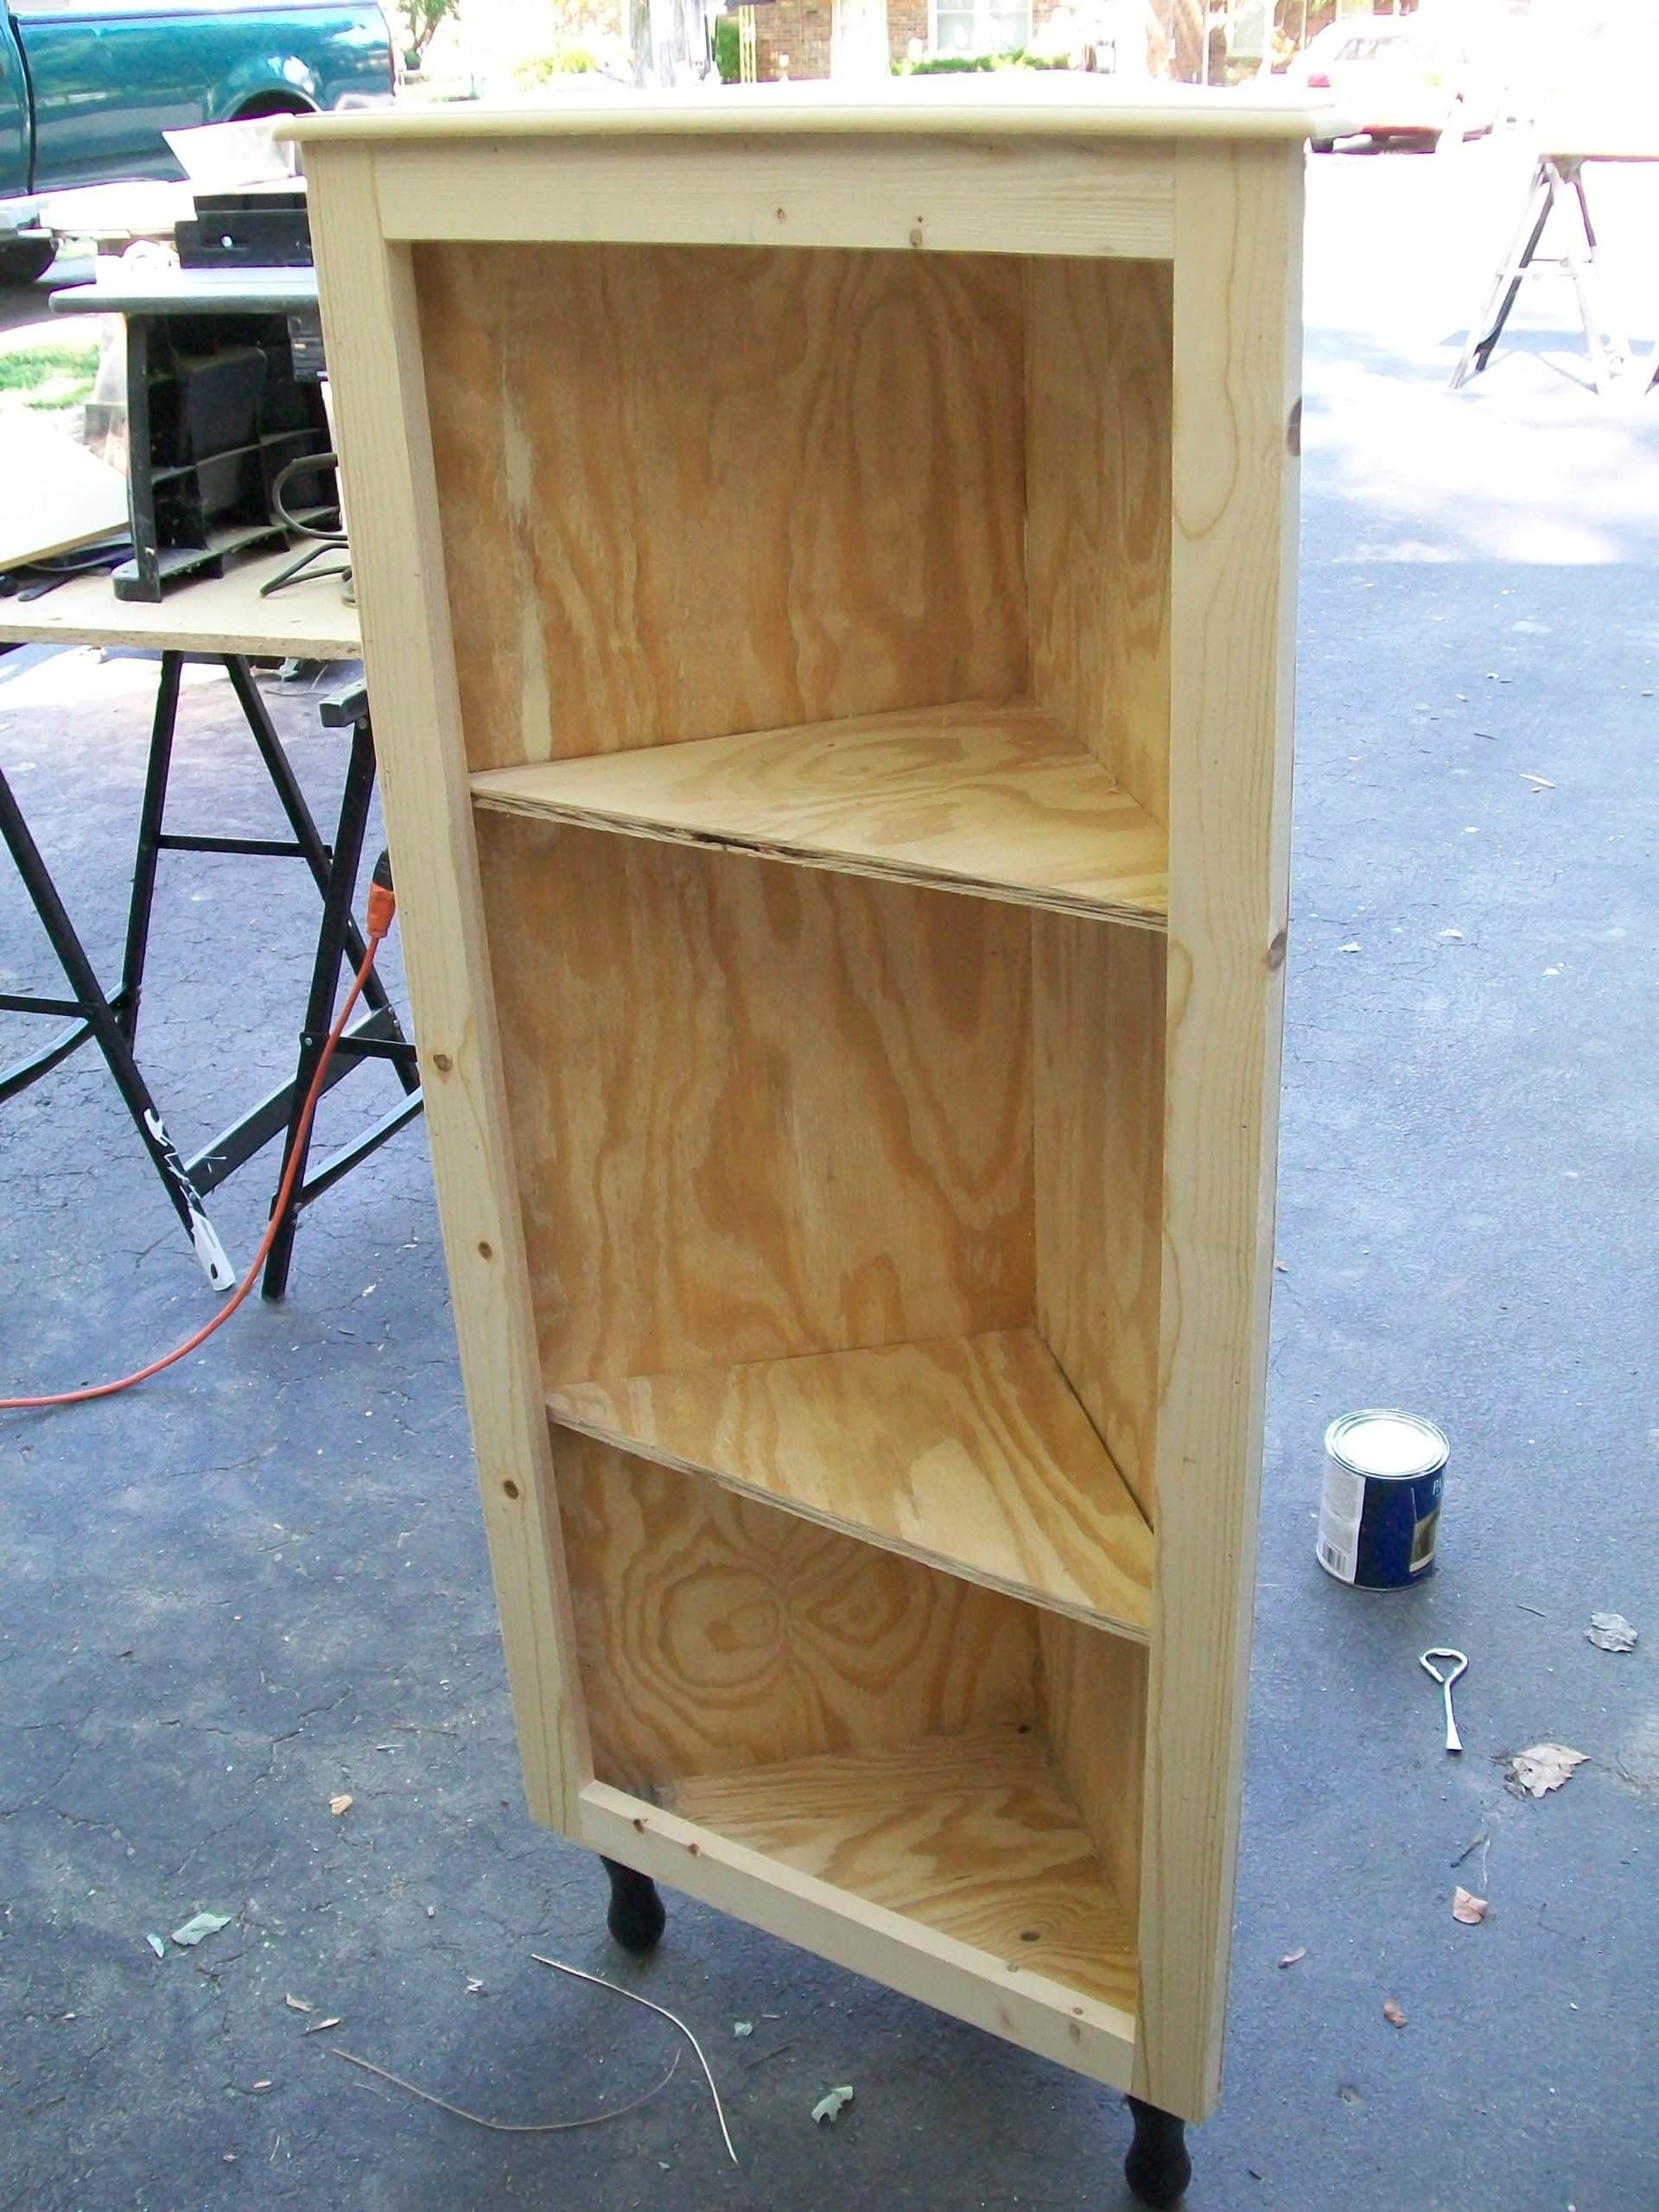
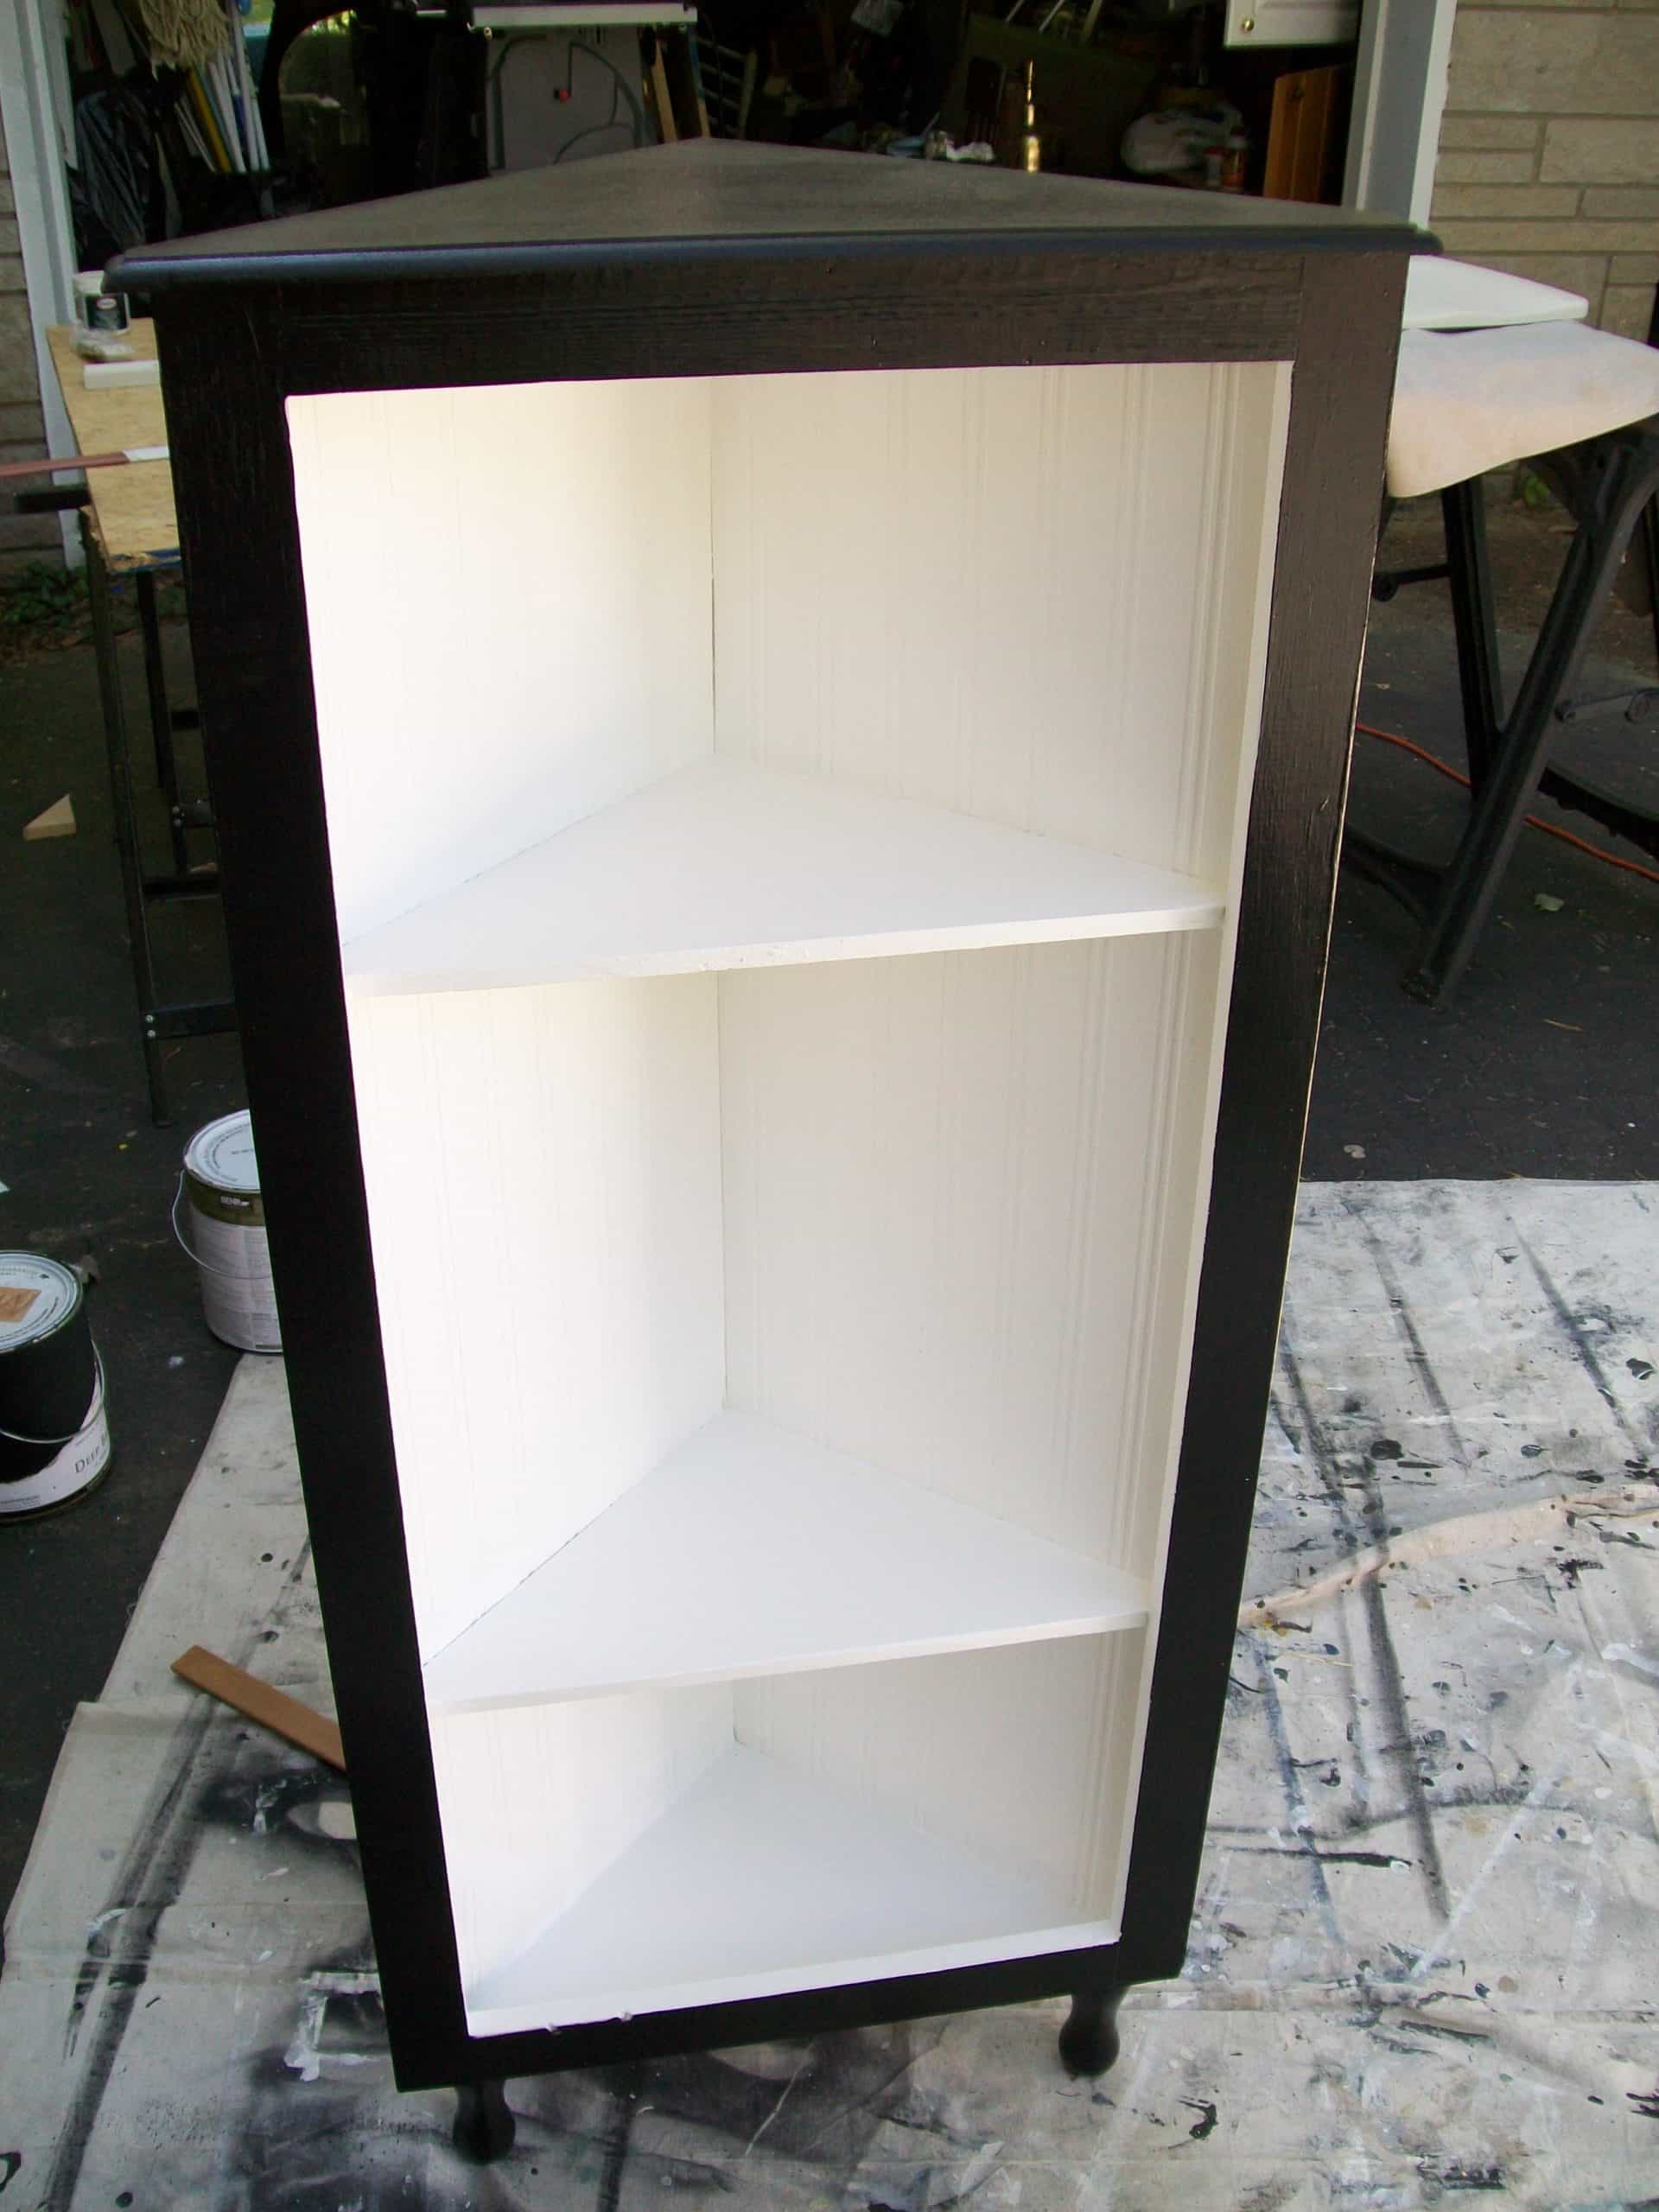
Assemble Shelves
Here is the shelf with the front facing on and the shelves in place. As you can see, the facing brings the DIY corner cabinet together.
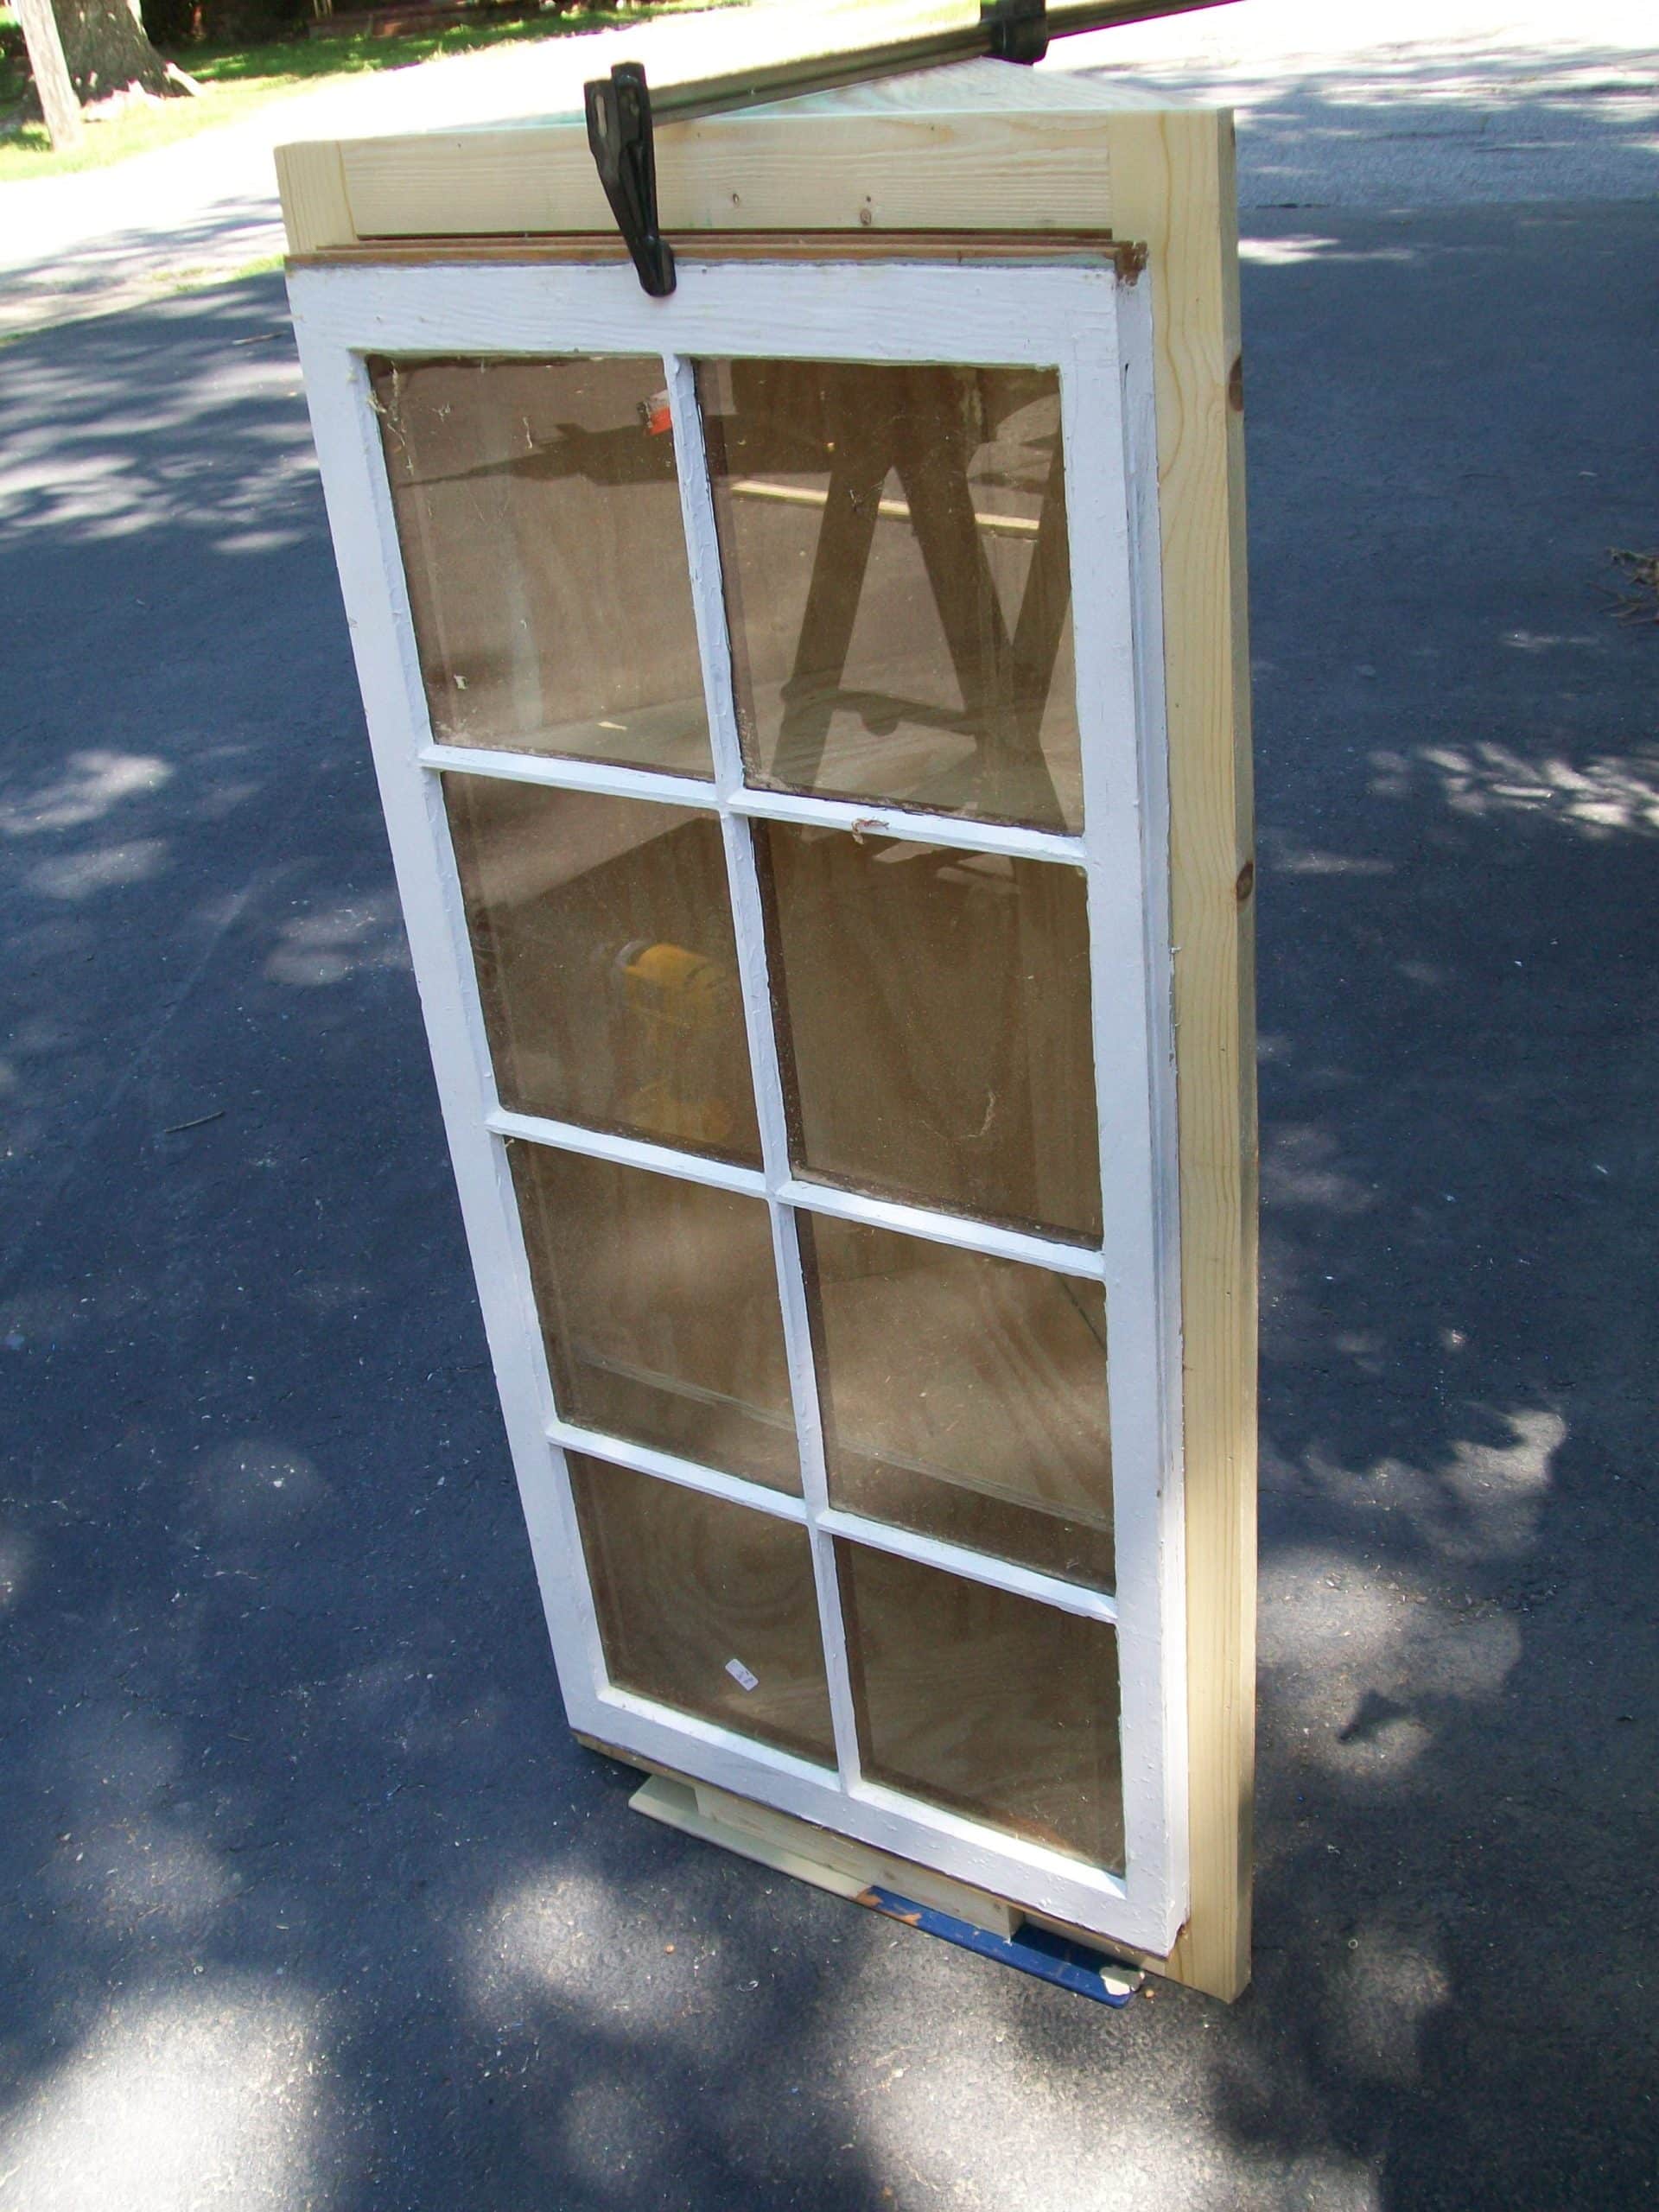
I was testing to see if the window was going to fit. After setting it on the driveway, I decided to make it a floor cabinet. Initially, I had planned for it to hang on the wall.
How to add legs to DIY furniture
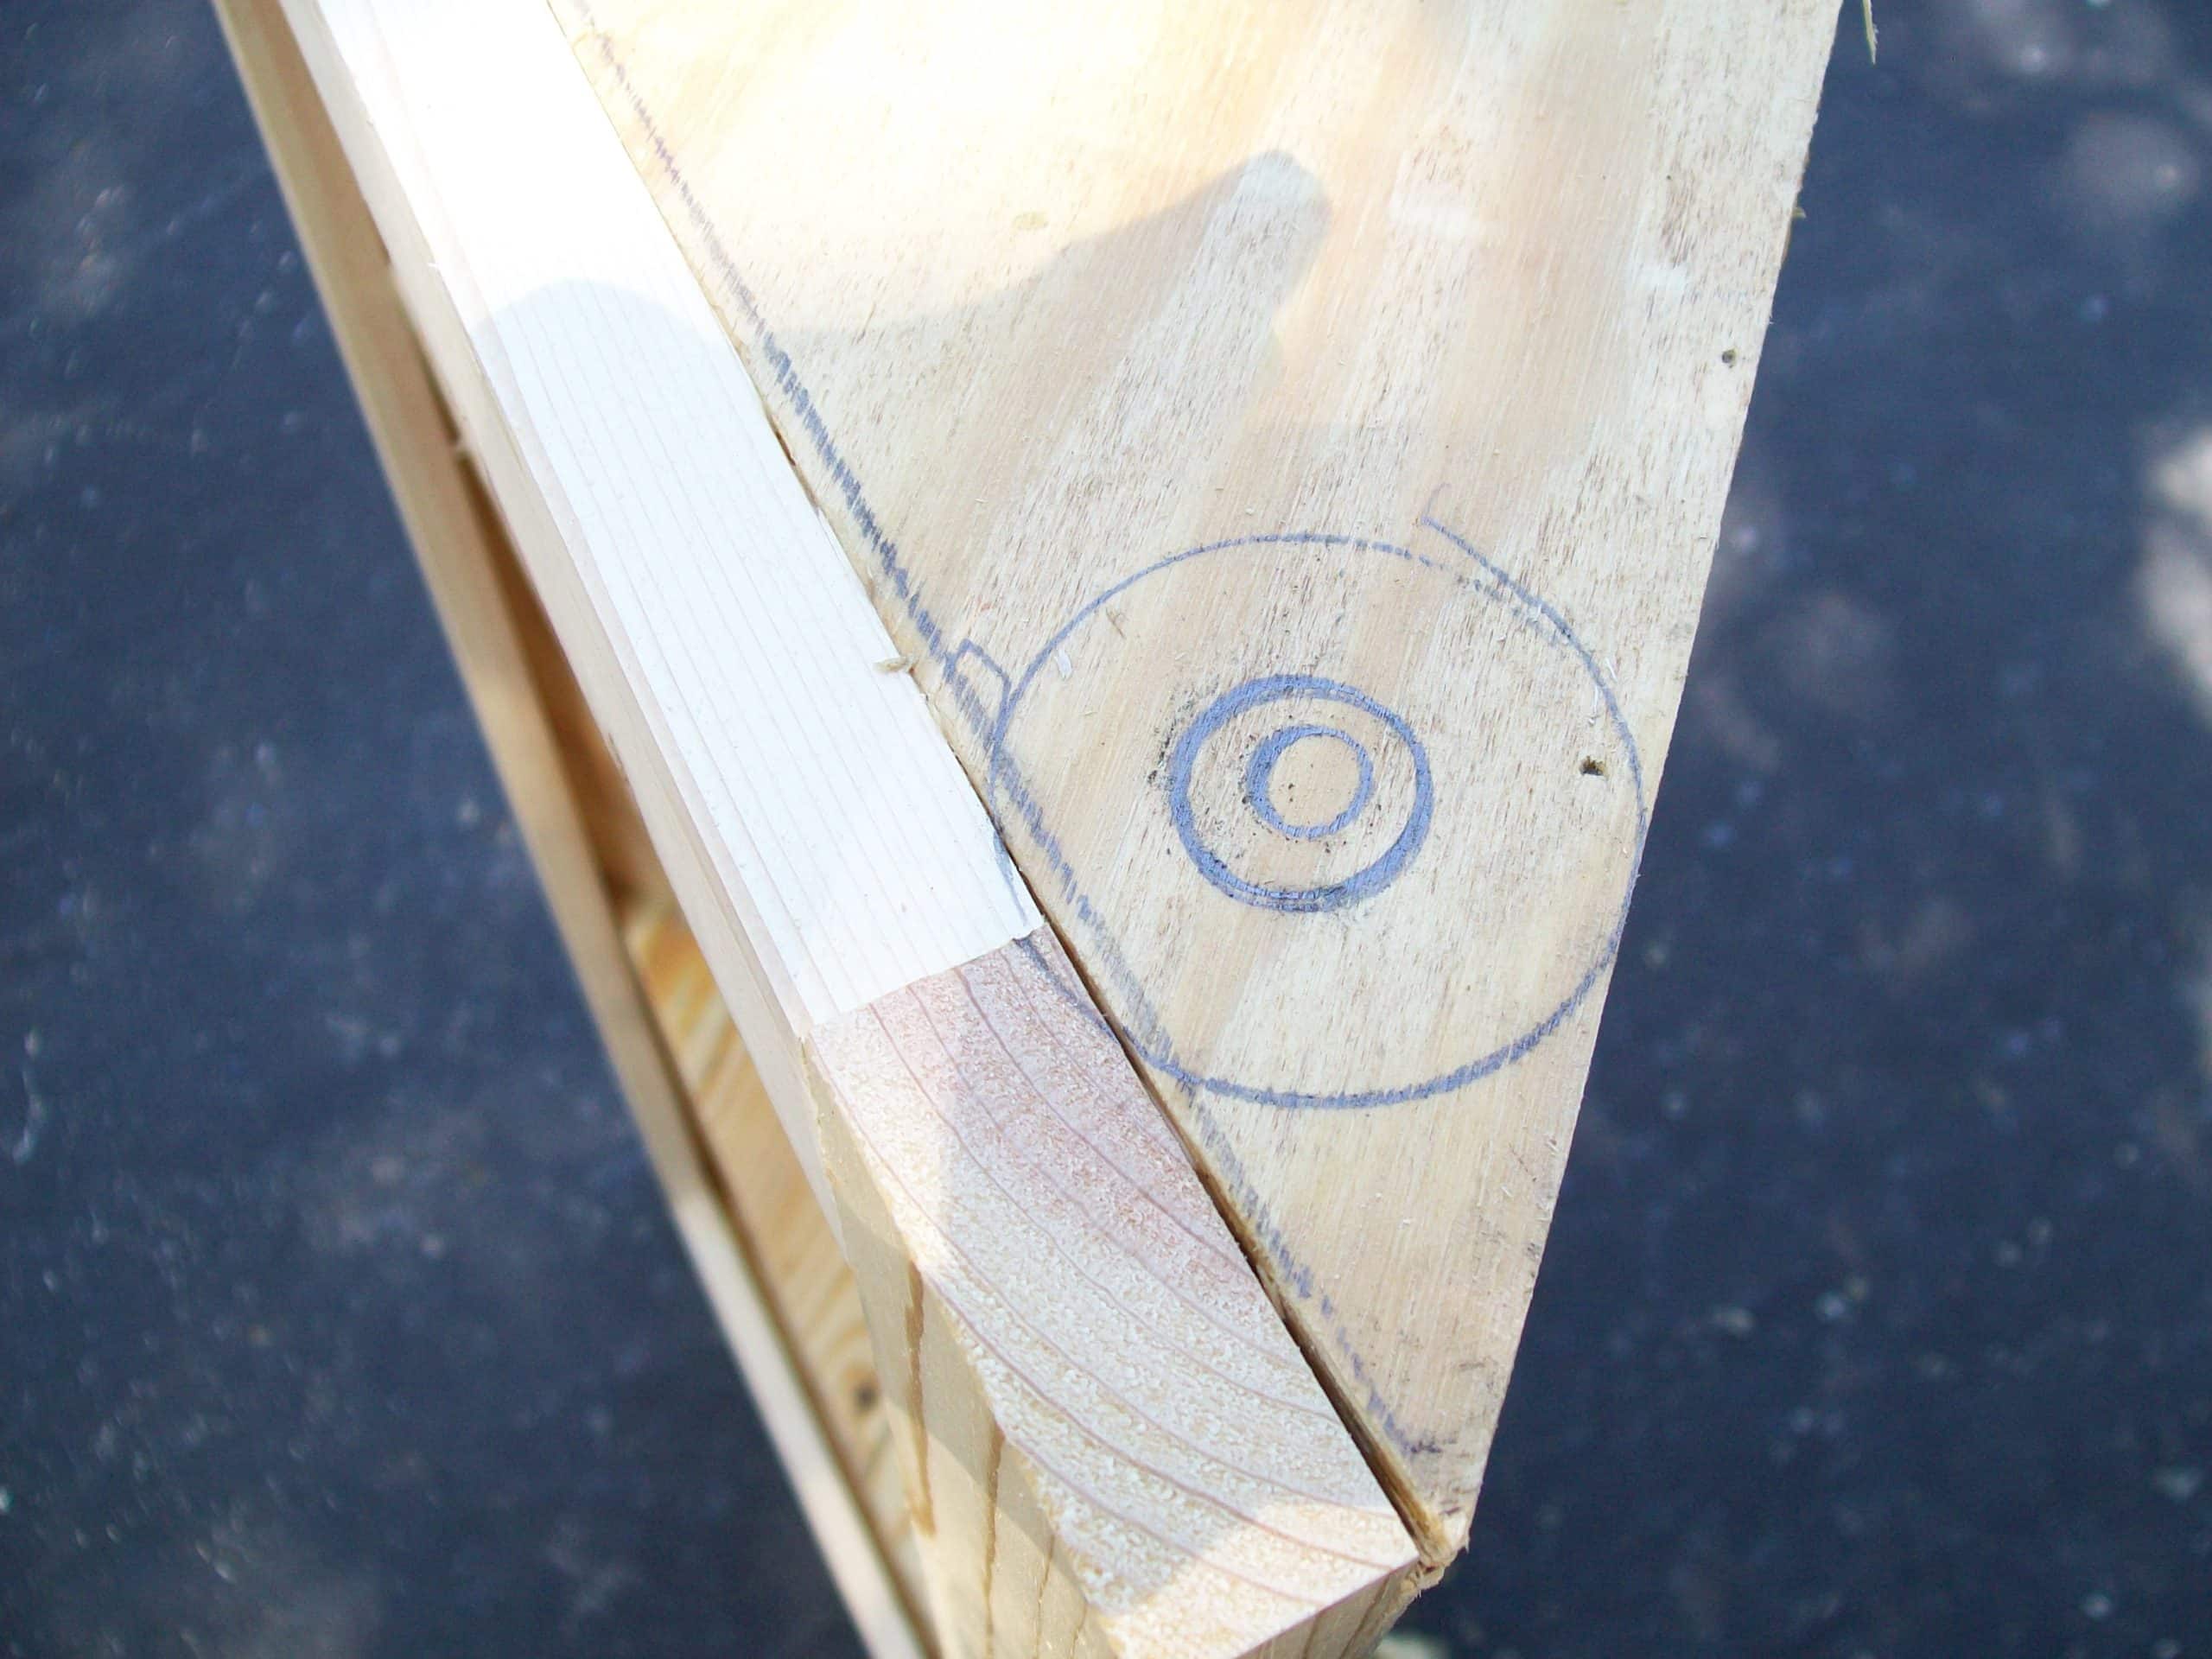
I dug in my stash and found three chair leg pieces I’ve had for a long time. I’m not sure why I cut the ends of the legs off. I quit digging when I found 3 of them. I’m assuming that there probably were 4 in my stash. I discovered that the best way to find the middle of a circle is with a washer. First, I traced around the leg (the largest circle), then laid a washer on there and traced its center. Finally, in the smallest circle, I drilled a pilot hole.
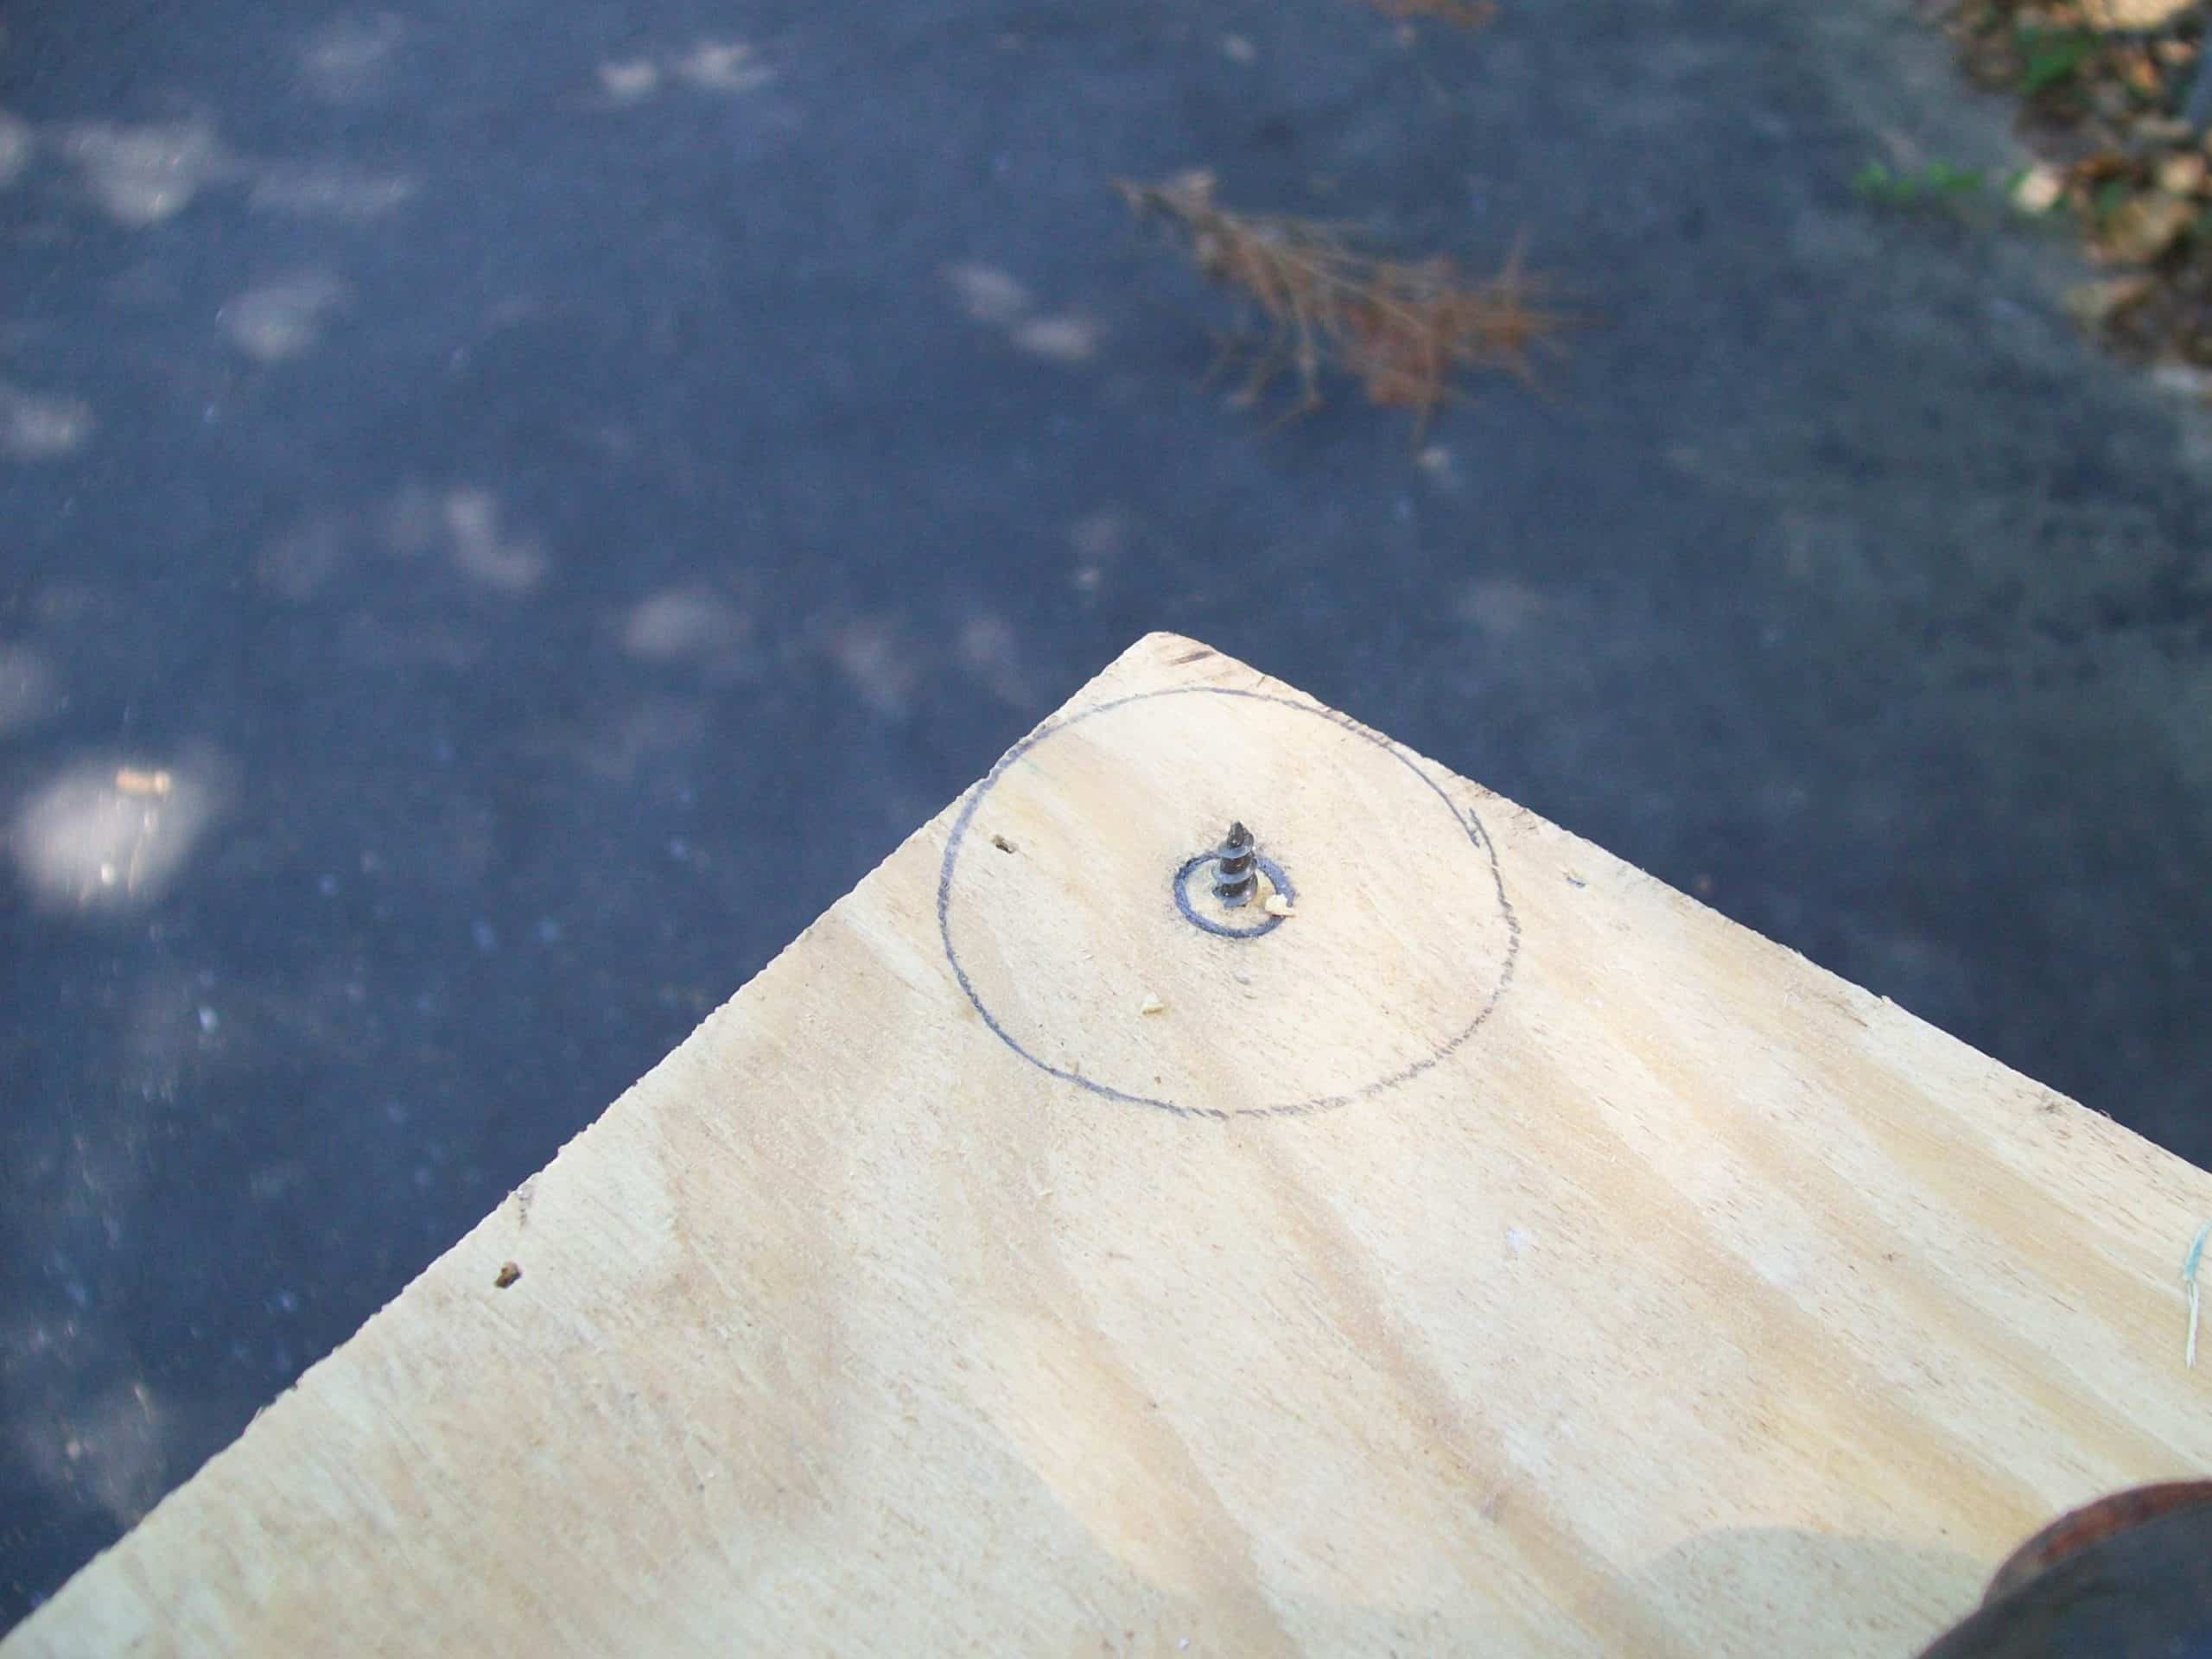
Then I secured the screw from the inside to the outside using the pilot hole as my guide. Here, you see that it’s only part of the way through, but it was best to screw it all the way as far as it would go.
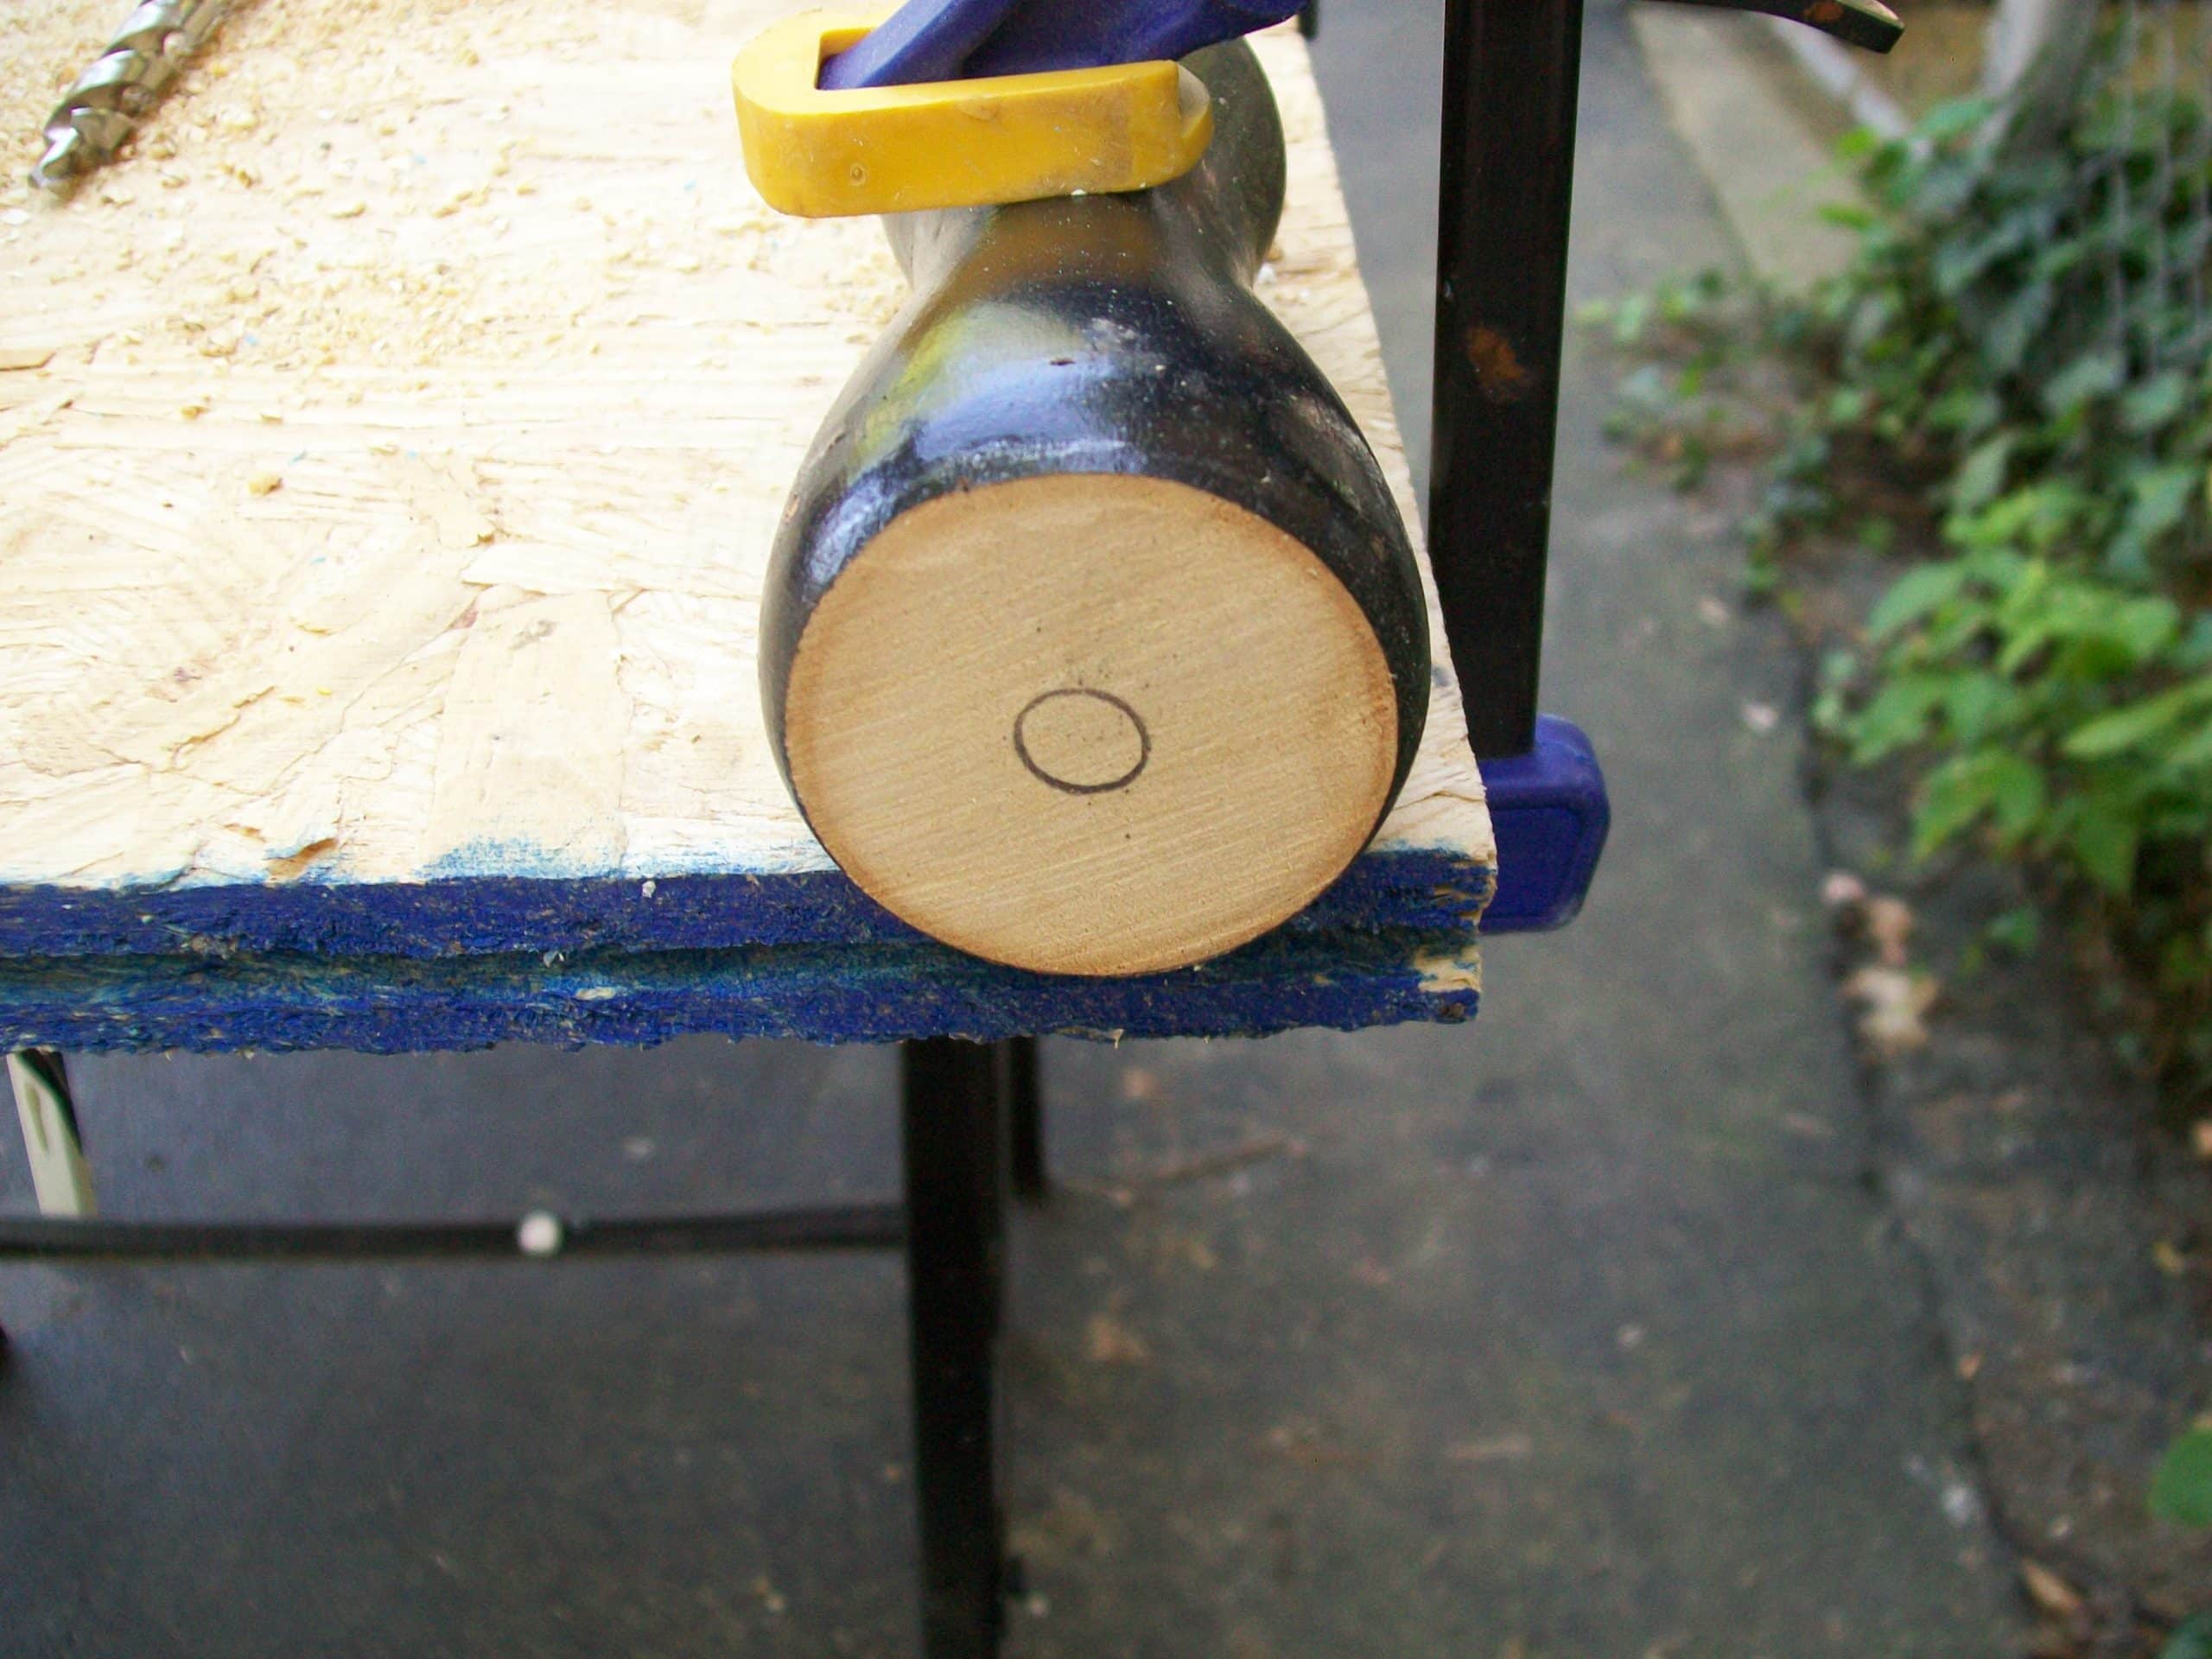
I used the washer to find the center of the leg. I clamped it and drilled a pilot hole. This was some really hard wood!
Gorilla wood glue and screws
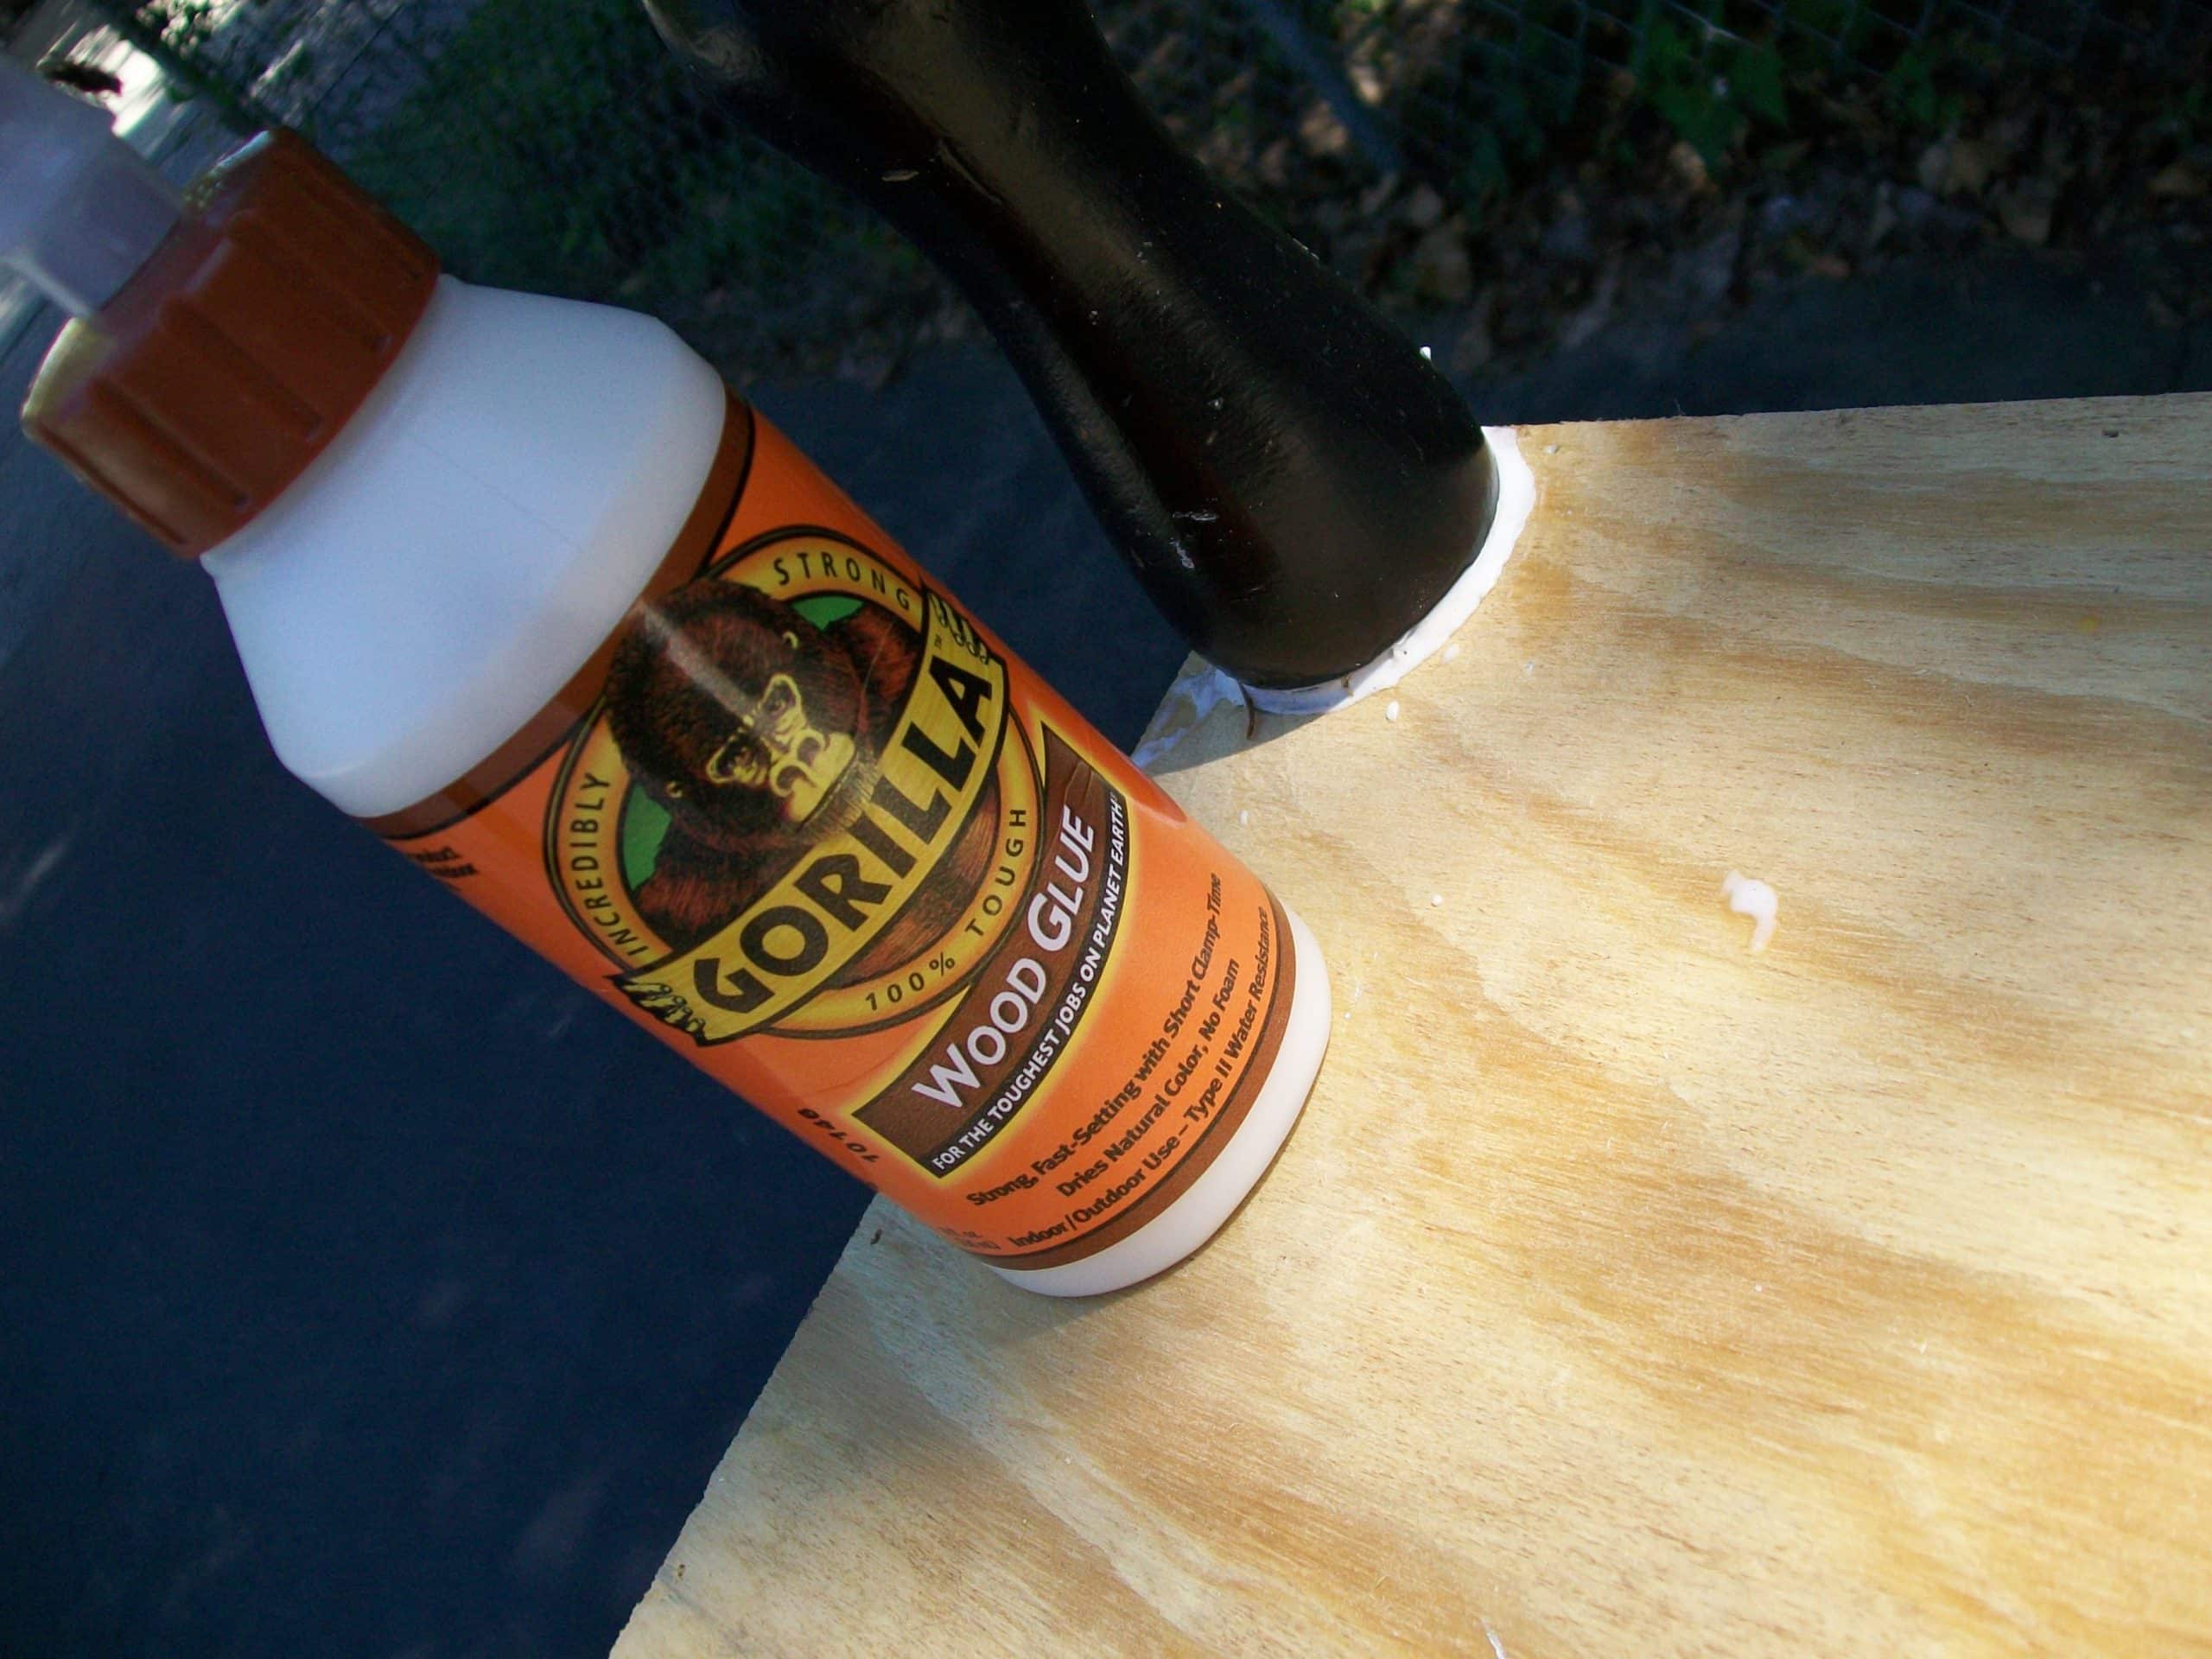
I glued it and carefully screwed the leg into the extended screw. Even though I had drilled a pilot hole, I did this very slowly. I did NOT want this screw to break off “in” the leg. I had to eventually use a screwdriver in the head of the screw to keep it from turning.
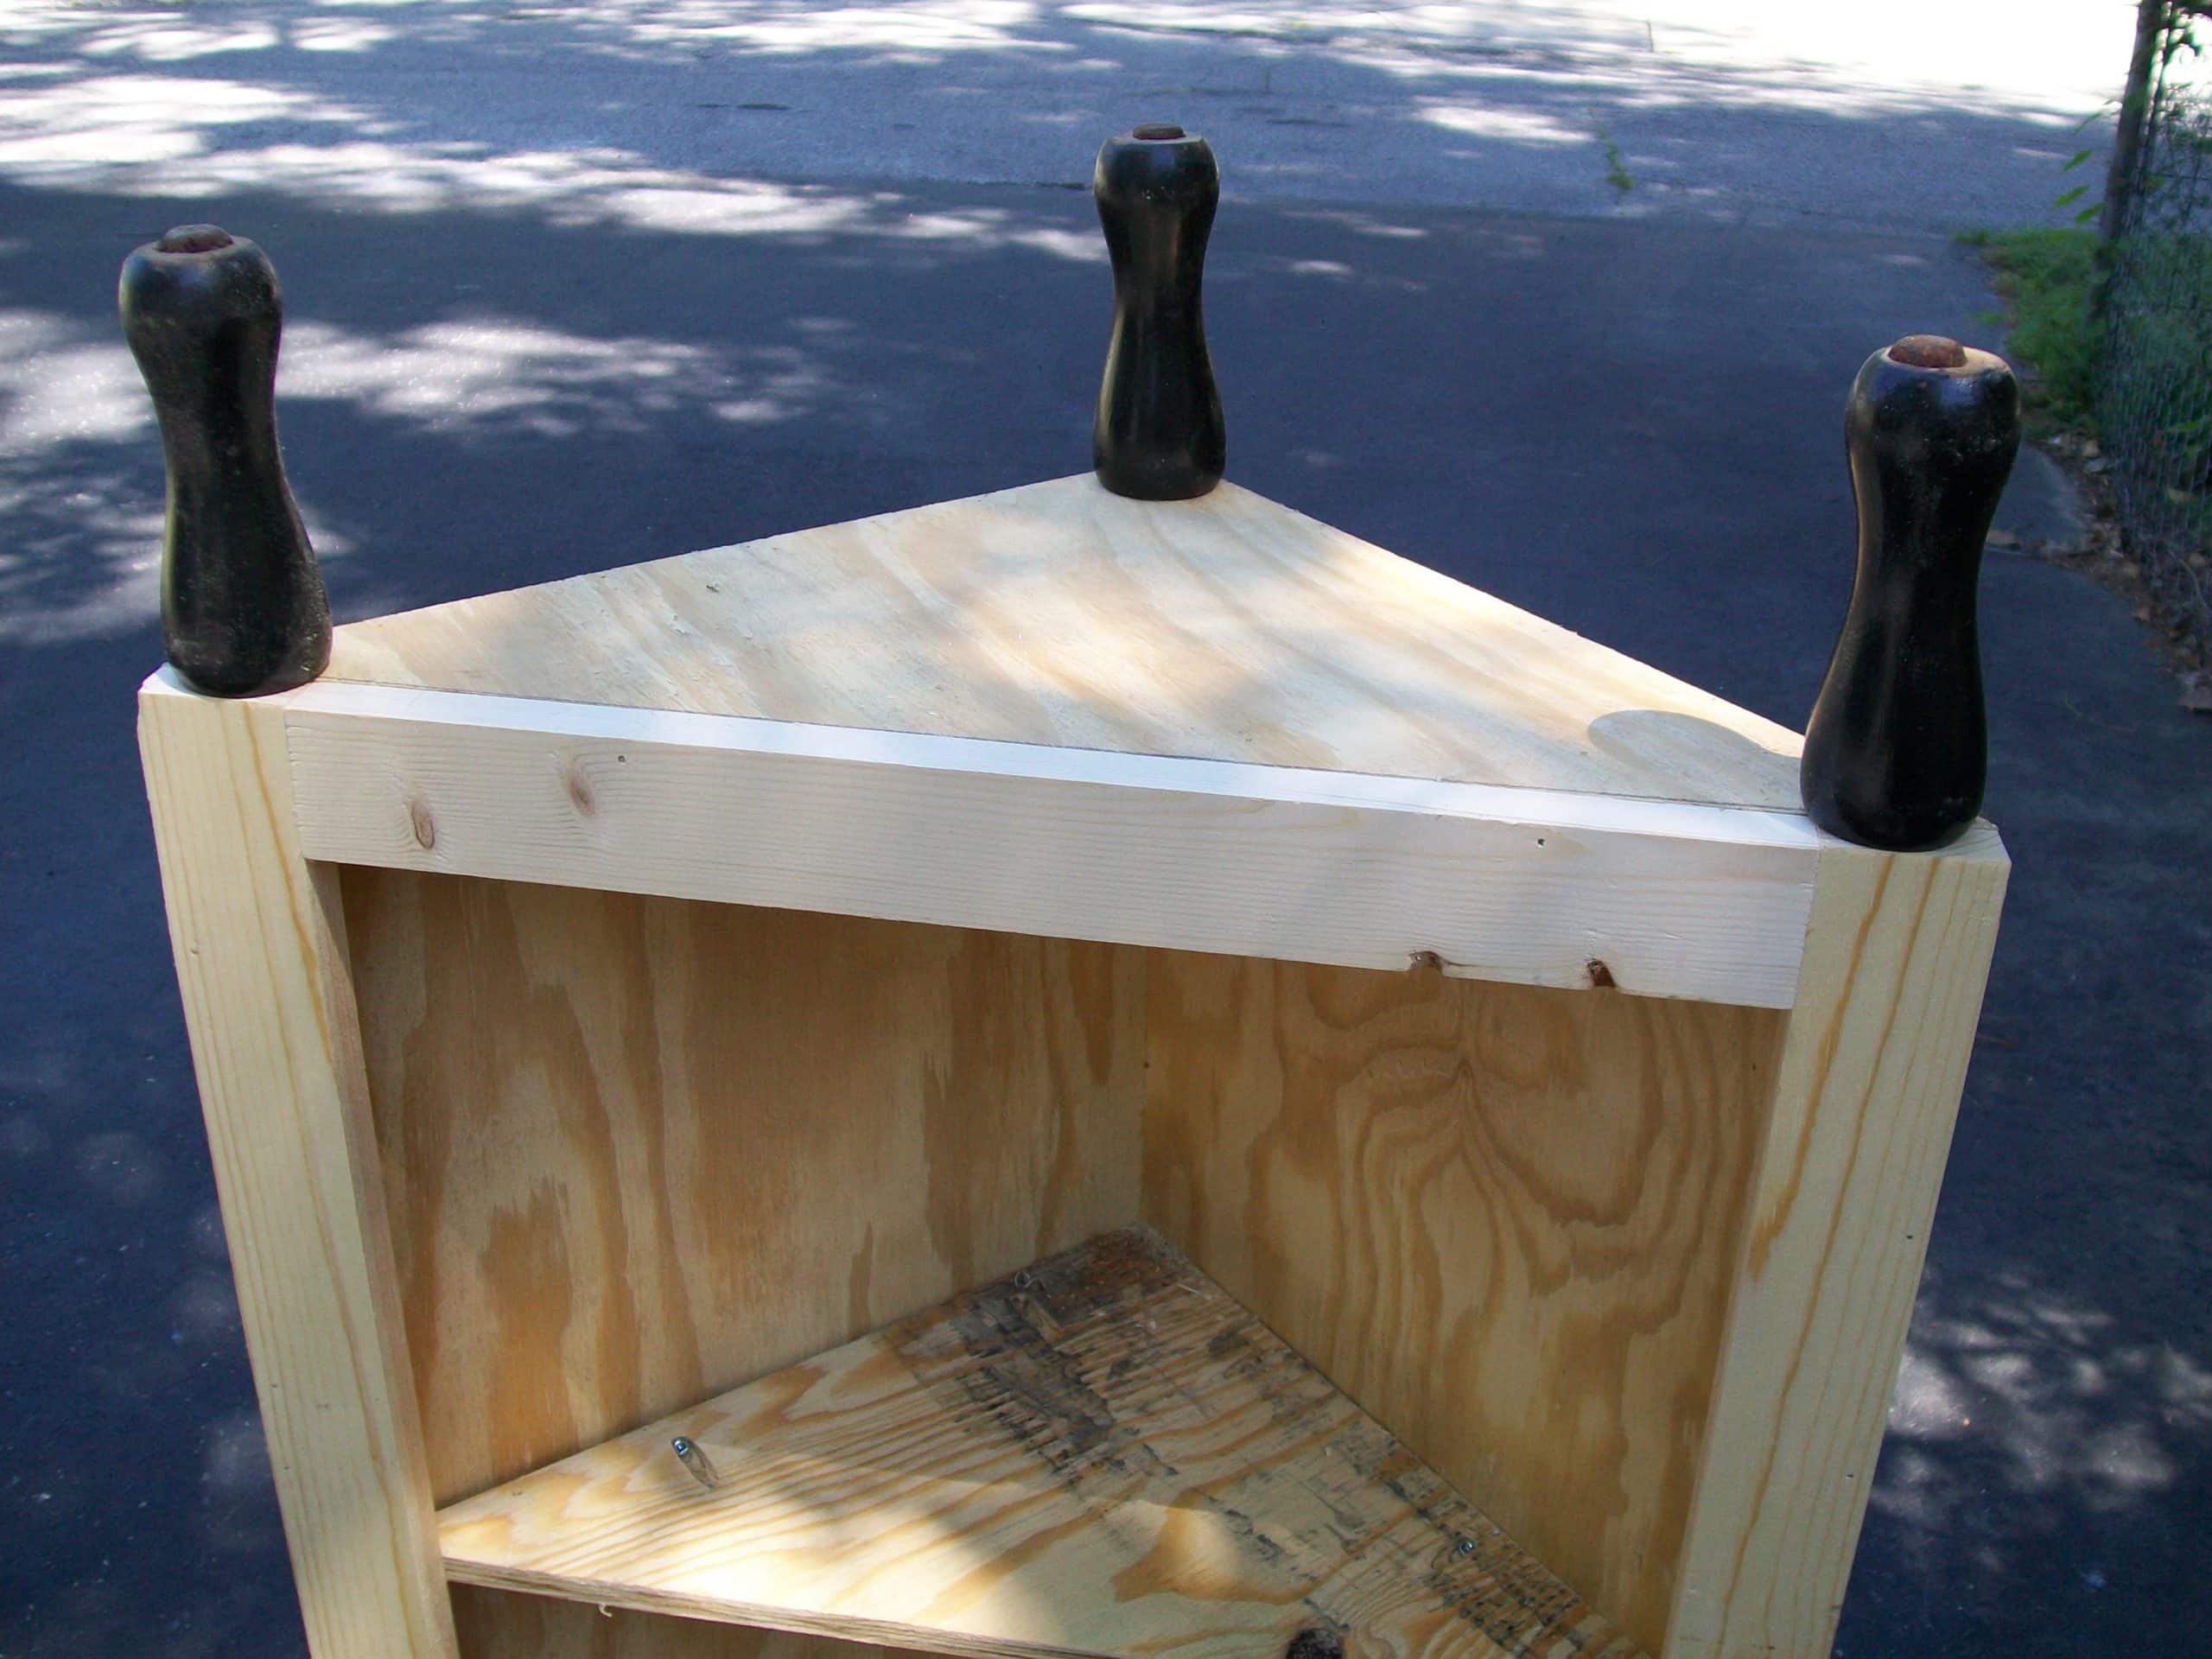
Voila! My cabinet now has legs!
But the top needs something. It is very plain.
Top it off!

I found a piece of cull bin MDF and cut it to extend over all edges slightly. I used the router to trim out the edge all the way around. If only I could tell you which bit I used; I have no idea. I spent too much time on practice pieces to get the look I wanted. THIS is not what I was going for, but I got frustrated and just went with it.

Here she is! The DIY corner cabinet is ready to be sanded and painted with primer.
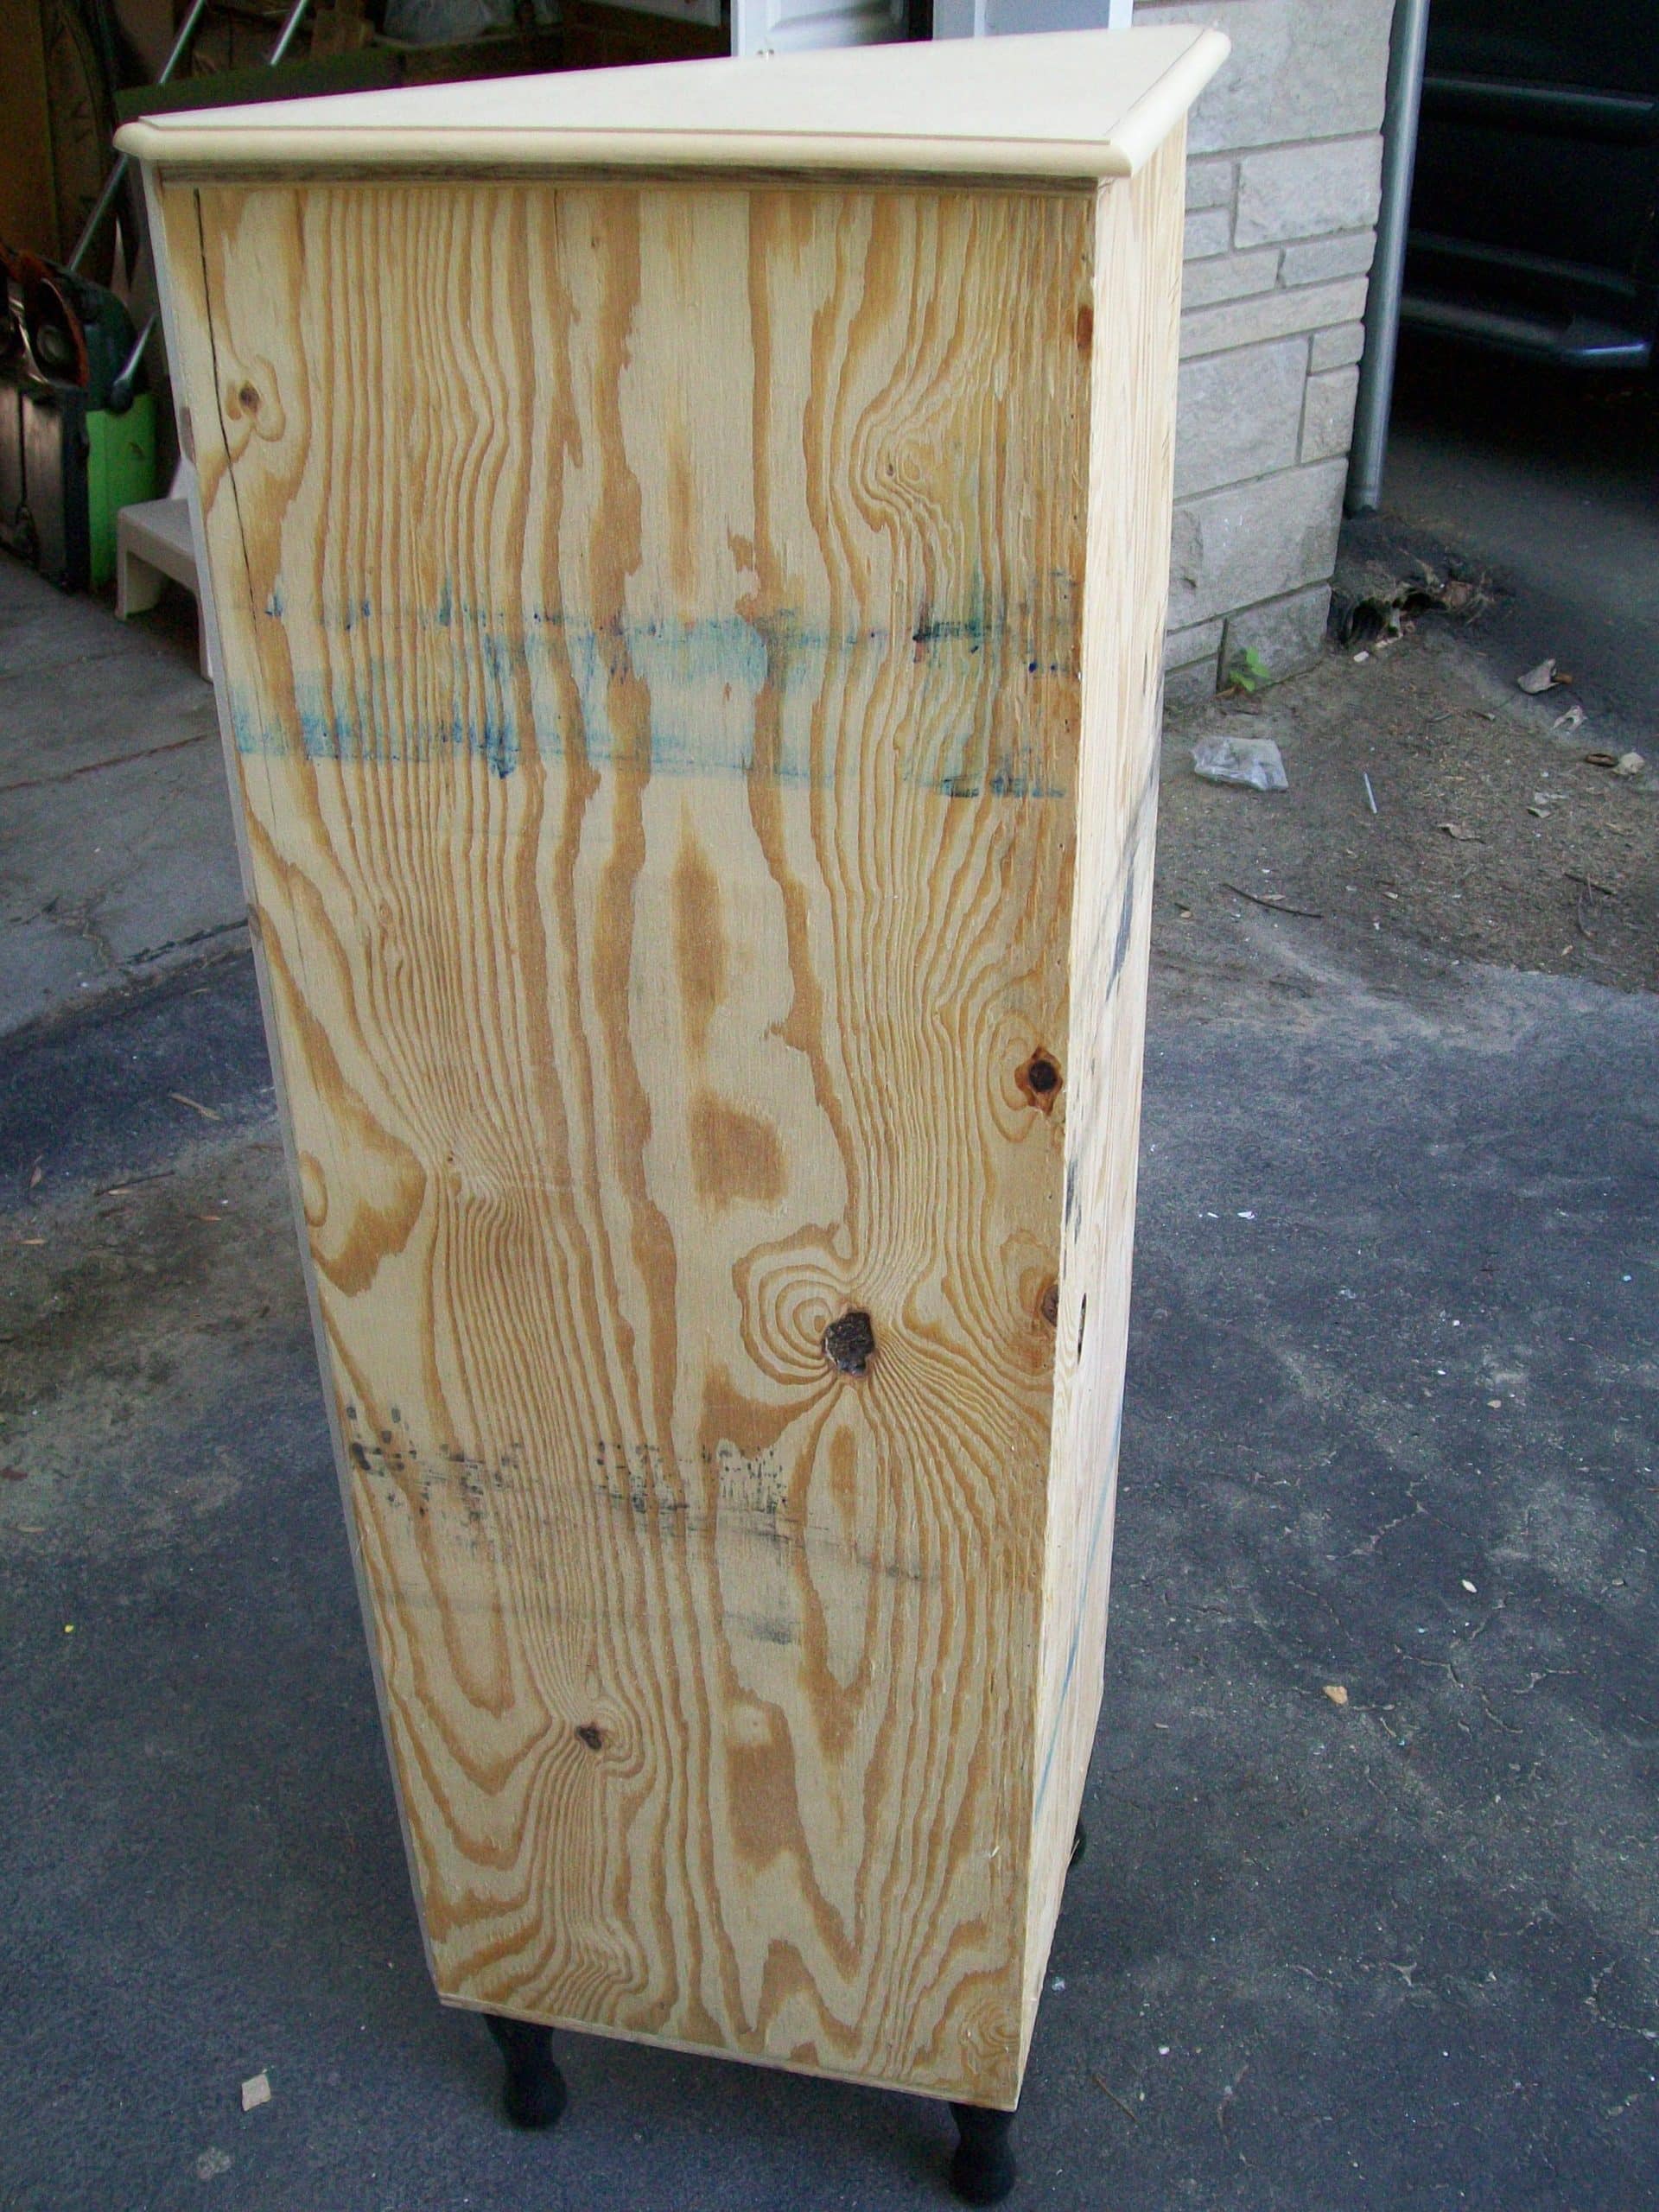
In this photo, you can see the back of the corner cabinet. If you make one, yours will be prettier because you will probably use new lumber.
Time to paint the DIY corner cabinet

Of course, it turned really hot again, so I brought the DIY corner cabinet into the house to paint.

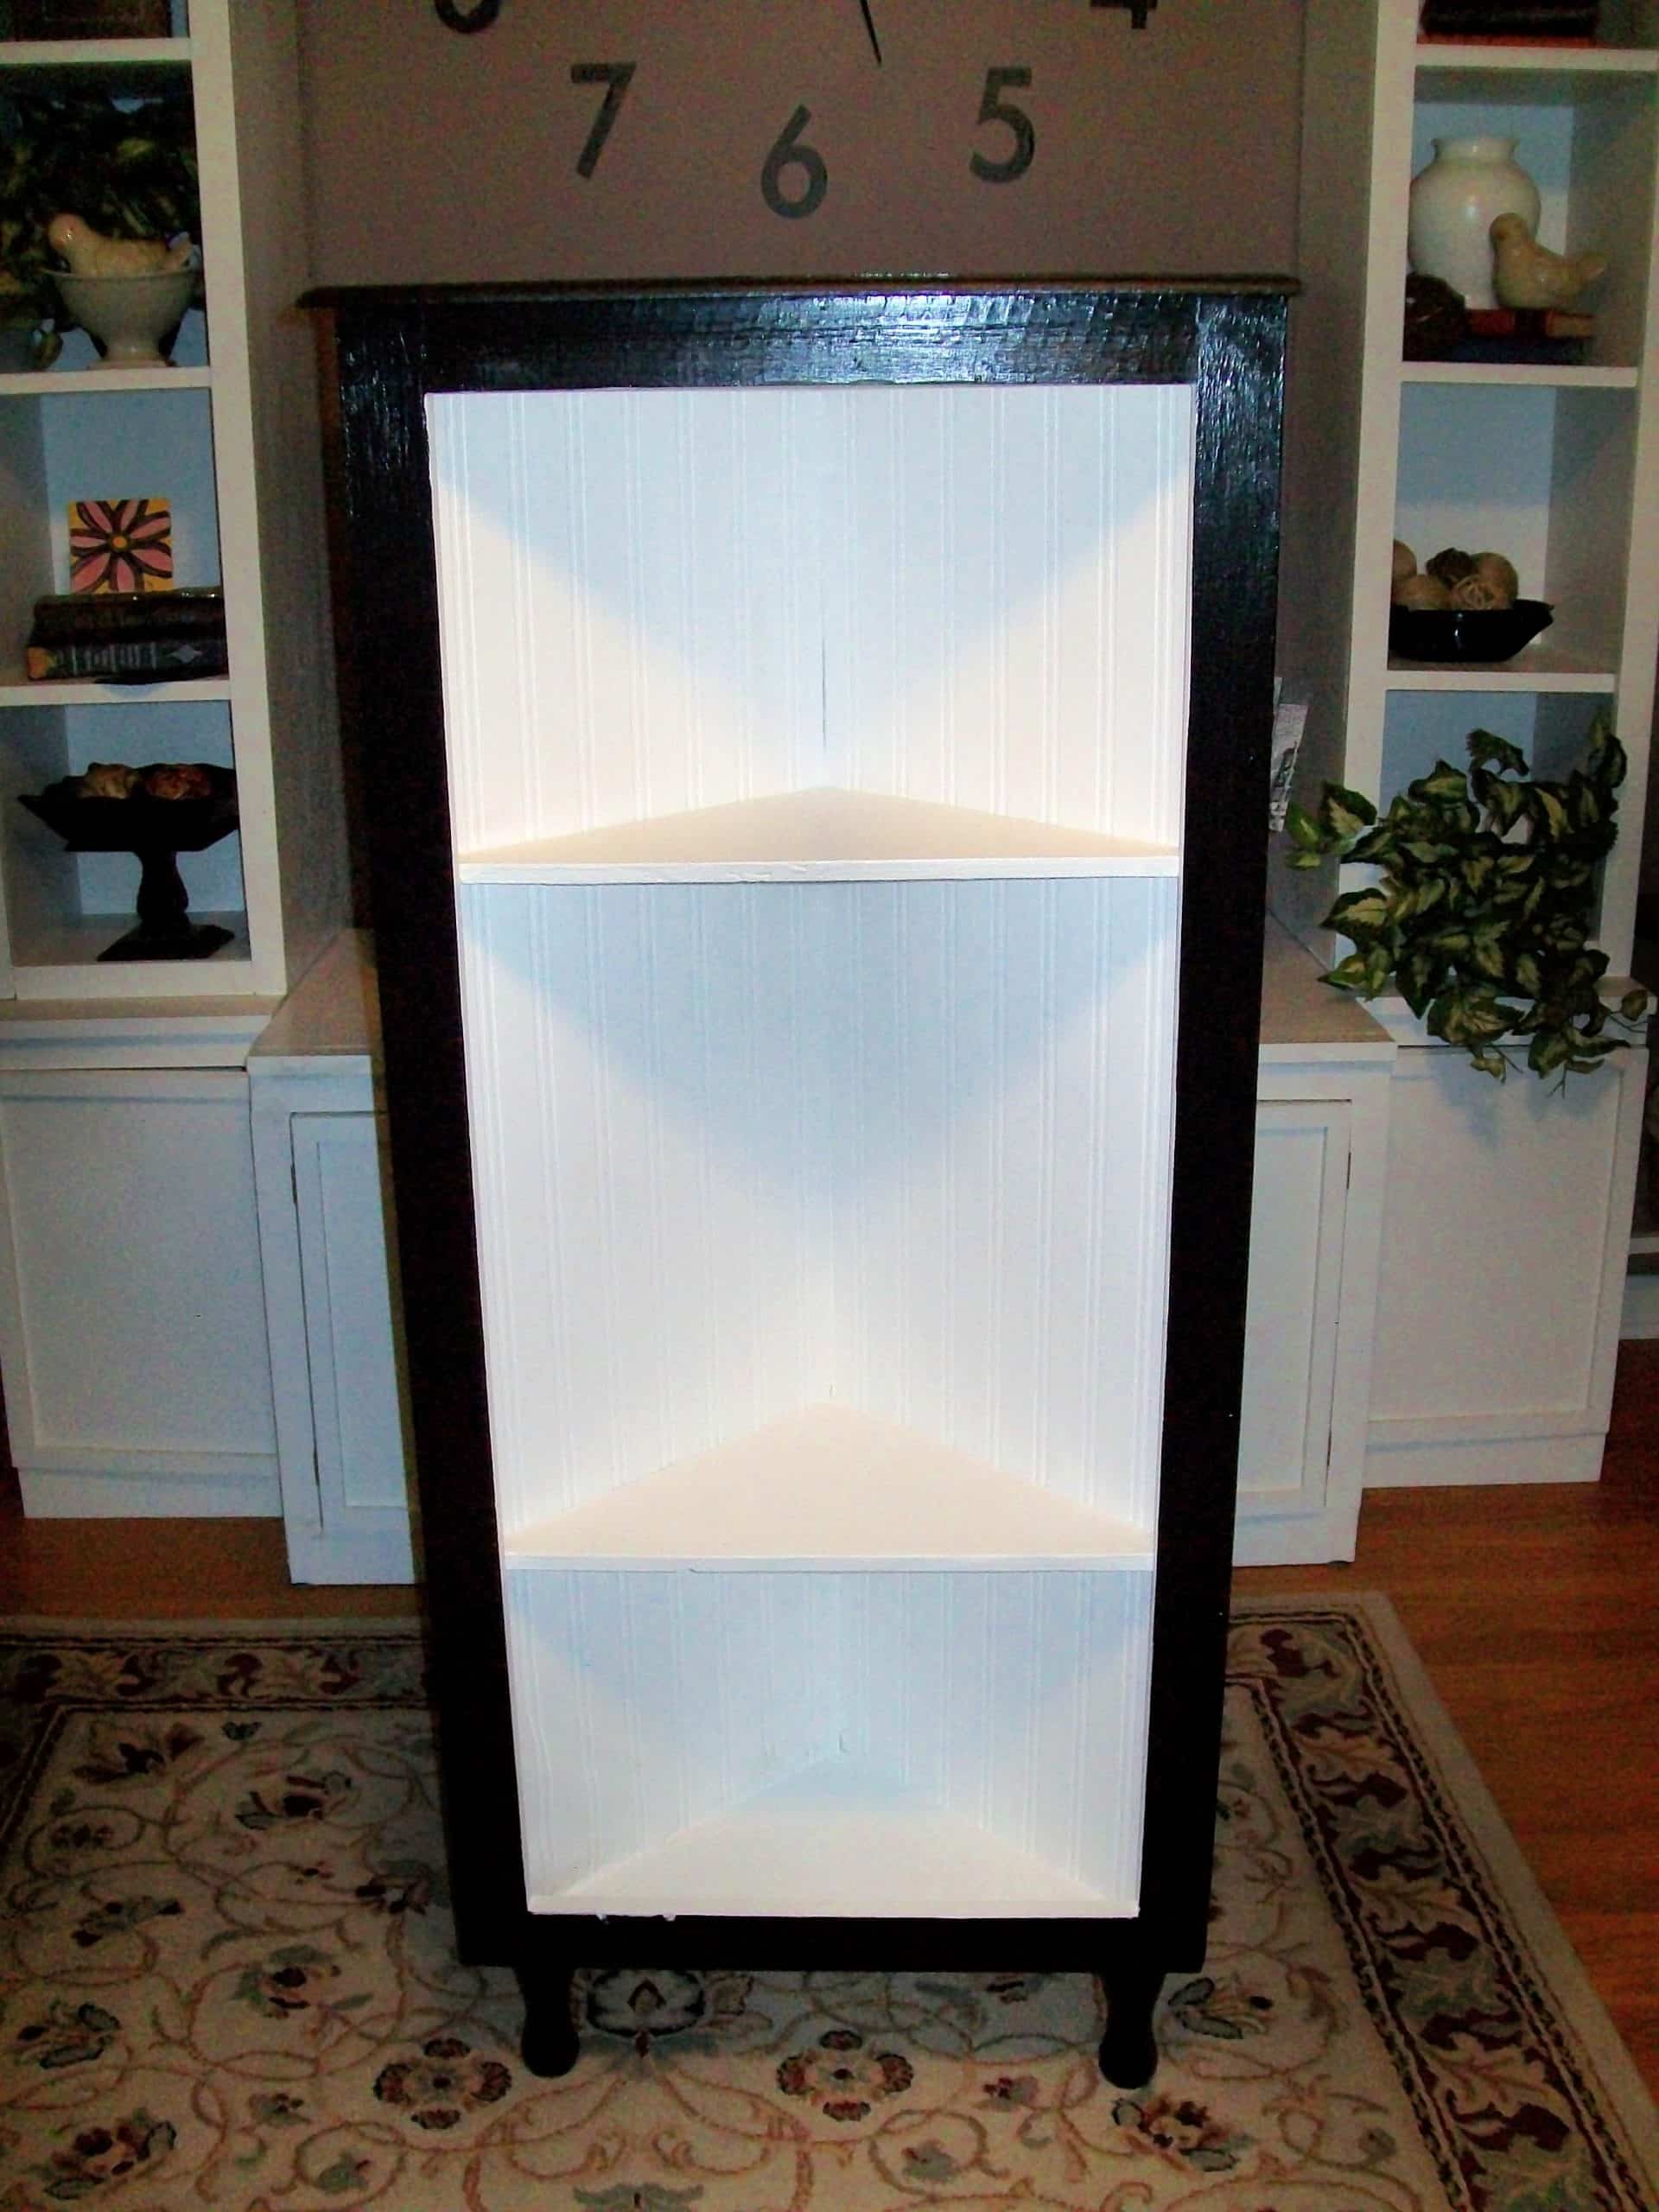
This is where I’m at right now. I can’t decide what color to paint it. The window is white on one side and stained on the other side. I think it doesn’t even have to have a door, but that was my intention all along, so I guess I’ll go with that. I can always make another one later.
This piece will be up for sale, so it’s not a personal preference. It’s a matter of what will sell the fastest. I wouldn’t mind keeping it, but I have NO empty corner to place it! Any thoughts? I am color-challenged!
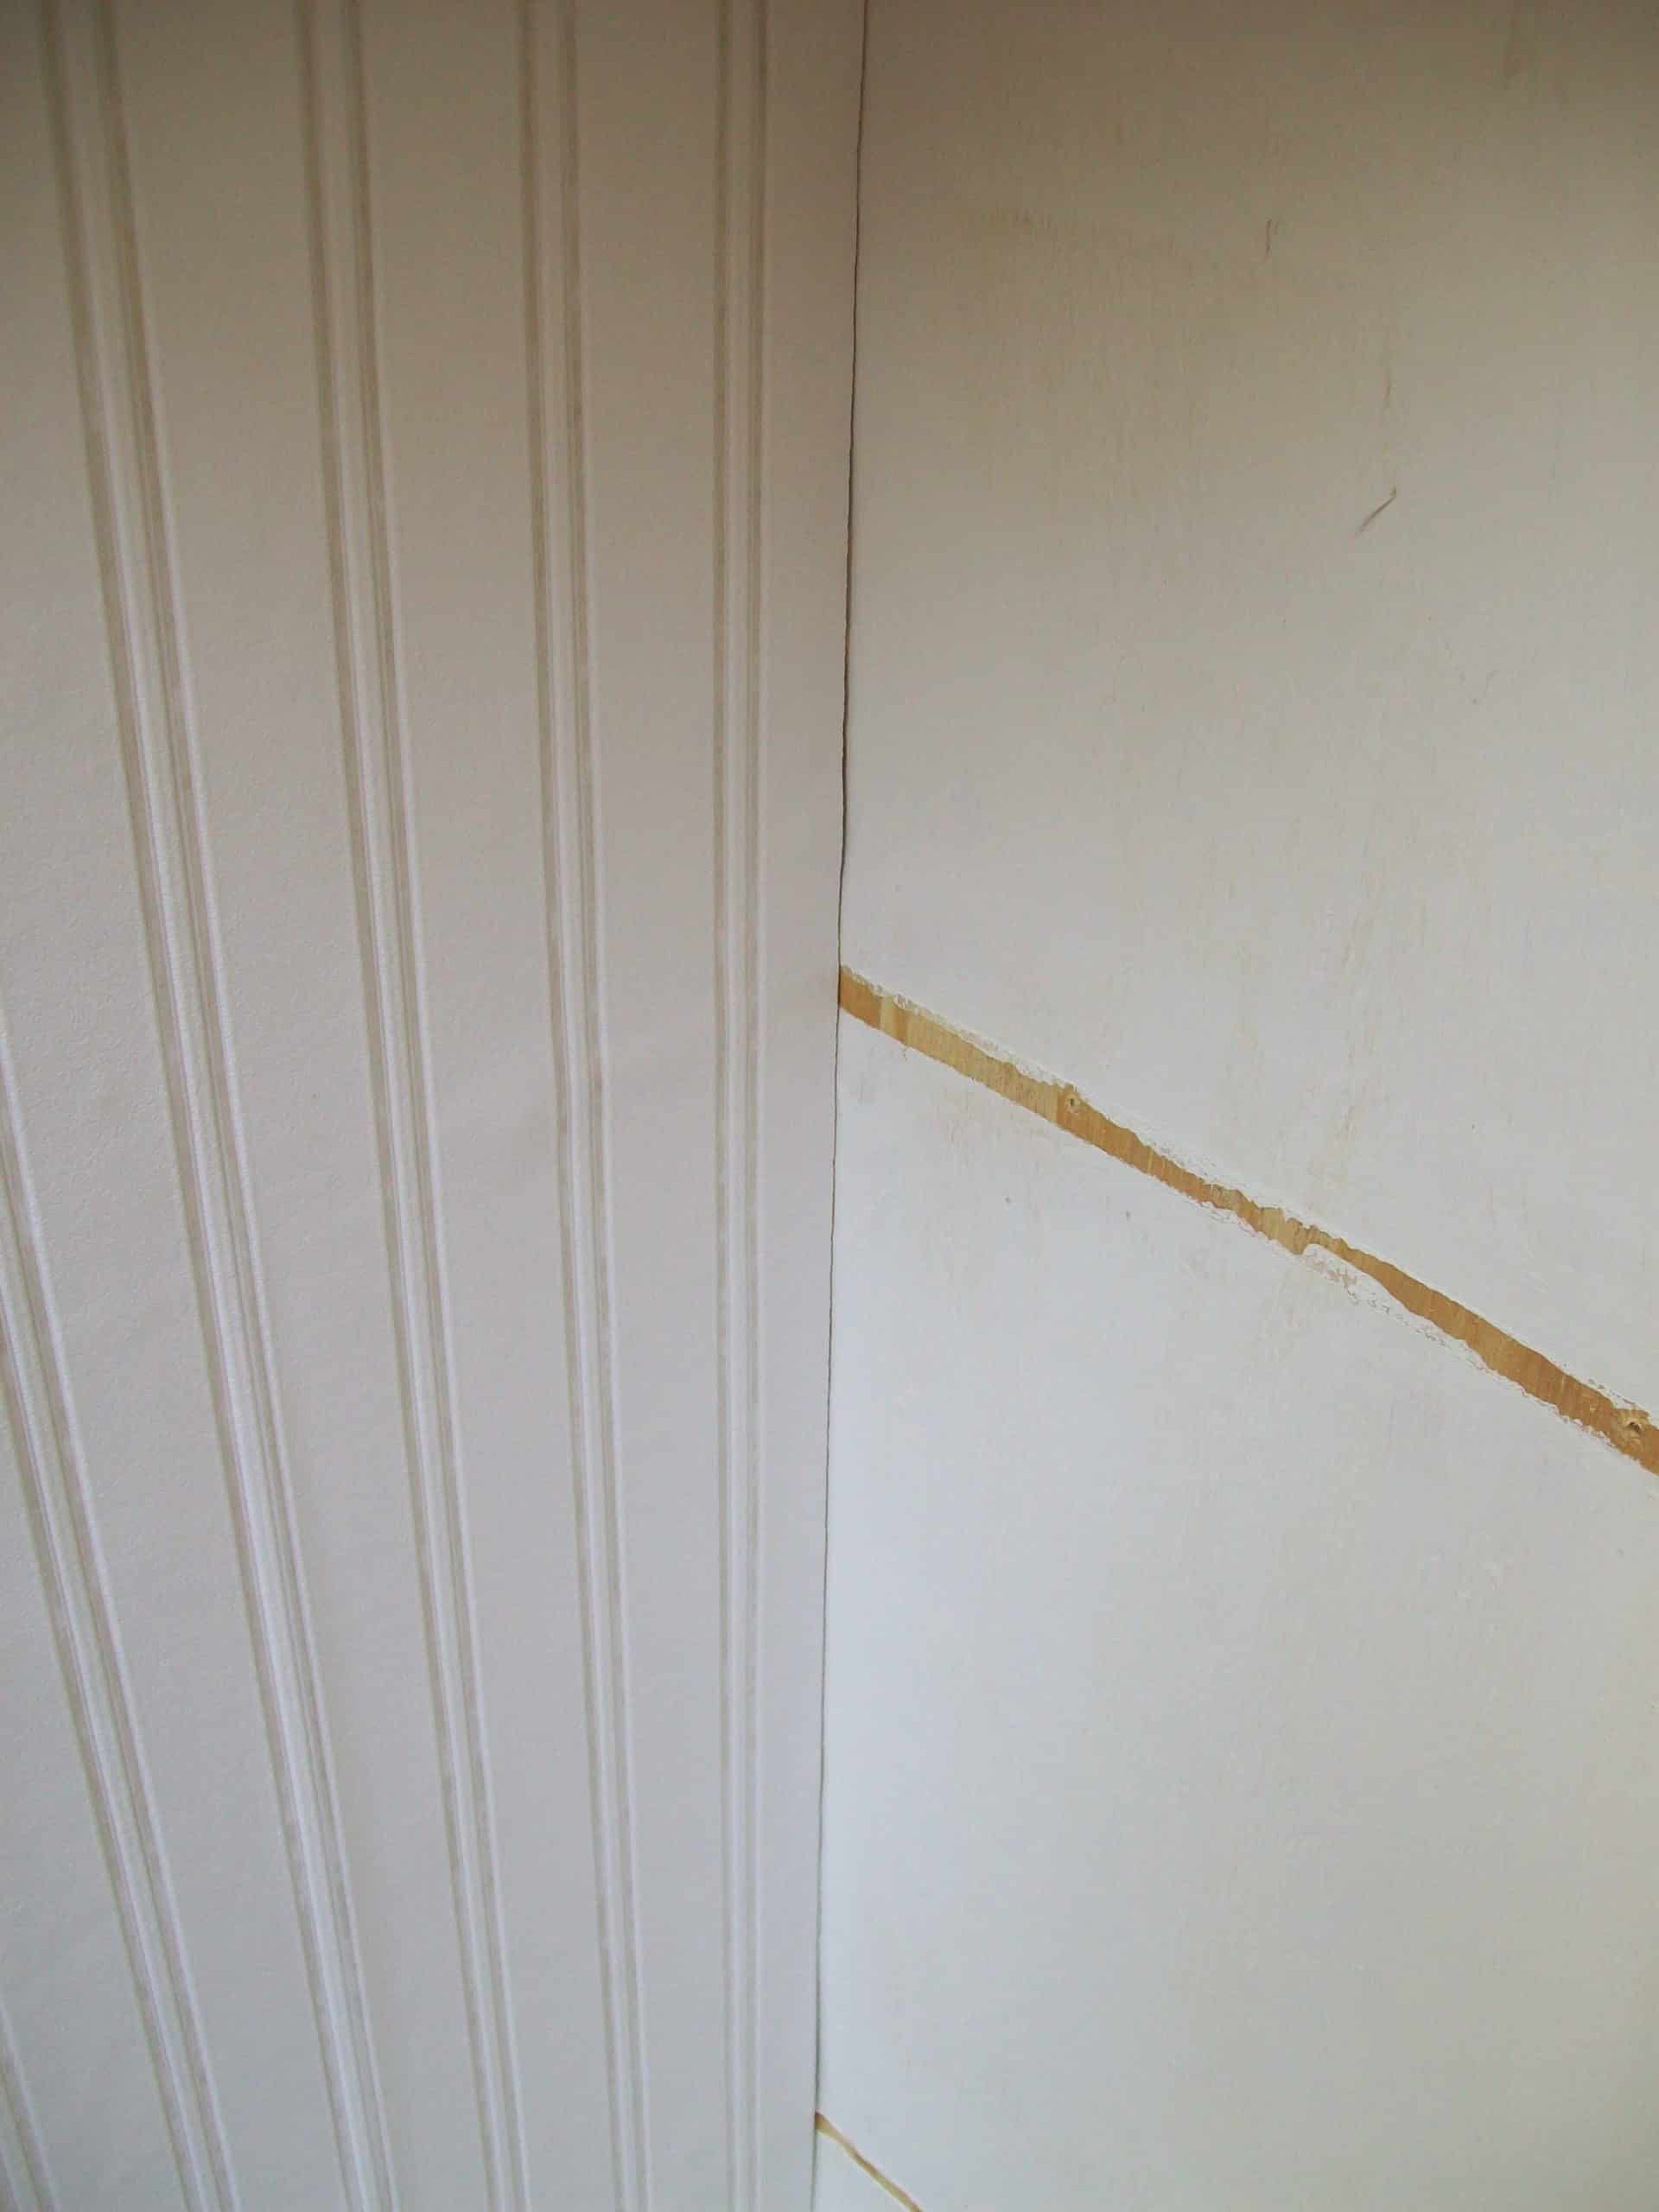
To hide bad wood-add beadboard wallpaper
Edited to add updated pictures:
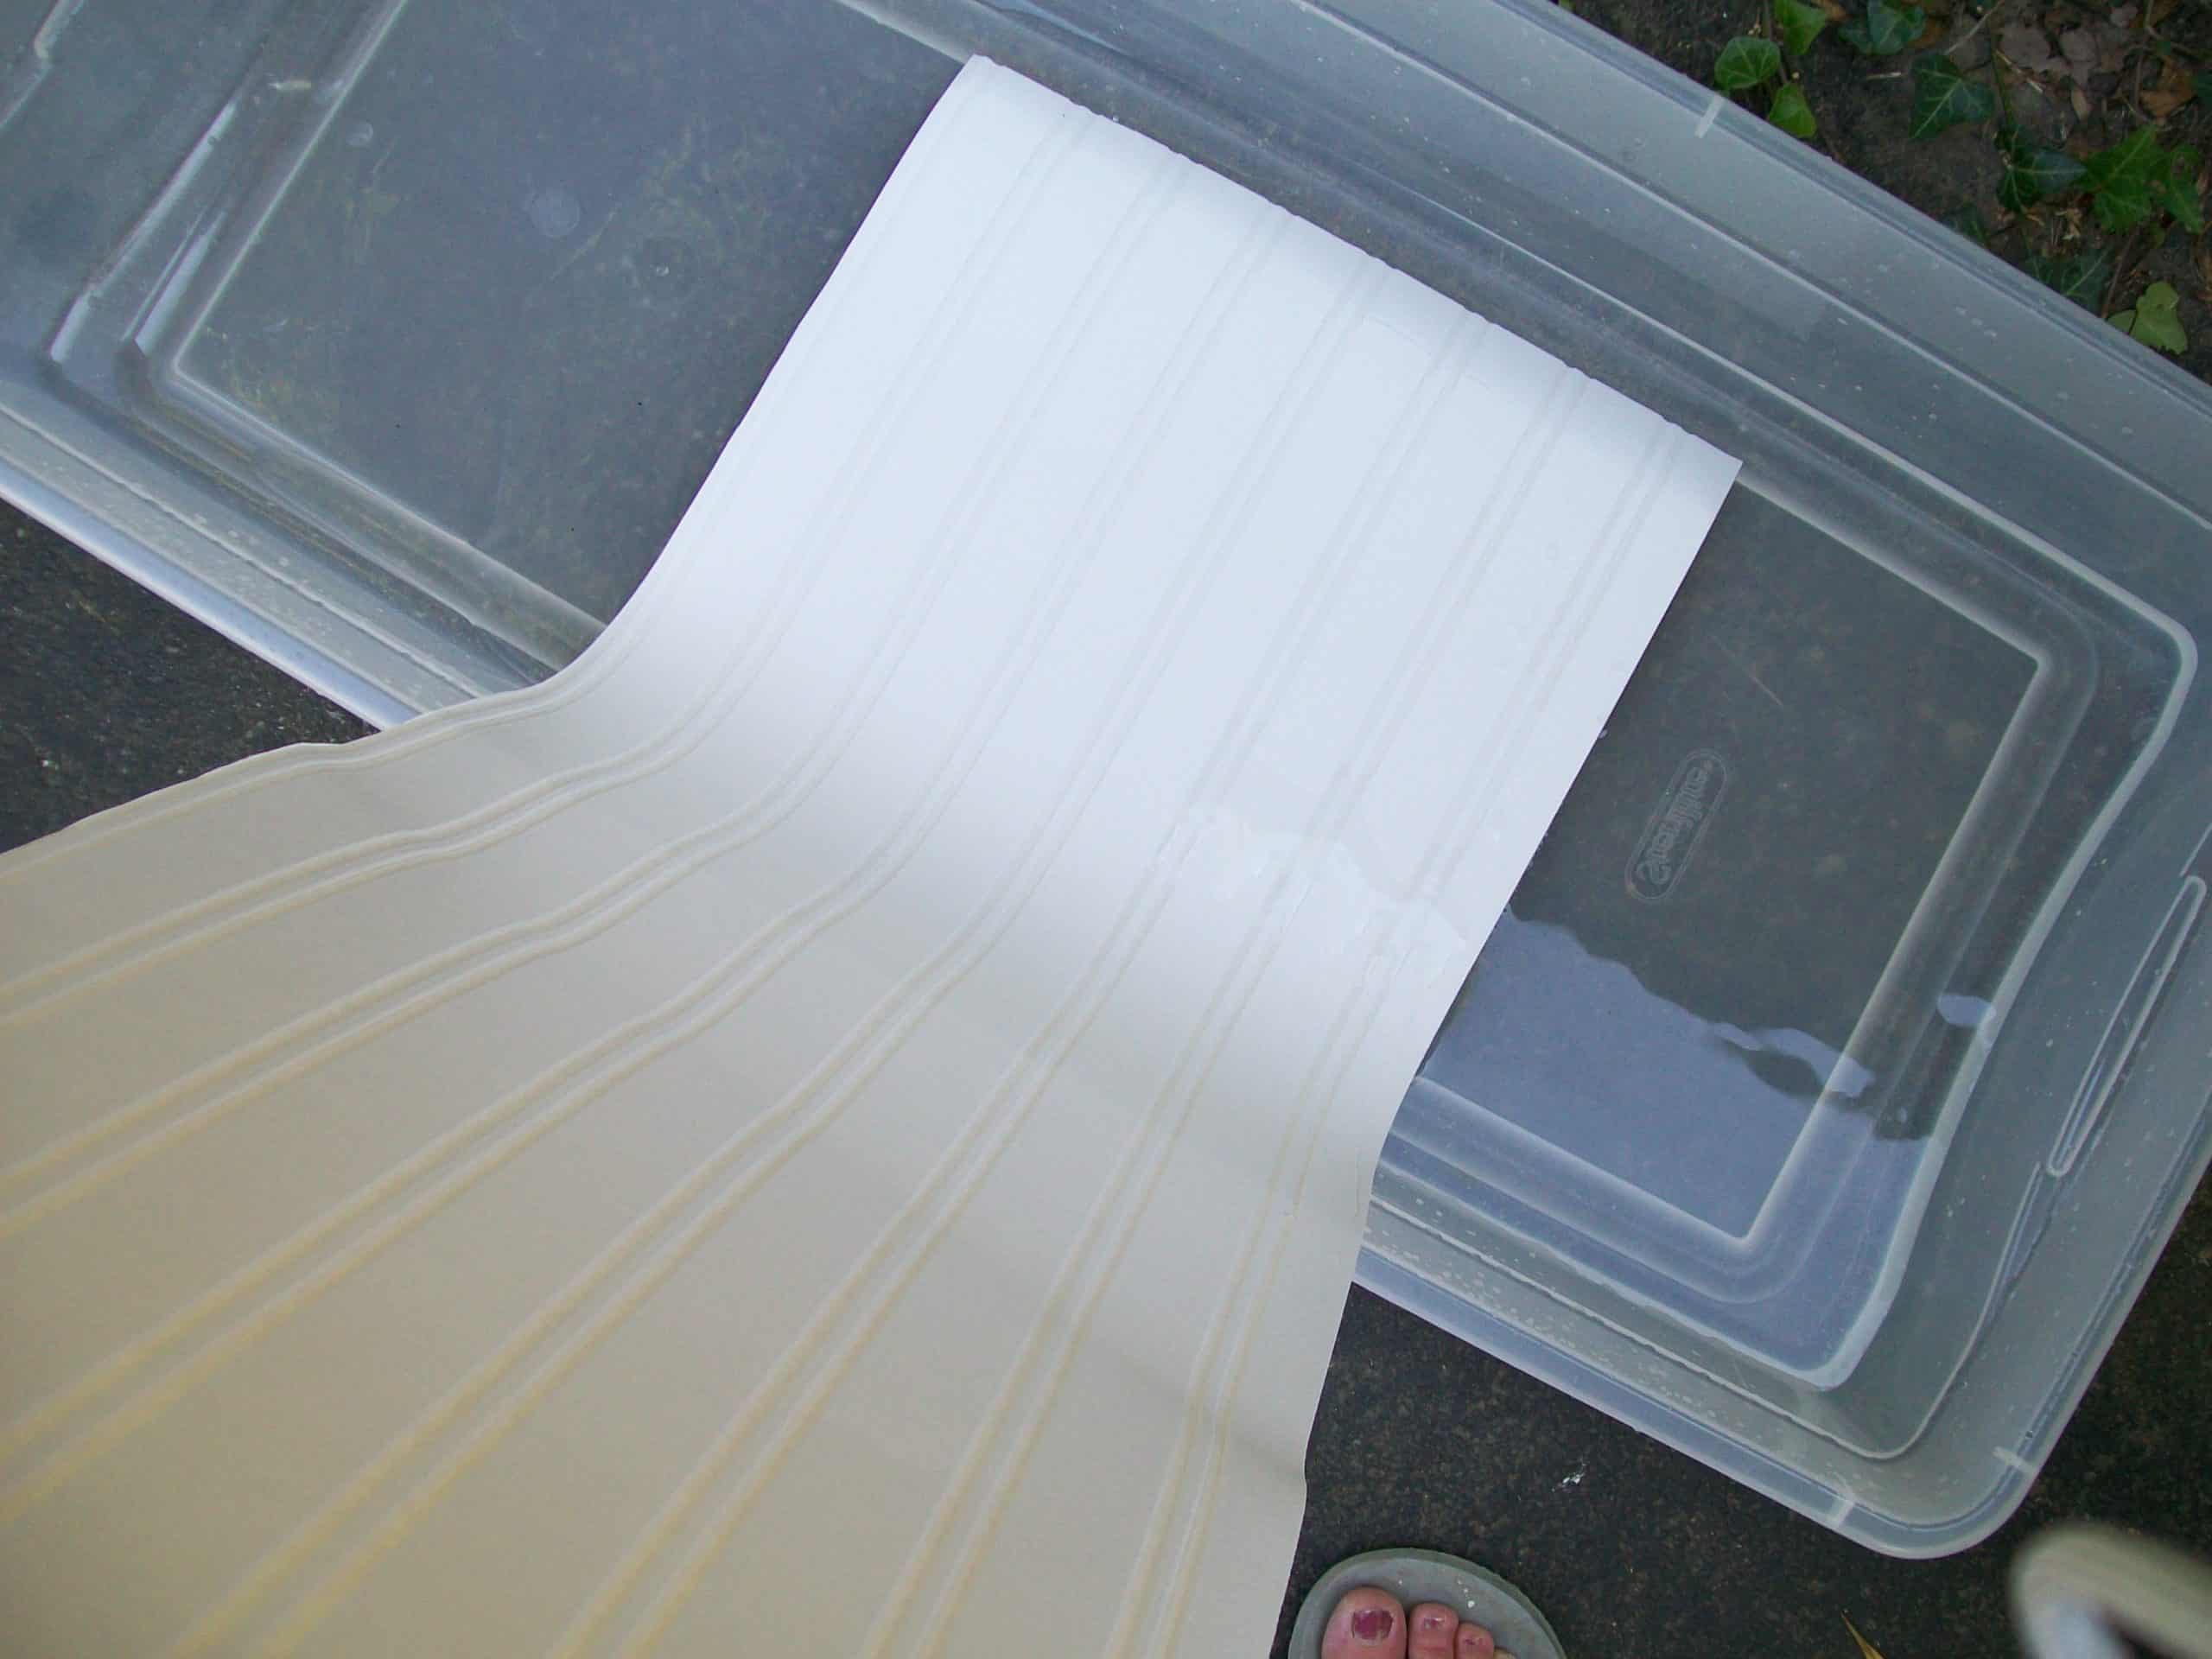
This beadboard wallpaper needed water for its application. However, you could use contact paper as I did in the antique china cabinet makeover.

Adding beadboard wallpaper to the back of the DIY corner cabinet greatly dressed it up.
Total cost: $1.02
If I were to do plywood shelves again, I would use edge banding to disguise the raw edge of the plywood.
In the end, I opted not to add the window as a door. It would have made the cabinet a little tipsy toward the front.
I have added windows to wall cabinets with great success.
Do you think you can make your own DIY corner cabinet after reading my tutorial?
gail
As much as I am fond of blue/greens I think a soft black would look wonderful!
Great job on your shelf and all for $1.02….wow!
Wow, you did a great job. The cabinet looks so nice!
I wanted to let you know about Atticmag’s new linky party – Giveaway Friday! It’s a convenient place for bloggers to link their giveaways each week. We’ve kicked it off with a fantastic giveaway of our own. Five lucky winners will win material to do a backsplash in their homes. Hope to see you there!
Allison
Atticmag
Hi Gail,
I’ve so enjoyed reading your wonderful and inspiring blog all summer. I am a teacher, so summer is my time to relax and recharge the batteries. When I retire, I want to become a “repurposer” like you! I live in the Nashville area, home of the Goodwill outlet, so I’ll find lots of treasures to work with.
I vote for Robin’s Egg Blue paint on the cabinet!!
Hi Gail!
That cabinet is amazing. You have MAD SKILLS, woman! I cannot even begin to imagine the carpentry skills you possess, but this cabinet shows them well!! My first instinct is black, but I’m liking the ocean-blue idea also…will be waiting to see what you do…
Thanks for featuring me!!!!!!!!!
🙂 🙂 🙂 🙂
I just love it! Trish
it turned out fabulously! i have a few projects like that…. i started them a while ago, and now they sit there… usually i end up giving them away when i get sick of looking at them! glad you persevered!
it turned out fabulously! i have a few projects like that…. i started them a while ago, and now they sit there… usually i end up giving them away when i get sick of looking at them! glad you persevered!
You did such a nice job with this cabinet Gail! it looks great!
It seems that a pale ocean blue color is pretty popular right now. I would paint it that but leave the inside white, then distress it a bit. I love it with the door on it. I would buy it today if I lived close enough. Come to think of it, if I lived close to you, I would want to come watch you work just to learn how to do all the amazing things you do!
Gail…I have the perfect spot for this! lol…great job. I love it.
Dang, this looks good!
If you don’t get your own HGTV show, something is wrong with the world! 🙂
Very nice job on that little custom piece! I’d want the cabinet to be a washed aqua with the window left all chippy and natural.