Easy Image Transfer and Decoupage
As an Amazon Associate, I earn from qualifying purchases.
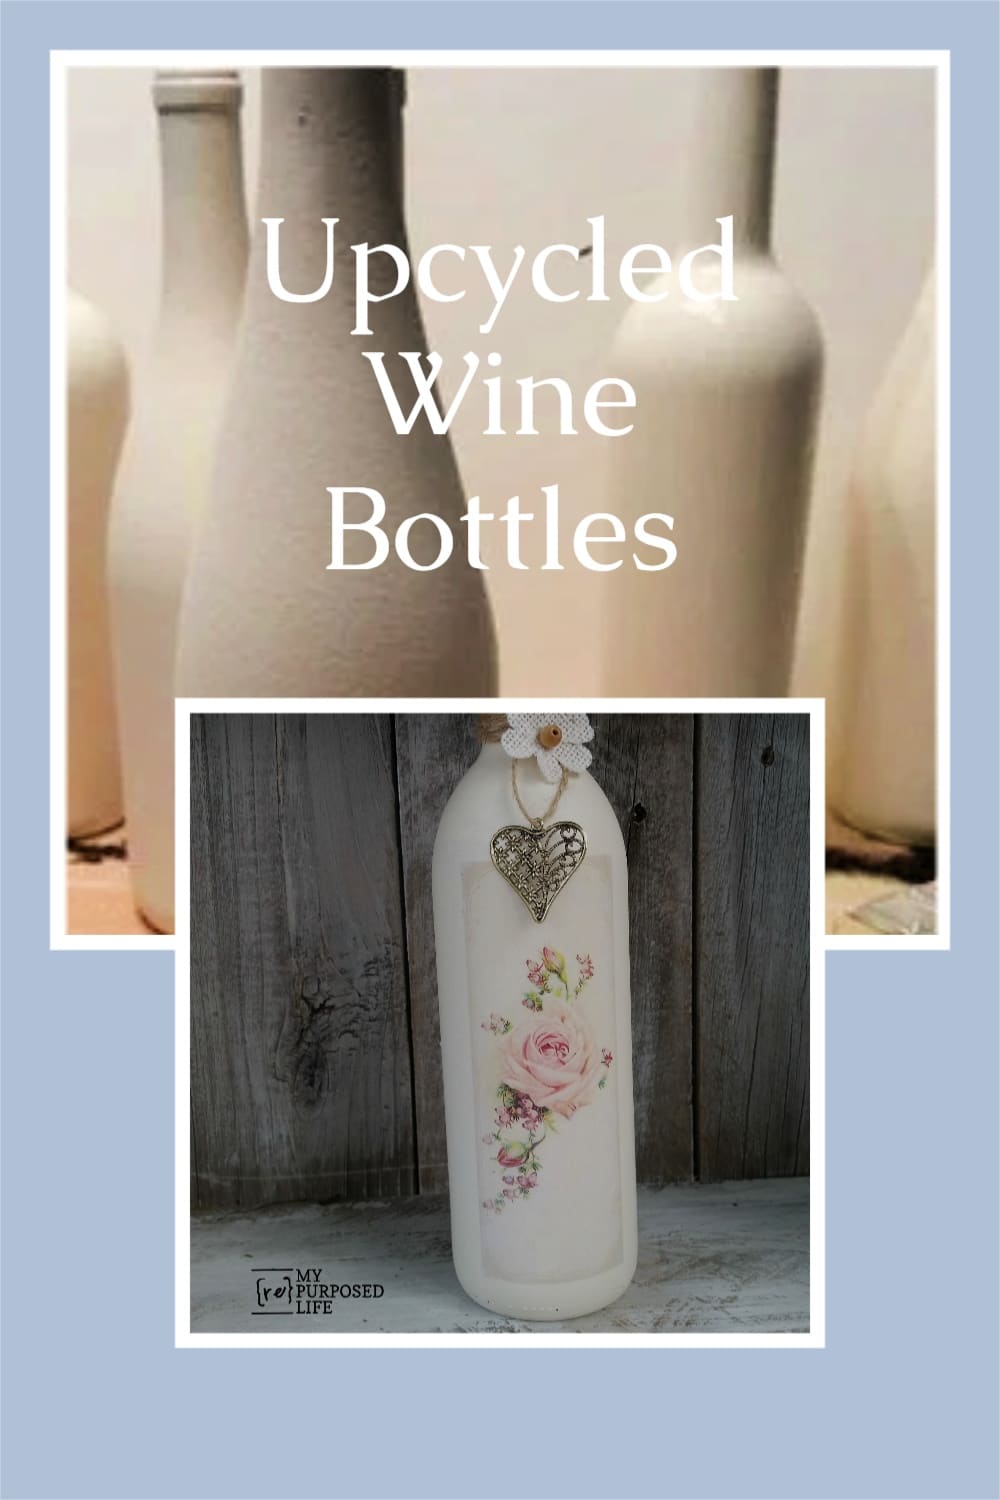
Image transfer and decoupage are timeless craft techniques that let you customize repurposed items, such as glass bottles and jars, with meaningful graphics and designs. In this updated tutorial, I’m walking you through proven methods that work great on painted surfaces, including traditional gel or Mod Podge transfers and waterslide decal options, so you can get crisp, polished results every time. These ideas turn ordinary recycled bottles into unique gifts and decor you’ll be proud to display.
I shared some bottle and jar items last week in my Finish Max Painted Glass Bottles and More post. I have made some more wine bottles and took pictures to show you how easy image transfer is with the right product.
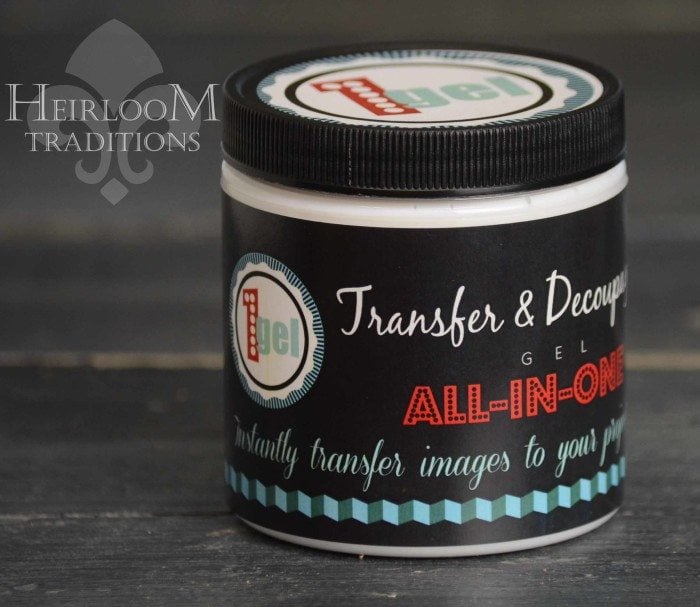
Heirloom Traditions Chalk Type paint. has a great transfer and decoupage product. It’s called 1 Gel (available on Amazon). Currently, this is not available on Amazon, but something like Liquitex Gel Medium should work equally well.
Looking for a great deal on a laser printer? IF you have a laser printer (I got a great deal on Amazon), you can use pod podge for this project!
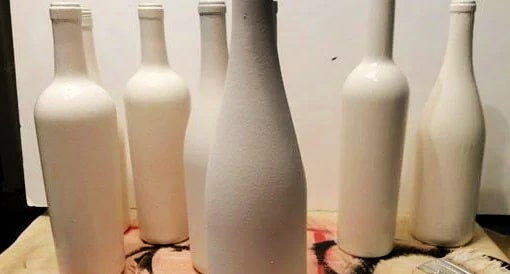
Easy way to paint glass bottles
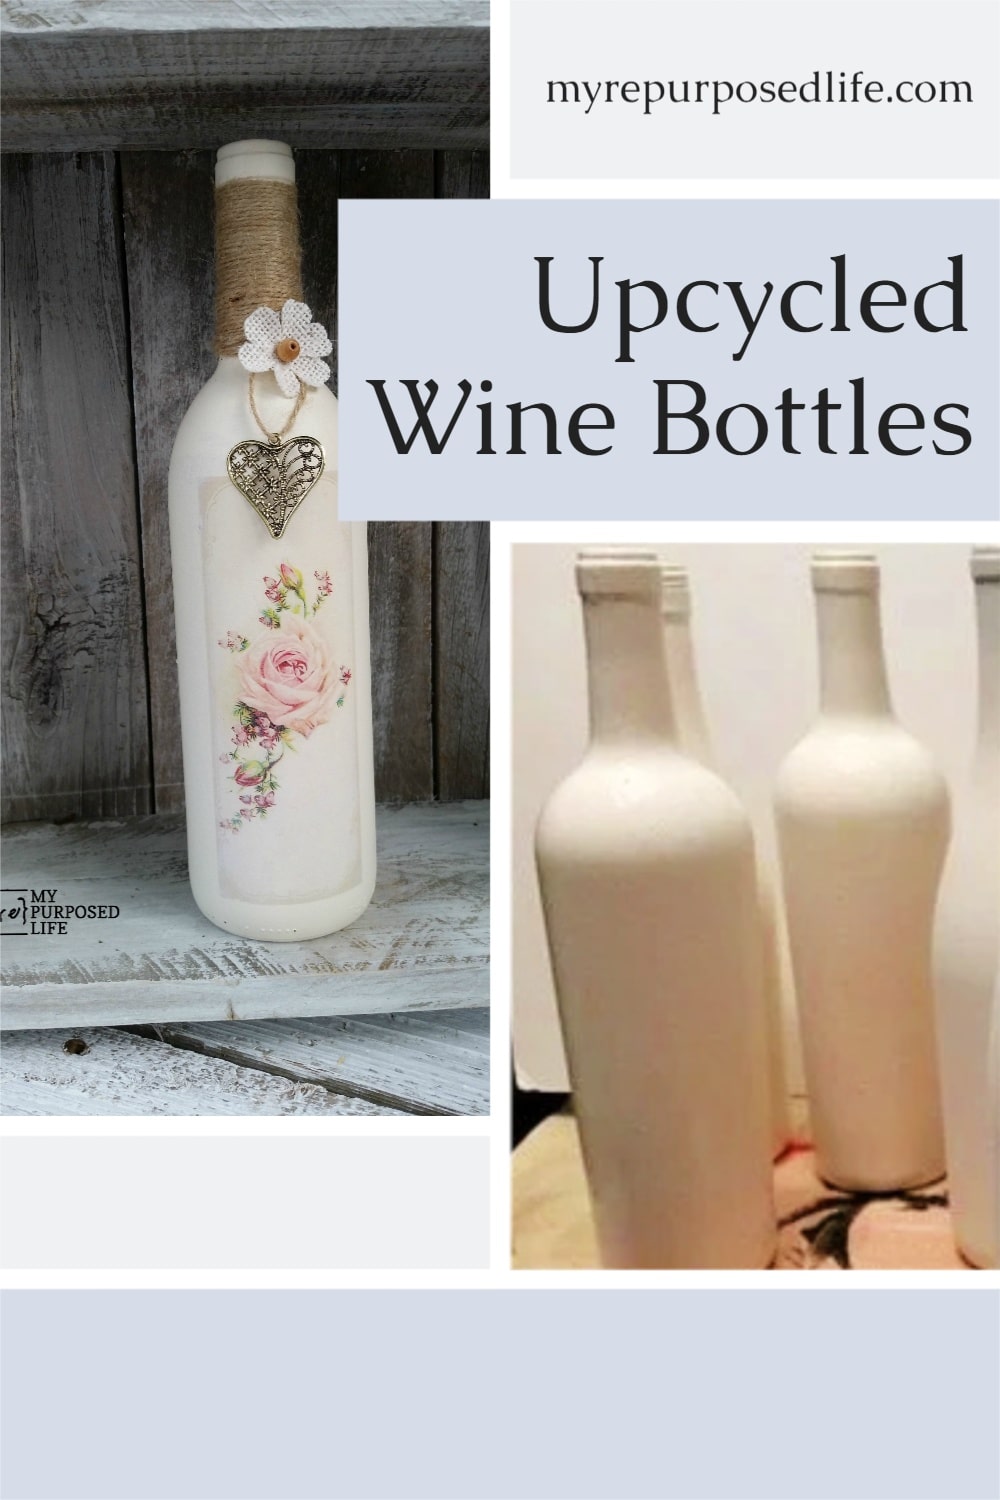
I painted some more bottles using my Finish Max Fine and Heirloom Traditions French Vanilla Chalk Type Paint.
Related content: Mason Jar Tissue Holders
Apply Gel Medium to the Painted Bottles
I coated all of the wine bottles with the 1gel using a chip brush, and allowed the gel to dry. But, you can use Mod Podge if you have a laser printer.
Reverse Image Print
It’s important to trim the images. Any image with text on it needs to be flipped or mirrored when you print it. Here’s the fun part! I used the chip brush to apply the 1gel to the FRONT (printed) side of the image, avoiding the white side of the paper. If you get the gel on the white side of the paper, it will make it more difficult to peel off the paper, revealing the image.
Apply Images, Allow to Dry, Dampen With Water
To remove the paper, you will need to wet it. I used wet paper towels and let the towels soak the label off. It’s amazing that even though a piece of printer paper feels very thin, there are several layers that make up that paper. It’s best to work on one layer at a time and be patient. Ask me how I know?
Inkjet Printer Image Transfer
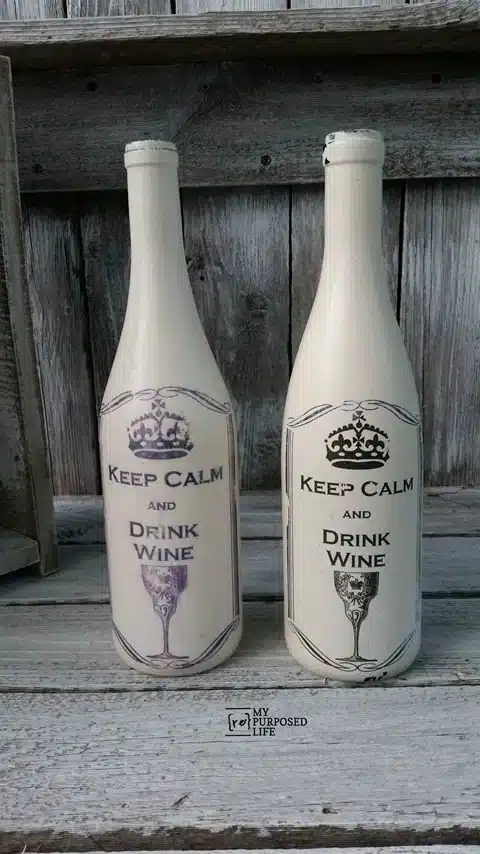
After removing all the layers of paper, give the image a quick coat of 1gel to seal it. Now, here is what makes the Heirloom Traditions 1gel different. The bottle on the left is an inkjet transfer. You can see it’s not quite as sharp as the laser-printed image on the right, but it did transfer. Perhaps your inkjet printer will do a better job than mine did. Of all the things I’ve read and tried, I’ve never gotten an inkjet copy to transfer.
Embellish the Image Transfer Painted Bottle


This is one I did over the weekend for a friend’s birthday gift. She loved it! I bought the image on Etsy, the flowers, and the small key were purchased with a 40% coupon at a craft store. The jute is always on hand because I use it for my Etsy signs.
You can get the Keep Calm and Drink Wine image from Hope Photo Art on Etsy.
Add Jute to the Bottle Neck
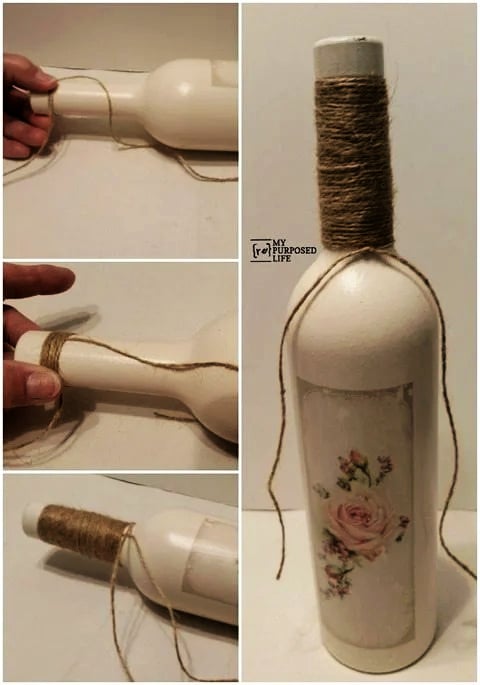
This is how I wrap the jute around the neck of the bottle.
- Allow several inches to hang down on the loose end.
- Start wrapping from the top to the bottom, placing the loose end where you want the knot to be tied
- Continue wrapping until you reach the bottom of the neck, leaving the original loose end hanging out. Cut the piece of jute you’ve been wrapping to a length you prefer
- Tie the two pieces of jute into a knot. (No hot glue involved, but a very secure way to decorate the neck of your bottle
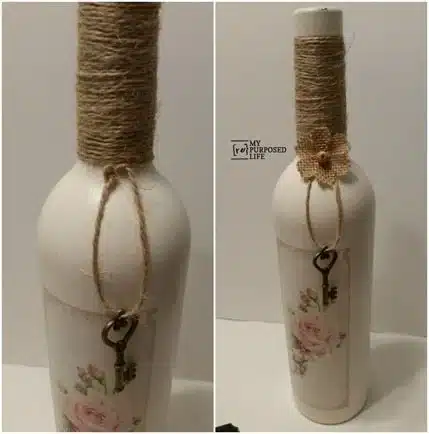
Embellish your bottle to your own tastes.


Have you ever done an image transfer?
Image transfer has evolved since I first shared this technique. Today, there are easier options and clearer results on painted surfaces, especially curved ones like bottles. Below, I’ll walk you through proven methods for laser prints, gel medium, and decal papers.
Best transfer methods for painted bottles
1. Mod Podge Photo Transfer Medium
This is the most reliable beginner option.
- It must be laser printed or photocopied. Inkjet will bleed.
- Works best on light-painted surfaces.
- You apply it to the image, press it face down, let it dry, then rub the paper off.
2. Gel medium (matte works best)
Golden or Liquitex Matte Gel Medium works just like Mod Podge transfer.
- Also needs a laser print.
- Often gives a slightly cleaner, less cloudy result.
- My personal favorite for painted surfaces.
3. Packing tape transfer
Good for rustic looks and curved bottles.
- Laser print required.
- Burnish tape over the image, soak it in water, rub the paper away, then stick the tape image onto the bottle.
- The image stays slightly transparent.
4. Waterslide decal paper
This is the best option if you want crisp detail and no rubbing.
- Works with inkjet or laser, depending on the paper type.
- You print, seal, soak, and slide onto the bottle like a decal.
- Perfect for text, labels, or detailed graphics.
What will NOT work well?
- Regular Mod Podge with inkjet prints will smear. You may try a spray sealer over the image before applying, some say that works.
- Inkjet prints without sealing will almost always bleed.
Things to Keep in Mind
- Laser prints only for gel, Mod Podge, and tape transfers
- Inkjet works only with waterslide decal paper
- Always seal with a clear topcoat
Quick advice:
Curved bottles work best with small images and gentle pressure.
Bottom line:
If you are unsure, waterslide decals are the most beginner-friendly option.
related content: Coffee Table Easy Image Transfer
See more repurposed glass project ideas here
gail
Hi gail. I hope u can help me. I tried the 1 gel transfer and decoupage. It doesnt transfer. Im trying to transfer to a painted surface. what am I doing wrong.
Cindy,
Ohh, I’m sorry I don’t know what advice to give you. Please go to this facebook page, the ladies there will be able to help you!!
https://www.facebook.com/heirloomtraditionspaint/
let me know if you’re not on facebook and I’ll ask them for you!
gail
Gail,
These bottles are absolutely gorgeous! I love the smooth finish you’ve gotten on them and I especially like the roses. I am definitely going to try this. The embellishments you’ve chose look great on the jute neck cording. Simply stunning and what a nice gift for a friend or especially a wine connoisseur.
Thank you Barb!
I really loved them, but they haven’t been good sellers. Go figure!
gail
Oh my goodness these are absolutely fabulous, I hope you don’t mind if I pin this. I will have to definitely put it on my list of things to make. Thank you for the tutorial and thank you also for stopping by and leaving such kind comments.
xoxo
Teresa
Hello . IV been wanting to paint old wine bottles.but I can’t draw anything.but IV thought about using the adult coloring book pages and transfures the pictures on to my bolltes,I don’t have a printer and wonder if anyone’s tryd to do somethings like this.thank you
Donna,
If you like coloring pages, they should work UNLESS they are printed on both the front and the back. You could take anything to Staples or some other print store to get copies made. You can even do that at your local library.
good luck, have fun!
gail
This is cool Gail!! A fun new way to transfer images, I will have to try it! Pinned!
I am intrigued. So the water soaked paper towel part…. you do that one time only over the image, or do you need to do that a couple times?
Bliss
you have to do it over and over to get all the layers off. but the layers come off easier the longer you leave the towels on.
I’ve never heard of that transfer gel before, so I’m going to have to try it – I’m addicted to image transfer projects!
Thanks for sharing my pretty rose printable with your readers – I’m glad you like it as much as I do!
~Angie
Very cool!
that flower vase is plumb gorgeous xx
Where can I find the 1gel?
I guess I just had to read the post better – found it!
OMG! I love these! I have some plain off white vases that I could try…..
You are such an inspiration! Have a great weekend!