
Easy Shadow Box from a Picture Frame
As an Amazon Associate, I earn from qualifying purchases.
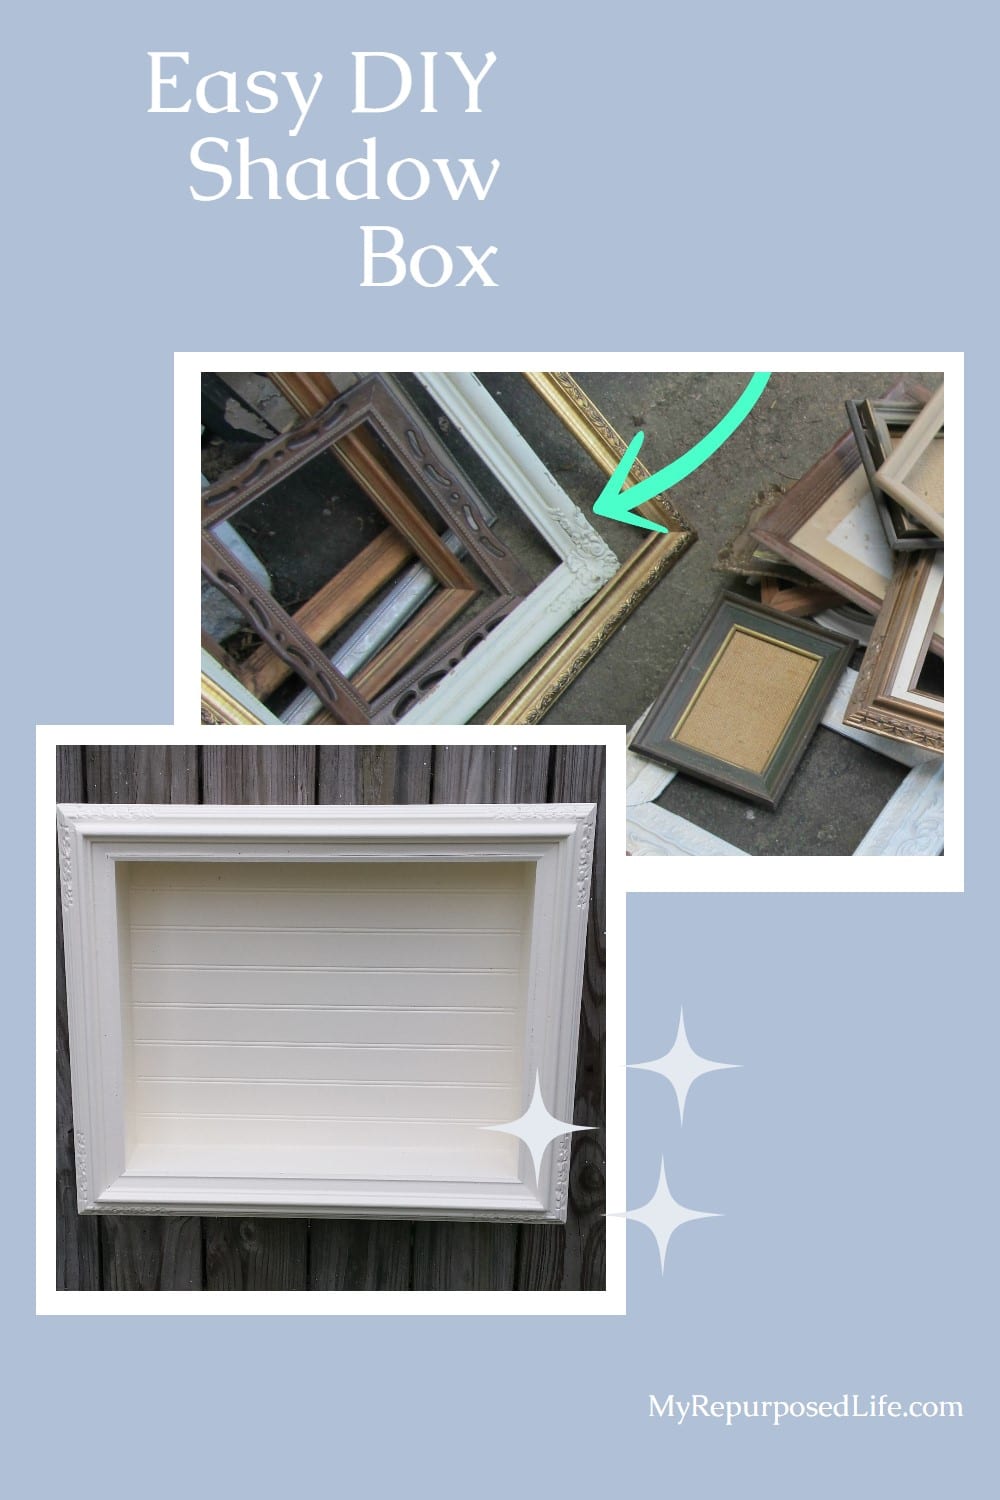
Turning an ordinary picture frame into an easy shadow box is one of those simple DIY projects that feels extra satisfying. It’s quick, budget-friendly, and gives you a custom place to display meaningful little treasures. Whether you fill it with photos, keepsakes, or seasonal décor, this easy shadow box proves that even the simplest thrift store find can become something special.
Hi, I’m Gail Wilson from My Repurposed Life, and I have been turning ordinary items into something special for many years! This easy shadow box started as a simple picture frame, but with a few creative touches, it became a beautiful way to display keepsakes and smaller treasures. Whether you want to showcase memorabilia or add a unique accent to your décor, this project is a fun and simple way to make it happen. Follow my step-by-step directions for your next weekend project.
Thrift Store Picture Frame Project
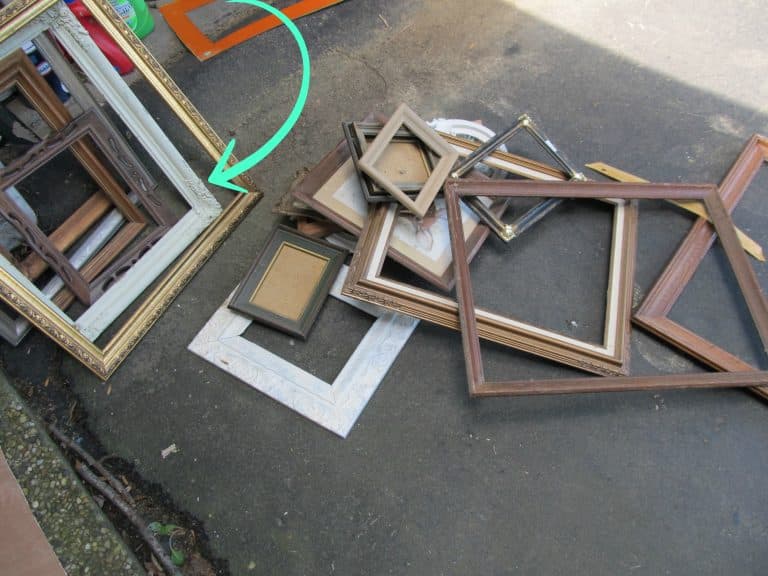
As I mentioned, picture frames are among my top 5 items to look for while junking!
Thin Plywood is Used to Make an Easy Shadow Box
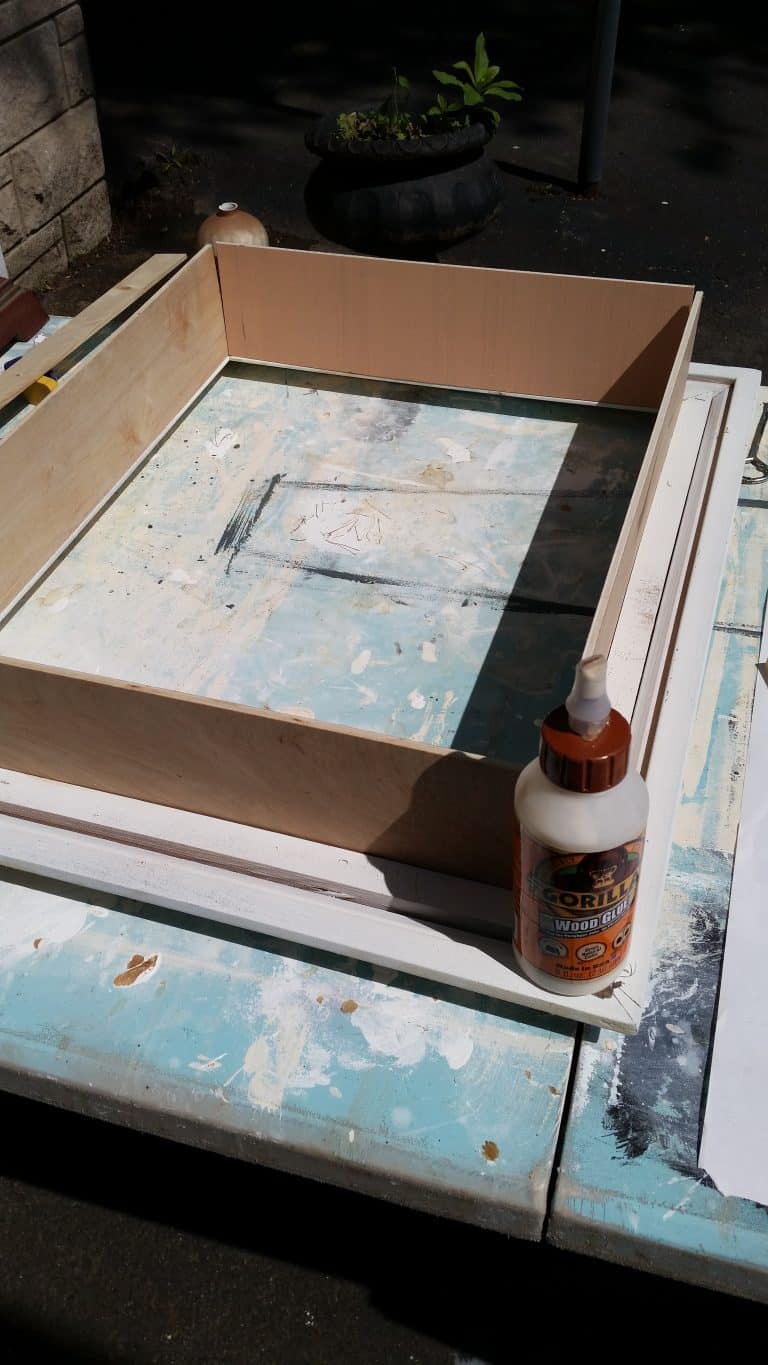
I grabbed a large frame from my stash of thrifted frames and cut some thin plywood to size. On large frames like this, a lip around offers the perfect ledge to hold the thin plywood. The easy shadow box is already on its way!
Visit the My Repurposed Life Amazon Store to shop my favorite items.
Use Wood Glue Instead of Nails
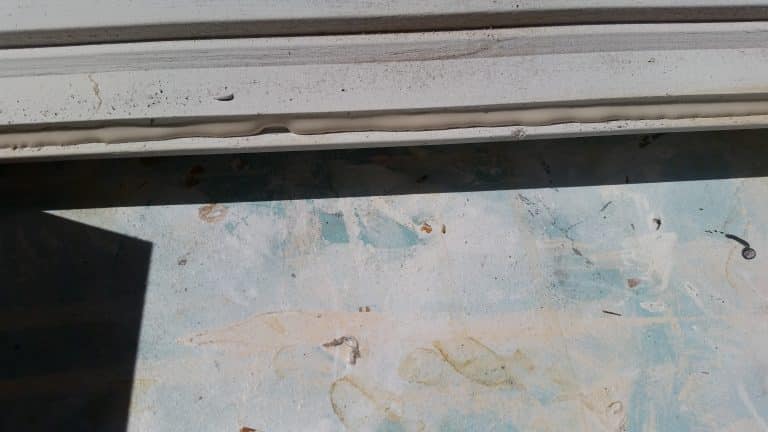
To make the display case, I added Gorilla Wood Glue around all the edges (lip) of the frame.
Related Content: More Shadow Box Ideas
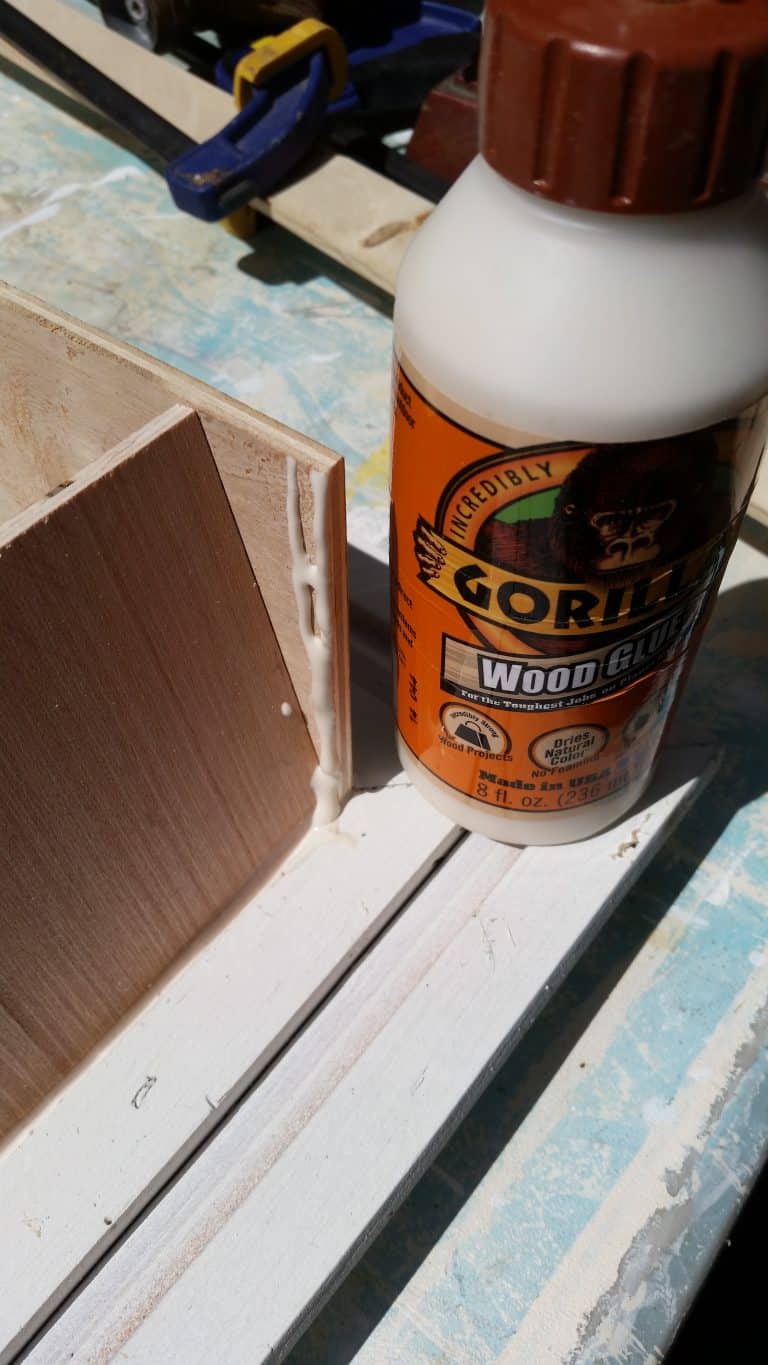
Then, I added the wood glue to the edges where the thin plywood meets.
Clamp The Sides of The Shadow Box Until The Glue Sets Up
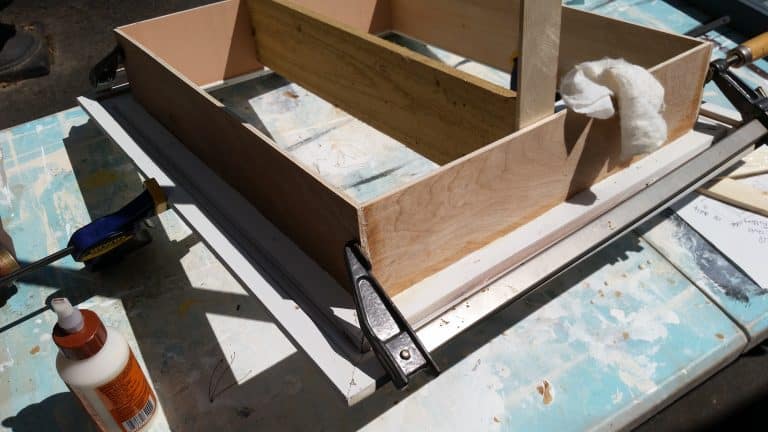
I clamped and braced the boards until the wood glue had time to set up on the easy shadow box.
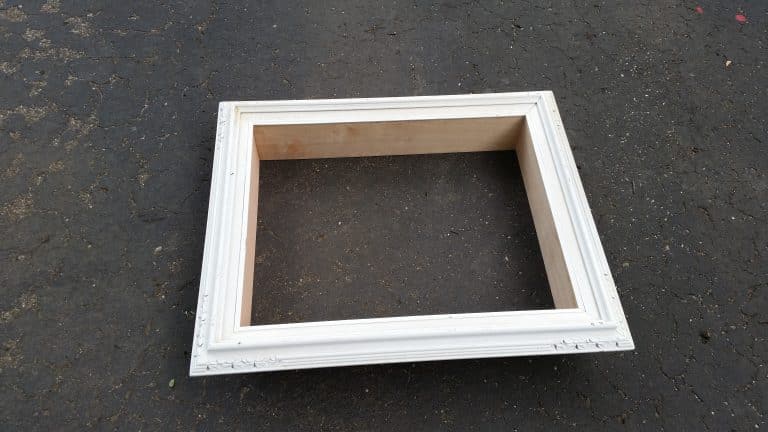
The thin plywood looks much nicer in the little lip of the frame than a thicker piece of wood, such as a 1×4 or 1×6.
Add Bead Board For The Back
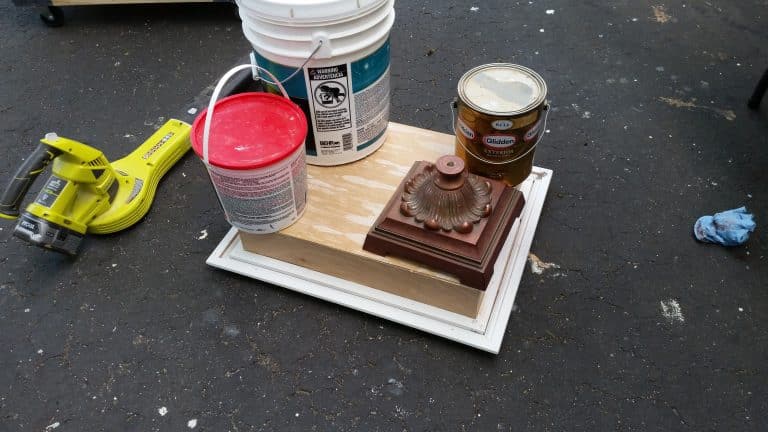
I used a scrap piece of bead board for the back of the shadow box. Of course, I used more Gorilla Wood Glue and weighted the back until the glue was set up.
How to Add Scrap Wood For Hanging
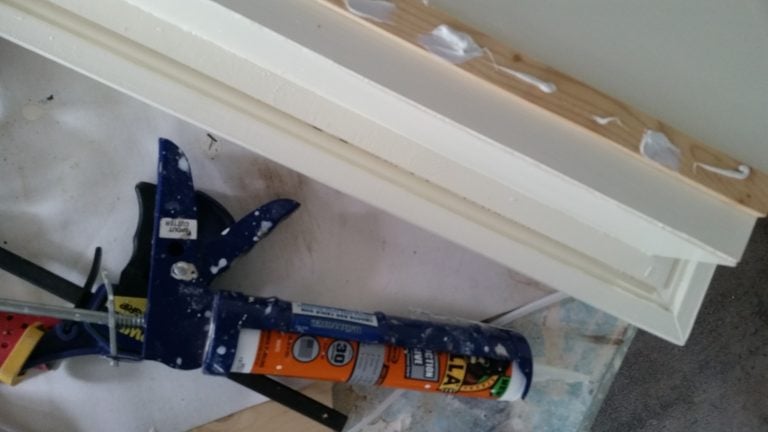
Because the plywood is very thin, I didn’t have enough thickness to attach my favorite d rings for hanging. I used some scrap pieces of wood and some Gorilla Glue Construction Adhesive to secure the wood to the back of the thin plywood. I used two pieces, one at the top and one at the bottom.
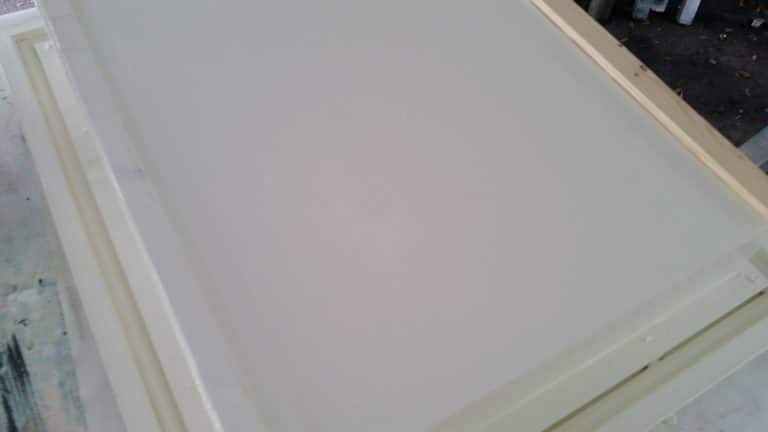
In this image, you can see I’ve painted one before I remembered to take the picture.
White Easy Shadow Box made from a Picture Frame
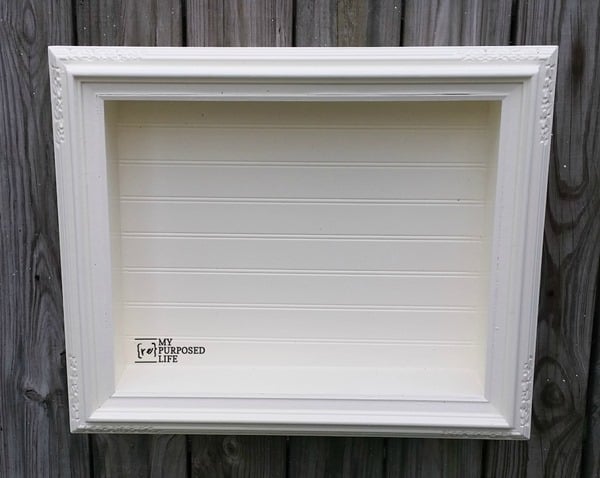
I’ve been quite lazy with my staging lately—in case you didn’t know, I always stage my projects outside on a portable wall. It’s been really hot, the garage is crowded, and the gray side of the wall needs repainting.
I love projects like this because they remind me that creativity doesn’t have to be complicated. With just a frame and a few scraps of wood, you can create a display piece that tells your story. If you give this shadow box a try, I hope it inspires you to look at old frames in a whole new way.
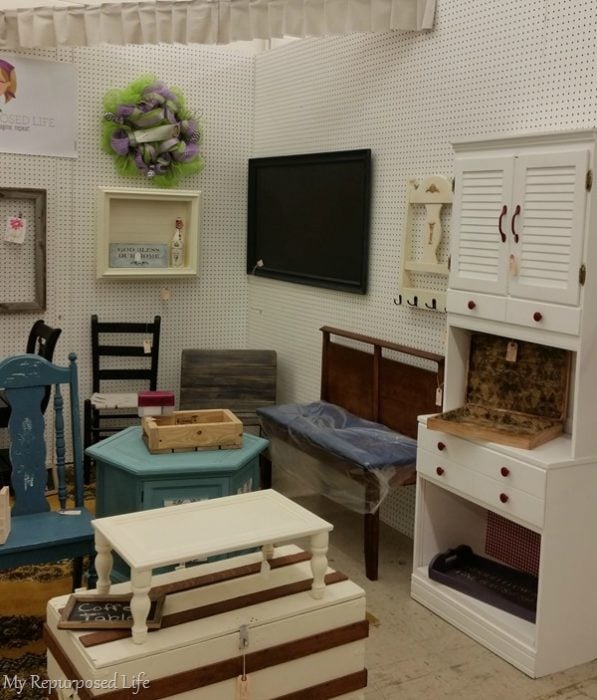
I took it to my booth at Vendors’ Village. It’s shown here hanging under the wreath I got from my cousin.
This project sold very quickly. I should make some more of these. Do you love picture frames as much as I do?
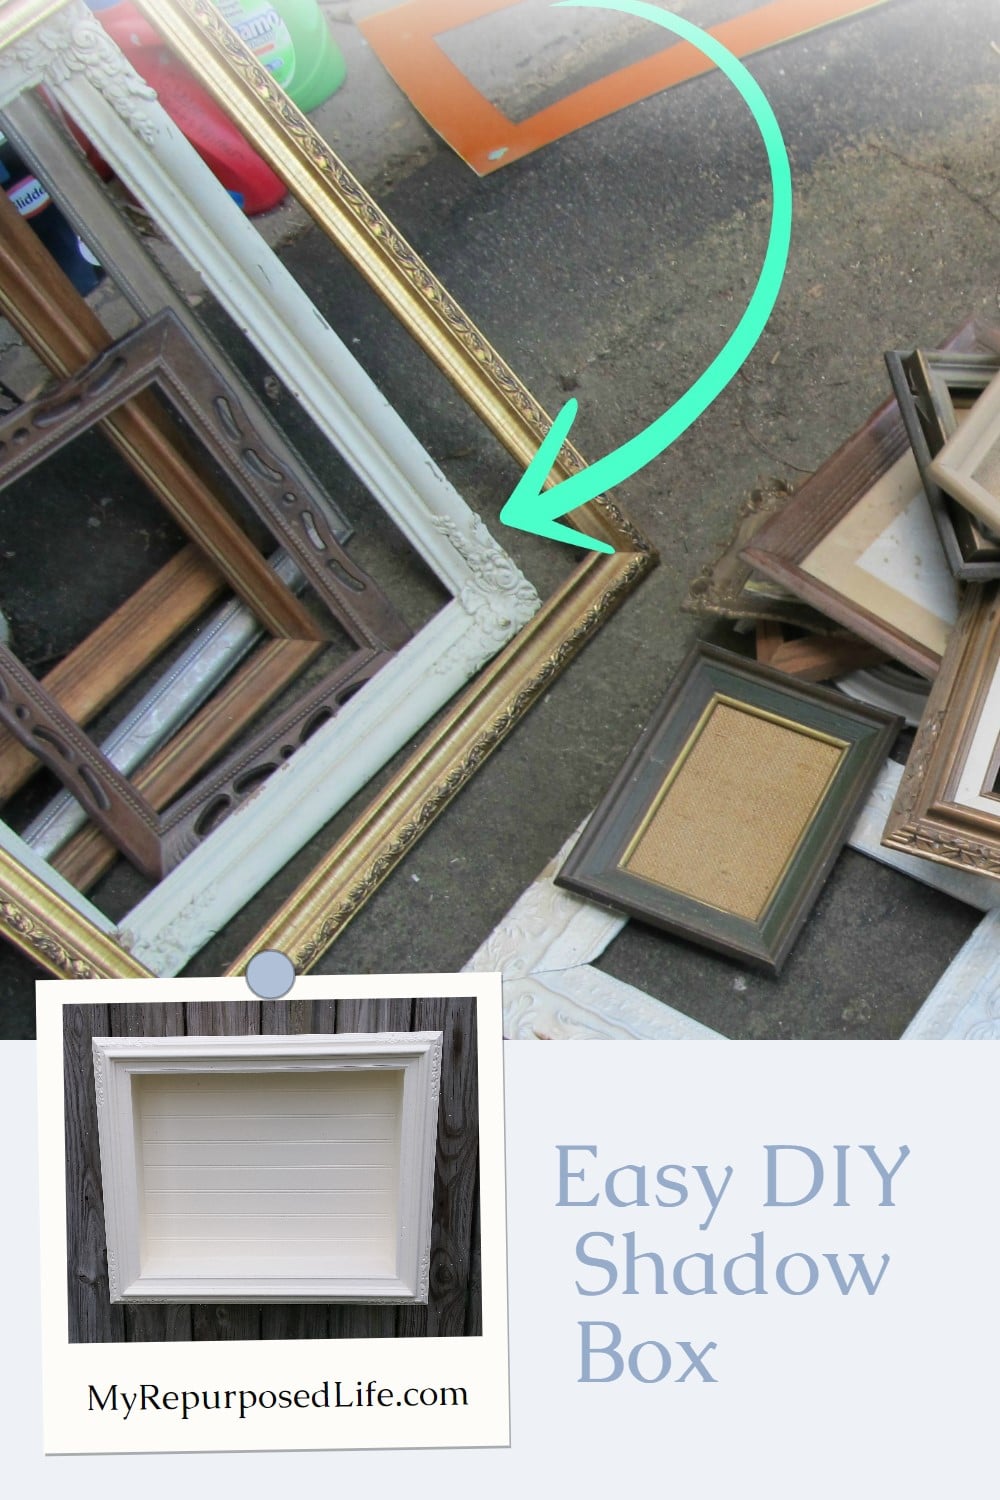
Picture frames are everywhere at thrift stores, and they already give your project a finished look. Adding depth creates space for memories, not just photos. It’s an inexpensive way to turn everyday items into personal décor that actually gets noticed.
Here are a few more shadow boxes I’ve made out of picture frames:
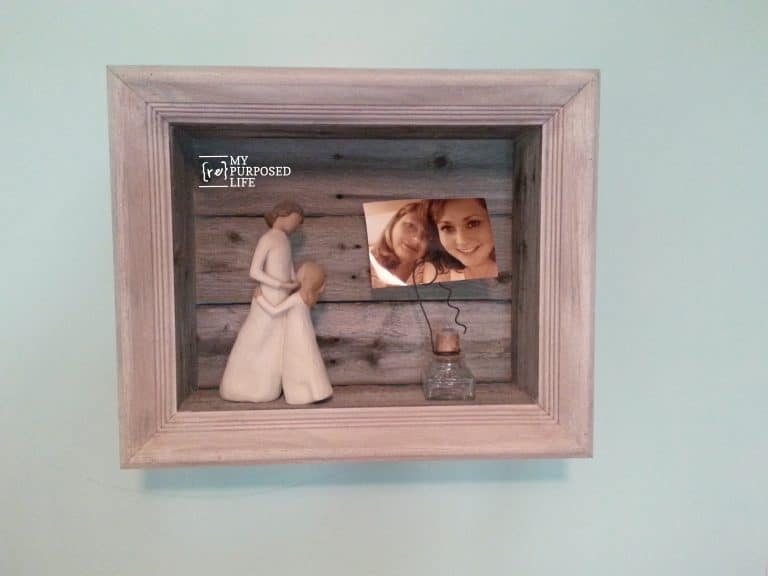
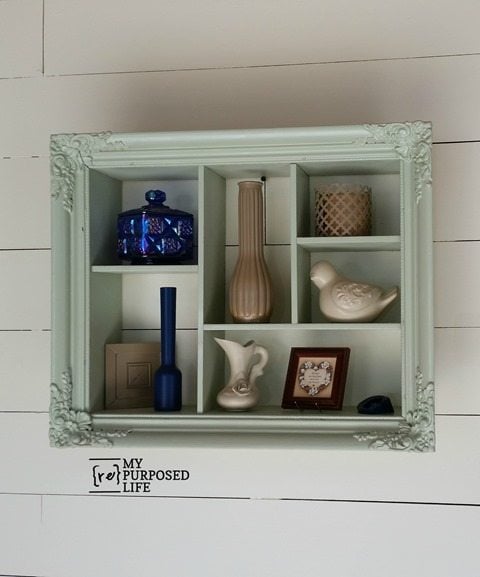
Related Content: Picture Frame Ideas For Home Decor and More More Shadow Box Ideas
Easy Reclaimed Wood Beachy Frame
Read more about Gail Wilson | My Repurposed Life
How do you put stuff in the frame if it’s glued shut?
Amy,
I’m sorry for the confusion. This was a wooden frame from my stash; it never had any glass.
So, it’s totally open, as are all my framed shadow boxes.
gail