Faux Fireplace Mantel Makeover
As an Amazon Associate, I earn from qualifying purchases.
Have you ever done a faux fireplace mantel makeover? I hadn’t. But my friend Leann found this awesome electric faux fireplace heater on the side of the road. She snapped a picture, and asked me if I wanted it. “Heck Yeah!” I said.
Electric Faux Fireplace Makeover
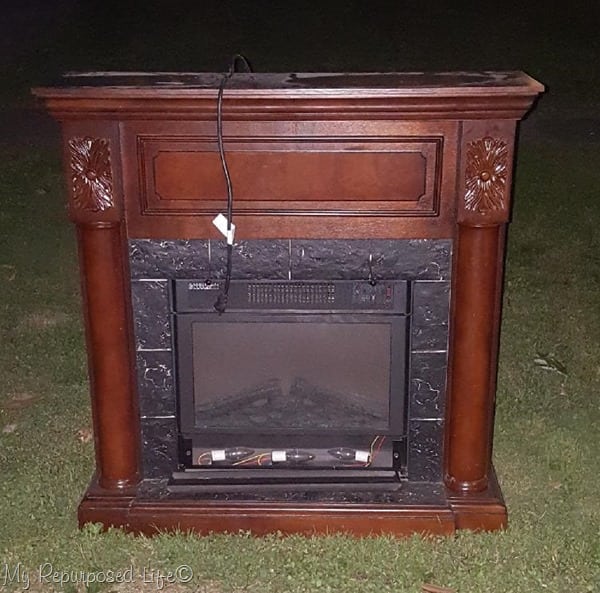
Yep, run of the mill electric faux fireplace heater. When I picked it up I left the guts behind. She was kind enough to dispose of it for me.
*this post contains affiliate links, read more here*
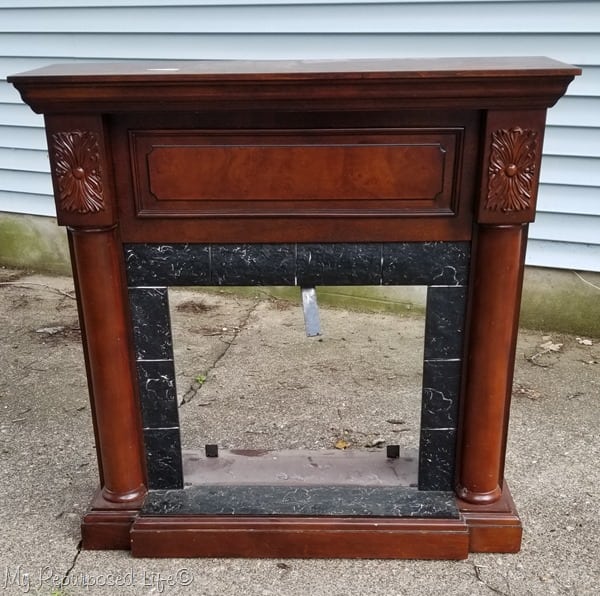 That was in late June. I’ve had it on my to-do list ever since, but it’s just been too hot. You may remember I took July off from working on projects. Now it’s August and we had some really nice weather so while I was tidying the woodshed I made sure that this electric heater fireplace mantel landed near the front so it could be my next project.
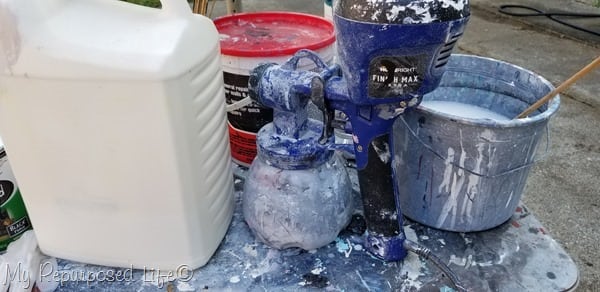 I mixed up some diy chalky paint primer with some off white oops paint. I originally had a five gallon bucket, but it’s nearly gone now, so I have it stored in a kitty litter jug.
Prepare Faux Fireplace Mantel for painting
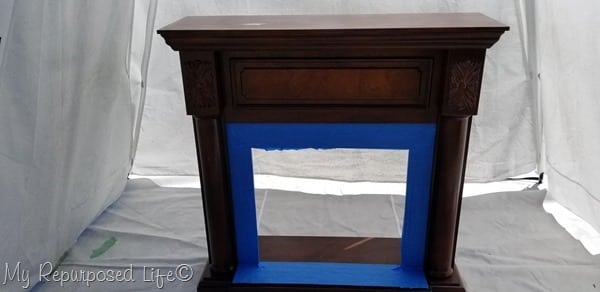 Painter’s tape was used to cover up the faux tile on the faux fireplace.
 ![]()
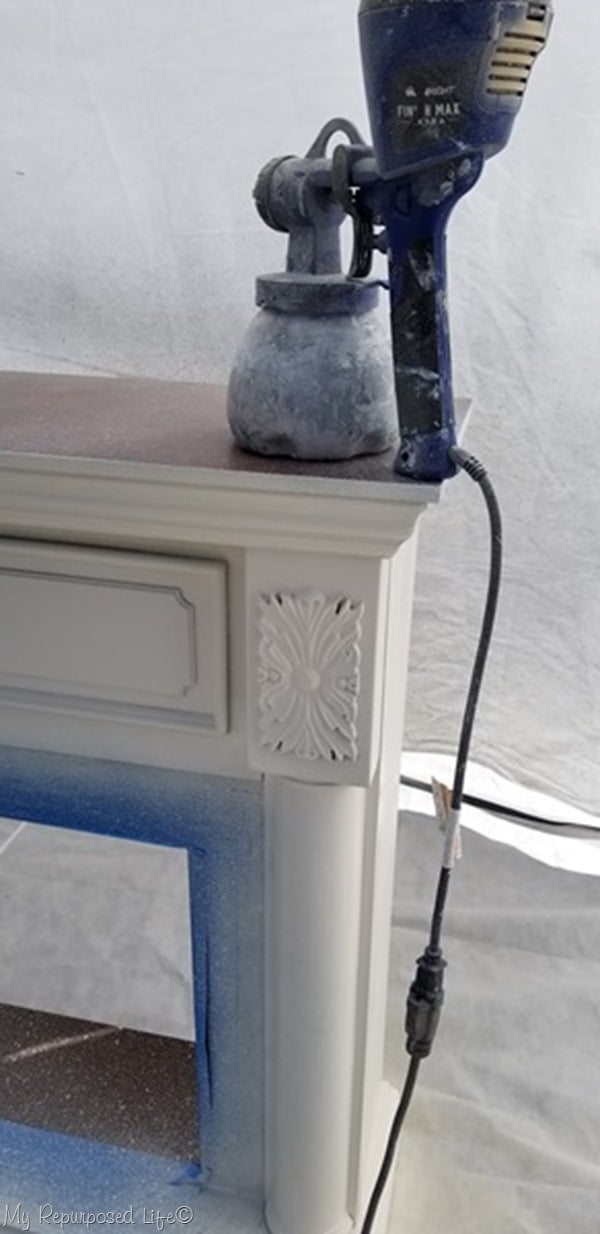
Painting the faux fireplace mantel was a breeze using my Super Finish Max Extra in my Homeright Spray shelter.
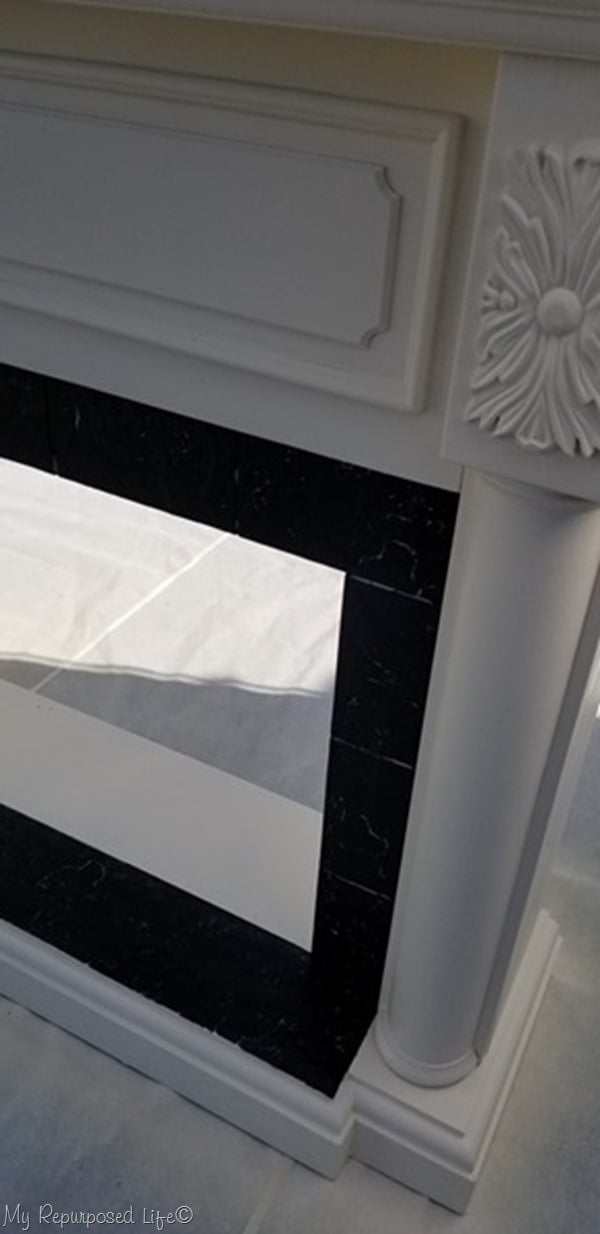
It was so fun removing the painter’s tape to see how pretty the new (old) faux fireplace mantel looks!
How to add a Faux Firebox
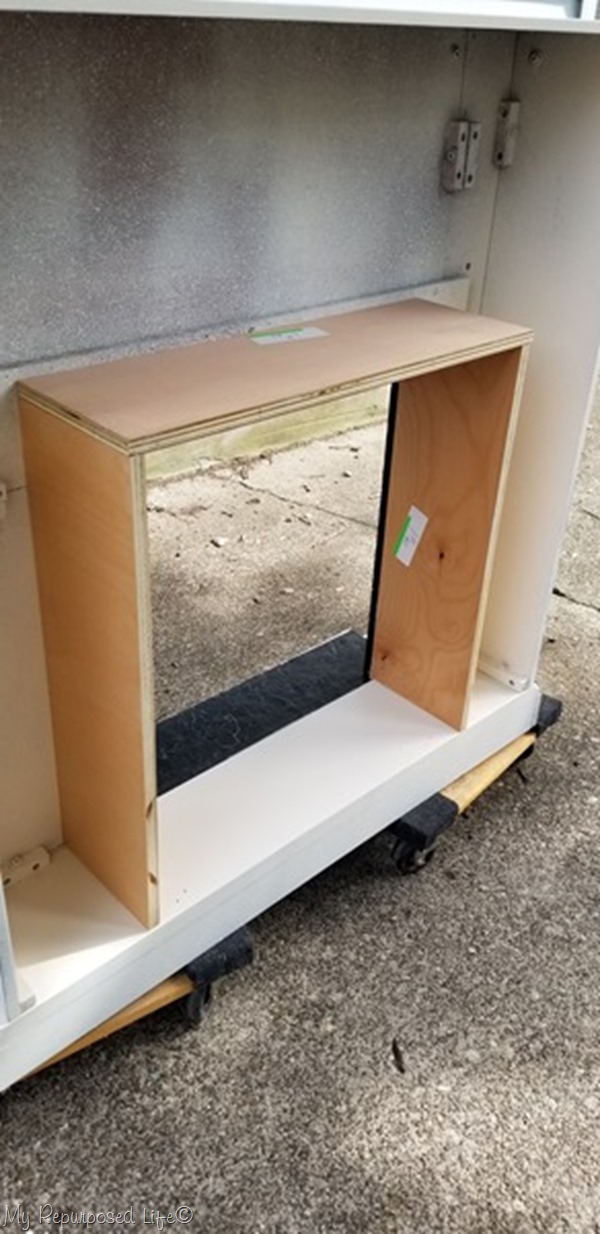
Initially I was going to put a back over the entire piece. However, after looking at some inspiration photos online I decided that a firebox would be more fun to decorate. I had 3/4 inch plywood drop-offs that I buy for $1.28 each. Three pieces were ripped on the table saw to the correct width to fit the faux fireplace.
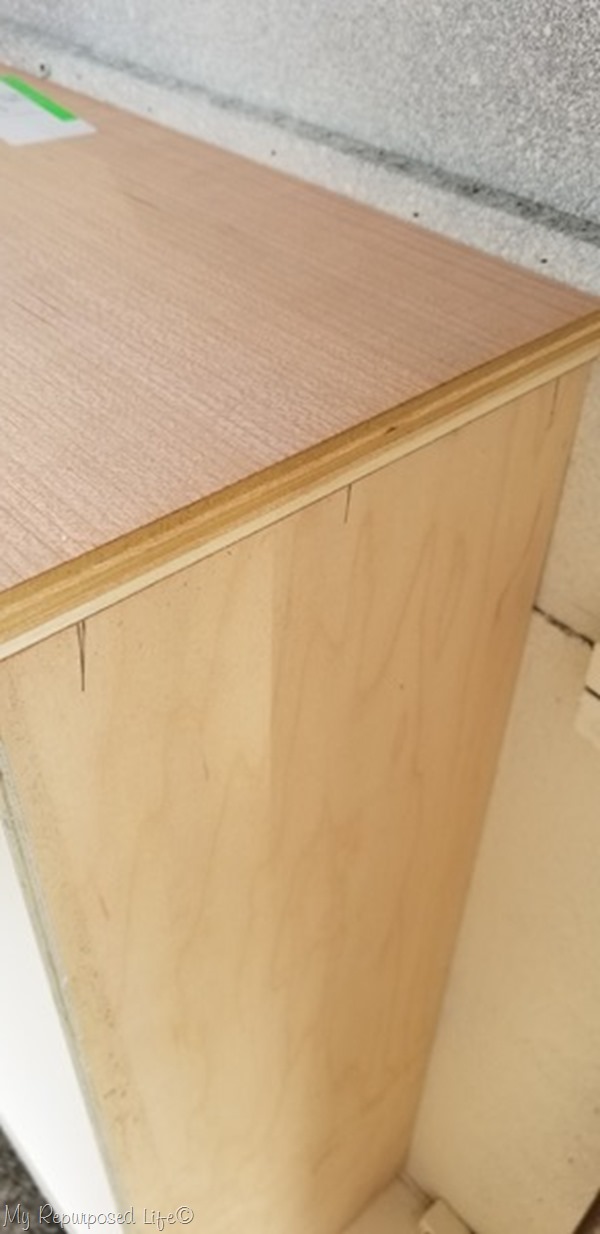 While I had the new faux firebox in place, I marked it for pocket holes. I wanted to make sure I had the pocket holes in the proper place.
Not Shown: I drilled the pocket holes with my Kreg Jig.
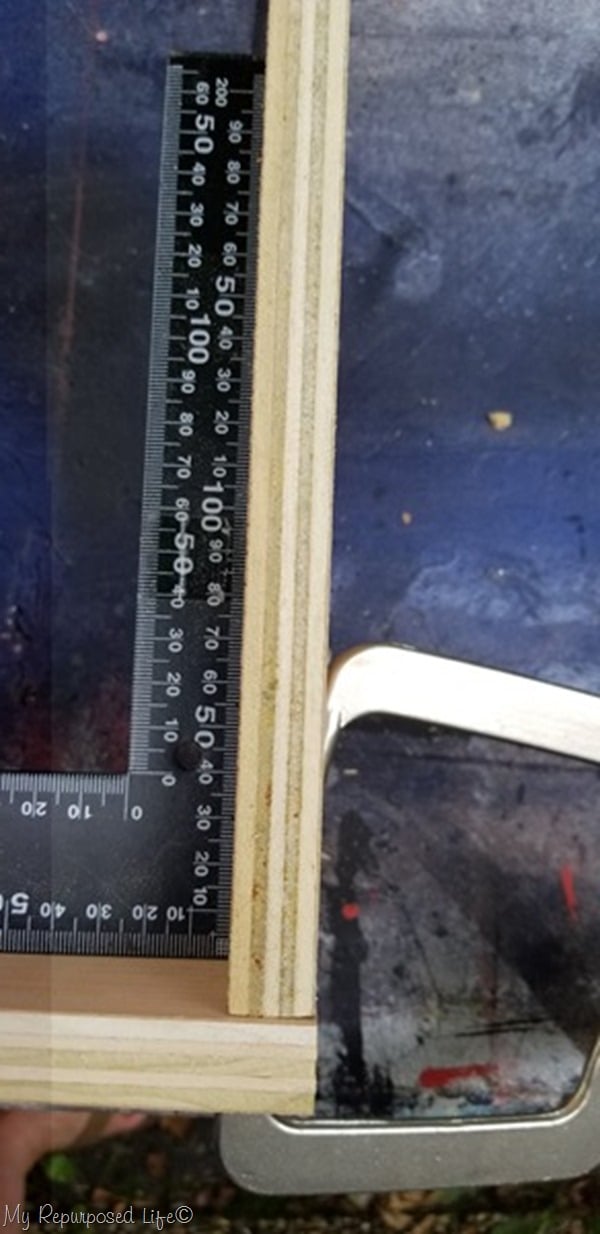
Using a right angle clamp, a square and pocket hole screws I attached the left and right side to the top of the faux mantel firebox.
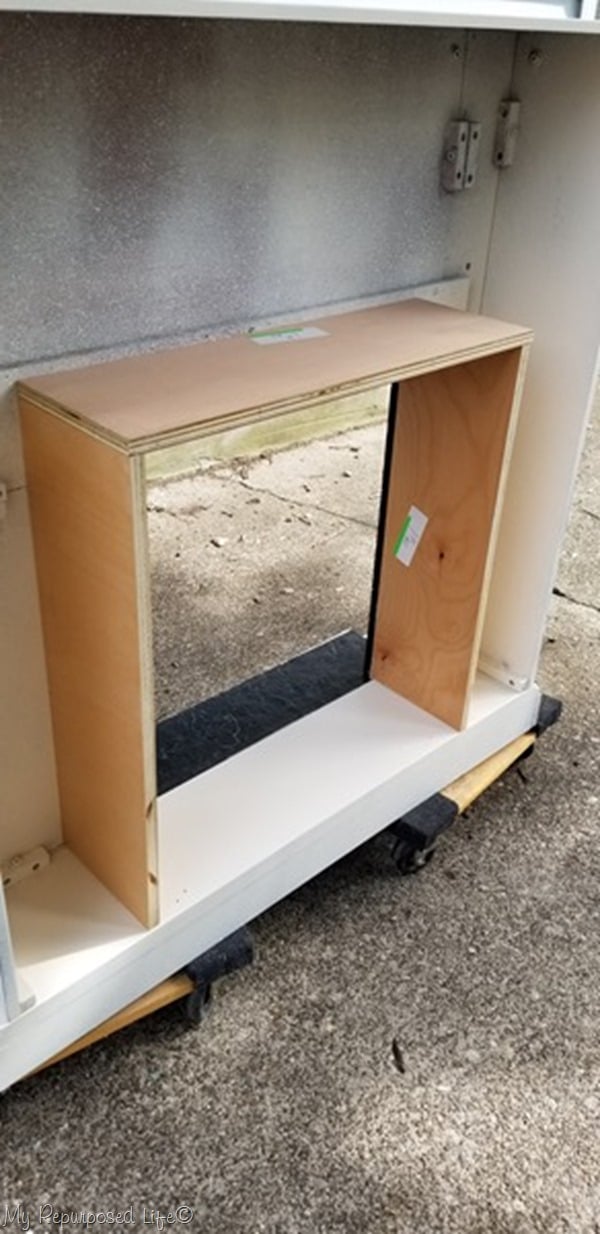
I suppose I was having so much fun, that I forgot to take progress pics! Pocket holes were drilled to hold the top piece on, as well as three pocket holes at the bottom to secure the firebox to the faux fireplace.
Fireplace Mantel Makeover
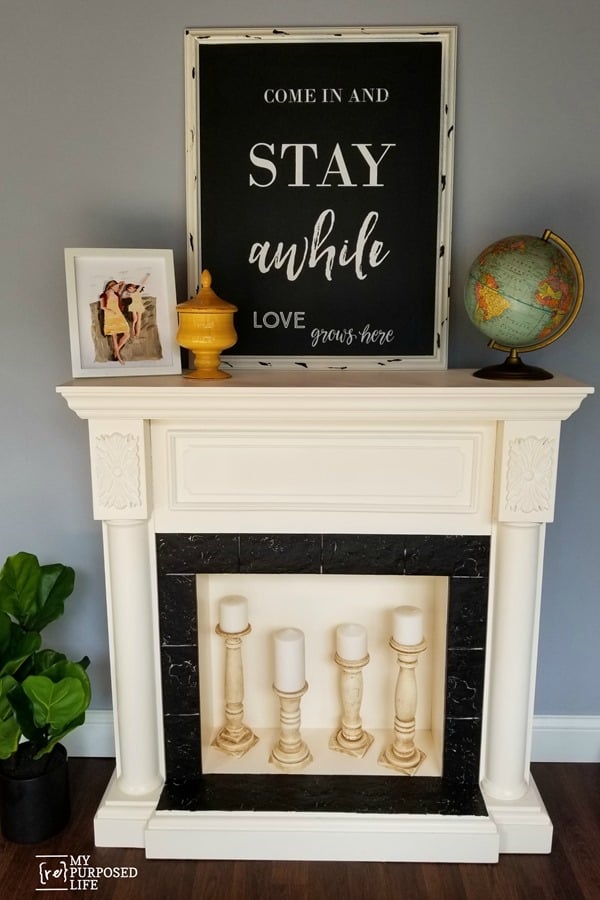
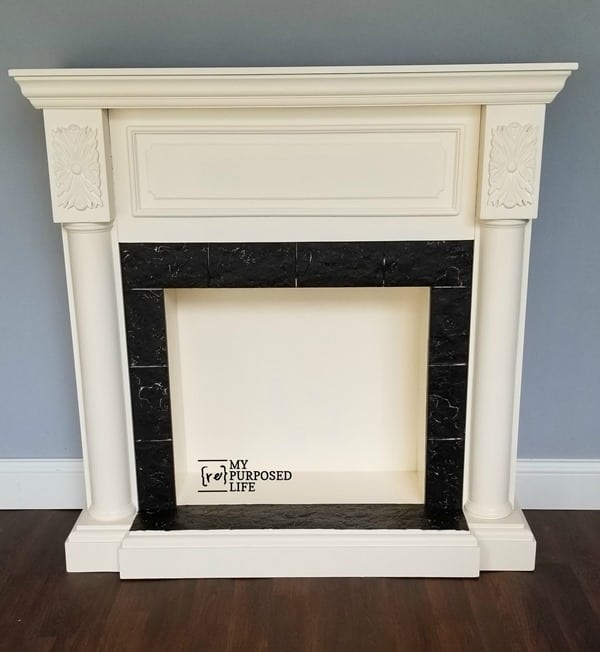 I painted the faux firebox by hand with a skinny roller before attaching it to the faux fireplace mantel. I’m so in love with how this faux fireplace makeover turned out! It was a difficult decision (as always) to choose a paint color. Gray paint was a close second for paint choices.
The extra large chalkboard was done with Chalk Couture Chalkology Paste. It’s the one that is usually hanging behind me when I do my Facebook Lives indoors. The scrap pile candlesticks were made from bed and chair parts with a few random scraps.
I suppose this baby will be headed to Glendale in October. Do you love it as much as I do?
gailf


Julie,
If it were me, I would lightly sand anyplace that is flat and easy to sand. Then I would use a deglosser such as TSP to really clean and wipe down the entire piece. When all is dry, I would use a good FLAT paint such as chalk paint or a DIY version (I make one with Plaster of Paris) You can see how I handle those type of finishes here: https://www.myrepurposedlife.com/tag/chalky-paint/
Thanks so much for stopping by.
gail