
Green Bench Made Out of a Baby Bed
As an Amazon Associate, I earn from qualifying purchases.
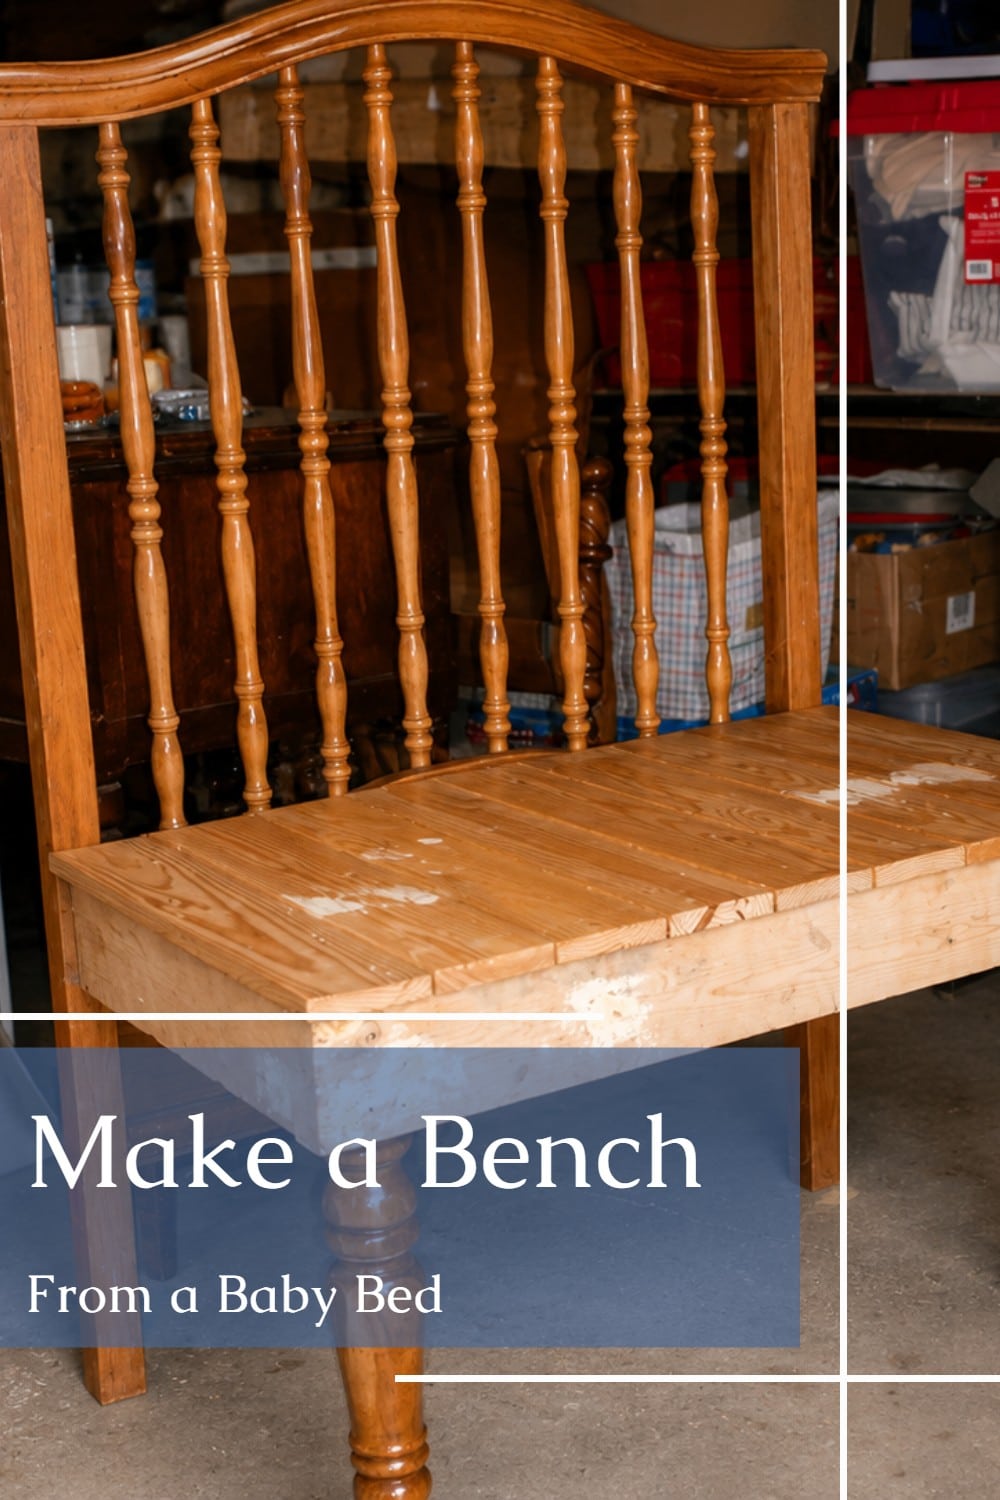
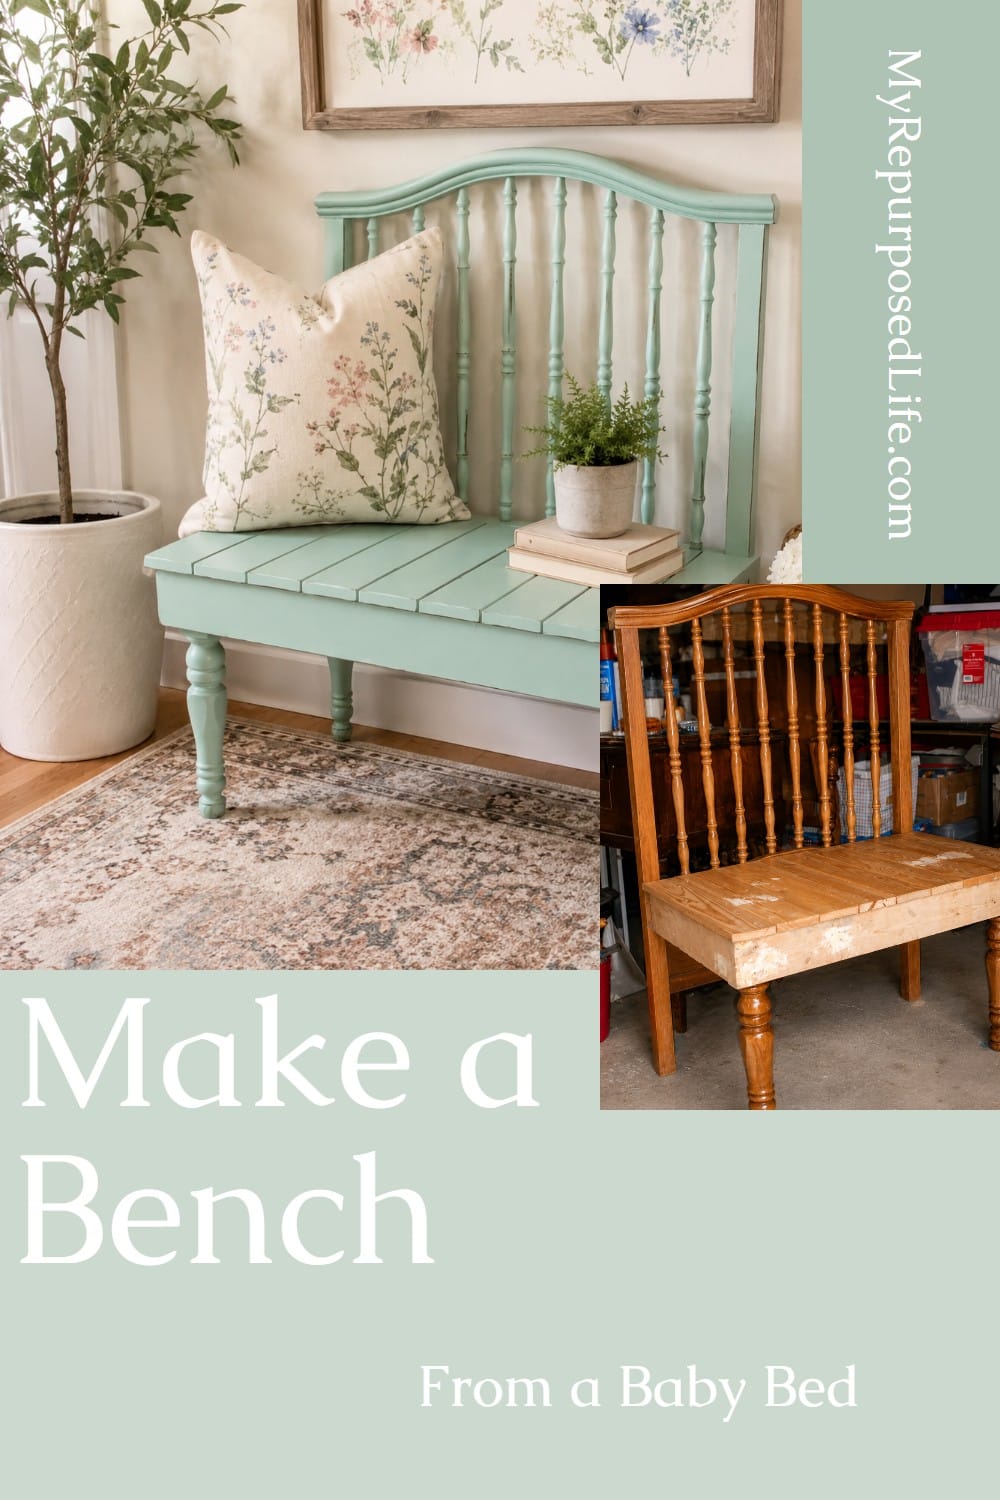
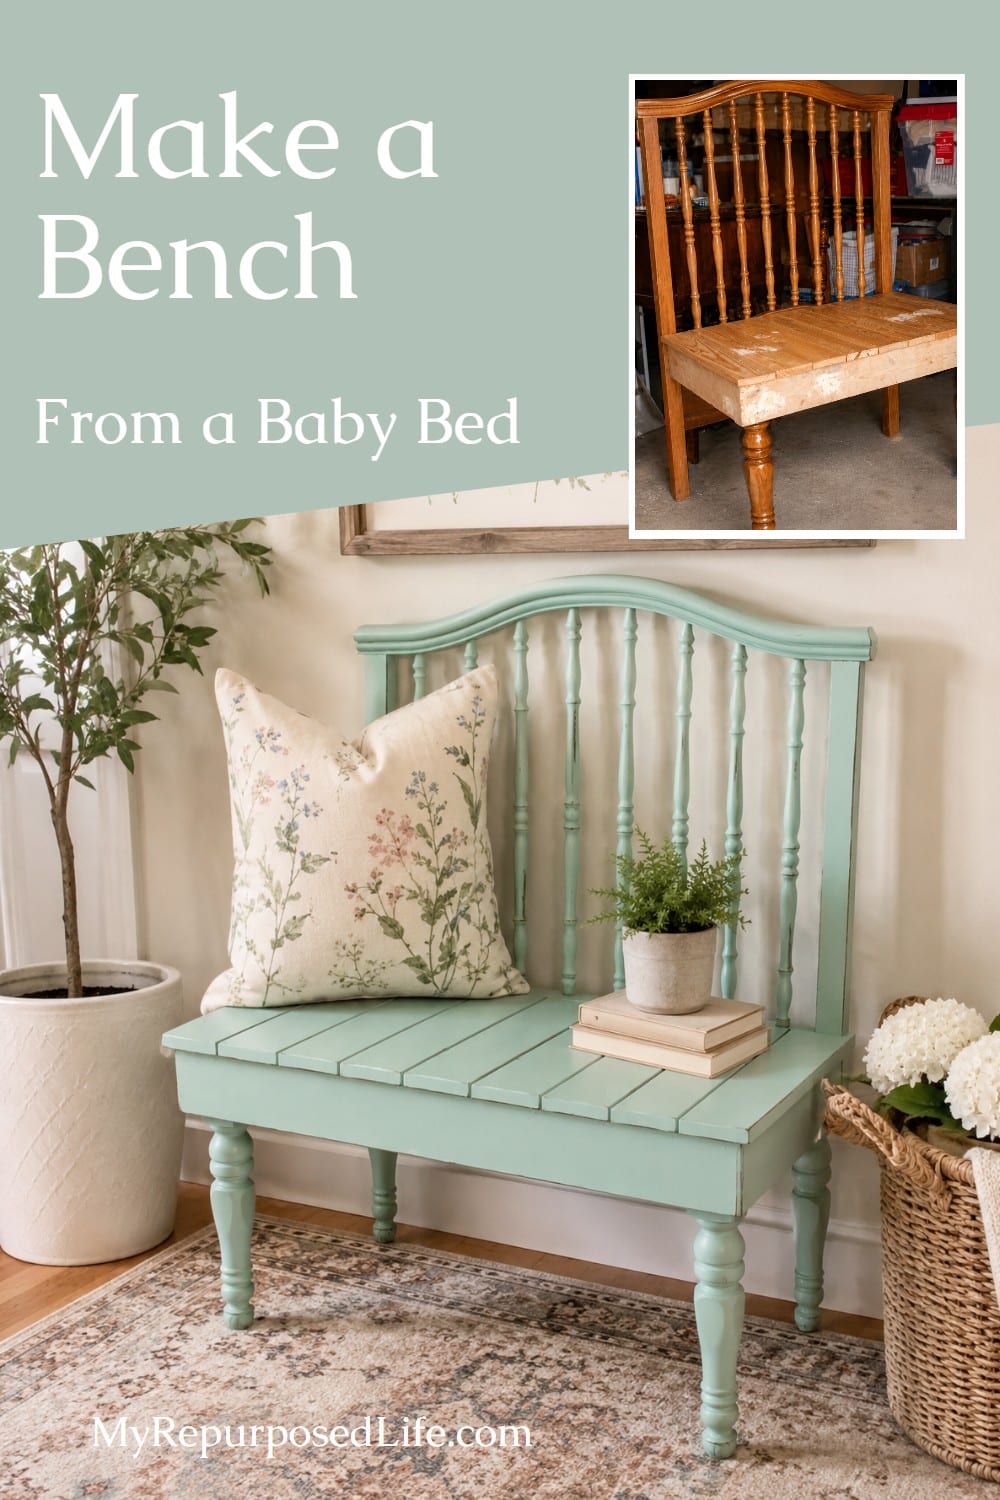
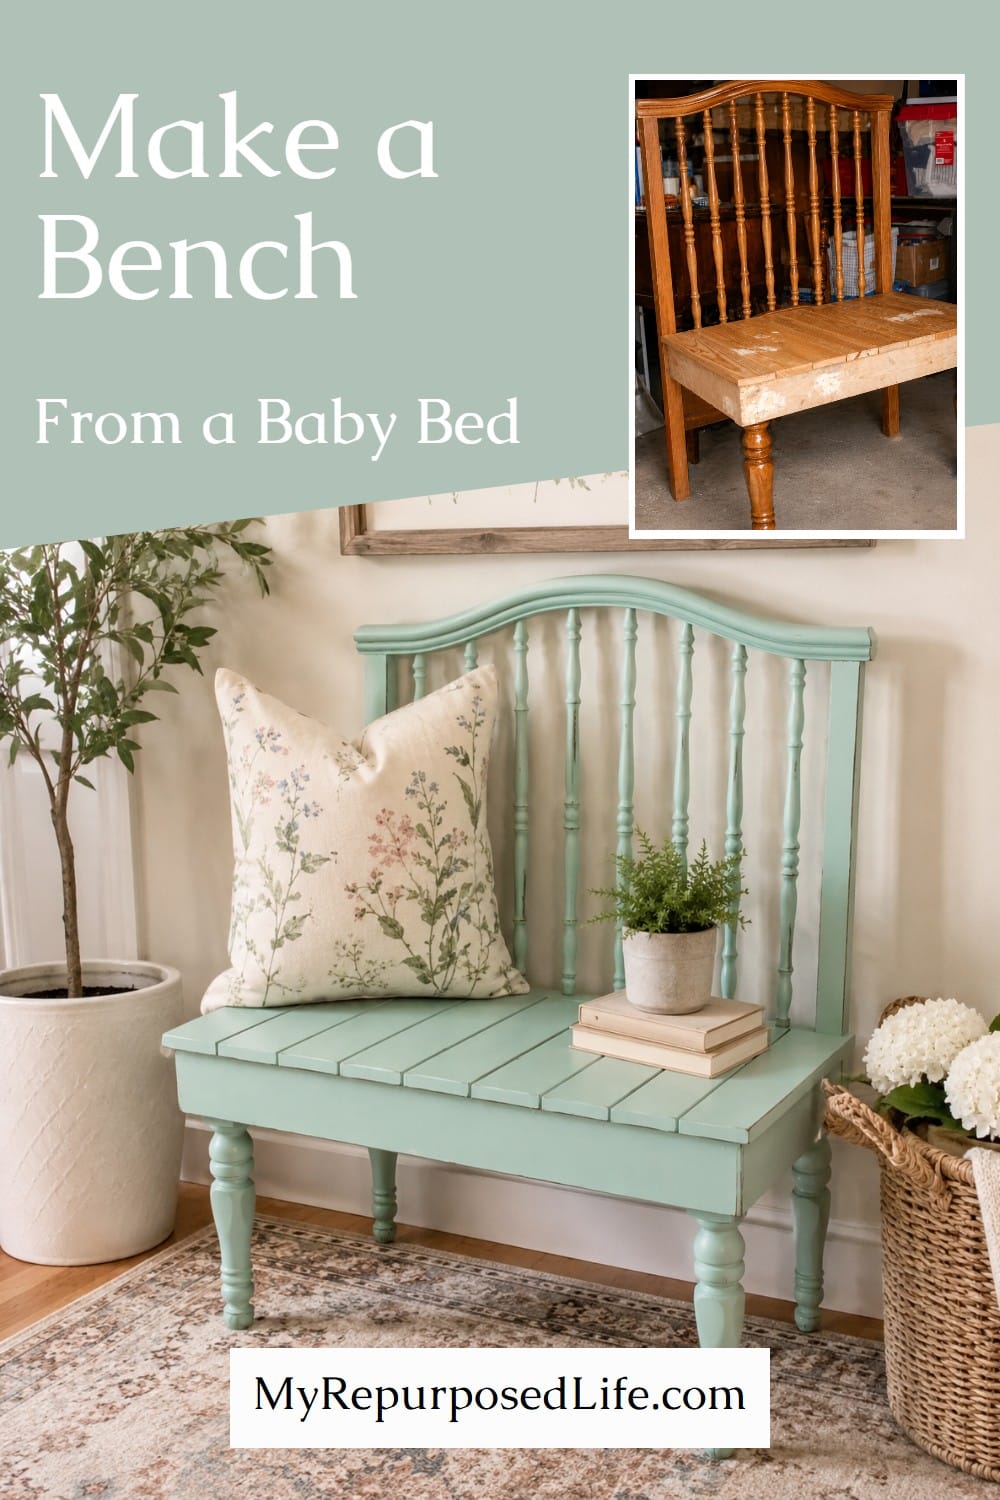
Some projects stay in your memory because they were complicated. Others stay with you because they were simple, useful, and just plain cute. This repurposed crib bench falls into the second category.
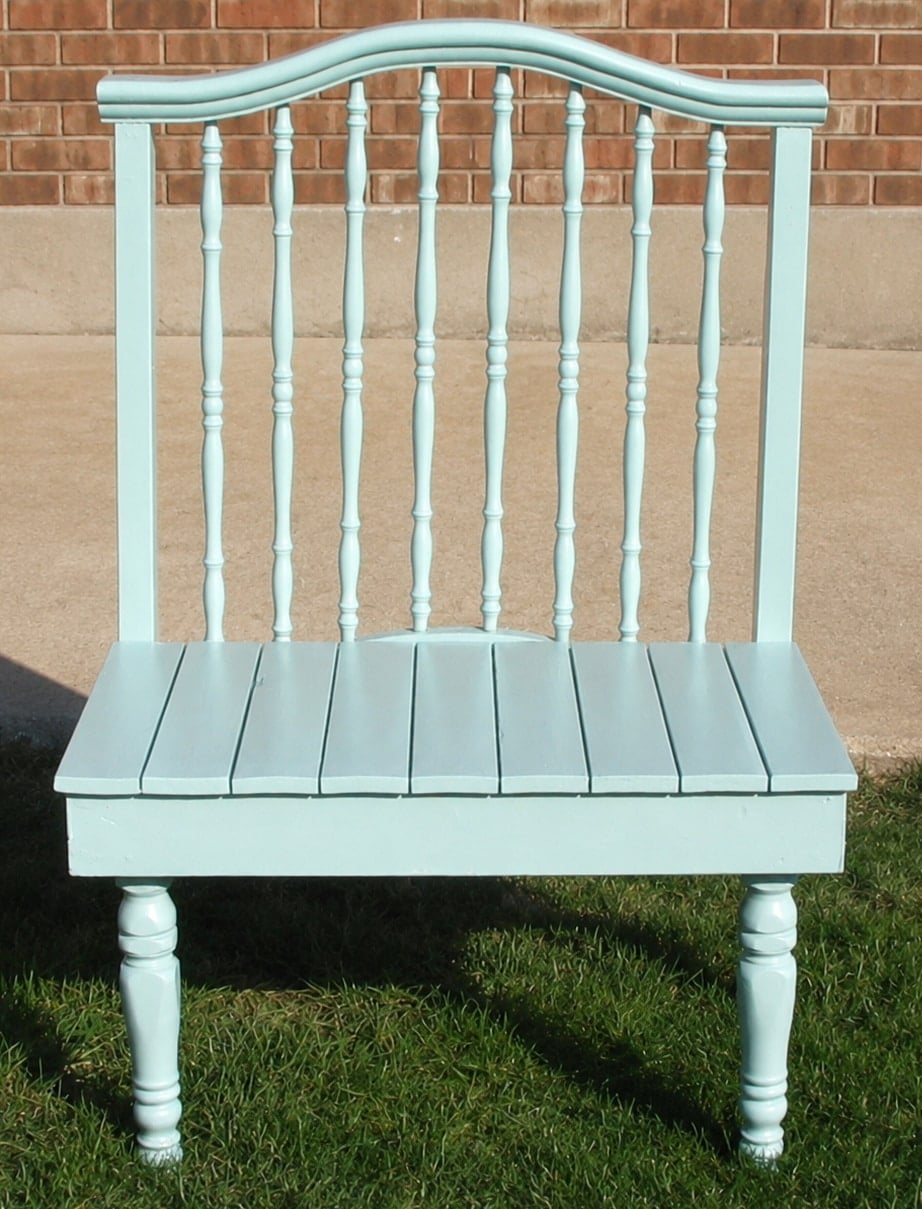
Cathy and I made this little green bench near the beginning of my furniture-building journey. We combined part of an old baby bed with reclaimed boards and salvaged legs to create an entirely new piece of furniture. The original project photos are limited, but they still show how a discarded crib can become a useful bench with plenty of personality.
Use the Crib End as the Back of the Bench
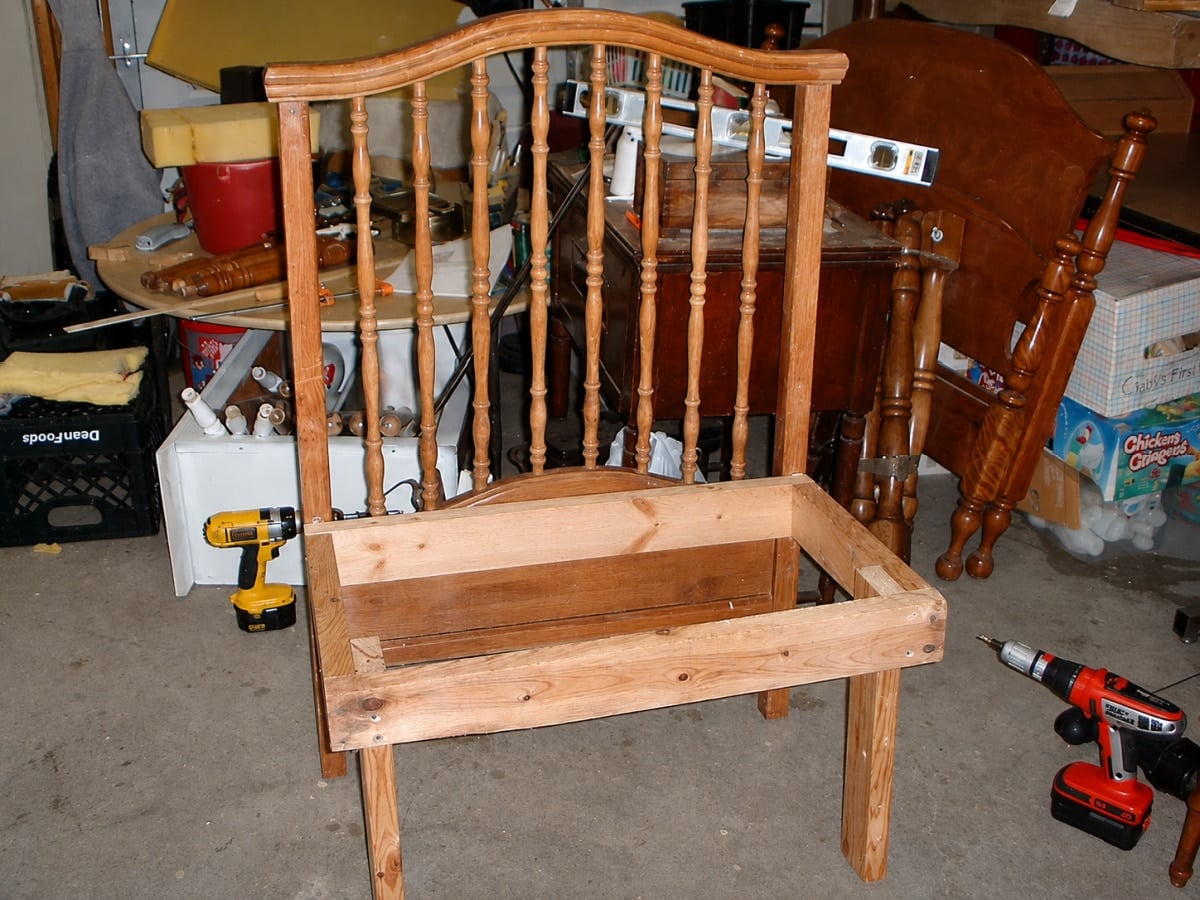
One decorative end of the baby bed became the back of the bench. The curved top and turned spindles gave the finished piece much more character than an ordinary wood back would have.
When choosing an old crib part for a project like this, inspect it carefully. The posts and spindles should be solid, and any loose joints should be repaired before adding the seat.
- To begin, you will need to dismantle your crib, removing all existing hardware. I recommend saving these bits and pieces for future projects.
- Determine if your bench will be tall enough using the existing structure “as is.”
- Make a simple box out of your desired lumber. You can use 2x4s, 1x4s, or even 1x6s. We initially started with 2×4 legs, but you will notice in the images that we decided to switch the front legs out for some turned legs from our stash.
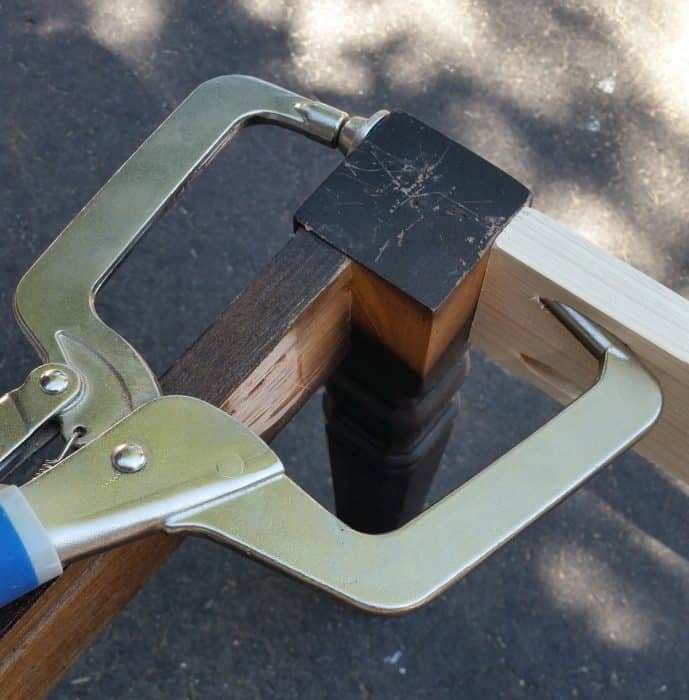
This is a much better way to attach any legs, including 2x4s, 4x4s, or reclaimed furniture legs.
More details in this article: How to Make a Coffee Table Using Chair Legs
In the above image with the 2×4 legs, and the image below using the turned legs, you will notice they are “inside” the 2×4 box. In this image where I was making a table, you can see a better way to attach the legs using Kreg Jig Pocket Holes and screws.
DIY Crib Bench Front View
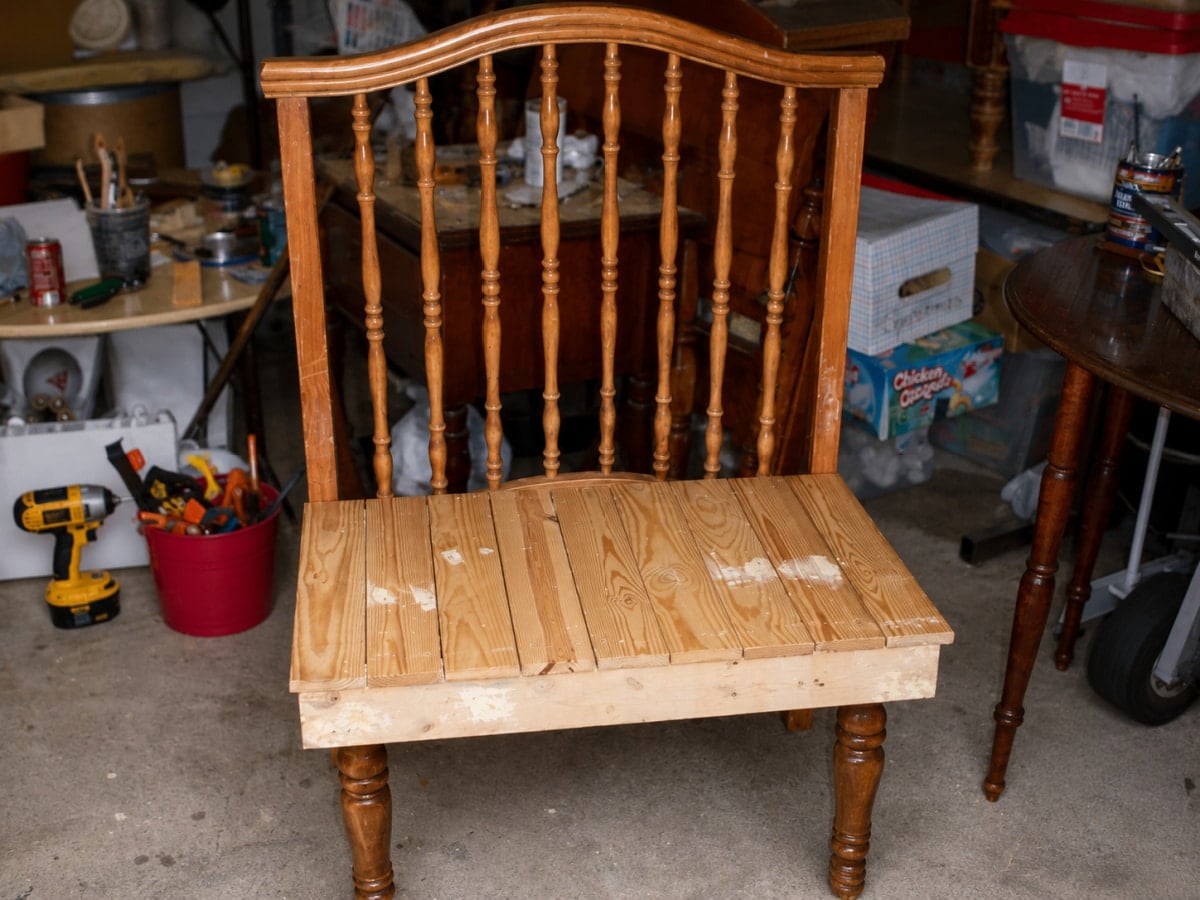
This bench made from a crib is from the early days when money was tight. My friend Cathy and I curbed furniture pieces and lumber. We patched the dings and dents with wood putty.
When building a similar bench, let the size of the crib end determine the width of the seat. Use a chair or bench that feels comfortable as a guide when choosing your seat height and depth.
Check that the frame is square before attaching it permanently. A small difference at this stage can make the entire bench sit unevenly.
Repurposed Baby Bed
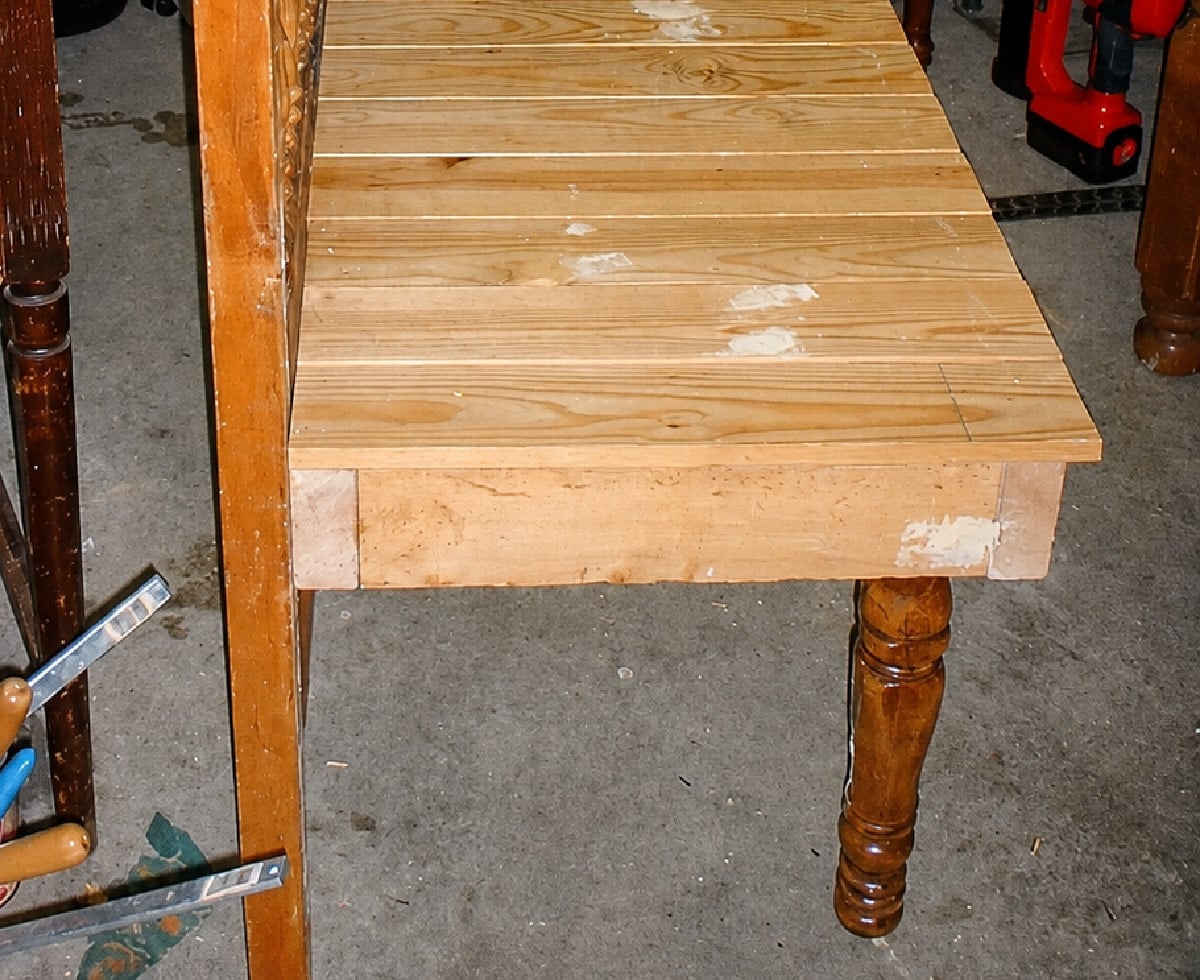
The seat was made with planks we found at the curb. Using reclaimed boards kept the cost down and gave us a seat that could be sized specifically for the crib frame.
The boards were cut to fit across the top of the box. We filled old holes, dents, and imperfections with wood filler before sanding everything smooth.
For an indoor bench, the boards can be fitted closely together. For a bench that will be used in a protected outdoor area, allow a small amount of space for moisture and seasonal wood movement.
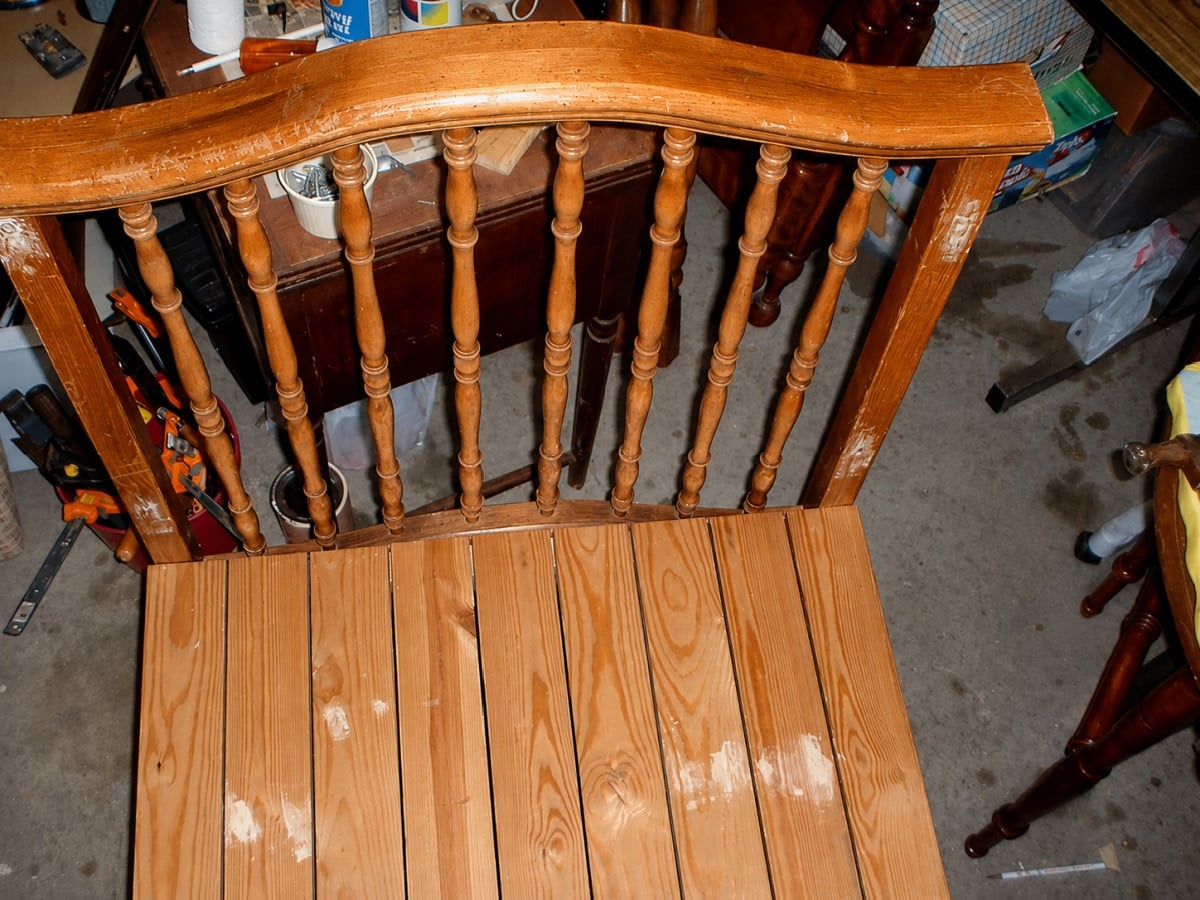
After filling dents, dings, and holes, a good sanding was in order to give us a smooth painting surface.
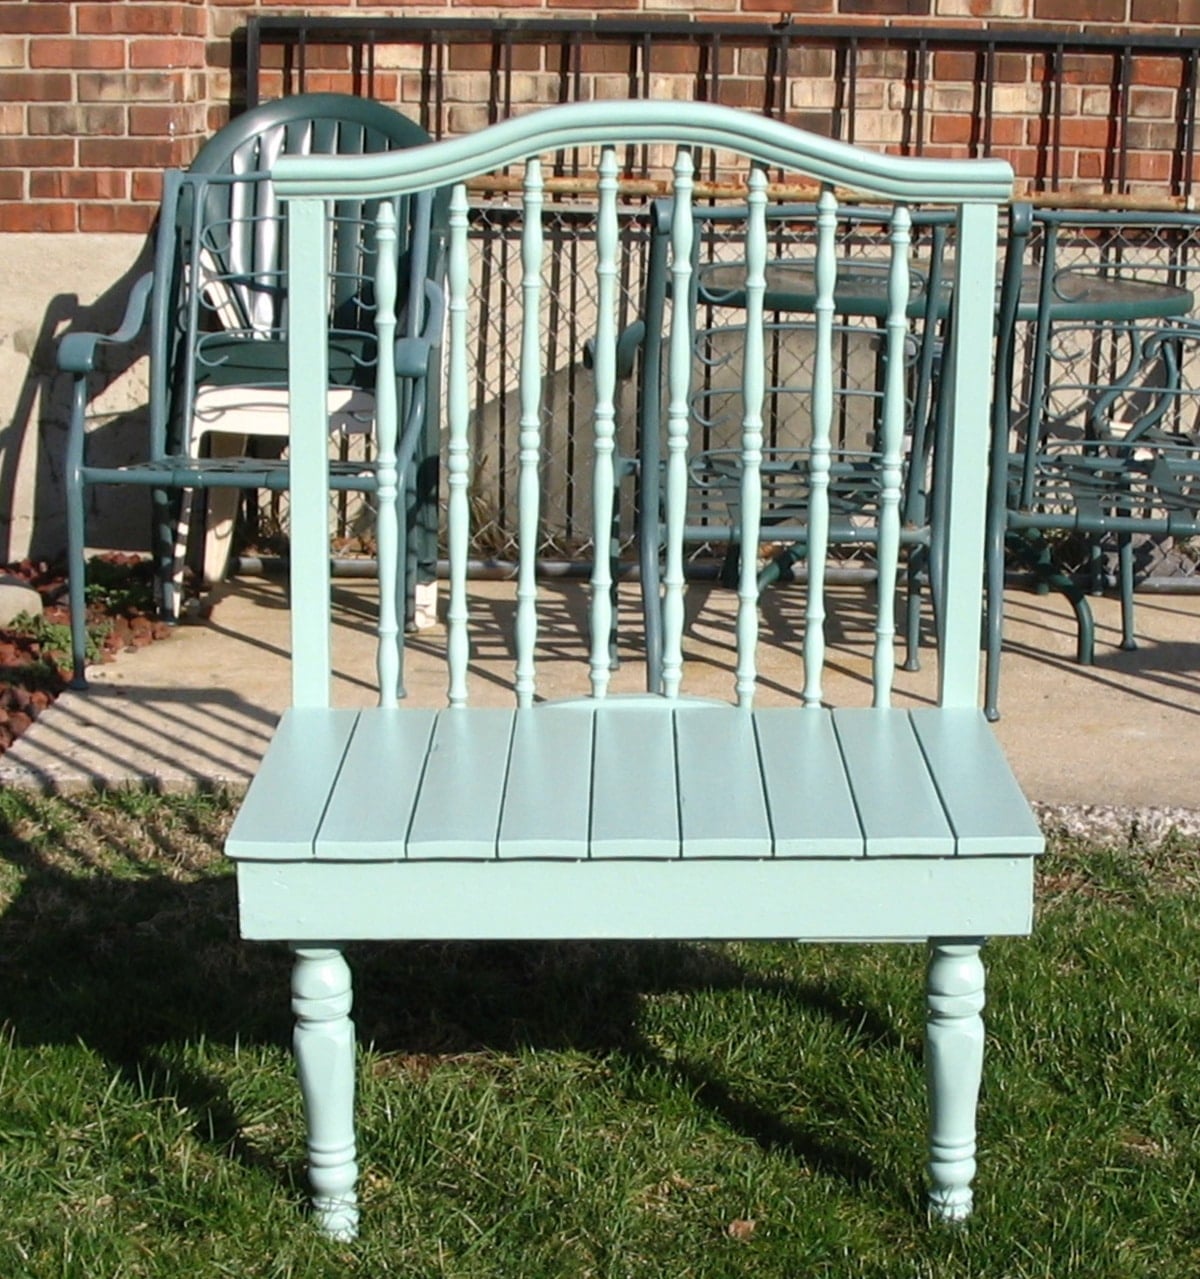
After several coats of green paint, here it is drying and looking pretty in Cathy’s backyard. With some furniture builds, inside legs can make a project unsteady. The seat of the upcycled crib bench is wide enough that it wasn’t an issue. That being said, it would be prettier if the legs were connected at the corners as I mentioned above.
Styling Suggestion for the Pretty Green Baby Bed Bench
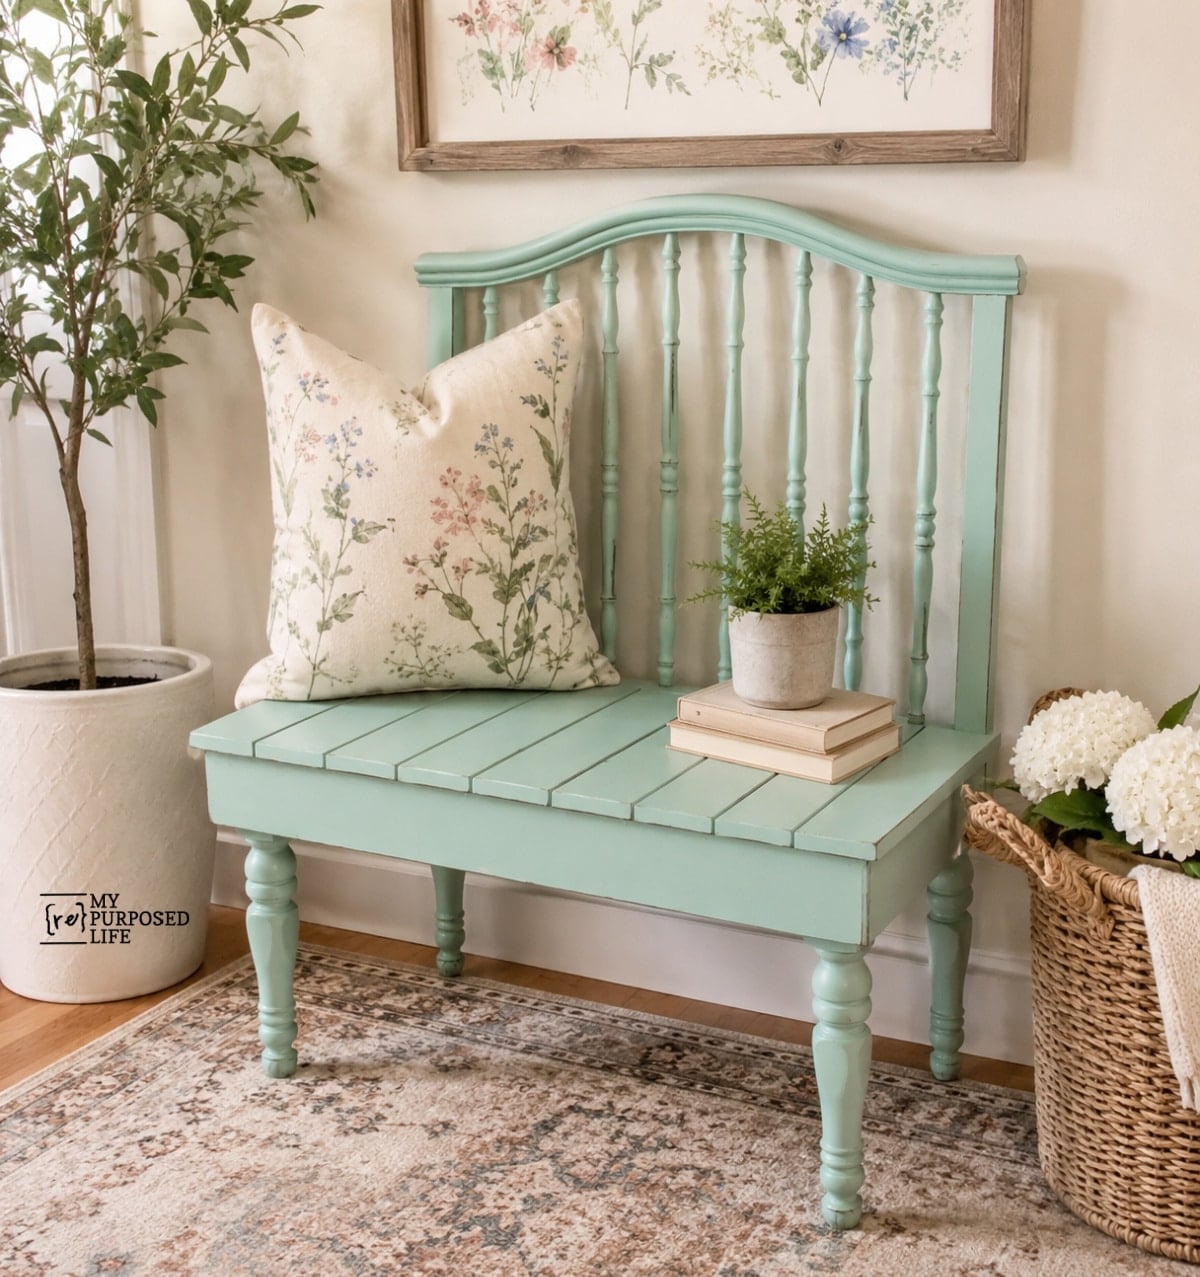
The two turned legs were added to support the front corners of the bench. Their shape worked well with the turned spindles on the crib back, even though the pieces did not originally belong together.
One of my favorite things about repurposed furniture is that paint can make a collection of mismatched parts look as though they were always meant to be together.
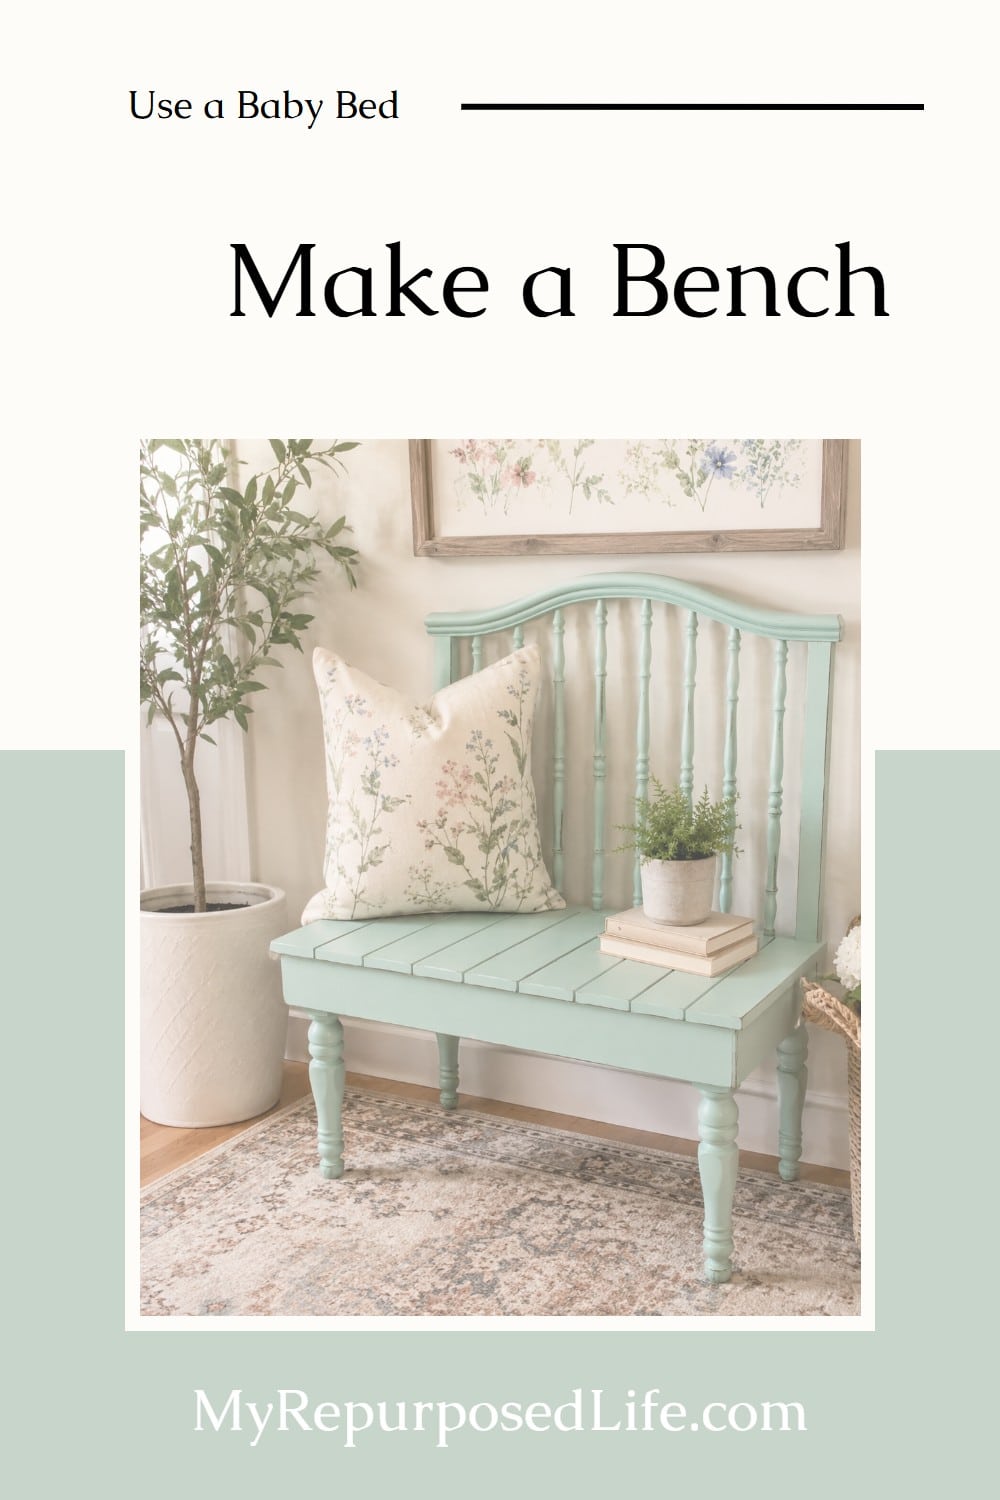
The light green finish highlighted the curves and turned details without making the bench feel too formal. It also helped the reclaimed boards, crib end, and salvaged legs look like parts of the same piece.
This was one of my favorite early benches, and the color was a big reason why.
Supplies for Making a Similar Bench
Because this project was built so many years ago, I do not have an exact materials list. To make a similar repurposed crib bench today, you would need:
- A sturdy crib end or baby bed headboard
- Lumber for the rectangular seat frame
- Wood boards or reclaimed planks for the seat
- Two matching front legs
- Wood screws
- Wood glue
- Wood filler
- Sandpaper
- Primer and paint
Helpful tools would include a saw, drill, sander, clamps, measuring tape, square, and an optional pocket-hole jig.
Where Could You Use a Small Crib Bench?
A bench this size would work well in several indoor spaces.
Use it in an entryway as a place to sit while putting on shoes. Place it in a guest room as a small luggage bench. It could also work at the end of a twin bed, in a reading nook, or along an unused wall with a pillow and basket nearby.
The newly styled photos helped me see this early project in a completely different way. The soft green color looks right at home with warm wood, neutral fabrics, plants, and simple cottage-style accessories.
This repurposed crib bench may have been one of our early builds, but it still represents everything I enjoy about giving old furniture another chance. The crib end provided the character, reclaimed boards created a useful seat, and a coat of soft green paint brought all the mismatched pieces together.
I would make a few construction changes today, but I would happily choose that pretty green color all over again.
Have you ever saved an old crib, headboard, or piece of furniture because you knew it could become something completely different?
Just for fun, let’s take a look at the workshop during our marathon of benches in 2009
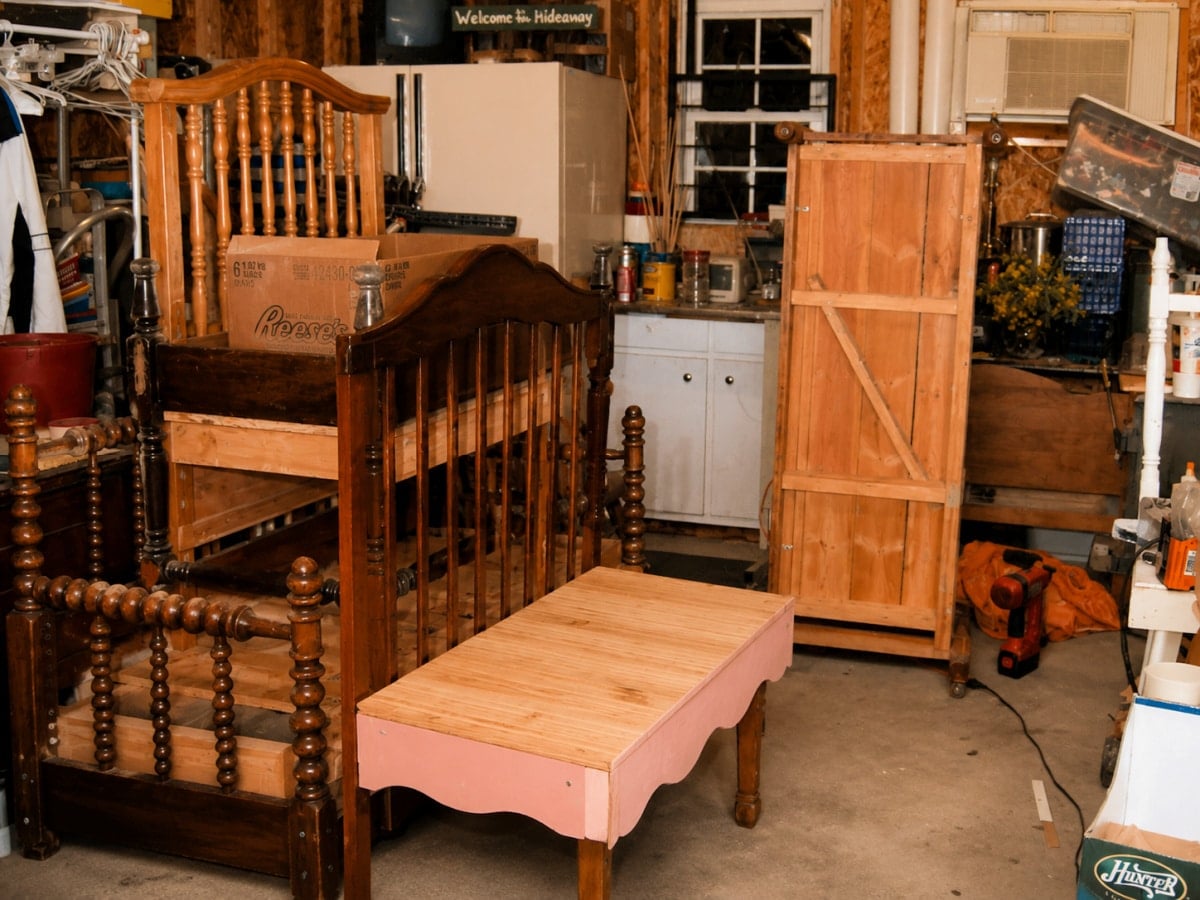
On the bottom left, you have the Original White Spindle Bench and the Green Baby Bed Bench, not yet painted. Upside down on the baby bed bench is the Beagle Bed. In the center is another Crib Bench. In the back, you can see the underside of the Monstrous Maple Bed Bench (from the archives).
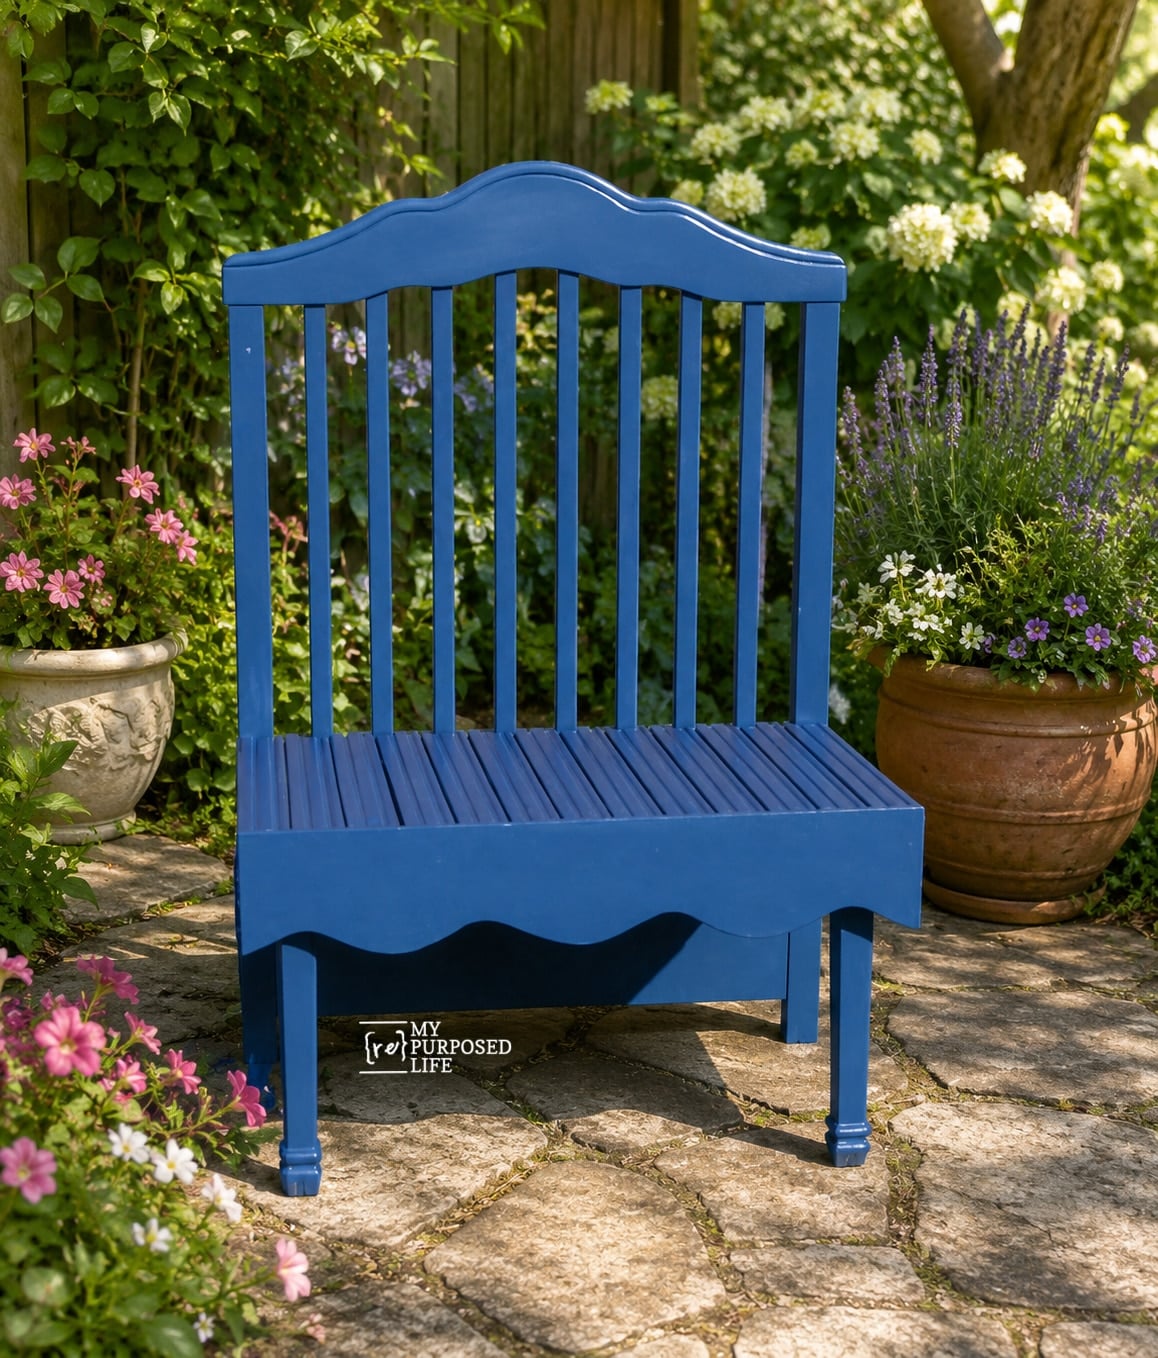
Here’s the completed blue bench, again with the inside legs. I’ve learned so much since 2009.
This is an amazing piece – including the color. 🙂 Simple and perfect.
Your carpentry skils are to be admired. Thank you for sharing.
OMGosh! That is just adorable! I’d buy that in a minute. I don’t know that I would be clever enough to make it, but it’s really a great use for an old baby bed. Thanks for sharing.
Caye,
Your comment made me smile! I can hear your enthusiasm, and that is why I love doing what I do!
Thanks so much,
gail
wow, awesome blog article.Much thanks again. Really Great. Platform Beds
You are one talented lady! I just stopped by to thank you for visiting my blog, and got to looking at some of your posts. I need to get better with my powertools so I can do a corner bench like you did. Seriously, you are so talented. Thanks for sharing!
That is such a cute bench!! It turned out wonderful!!XO~Christine
I will soon have a crib to “recycle,” and this might be just the ticket! Great idea. Thanks for sharing!
Evertime I visit I get inspired. You do wonderful work. Great job. I am totally jealous…I wish that I wasn’t so scared of power tools. 😀 Thanks for sharing. Have a great day.
Smiles,
♥Ana
Thanks for stopping by…I have a load to paint this weekend… I hate when my real job cuts into my creative time…
I envy you making those benches… that is on my next thing to learn how to do list… after I finish all the things I already learned how to do… the list is long it may take awhile…
Great job on those… can’t wait to see the new ones you are working on…
Have a great day… hugs… Deb
Great job on those benches! They turned out wonderful!
That doesn’t look like an oops color at all, I love it!
I’m working on my booth as usual, but I’m getting ready to dive in to making mixed media art, particularly shadowboxes. Wish me luck!
Anne
That doesn’t look like an oops color at all, I love it!
I’m working on my booth as usual, but I’m getting ready to dive in to making mixed media art, particularly shadowboxes. Wish me luck!
Anne
Another great job, esp. for the first one. Me…working on my regular day job work! Nothing fun and crafty.
Pam