Bench Tutorial
As an Amazon Associate, I earn from qualifying purchases.
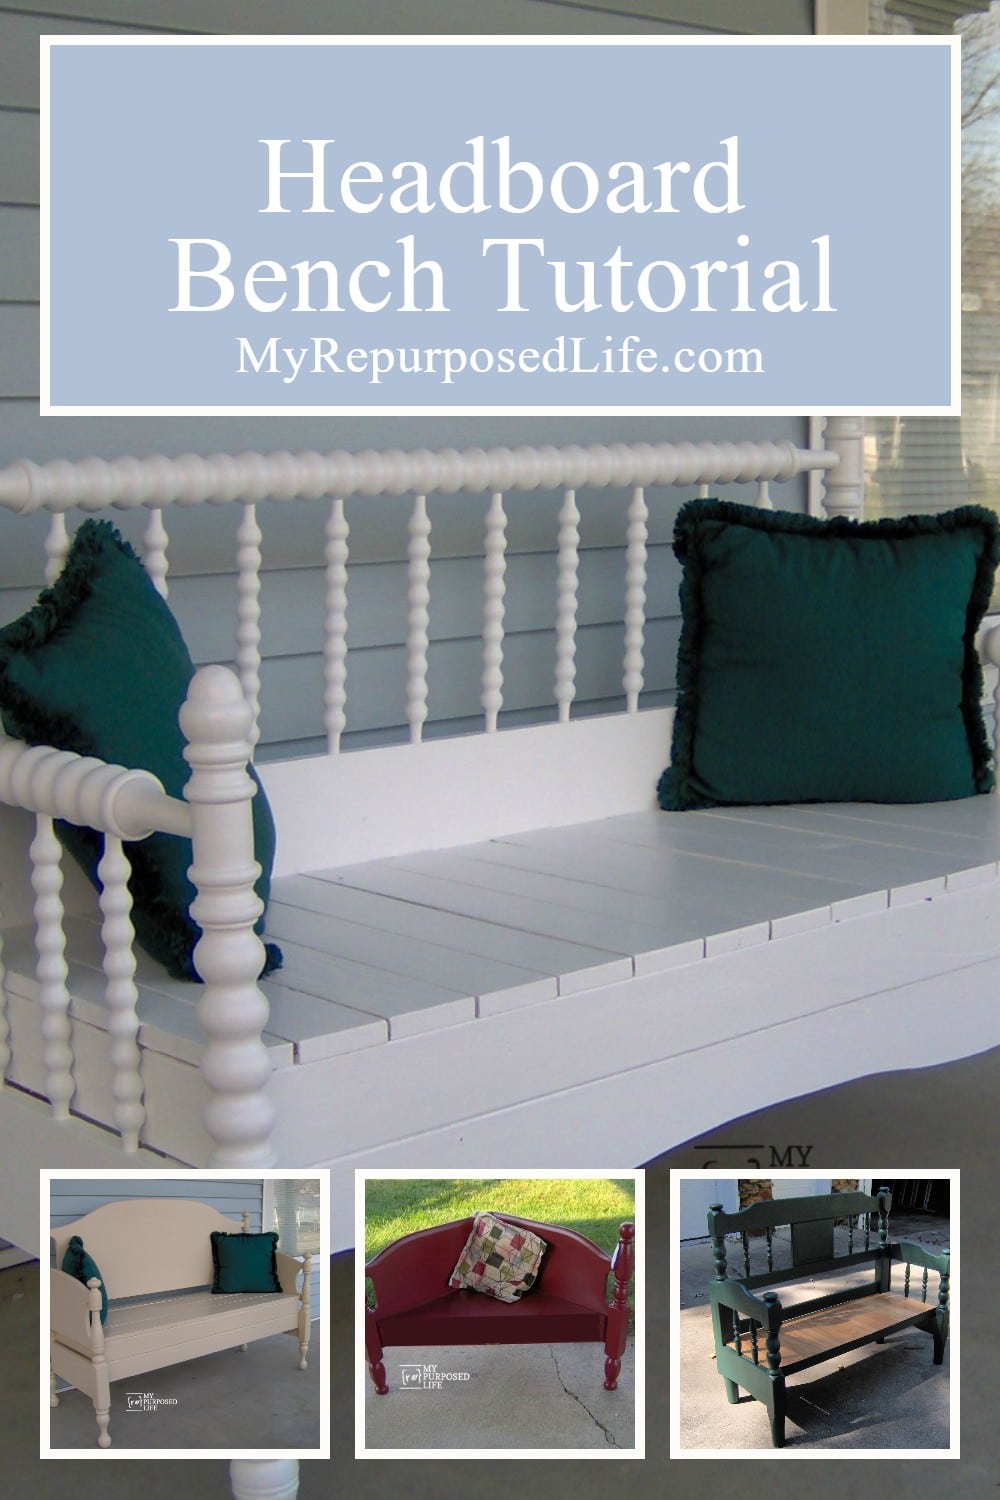
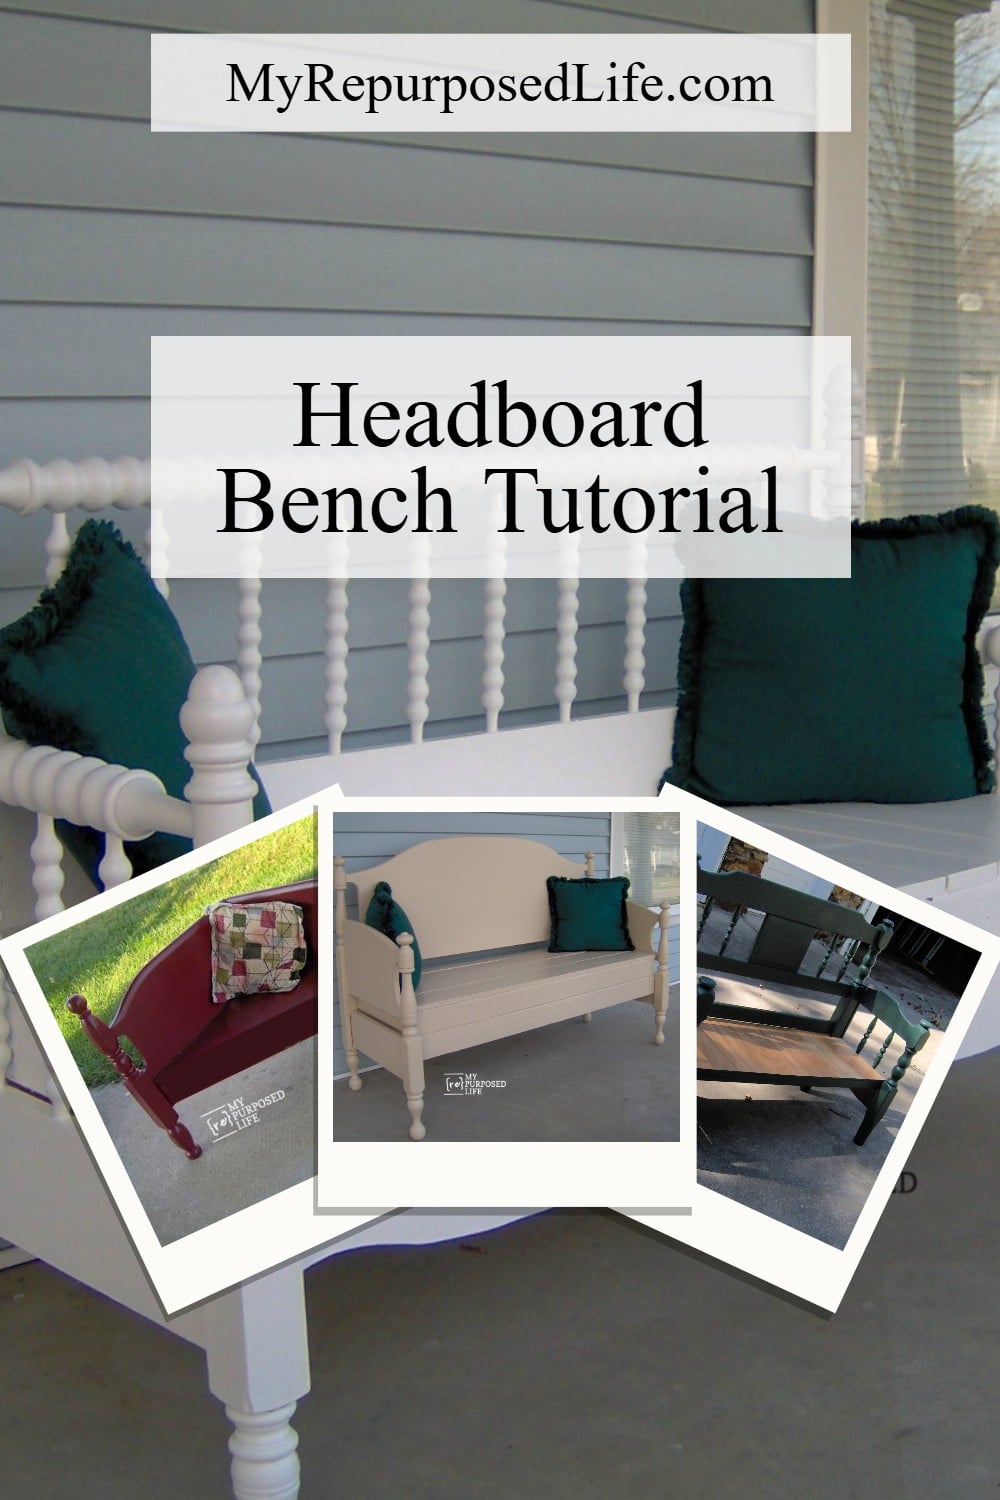
Are you looking for a bench tutorial? I have lots of headboard benches here on My Repurposed Life.
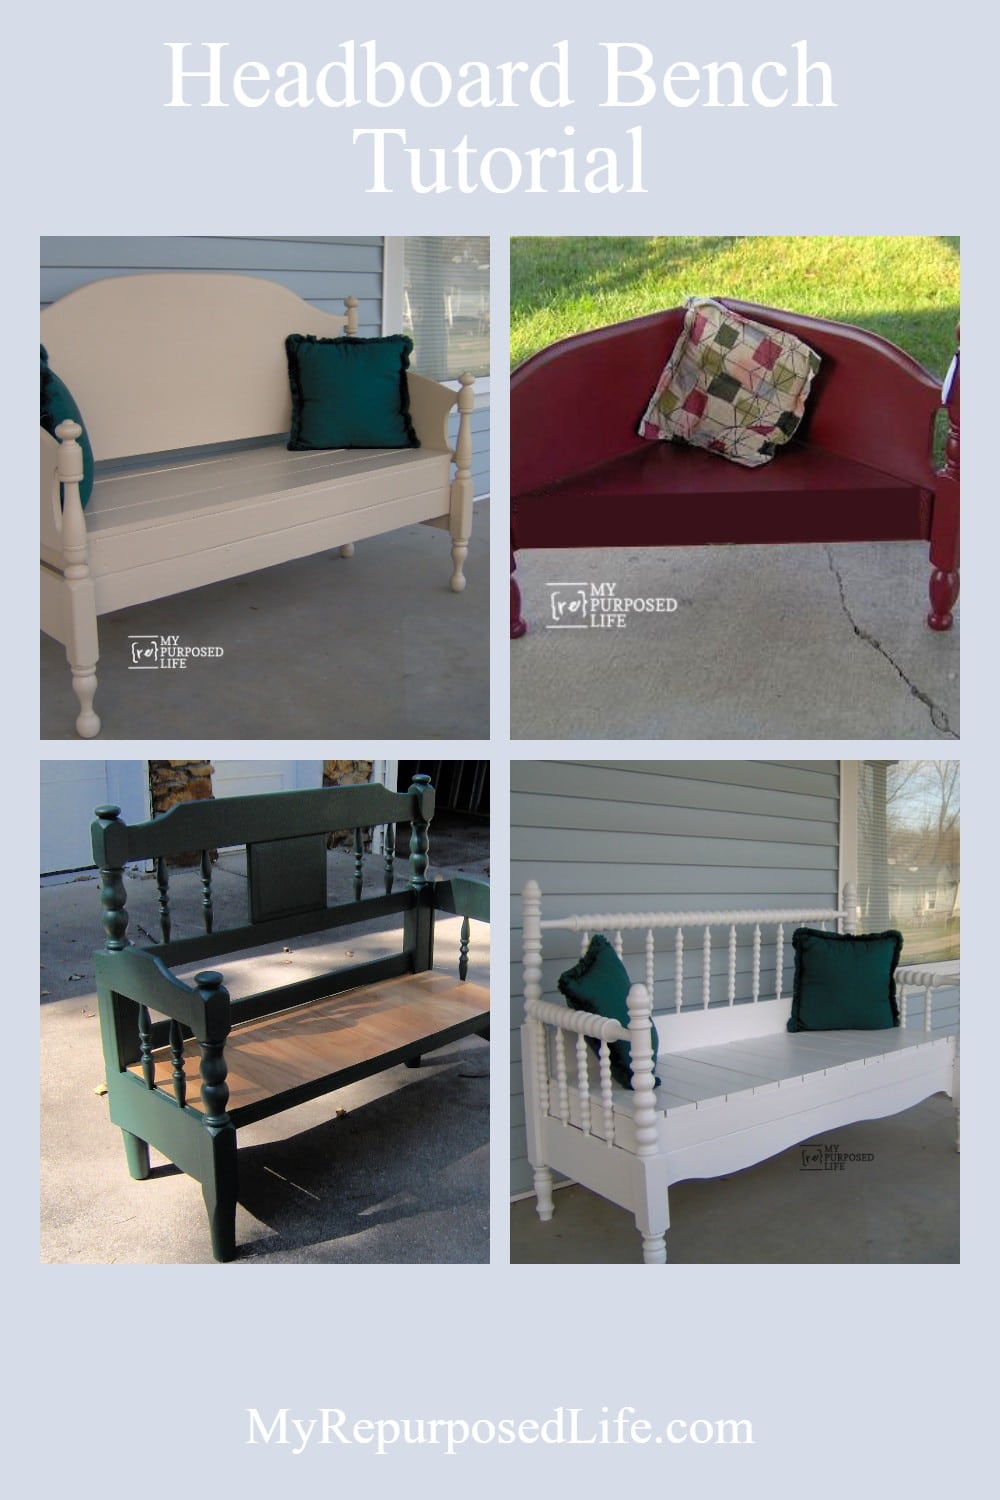

Over the years, I’ve changed how I make headboard benches. See my favorite Mission Style Headboard Bench with Storage-The Complete Tutorial
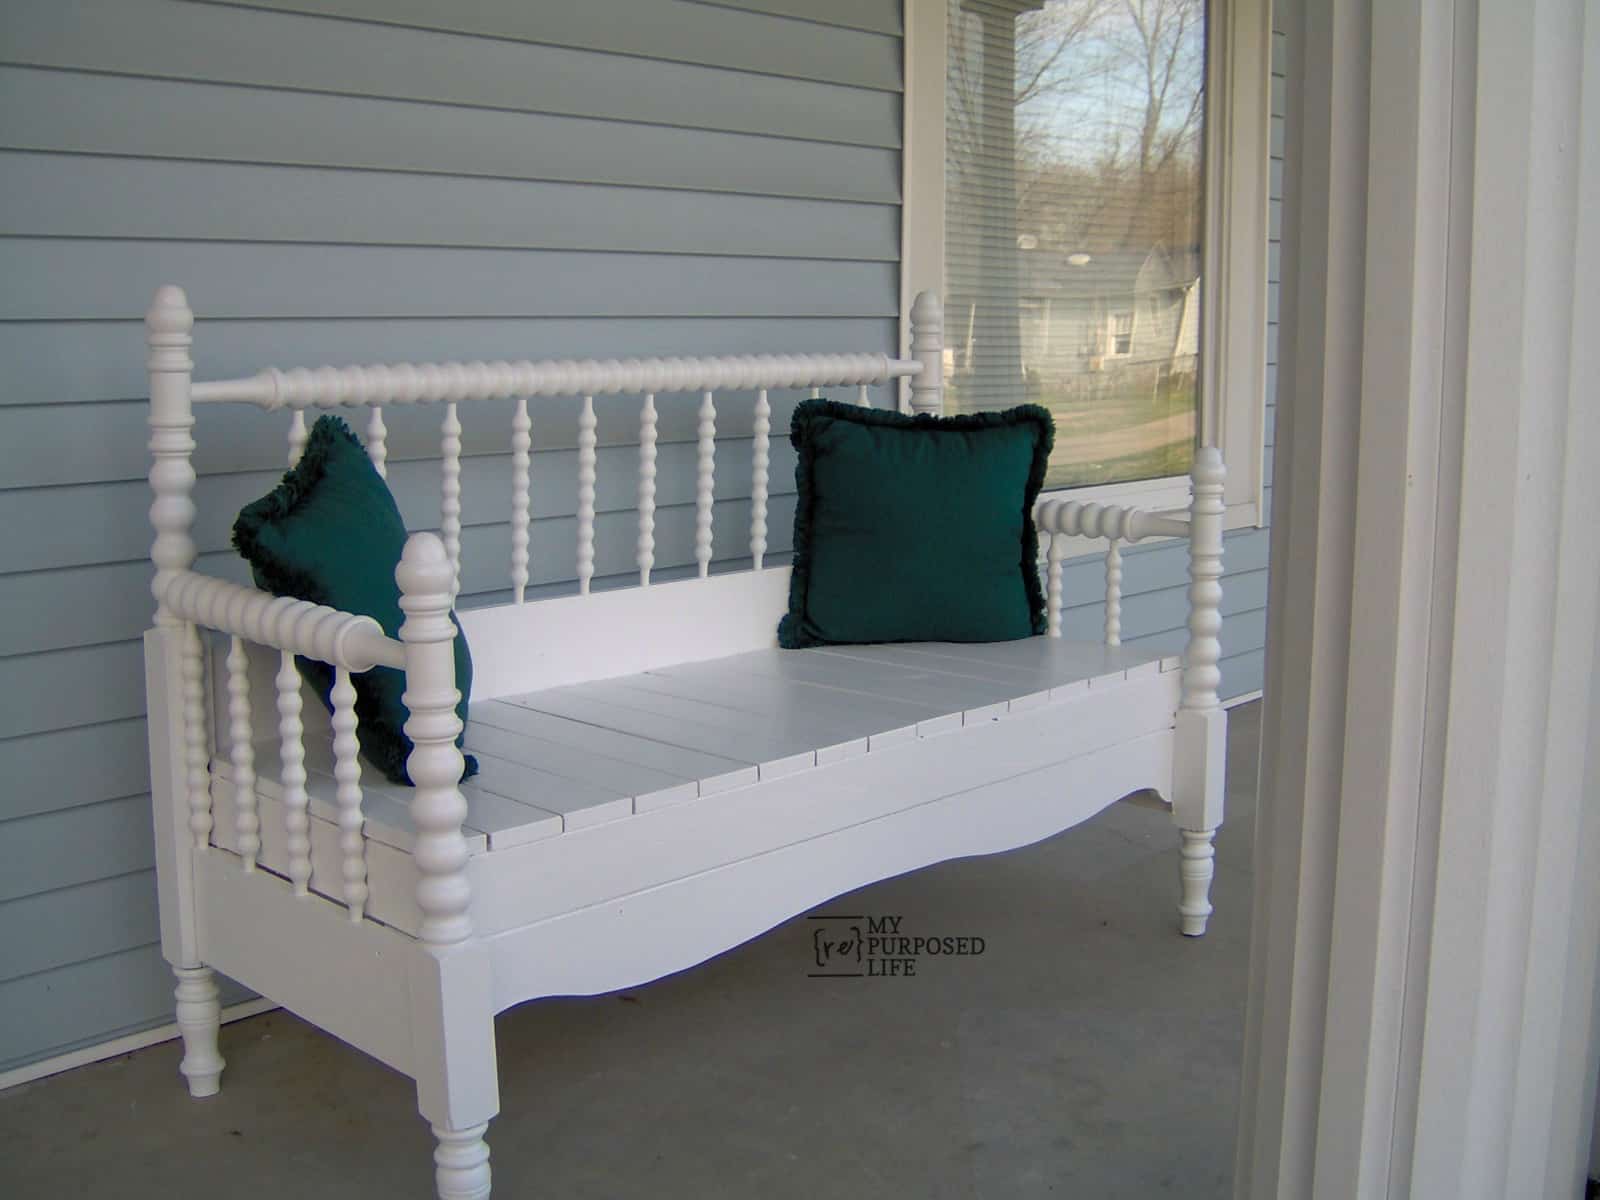
Spool Bed Bench Tutorial
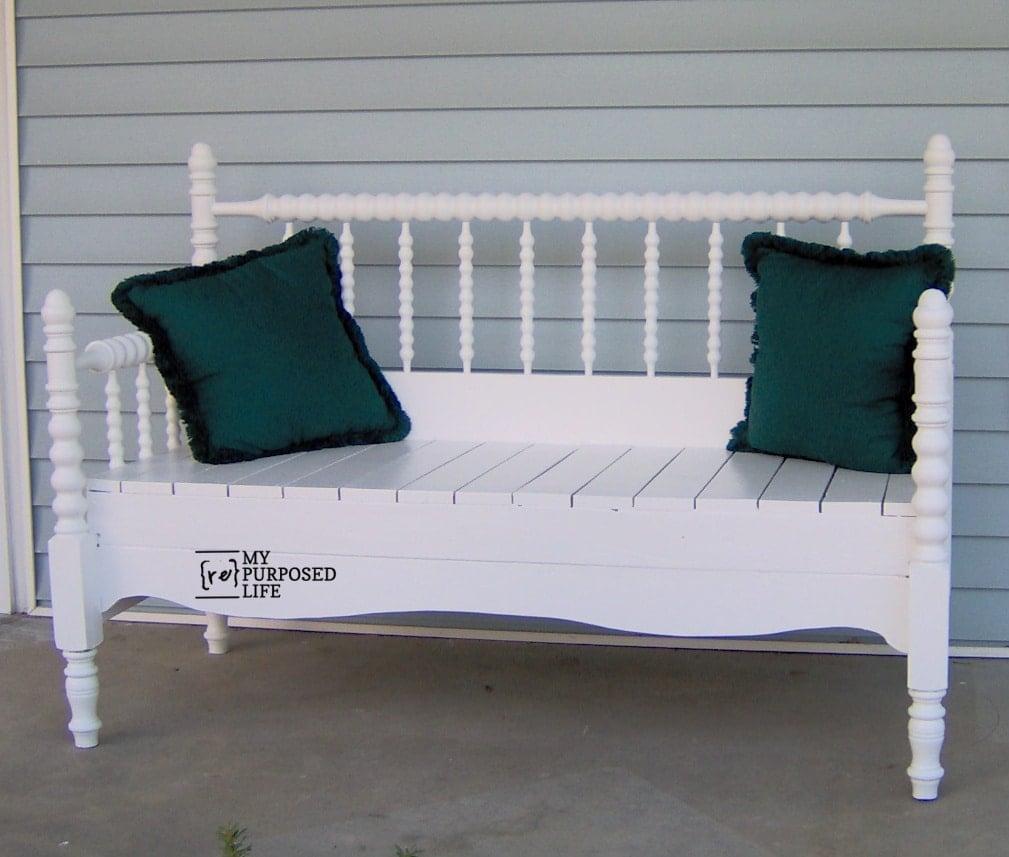
Some people have written to me asking how to make these headboard benches. When we (Cathy and I) made these benches, I had NO idea I would EVER be BLOGGING! Therefore, I didn’t take a lot of “in-process” pictures. However, someone expressed interest in buying this spindle bench and asked for closeup pictures, so I will try to explain what we did and why.
With this particular bed, we had a matching full-sized headboard and footboard. We initially cut the footboard in half on the table saw. But I think only cutting it in half makes the seat too deep. We took off enough on each footboard end to make it about 18-19 inches deep.
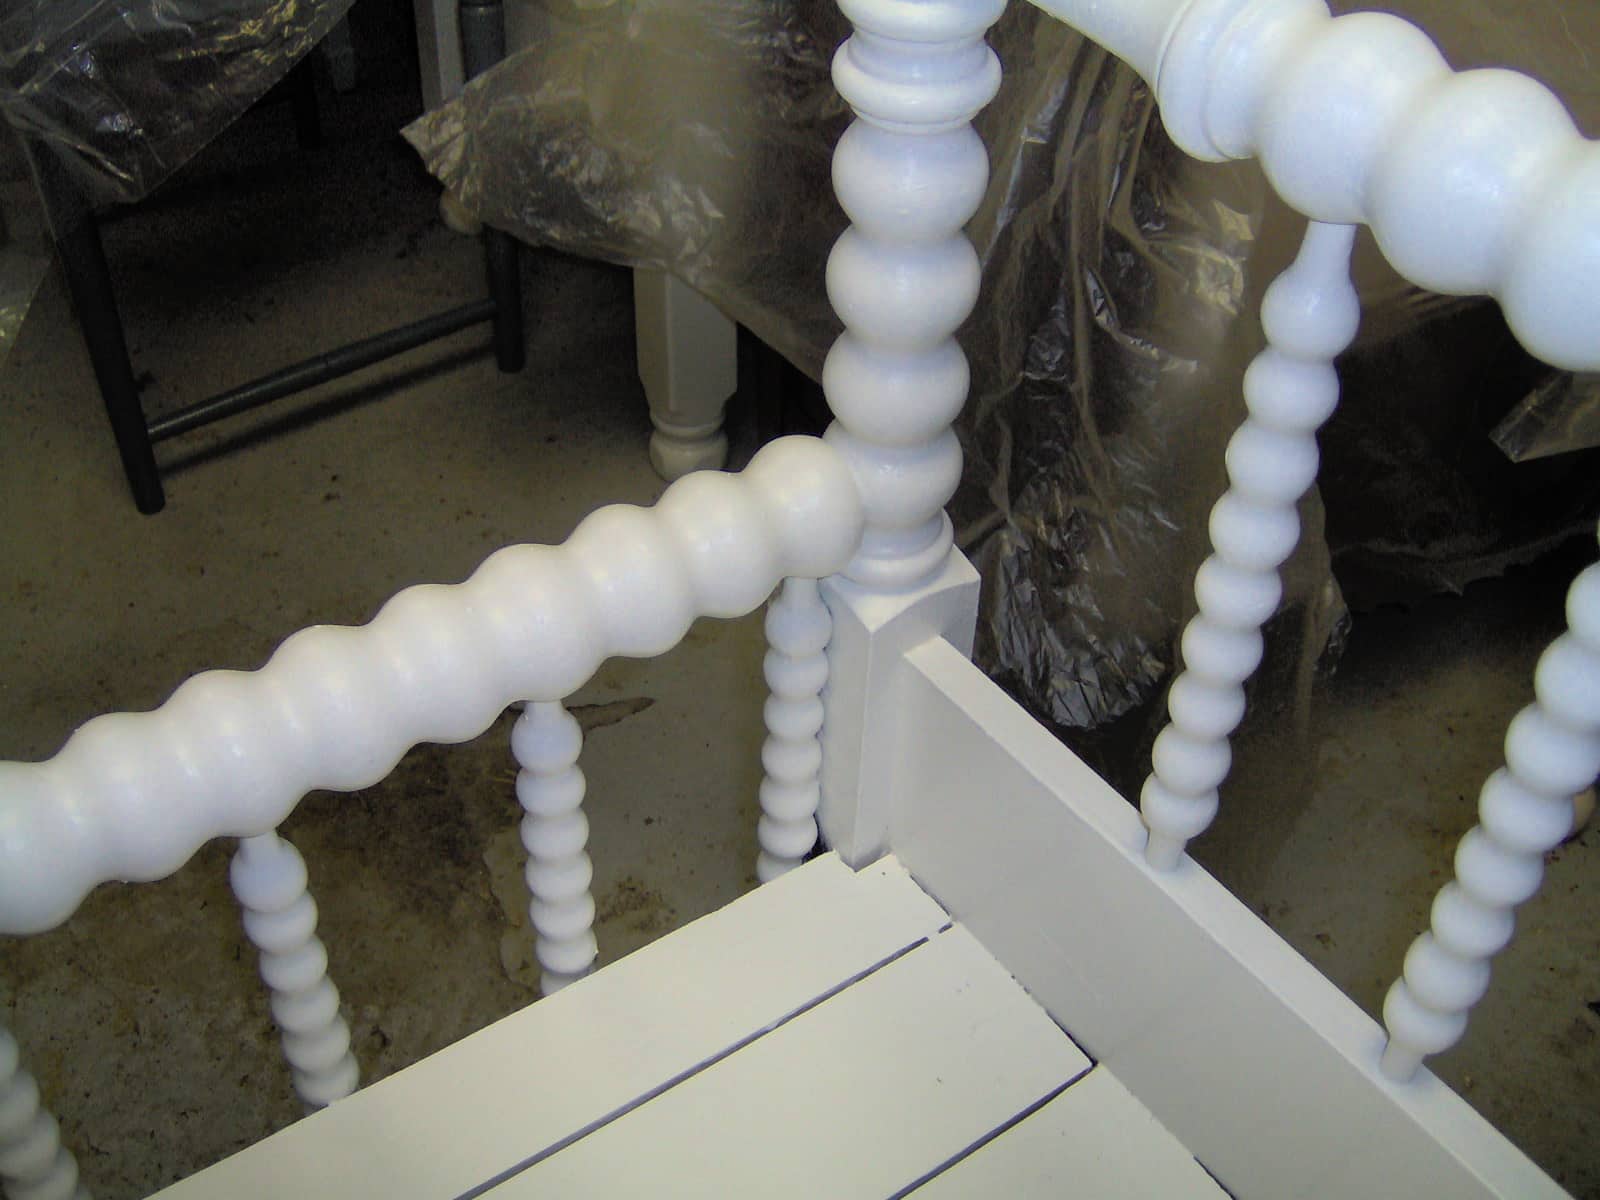
The next step after cutting the footboard is to line the footboard up with the cut end butted up against the headboard. Because we were working with curved edges instead of blunt edges, we needed to “round” the cut part of the footboard to get a good fit up against the headboard.
We used Cathy’s drill press with a sanding disc attached to it. That gave us a nice inward curve to fit great against the front of the headboard.
If this project is too intimidating, see this Twin Headboard Bench Tutorial that is easily modified for a larger bed.
How to Attach the Armrest to the Back of a Headboard Bench
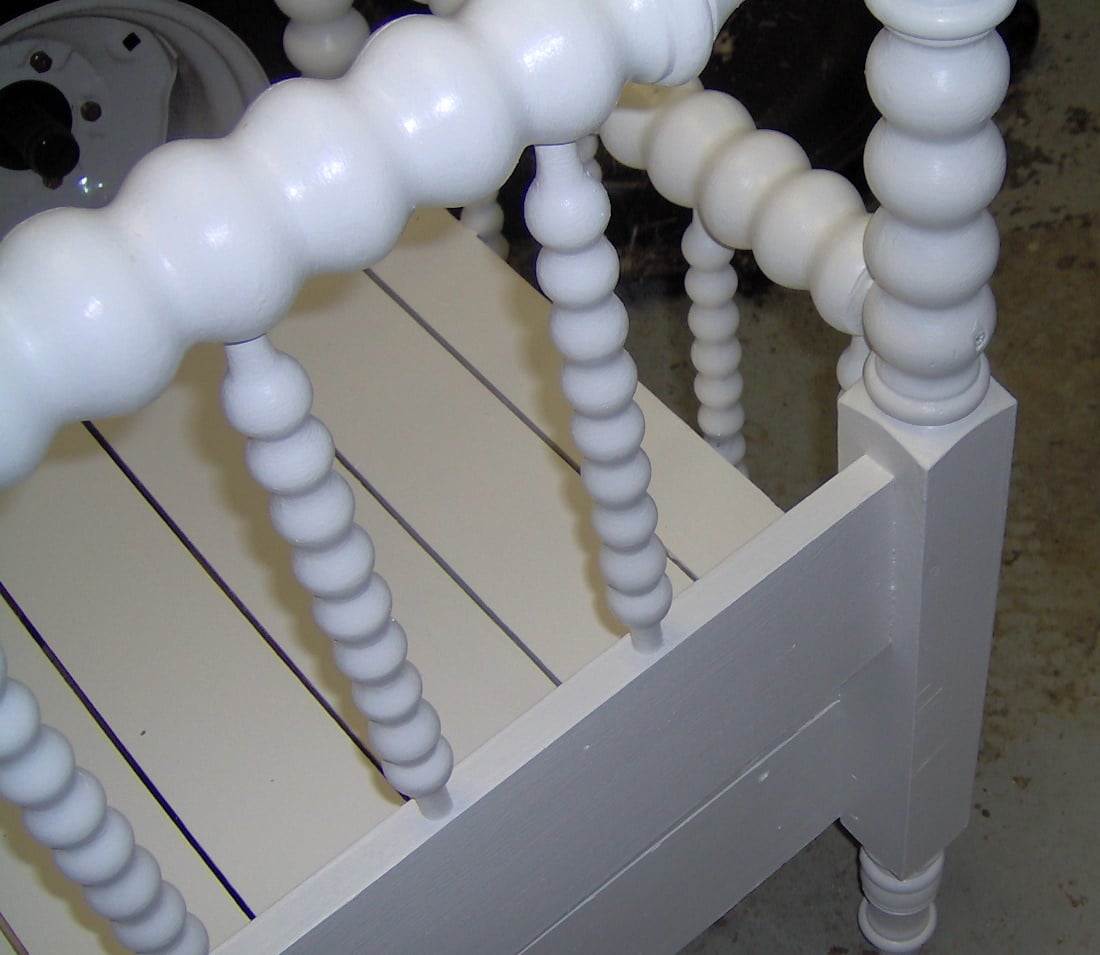
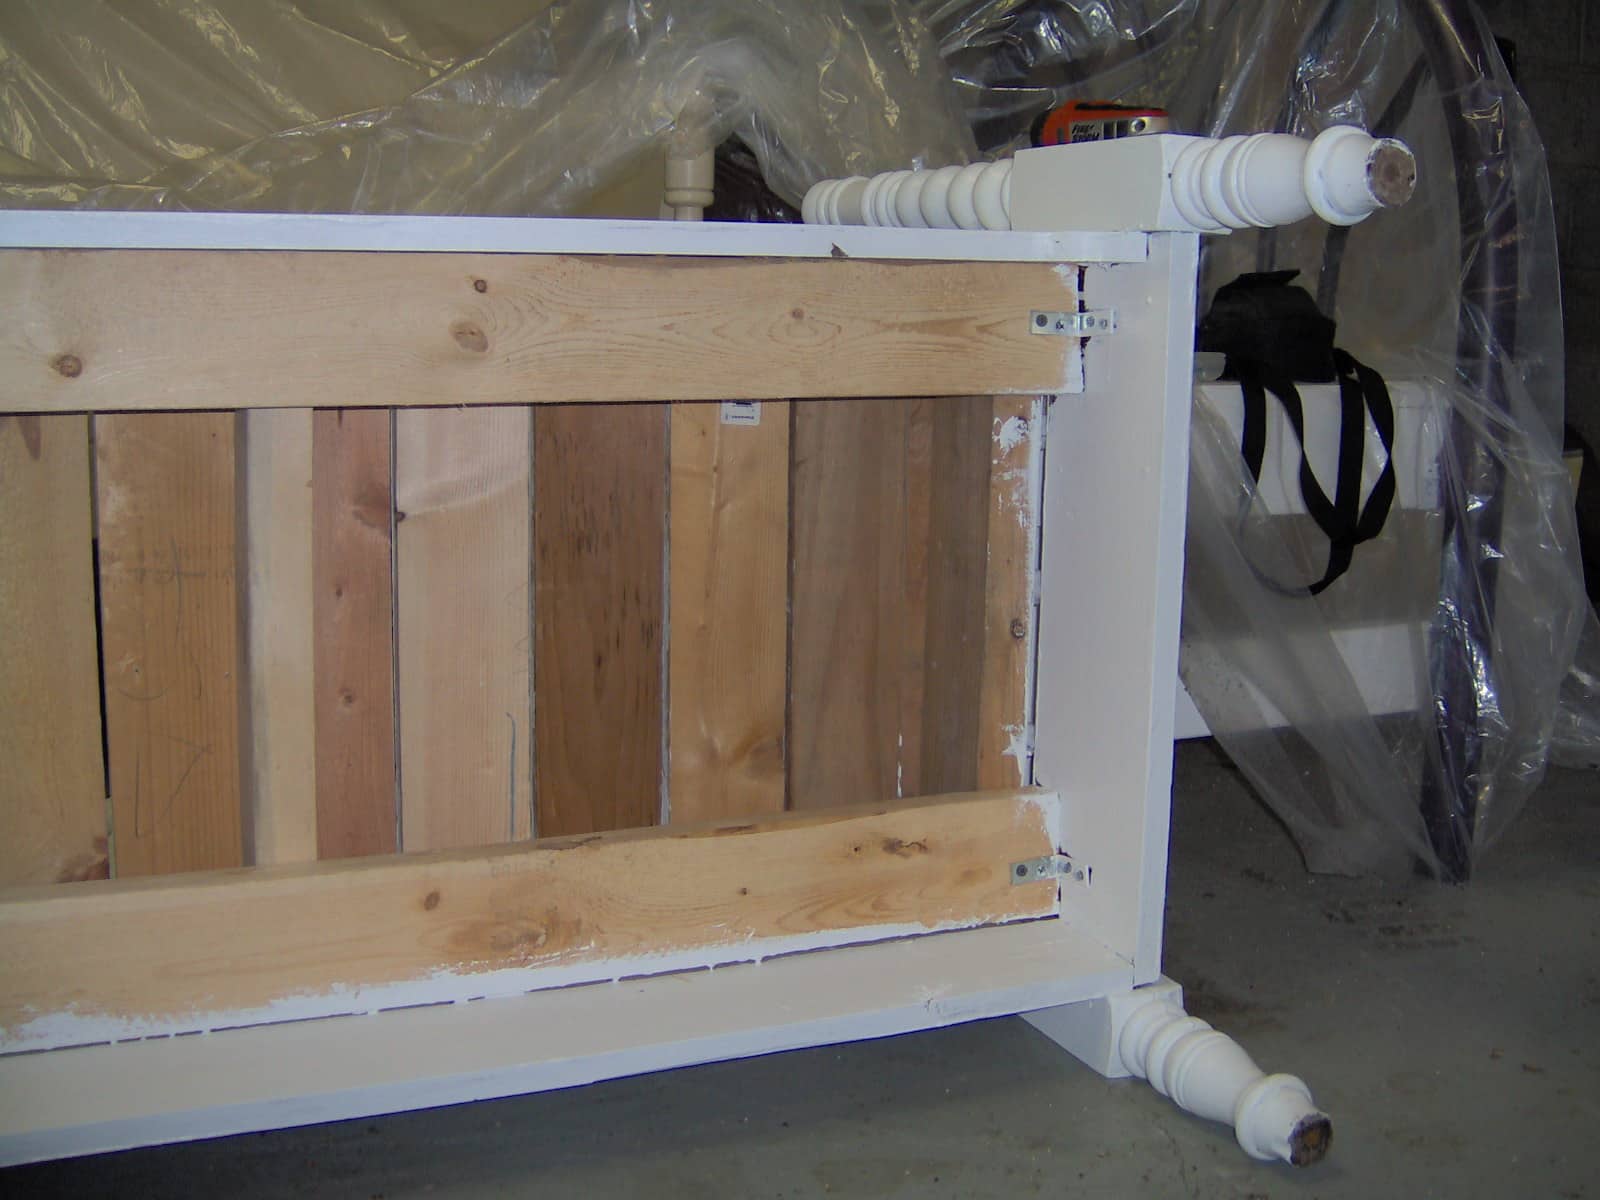
This is the view from the back. If you look closely, you can see that we placed a screw right into the middle of the spool, screwing it from back to front. We always use wood glue whenever we join two pieces of wood together.
Looking closely at the left side, you can see that the footboard’s original construction included a board across the bottom. The leg in the back is the original leg to the headboard, the leg in the font is from the foot board.
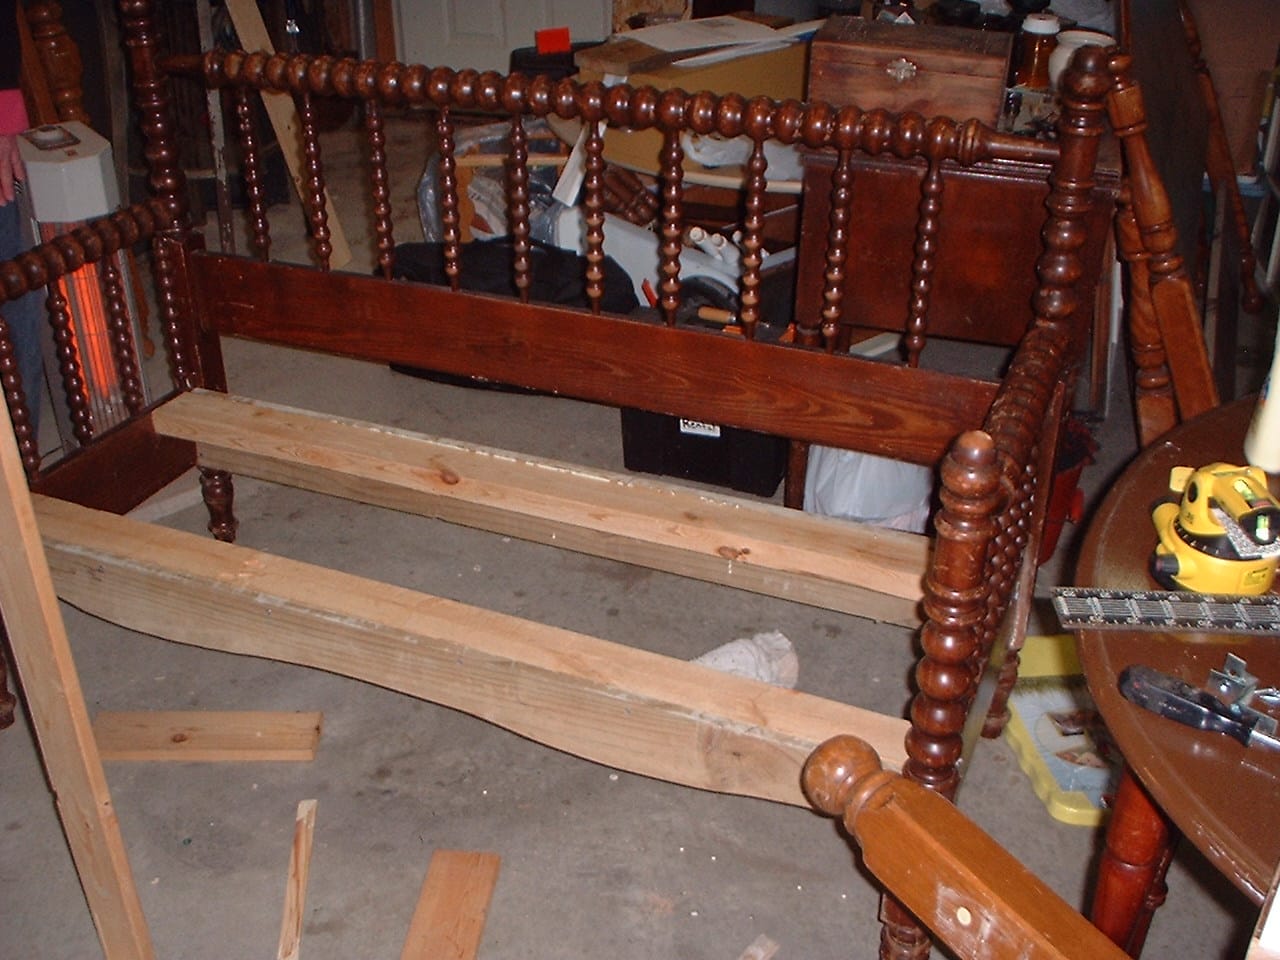
This was our first bench, and it was very challenging, to say the least. It is hard for me to remember exactly what we did. This picture tells you more about the construction and how we added our lumber instead of the original bed.
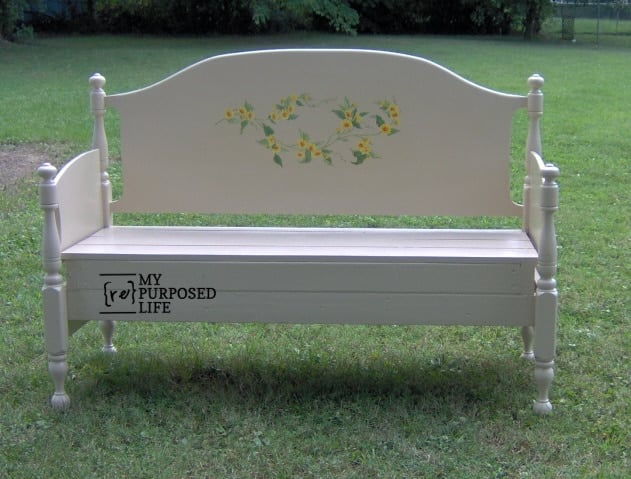
Across the back of the headboard (bottom), we attached a bed that was 1x the length of the bed. It is located below the 2×4
The board in the front is a 1x, which we gave a little detail about by cutting with a jigsaw. We used a curbed piece of cornice work for a pattern.
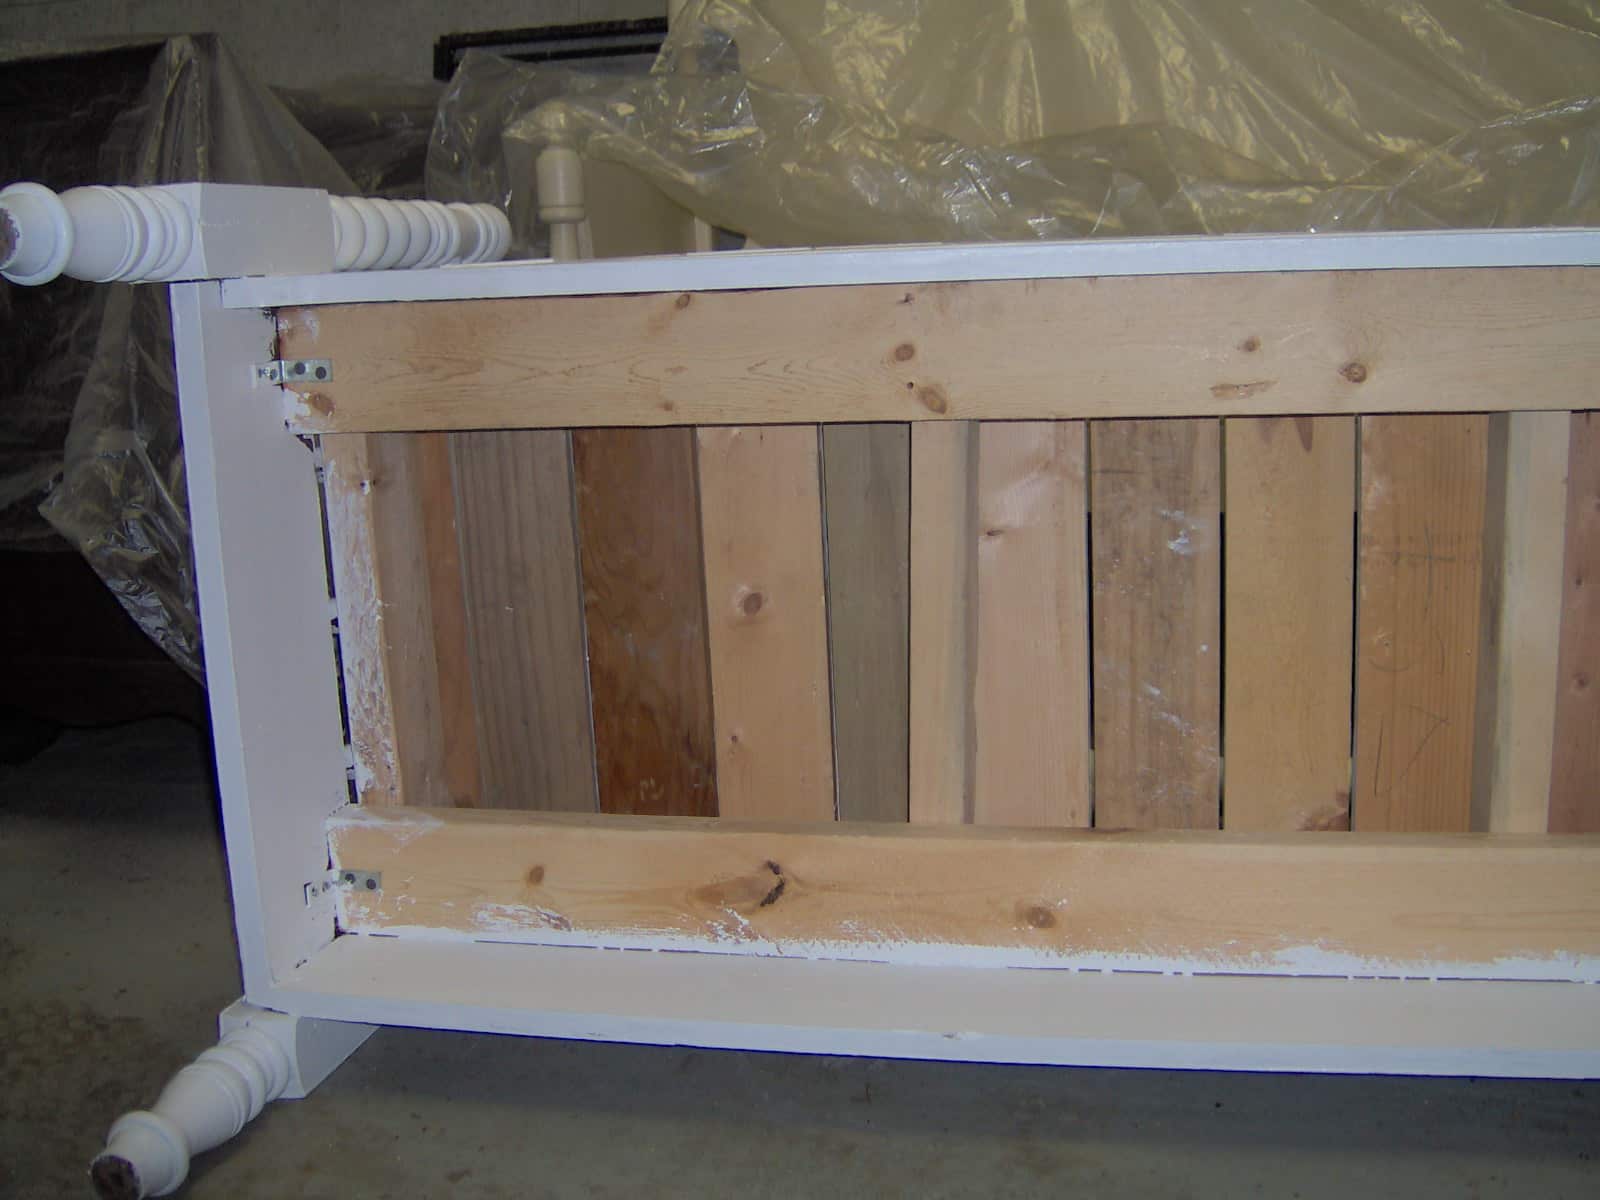
Underside of Headboard Bench
In this picture, you can see that we attached the 1x to the sides (footboard cut in half). You can also see that we used L brackets for extra support.
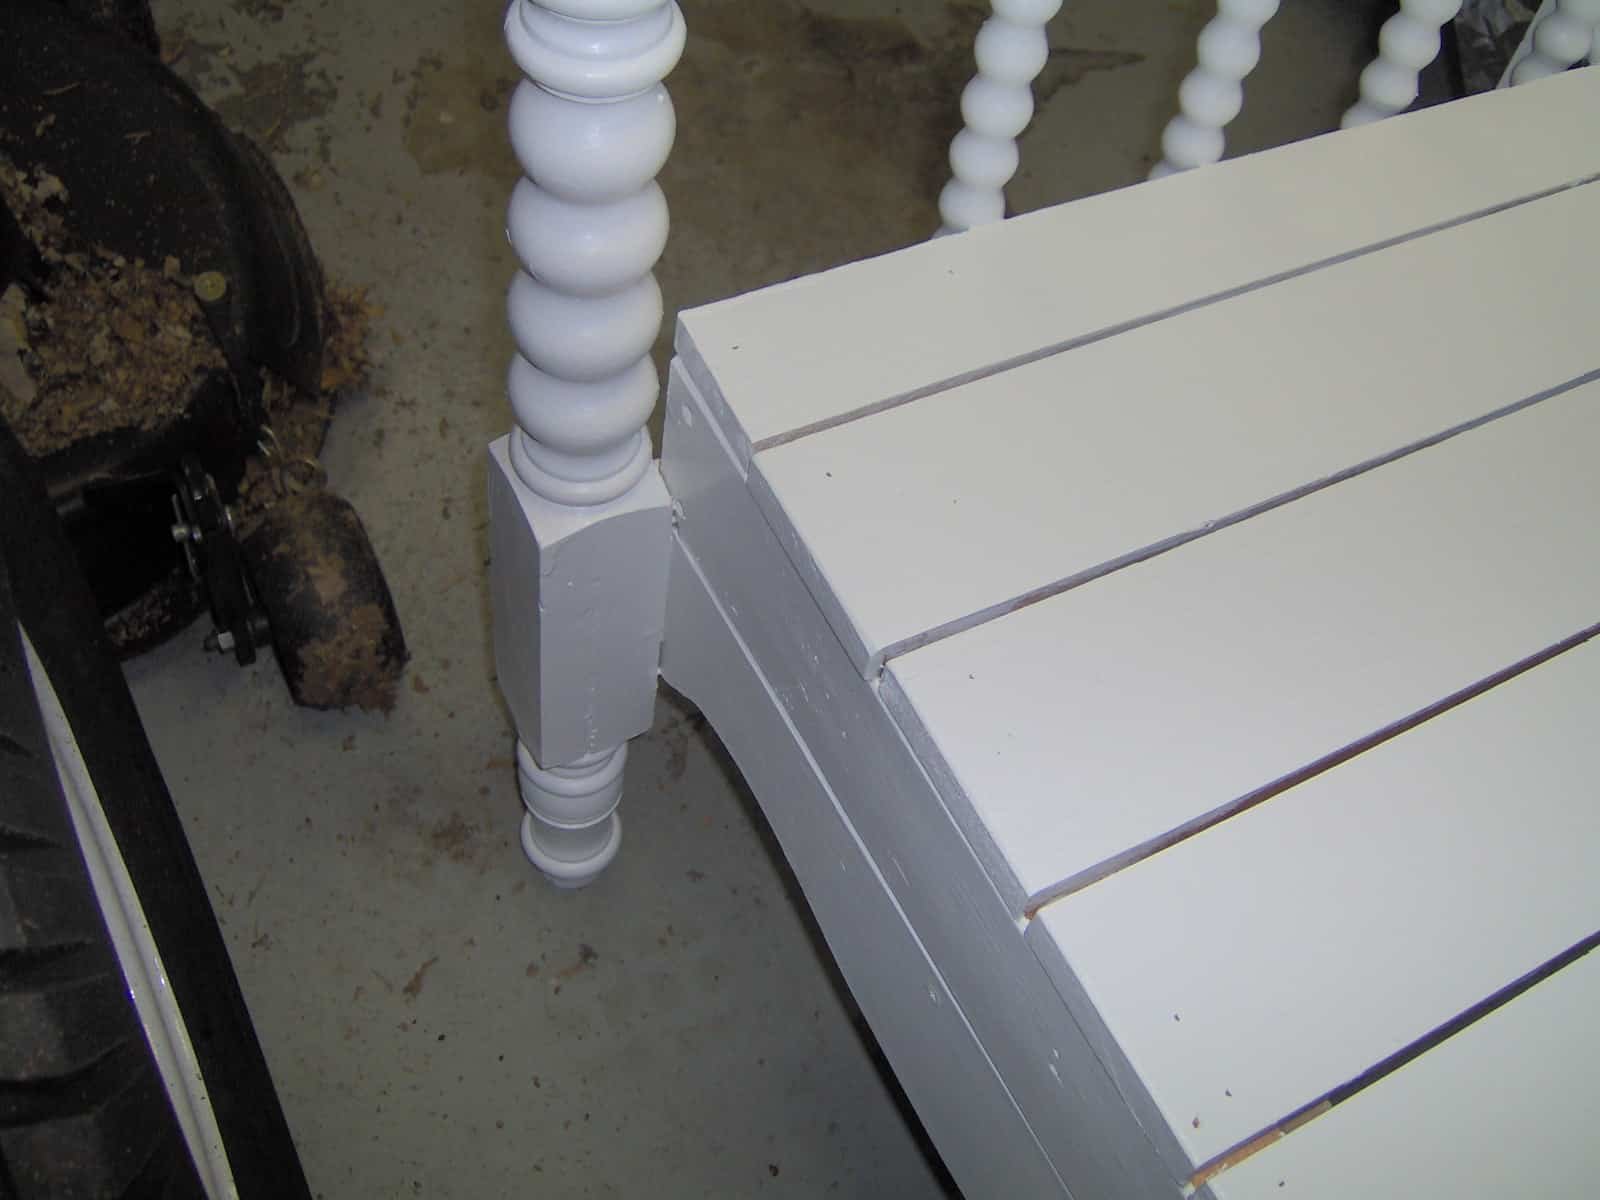
After making the initial construction, we decided the bench sat too low. We constructed a basic box and stacked it onto the 1x and the original footboard (sides). You can see the stacked construction in the picture above.
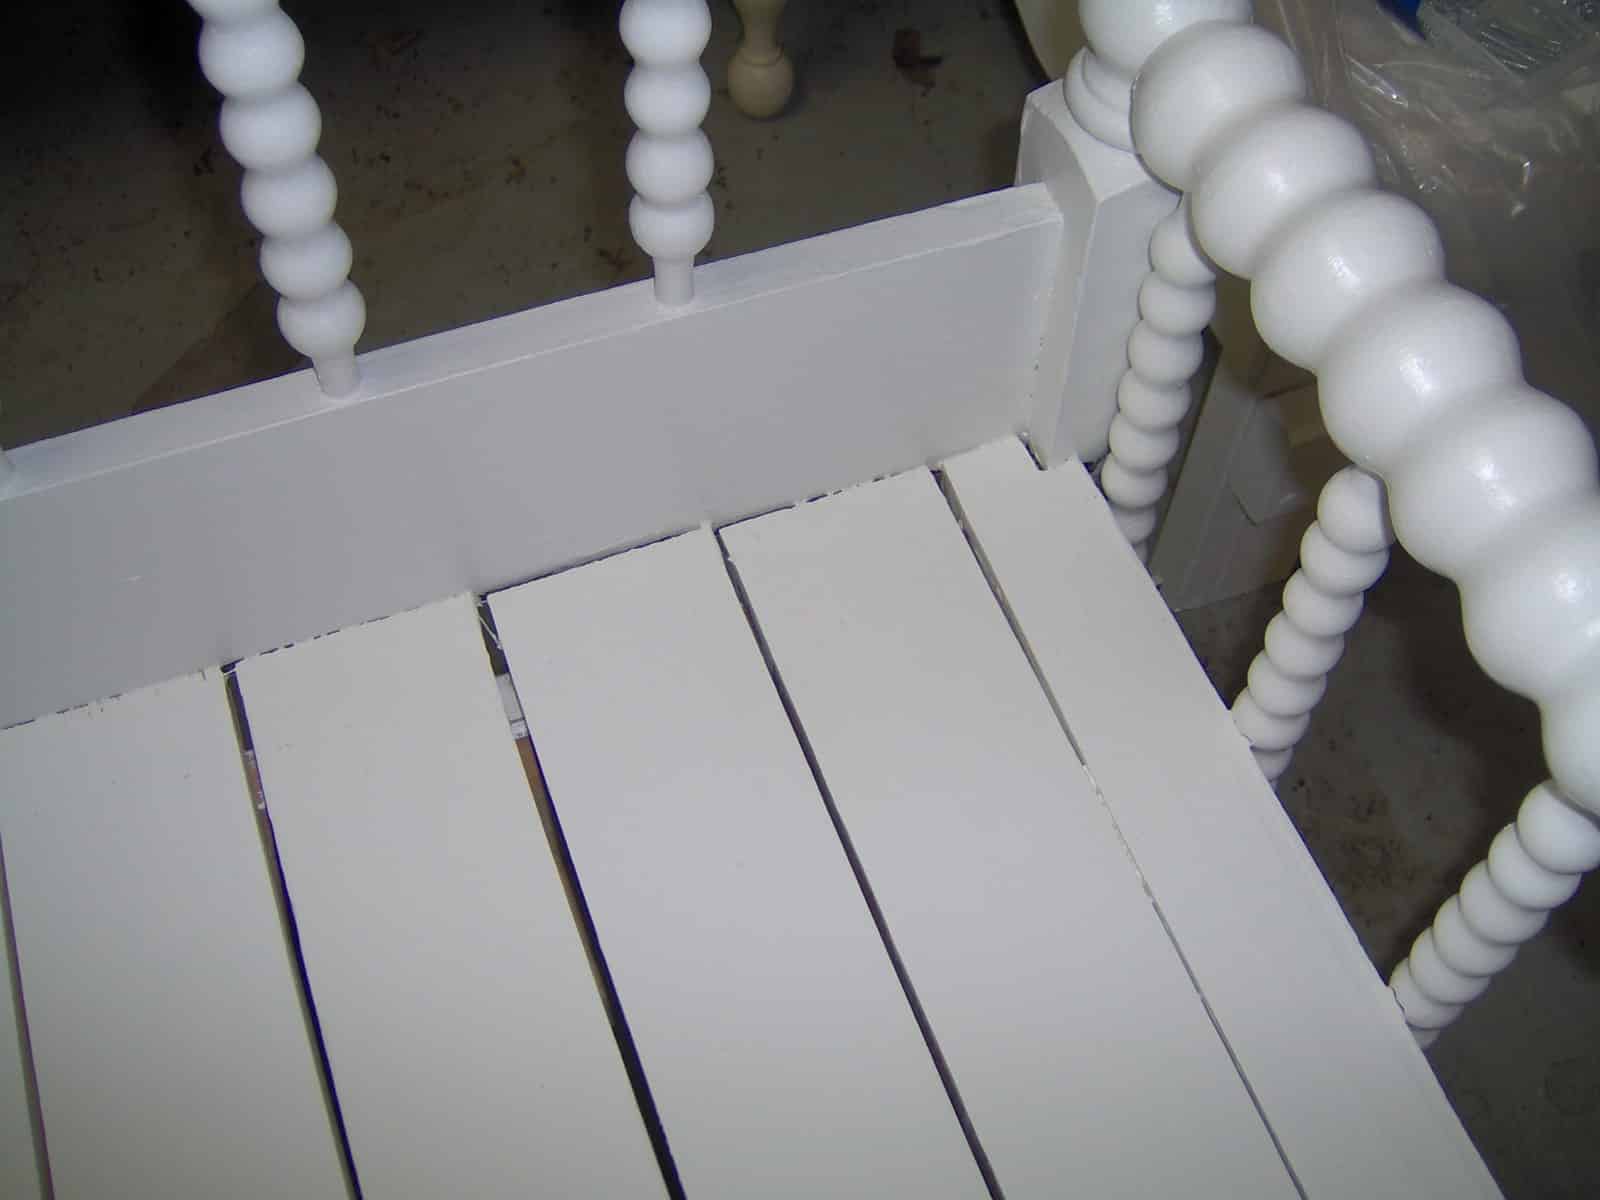
We used 1x’s for the slatted seat. Here, we had to notch the last one to make it fit. Having to do it all over again, I would probably choose to rip each board so that the last board would not be so narrow.
You can see how pretty a piece can be with the end result. Only you know the challenges or oops you have during a particular project. That is… unless you blog about it to the world, showing closeup pictures, so others may not make the mistakes you make.
Maple Headboard Bench
Now, on to another bench:
We picked up this maple bed from the curb. It was the entire bed, rails, slats, everything. I wondered if it was possibly a divorced or newly married (previously divorced) couple. You know… I’m NOT sleeping in her bed sort of thing.
Again, we cut the footboard in half on the table saw, then cut each half again to make the seat about 18-19 inches deep.
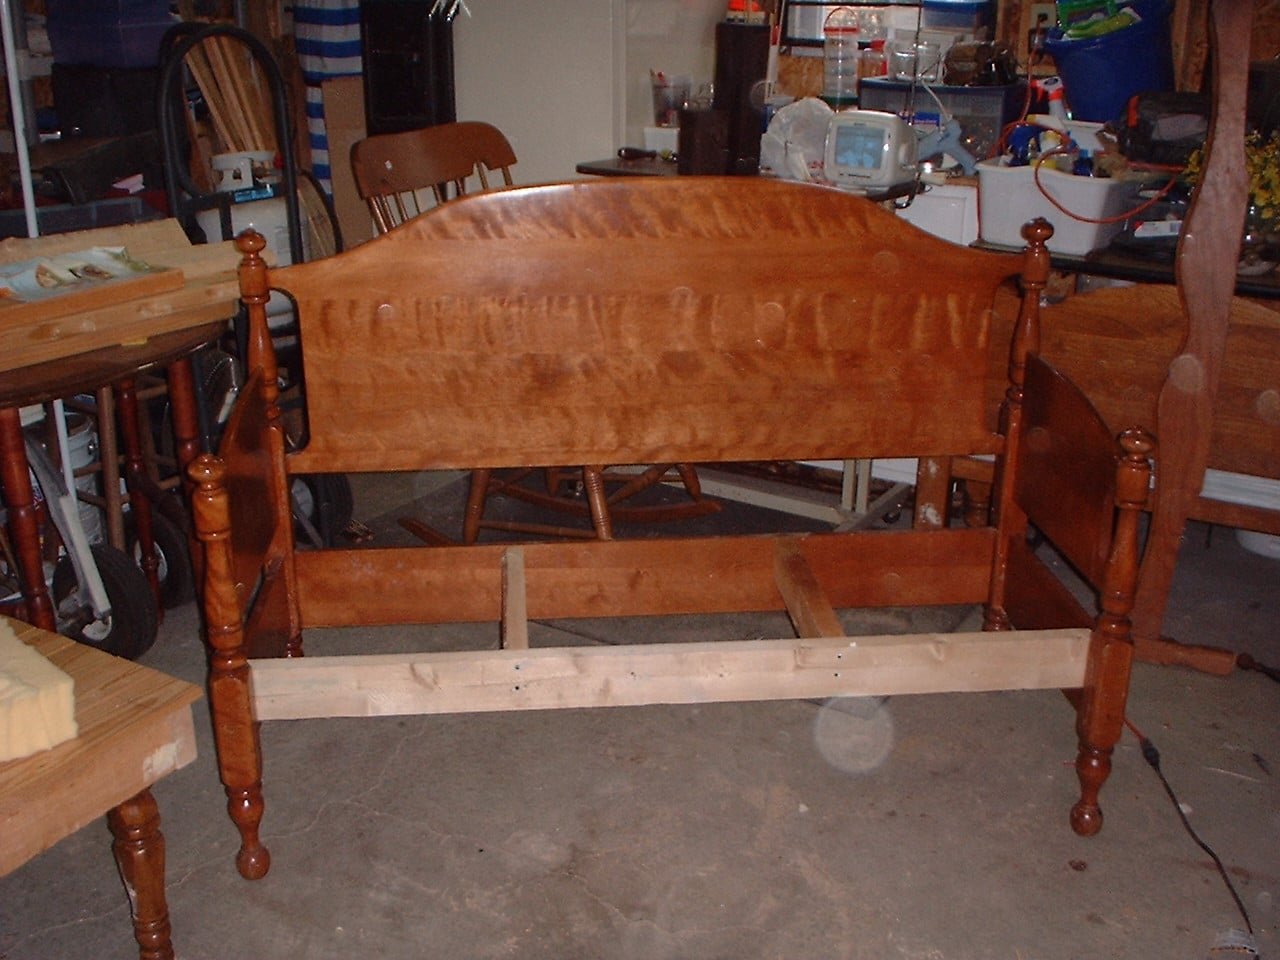
After cutting the footboard, the next step is to line them up to make the sides of the bench.
This is where Cathy wants to do it one way, and Gail wants to do it another way. I have seen benches where the sides were brought out and attached against the side of the headboard. In that scenario, you would be putting the screws through a board approximately 3/4 inch thick into the headboard post, which is about 2.5 inches thick. Cathy doesn’t think they look as nice, and in hindsight, I suppose I agree. (she doesn’t read my blog, so shhhh if you don’t tell her, she will never know!)
So, we do it her way. It’s not easy to do the drilling of the pilot holes. I will attempt to explain how we went about it.
We bought an extra long drill bit. Which is overkill for sure. But you will need a bit that will drill through a bedpost.
Place the side (cut footboard) against the headboard and mark the thickness of the wood. Drill several holes (from front to back)
Line the side (cut footboard) back up (clamping if necessary) and drill from the back to the front only slightly into the side (cut footboard)
Take the side (cut footboard) off and ensure you are pretty much in the center of the board. Then, while unattached, drill a pilot hole into the sideboard using the holes you just slightly drilled as guides.
Apply glue and, using your marks, line the two pieces up and clamp and screw.
We used 2×4 braces in the middle for extra support.
How to Raise a Seat on a Headboard Bench
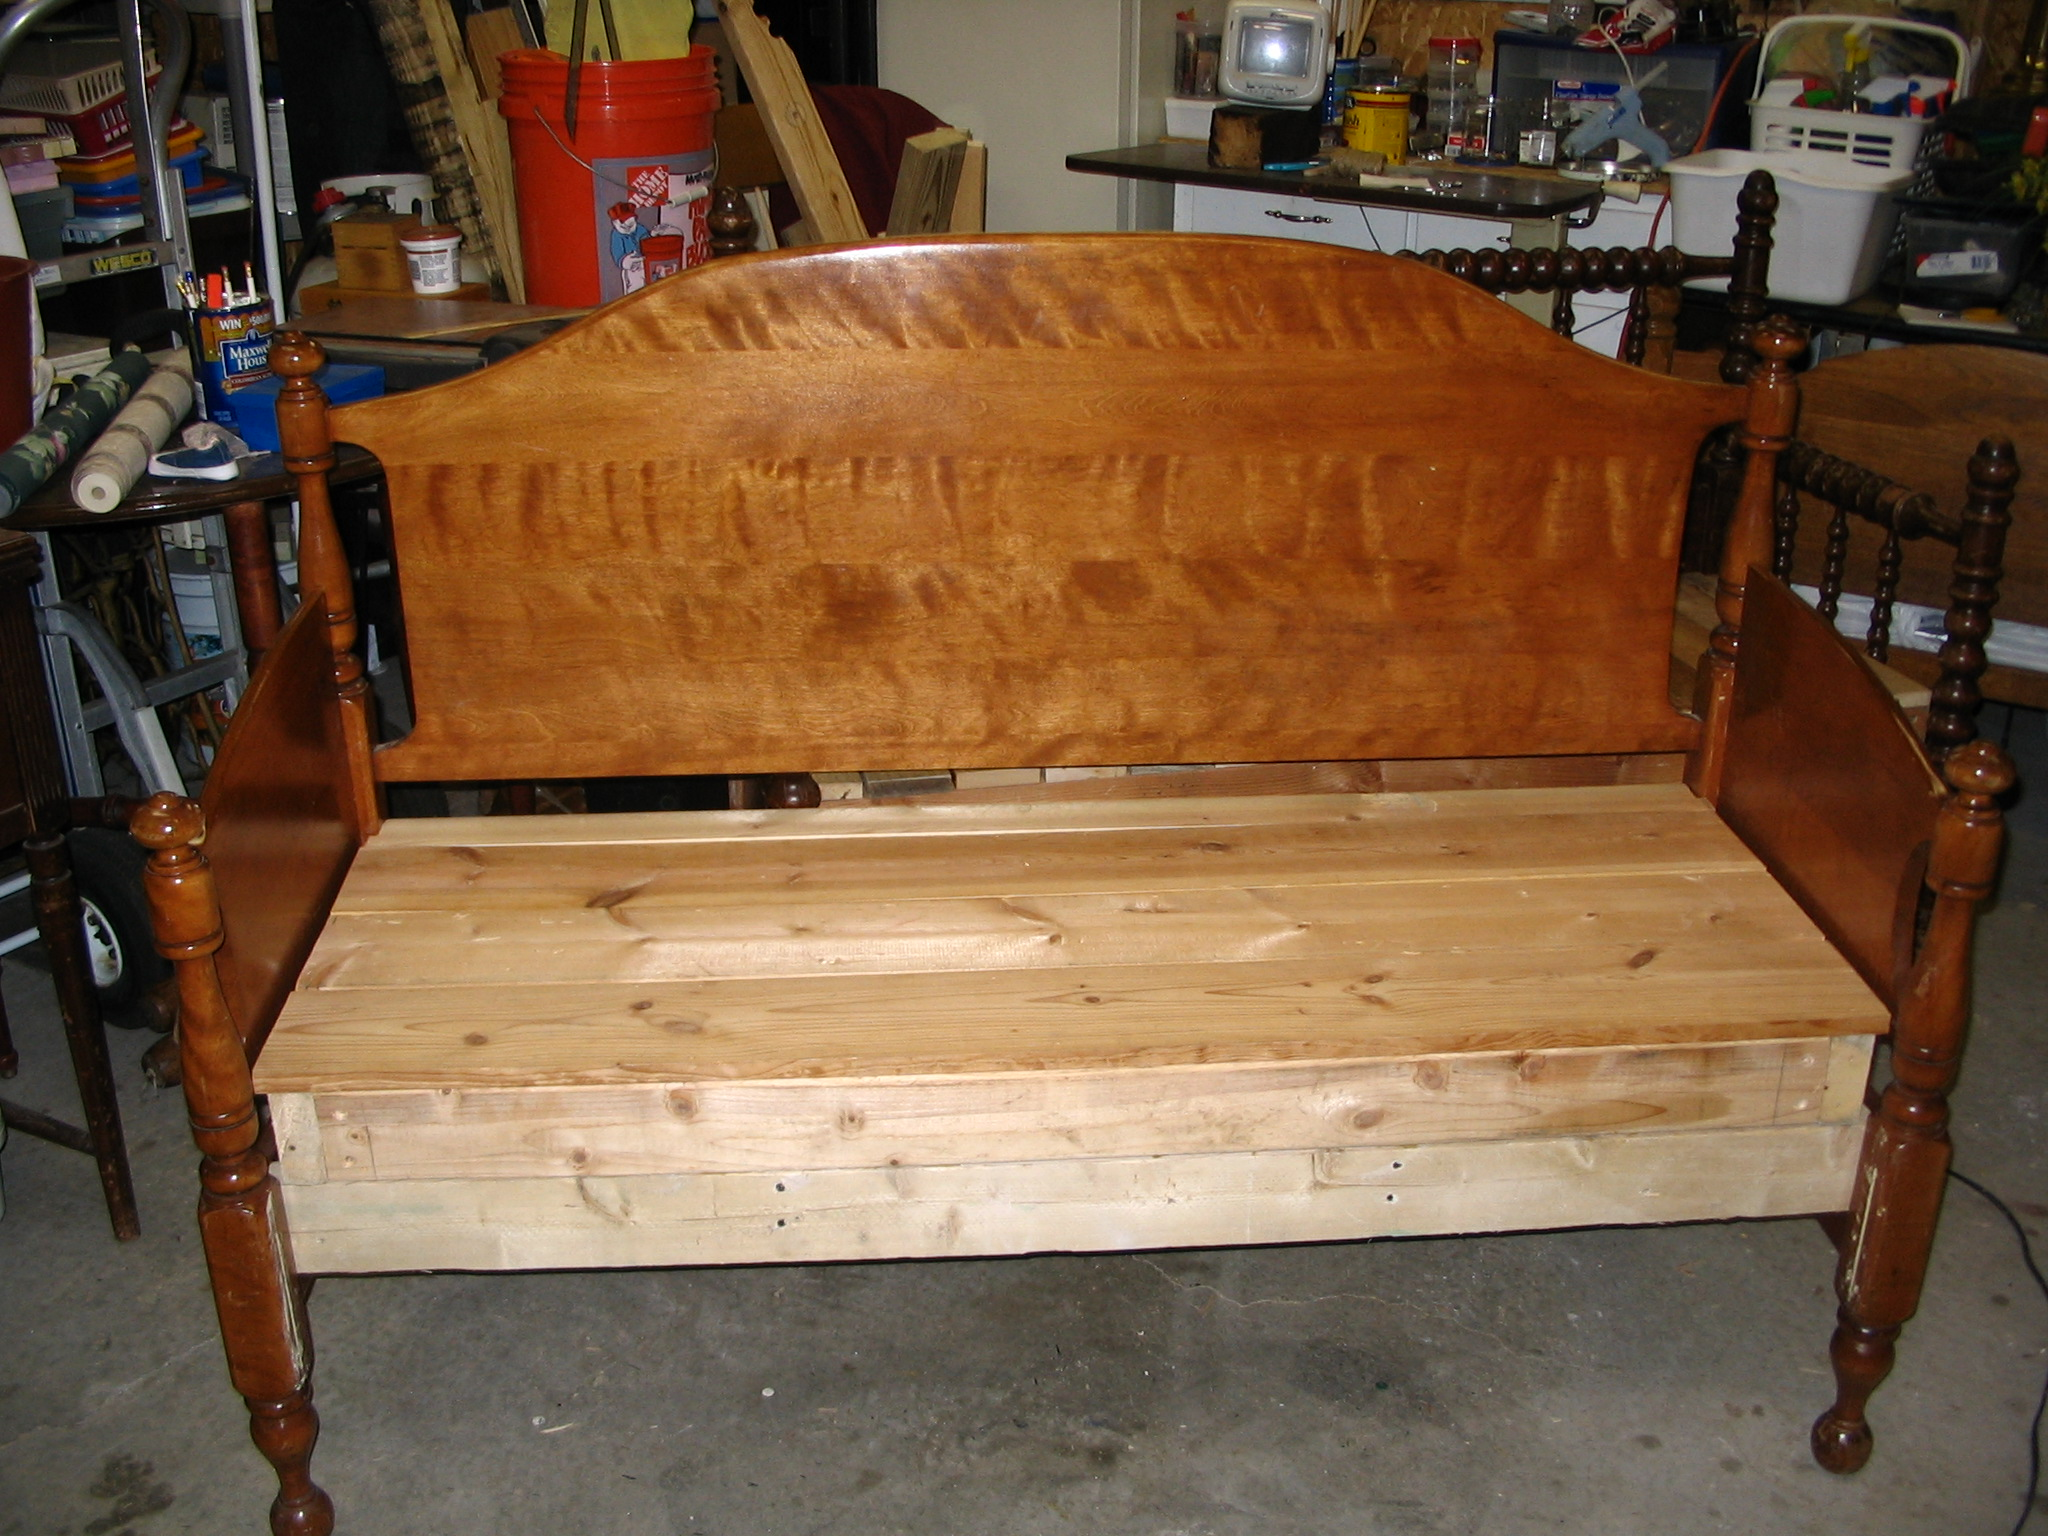
In this picture, we made a 2×4 box to stack onto the original construction. We puttied the slat holes. As you can see, we laid our slats from side to side on this bench instead of the previous bench, where we laid them front to back.
As I said in the original post of this headboard bench, it is the heaviest thing we have ever built! Cathy and I could carry it from point A to point b. However, it was nearly impossible for us to lift it onto the truck. Next, I will describe how we made this cute little corner bench from a footboard.
See more pictures and details of the Maple Headboard Bench here.
Corner Bench Tutorial Made From a Footboard
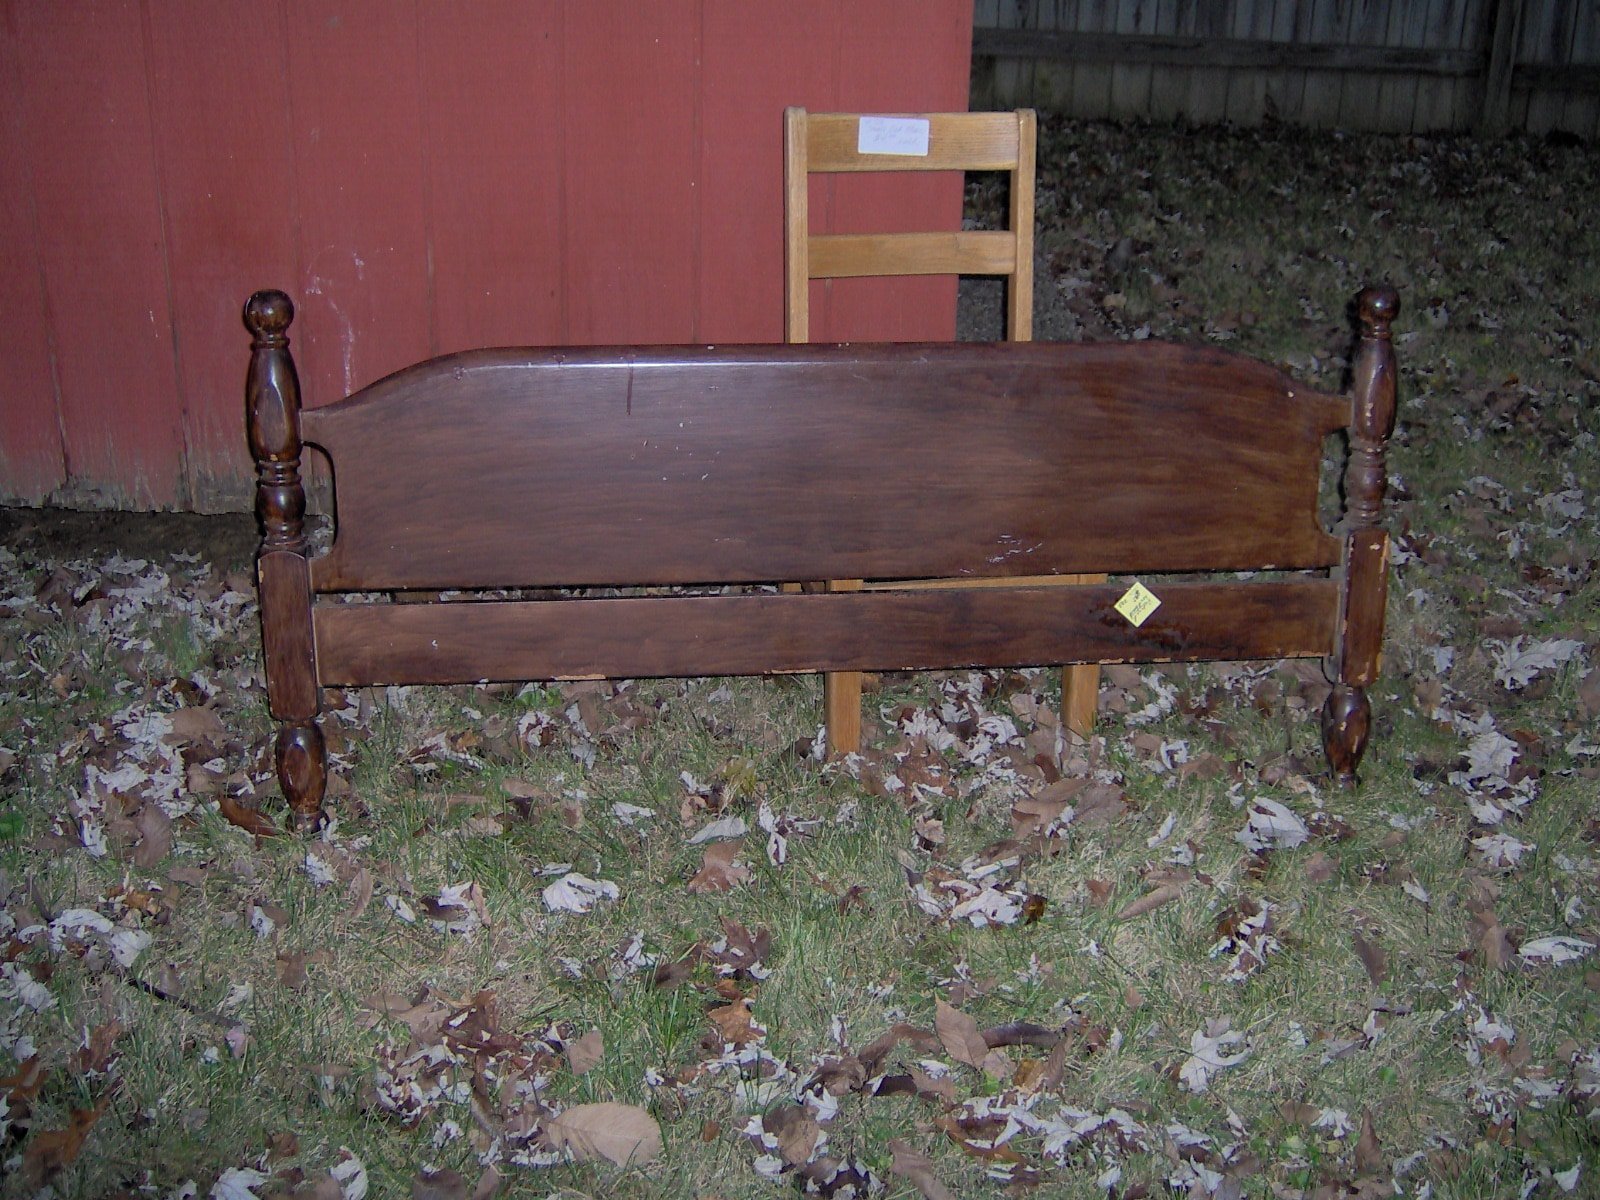
We picked up this footboard at a local peddler’s mall for $6.00. This was before we realized there were better places to find old, orphaned beds….curb shopping is much cheaper.
We cut it nearly in half on the table saw. We measured the width and subtracted the thickness of the headboard. I don’t remember the exact numbers, but because we “butted” the right side up against the left side, we couldn’t cut it exactly in half.
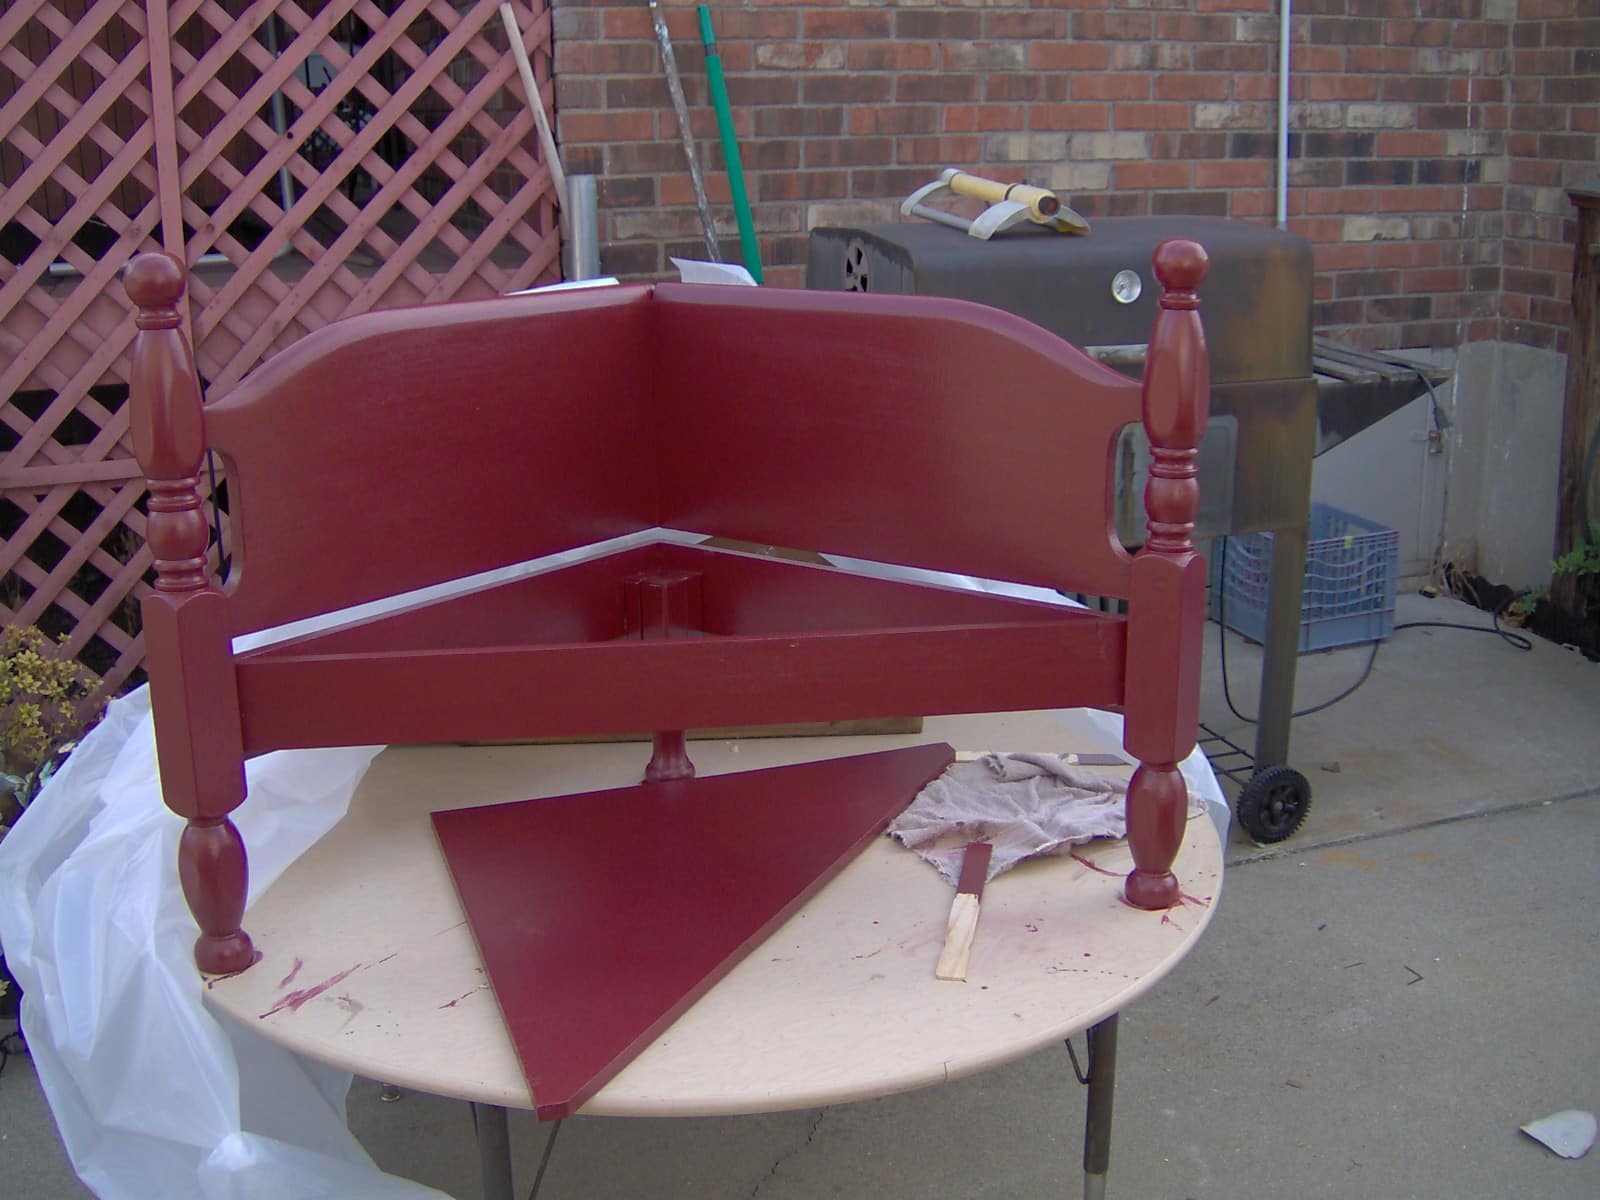
Looking closely, you will see inside the back corner that we added a third leg (from another project).
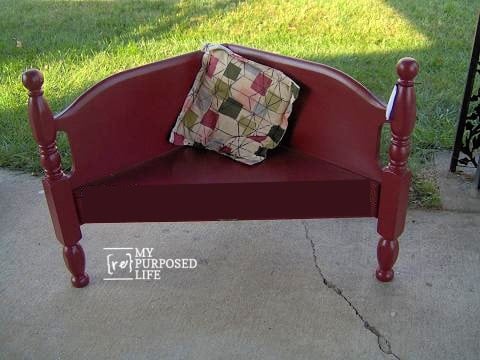
We glued and screwed this down the back left side. We added a 1x across the front, cutting the ends on an angle so they would fit nicely. The seat was made out of a piece of scrap plywood.
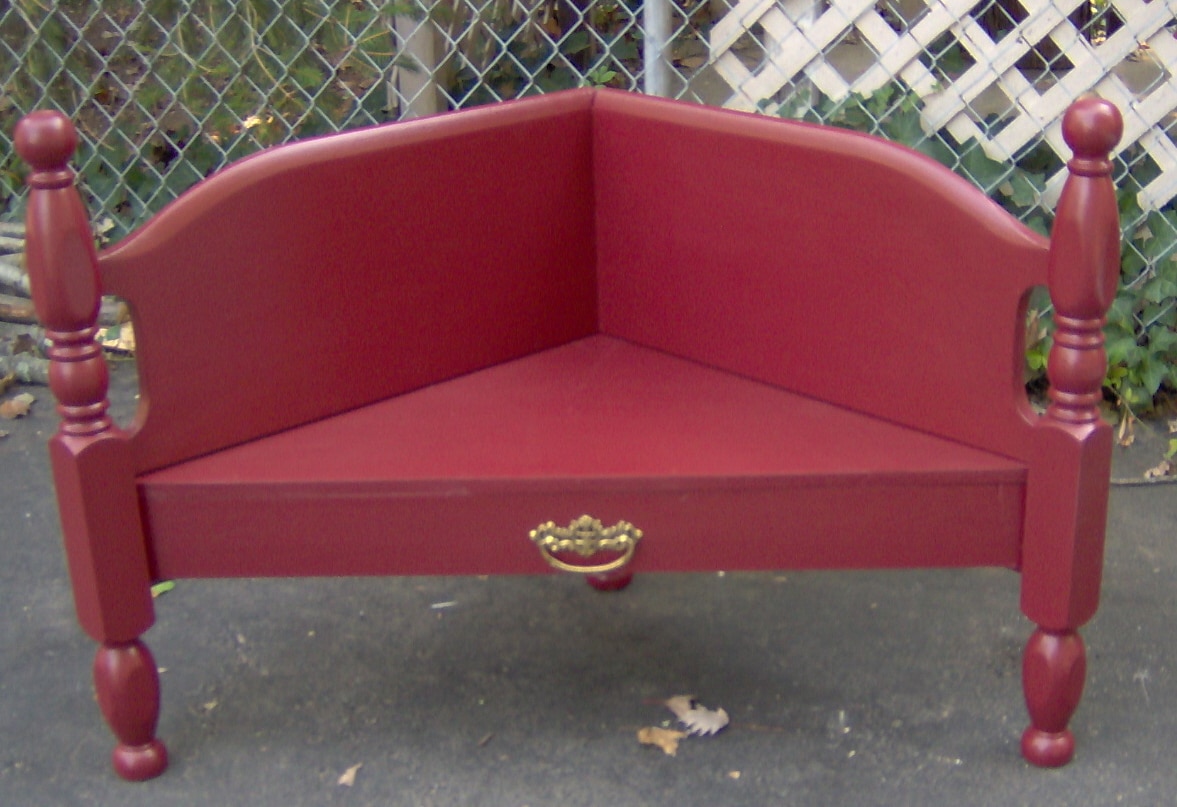
We adorned the Wine Colored Corner Bench with a handle in the front to give it a faux drawer look. These corner benches are easy to make and much easier to move from one place to another.
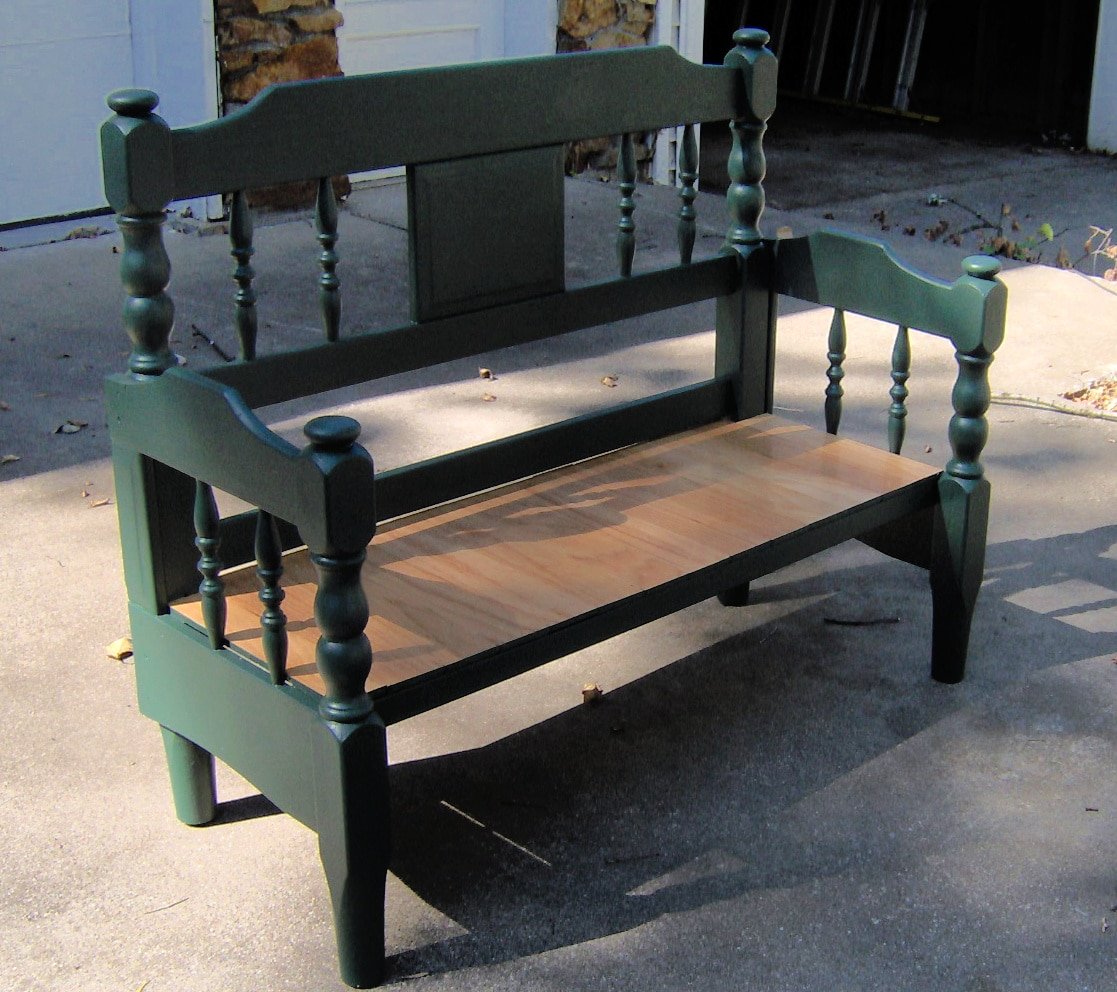
Easy Twin Bed Bench Tutorial
Now I’ll show you the easier way to attach the sides (footboard cut in half)
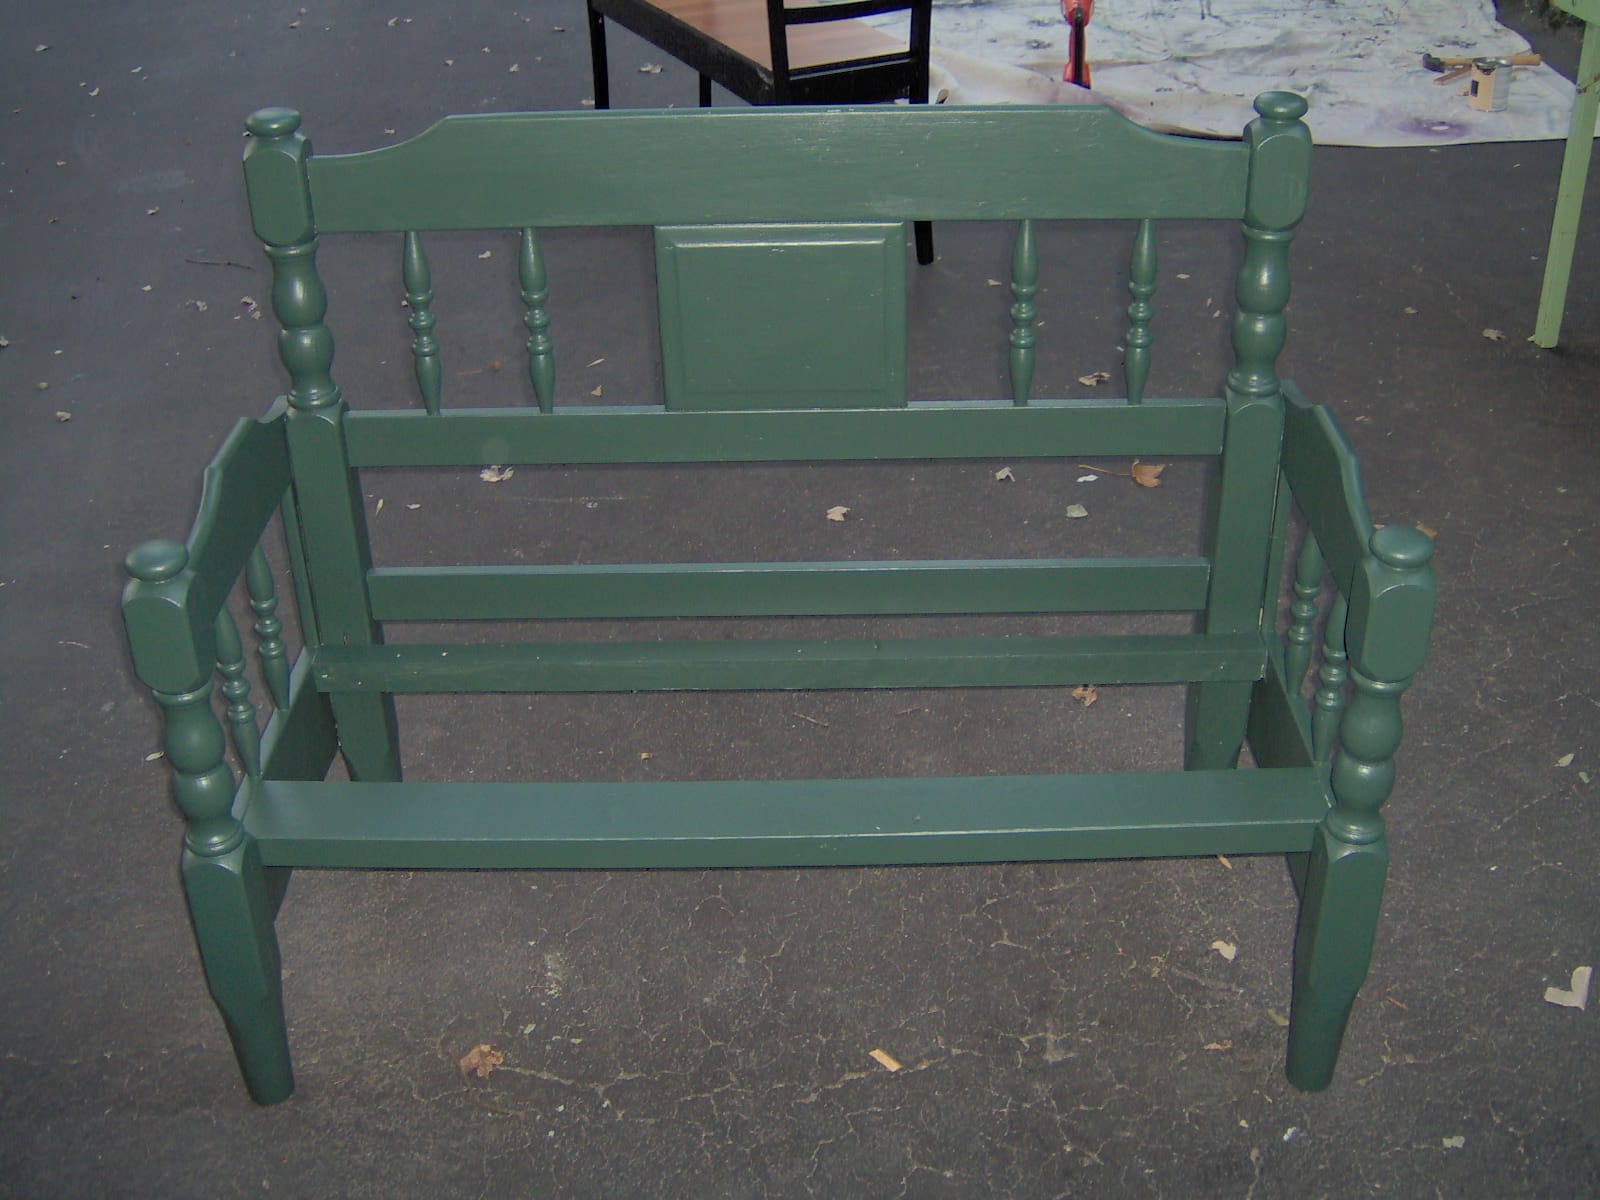
This was a twin bed. We cut the footboard in half on the table saw. You can see that we laid the footboard up against the side of the headboard. (Gail’s way) We glued and screwed through the footboard into the headboard.
We then attached a 2×4 across the front and a ripped 2×4 across the back.
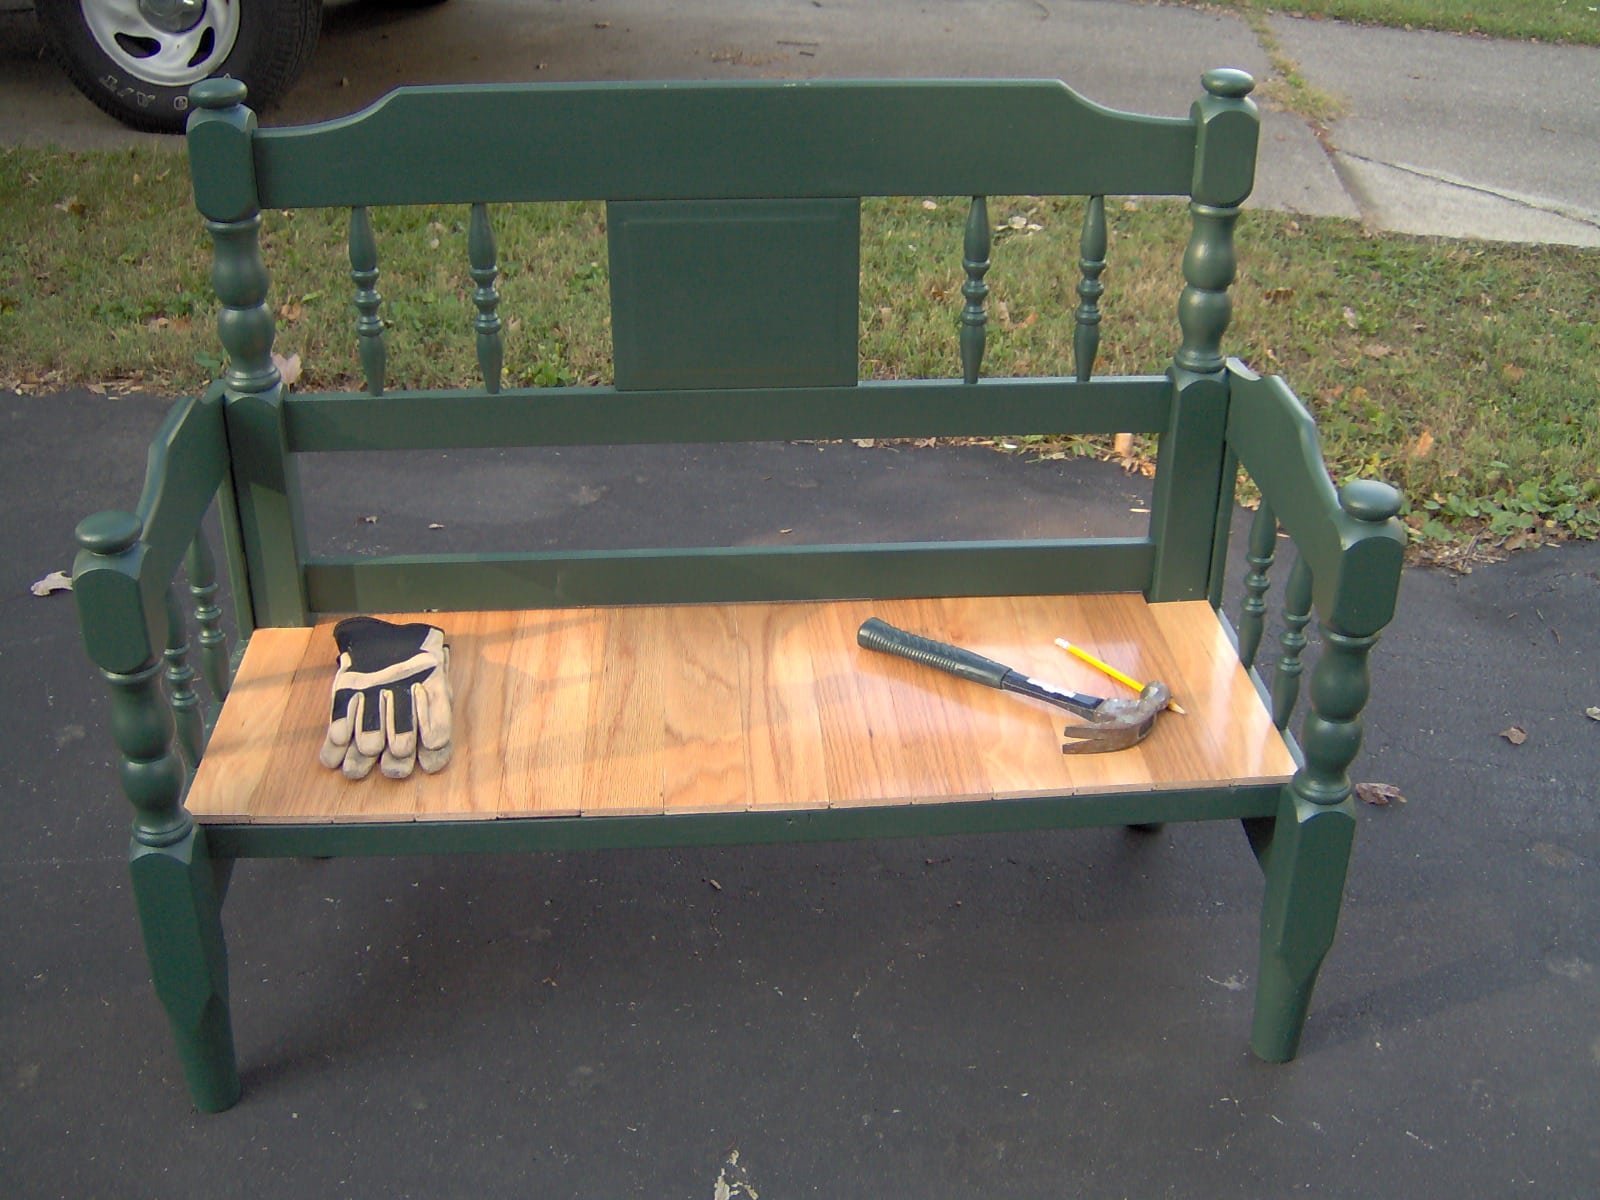
We used flooring (tongue and groove) for this easy green headboard bench seat. I believe it was hardwood, not laminate.
Some afterthoughts:
Drywall screws were used, but wood screws will give a better hold. (size depends on what two pieces of wood we are joining together)
- It’s recommended to sink all screws that will be visible
- Putty over our screw holes and screws
- ALWAYS drill pilot holes
- Using a nail gun to attach the seats/slats is helpful. If we don’t use tongue and groove flooring, we use paint sticks or yardsticks to separate the slats equally.
Sometimes we use the right side of the flooring unpainted, other times we sand the shine off the flooring and paint the flooring to match the bench.
Almost all our headboards and/or footboards have been curb finds. If curb shopping isn’t illegal in your area, I suggest you check out your .gov site and find out when the large trash pickup day is. Our metro area has them about 3-4 times a year, rotating the neighborhoods. That means that curb shopping is available most months.
You can check out all of my headboard benches and more.
Thanks alot for that good ideas. I have some of an old headboards,
And am gonna make great benches,
as well as i will tell my friends of that great ideas you got for the old stuff,
Thanks again god bliss you.
Ali
Thanks for the great info. just picked up 3 headboards for $6. Now to get busy!
Knew I wanted to make a bench from my childhood full size bed, but just couldn’t figure out how. Thanks so much this makes perfect sense.
This is really great!! I love re-purposing, too! Just yesterday, I “re-upholstered” a chair using belts! If you have a minute, Check it out at http://www.WhatAmberLoves.com and let me know what you think!
This is a great idea! I see these old headboards in the thrift stores all the time…now I want one so I can try this. I am adding this project to my blog bucket list for sure! Thanks
BTW-I joined the Circle of Bliss too!
I am amazed and so freaking excited to find this!! I found you via a friends pin at pintrest! I am following your blog and will be linking to this amazing post on my blog. I have 2 or 3 headboard/foot boards in my garage waiting for some LOVE!!! I think I am going to give one of these (if I can do it!) to my parents for cmas. The beds are all from my grandma’s house and none of us need another bed but we can all use an amazing bench!! LOVE LOVE Love!! So glad I found you!!!
Oh my goodness you are talented/creative!
Thank you for sharing.
Debra
DesignHouse Inc.
http://www.design-house.com
http://design-house-plans.blogspot.com/
Thankyou, thankyou! I always wanted one of these for a long time but didn’t know how to make it. Your tutorial was primo! I found a headboard for $10 and with the extra materials my bench cost me a total of $40. I love it! If you want to see it, I posted it on my blog and linked your tutorial to it because yours worked for me 🙂
I have been dying to make one of these forever…just waiting to have a house with a spot to put it in! But I”m happy to see the corner one because that’s more doable in small spaces…I might even be able to get away with it in my apartment! Thanks for taking the time to share that with everyone.
Great and beautiful pieces!
My wife and I have started a new business repurposing old items and giving them a new and unique look. Please check them out at http://www.brooksathome.biz and let us know what you think!
Thanks again for sharing your work!
Matt Brooks
Hey Gail!
I referenced your post here when blogging about the bench I made. It turned out great, if you want to take a look at it:
http://craftyladylindsay.blogspot.com/2011/01/bench-made-from-headboard-and-footboard.html
Feel free to grab my “featured” button from my sidebar.
Thanks for your great blog!
Lindsay @ Diary of a Crafty Lady
I just found you thru another blogger, and I am amazed! I have an old full bed with posts that was my folks, and I think I would love a bench made from it! Problem is I have the whole set and it is is a Queen Anne mahogany….but who sleeps in a full bed anymore????? I am keeping this post in my emails just in case I see heabdoard or sets along the road! Sandy