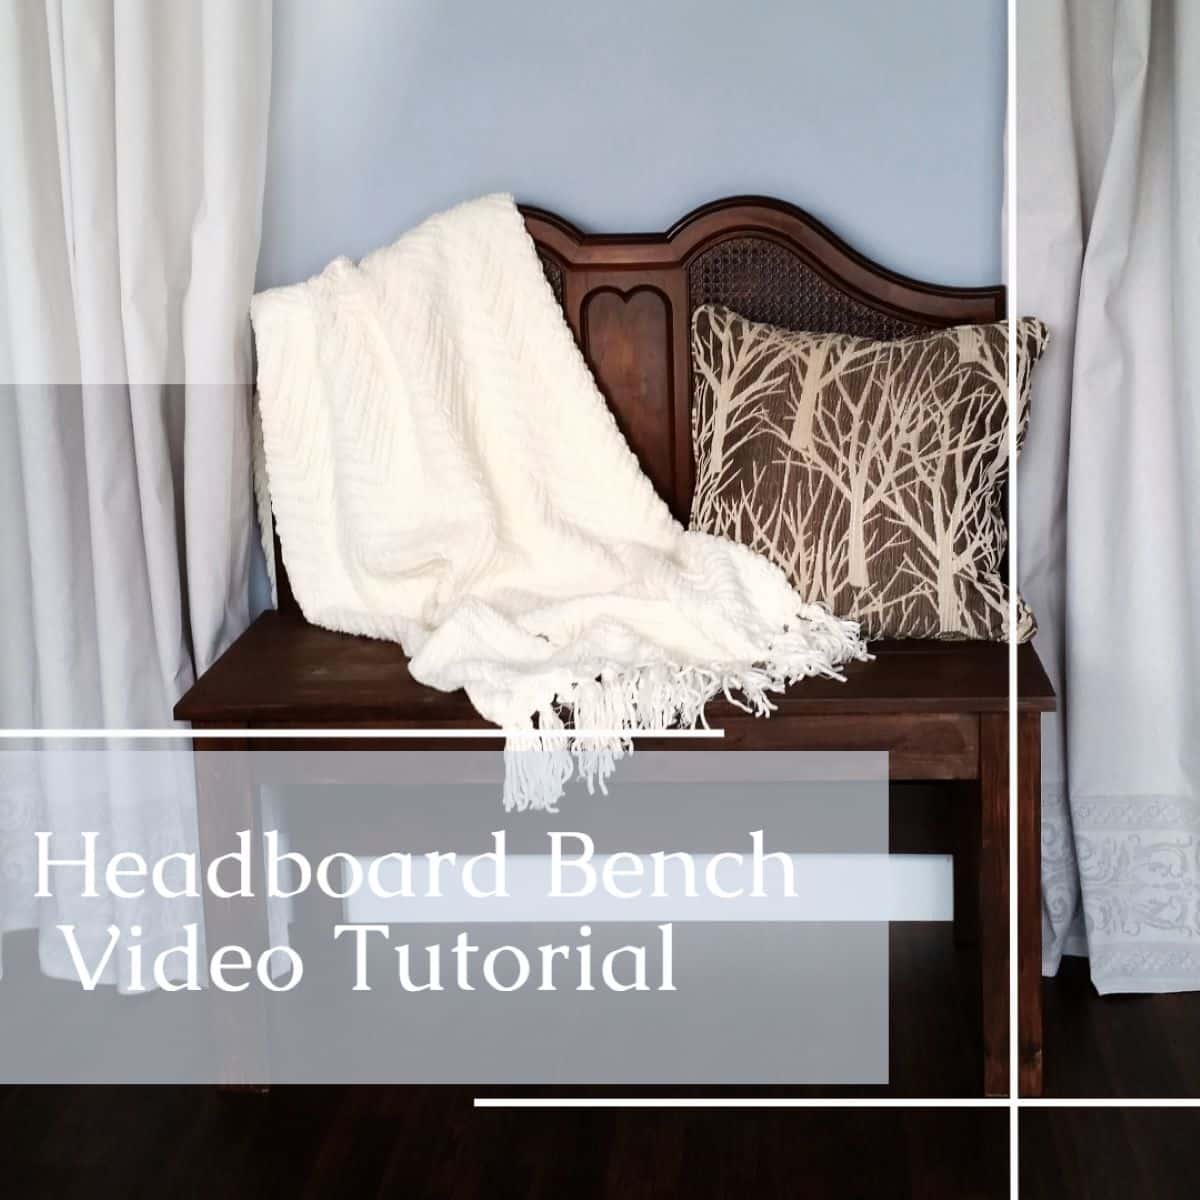
How to Build A Headboard Bench Video
As an Amazon Associate, I earn from qualifying purchases.
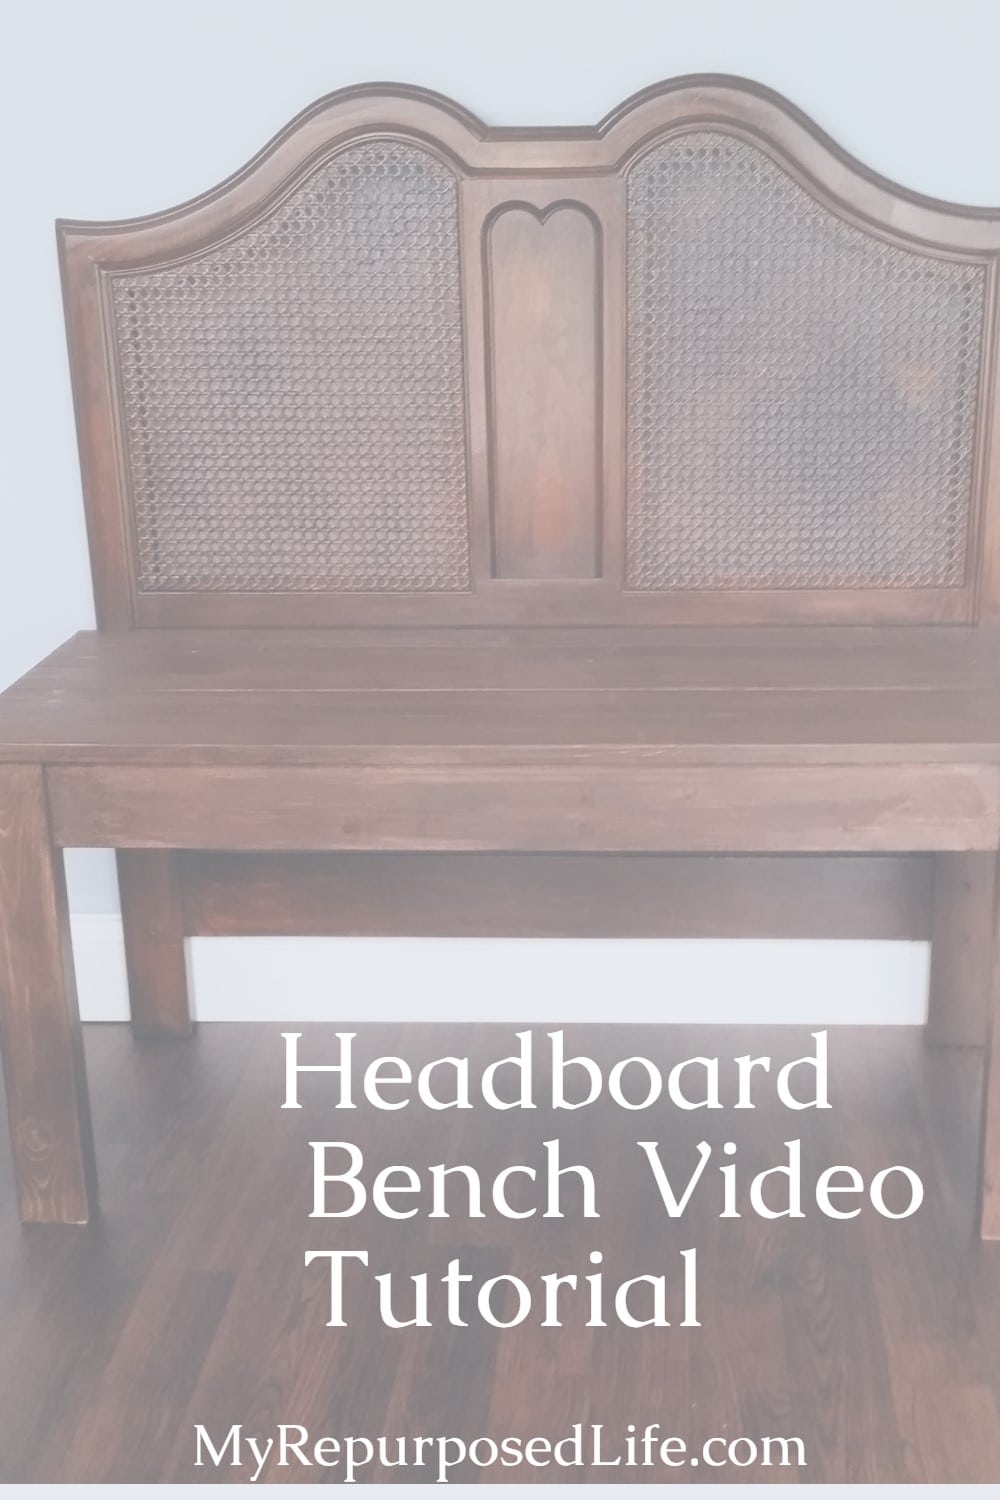
If you’ve been around My Repurposed Life for a while, you already know the headboard bench is kind of my “thing.” It’s one of the first projects that brought new readers to the blog, and I still get excited every time I turn an old bed into something useful. In this post, I’m sharing a quick headboard bench tutorial video so you can actually see the simple build steps in action and feel confident making one of your own.

Jump to: How to make a headboard bench (video tutorial)
Jump to: How to use gel stain on your new headboard bench (video tutorial)
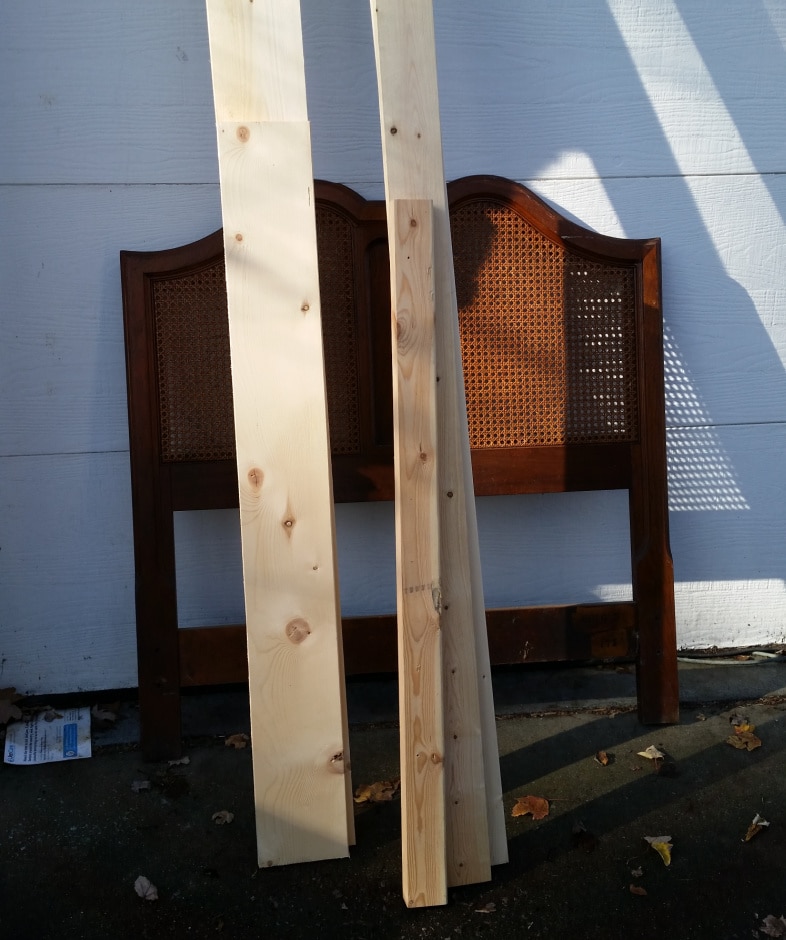
The supply list will be dependent on the look you’re going for with your headboard bench. Generally, I use 1×4’s and 1×6’s for the frame and seat. Legs can be anything from chair legs to bed parts to new lumber.
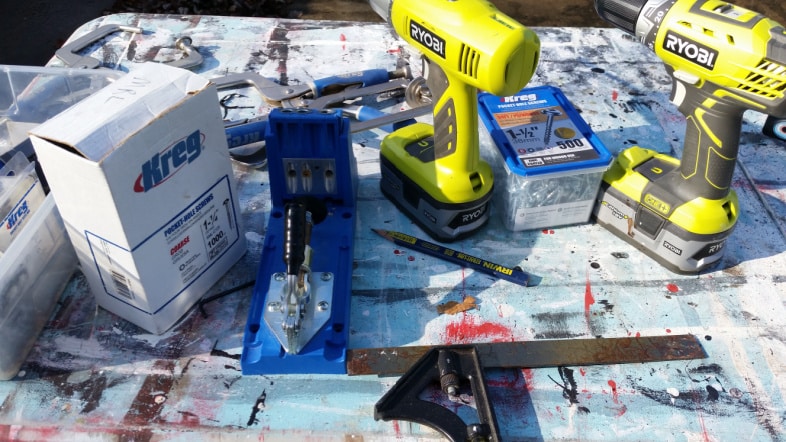
The tools I use are always the same.

We broke a record temperature at the end of the day with 76° on the DAY after Christmas! I try to stay on top of the extended forecast so I’m ready to work on projects when the weather permits.
Choose the legs for your headboard bench.
Figuring out which legs you will use should be the first step when building a headboard bench. You won’t know the measurements for the front or side of the skirt until you know the size of the legs. The video below on the headboard bench will give you more details.
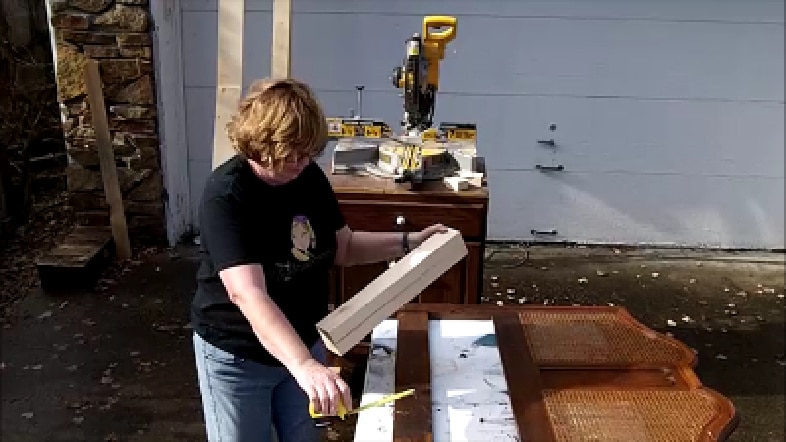
While laying the legs on the headboard, measure the distance between the legs for your front brace.

Set the Kreg Jig to 3/4’ for all pocket holes, including the front brace/skirt board.
Visit the My Repurposed Life Amazon Store to shop my favorite items.
If you don’t have a pocket hole jig, you can use “L” brackets. However, if you work on many projects, I highly recommend investing in one of these jigs. For more details, see my post How To Use A Kreg Jig.

Keep a sanding sponge handy to sand every cut as you complete it.
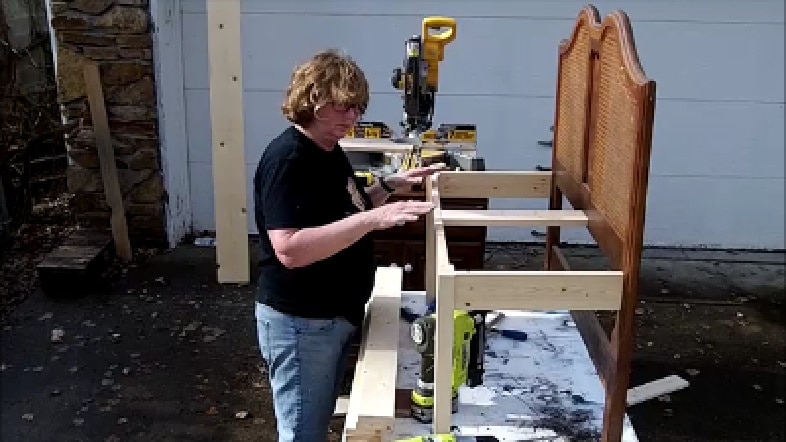
Make the front apron.
Typically when you use 3/4” pine you’ll use 1 1/4” pocket hole screws—but because I was securing the 3/4” pine to the ripped 2×4’s (front legs) I used 1 1/2” pocket hole screws. Kreg jig right angle clamps help to hold the boards together to get a perfect fit.
Attach the side to the front leg and headboard.
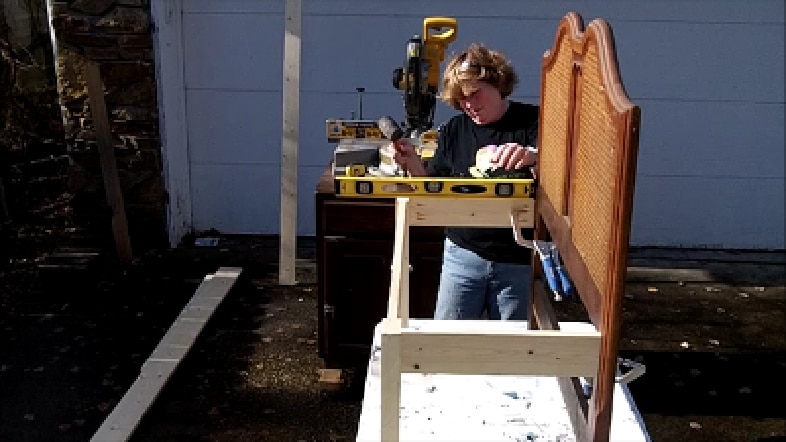
Because I was building this headboard bench on a table, I put the level on the table and used the same “level” bubble on the sides. Again, the right-angle clamps make this task easy. I used 1 1/2” pocket hole screws to secure the sides against the front leg and the headboard. A rubber mallet helps tap the boards into alignment.
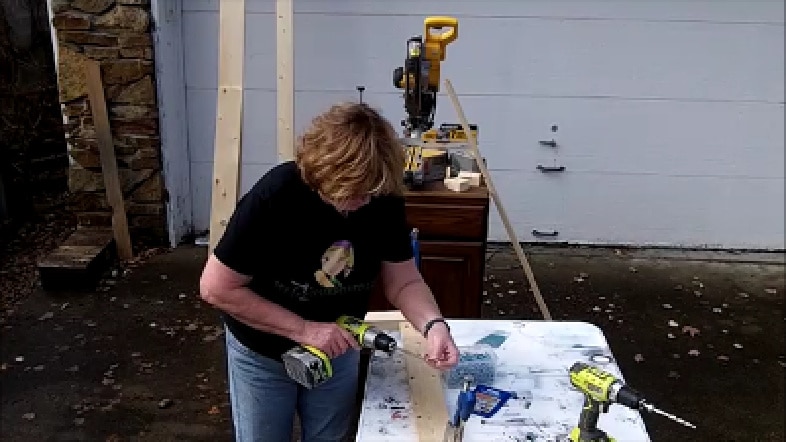
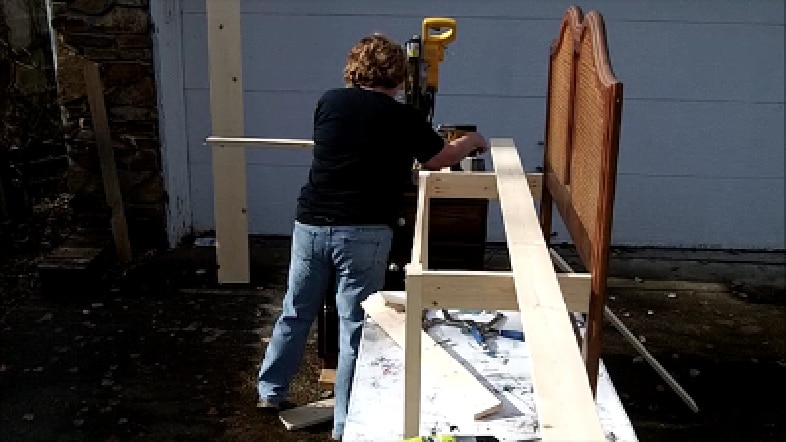
Drill pocket holes and attach the center support.
I cut a small board to place in the center to help support the plank seat. I installed it by drilling pocket holes. For more details, see the headboard bench video in this post.
To give the underside of the bench a clean look, I attach the cross brace with the pocket holes facing up. Because I was attaching 3/4” pine to 3/4” pine, I used the recommended 1 1/4” pocket hole screws for this step.
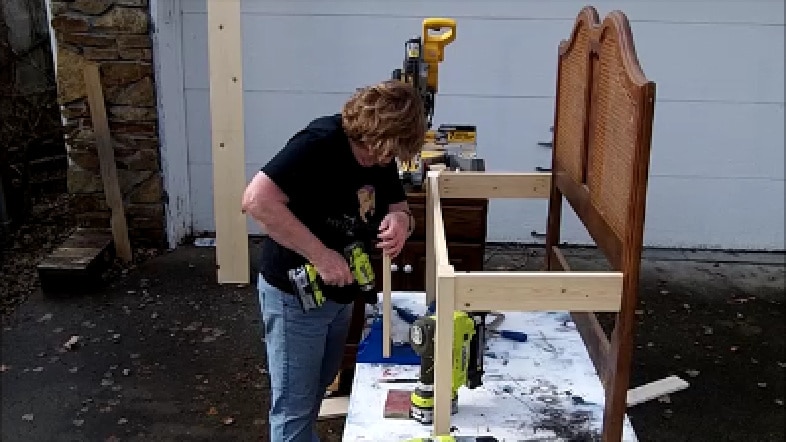
Cut seat slats.
I cut the planks for the seat using 1×4’s. (Note: I did the middle brace after cutting the boards. In the picture above, you can see the seat planks resting in front of the bench. I had to slightly rip one of the boards to get them all to fit from front to back. I placed the ripped (narrower) board against the back of the bench.
Attach seat slats with a nail gun.
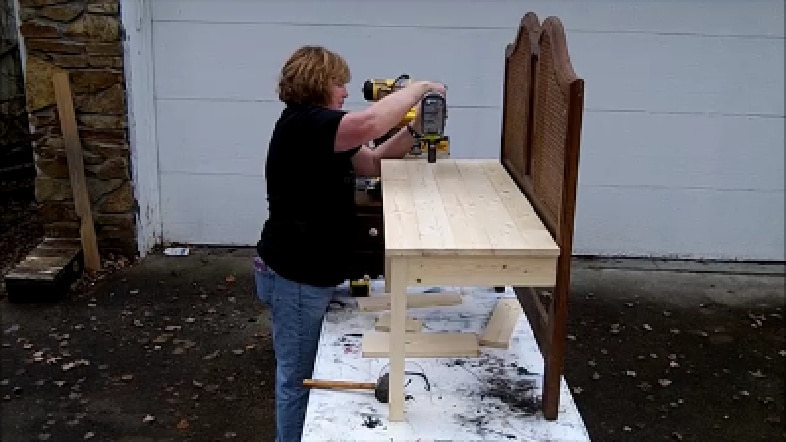
Truth in blogging—I wore the safety glasses you see by the rubber mallet to secure the planks with my nail gun. But—as things happen—the camera batteries died. After I charged the camera and went back to work, I pretended to use the nail gun and forgot to put on my safety glasses.
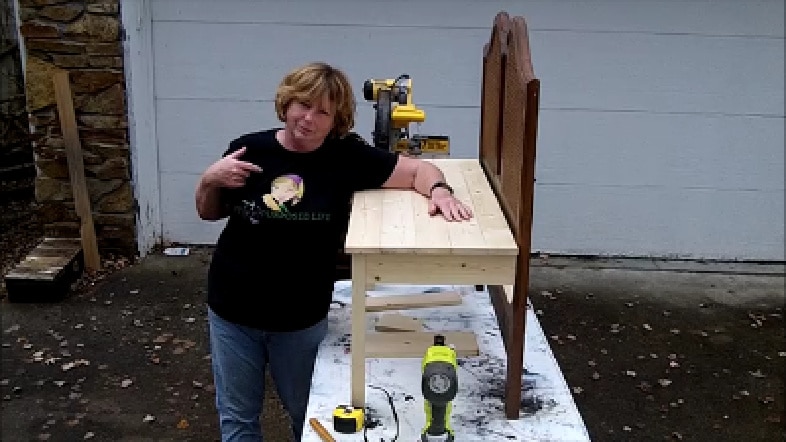
Job well done! This bench came together very quickly, with only one scene that didn’t make it in the video. I was going to use wider planks for the seat, and accidentally cut one too short. Plan “B” was to use the narrower boards instead.
Sand edges smooth.
Using a battery-powered orbital sander on all the boards quickly gives a smooth finish, ready to stain. I like to “round over” my edges so the seat planks have a softer look.
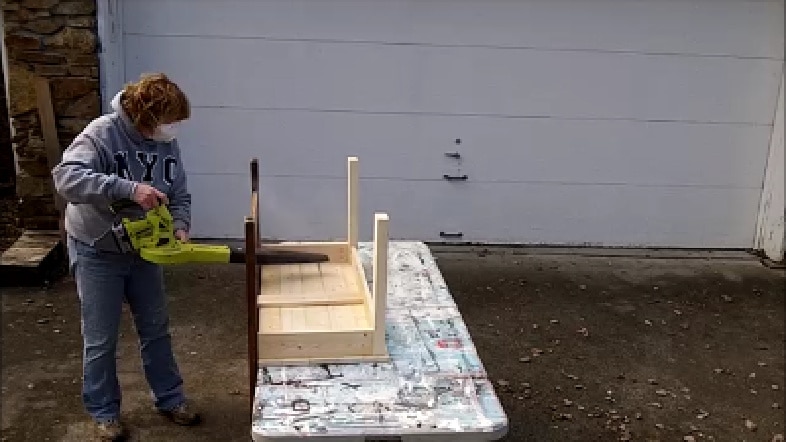
My leaf blower comes in handy to blow off large amounts of sawdust after sanding, and then I use a rag to remove the rest.
Stain or paint your new headboard bench.
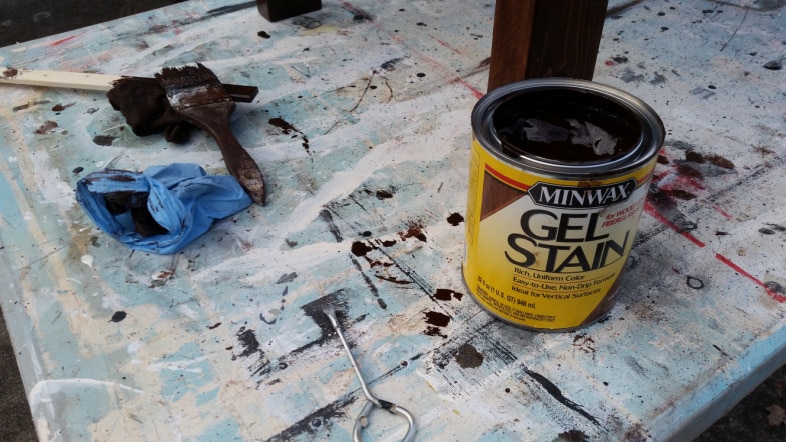
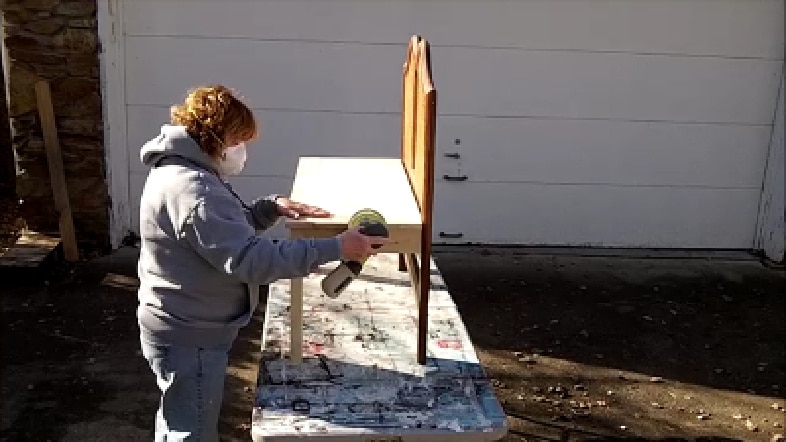
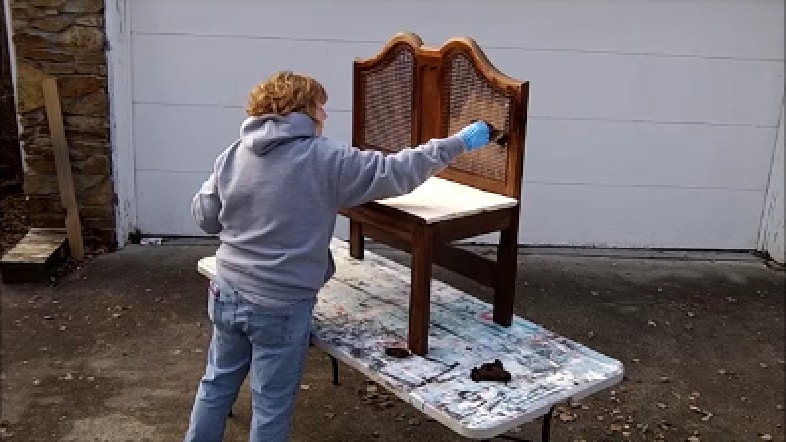
Because I didn’t want to strip the headboard’s finish, I chose to use Minwax Gel Stain (Hickory). I lightly sanded parts of the headboard that had wall paint rubbed on them. Gel stain won’t cover up the wall paint. I applied the stain with a cheap chip brush and used a soft rag to rub off excess stain. I always wear latex gloves when I do messy projects like this. My skin is so dry, no need to subject it to mineral spirits.
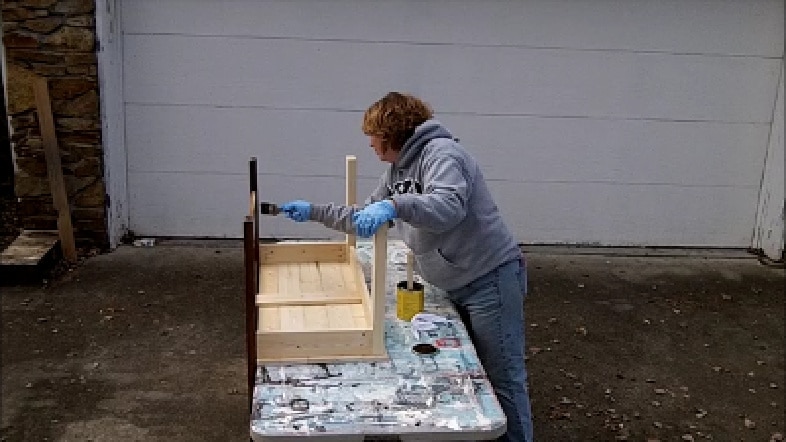
You can see that I start with the headboard bench upside down to ensure the underside is fully covered with the gel stain. TIP: I wear two gloves on my dominant hand, so when I need to take a picture, I can quickly remove one and reveal a clean glove, then put the messy glove back on to keep working.
When staining caned material, be mindful of drips on either side. My brush was mostly dry as I applied the stain because I didn’t want to wipe much back from the caning.
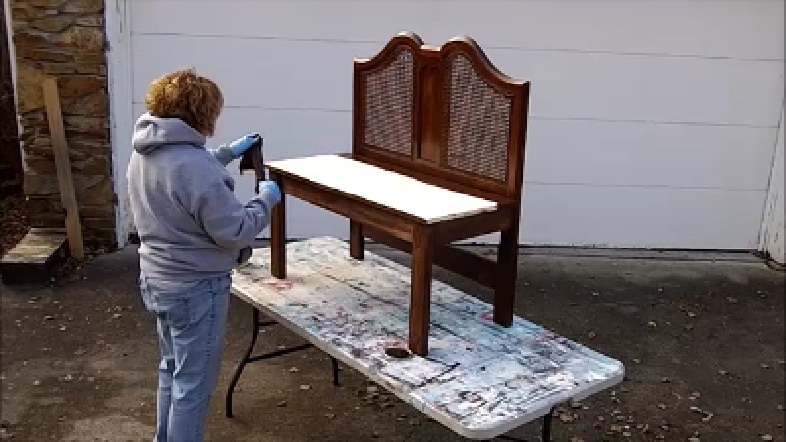
I use a very small soft cloth, so I don’t waste too much stain. After a while, the fabric becomes fairly saturated, allowing for some touch-ups in places missed.
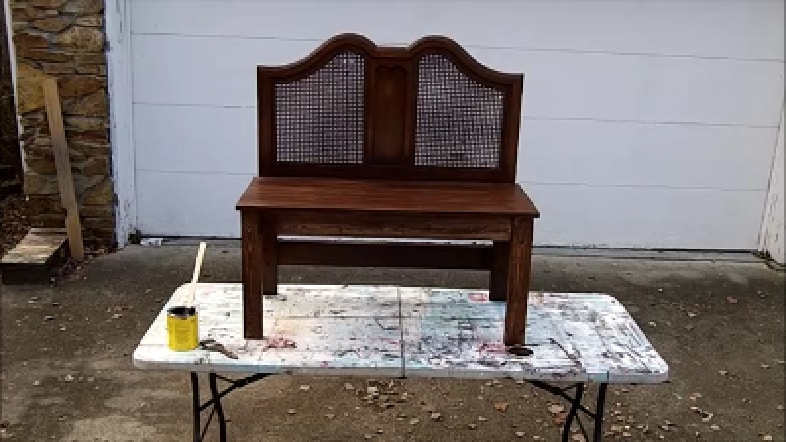
Wow! It’s done! I stained 2 days after I built it, and it was much cooler—about 54—but it dried really nicely! I’m writing this post on the night that I stained it. If I don’t write up a tutorial right away, I seriously struggle to remember the details.
A month later….
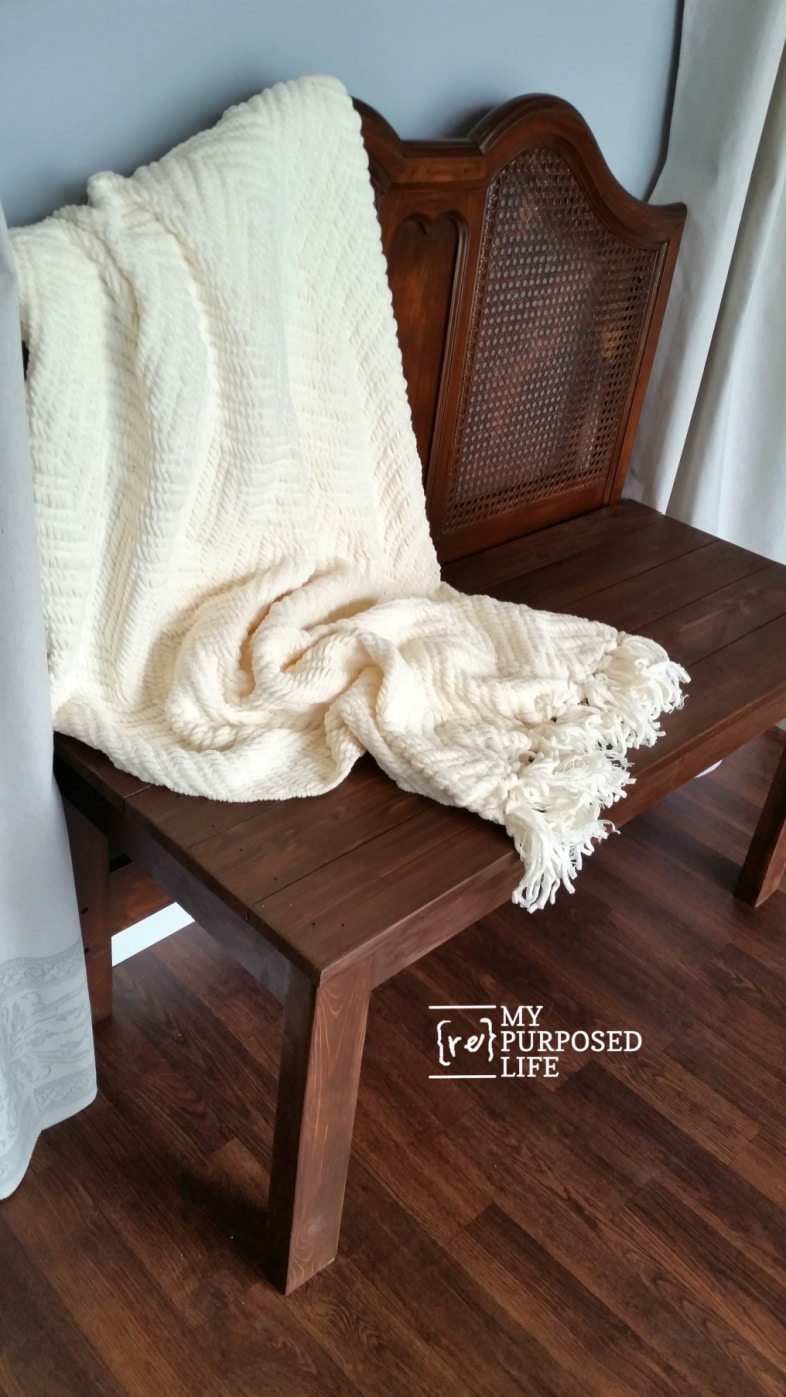
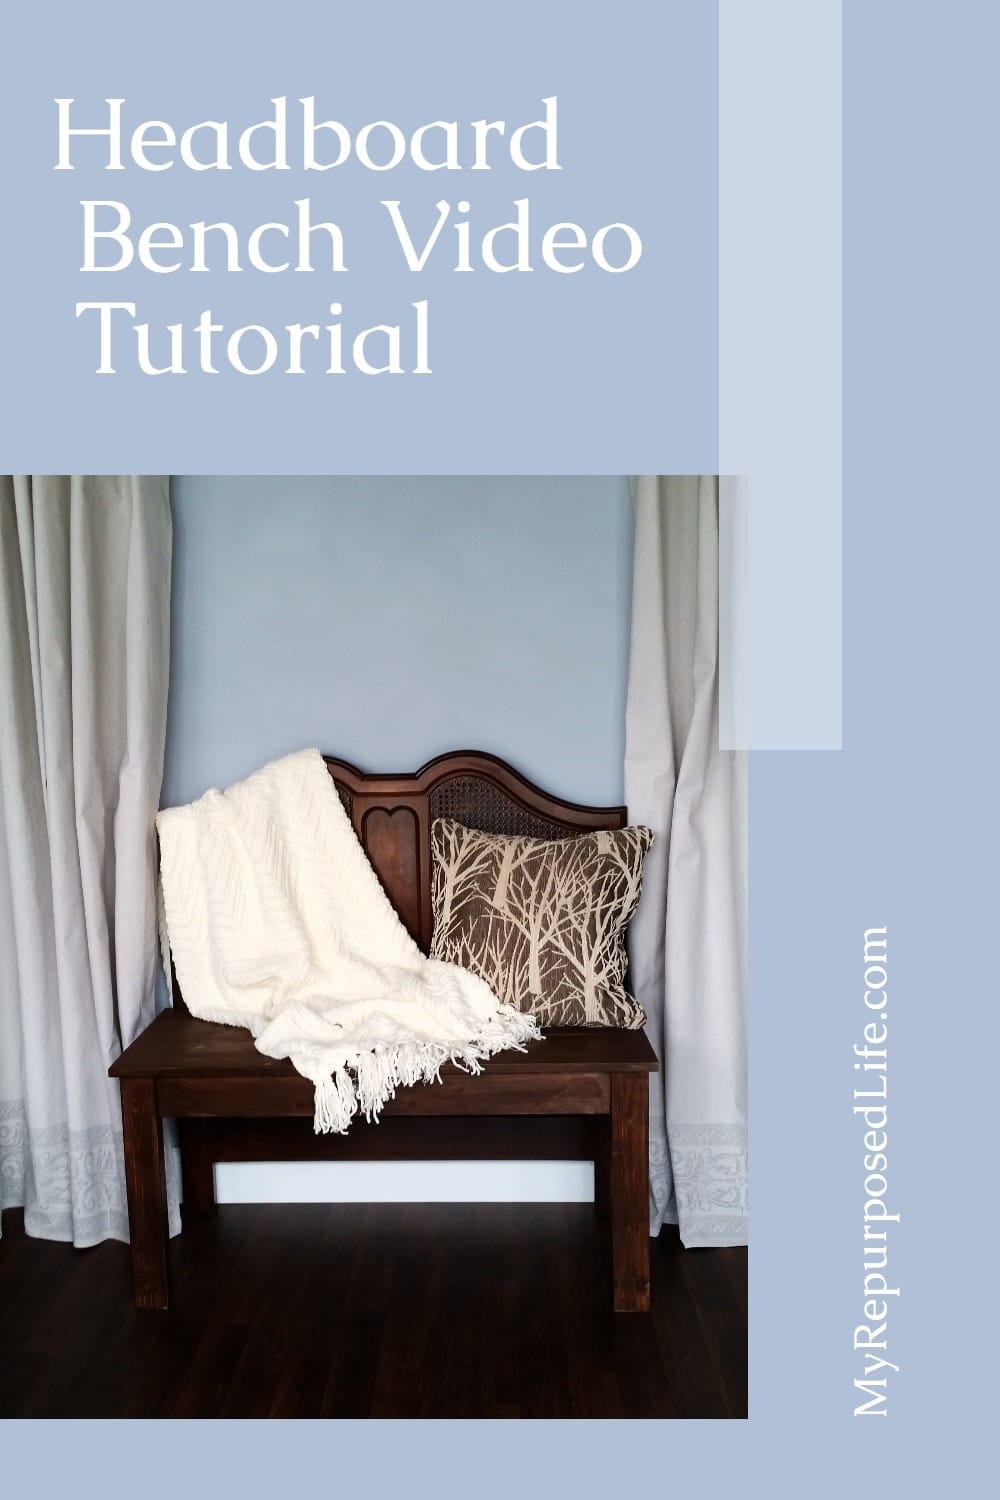
I finally got to take some pictures of the new twin headboard bench! I’m so happy I didn’t paint it.
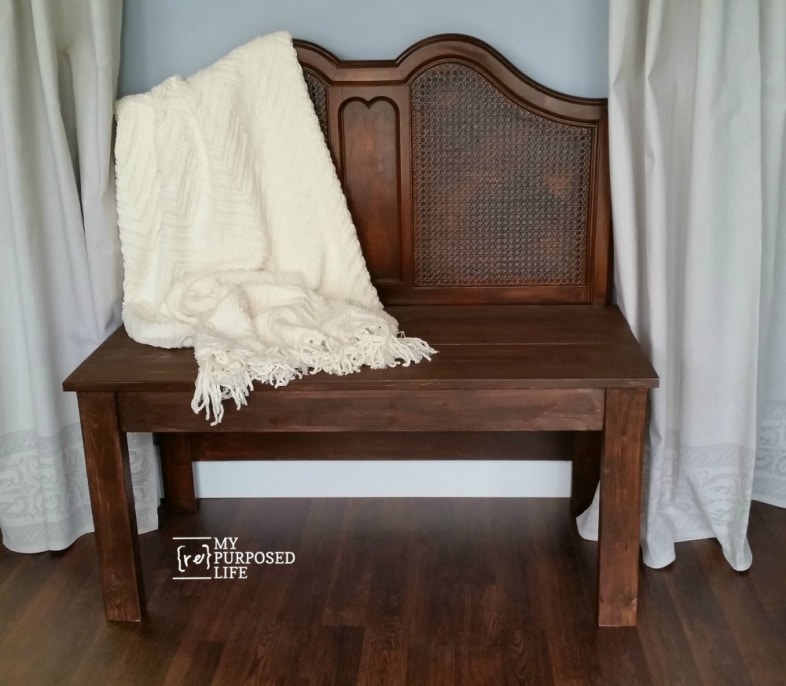
This small headboard bench would be great in an entryway, or even in a bedroom, perhaps at the foot of the bed.

I’ve been wanting to do a headboard bench video tutorial for the longest time! I hope you’ll see, when you watch it, that they’re really fun and easy to make.
How to make a headboard bench video tutorial

This quick little video will show you how easy it is to make your very own headboard bench. As I said, each bed is different, but the build is basically the same. Just make sure you start by choosing what you will use for legs. If you would like to see a slower (longer) version of the headboard video, you can watch it on youtube.
How to use gel stain on your new headboard bench video tutorial

Did you know that you can apply gel stain over existing finishes to help them blend better with new lumber when you do repurposed furniture projects? This quick video will show you how I achieved the final result for this fabulous headboard bench.
Have you made a headboard bench? Were you inspired by one of my many benches? I’d love to see what you’ve done. You can share it on Facebook or tag me on Instagram .
gail
See my favorite Mission Style Headboard Bench with Storage-The Complete Tutorial
sharing at Welcome Home Wednesdays
Here are a few of my favs!
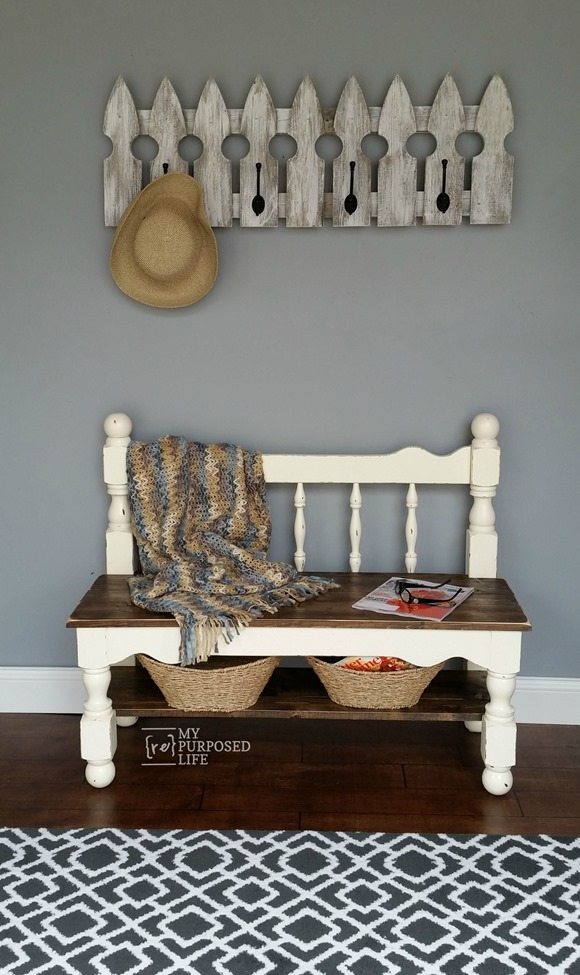
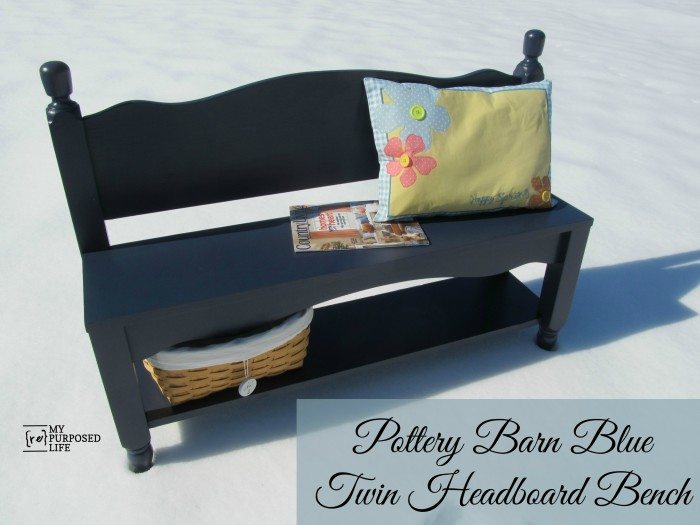
This small white headboard bench is quite popular on Pinterest.
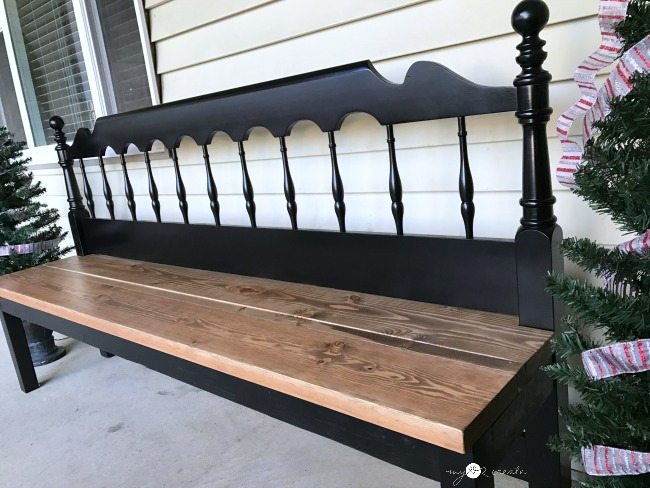
This is Mindi’s bench. I haven’t made a big one like this in a long, long time. I think it’s time to make another one.
This small bench with a storage shelf just might be my all-time favorite bench.
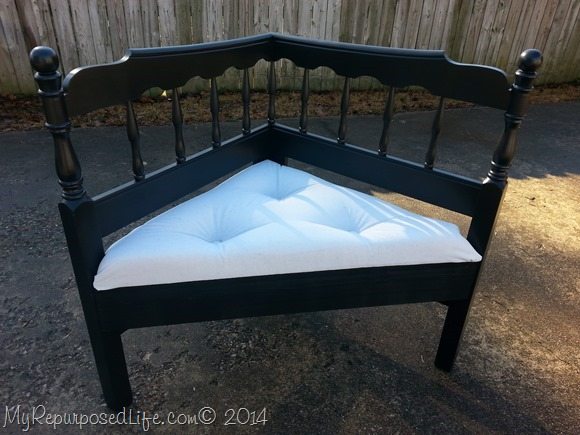
Corner benches are a great way to use up larger headboards.
Very inspiring I need a Kreg jig and I’m going to try this thanks
Awesome! Let me know if you have any issues as you get into the build. I’ll try to help if I can. Pictures may be needed. 🙂
good luck!
gail
Hi Gail!
Great tutorial. In step 3 & 4. What length is that board? Ans is that a good standard seat width?
Sharon,
I generally make my seat depths between 16-18 inches deep. You have to allow for the size of the leg. So the board might only be 14-16 inches long to allow for the width of the leg and the overhang in the front.
I hope this helps!
gail
You make it seem so easy and fast to make! I need a drill because doing it manually takes forever.
Ohhh yes! You must get a drill. My first good drill came from a pawn shop, still using it today!
gail
Wow, you’re quite handy! Your project turned out great! You’re a feature this week at Welcome Home Wednesdays! Congrats! See you tomorrow!
Thanks Erin! This was a fun bench… I love making them.
gail
your headboard benches are one of my favorite things and this one really cranked my tractor xx
THANK YOU!! We actually have a surplus of twin size head boards right now from grown kids- This is perfect! LOVE your blog! Won’t start mine till spring when we can get up north and make them outside :o)
You are just amazing! Although I’m not exactly afraid of them, power tools and I haven’t crossed paths often. I’m beginning to frequent my husband’s shop more, however, and have made friends with at least the chop saw. There’s a whole world of creativity that I’ve been missing! Thanks for sharing your skills and inspiring this reluctant tool-user.
We all have to start somewhere Karen! I’m self taught, and I still have all my fingers. 🙂 Happy to inspire my new friends.
gail
Awesome video Gail!! You are so cool and cute!! 🙂