How To Make A Tea Light Log Candle Holder
As an Amazon Associate, I earn from qualifying purchases.
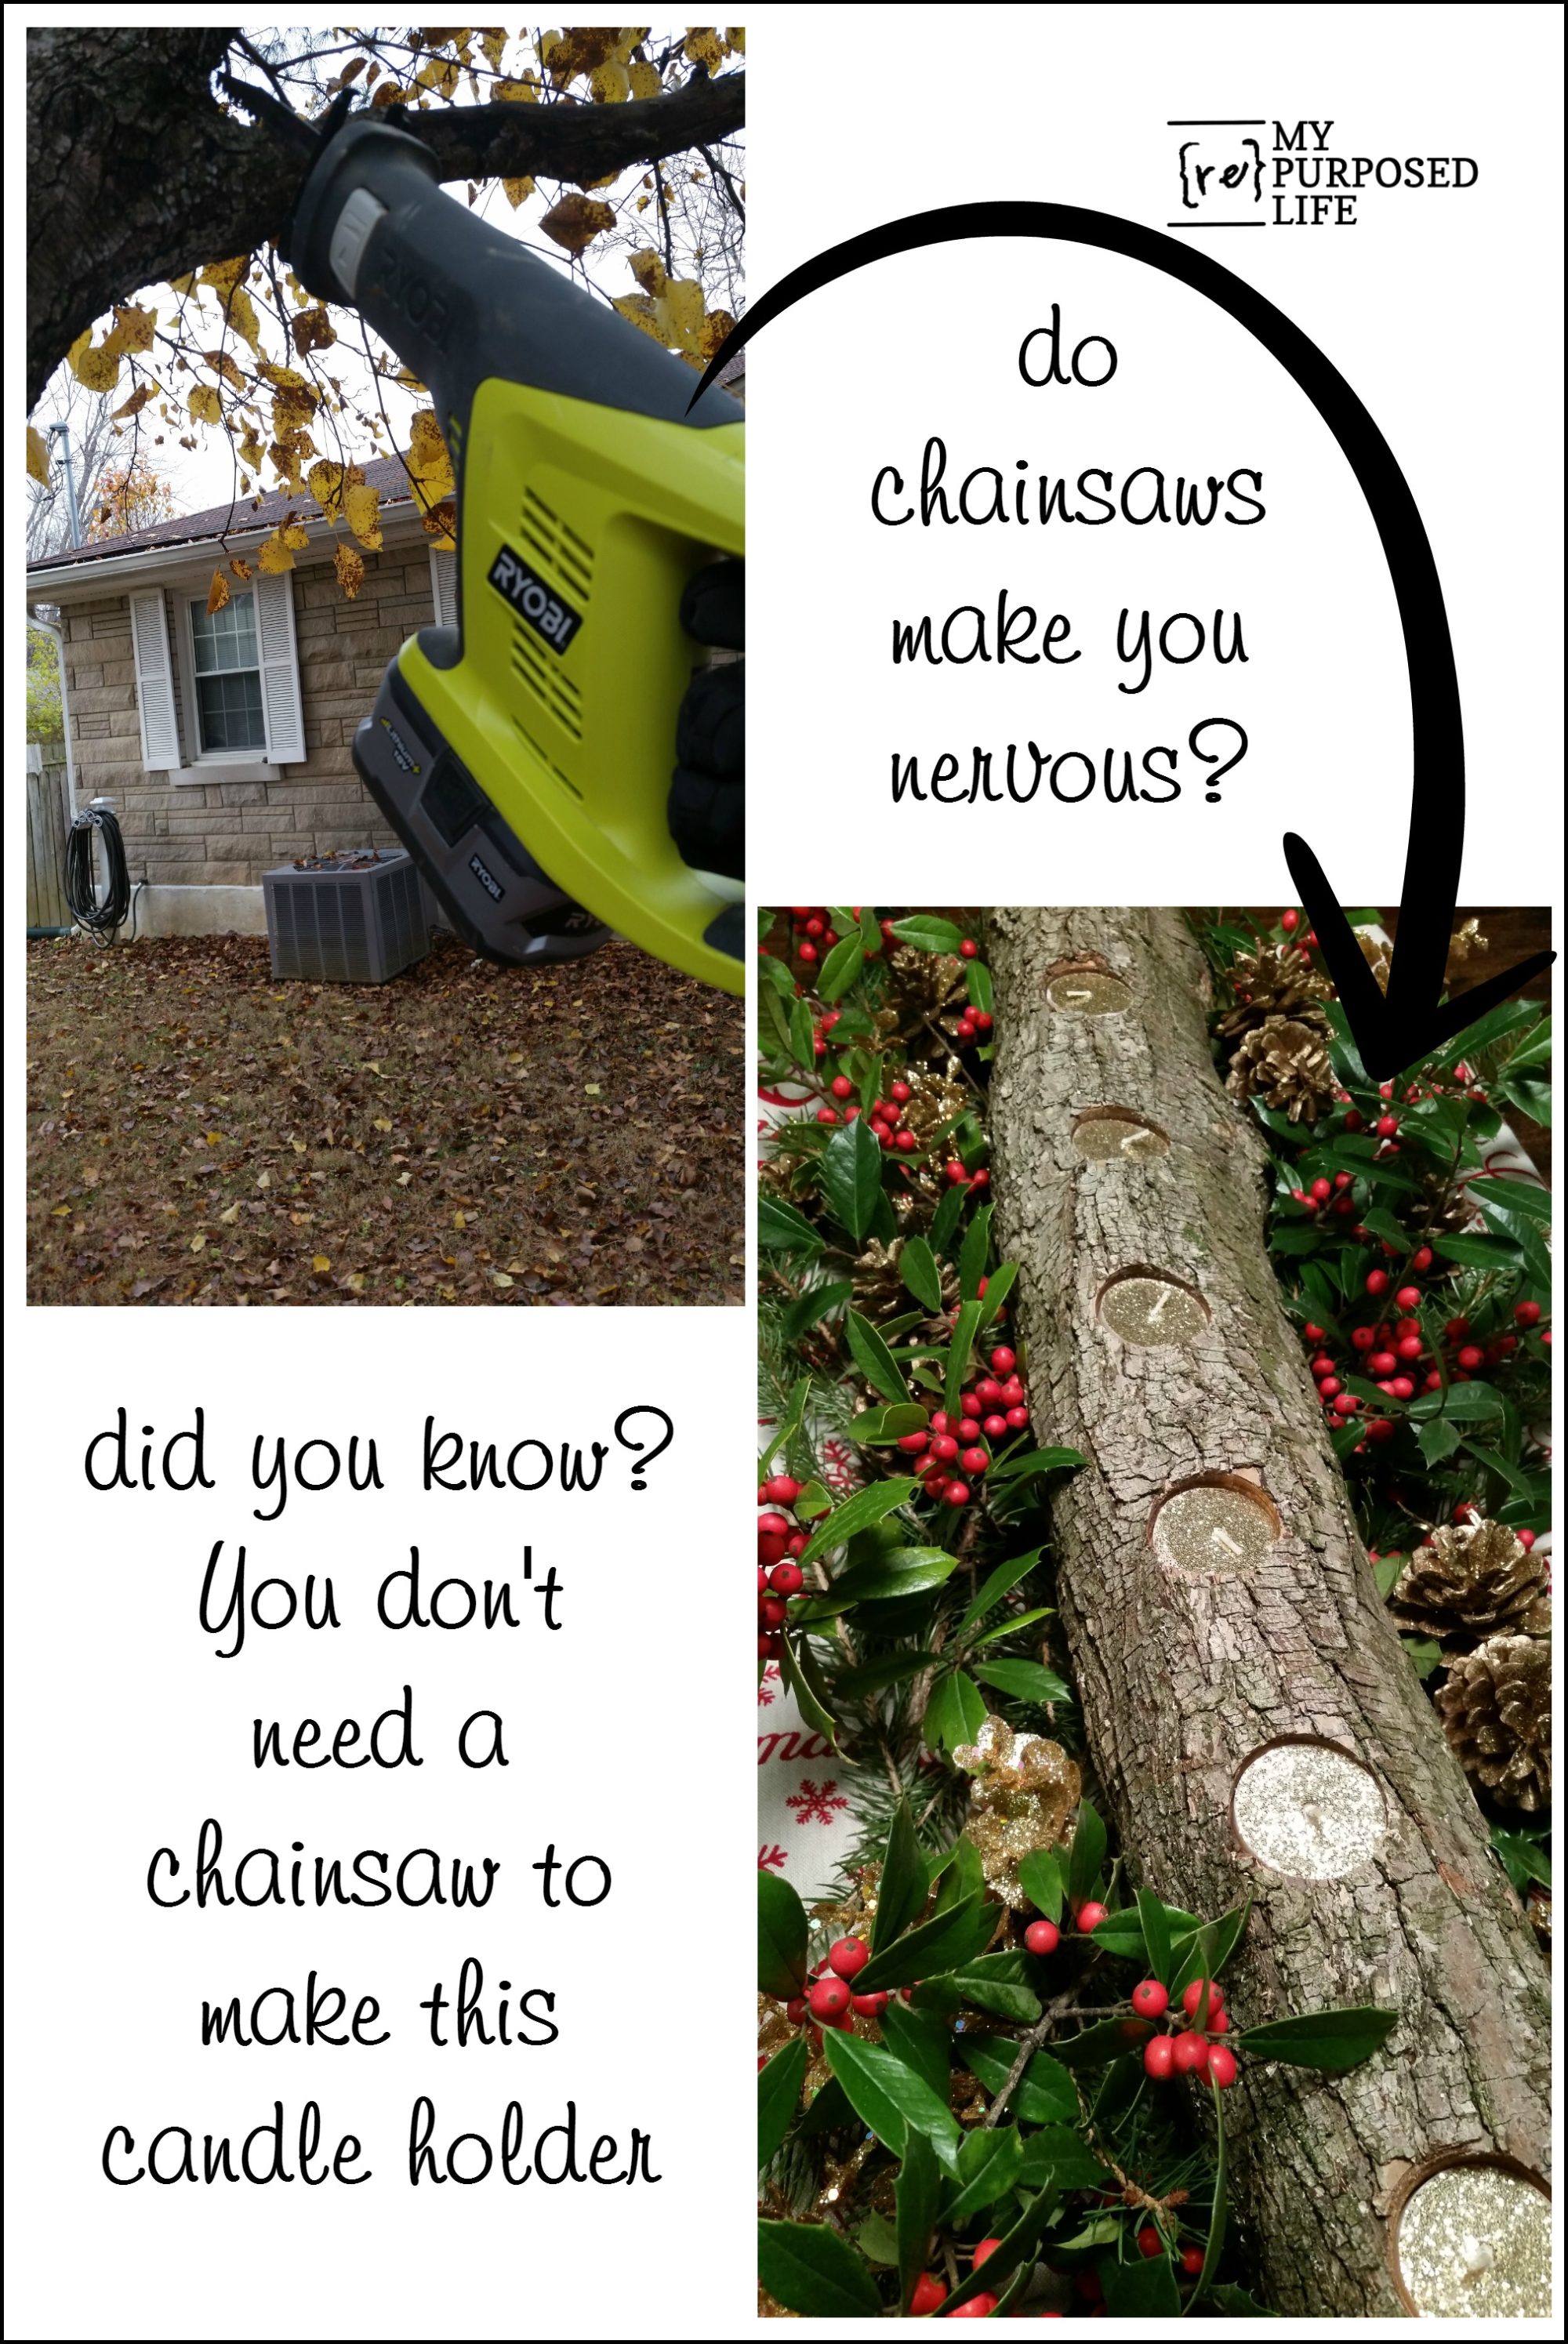
Have you ever seen a tea light log candle holder used for Christmas centerpieces? Recently, I was outside throwing ball with Lulu Mae, something we do at least twice a day. She got distracted, so I was left there just standing and waiting for her to get her ball when I noticed one of my ornamental pear trees needed a little trim of a useless tree branch.
It’s that bottom branch on the right. You can see a dead limb up to the left. In the background you can see my diy hose hanger.
You can see that there are already a couple of pieces that have already been broken off up at the top. Did you know that you do not need a chain saw to trim tree branches? I actually have a chain saw now, but I’ve never used it. Rodney used it when we installed the DIY picket fence last year—to remove some trees that were in the way.
*this post contains affiliate links for your convenience*
Rodney told me about these tree pruning blades at that time and I ordered them on Amazon in a five pack. (the one on the right) Notice the teeth are different and it’s quite long.
I attached the blade to my reciprocating saw, climbed a ladder and got right to work. Tree limbs are much heavier than they appear, and it’s best to start pruning up near the top, dropping a little at a time.
These pieces were from the top of the branch, getting rid of some of the weight made a big difference!
Ta Da! In no time, all the branches were trimmed off the tree. Can you see the piece I had my eye on for the log tea light candle holder?
It really is the perfect specimen, don’t you think? It’s about 28” long. I used this Forstner Bit to drill the holes 1 1/2” in diameter.
I drilled the first hole in the center of the log, enjoying the wood shavings flying out of the way. This bit really makes this job so easy!
The holes ended up being about 3.5” apart. It really was a lot of fun creating all of these candle holes. I held the log with my feet as I drilled the holes. I don’t recommend you doing that. To use one of these bits, apply light steady pressure until the bit bites the log, then continue until the bit is even with the wood as I did here. Using a candle to test the depth. (You’ll see later that I actually went back to the driveway to drill the holes deeper)
I used my cordless blower to dust off the shavings, and remove them from the driveway. Notice the Gorilla Glue tape on the switch. I dropped it over the summer and I’m afraid if the switch is turned all the way off, it may not switch on again.
I bought a couple of Christmas Kitchen Towels at Hobby Lobby (28×20) because a table runner would swallow up my tiny table.
I cut some clippings from a pine tree and a holly tree. I have several pine trees, but chose the one with shorter (softer) needles. The holly tree is full of beautiful red berries!
I spent a great deal of time trying to get all the greenery “just right”, only to decide that the candles don’t sit deep enough in the holes. That is when I took it back outside to drill the holes a little deeper. I seriously could drill these holes all day long.
Plan “b”. I removed the red towel, opening the Merry Christmas towel a little more on the sides. Can you see how the glitter tea light candles rest a little deeper in the holes now? I bought them at Hobby Lobby too, but you can pick them up on Amazon using the link above.
It’s really too large for my small kitchen table, but the lighting was a little better in there. I have a leaf for the table but I rarely use it. Want to make your own DIY Bless The Food sign, click that link.
When you make one, you can make your own decision about how deep to drill the holes, but I really like the way these candles sort of “sink” into the drilled holes.
Love it? Please PIN IT!
In addition to the real greenery, I also used 4 glitter (gold) sprigs from Hobby Lobby and some pine cones I bought on clearance after Christmas last year at Home Depot.
After trying it on my table, I moved it to my mantel below my Christmas Trees For Sale sign.
When I envisioned making this log tea light candle holder, I thought I would have to turn the log over and lightly sand the bottom so that it would rest flat and even on the table. But after laying it on the driveway, I went with it’s natural resting face. heheheh
As always, this tutorial is to inspire you and show you how easy it is to make a log candle holder—and that you don’t need a chain saw to do so. It’s up to you to figure out how you want to display yours. We all know that’s not my forte. ![]()
Here’s the part where I tell you to BE SAFE! Do not leave candles unattended. I do NOT recommend using real tea light candles in a log candle holder. If I choose to use this for ambiance, I will be buying some battery operated tea light candles.
Where would you use this log candle holder?
gail

Use some of those smaller branches to make great Christmas ornaments.
Very nice Gail! I want to make one.
Thank you Becky. Using that bit was soooo much fun. The way it chucks the wood out is so awesome!
gail
What an awesome idea. Looked great on the table but so much better on the mantel! Beautiful.
Thank you Pam! I hope that you have a very Merry Christmas.
gail
What a beautiful way to put a dead branch to use, Gail. Love it and pinned it!
Thanks for your sweet comment Angie, and I appreciate you pinning it!
gail
I really want one of these candleholders! Thanks for the tutorial, Gail. Now, where to find a branch…
Yay Laurel! I just can’t say enough how much I loved making this project. so.much.fun.
gail
if i had something like that, i would use it in the dining room on the apothecary chest we have in there.
great job on the candle holder. and thanks for the info on getting the limbs off without using a chainsaw.