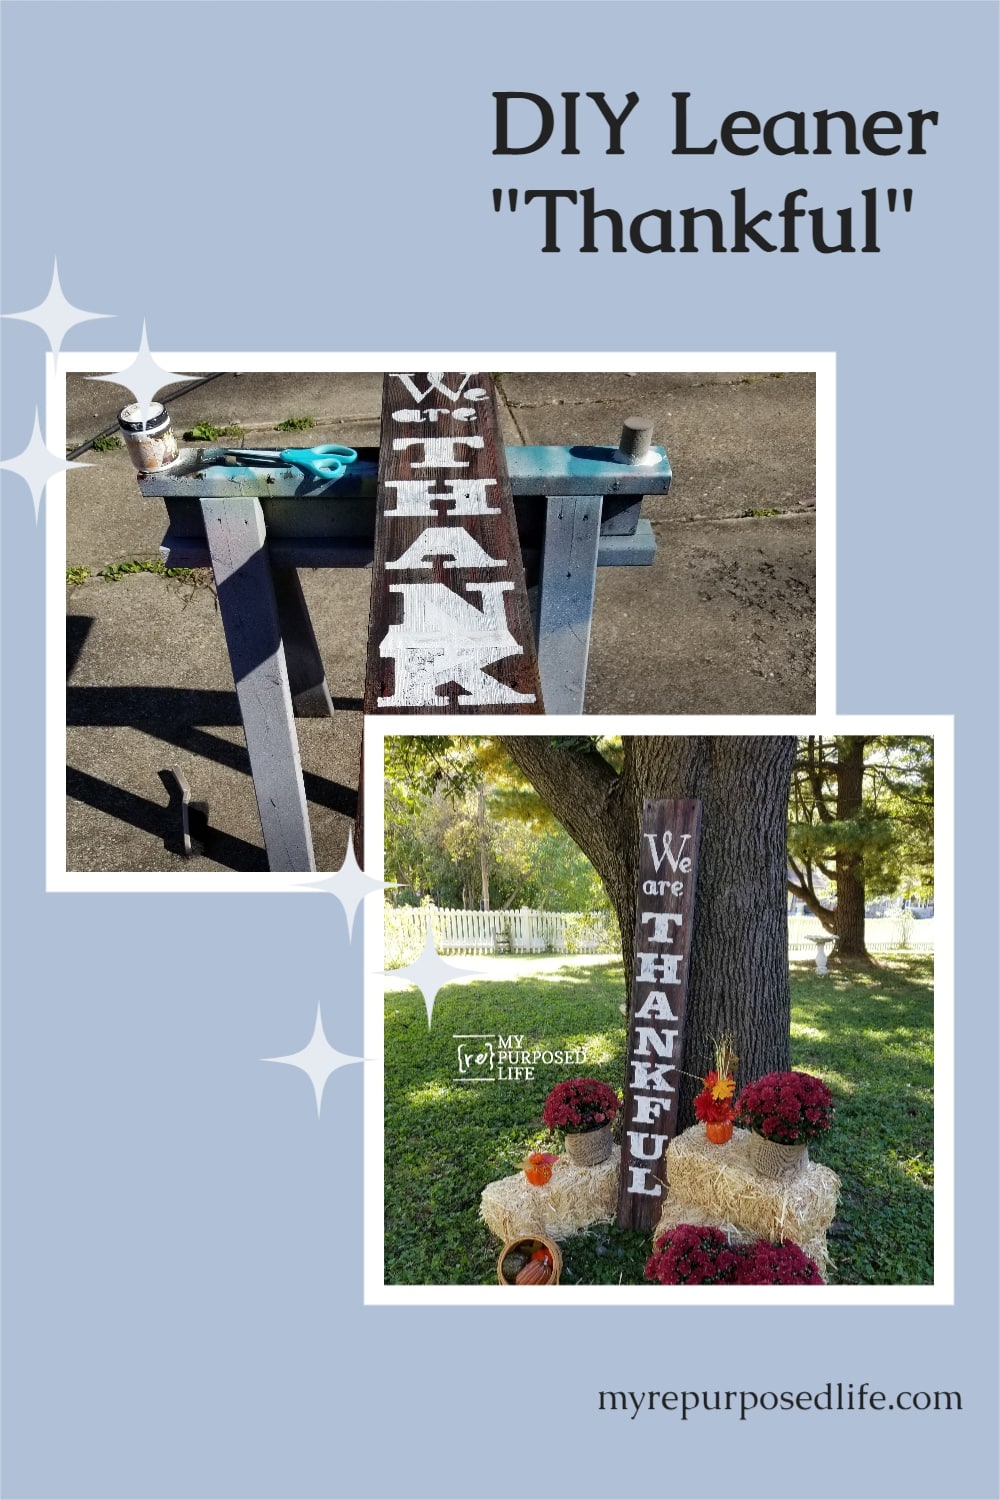
Large Thankful Sign, a leaner for your Porch
As an Amazon Associate, I earn from qualifying purchases.
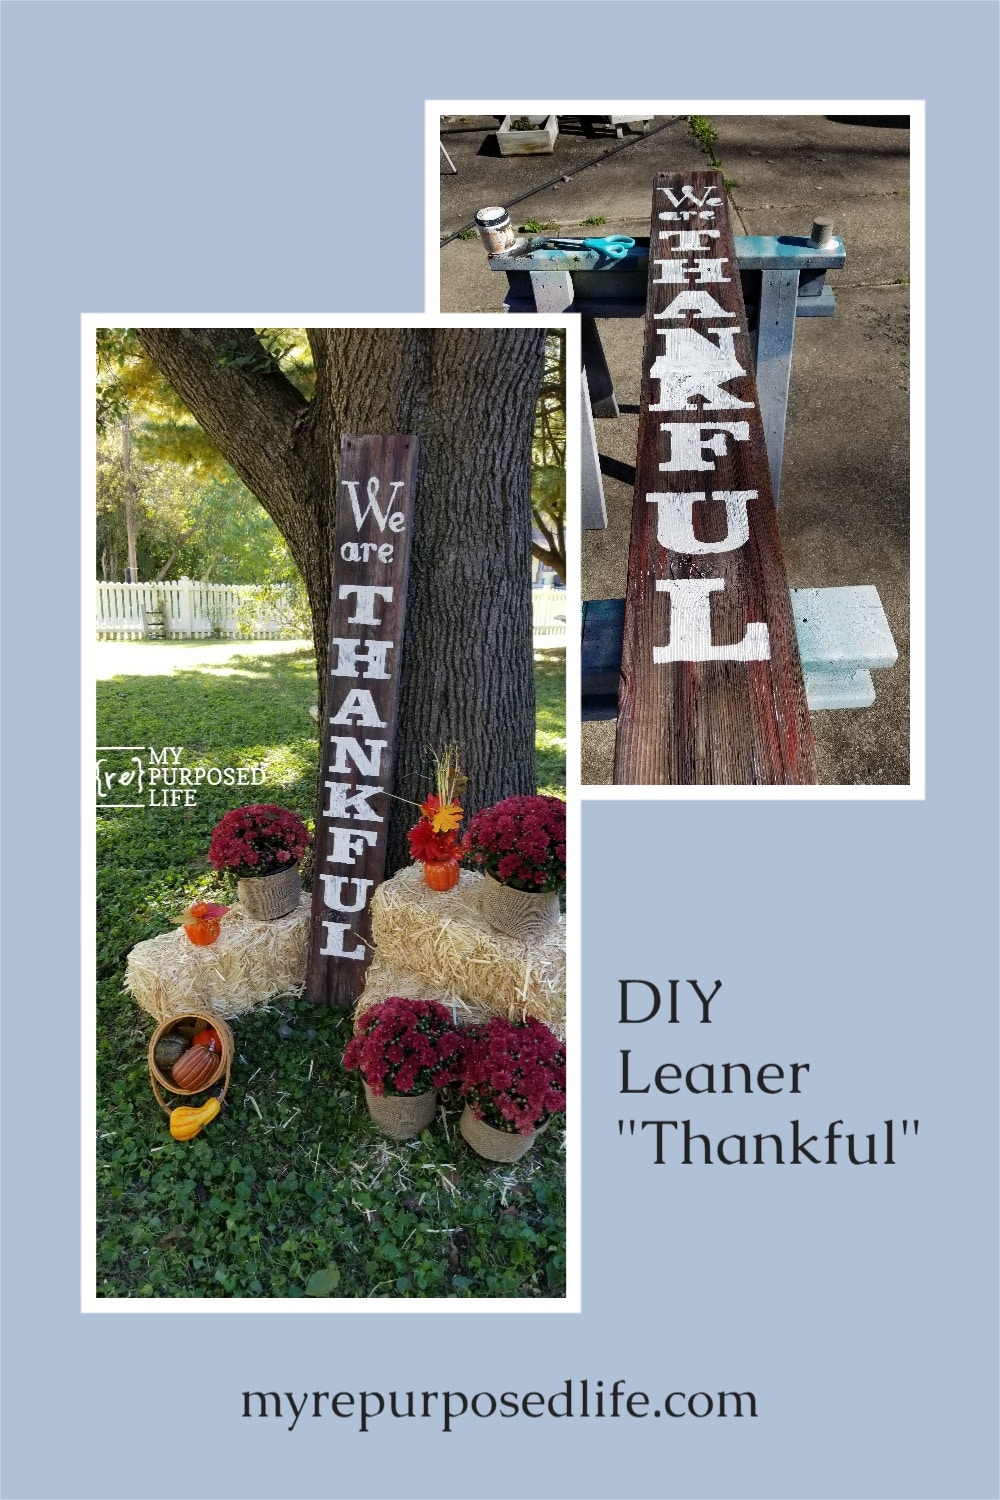
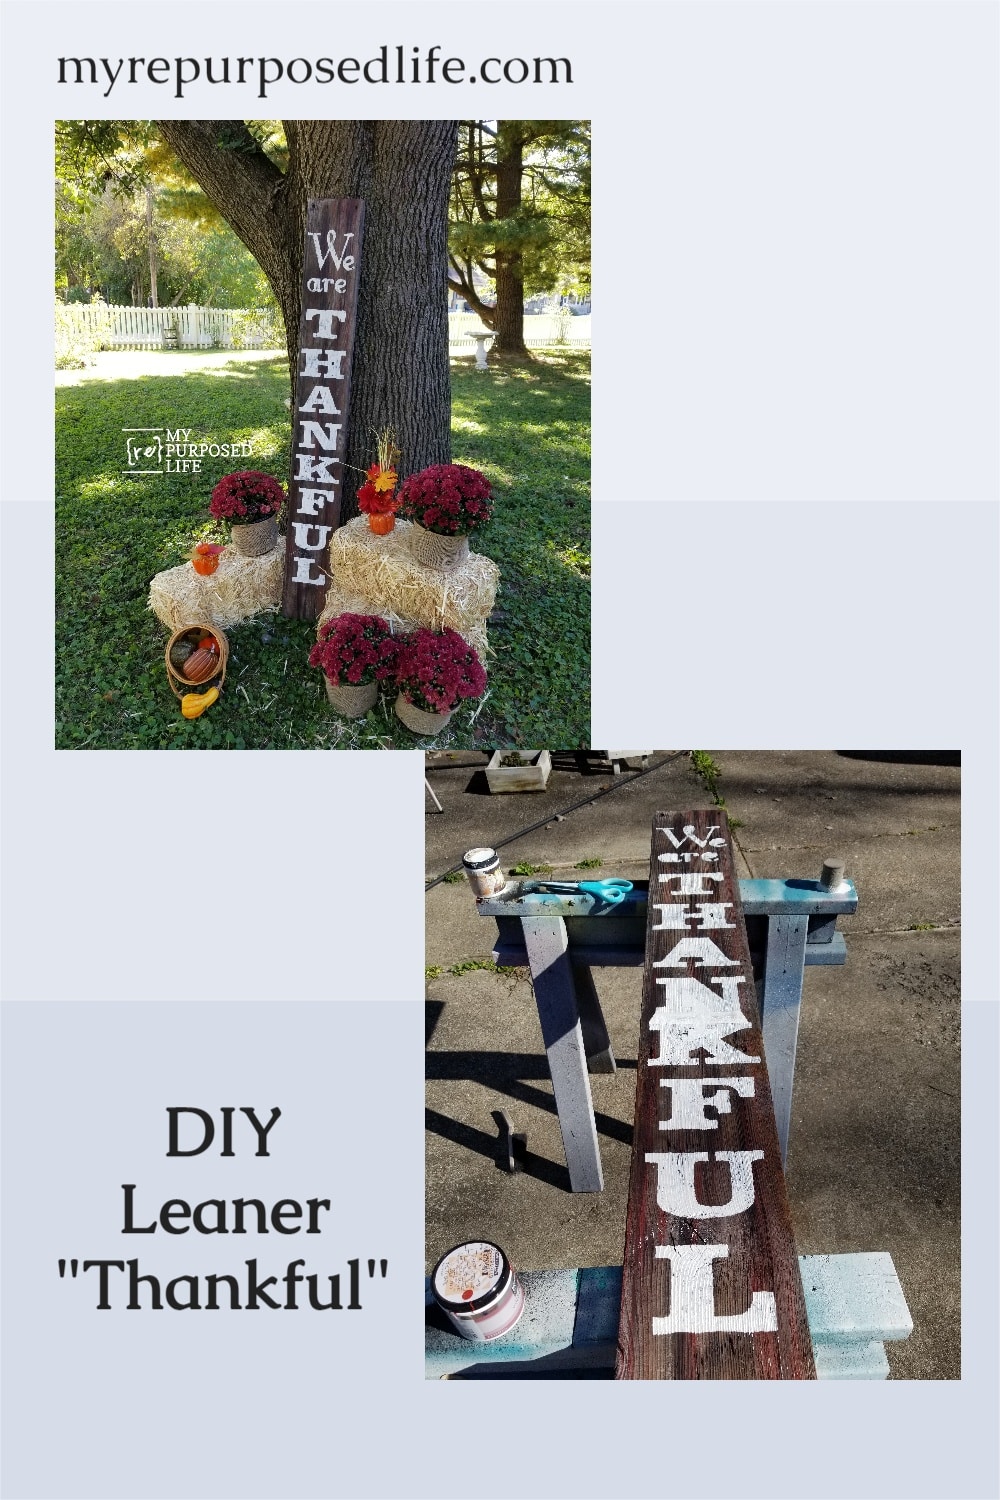
A tall Thankful sign is an easy way to dress up a porch for fall or Thanksgiving. This version is made from simple boards and paint, so it works even if you do not have fancy tools. The neutral lettering keeps it classic, and the size makes it easy to spot from the sidewalk. It is a project that can be finished in an afternoon.
While searching for a quick and easy Fall project, I decided to create a large, rustic DIY Thanksgiving Sign for the porch. A DIY thankful Sign (leaner) is a great way to remind us of the gratitude we should have for our blessings all year long. It may even have a little farmhouse appeal?
I had the perfect weathered (gray) wood board left over from cleaning up the woodshed garage. I’ve had several boards lying out in the sun to remove debris and filth. They’ve been out there all Summer, and now it was time to grab one for this awesome Thanksgiving decor for someone to use by their front door.
If you’re not lucky enough to have the perfect reclaimed board, you could pick one up at the home improvement store.

Once the sign is dry, prop it beside the door, pair it with mums or pumpkins, and your porch is ready for the season. Change the colors or font to match your own style. Projects like this help you use what you already have and add a personal touch to the front of the house. Pin it so you can make another one next fall.
Trim Board to Size

Because the board was very long, I enlisted the aid of my jaw stand while cutting the board on my miter saw. Although this 2×10 was cut to about 56 inches, it really is much lighter than I thought it would be. I suppose it’s because its so weathered. It’s going to be perfect for my Thanksgiving sign.
If you are using reclaimed lumber, be sure to remove any nails before you cut it to size.
Give Reclaimed Board a Dash of Color
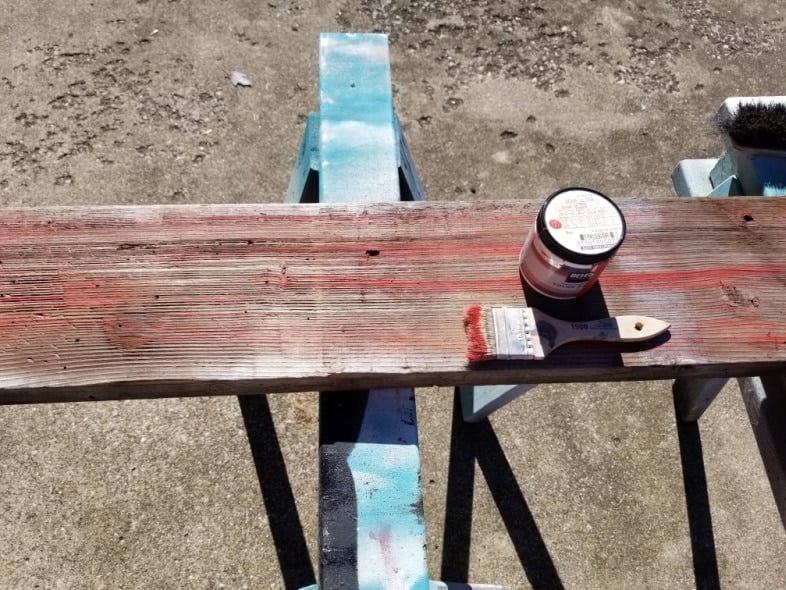
Originally the rustic board had red undertones, but those disappeared over the hot summer months. I used a cheap chip brush and some red paint to give the sign a faint hint of red. Another way to do this is to dilute the latex paint with water. If you accidentally apply too much red paint, simply hose it off before it completely dries. You could even wet the board down before you paint it if you have the time to let it dry. I did not have the luxury of time while making my DIY Thankful Sign.
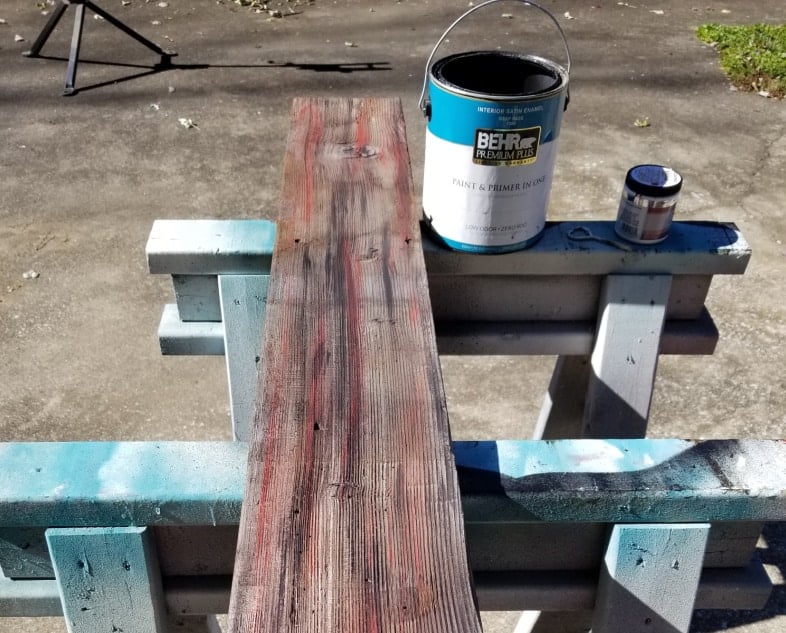
Since it didn’t matter about the color, I used the same brush to apply some black paint throughout the red area. The long board is resting on my easy diy sawhorses.
Design Stencil
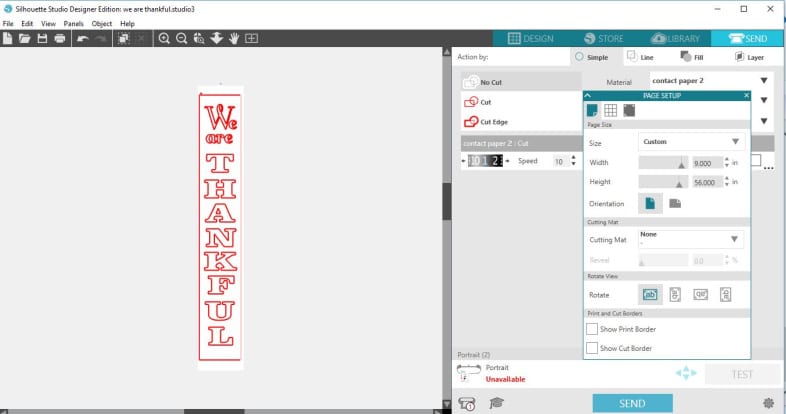
I used the FontleroyBrown (539) font for “WE ARE” and the Clarendon Blk BT (450) font for the word “THANKFUL.“ The design was 9×56. You can see that the material is set for Contact Paper. I always use contact paper for my single-use stencils on my Silhouette Portrait. There isn’t anything wrong with using adhesive vinyl, but contact paper is significantly cheaper.
You could use a word program and print the letters on your home printer.
Using Contact Paper in a Silhouette Portrait
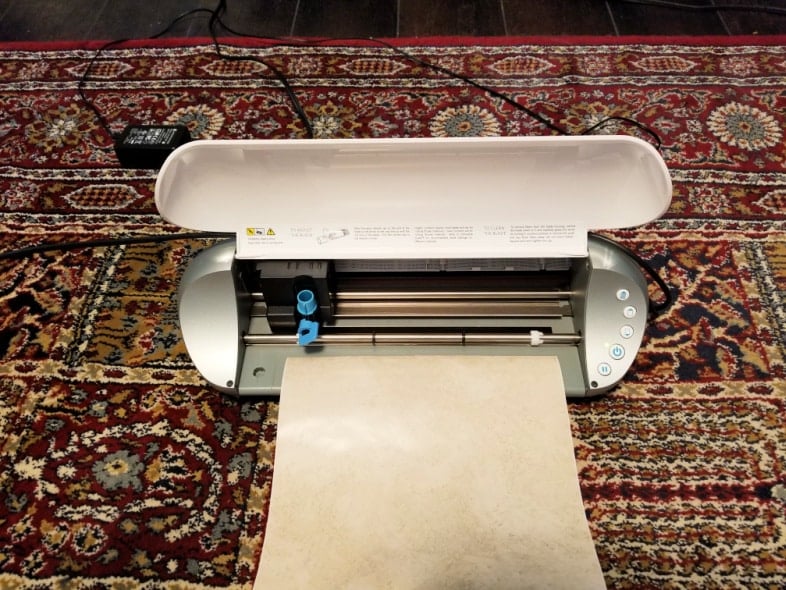
This project is great for beginners. But, it’s very important to make sure that when you feed such a long piece of contact paper (or vinyl) into your cutting machine, you have a very straight edge. If the roll feeds crookedly, the contact paper stencil will continue to become more crooked as it travels through the rollers. I use contact paper all the time in my Silhouette; I’m not sure if it works in a Cricut machine.
NOTE: I have the Silhouette portrait resting on the floor to allow it to feed the entire 56” of material through the machine.
Weed Contact Paper Stencil
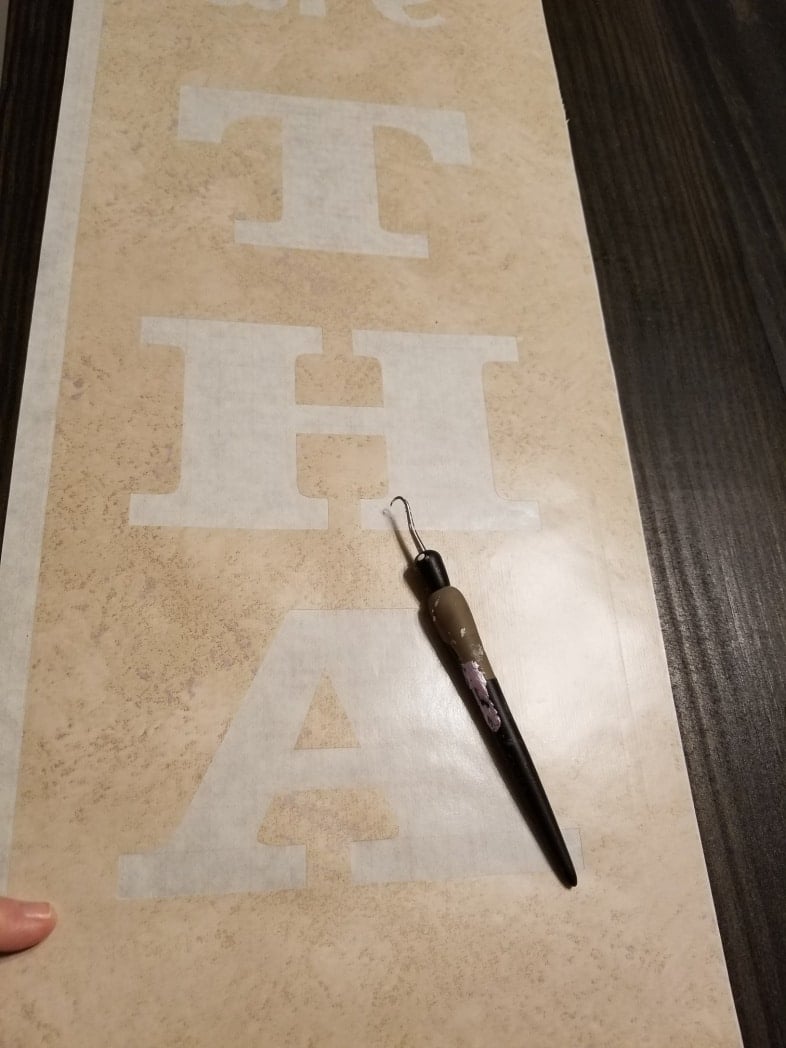
This hook tool is so handy in weeding out the contact paper stencil. There were only a few oodles and boodles that were left behind after weeding out the positive part of the stencil.
Apply Contact Paper Stencil to Reclaimed Board
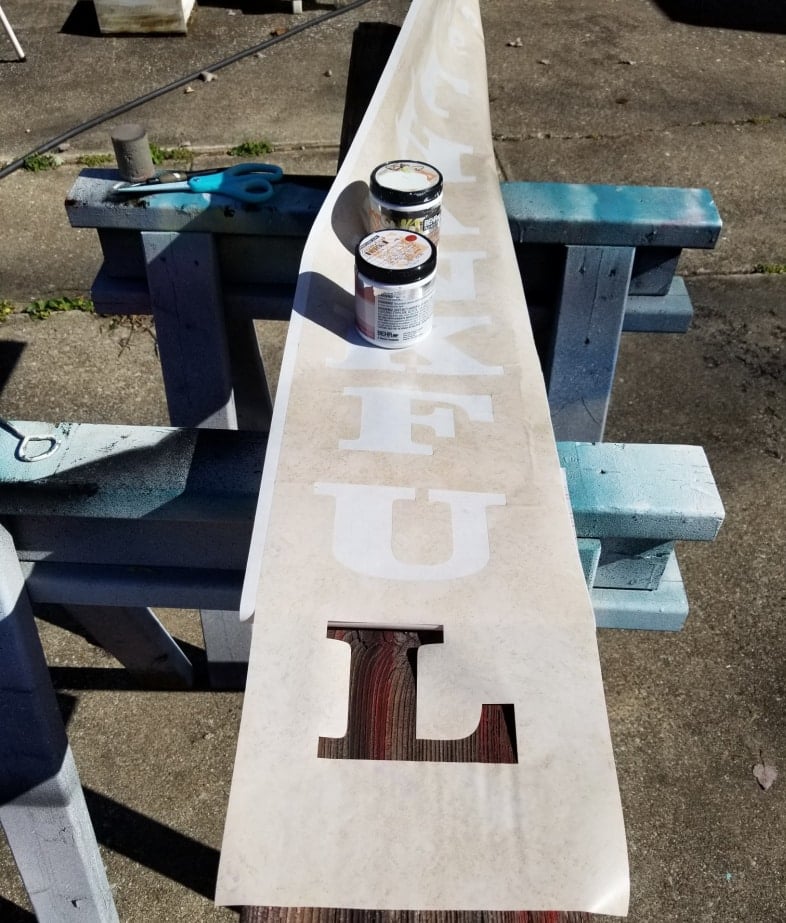
 I started from the bottom and slid the contact paper backing upwards, revealing each letter. Using this method, there is no need for transfer tape.
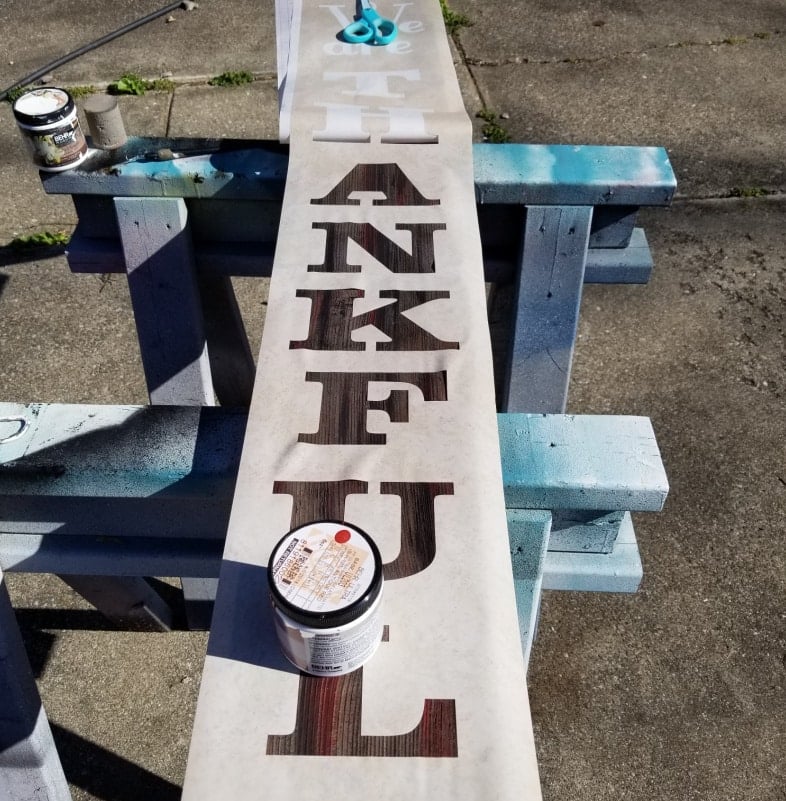
Continuing to weigh the stencil down, I keep pulling the backing paper away.
Paint Letters Using a Stencil

The backing paper is very useful as you continue to stencil down the board. I prefer to use Martha Stewart Foam Pouncers for my stenciling projects. You may want to use a paintbrush.
Generally, I use chalk paint, but for this, I used a small sample of white paint.
Share this awesome holiday decor on Pinterest.
Smooth Stencil on Rough Board
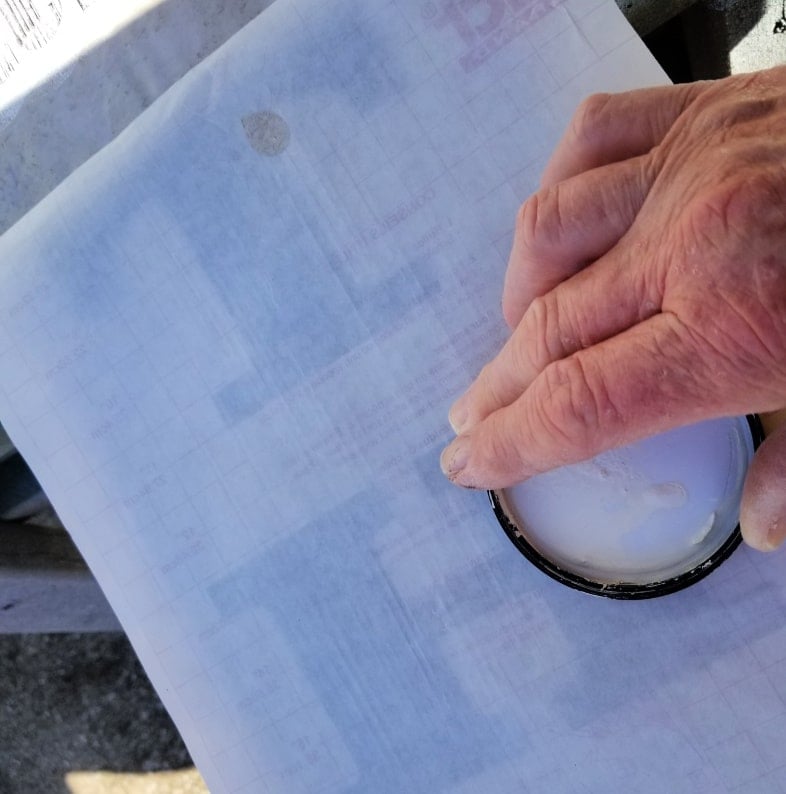
Lying the slick backing paper over the stencil, I use the paint lid to “burnish” the stencil onto the rough reclaimed lumber. This prevents the dreaded splinter incidents.
Foam Pouncers-Perfect for Stenciling
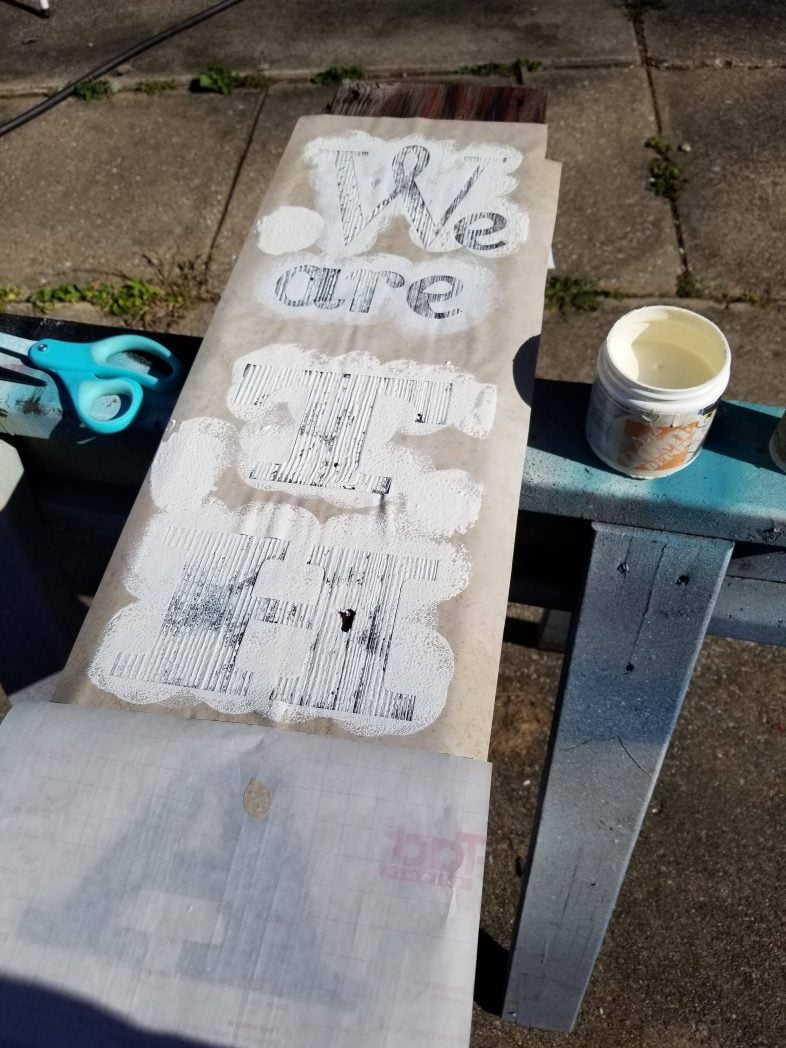
The lumber is very rough. Use caution when creating a reclaimed lumber sign. The pouncer needs to be held at a slight angle around any part of the stencil that may tend to lift away. If you hold the stencil flat down with too much paint applied, some areas may become attached to the pouncer.
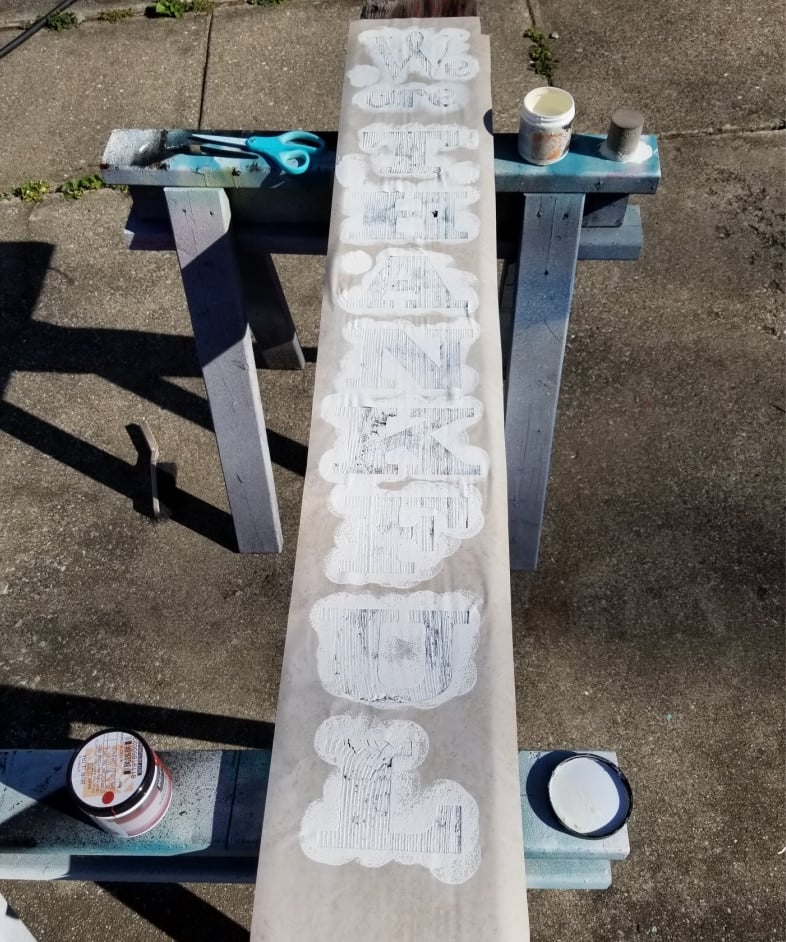
By working my way down the rustic sign, I was able to make sure every couple of letters were securely adhered to the reclaimed board.
Remove Stencil, Oodles and Boodles

Some of the contact paper broke as I was peeling the stencil away. I removed those pieces and the oodles and boodles in the A’s and E’s.

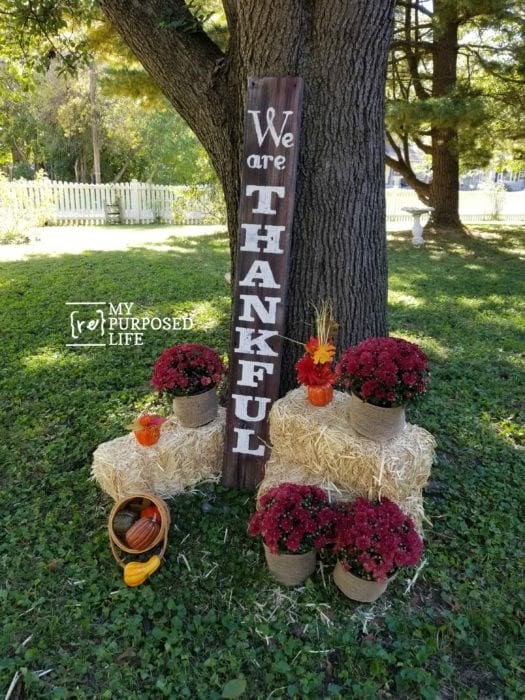
Fall Decor With a Large DIY Thankful Sign

This large DIY Thankful sign was an awesome, fun, and easy afternoon project. I love decorating for Fall! You can use it outside on your porch, or even in your entryway to welcome your guests. It’s a great way to use up a reclaimed board and paint for your fall home decor. The plastic pots holding the mums are wrapped with burlap. I should have made some twine bows!
The vignette really needs some pumpkins, don’t you think?
So, if you make your sign a little smaller, you could even use it to decorate your fireplace hearth.
I think you’ll also love this Always Something to be Thankful For sign made with reclaimed fence boards.
What are you Thankful for? Who is ready to eat some turkey?
gail

I am thankful for you Gail. Your sign is fantastic!
You are so talented! I love this sign. I am thankful for friends and family.
Regina
well, thank you so much for leaving a comment on this project!!!!
love you and so thankful for you and your family!
gail
Lovely sign! Staged beautifully with the mums.
Thank you so much Audra! It was my first sign like this, but probably not my last. 😉
gail
LoVE this! thanks for all the instructions & helpful hints.
Thank you so much Nova. I appreciate you stopping by to check out my latest diy sign!
gail
I love this sign. The thing that’sgreat about signs to decorate with, is that they can be easily stored. Depending where you display them you can do one holiday on one side and a different on the other.
You are so right Jennie! These kinds of signs are great for holiday decorating AND easy to store.
gail