Easy Slipcover for chair
As an Amazon Associate, I earn from qualifying purchases.
First, let me say, that this is NOT a tutorial. I will leave the easy slipcover tutorials to those who actually like to sew. I do have a few tips to give you, but I won’t be telling you how to slipcover. For quite a while, I’ve intended to slipcover my love seat and chair (living room). After this small project, I am re-thinking that decision.
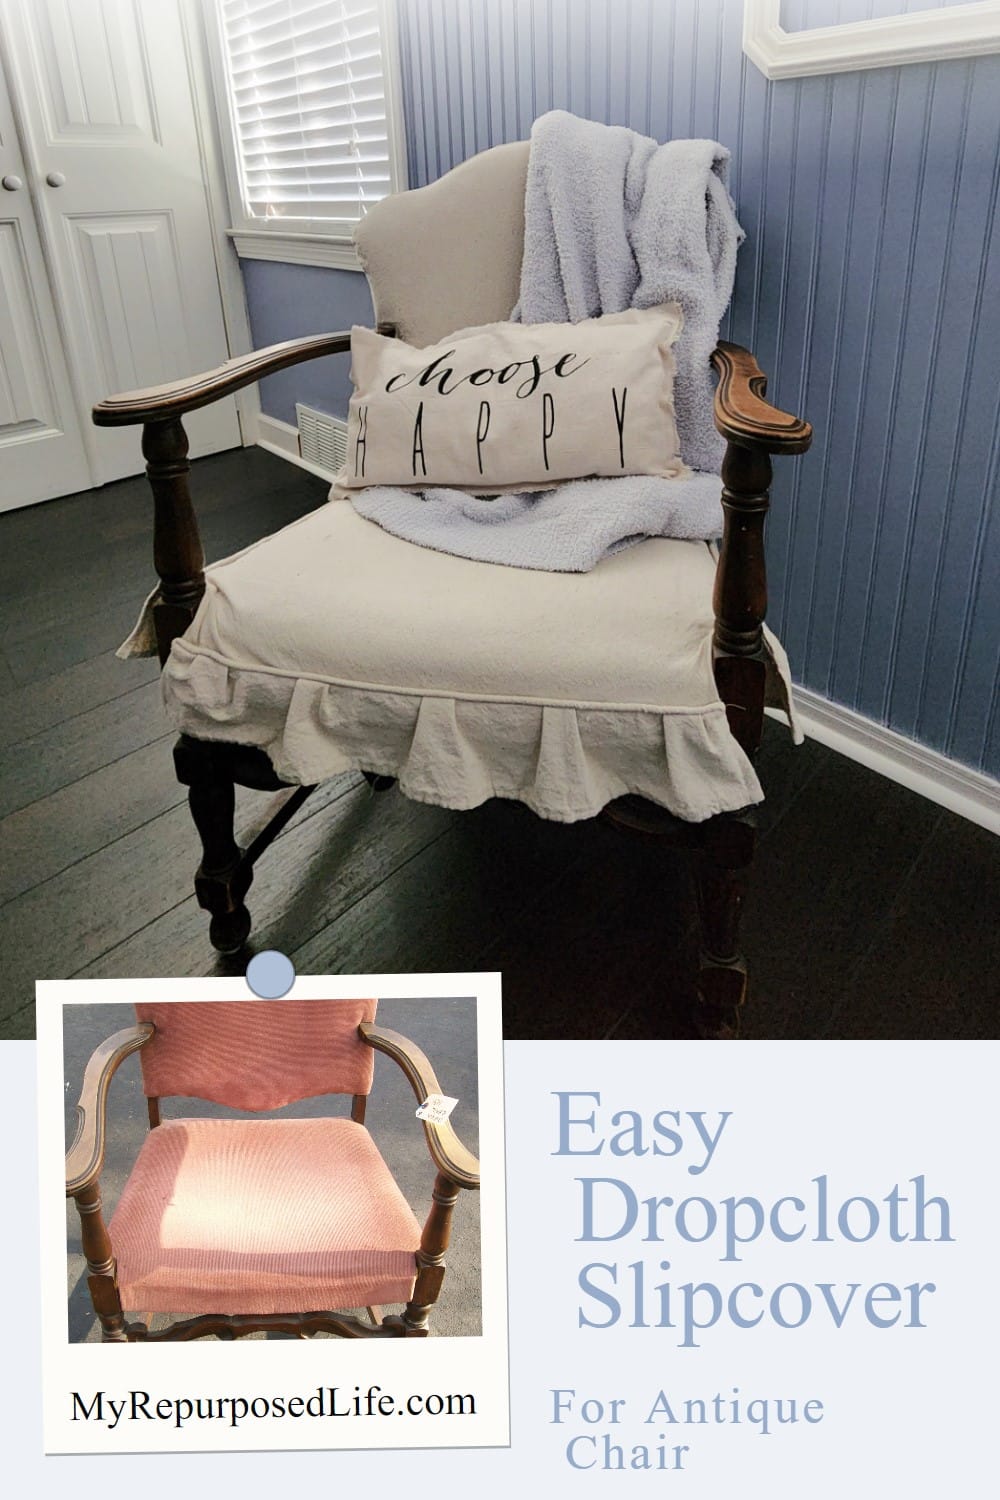
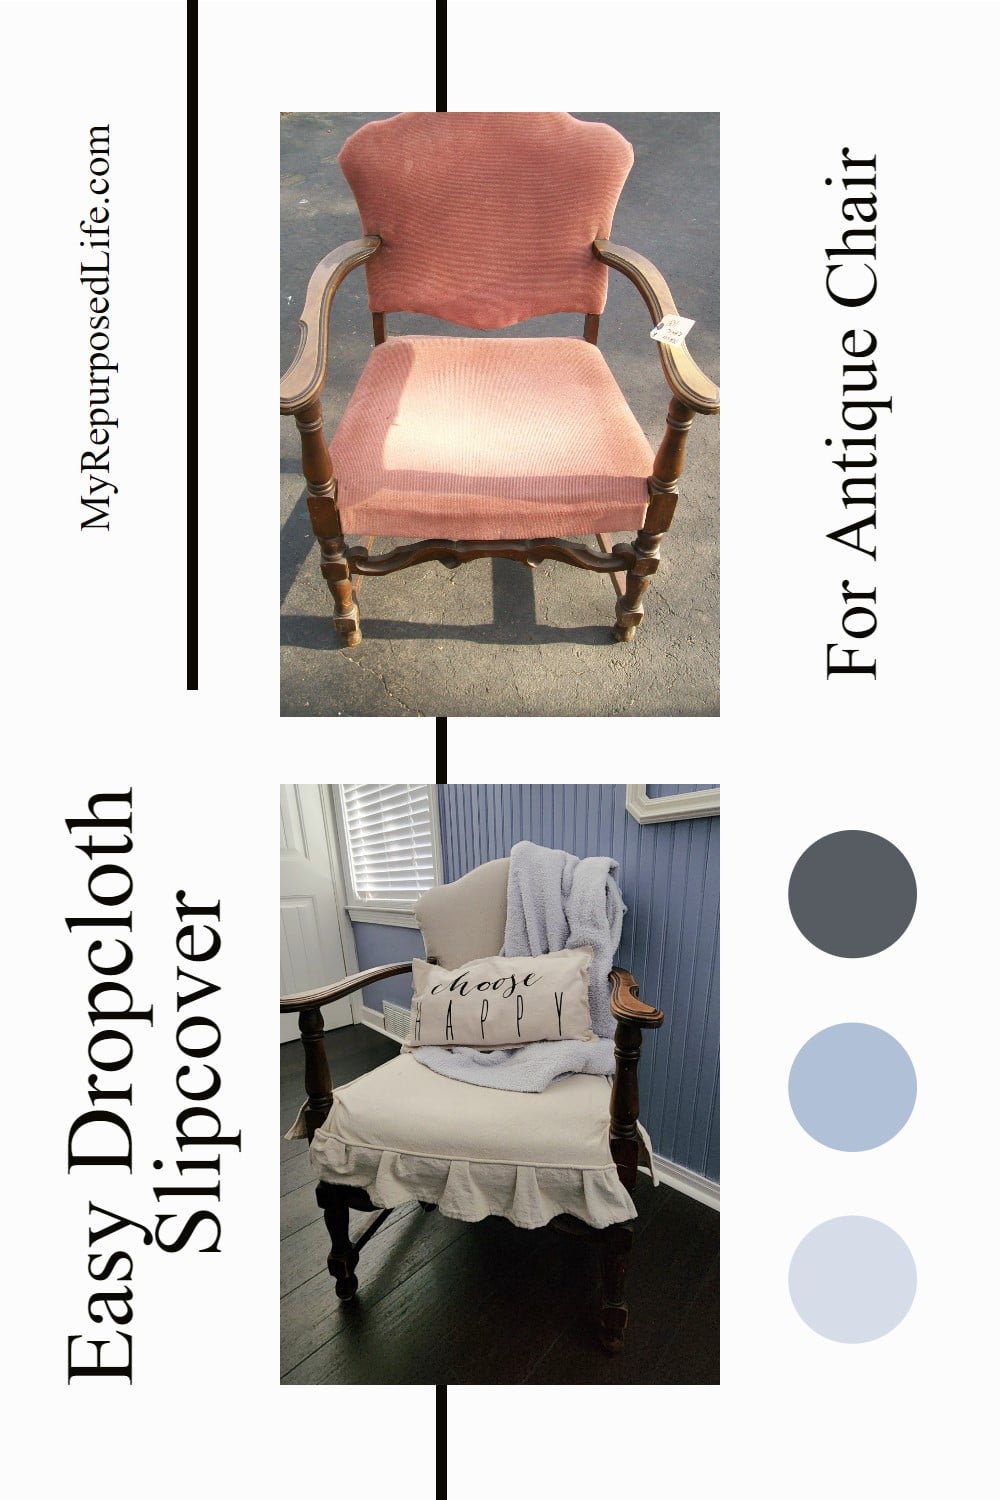
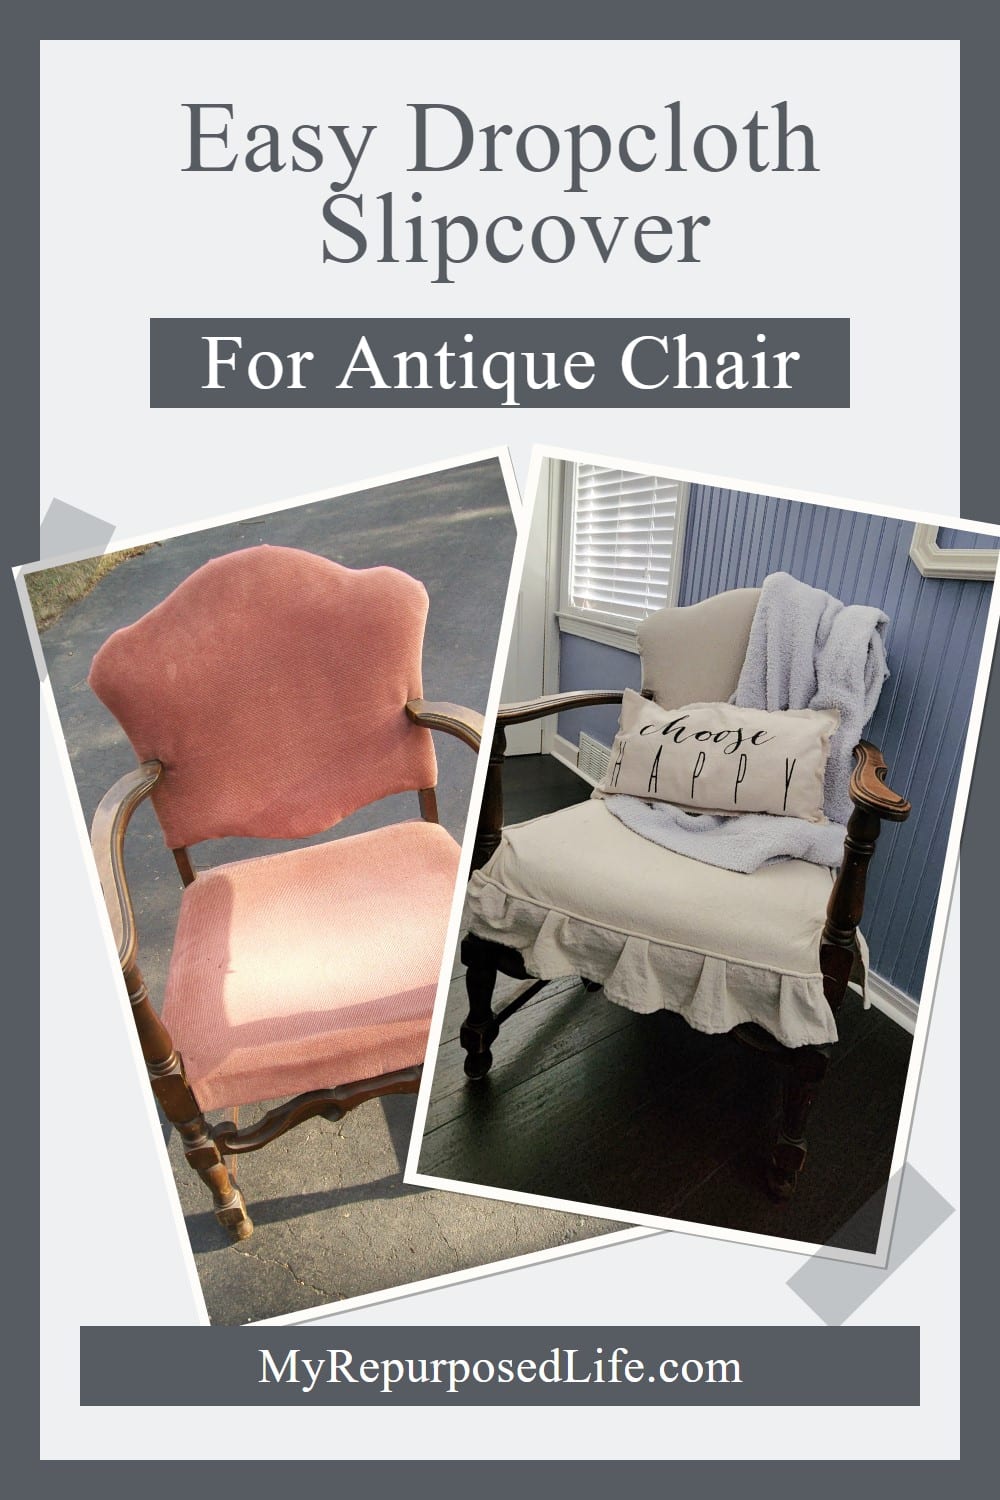
Thrift Store Chair gets an Easy Slipcover Makeover
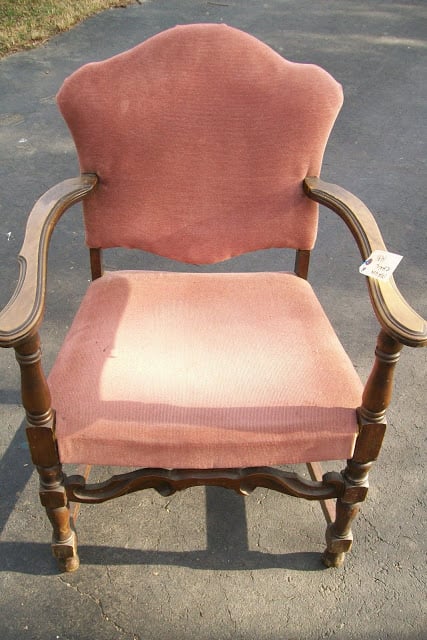
I’m sure you remember this oh-so-adorable chair. I got it at a thrift store months ago for a mere $7.50. Yeah, I know, $2.50 over my $5.00 limit.
Easy Slipcover | Drop Cloth Material
I used a drop cloth that I’ve been using for awhile on the over sized chair in my living room. It has been washed many times, it is nice and soft and broken in.
A tip I remember from Miss Mustard Seed is that drop cloths rip in a straight line. I took advantage of that by ripping the large piece into a more manageable size.
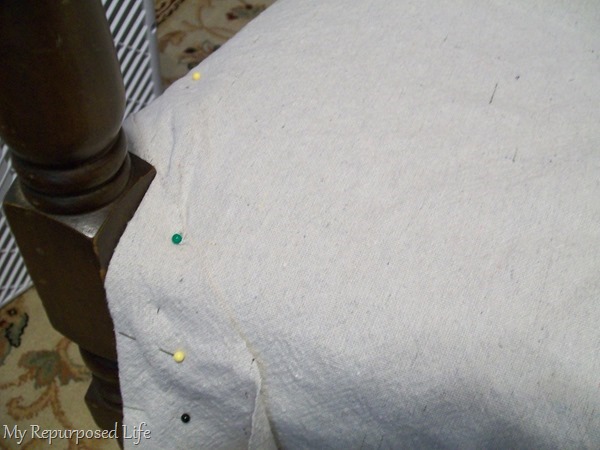
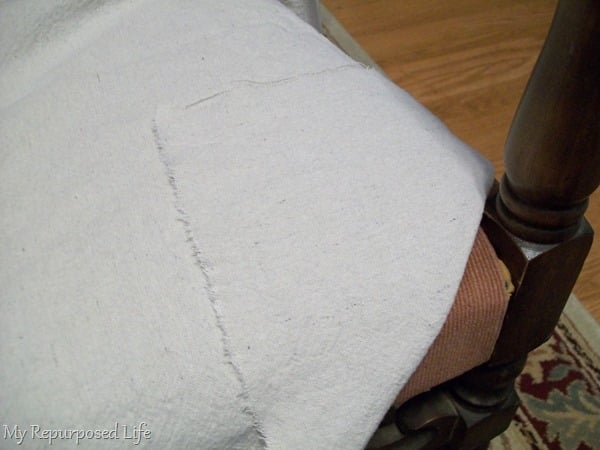
First, I made the cut to split the corner open and pinned it.

Then, I sewed the sides that fit around the front legs and back legs.
Add a Ruffle

I have done cording/piping once before on some pillows I made for my daughter Jamie. This (in my opinion) was much more difficult.
On the first side of the easy slipcover, I somehow got the seat material caught up in the ruffle and had to rip it out. I was much more careful on the second side and the front.
Use Original Hem of Drop Cloth Material

Another tip I got from Miss Mustard Seed was to take advantage of the pre-hemmed pieces. I did that on the ruffle all the way around.
How To Outline Back of Chair

This could get confusing if you don’t pay attention. Because the chair (back) didn’t lay flat on the floor, I raised it up on a board. I laid down some brown craft paper and drew the outline.
I was just going to sort of “wing” it and cut it larger to allow for the thickness of the back and the seam allowance. Then I came up with this bright idea . . . I put a bottle of hand sanitizer in between the chair and the pen. It rolled smoothly along the back, and kept the pen away from the edge.

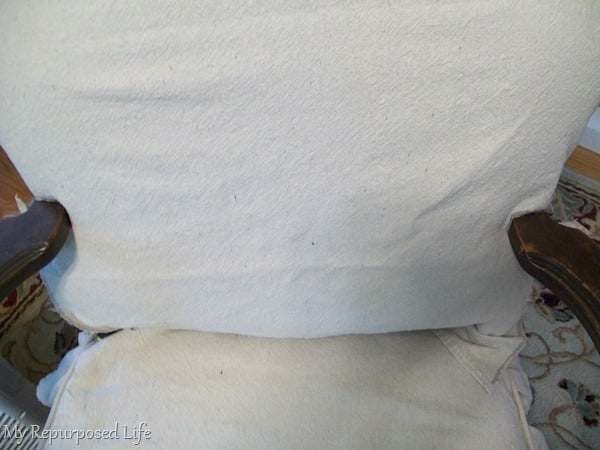
Although this is not a good picture, you can see how much room the bottle allowed.
Stitch Drop Cloth Seat Back

I cut out the back. This is where I wish I had known what I was doing. I could have really used some advice from someone who had done this before. Maybe you can learn from my mistakes.
I machine stitched the top of the easy slipcover. However due to the arms being attached (oh duhhh blonde moment! I could have removed the arms! oh well, that JUST now occurred to me!)
Anyhow, I realized that in order for it to be removable and washable, that I needed a MUCH larger seam allowance to allow for velcro or some other magic solution. I did not have enough seam allowance, so I ended up cutting it very carefully and then whip stitching it semi-permanent in place. I can remove it to wash it, but then I would have to sew her back in her top.
Trim Away Excess Fabric on Easy Slipcover
This is how it looked after I cut it, but before I stitched her in.
Visit the My Repurposed Life Amazon Store to shop my favorite items.
Use Fray Check for Raveling Issues

My next piece of advice, Fray Check! What a lifesaver! This drop cloth material frays like crazy. This little bottle made me smile! It worked like a charm. I had bought it months ago when I bought some burlap.
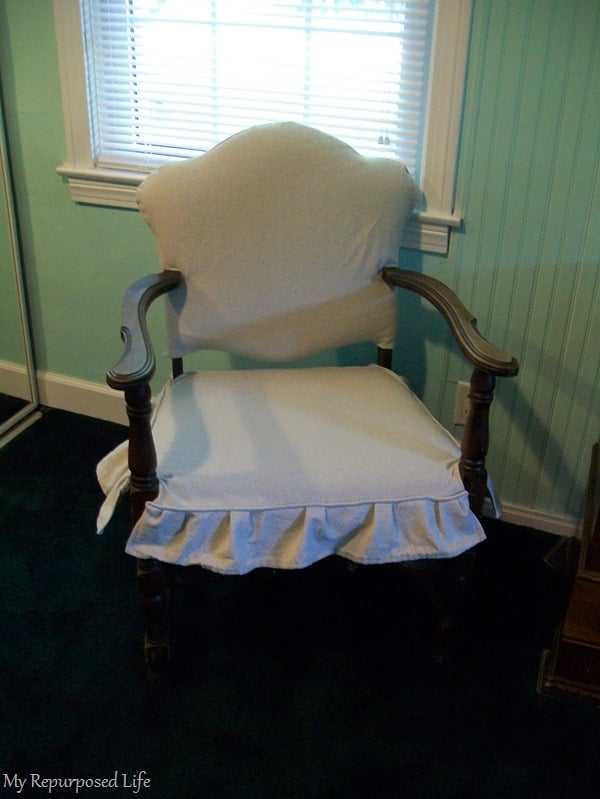
Here she is in her new home. I am torn about pictures, I know REAL bloggers don’t use a flash. But, I do not have extra lighting. Well, I sort of do have a spot light, but it’s a pain in the rear to use. When I don’t use the flash (on my point and shoot) the pictures look bad.
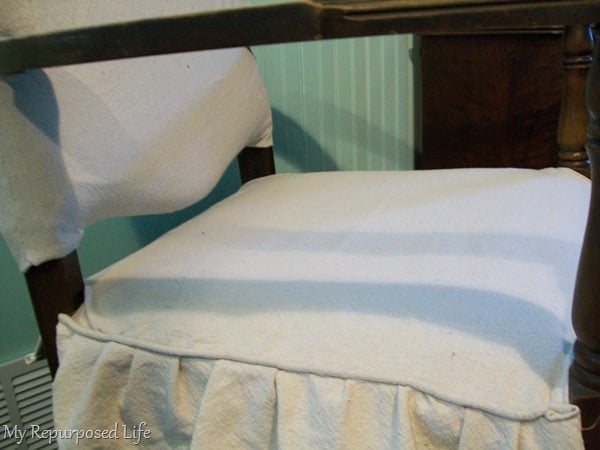
Close up, but don’t be too critical of my sewing!
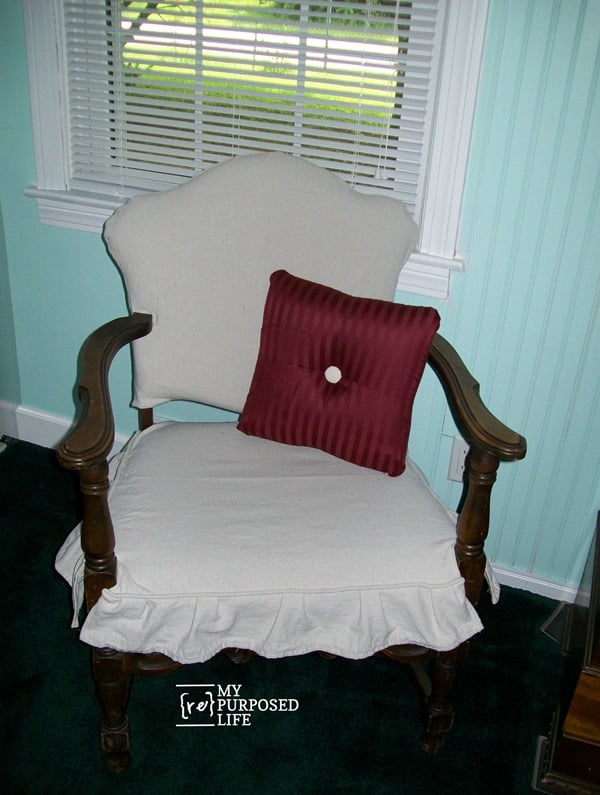
With the flash. Let me tell ya, I was thisssss close to painting this little beaut! I had the kilz open and the paint brush in my hand and decided not to paint her. She has a lot of natural character. I’m not saying I will never paint her, but for now, she’s going au natural.

UPDATE: 10 12 years later, this chair is still in my bedroom. I ended up taking it to The Hideaway where I painted it. See the new look of this Antique Parlor Chair.
I also painted the coffee table bench.
Have you seen my DIY wall to wall closet?

Gail, you are a woman after my own heart. Love your blog, mistakes and all. You keep me coming back for more. Keep up your good work and your wonderful sense of humor!
Gayle,
all these years later, and that chair is still in my bedroom. Many of my projects move on to new homes, and the ones I keep are very special to me, especially those from my “early” days.
Thanks for stopping by and taking the time to leave a comment!
gail
This is a great first time job! I do upholstery and slipcovers and the latter is deffinitely more work. The only thing I would have done different is left the seams open beneath the arms for the back piece and used a tie closure. Otherwise this is lovely!
I love the shape of this chair! You did a great job recovering it. It looks really cute. Sorry to hear about Joey. You got so many deals from him!
Your sewing looks GREAT, and the chair looks so good with it’s new cover…you know I love that chair! 🙂
Sorry to hear about Joey and your beloved Peddler’s mall, what a bummer!
That chair looks great. Reminds me of a chair I have standing in my bedroom waiting for a makeover. Ah well, it will have to wait a bit longer, haven’t worked up the courage yet.
That ols gal sure does look pretty in her new outfit…and I sure wish I could do this. Trish
And now she fits right into that newly redone room. Great job.
What a great bargin on the chair! Your slip cover looks great!!! It’s amazing how a slip cover can make the chair look new again!