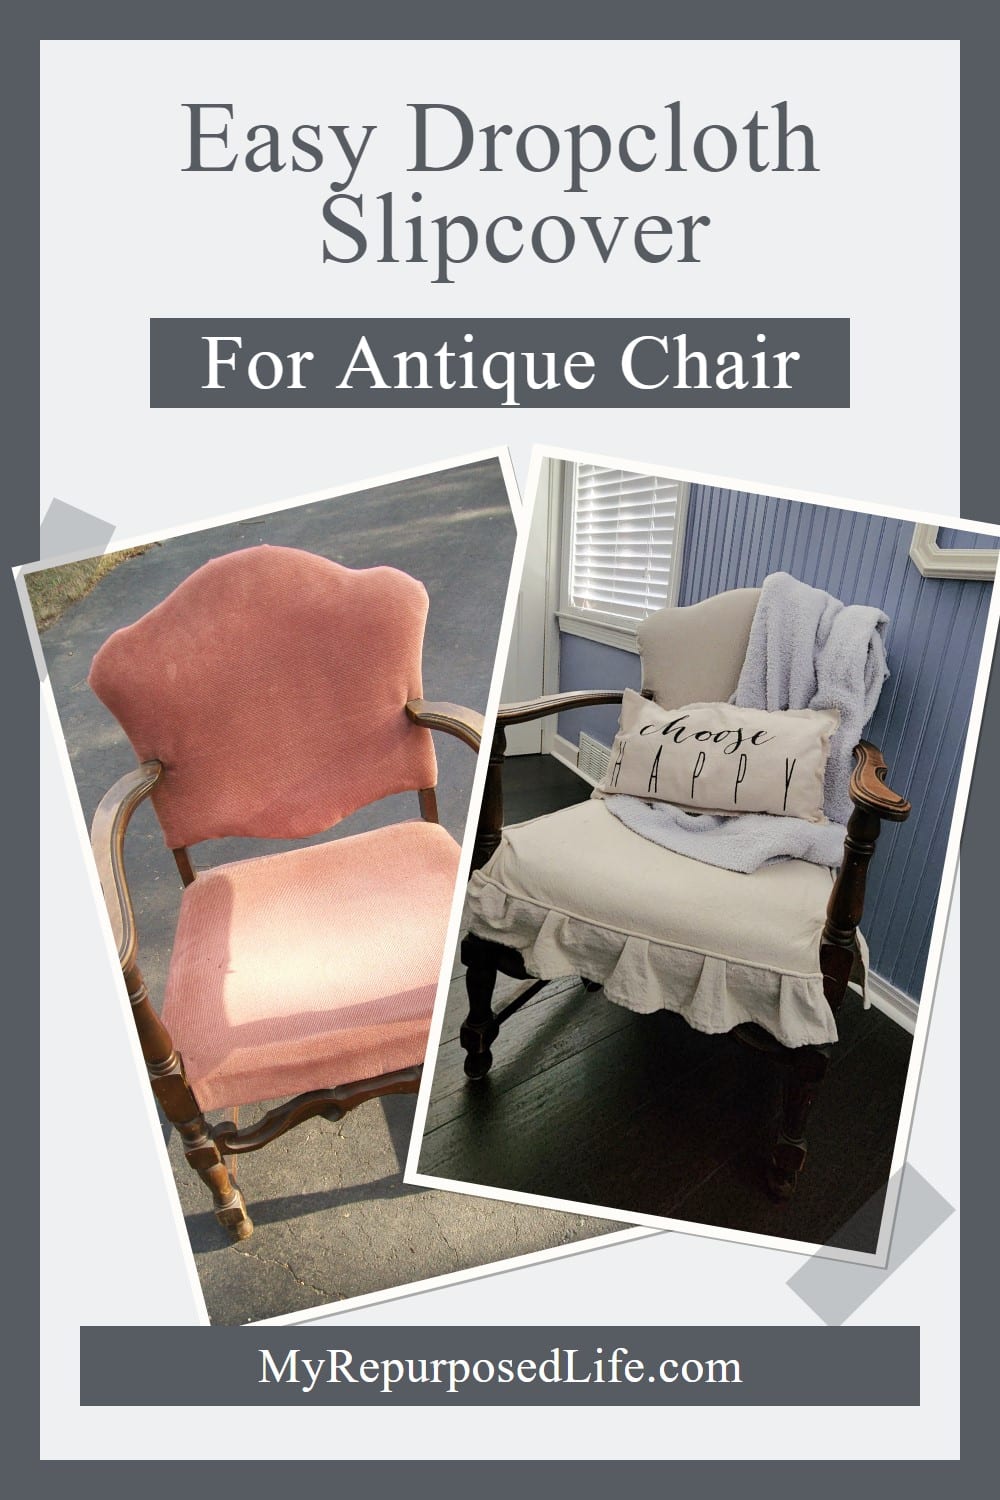
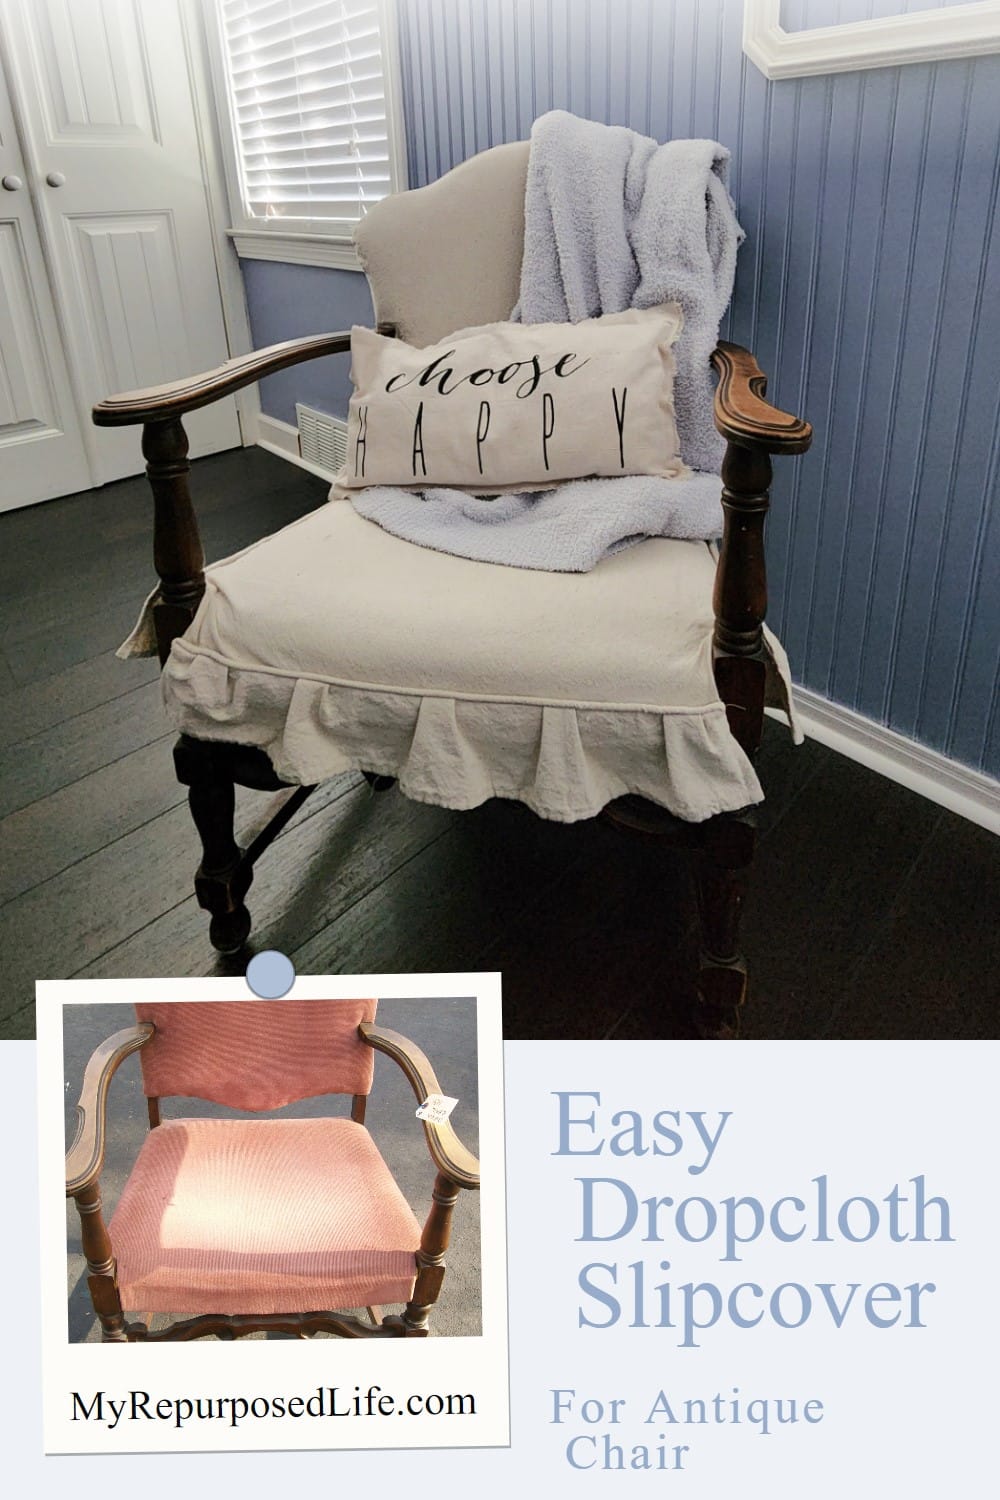
Easy Slipcover for an Armchair
As an Amazon Associate, I earn from qualifying purchases.
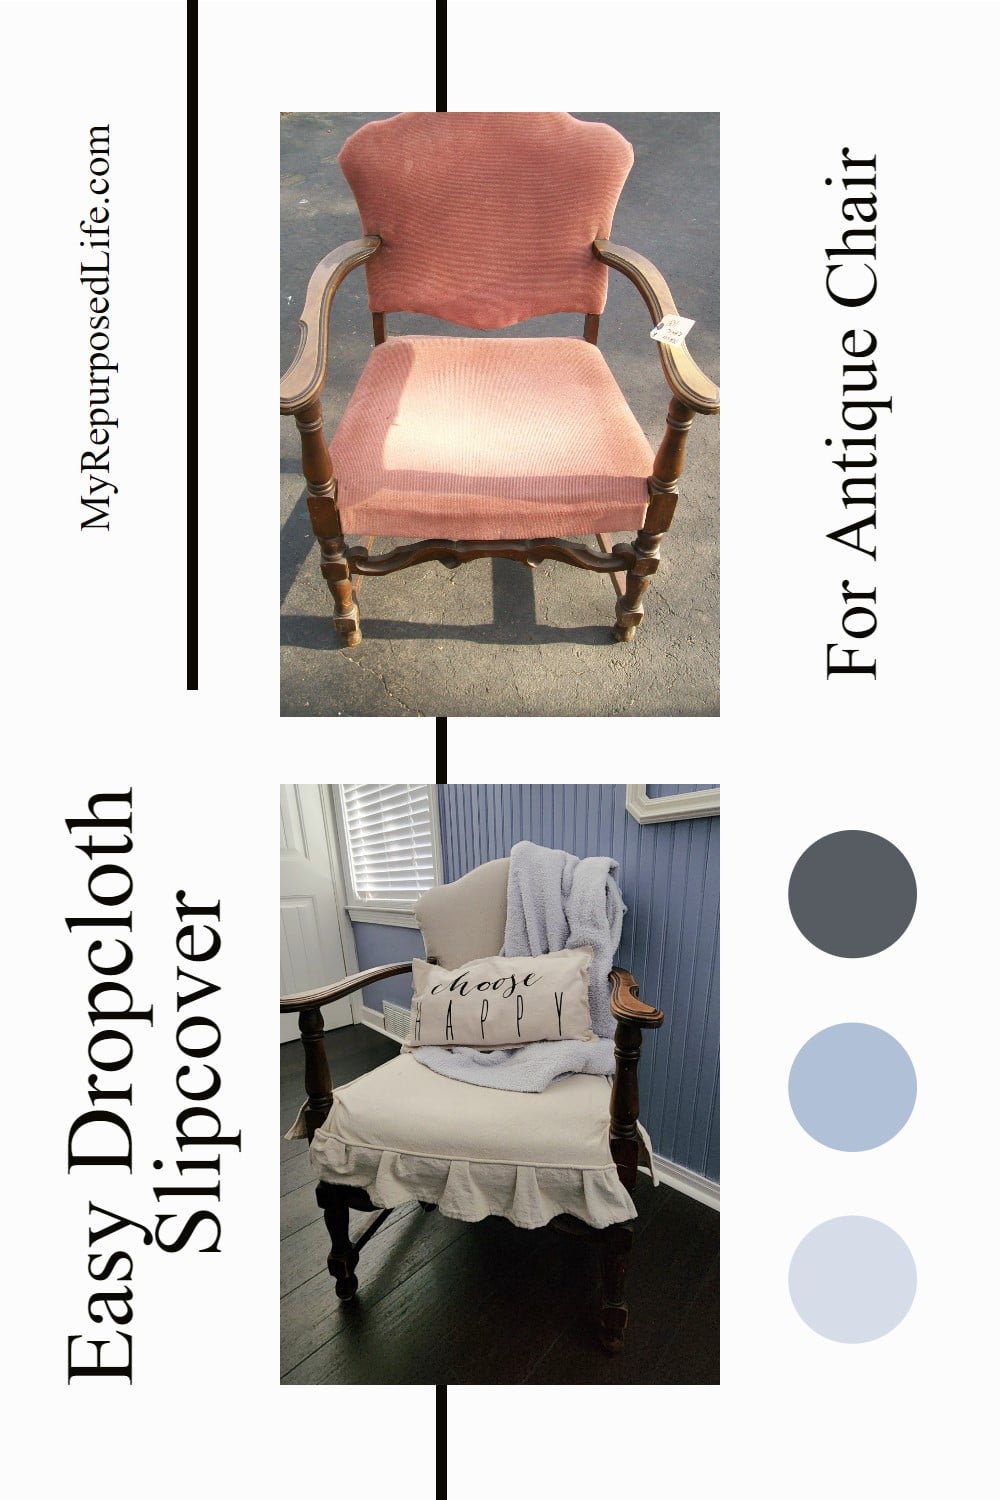
This thrift store chair had great shape and plenty of charm, but the worn fabric was holding it back. Instead of painting it or sending it on its way, I gave it a simple new look with an easy drop cloth slipcover. It was an inexpensive way to soften the chair, freshen the room, and make an old find feel useful again.
First, let me say that this is NOT a tutorial. I will leave the easy slipcover tutorials to those who actually enjoy sewing. I do have a few tips to give you, but I won’t be telling you how to slipcover. For quite a while, I’ve intended to slipcover my love seat and chair (living room). After this small project, I am re-thinking that decision.
Why it works
A drop cloth slipcover works so well because it is affordable, durable, and casual enough to fit almost any style. It softens an old chair, hides dated fabric, and gives you a neutral look without a big investment. It is especially handy when the piece has good bones but needs a cleaner, simpler finish.
Thrift Store Chair Gets an Easy Slipcover Makeover
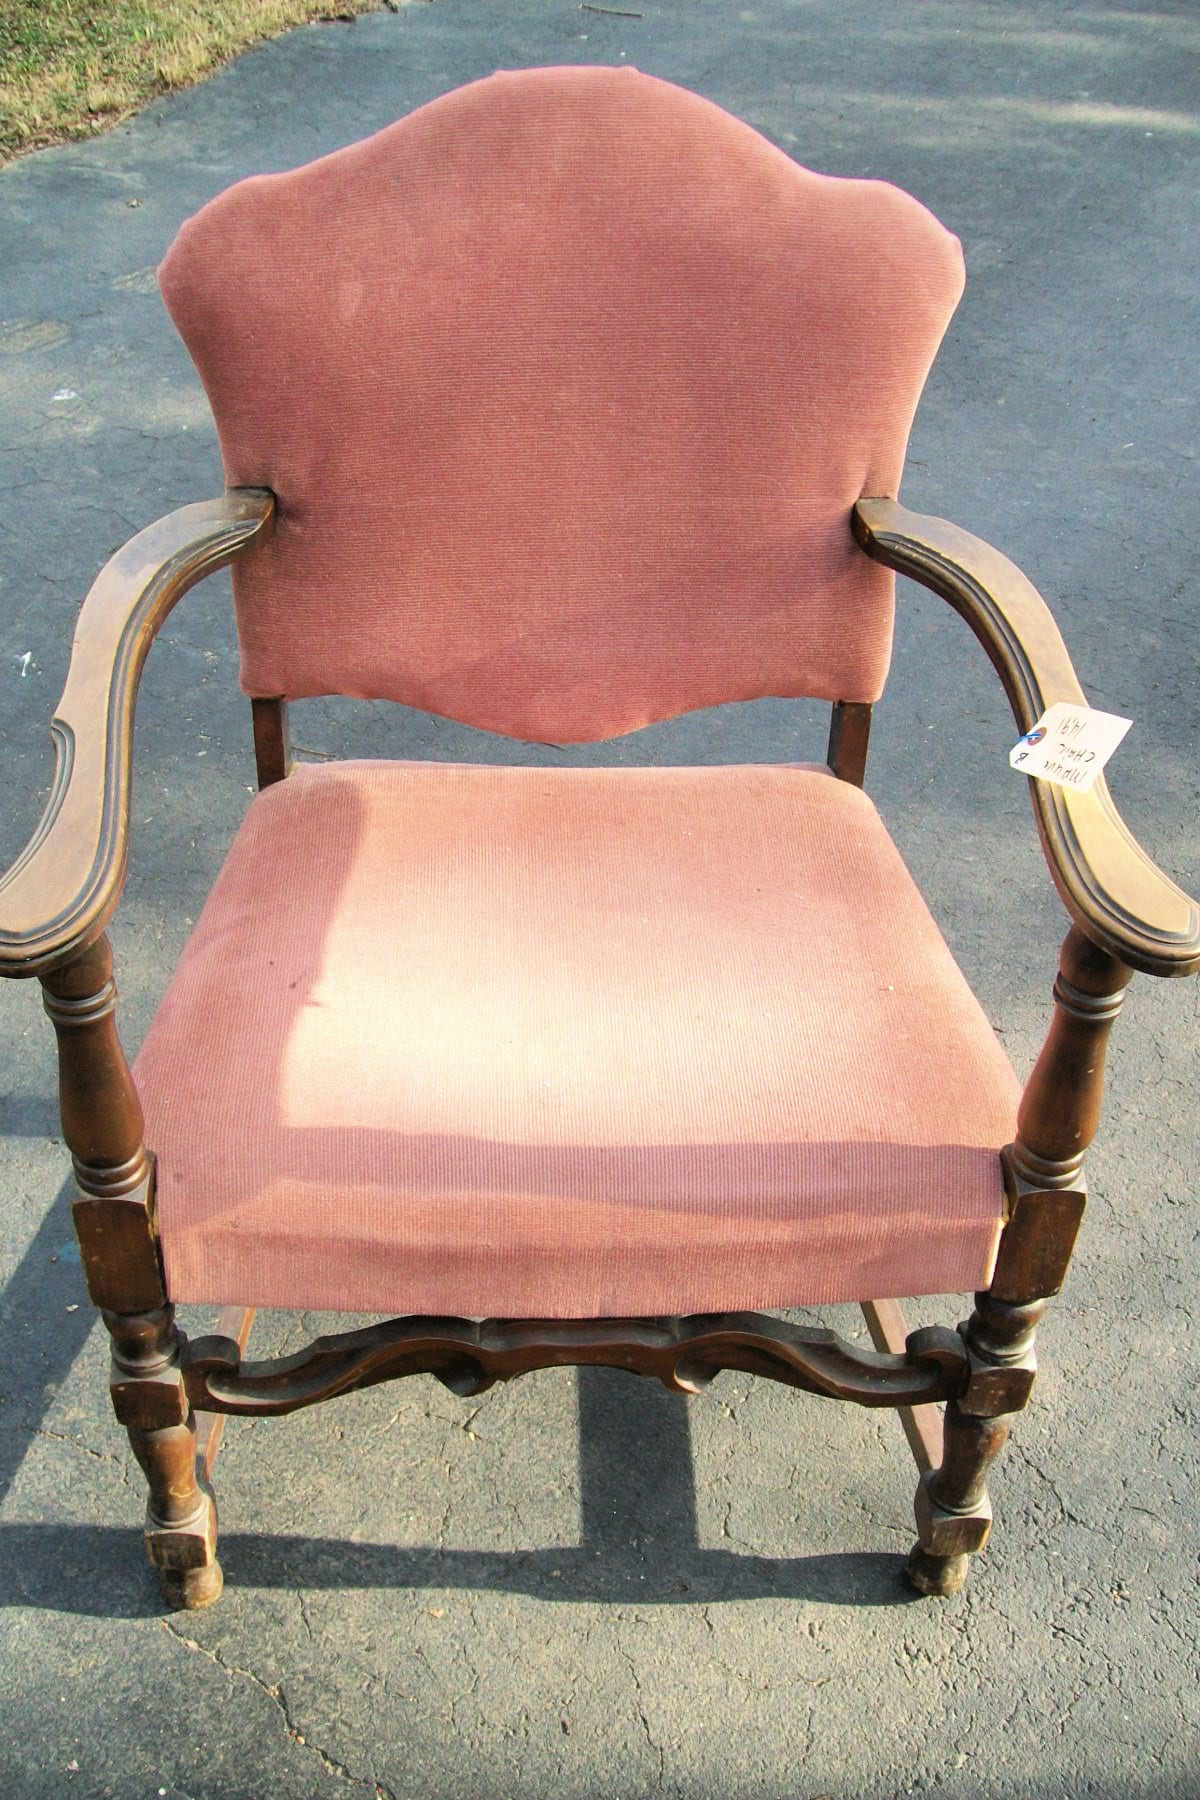
I’m sure you remember this oh-so-adorable chair. I got it at a thrift store months ago for a mere $7.50. Yeah, I know, $2.50 over my $5.00 limit.
Easy Slipcover | Drop Cloth Material
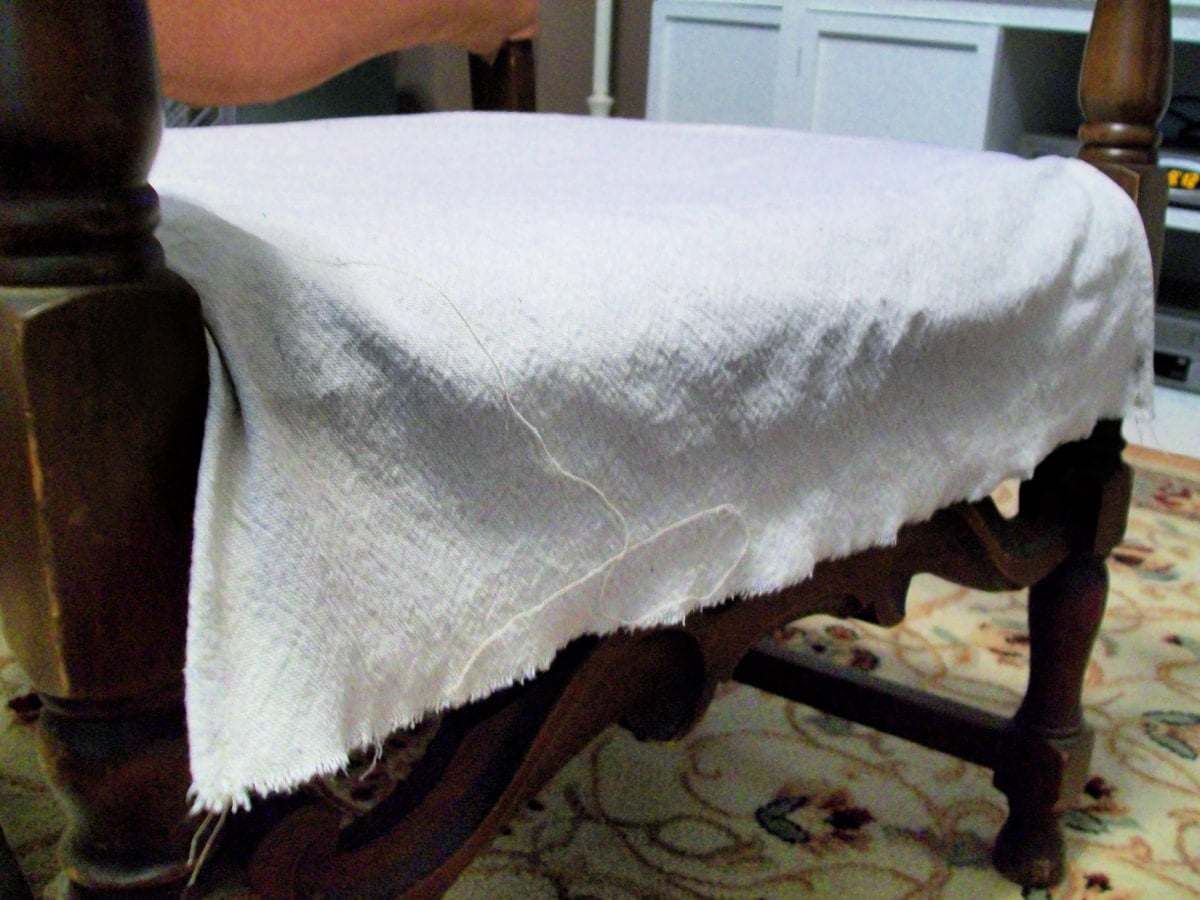
I’ve been using a drop cloth on the oversized chair in my living room for a while. It has been washed many times, it is nice and soft, and broken in.
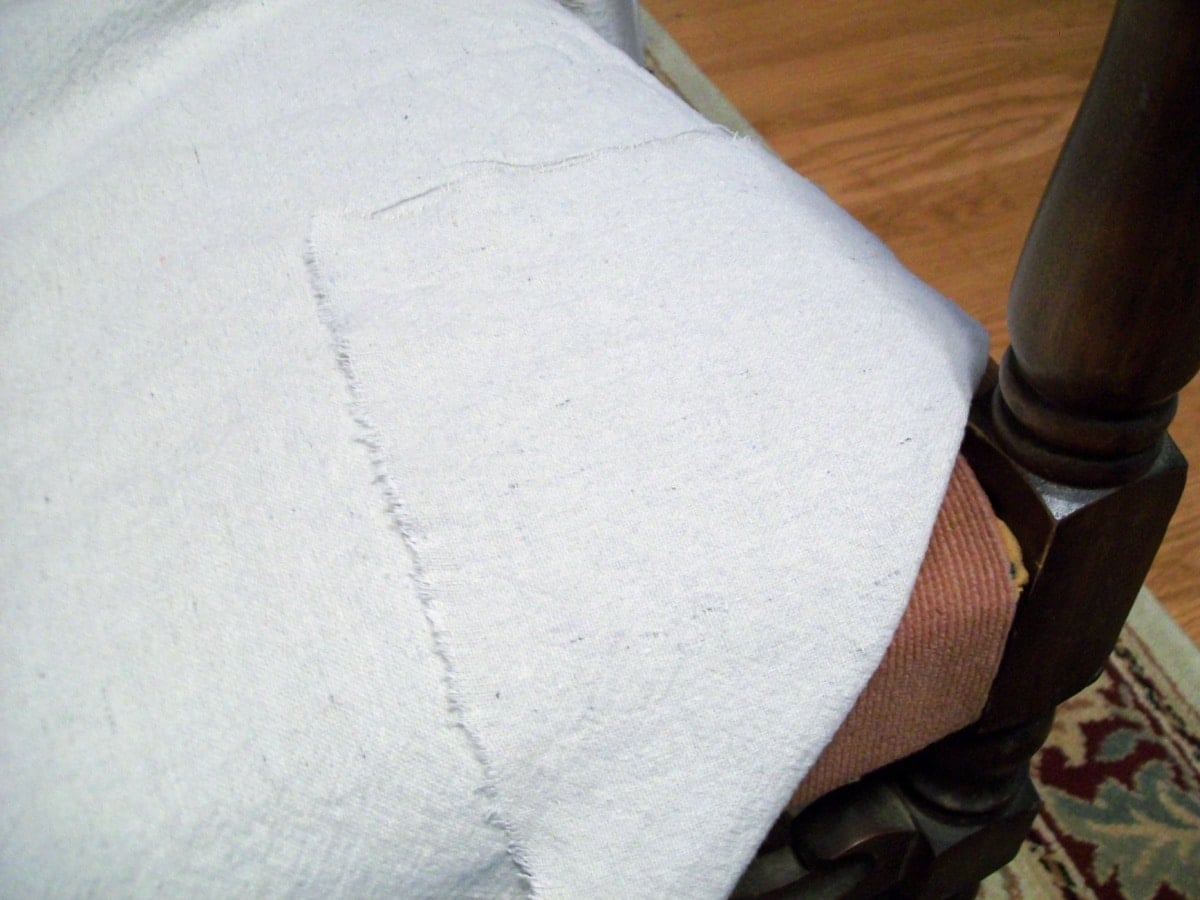
A tip I remember from Miss Mustard Seed is that drop cloths rip in a straight line. I took advantage of that by ripping the large piece into a more manageable size.
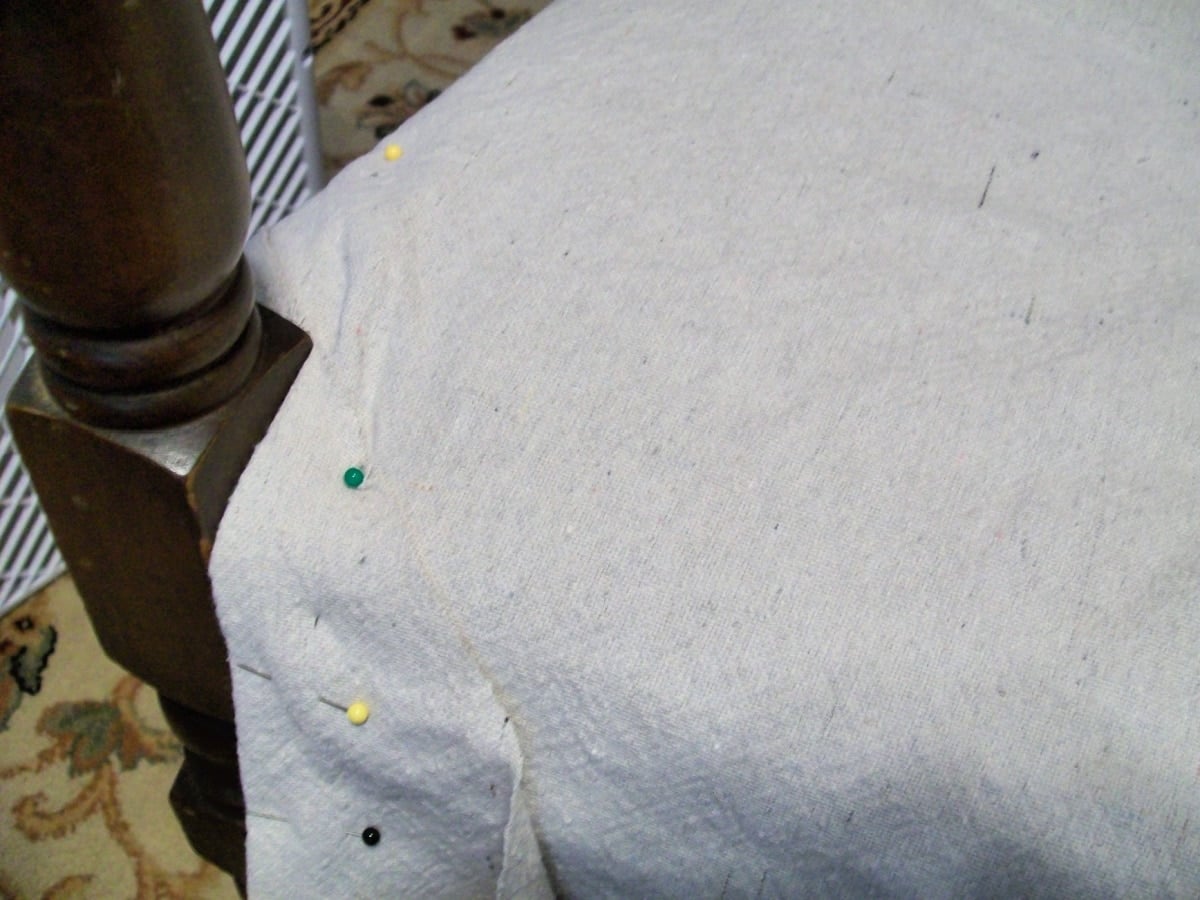
First, I made the cut to split the corner open and pinned it.
Then, I sewed the sides that fit around the front legs and back legs.
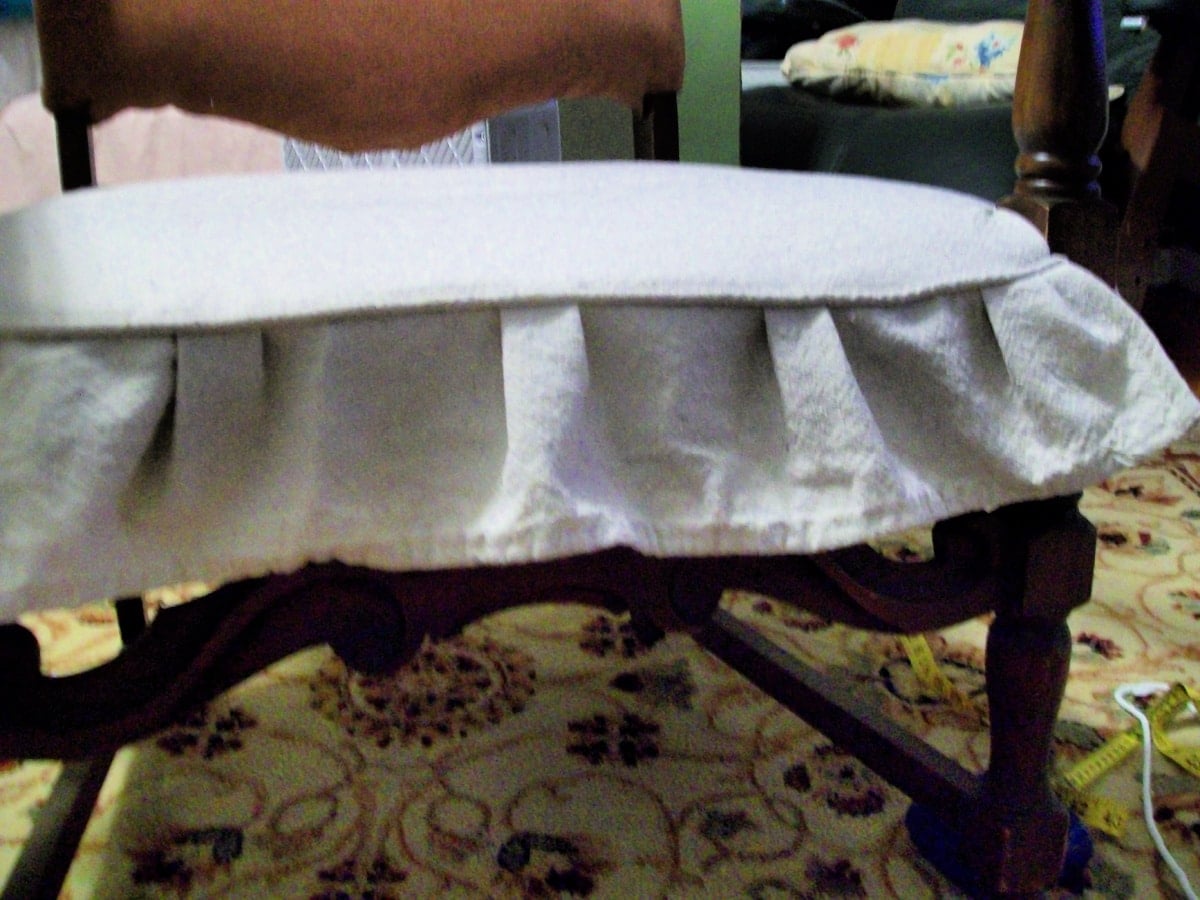
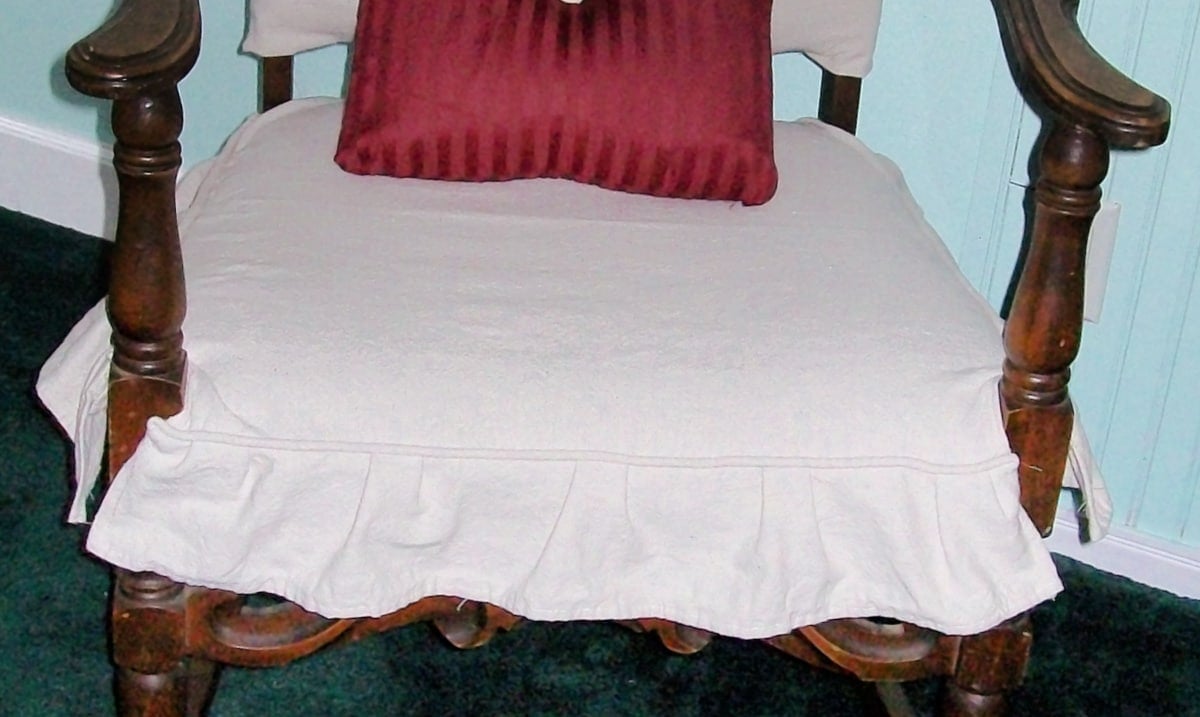
Add a Ruffle
I have done cording/piping once before on some pillows I made for my daughter, Jamie. This (in my opinion) was much more difficult.
On the first side of the easy slipcover, I somehow got the seat material caught up in the ruffle and had to rip it out. I was much more careful on the second side and the front.
Use the Original Hem of the Drop Cloth Material
Another tip I got from Miss Mustard Seed was to take advantage of the pre-hemmed pieces. I did that on the ruffle all the way around.
How To Outline the Back of the Chair
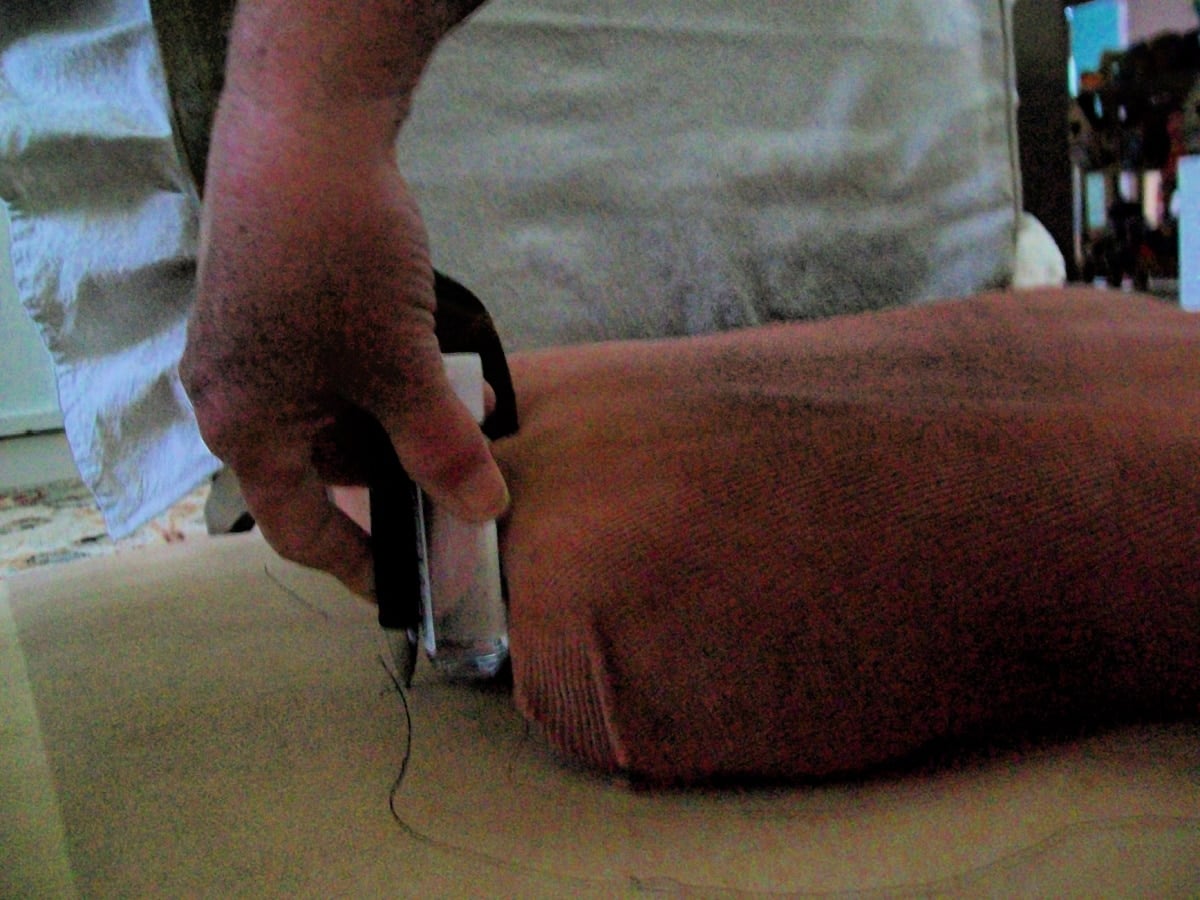
This could get confusing if you don’t pay attention. Because the chair (back) didn’t lie flat on the floor, I raised it up on a board. I laid down some brown craft paper and drew the outline.
I was just going to sort of “wing” it and cut it larger to account for the back thickness and seam allowance. Then I came up with this bright idea… I put a bottle of hand sanitizer between the chair and the pen. It rolled smoothly along the back, keeping the pen away from the edge.
I apologize for the poor image quality, but I hope it helps you understand this step.
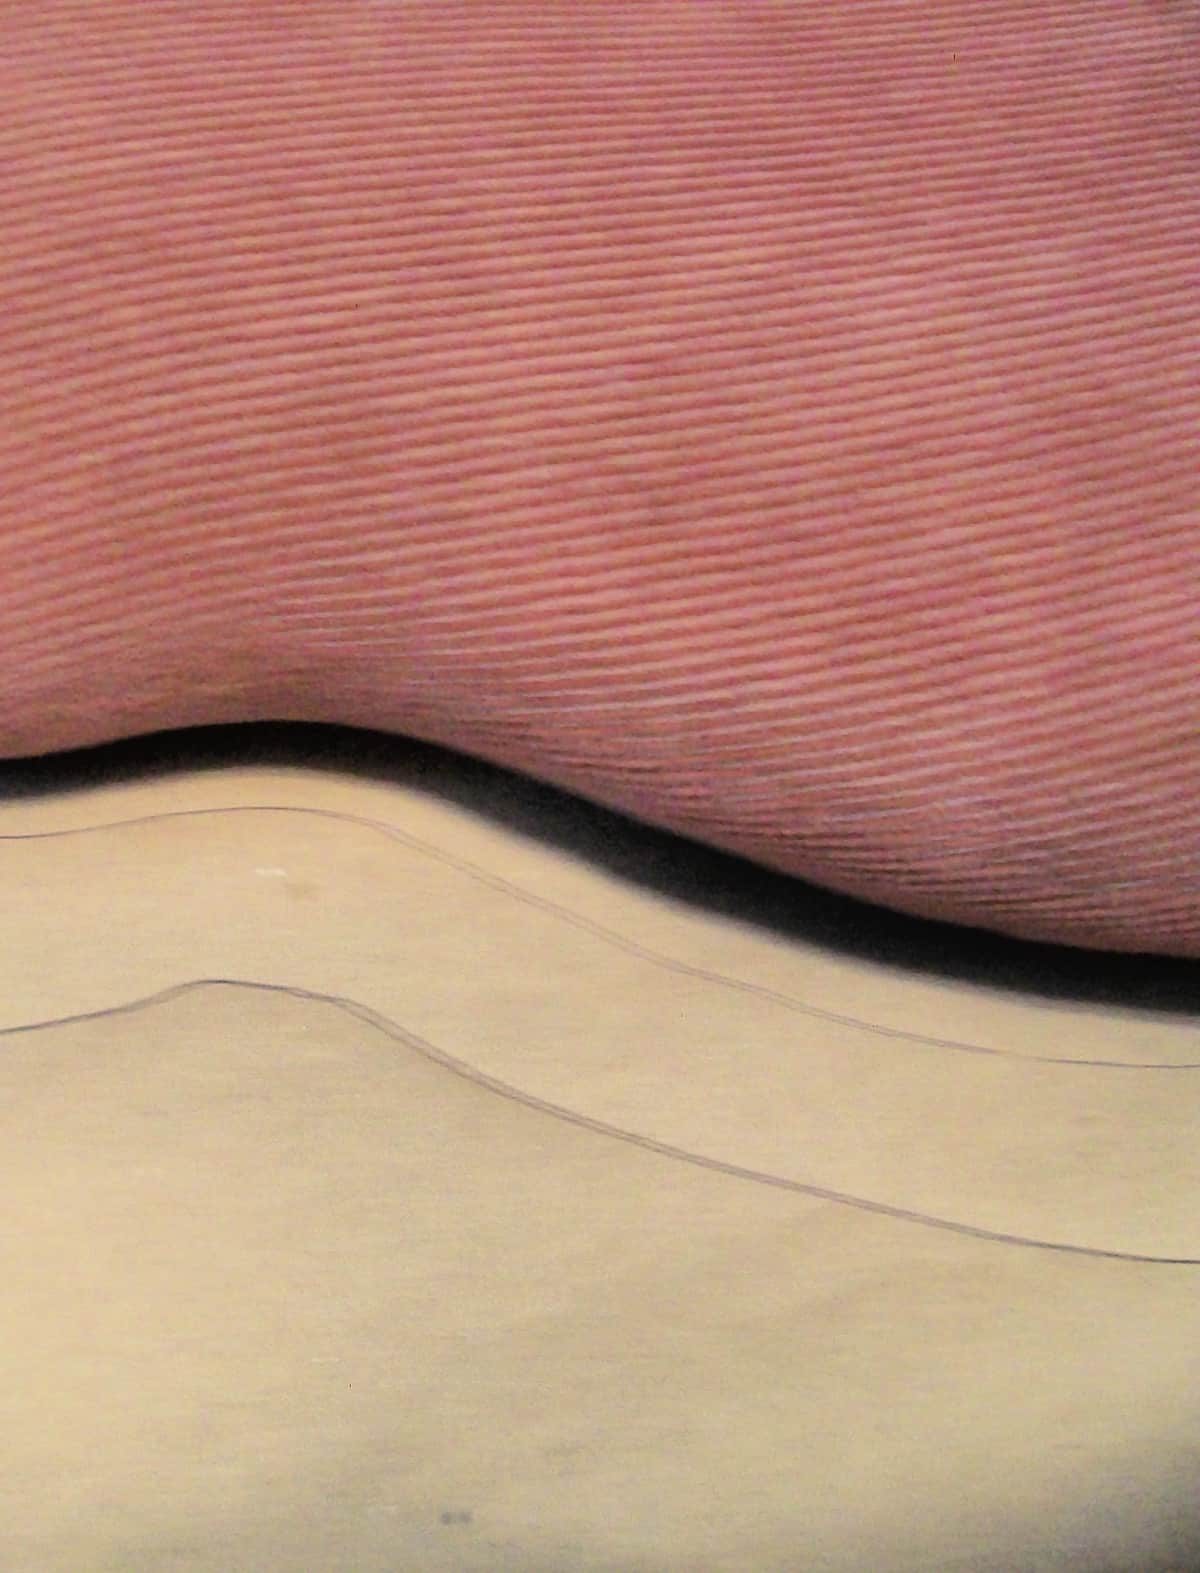
Although this is not a good picture, you can see how much room the bottle allowed. I moved the chair slightly so you could see the line traced near the chair, as well as the one that showed the extra space from the plastic bottle.
Stitch Drop Cloth Seat Back

Using the brown craft paper pattern, I cut out the back. This is where I wish I had known what I was doing. I could have really used some advice from someone who had done this before. Maybe you can learn from my mistakes.
I machine-stitched the top of the easy slipcover. However, due to the arms being attached (oh duhhh blonde moment! I could have removed the arms! oh well, that JUST now occurred to me!)
Anyhow, I realized that, for it to be removable and washable, I needed a MUCH larger seam allowance to accommodate velcro or some other magic solution. I did not have enough seam allowance, so I cut it very carefully and then whipstitched it semi-permanently in place. I can remove it to wash it, but then I would have to sew it back into her top.
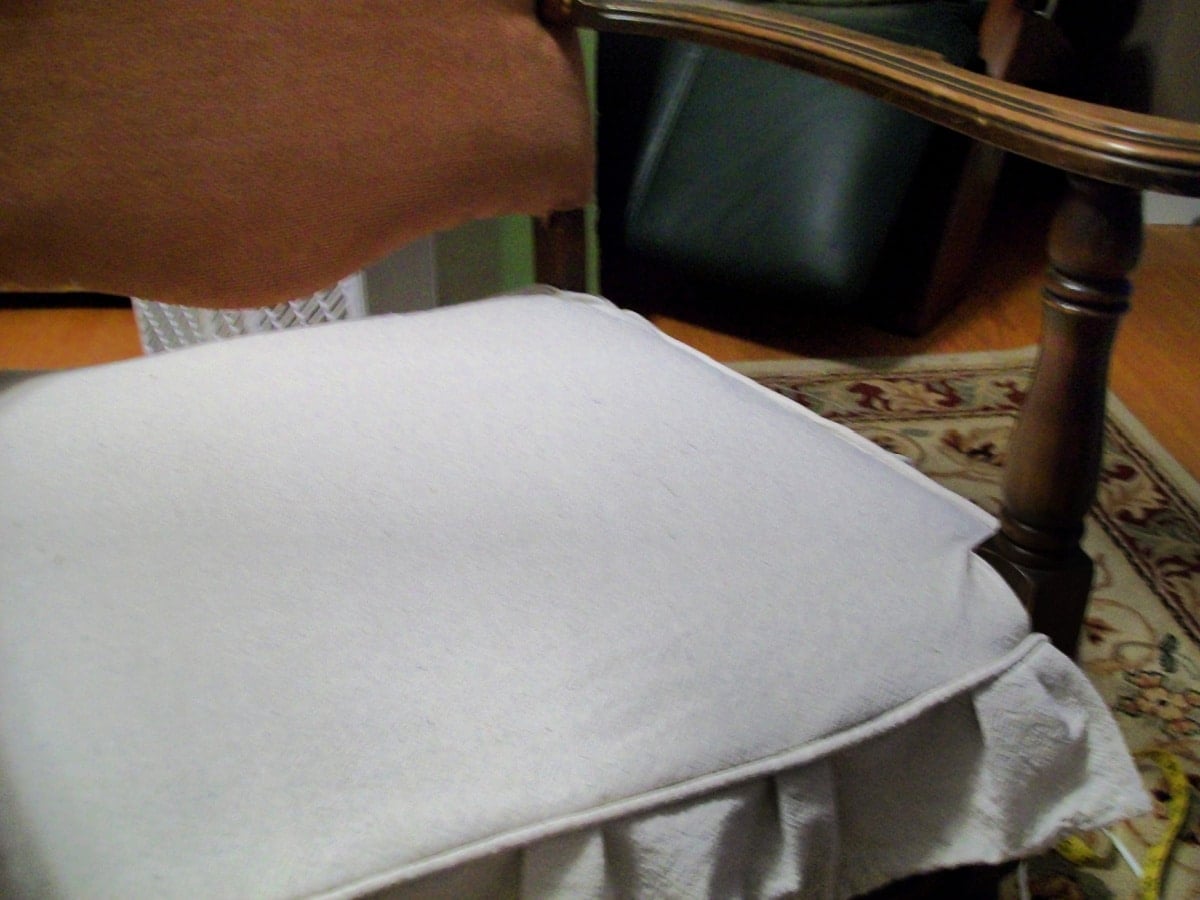
Trim Away Excess Fabric on Easy Slipcover
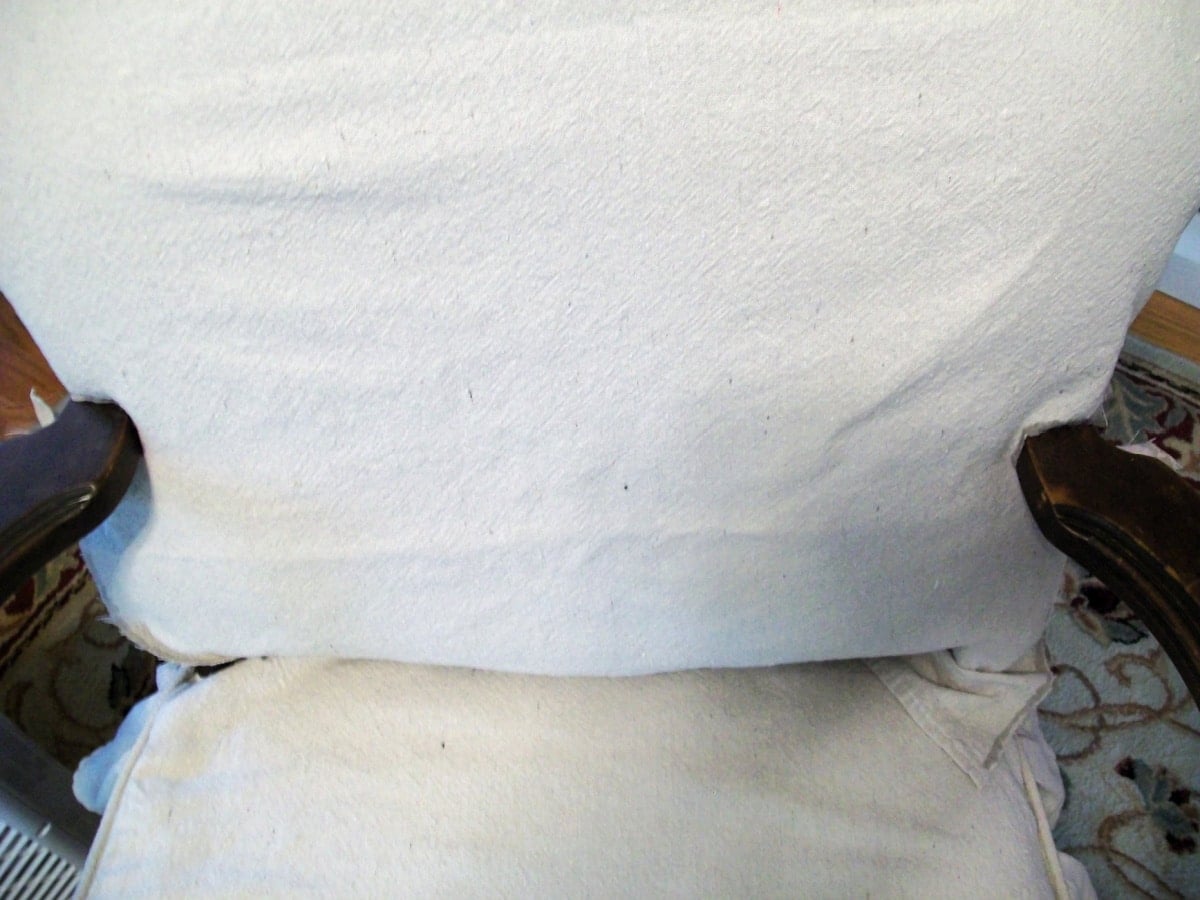
This is how it looked after I cut it, but before I stitched her in.
Visit the My Repurposed Life Amazon Store to shop my favorite items.
Use Fray Check for Raveling Issues
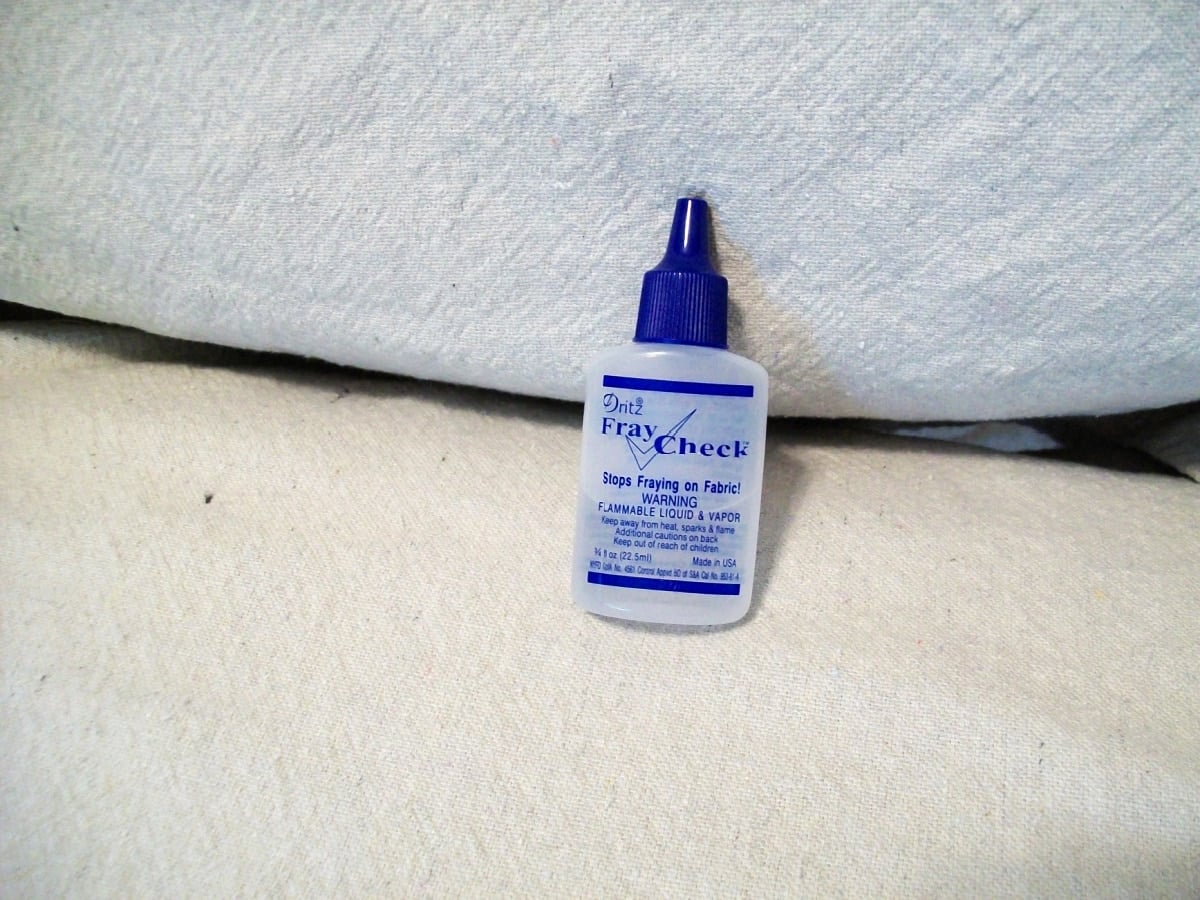
My next piece of advice, Fray Check! What a lifesaver! This drop cloth material frays like crazy. This little bottle made me smile! It worked like a charm. I had bought it months ago when I bought some burlap.
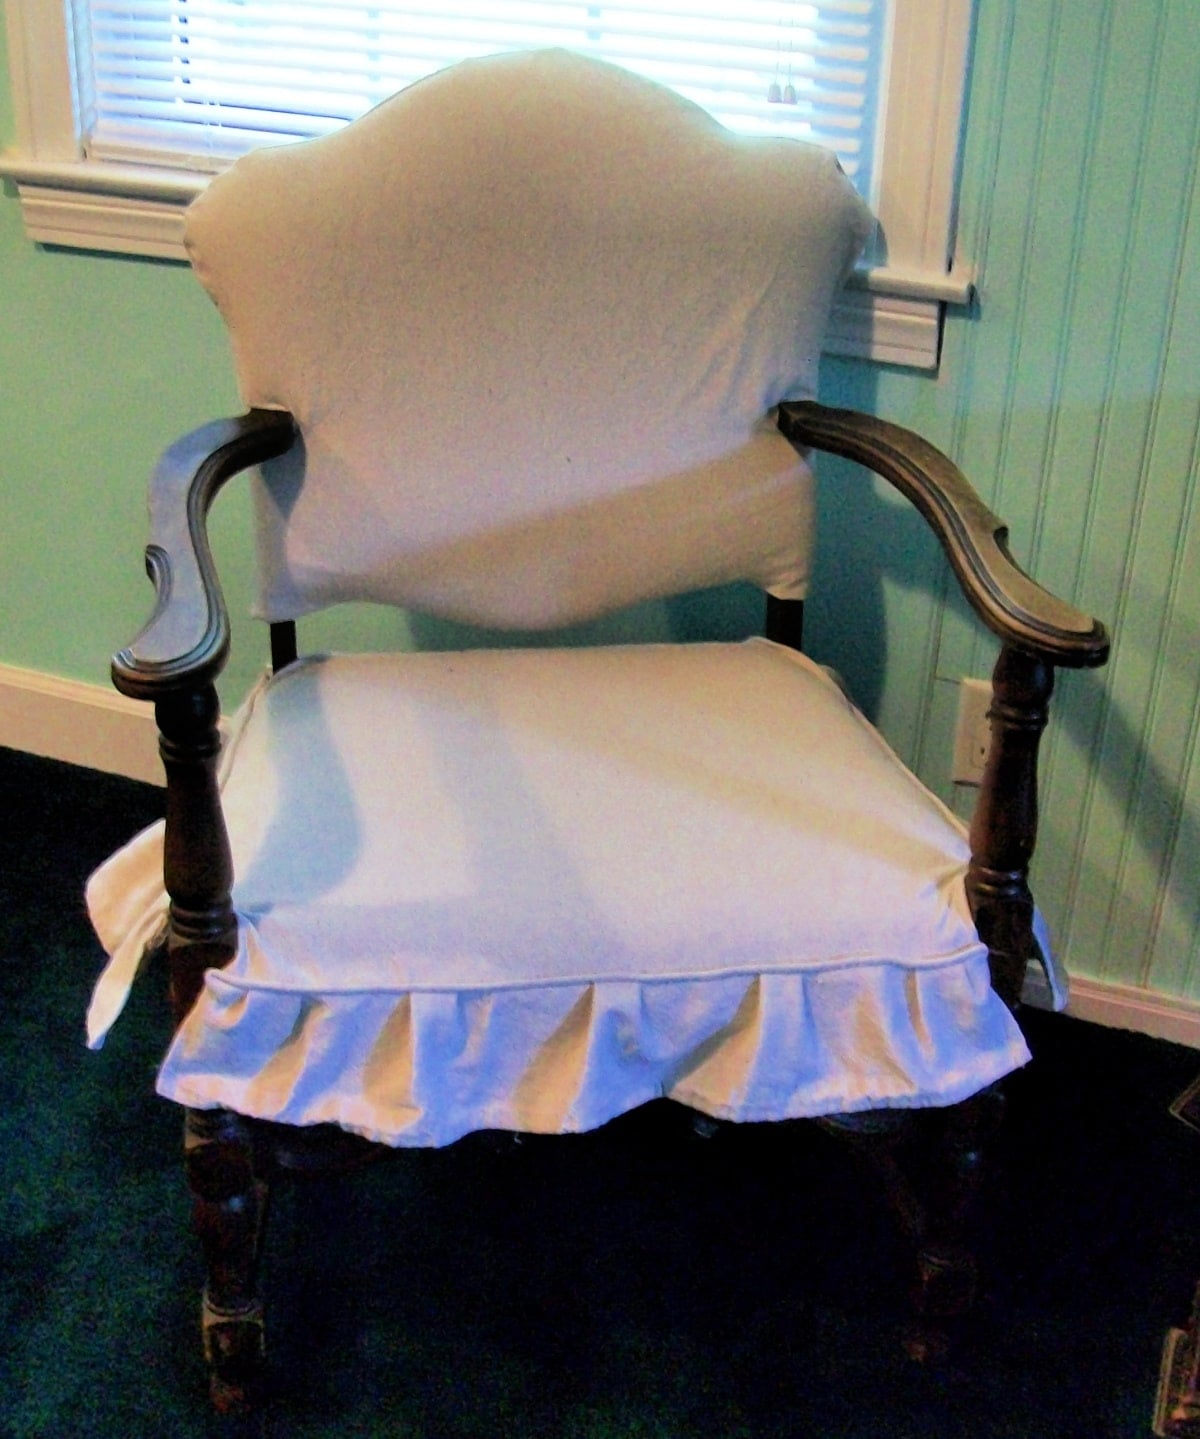
Here she is in her new home. Doesn’t everyone love to have a chair in their bedroom? You know, a place to put on your shoes and throw your robe onto.
Close up, but don’t be too critical of my sewing!
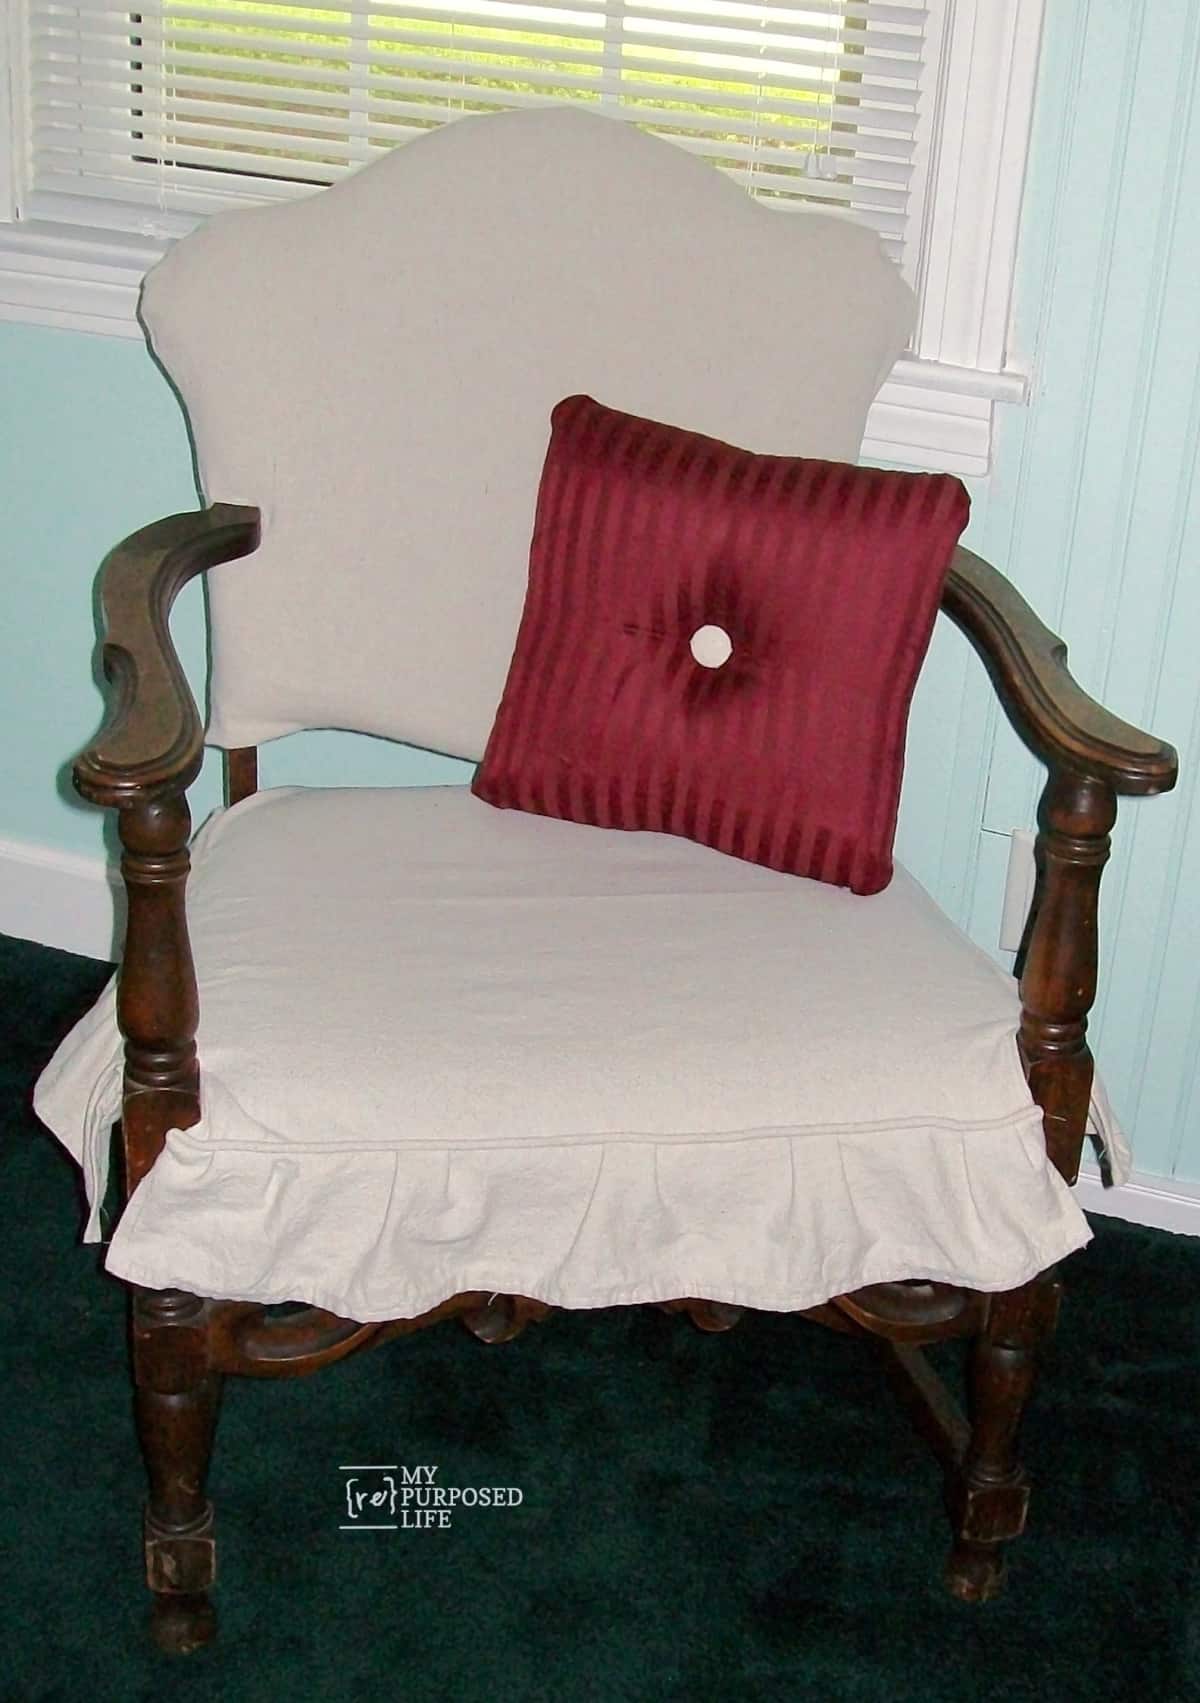
With the flash. Let me tell ya, I was thisssss close to painting this little beaut! I had the Kilz open and the paint brush in my hand, and decided not to paint her. She has a lot of natural character. I’m not saying I will never paint her, but for now, she’s going au natural.

UPDATE: 10 12 years later, this chair is still in my bedroom. I ended up taking it to The Hideaway, where I painted it. See the new look of this Antique Parlor Chair.
This project is a good reminder that not every makeover needs paint or a full reupholstery job. Sometimes a simple fabric update is enough to give an old chair a whole new personality. This sweet little chair still proves that thrift store finds can become favorites with just a little creativity and a willingness to try.
More ideas you may like:
- Painted Antique Parlor Chair
- Bed Bench Made from a Coffee Table
- Wall-to-Wall Closet with French Doors Using Bi-Fold Doors
- Browse more projects from The Hideaway
Have you ever saved an old chair with fabric instead of paint? This easy slipcover idea is a great way to refresh a thrifted seat without spending much. Be sure to save this project for later and share it with a friend who loves budget-friendly furniture makeovers.
What a great bargin on the chair! Your slip cover looks great!!! It’s amazing how a slip cover can make the chair look new again!
I think it looks beautiful! You did a fantastic job!
The chair looks great! You did a fine job. WIsh I had the courage to tackle making slip covers.
Looking forward to seeing all the goodies you got for $5 from Joey.
gail, that is beautiful!!! uou did a fantastic job and the ruffle just completes it. well done!
Beautiful! Slips looks so simple, but like you, I find the actual sewing part tedious and difficult. I just made a ton of covers for my furniture on the patio, and I’m afraid I had to cuss several times to get thru the process 🙂
I happened upon a ‘2-fer’ at the Home Depot on drop cloths…2 6×9 cloths for 10 bucks. I’ve washed, bleached and dried them several times in preparation for some new sewing projects!
Sorry to hear about the Peddler’s Mall. My favorite furniture consignment closed it’s doors last week. *sniff*
That’s MY bride doll. Mine, however, is in a box somewhere high in the rafters of my garage…I should get her out. 🙂
Nice job!!! I do upholstery & I think slip-covering is much more complicated than just upholstering it. You did a great job! It looks positively lovely!!
I always thought I would love to go to that Peddler’s mall…. seriously how could he make any money by selling things for .96 & you always got such great stuff there…. sad day..:(
Lovely!!! You did a great job, love that little skirt on the chair! I’ve used drop cloth for two slipcovers and it holds up great (but it DOES fray, argh! I’m totally using fray check next time.)
You did a great job on the chair, I sew and would NOT do the great job you did. I agree that it looks great unpainted, but I’m partial to stained wood.
What goodies did you get for your $5.00? Sorry to hear that Joey’s is closed :0(
That chair looks great in your newly decorated Missus bedroom. I wouldn’t paint that chair either. It is really pretty. You did a great job on the sewing. Sorry the Peddlers Mall is closing.
Now about the paragraph that got lost….. you know, the one telling what you got at Joeys. Just how long are you gonna keep us in suspense?
I triple love it…you aced that… that is not an easy task… oh I am so glad you didn’t paint it… somethings are just better left alone and that is one of them.
Can’t wait to see what you got at Joey’s… I am so sad for you that it is closing… that’s like losing an old friend.
Have a great day Gail… can’t wait to see what you are up to next.
Hugs, Deb
Gail I love love love the new look of the chair with the slipcover! You did a great job with it!
And I agree, that chair should NOT be painted. The wood looks beautiful as is, esp against the natural dropcloth.
Kudos to you for a fine sewing job.
Oh, and don’t think I didn’t notice that you failed to mention what you bought at Joey’s final sale for the grand sum of $5…..;) I suppose you’re going to keep us in suspense for another day or so, right?
Too bad about your favorite place closing down tho.