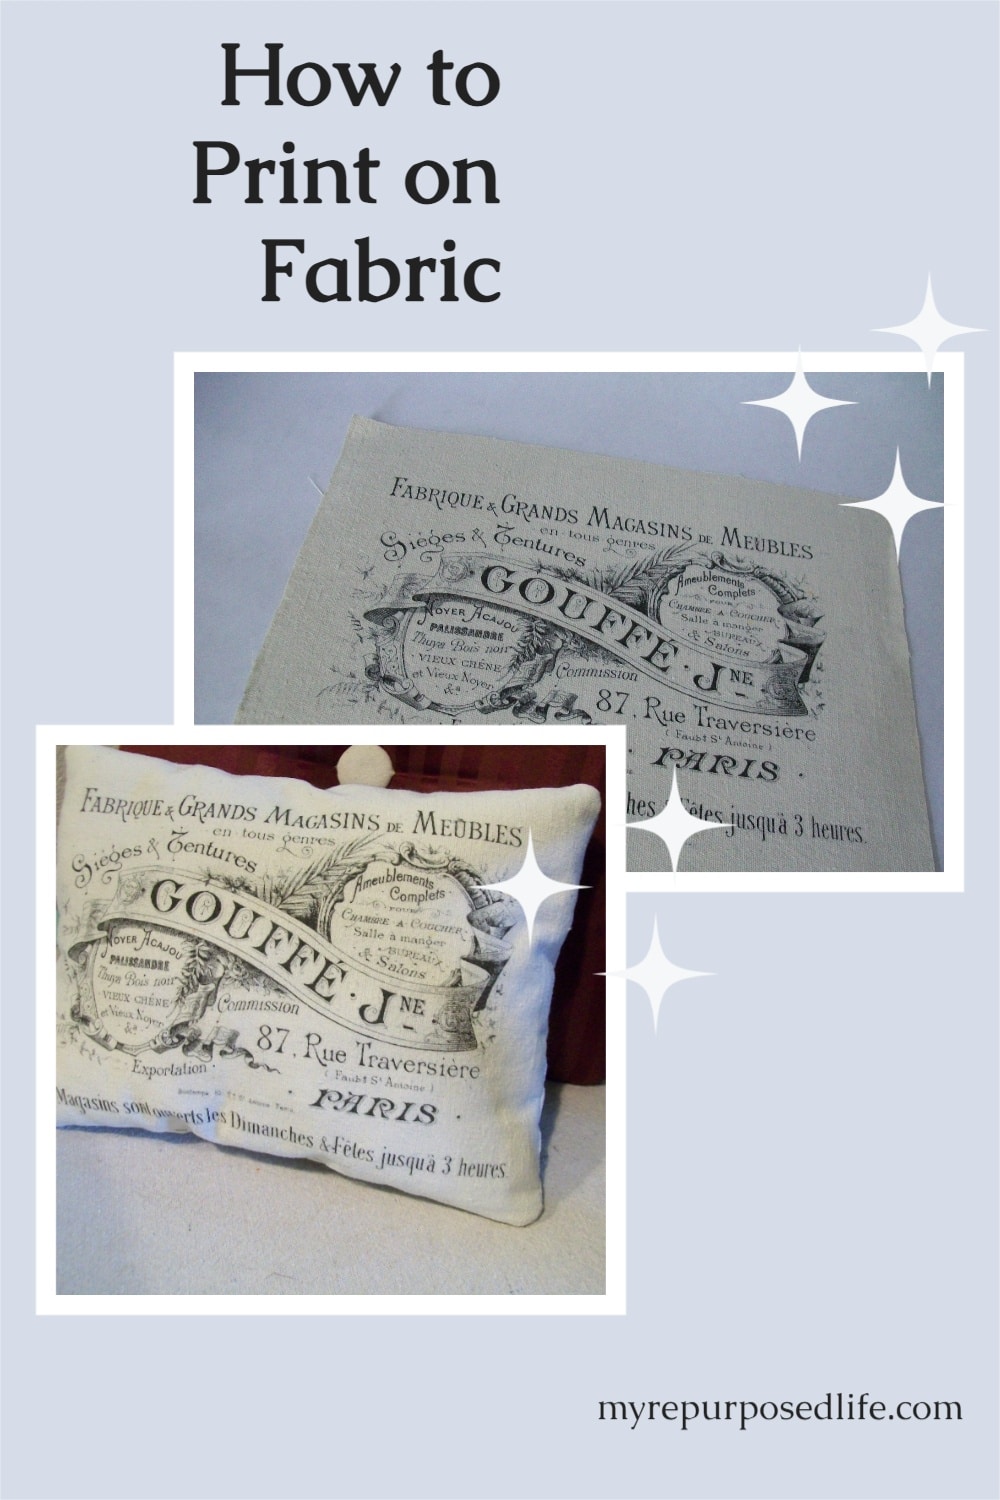
Printing on Fabric Using Your Home Printer
As an Amazon Associate, I earn from qualifying purchases.
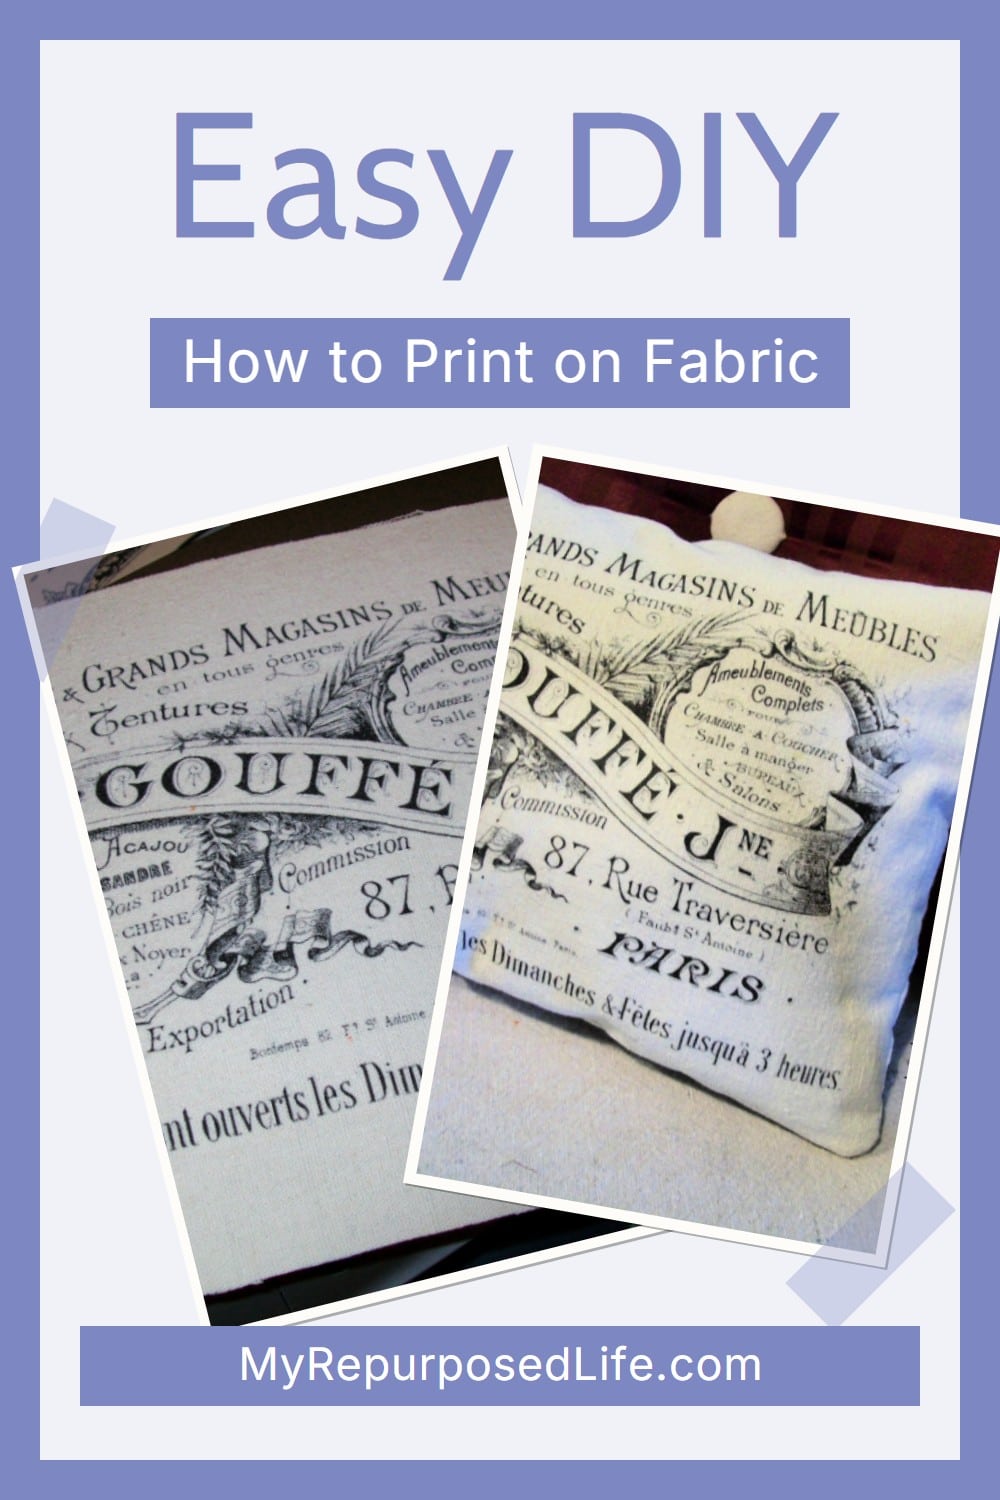
Have you ever needed a custom label, graphic, or image on fabric for a project? Printing on fabric at home is one of those simple tricks that feels a little magical the first time you try it. Whether you’re making a pillow, adding a graphic to a tote, or creating a small patch for a repurposed piece, this easy method lets you personalize fabric with items you probably already have on hand.
If you have wondered about printing on fabric using your home printer, I’m here to tell you it is pretty easy. First, I do NOT recommend putting fabric through your high-dollar, fantabulous printer. I have an old INKJET printer that I was about to retire. It seemed like the perfect time to figure out how to print on fabric.
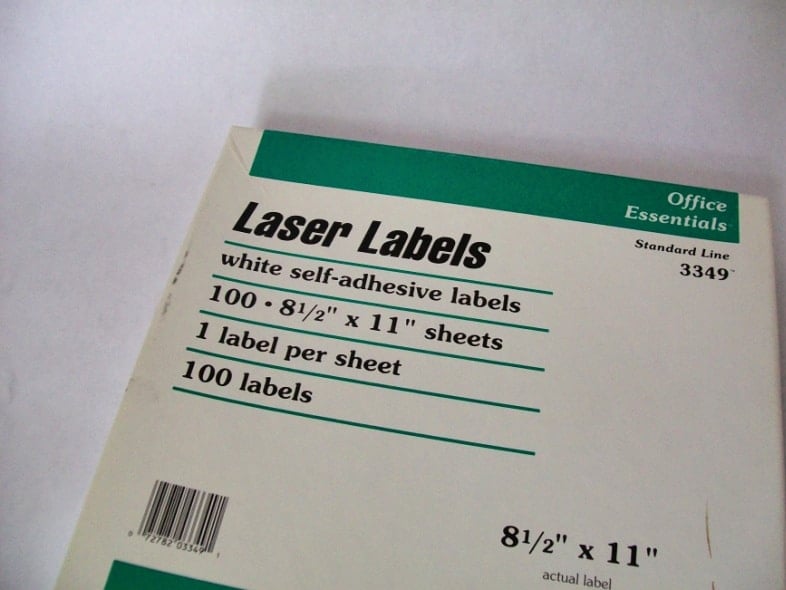
Have you ever noticed these labels when you’re shopping for return address labels? They are full sheets. You can tell I have had these for years. I got them from someone when I was still teaching. For this fabric printing project, I used these labels in addition to some leftover drop cloth fabric. I peeled the backing off the label and put the sticky label directly on the fabric. Then I carefully cut the fabric out, including the label. I say carefully, because I didn’t want the drop cloth fabric to fray. Something tells me that my printer would not want a bunch of strings invading it.
Apply Fabric to the Full Sheet Label

I got my graphics at The Graphics Fairy. If you don’t visit there regularly, you’re really missing out on some great images! I am a follower, so I don’t miss a single post! This is not my printer’s regular home. But because I was trying to get it to play nice with my laptop, I brought it into the living room and set it on the coffee table.
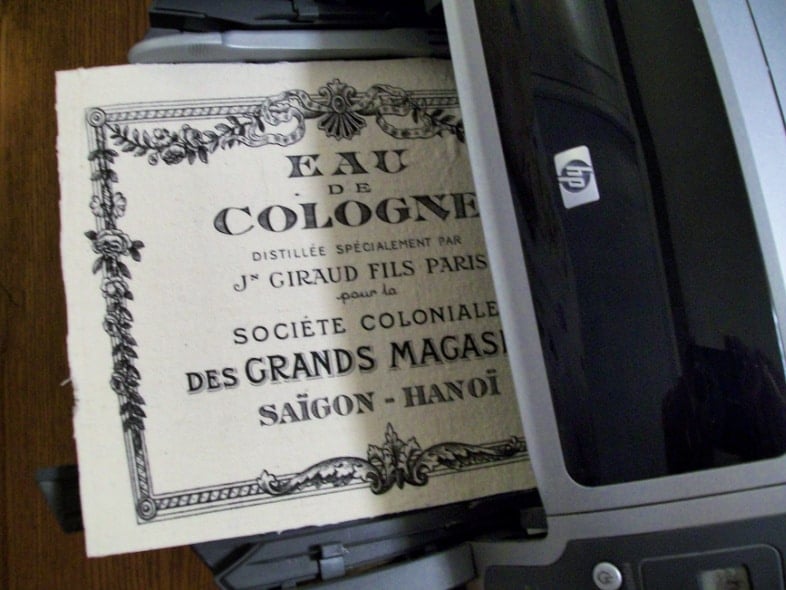
Carefully Feed the Fabric and the Label Sheet Through the Printer
You can see that the ink smudged a little in the corner. Since I was sitting right on the couch while it was printing, I was able to see that it misfed slightly and fixed it. But it still smudged. Adds to its character, right?
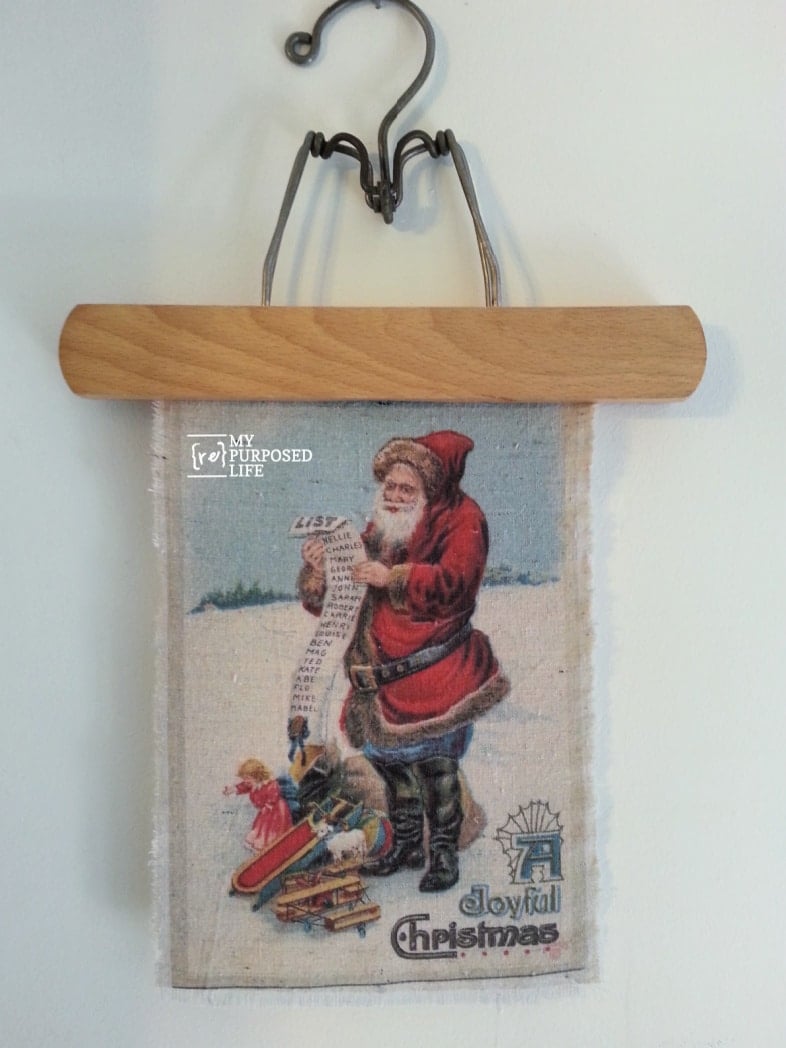
Image Printed on Fabric Using Label Paper
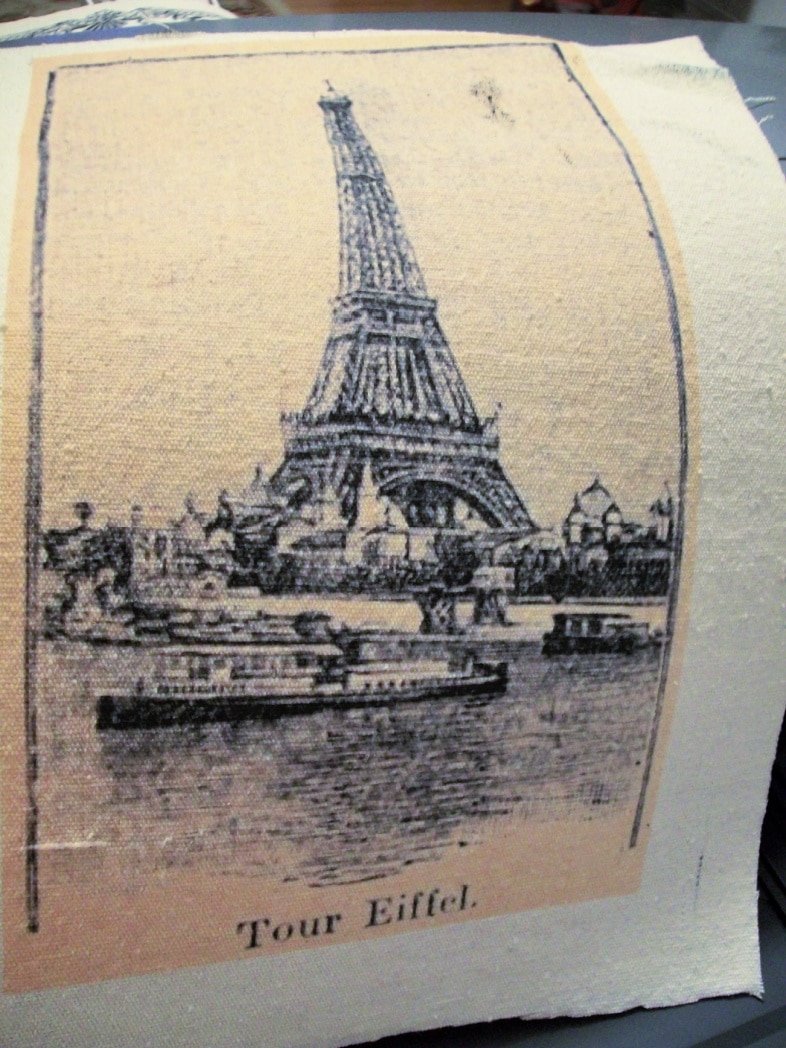
This shows the image still attached to the paper.
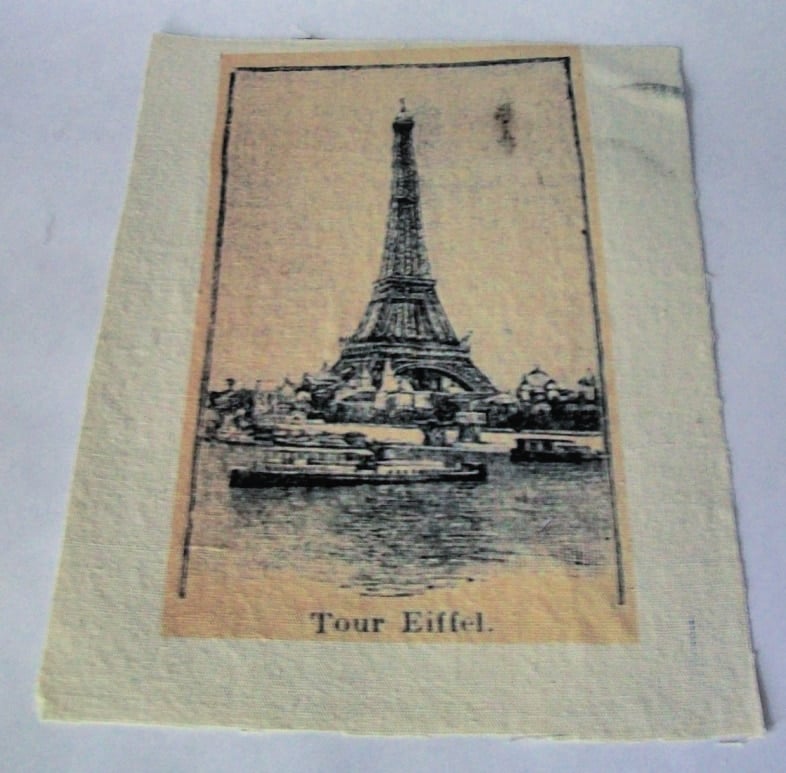
I put some Fray Check around the outside edge of the “frame” on the image. After the Fray Check dried, I purposely frayed the edges to get a soft edge. I haven’t decided what I’m doing with this one yet.
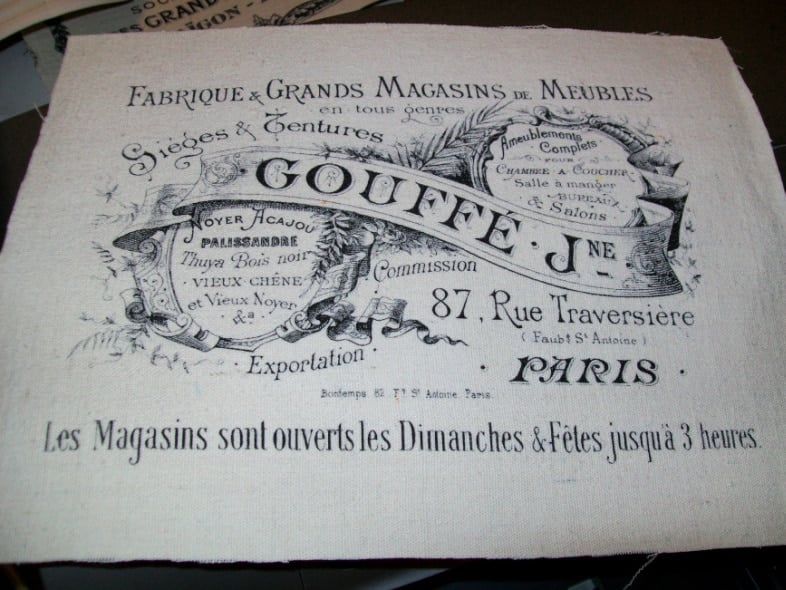
Printing on Fabric with Graphics
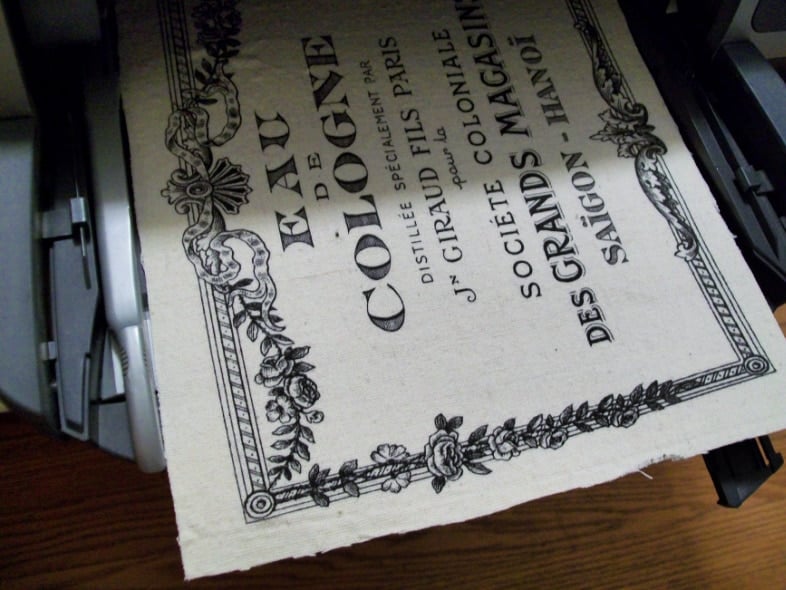
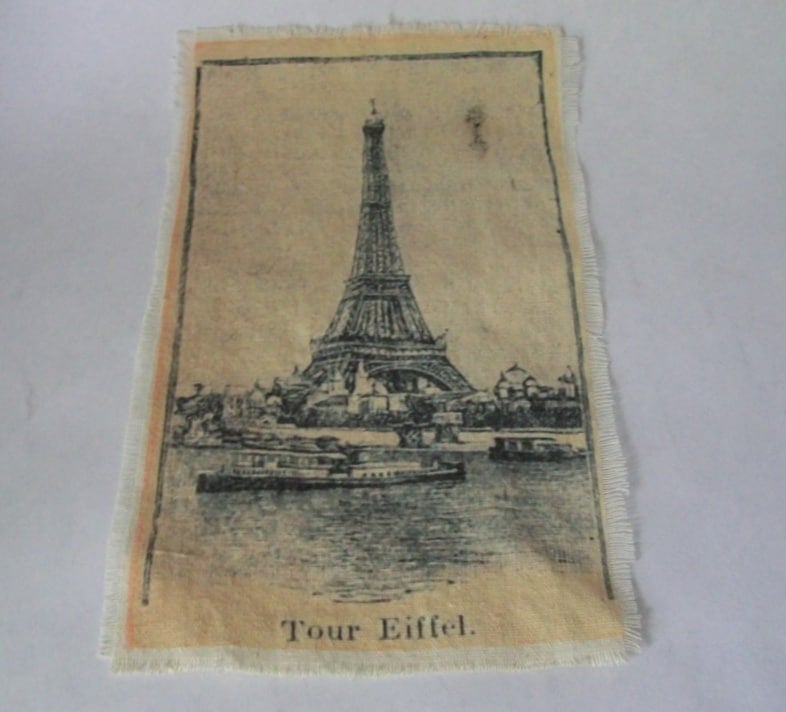
This is another graphic I got at The Graphics Fairy.
I’m not sure why I love everything French, but I do!
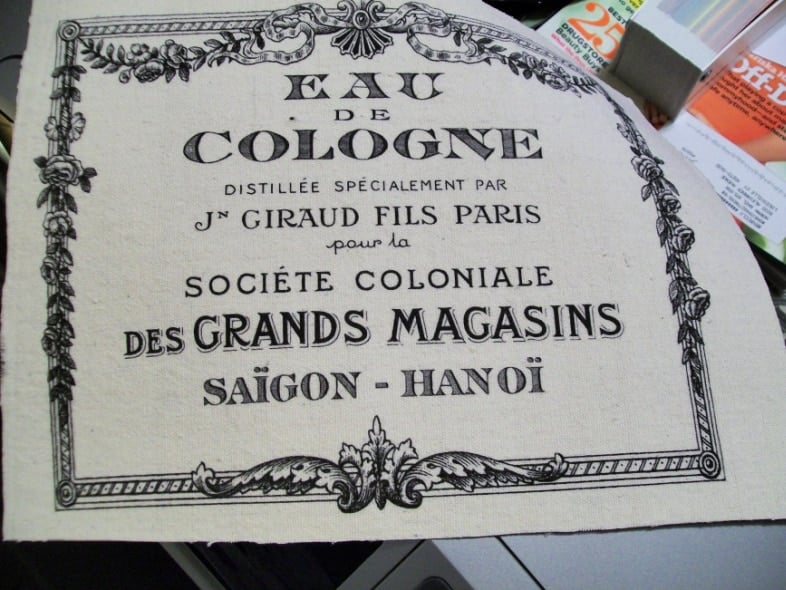
I love the way the image looks on the drop cloth fabric!

Another! I’m sure there are friends out there who know what these say. I, of course, have NO idea! This image here.

This was the first image I printed. Something happened there on the right. That was the last edge to come out of the printer. I’m not exactly sure why that happened. I think that part won’t show if I frame it.
So, there you have it! My way of printing on fabric. I printed all my images as 8×10. I did this in case I decide to frame them.
EDITED TO ADD:
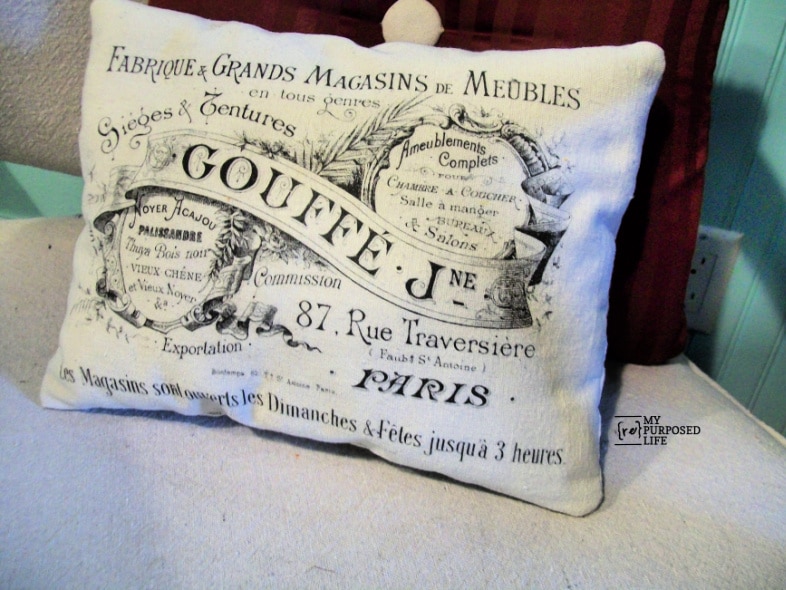
I made a small pillow out of one of the images I printed.
Like this idea of printing on fabric? I also printed on beadboard wallpaper. You can see how printed on fabric washes and holds up in the dryer.
My friend Susan from Homeroad made Cute Little Pillows, be sure and check them out too!
related content: Print Vintage Christmas Images and More
Printing on fabric opens up so many creative options. Once you realize you can run fabric through your printer, it changes everything. From custom labels to decorative accents, it is a simple technique that adds personality to your projects without extra cost. If you try it, start small and test first. Then let your imagination take over.
gail
I got this from Kate on Facebook. To make it washable, there’s an easy 2 step process that will “fix” the ink. You use Bubble Jet Set 2000 prior to printing and Bubble Jet Wash after printing. I used it and it does work.