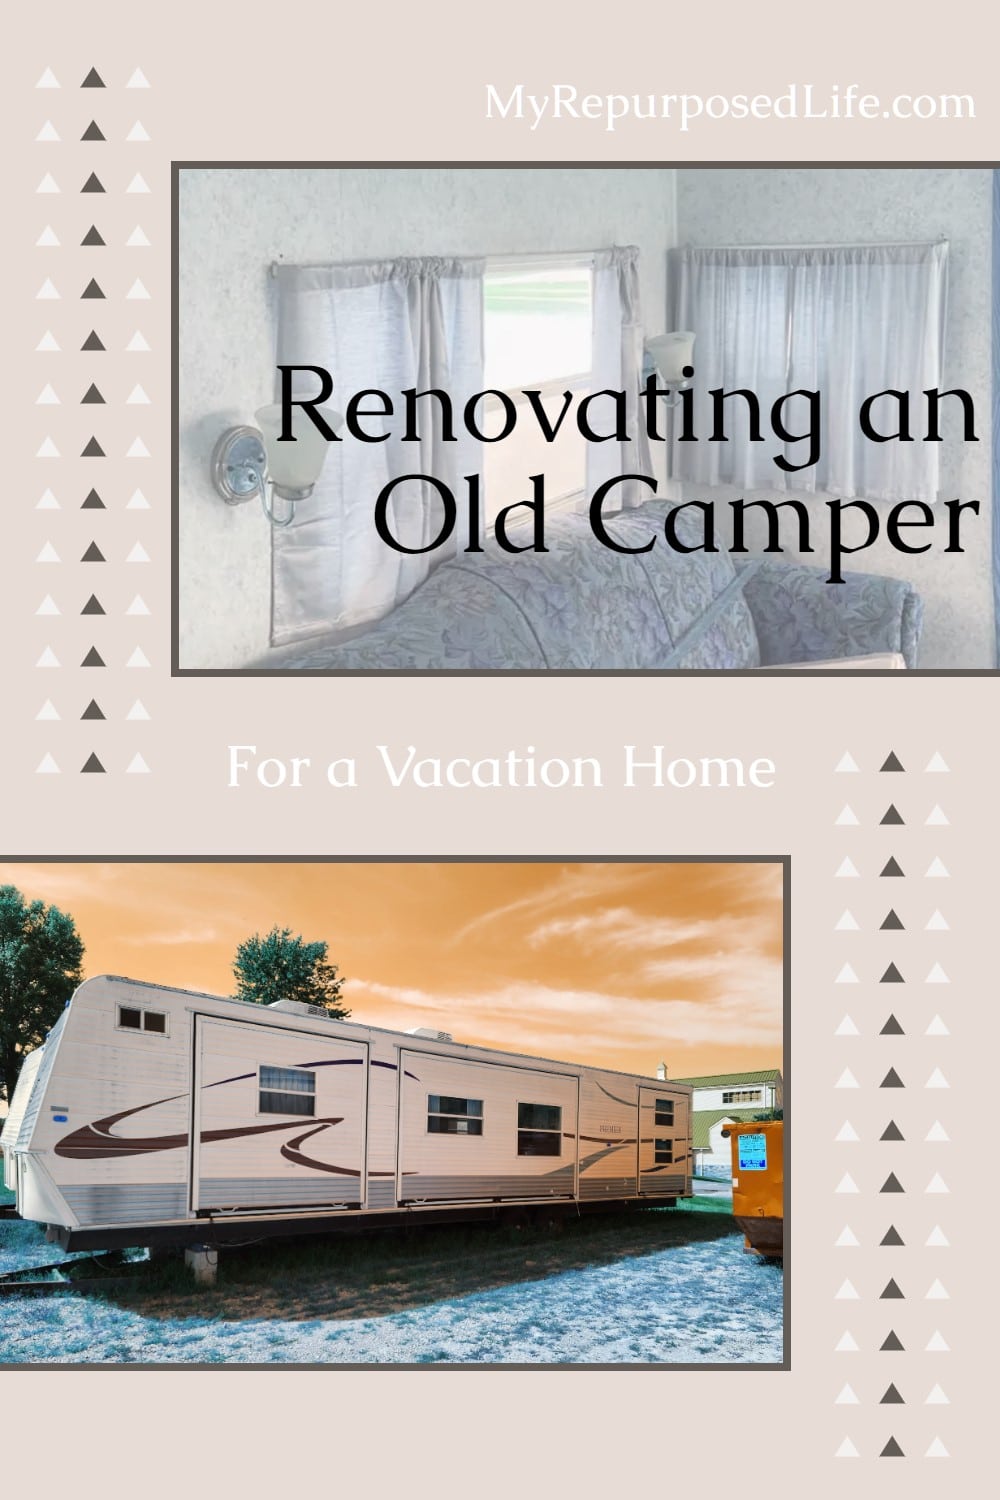
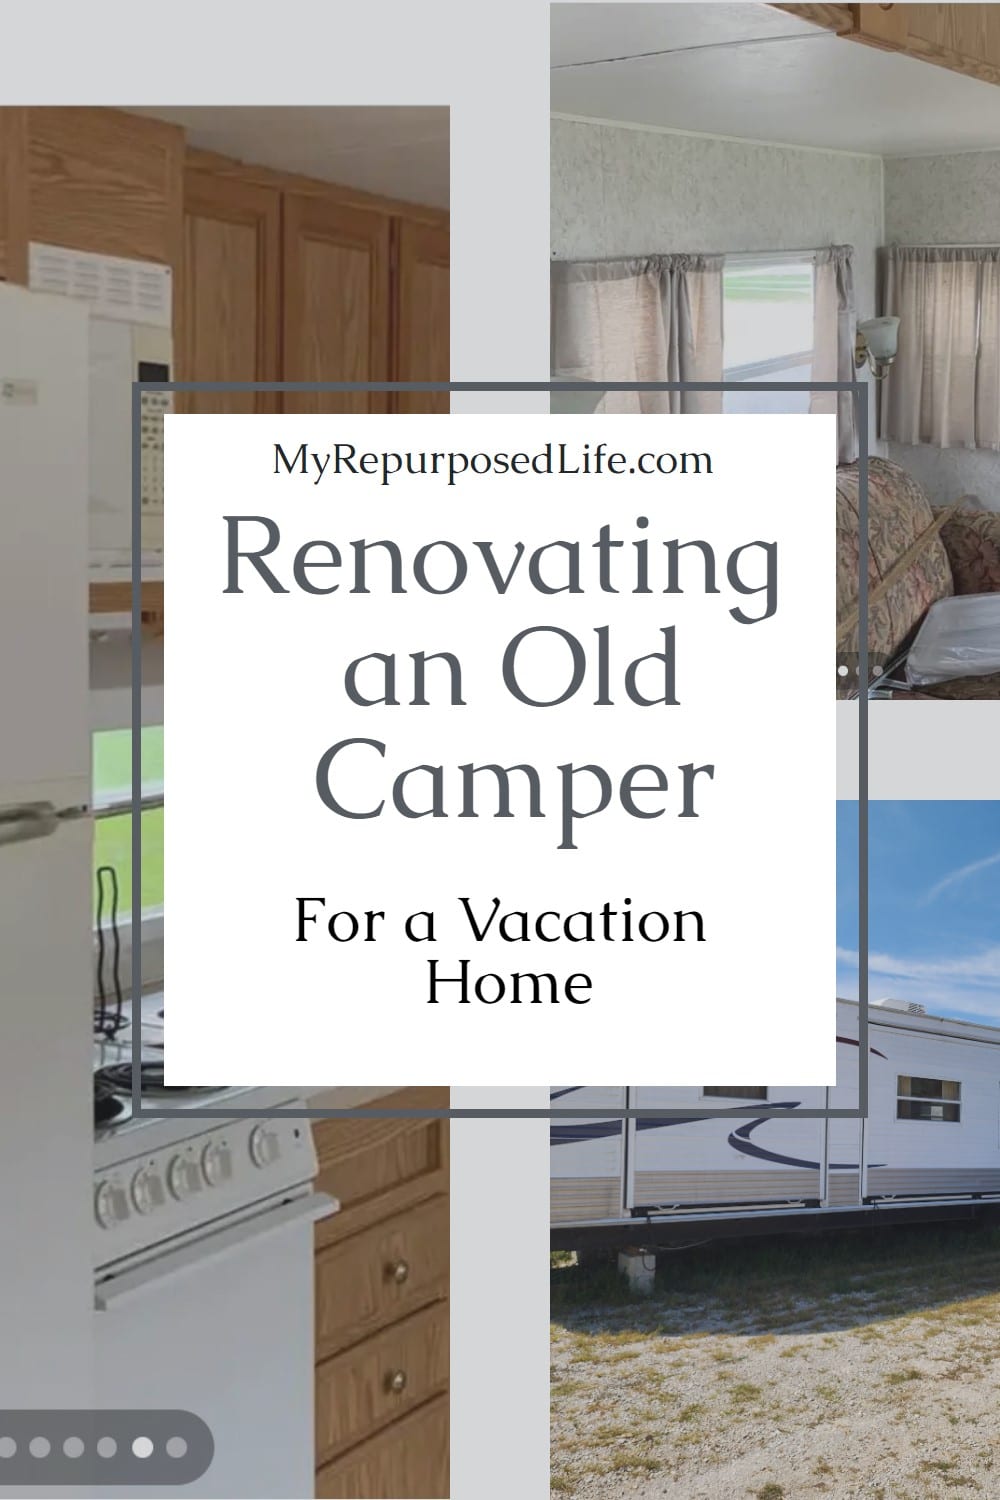
Renovating an Old Camper
As an Amazon Associate, I earn from qualifying purchases.
Did you know I’ve spent several months renovating an old camper? My cousin Terry and I bought four acres of undeveloped property 18 months ago. I like to refer to it as “four acres of neverending work.”
Today, I will share some ideas for renovating an old camper I bought to use as my vacation home. Basically, it’s my home away from home.
Renovating an old camper is a good option for a vacation home and much less expensive than buying a tiny house.
First, I’ll explain what kind of old camper it is and where it came from. Next, I’ll show you how to improve an old camper. Lastly, for those interested, I’ll share pictures of the place I love, The Hideaway.
Rental Campers
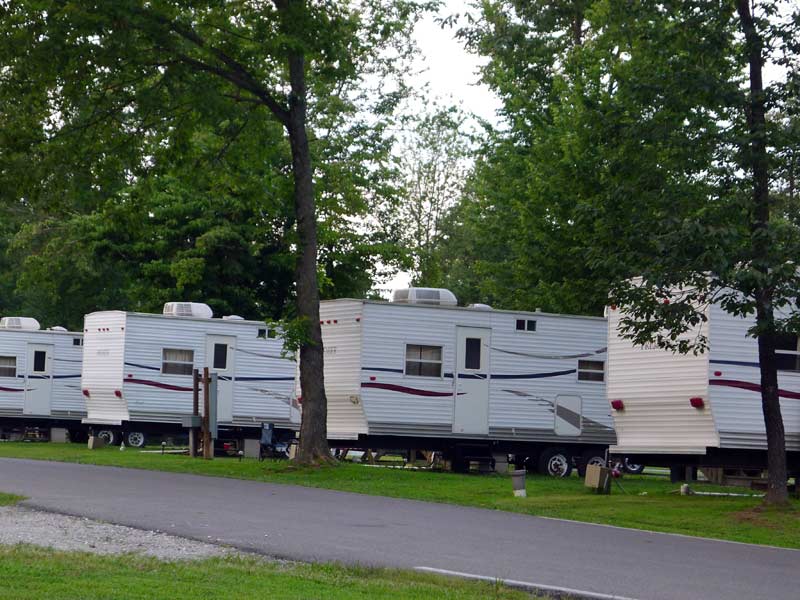
Our old campers are from Lake Rudolph Campground at Santa Claus Land in Indiana. Terry found them for sale on Facebook Marketplace. Thomas had purchased the old campers and was selling them. He had two left.
Tip: Search Facebook Marketplace for “Old Campers For Sale.” You may also try the search term “Park Model Campers.”

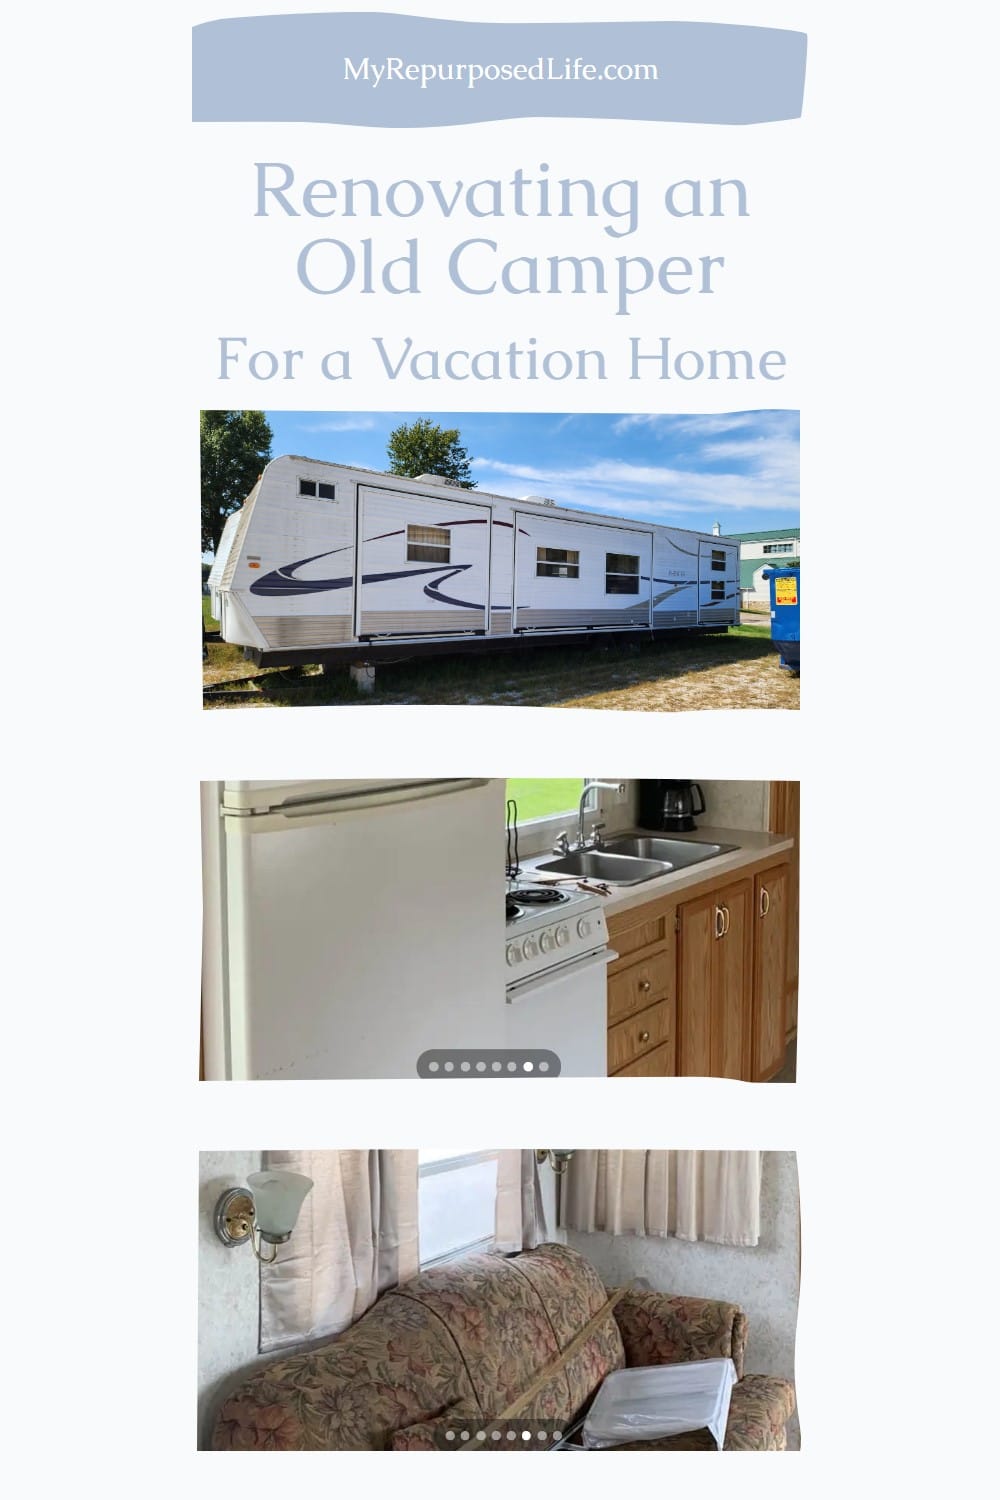
This one is very similar to mine in terms of the patio doors. The bunkhouse room is in the back, the small window is over the kitchen sink, and the front window is in the master bedroom. That gives you an idea of the layout. If those steps had come with the units, I would have been a happy camper.
Luckily, Thomas offered delivery and setup for a fee.
Be sure you have someone to move a camper before you agree to the purchase. These campers were 40 feet long and 10 feet wide.
Setting up Park Model Campers as Vacation Homes

I liked these old campers because they are similar in style and look better on the property. Thomas and his brother Ron delivered them and had a friend with a skid steer put them in place.
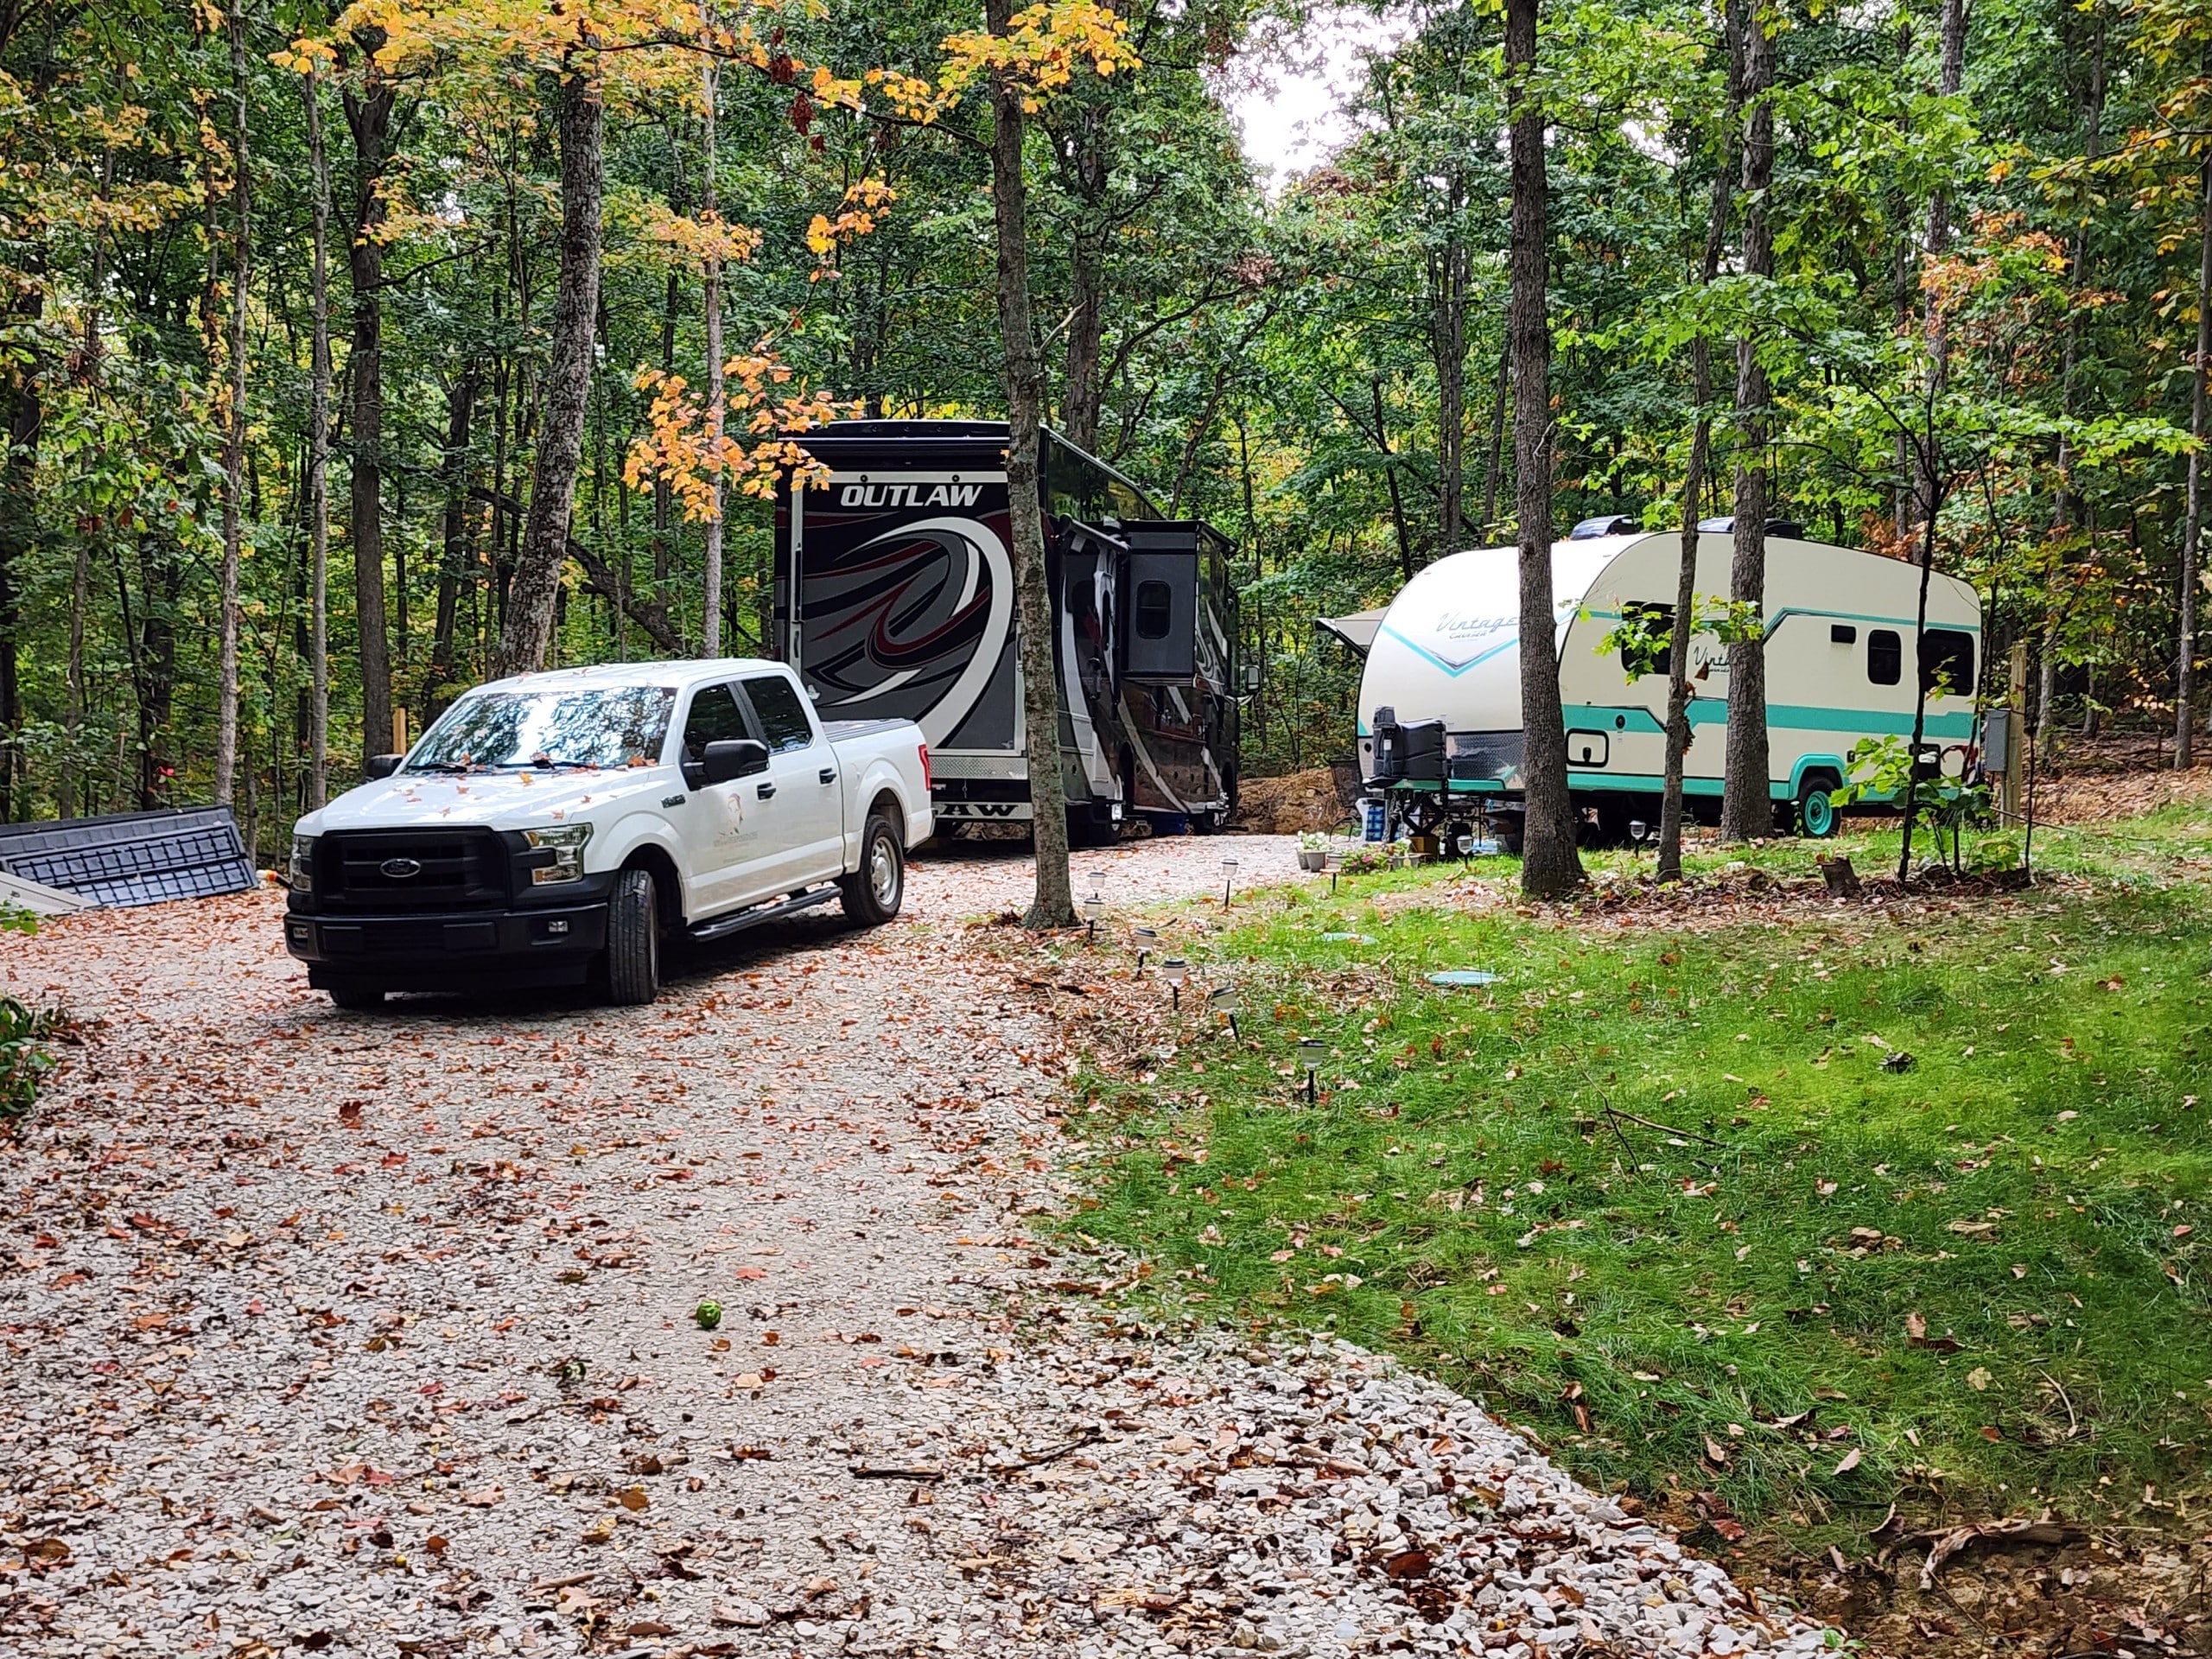
Terry and I initially planned to park our campers on the property. We did that twice before we purchased these old campers, but the space we cleared for them was not large enough to maneuver them easily.
The permanent setup was a huge undertaking. The campers had to be leveled, wired, and hooked to the septic.
Be prepared to make repairs on a unit this old. Terry and I were both very fortunate that the campers’ interiors were in good shape, considering their age and how many people must have rented them over the years.
Are you ready to see the nitty-gritty indoor pictures? My Camper is from 2005. The first few months were spent making necessary living arrangements such as steps, a porch, and a roof. My camper leaked and suffered some rot around the front door; more later.
Renovating an Old Camper

These photos are from the listing on Facebook Marketplace. The rot near the front door may be visible if you look closely.
The first update was new flooring in the master bedroom, the living room, and the kitchen. So, when you see after photos, most of them will have the new flooring.
I highly recommend removing the old vinyl floor before laying the new floor in an old camper renovation.
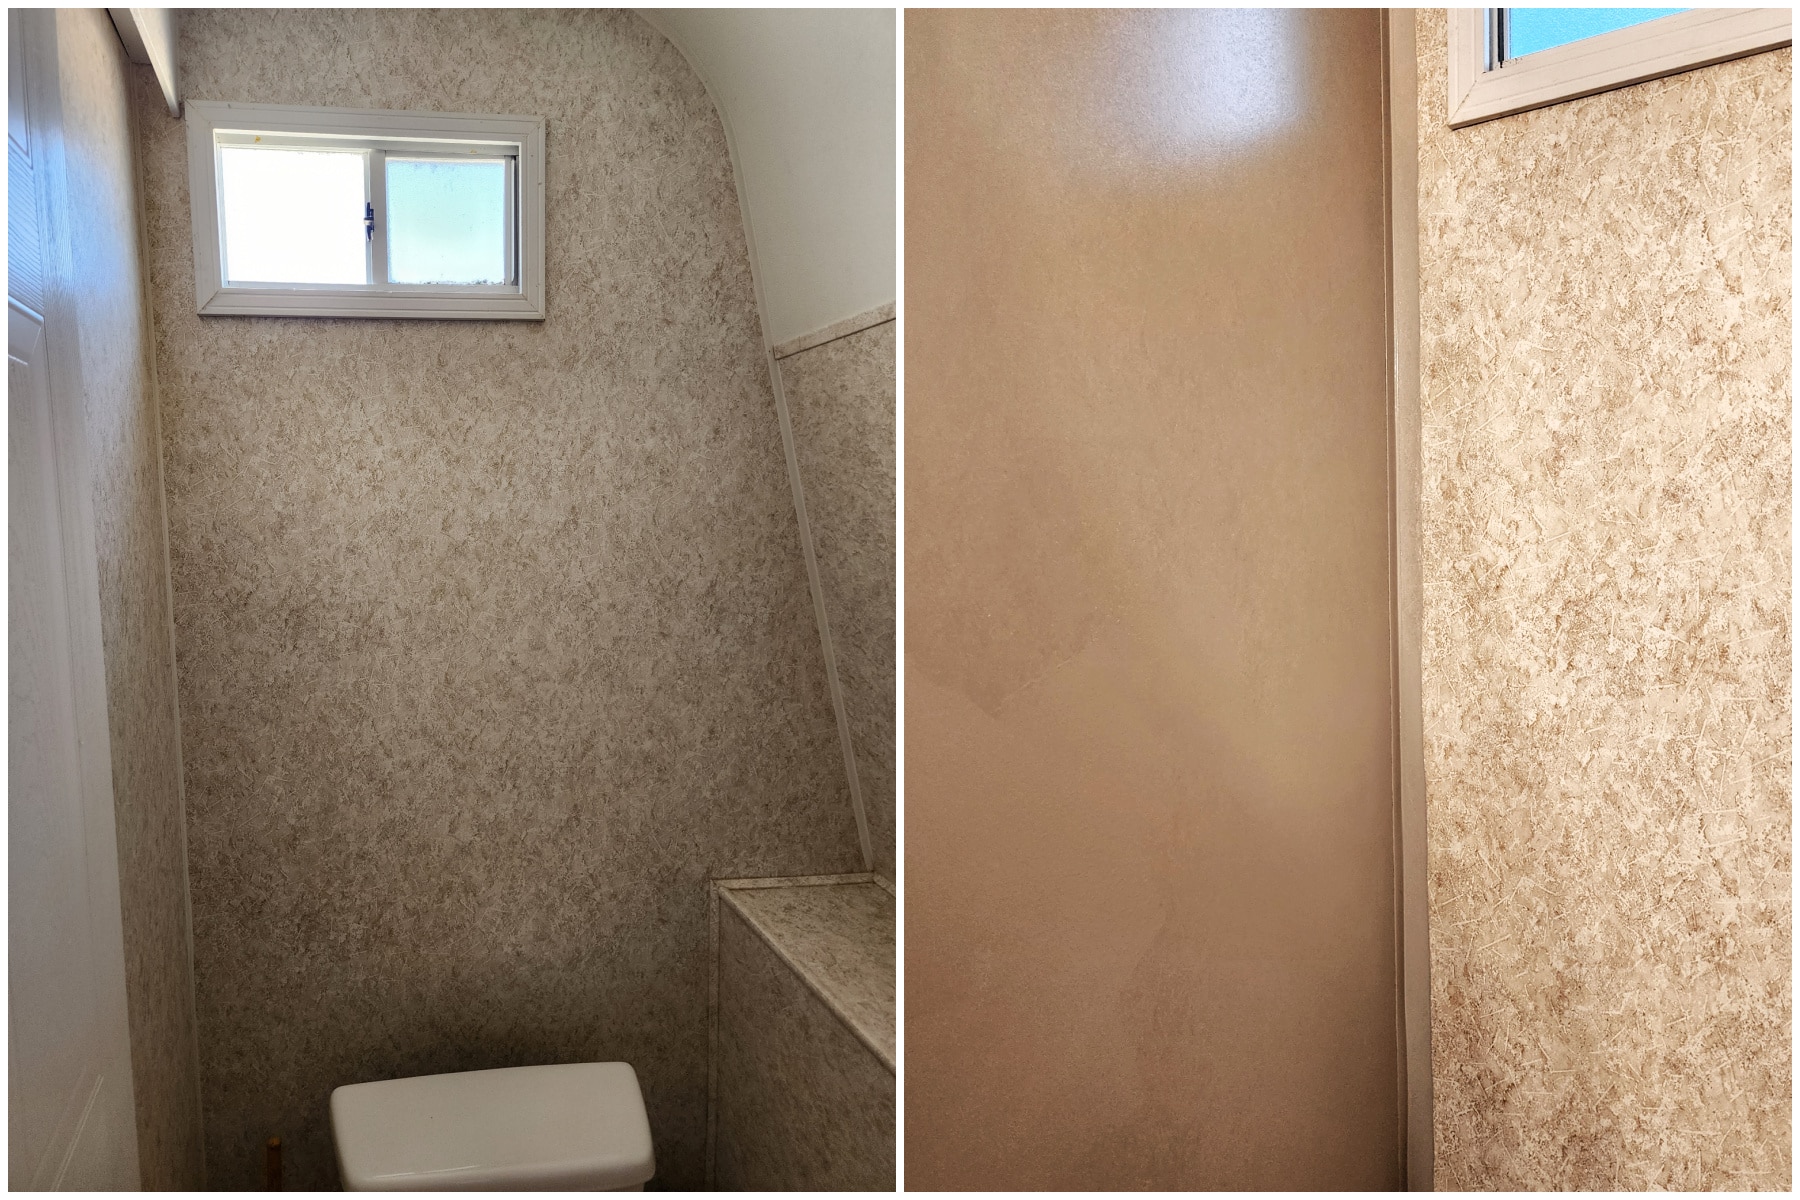
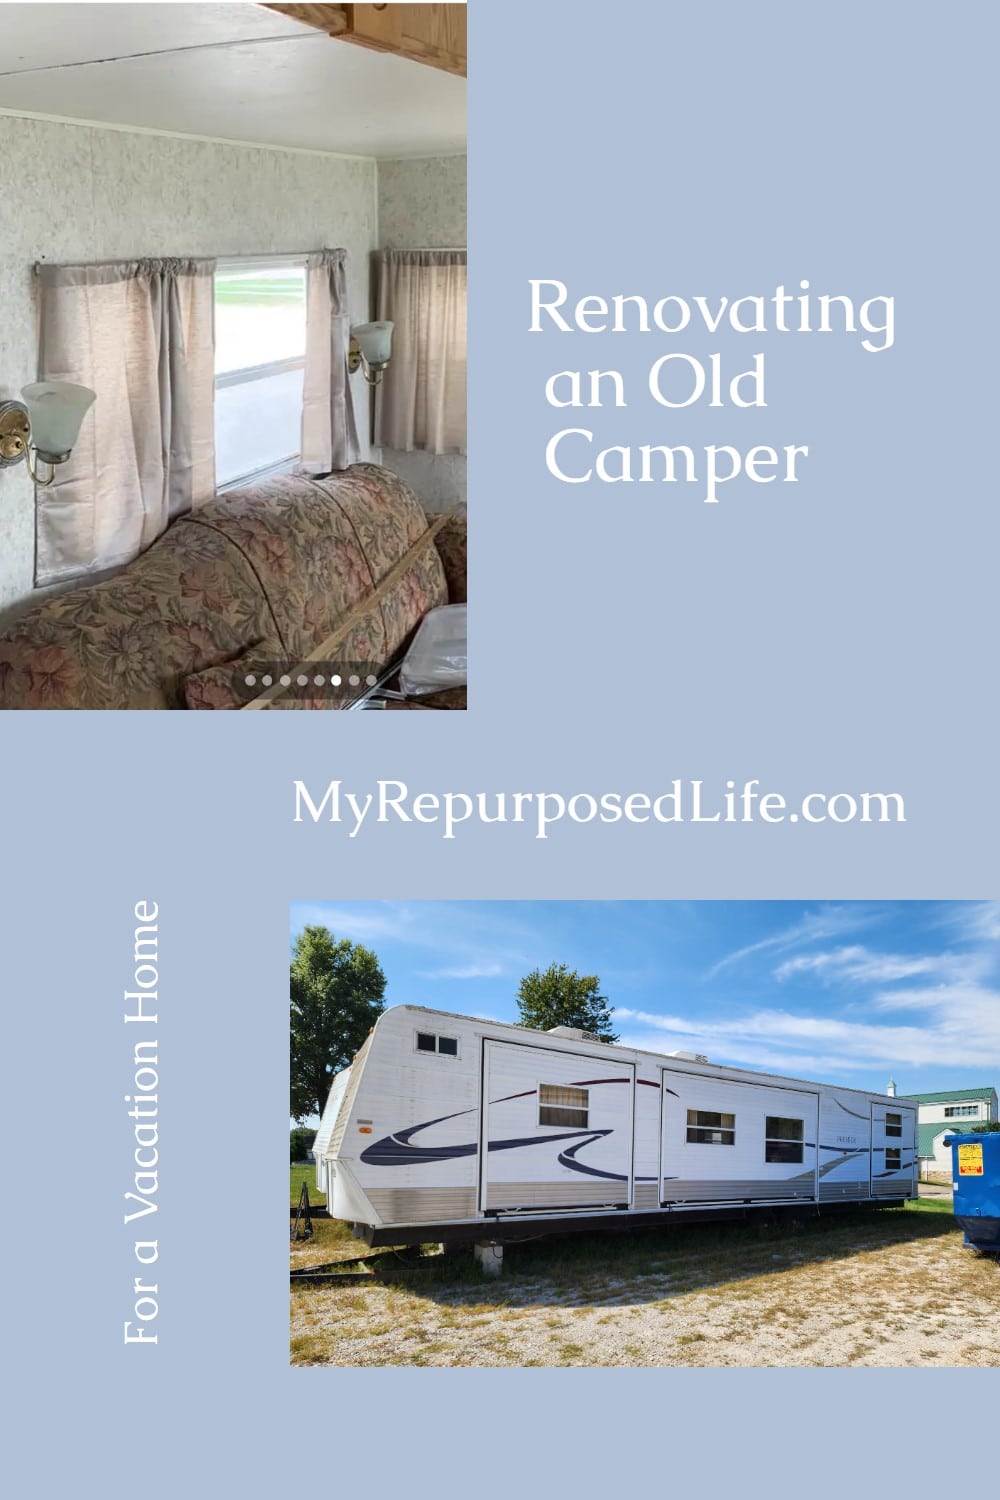
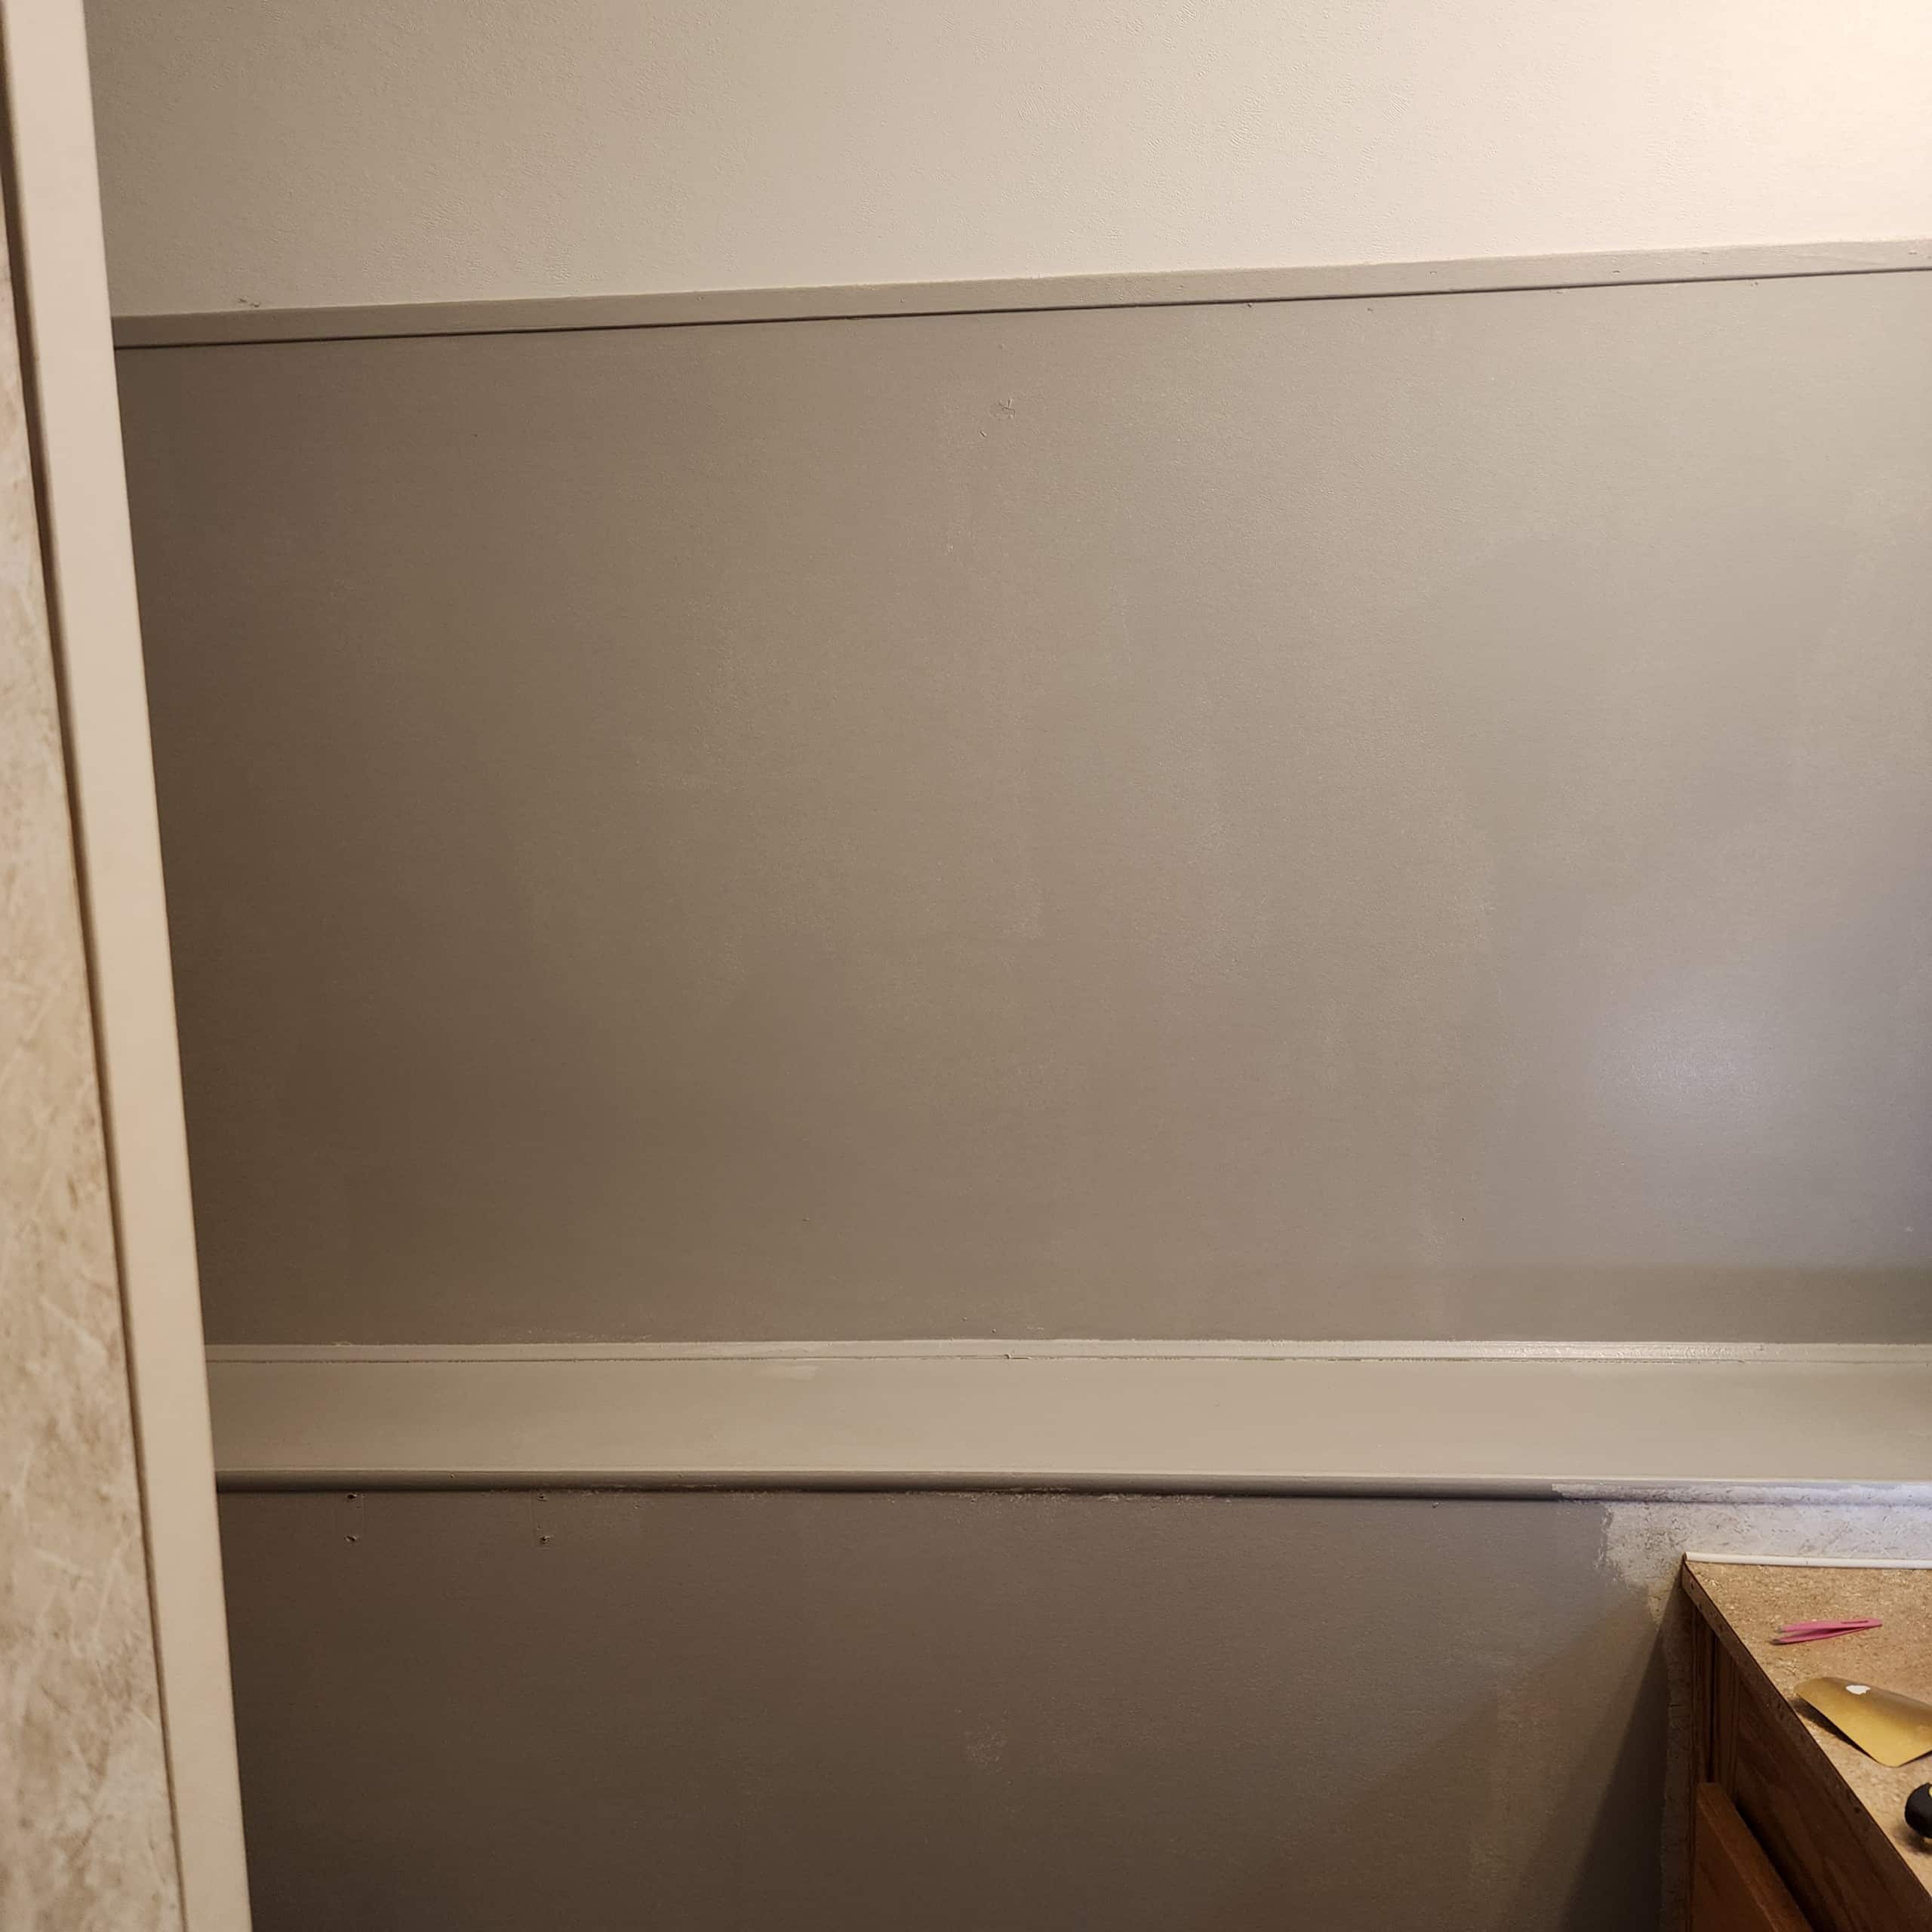
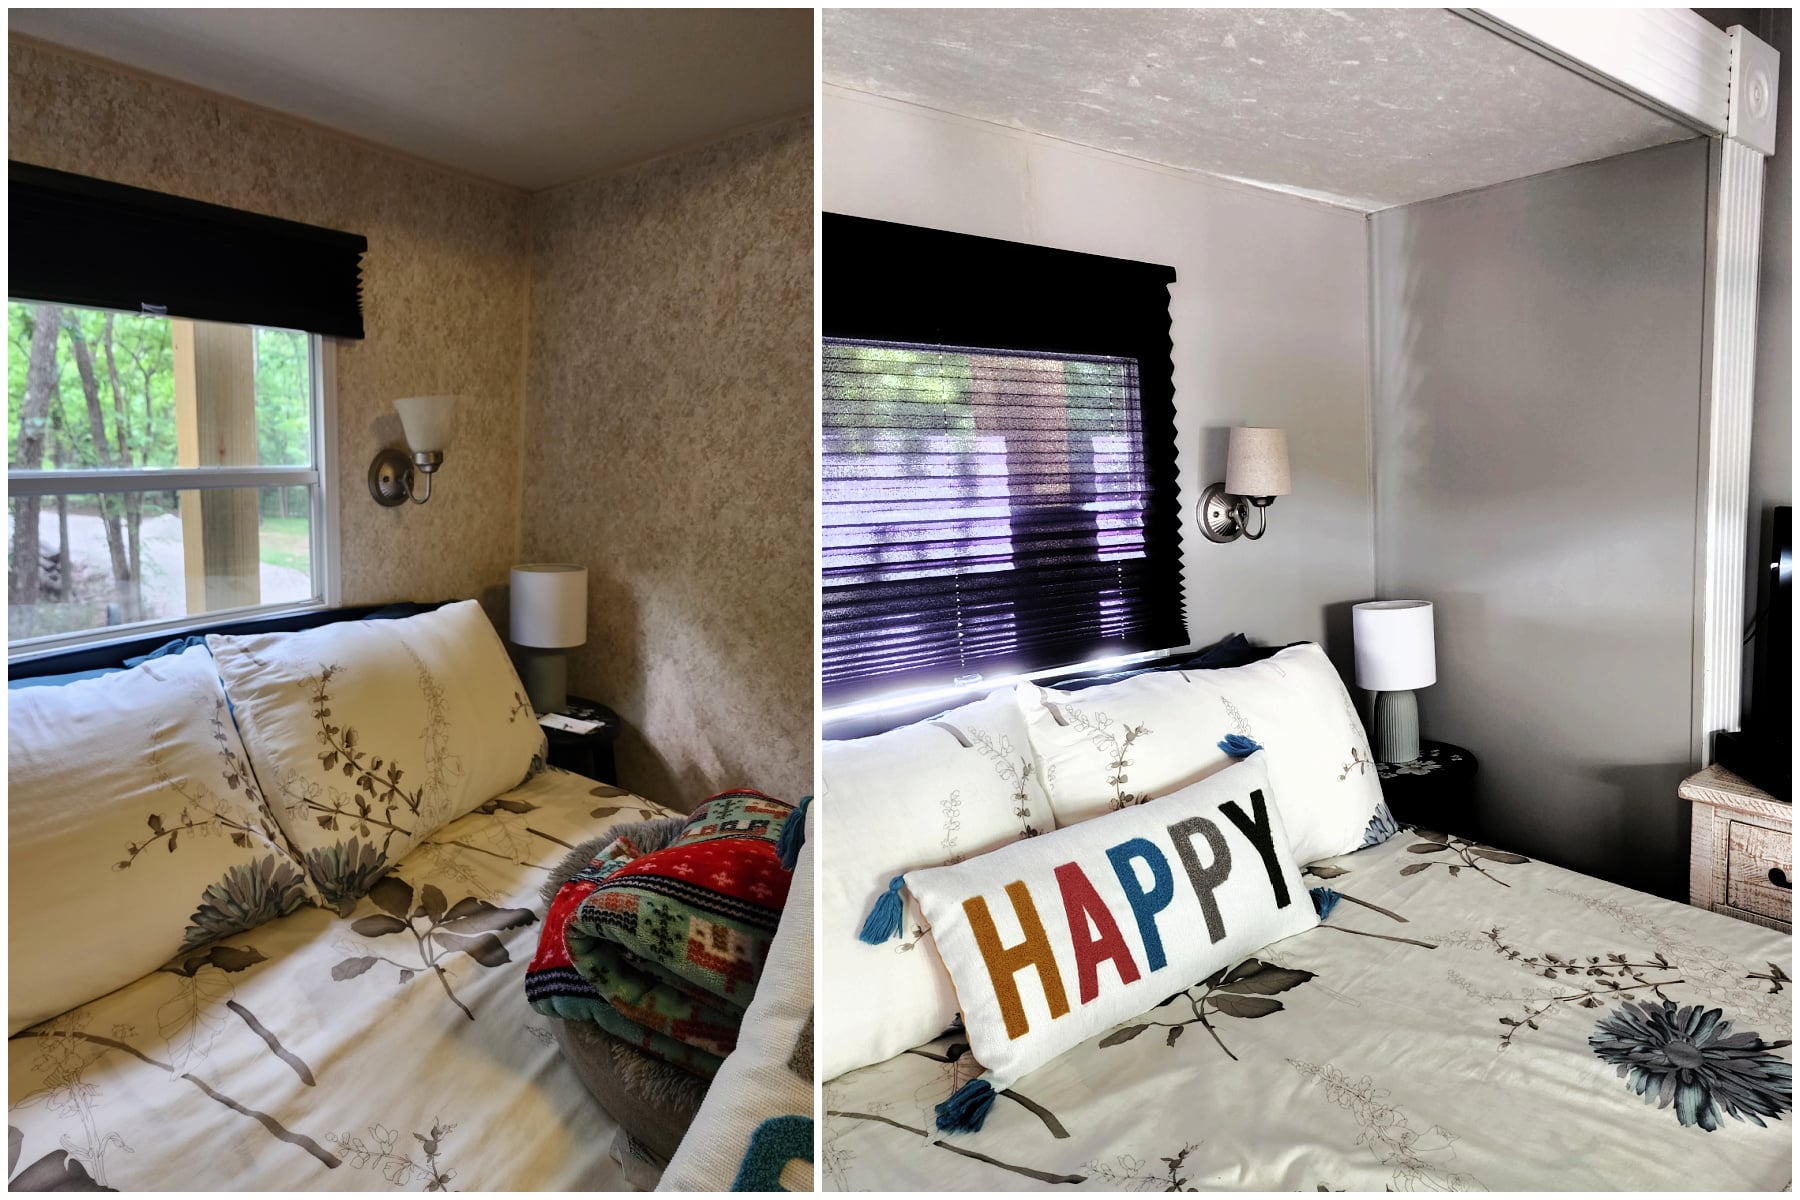
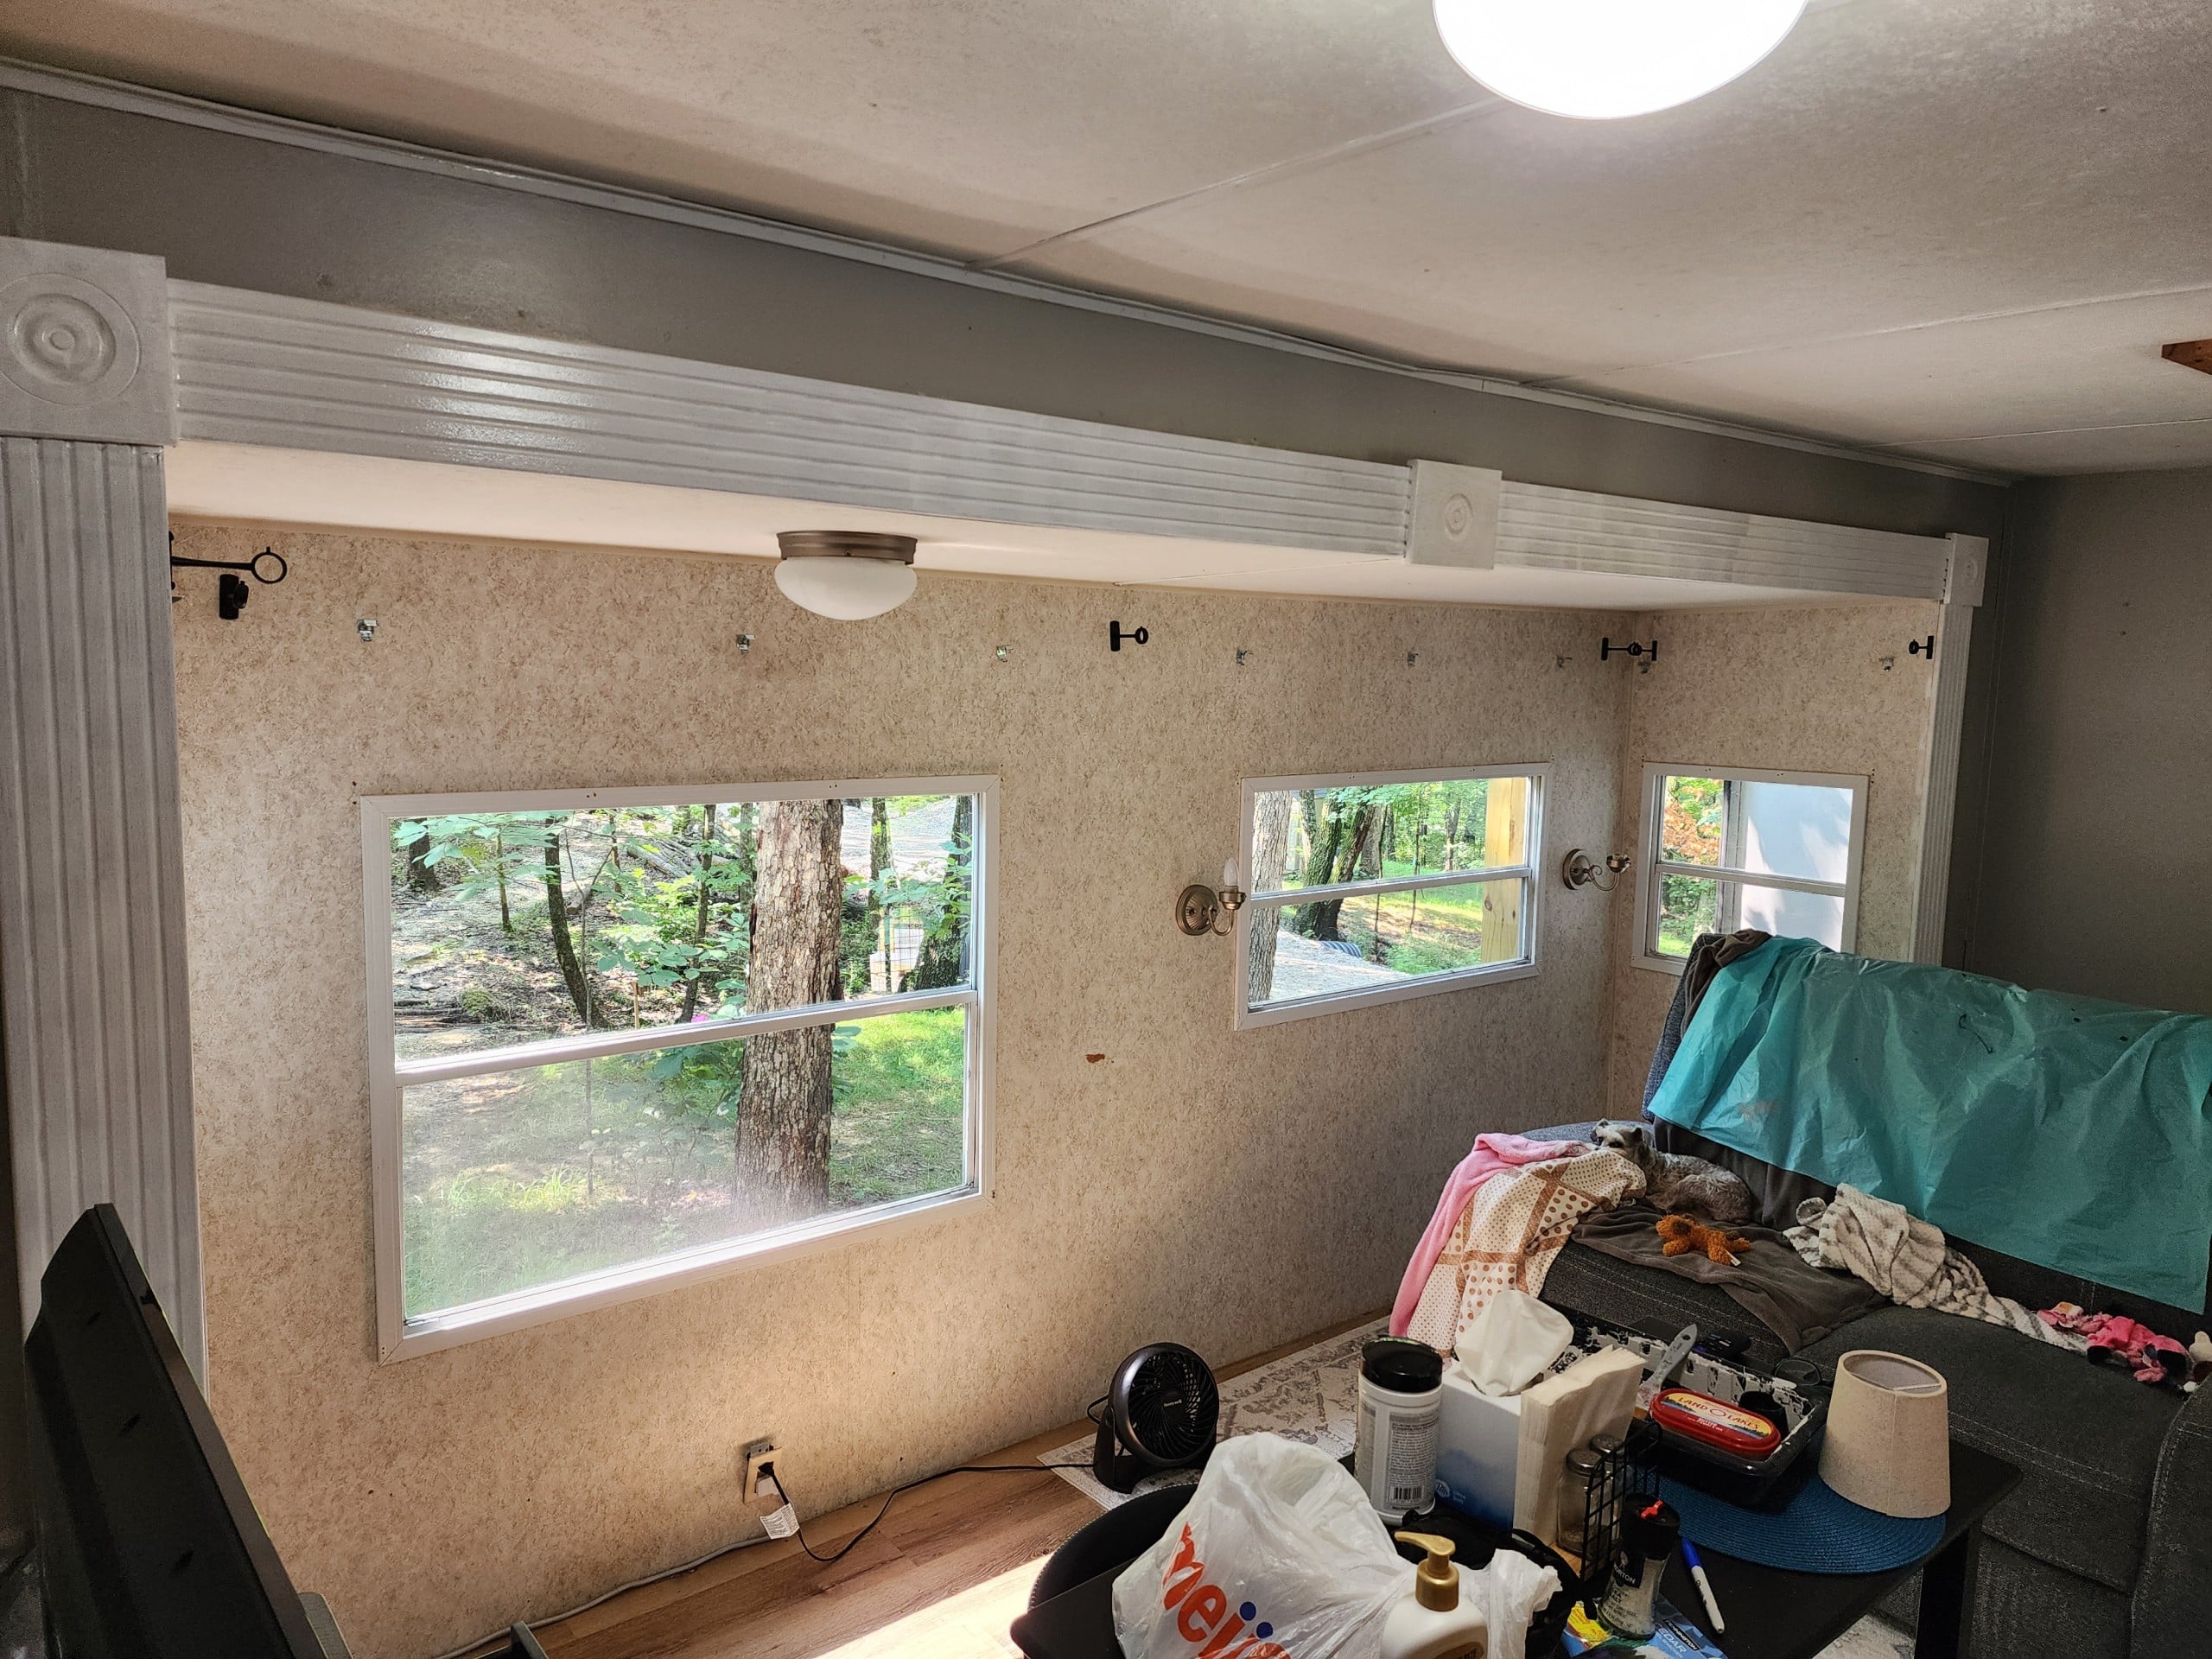
The original wall covering didn’t look too bad in person. However, it looked awful in photos. Did you know you could paint over vinyl wall coverings when renovating an old camper? I chose Behr paint in Greige for the walls. Doesn’t it look so much better?
How To Prepare to Paint Walls in an Old Camper
I wanted to ensure that the paint did not peel from the vinyl wallpaper, so I used the same product I use to prep furniture for painting.
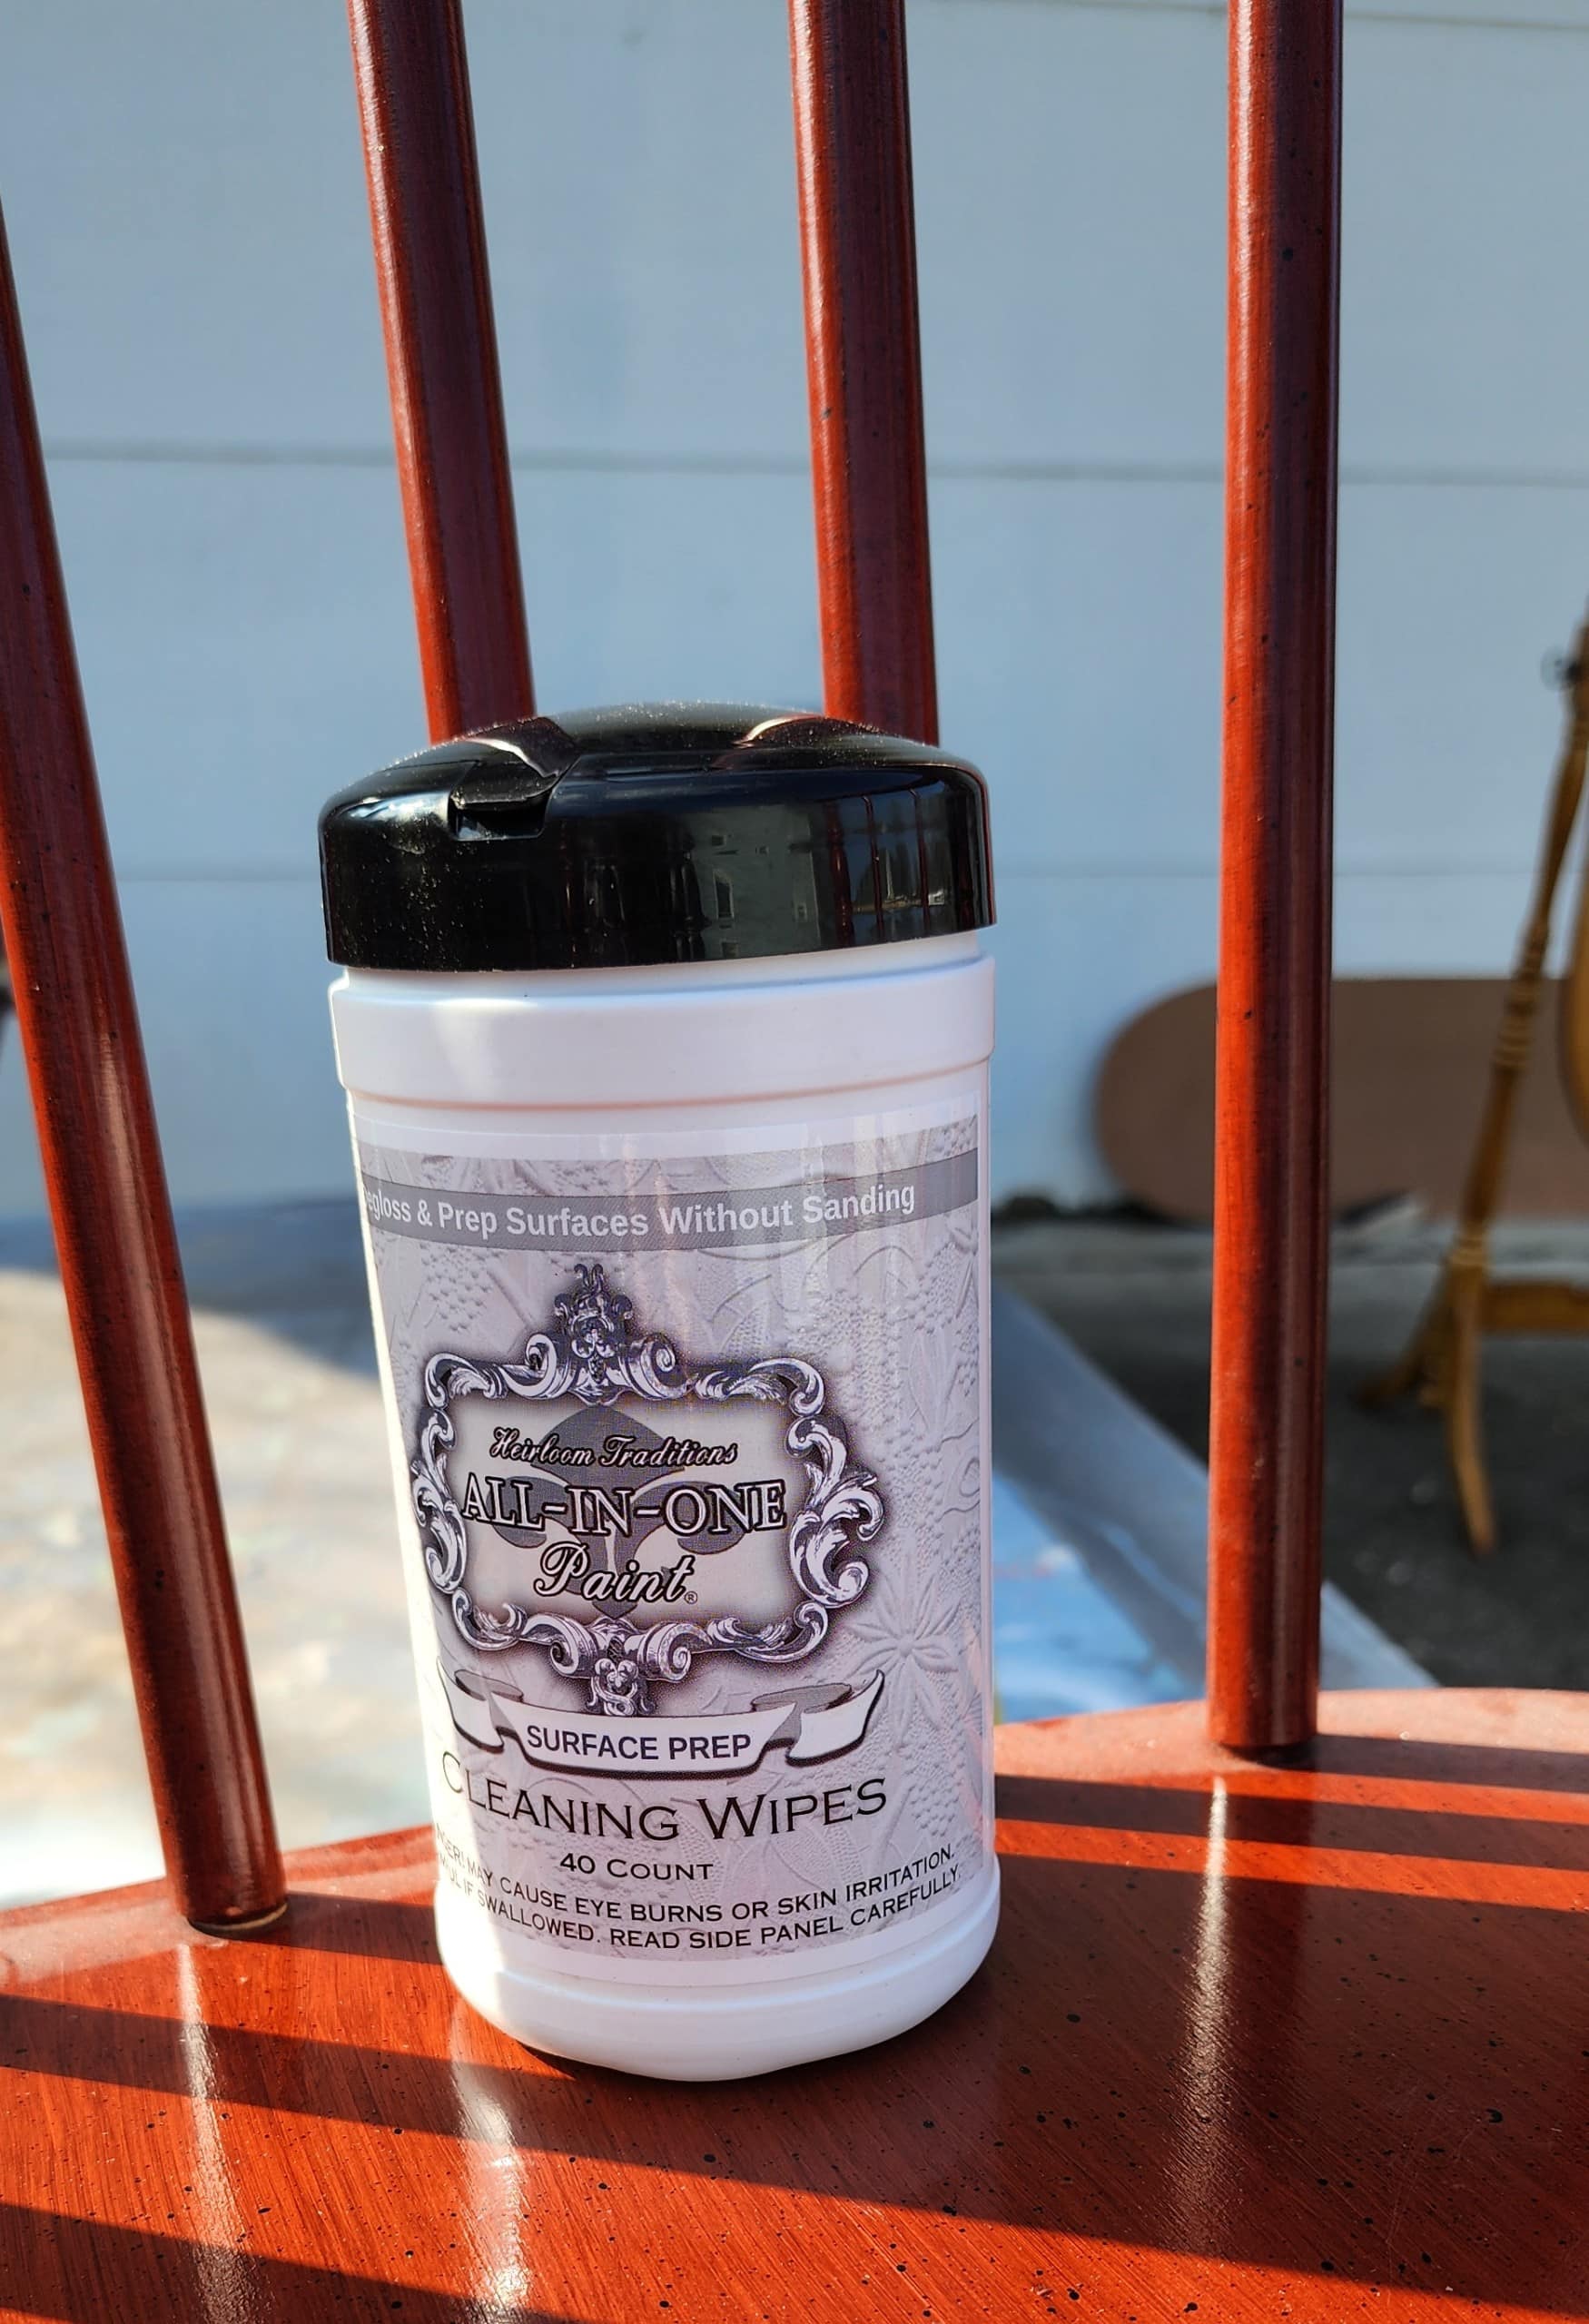
The surface prep cleaning wipes from HTP All-In-One Paint worked so well for cleaning and prepping the vinyl walls for painting.
How To Paint Vinyl Wallpaper
Using the right tools is a must. I prefer to use a small roller and tray set when painting small spaces. A great perk of using a narrow paint roller is that less paint goes down the drain during cleanup. Painting the walls was the best bang for my buck in the renovation process.
I used a 1-inch flat artist’s brush to cut in the corners and ceiling. Sadly, my favorite DecoArt brush is no longer available. I like it for painting walls because it paints smoothly and doesn’t waste a lot of paint.
Did you notice the white trim around the slide-out? No more honey oak woodwork.
You may recognize the bar stool nightstands and the headboard bench I painted.
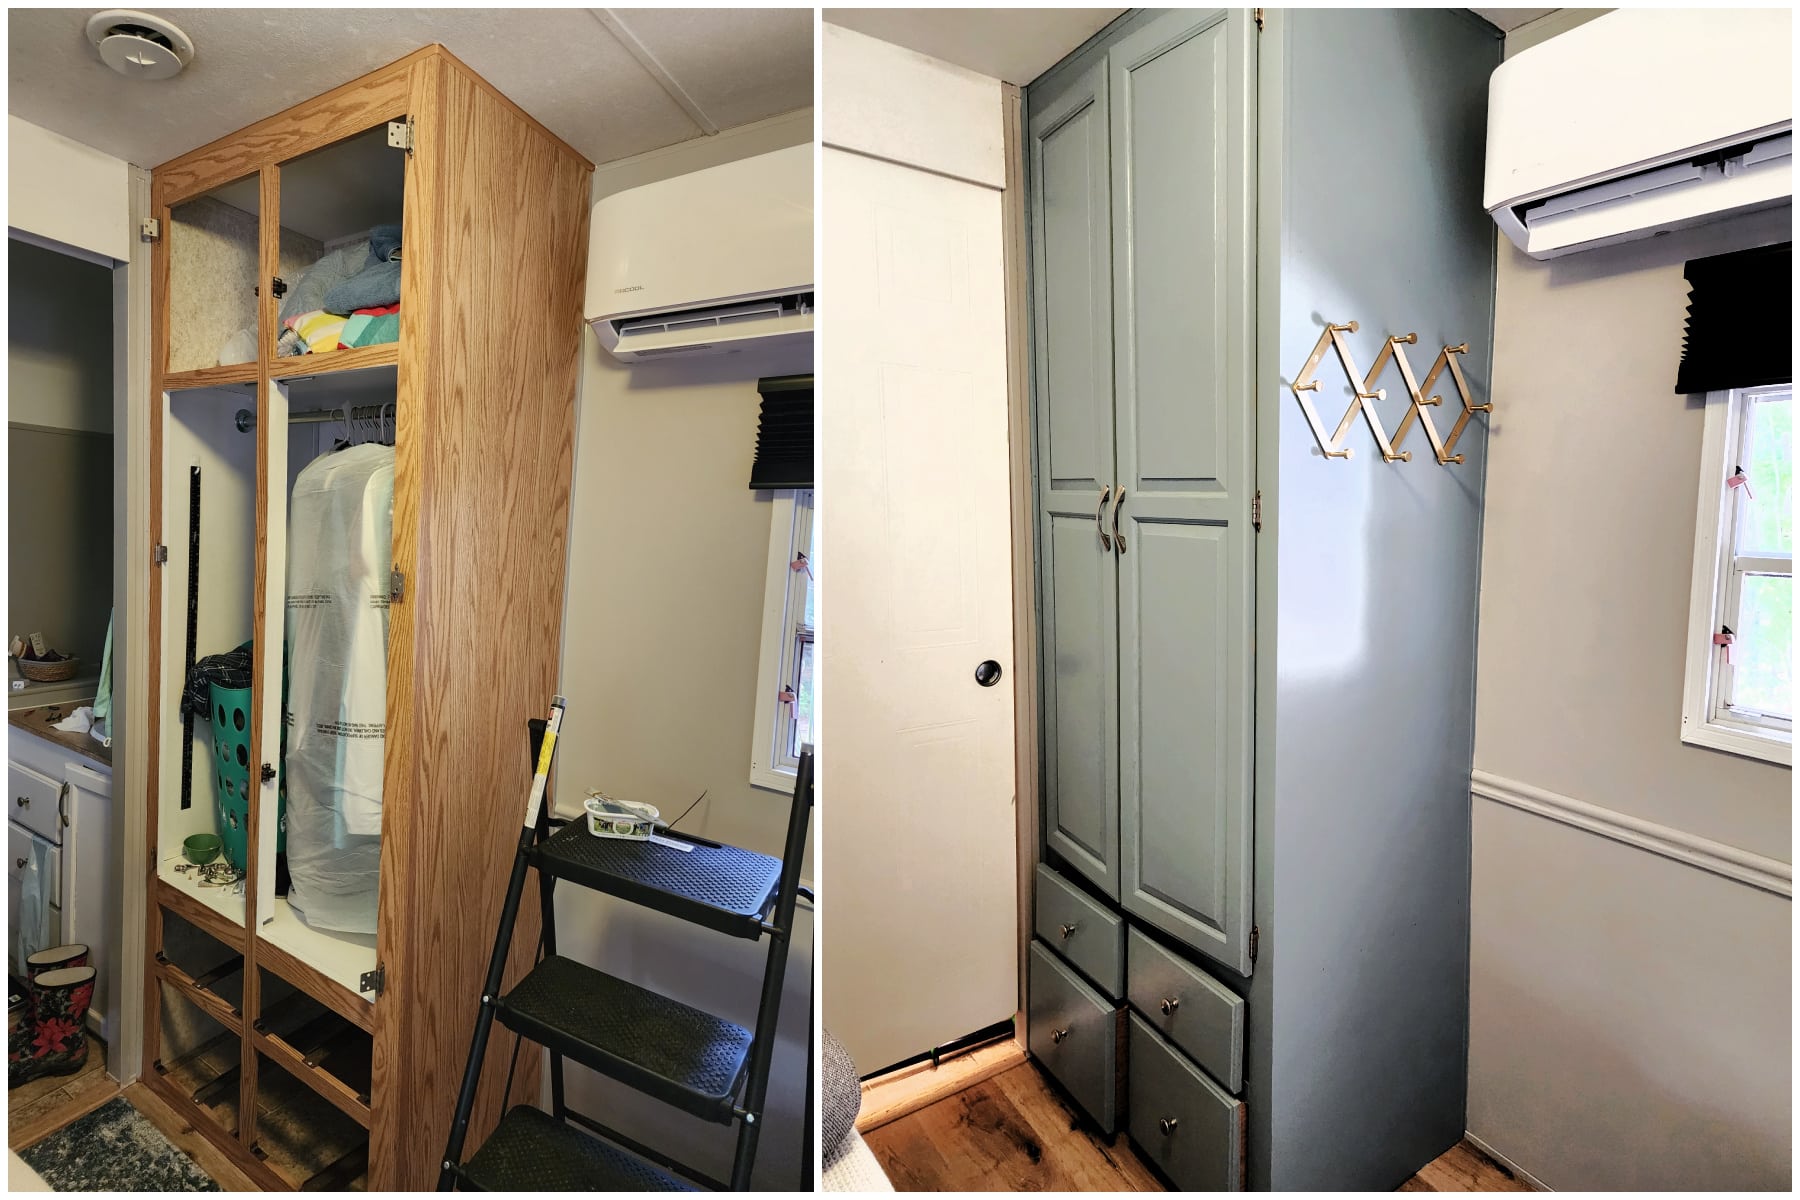
I forgot to take a true “before” picture of the wardrobe closet, but this picture shows you that I didn’t even empty it. You may notice that I had already painted the inside of the closet white, which made it easier to see in the less-than-perfect lighting.
This project did not involve sanding. I used the wipes to clean and degloss the wood, just like I did on the vinyl wallpaper.
Remove Drawers and Doors for Painting
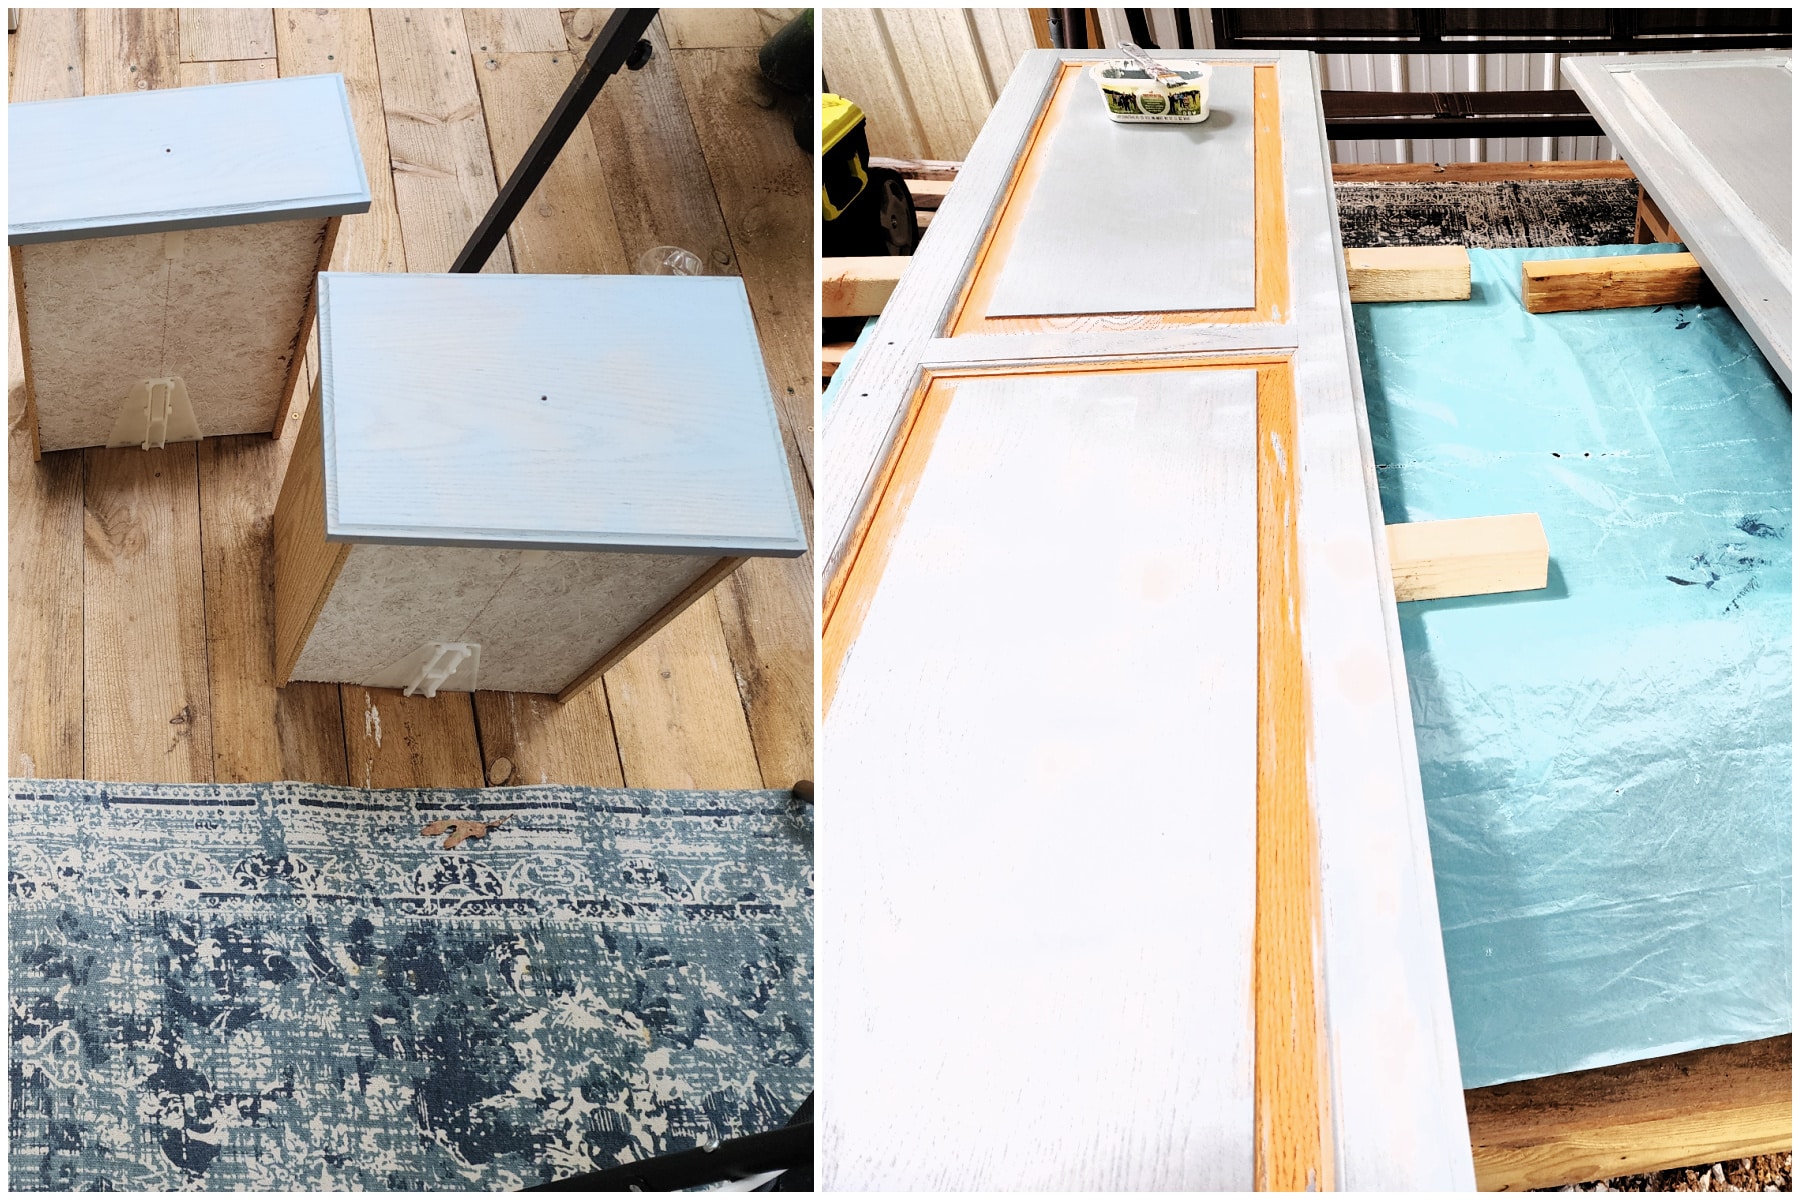
The doors and drawers of the bedroom closet were painted outside using the roller/small brush combination.
The new color is my favorite blue from All-In-One Paint, Irish Garden. I painted this closet using the identical small foam roller I use when I paint furniture.
Is a Mini-Split a Good Option?
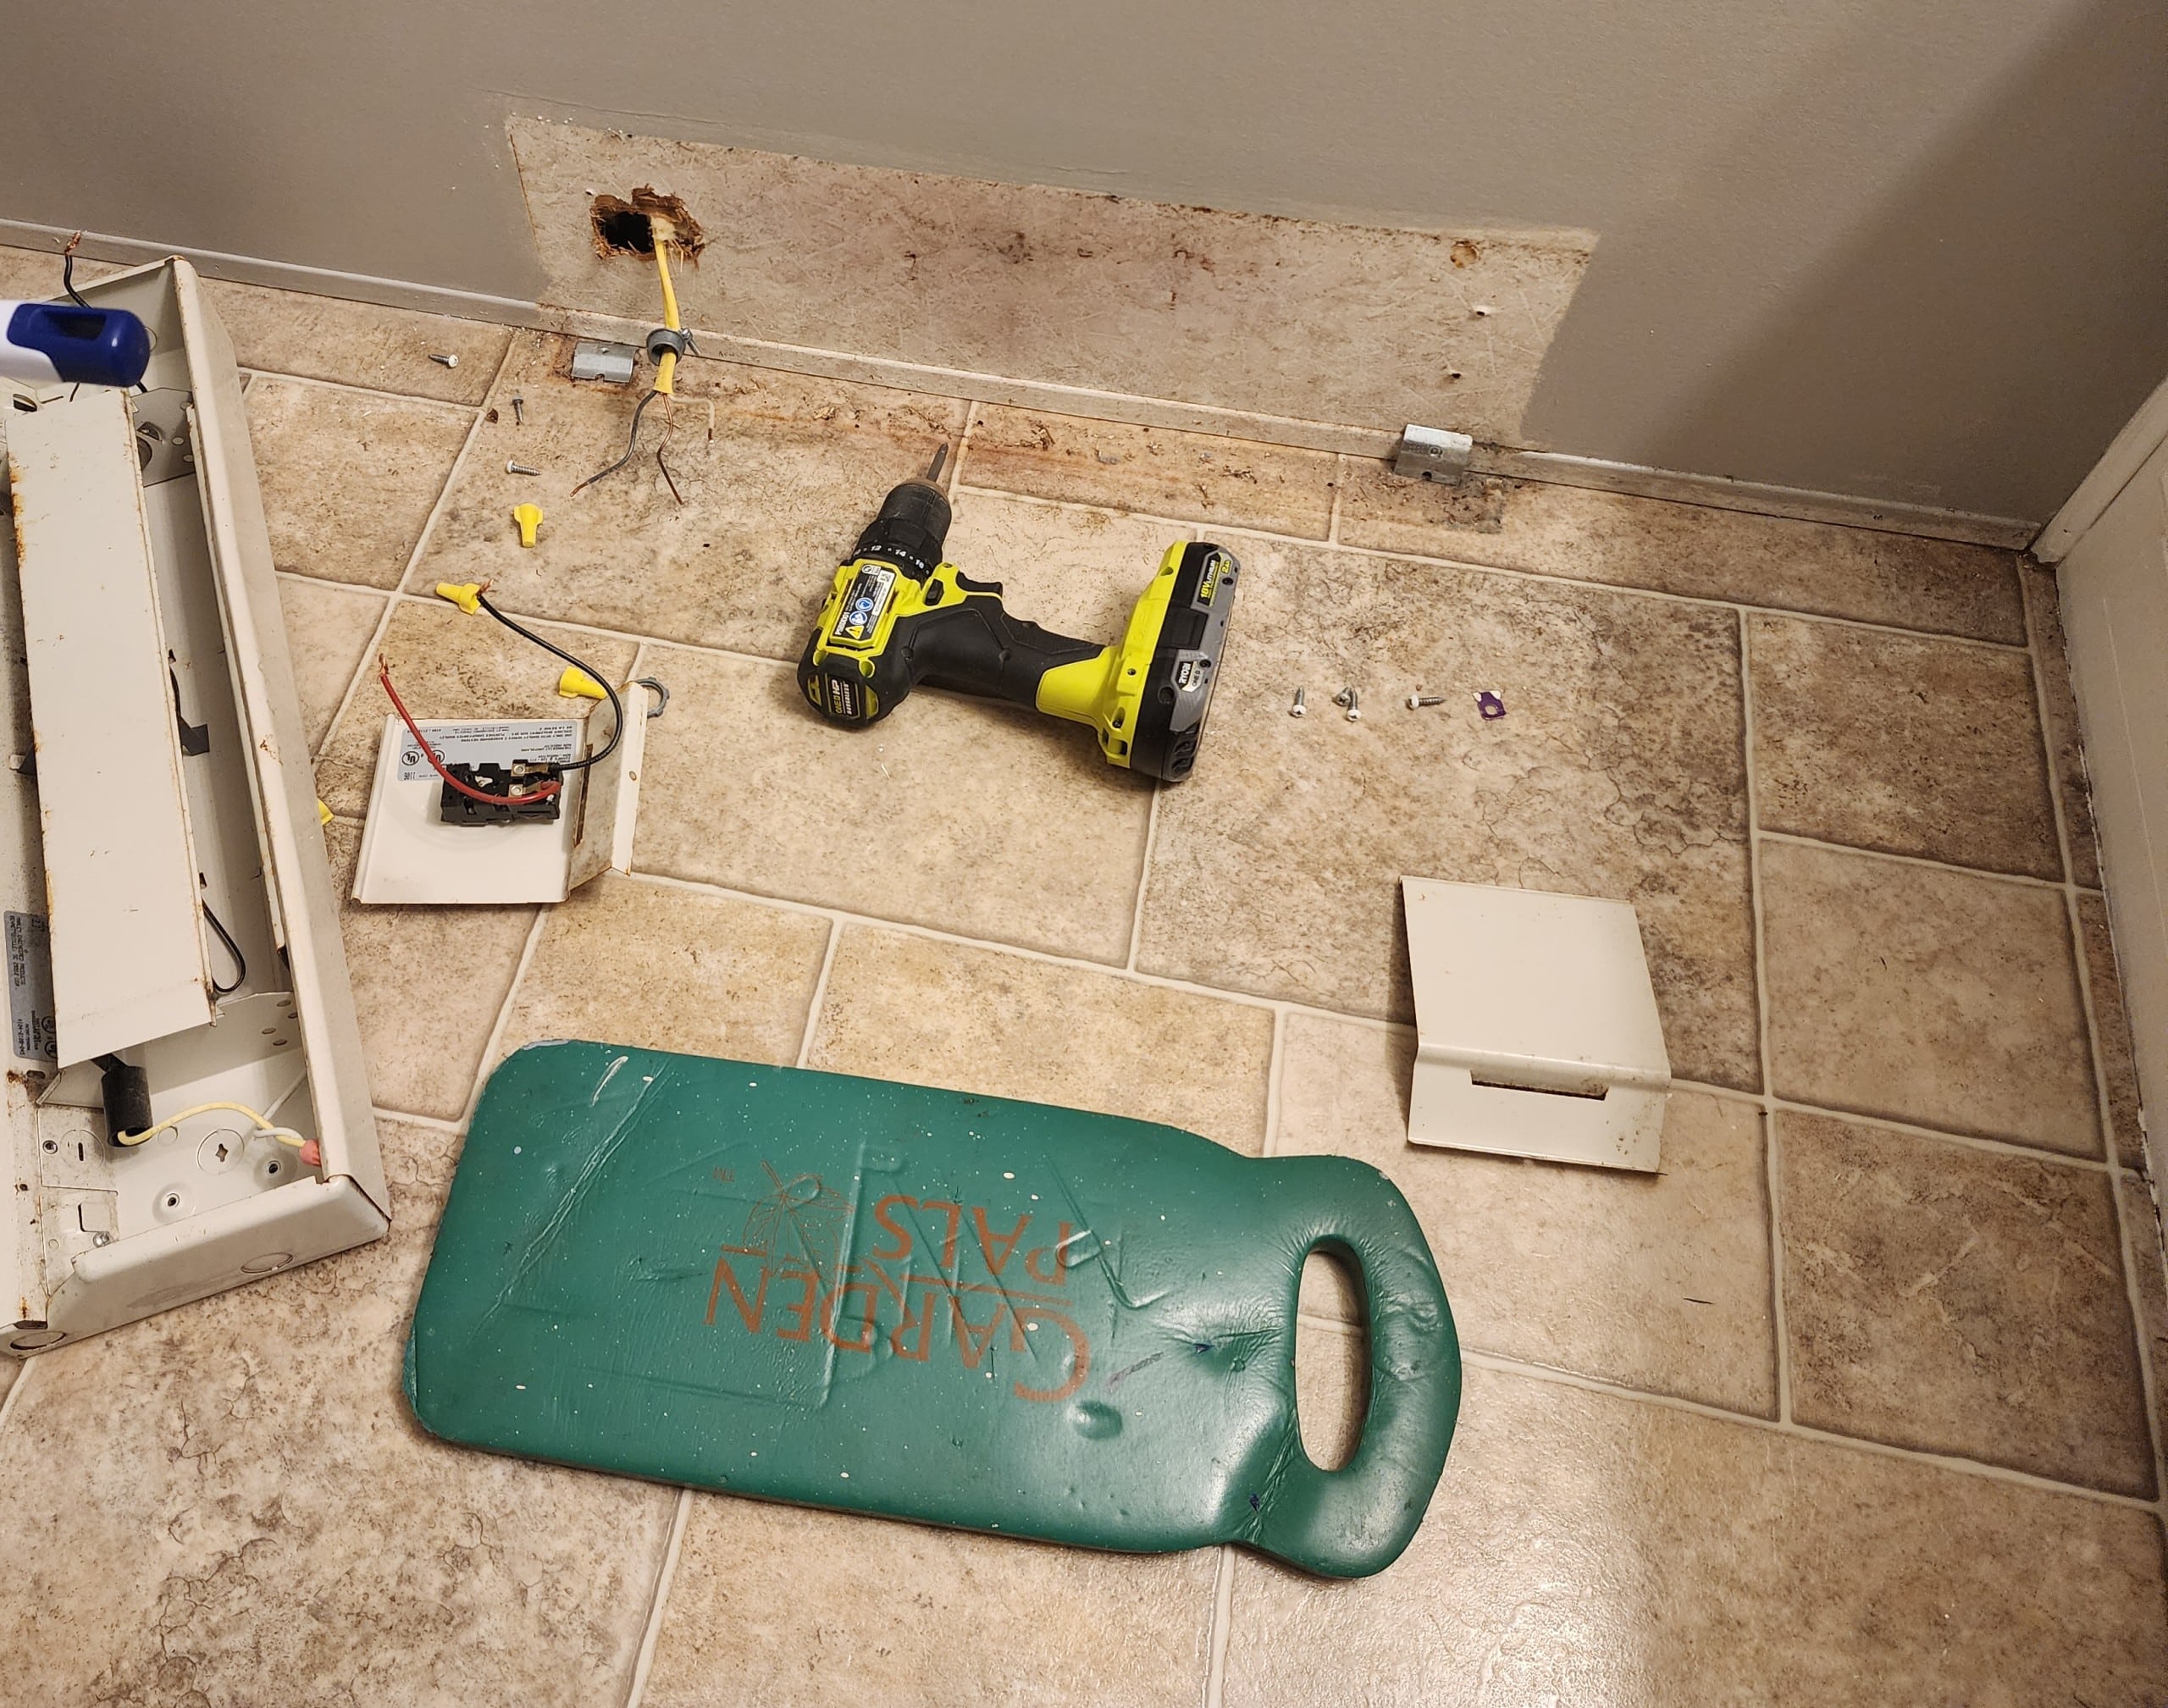
The baseboard heaters have been removed, and the wiring will be used to add more outlets. The original floor remains in the master bathroom, which is a half-bath.
When renovating an old camper, you may want to consider upgrading the roof-top air conditioner and the baseboard heaters. The AC was very loud in the bedroom, and the living room and the baseboard heaters were ugly and manually controlled. I added a Mr. Cool mini-split to the Master Bedroom and the Bunkhouse Bedroom, now a guest room. You can see it hanging over the window in the photo above. Now, the heat and air are not only thermostatically controlled but there is an app for my phone. BONUS: The mini-splits are incredibly quiet.
A Gallon of Paint Makes a Huge Improvement

Can you believe the difference in the before-and-after photos of the living room? Renovating an old camper involves many cosmetic steps, but that doesn’t mean it is inexpensive. The curtains and blinds were a significant expense with so many large windows.
I changed the orientation of the loveseat for better TV viewing.
It may be an open space, but it’s still tiny! Moving all of the furniture to paint the large slide-out was a challenge.
I rolled two coats of greige on every wall of the camper. I painted the white trim using a brush and a small foam roller. This trim paint was not from Heirloom Traditions; it took three full coats.
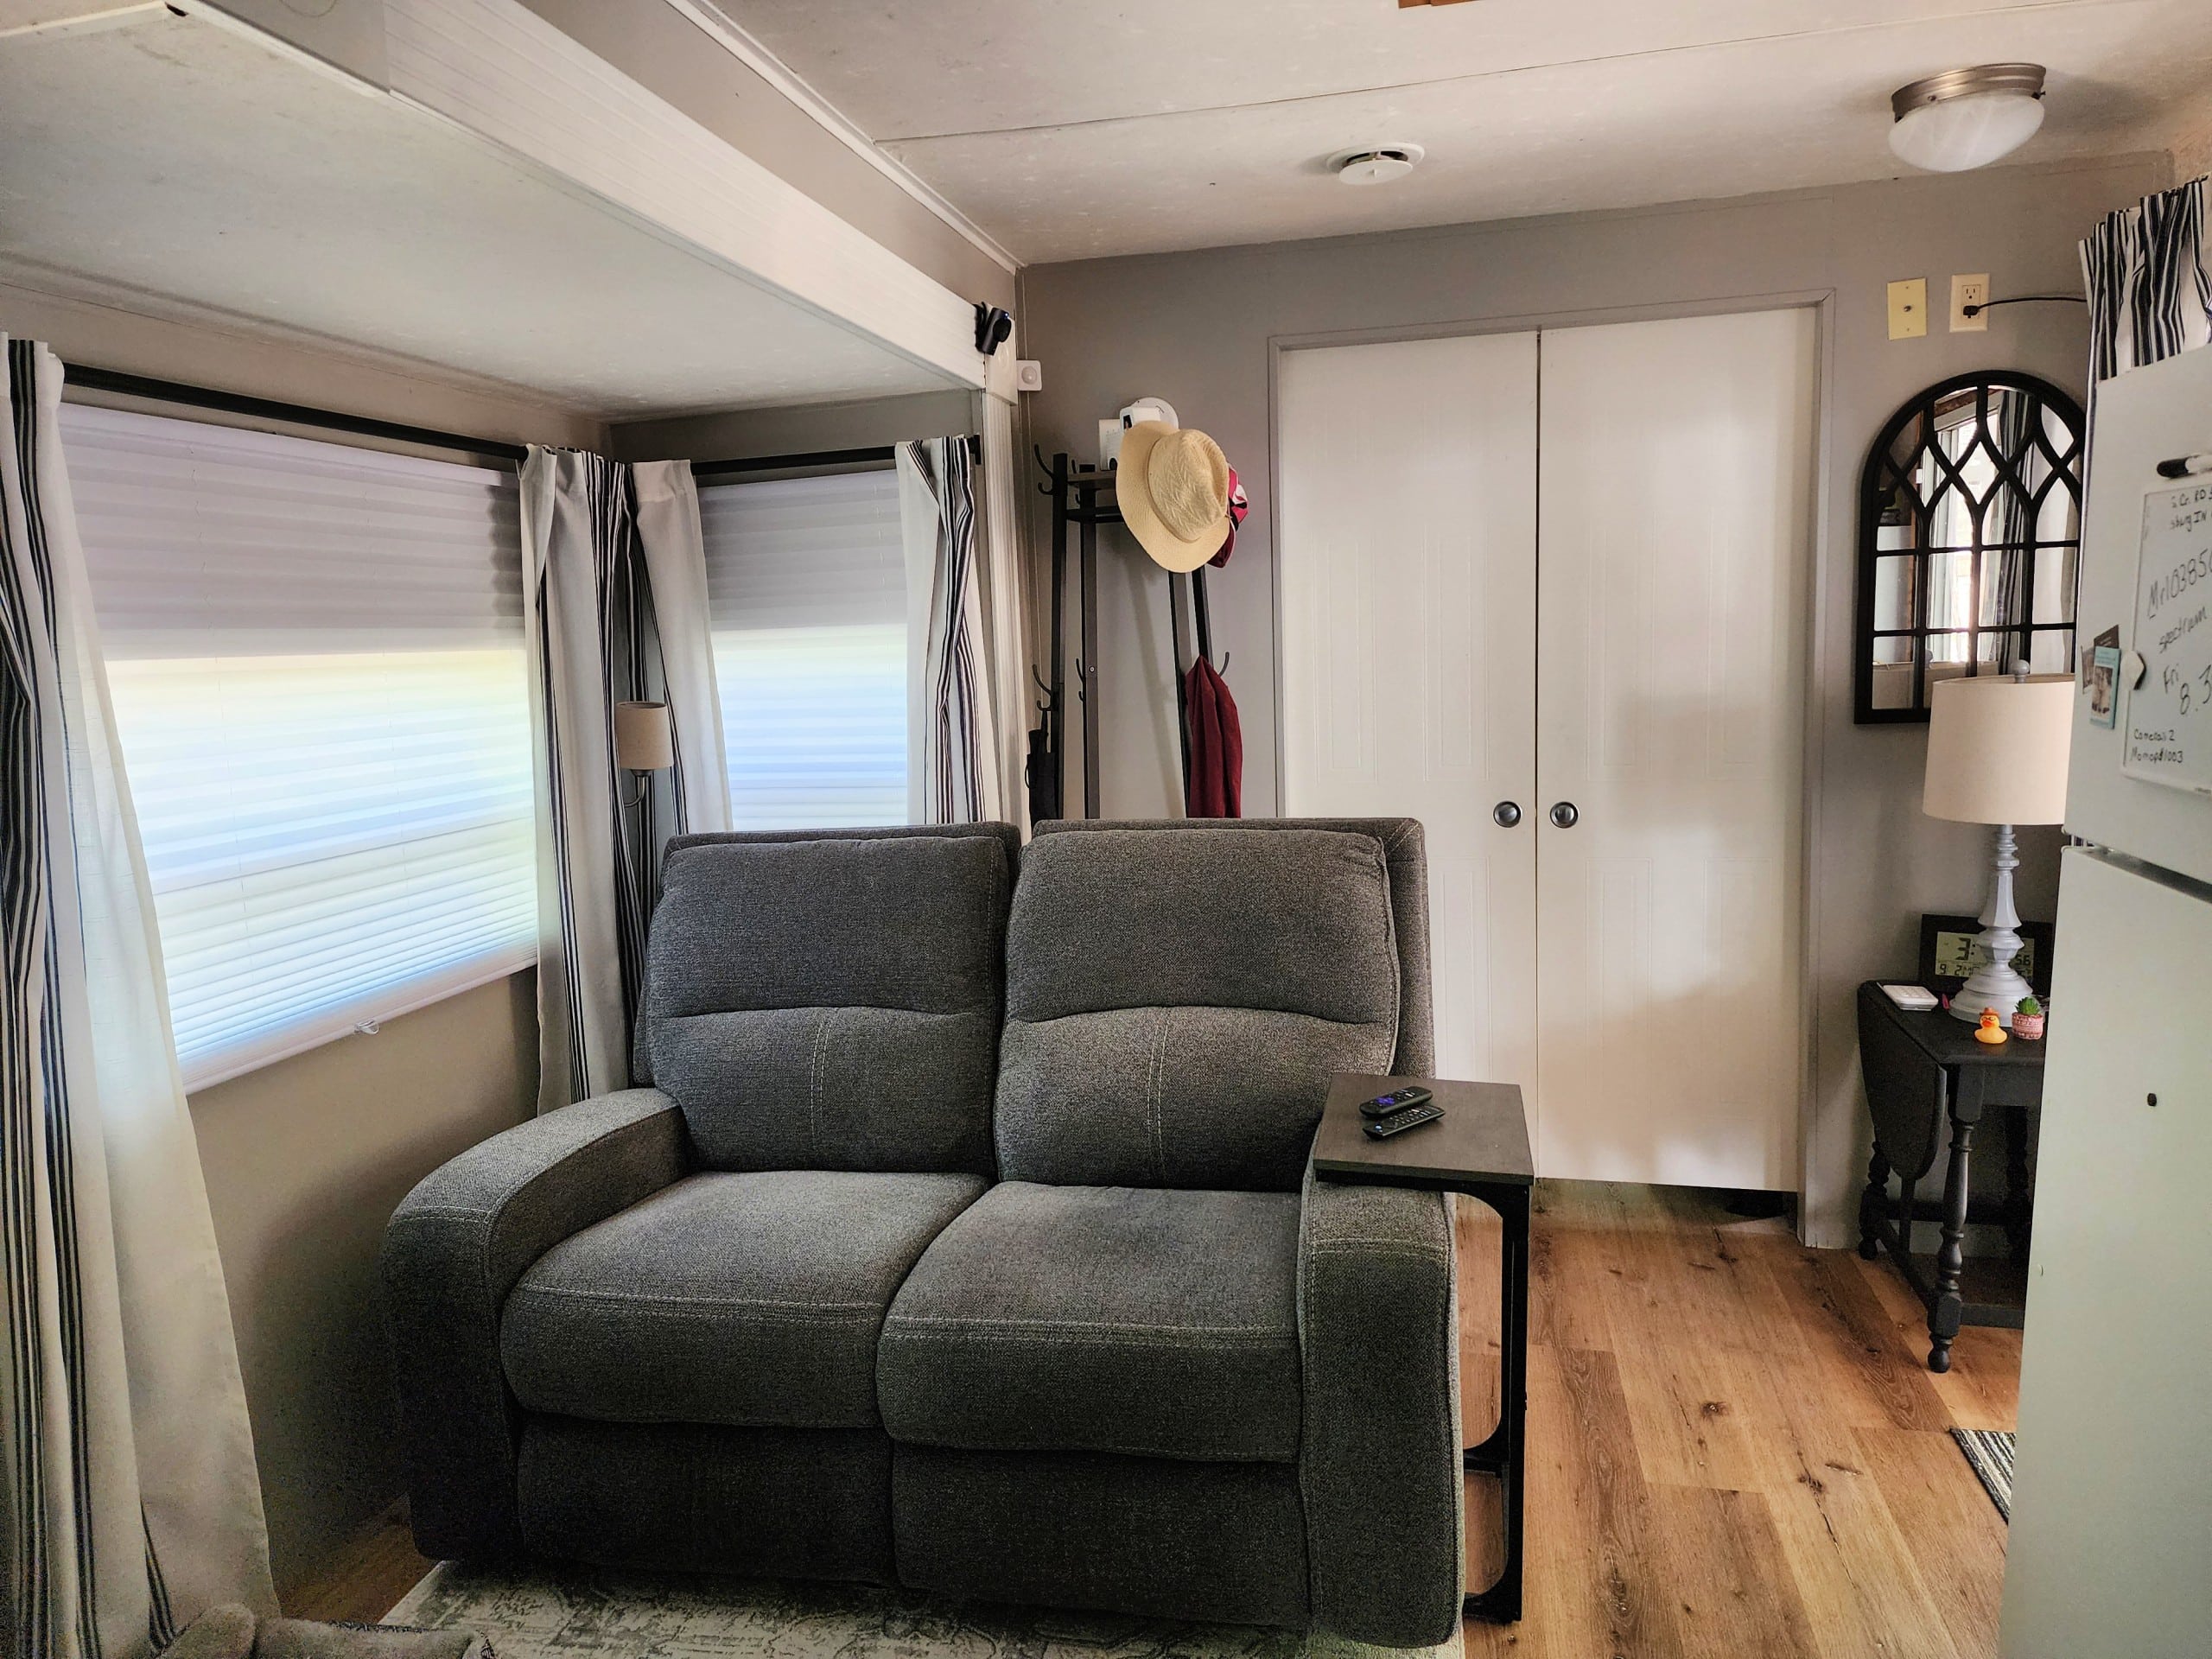
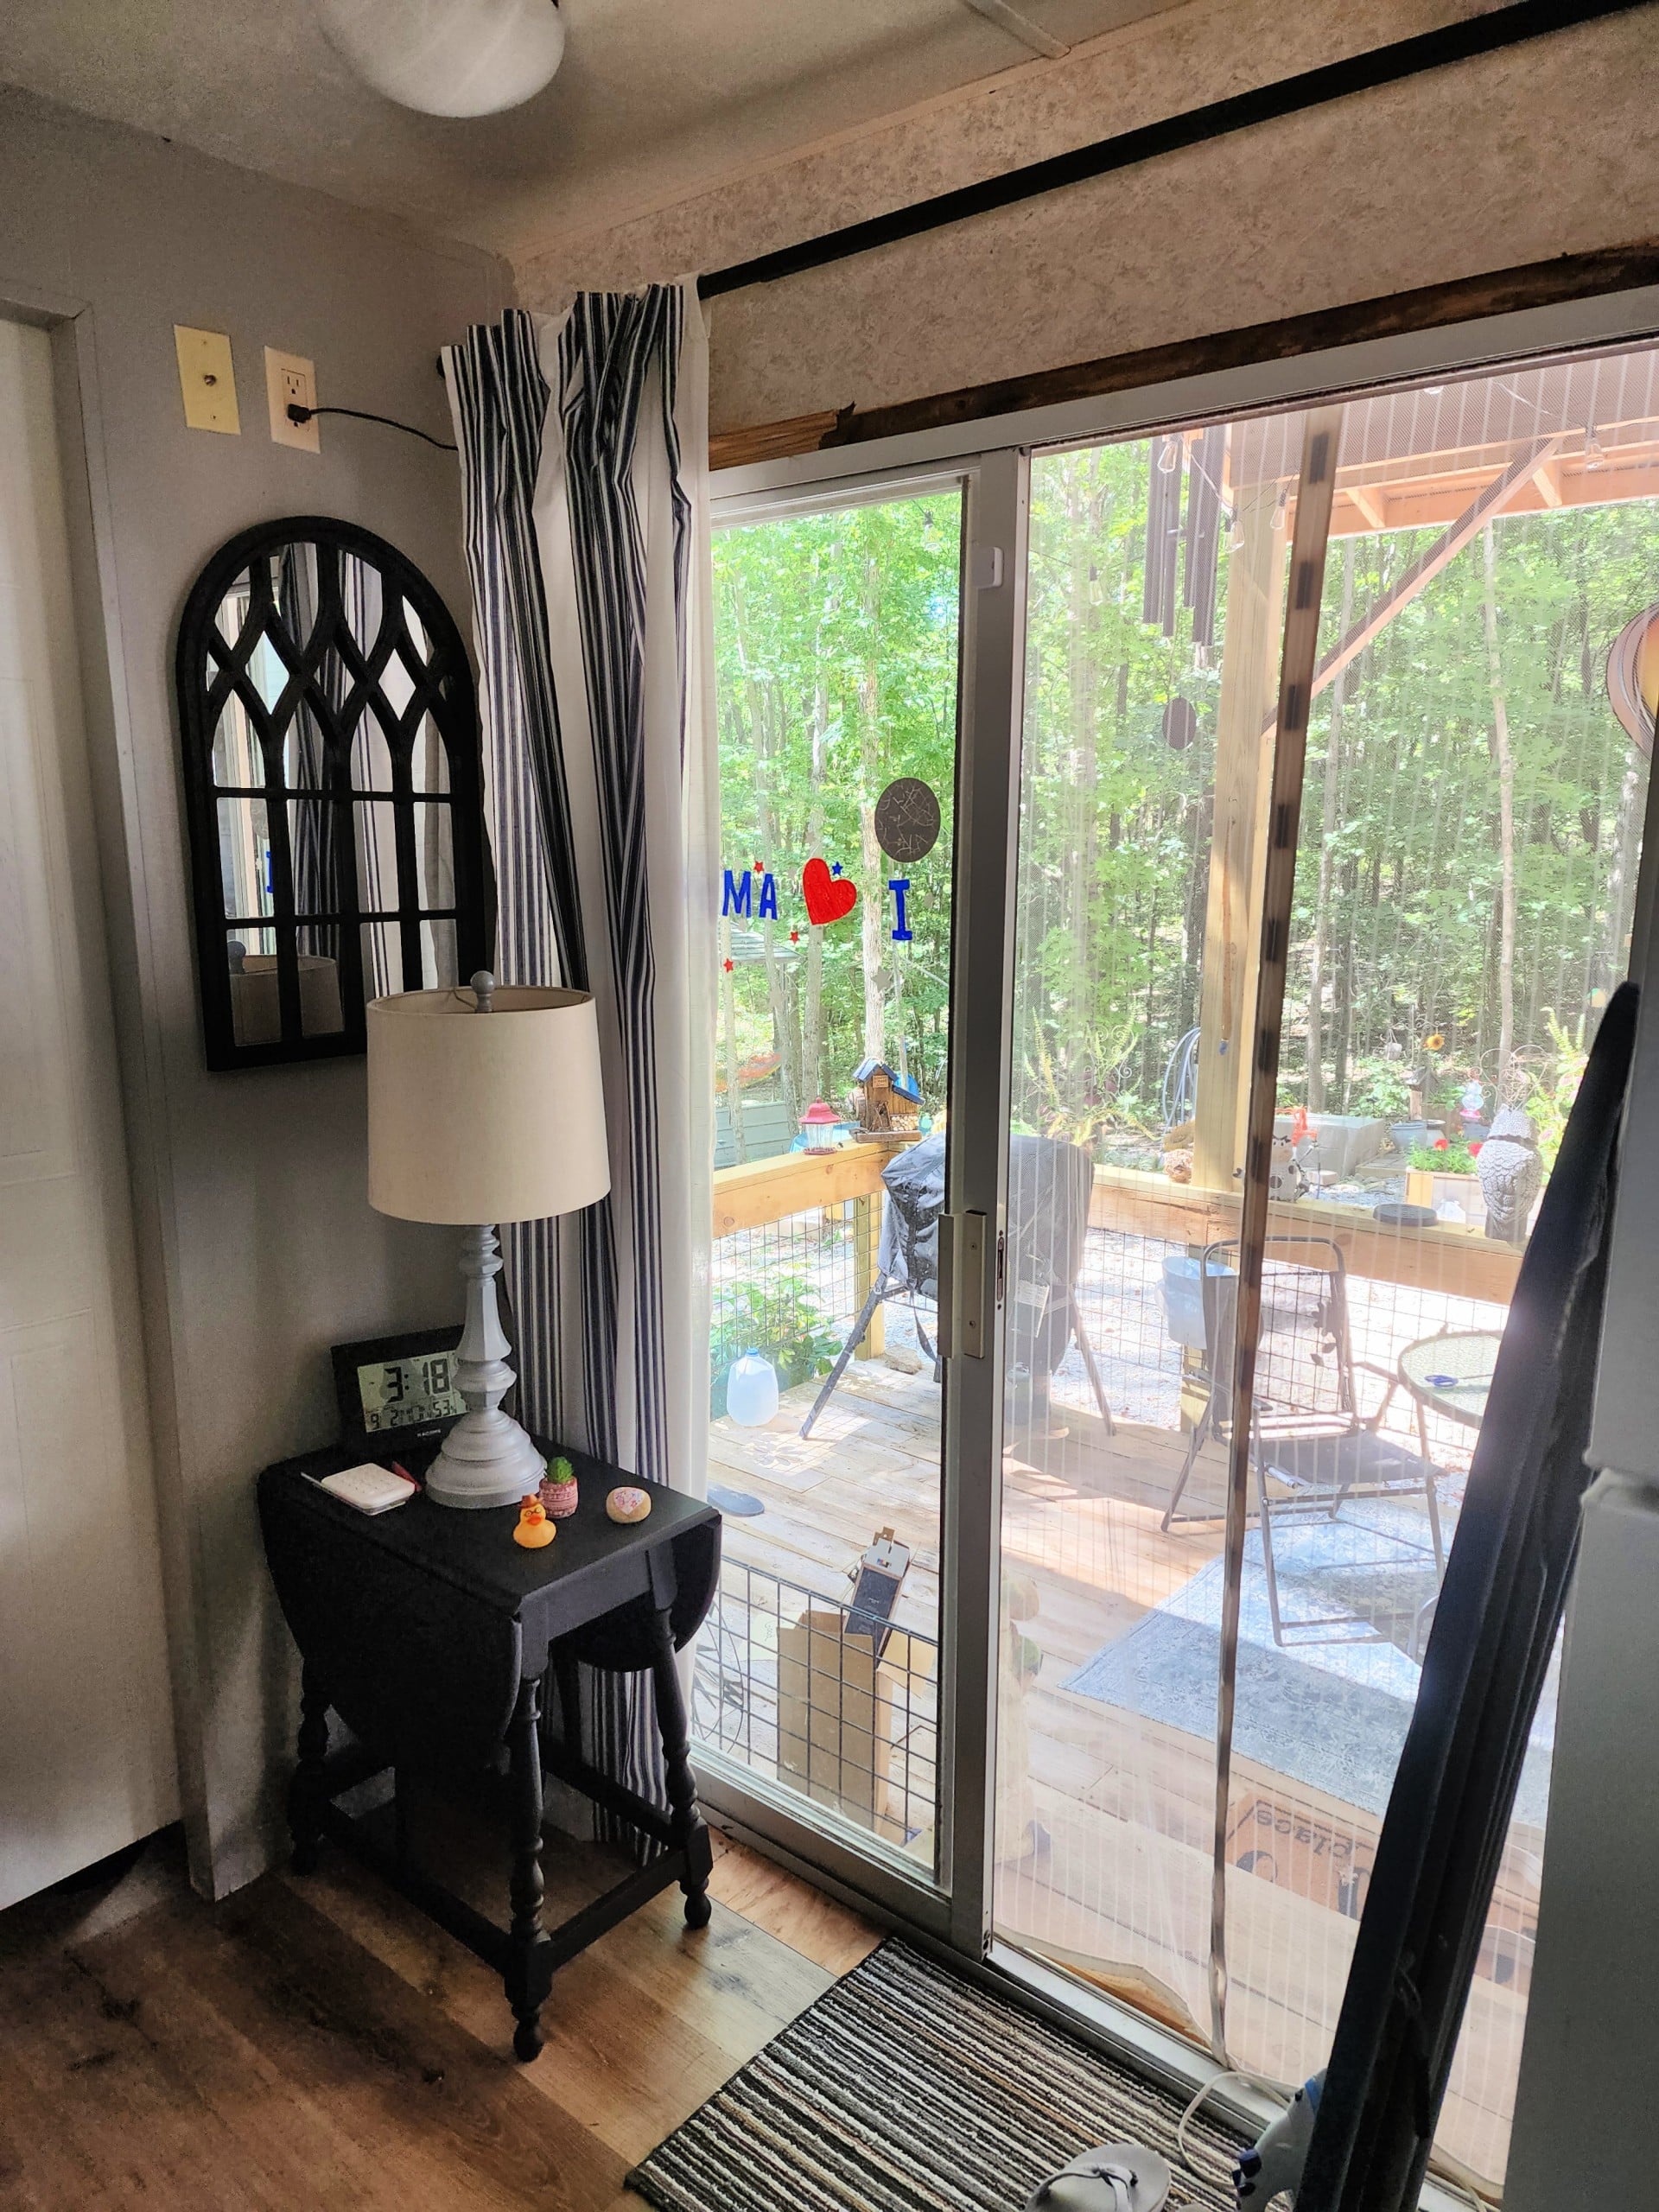
Although the living room and kitchen enjoy an open floor plan, they are cozy and homey. The area right behind the fridge has a patio door. The master bedroom is beyond the pocket doors.
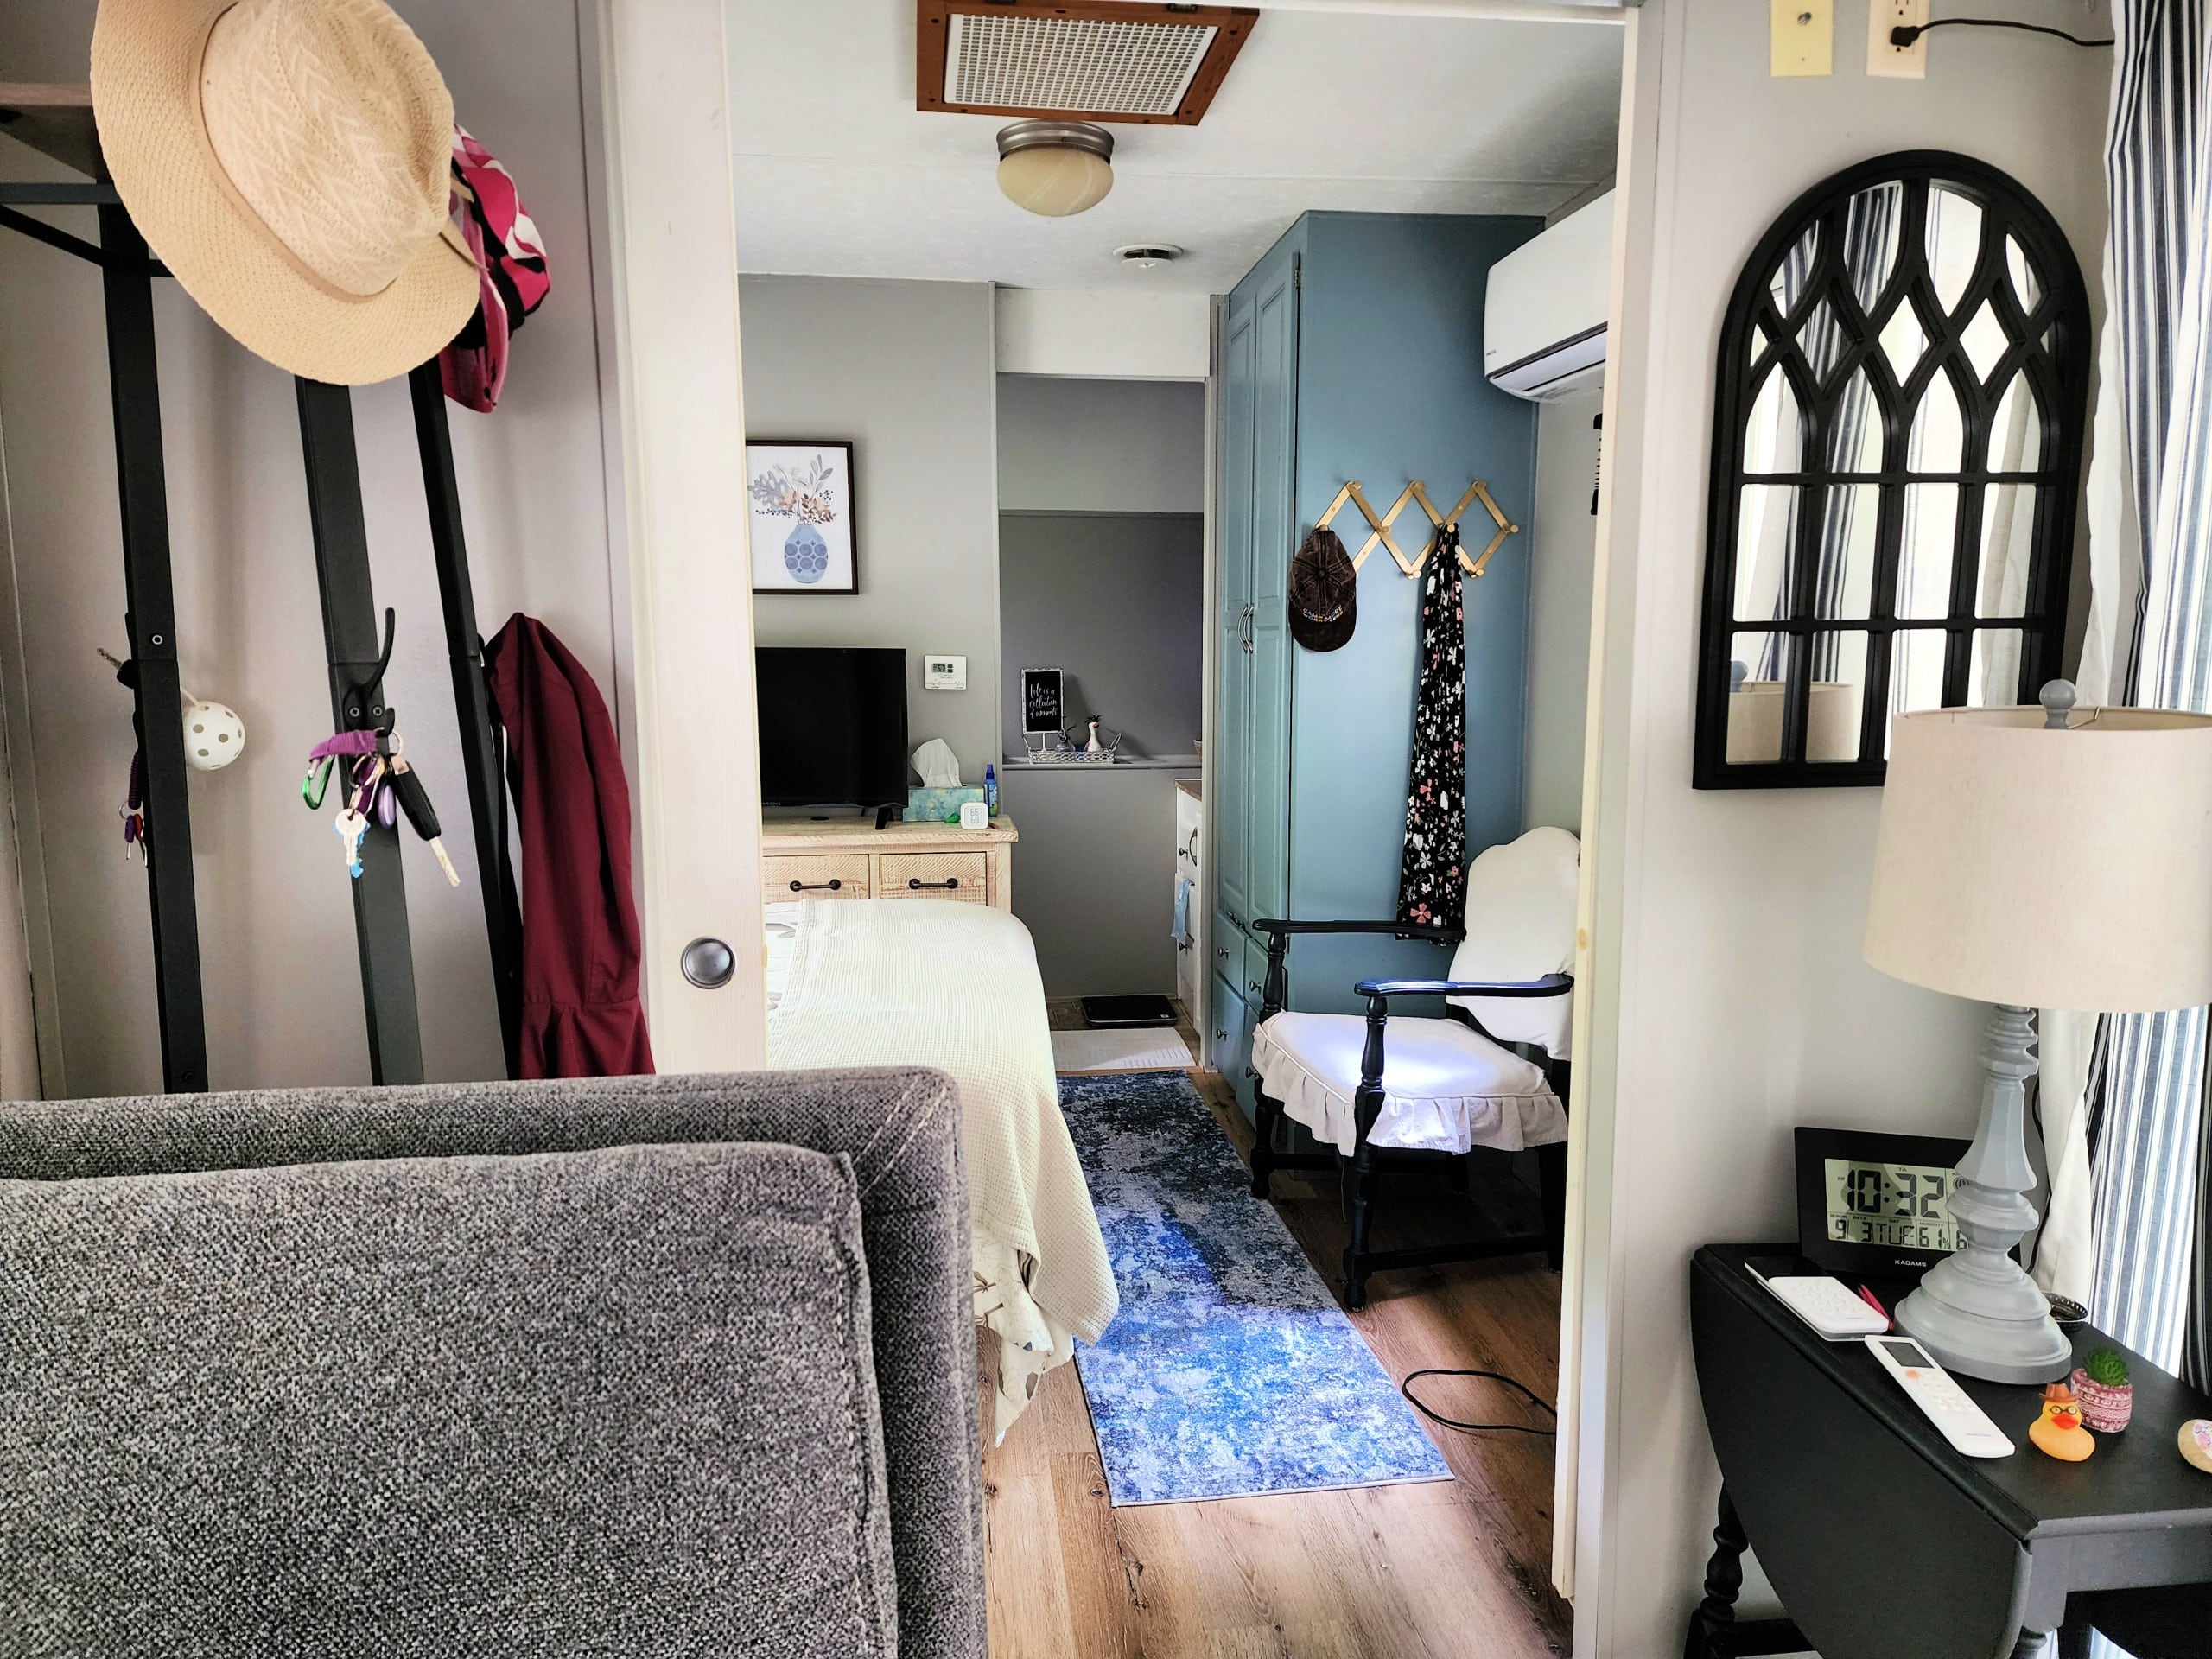
Eventually, I would love to change out the boob light fixtures and do something with the roof-top air conditioner vent.
Two thrift store projects are in this photo: my antique chair makeover and a small drop-leaf table.
Prioritize Jobs When Renovating an Old Camper
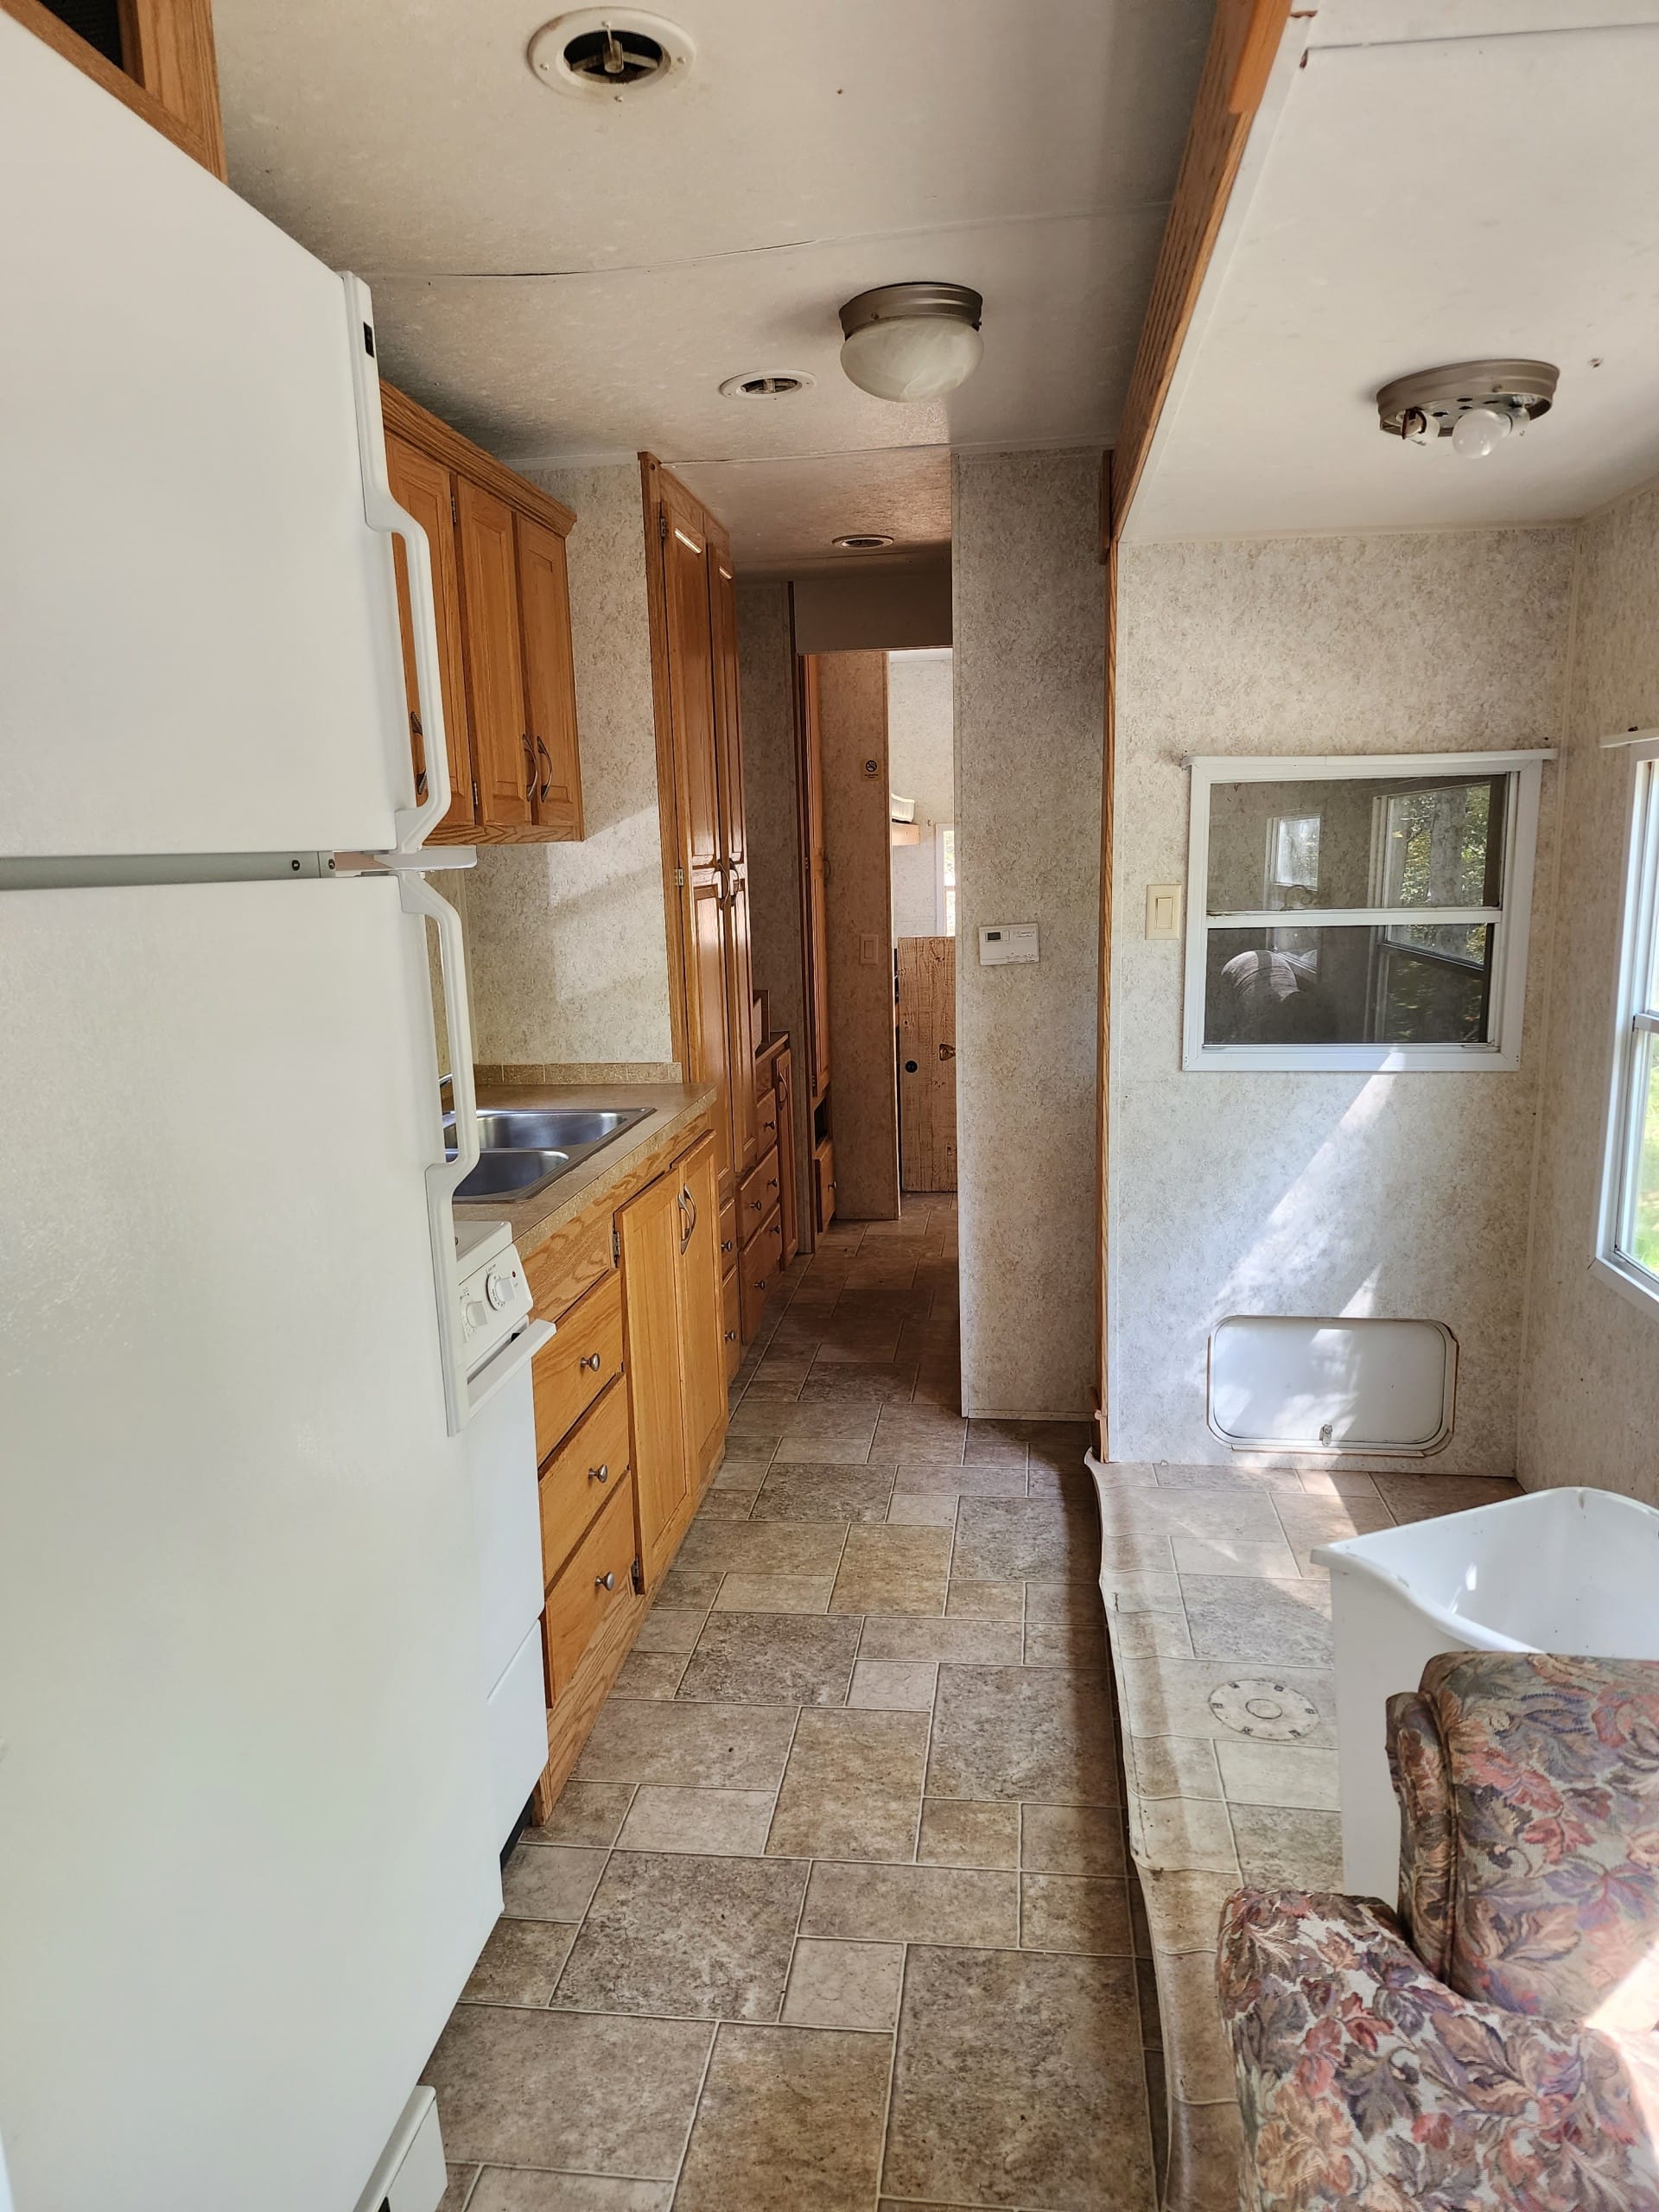
I’m keeping it real, folks. This is the ugly truth. Renovating an old camper takes time and money. Sometimes, you must prioritize what you can do now and what needs to wait. There was substantial rot from a leaky roof.
Items to be addressed in this area at a later date:
- Reframe the old door (possibly replace it with a new door)
- Repair the rotted floor under the fridge
- Replace the rotted wall behind the fridge
- Fix the rotted portion of the ceiling over the refrigerator.
- Finish the flooring
You need to know your limits. I’m unsure how many of these minor repairs need to be hired out because it’s challenging to find someone to repair the above-listed items.
Painting Kitchen Cabinets Black
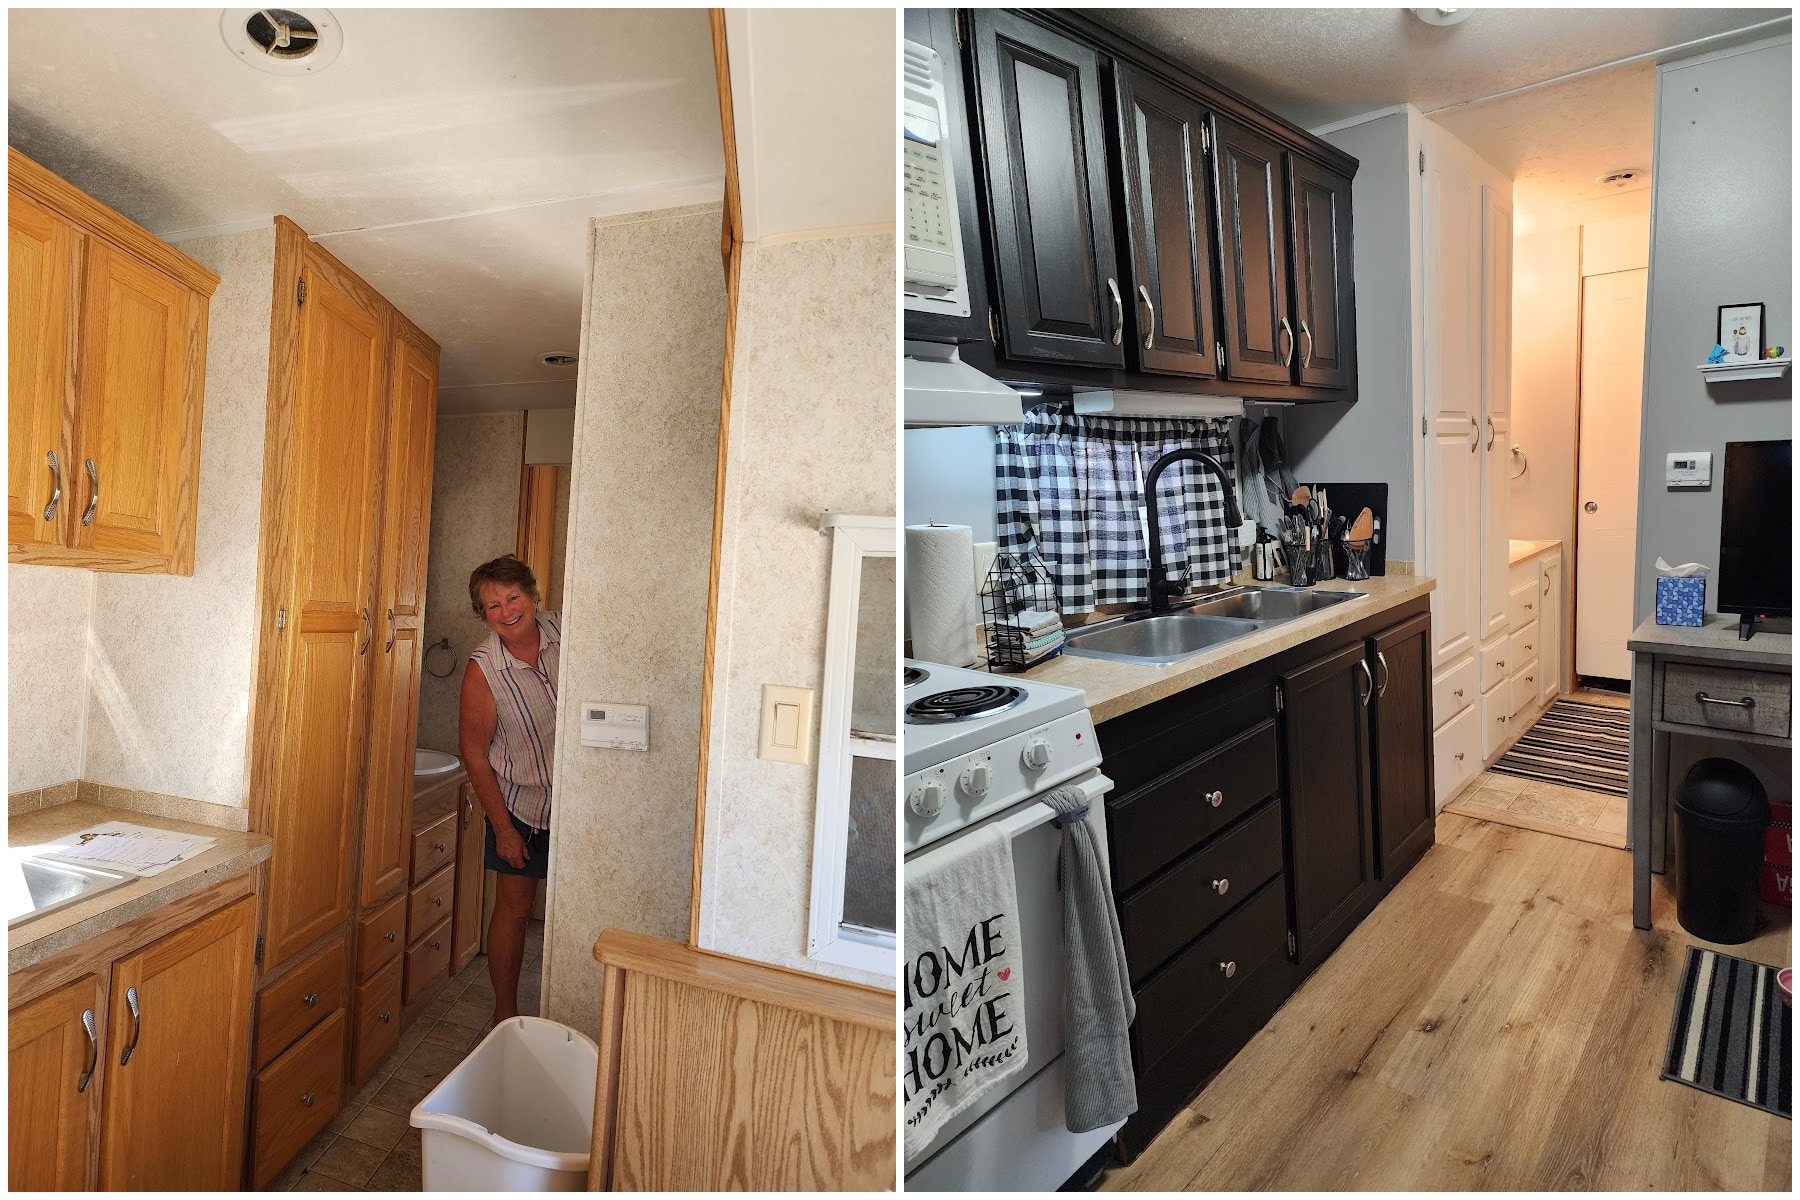
The photo on the left is from the day we looked at the old park model campers. The slide-out is pulled in, making the space look very cramped. The area to the right of the trash can is the dinette, which was removed as soon as the camper was delivered. I aim to make this renovated camper look more like a home and less like a camper. The kitchen cabinet color is Warm Embers, while the hallway pantry and vanity are Bone. Both colors are from HTP All-In-One Paint.
Remove Drawers and Doors From Kitchen Cabinets
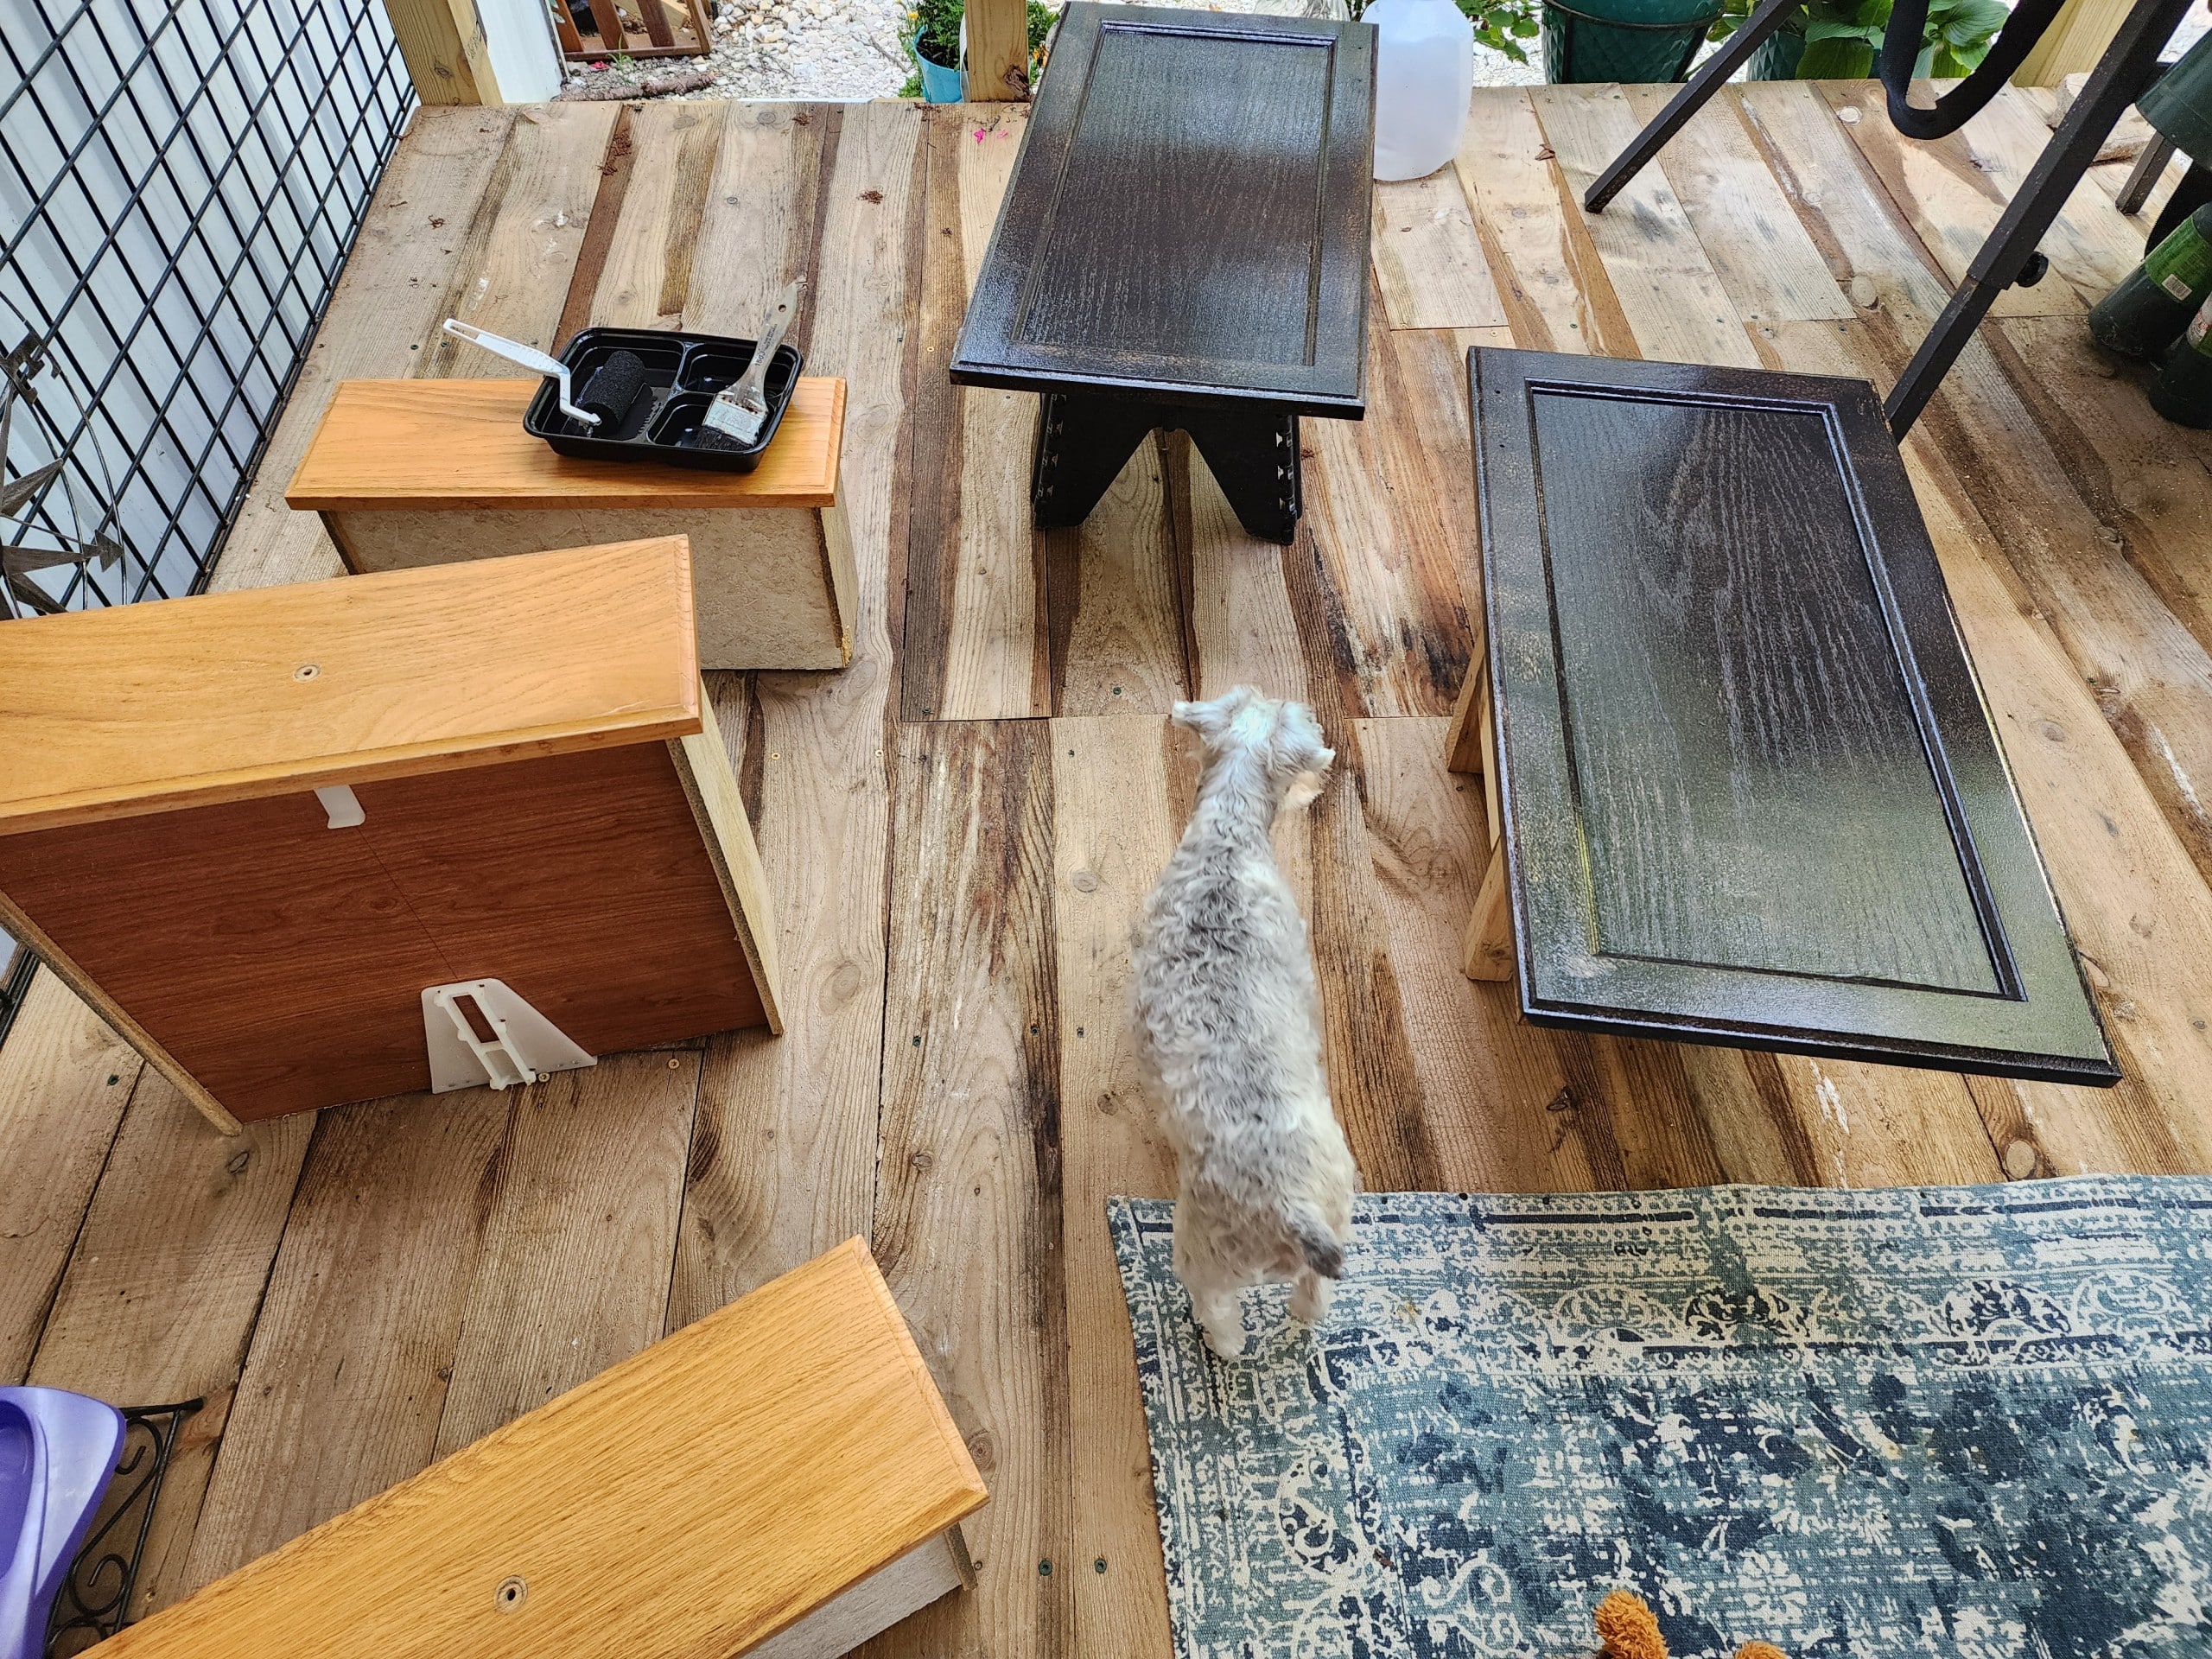
I love the brush and roller method for my paint projects. Lulu Mae is keeping tabs on me.

The roller does a great job on the cabinet facings. The only place I used painter’s tape was around the brand-new mini-split in the bedroom.
You may consider minor adjustments when renovating an old camper, such as removing the drawers’ “lift and pull” function. This is intended to keep the drawers in place when traveling down the road. Guests may be confused about why kitchen drawers appear to be locked.
Another update I made that made a huge difference is the kitchen faucet. Many people switch out the original faucet in their campers.
Here are some interesting renovations that made me scratch my head and say, “Why”?
The refrigerator had a left-hand opening. I can’t believe hundreds of people stayed in this rental unit and had to walk to the left, open the fridge, close the door, and return to the stove. It was a quick fix and made so much more sense to stand by the stove to open the door.
Looking back at the pictures reminded me we switched the door before the slides were extended.
Disguise a Pass-through Door
When renovating an old camper, you may want to remove certain elements that make it look like a camper.
In the photo above, do you see that little pass-through door where the dinette used to be?

I painted right over the glass of a thrift store painting to make a faux panel to hide the pass-through door. This faux panel replaced a piece of cardboard that had been hiding the styrofoam.
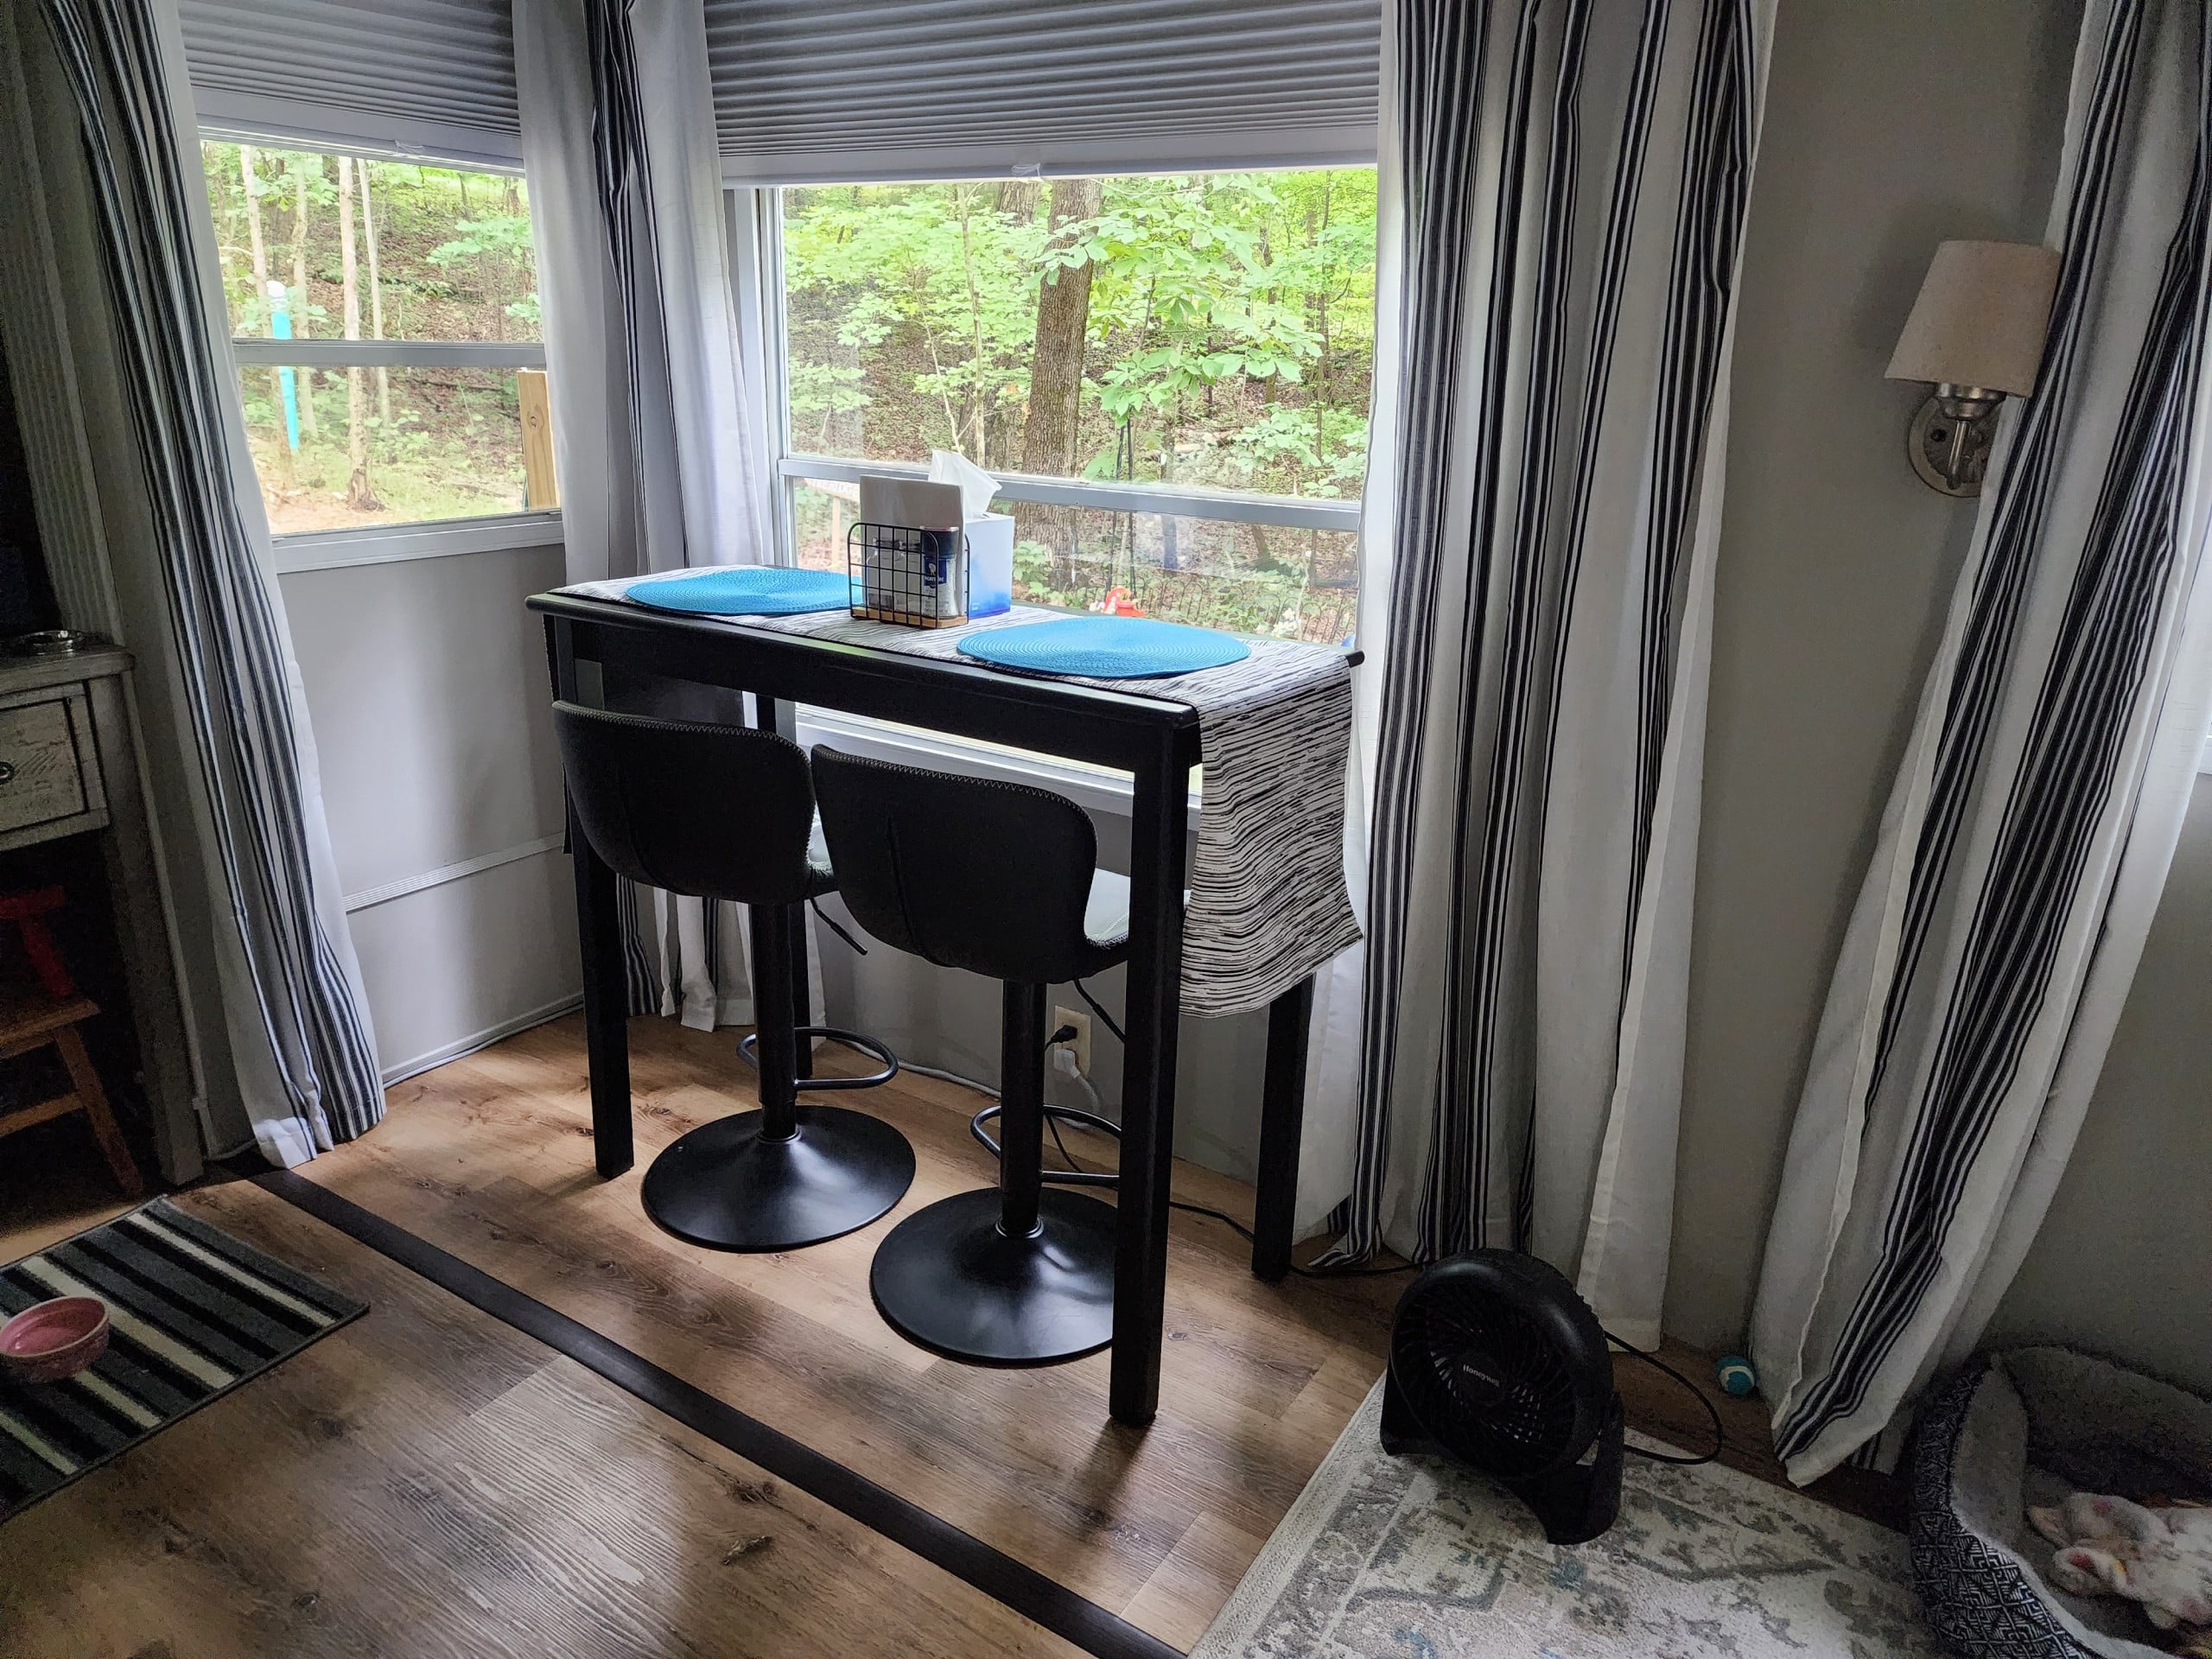
The panel’s color is the same as the wall, making it much less noticeable than the gap that was the pass-through door. The dining table was a fabulous thrift store makeover.
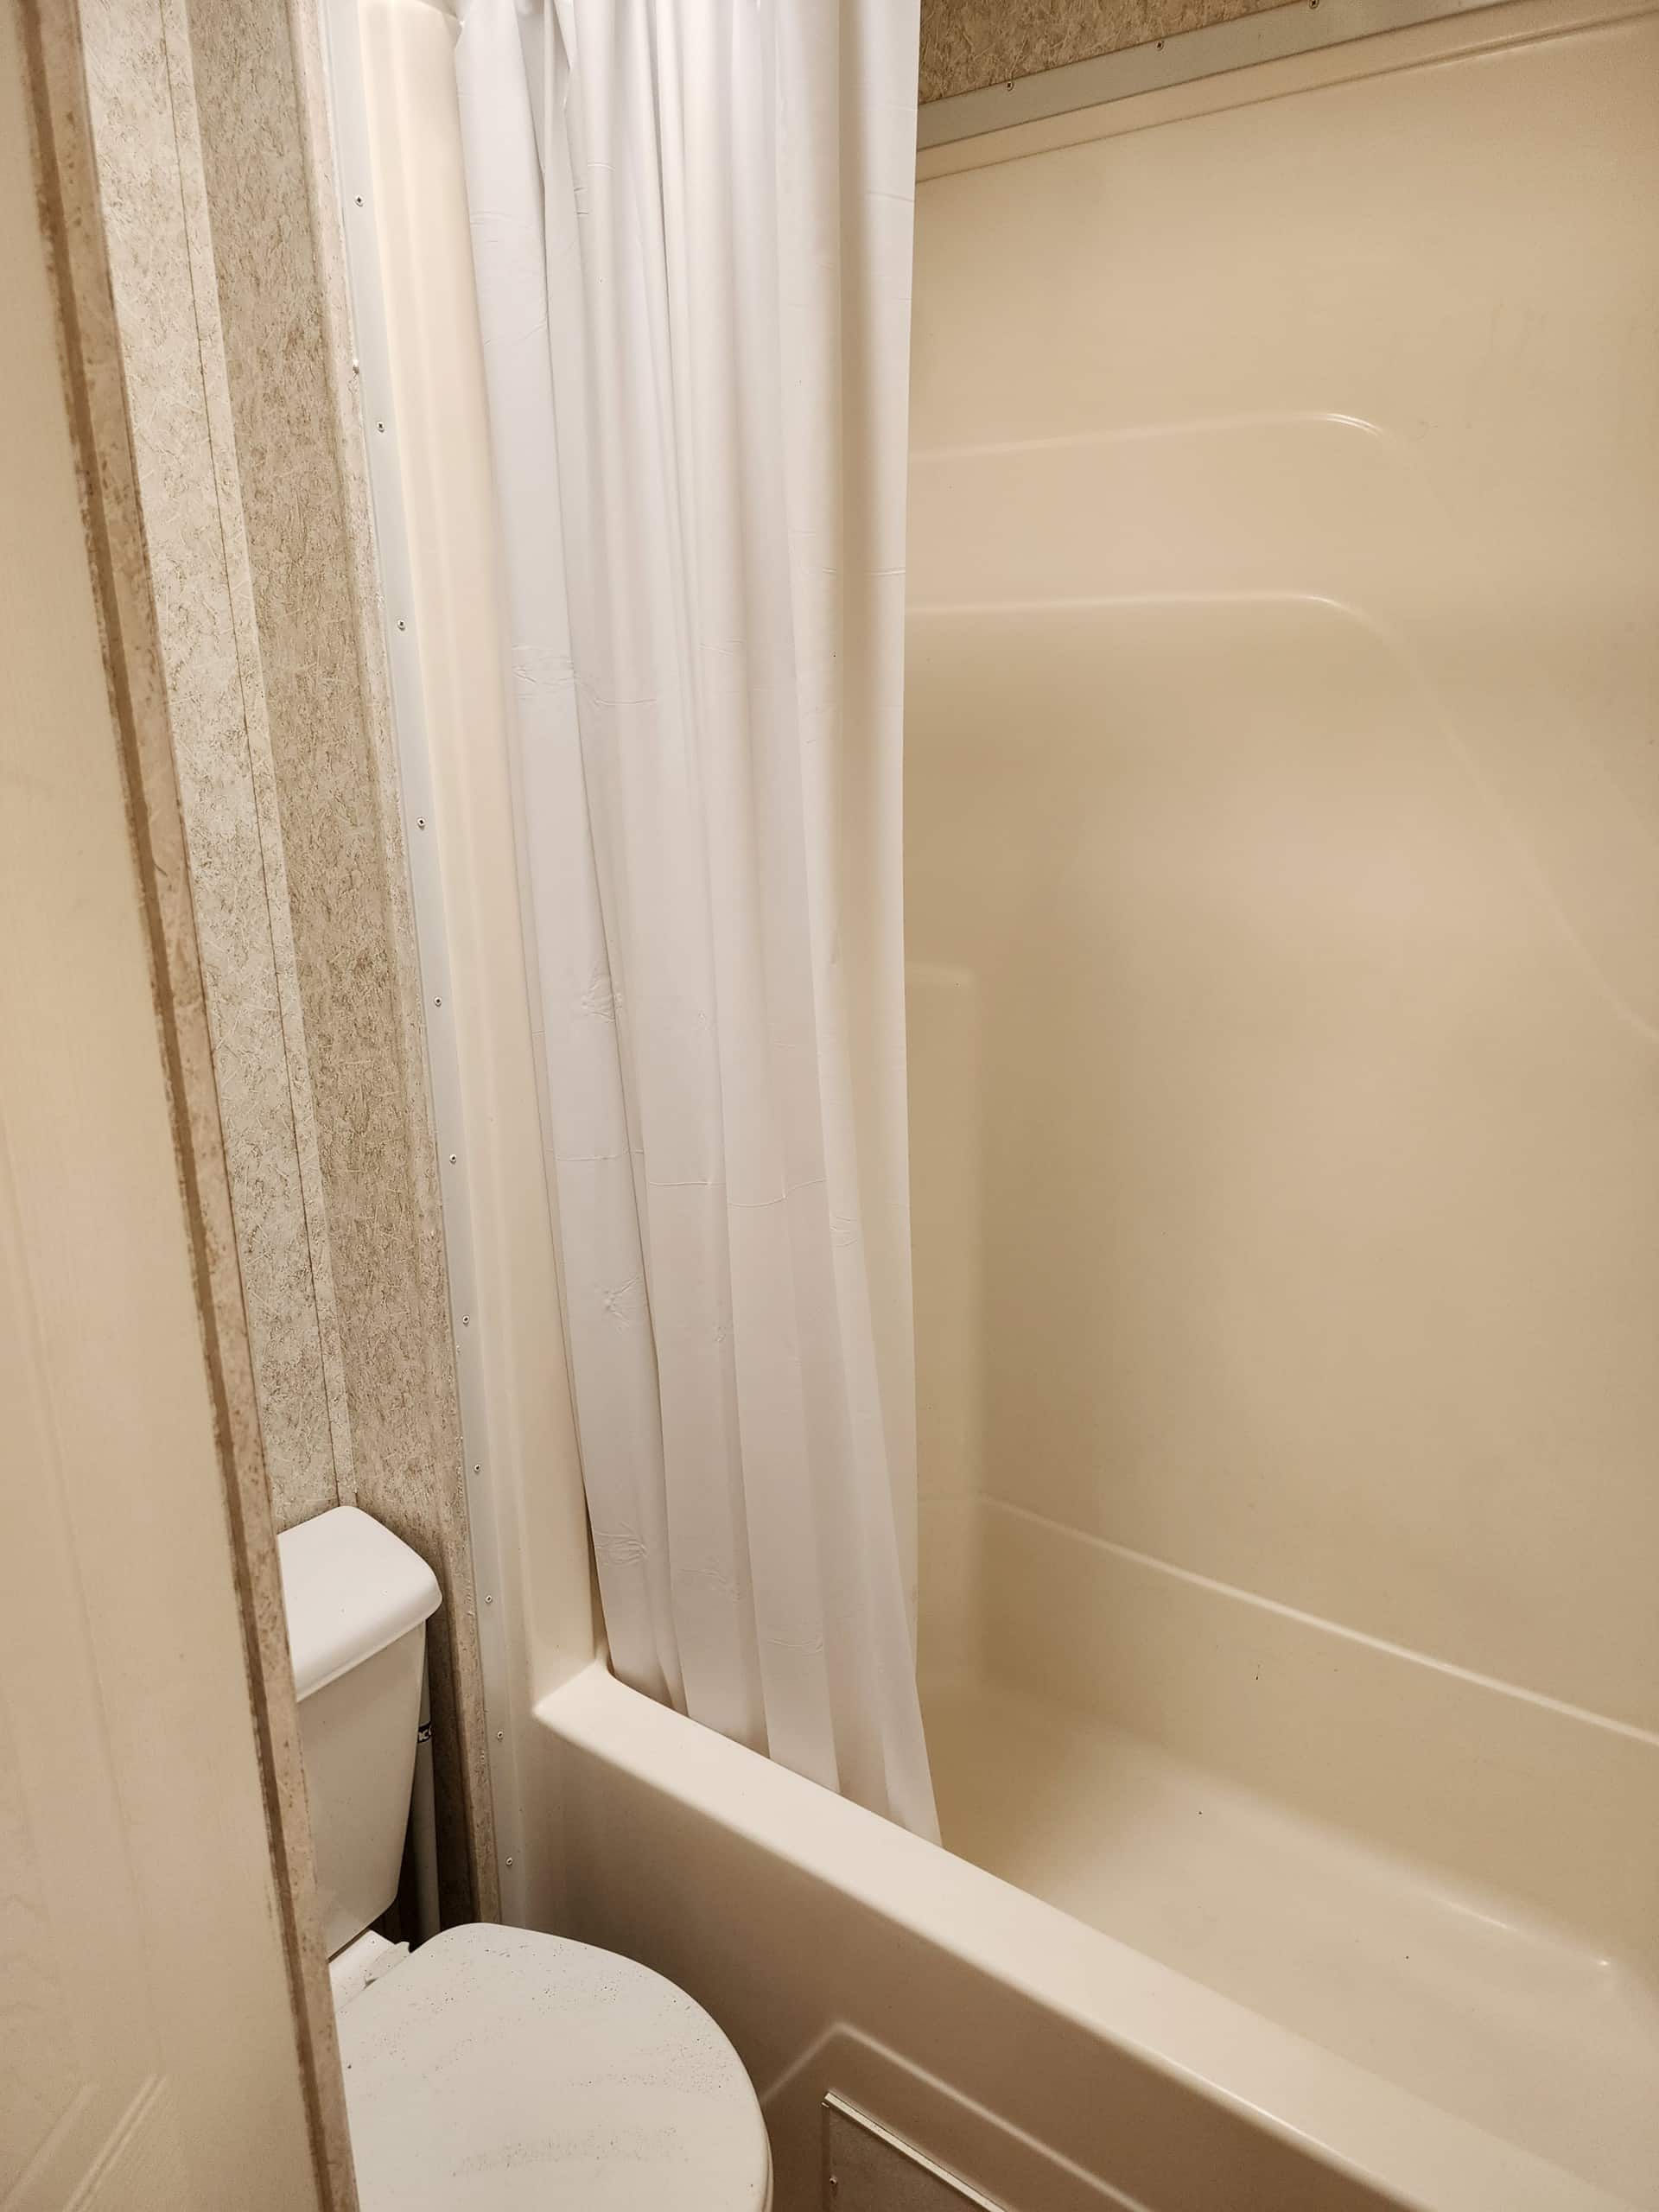
The photo of the tiny hallway bathroom is from the listing. When stepping out of the shower, you only have a few square feet to dry off and dress.
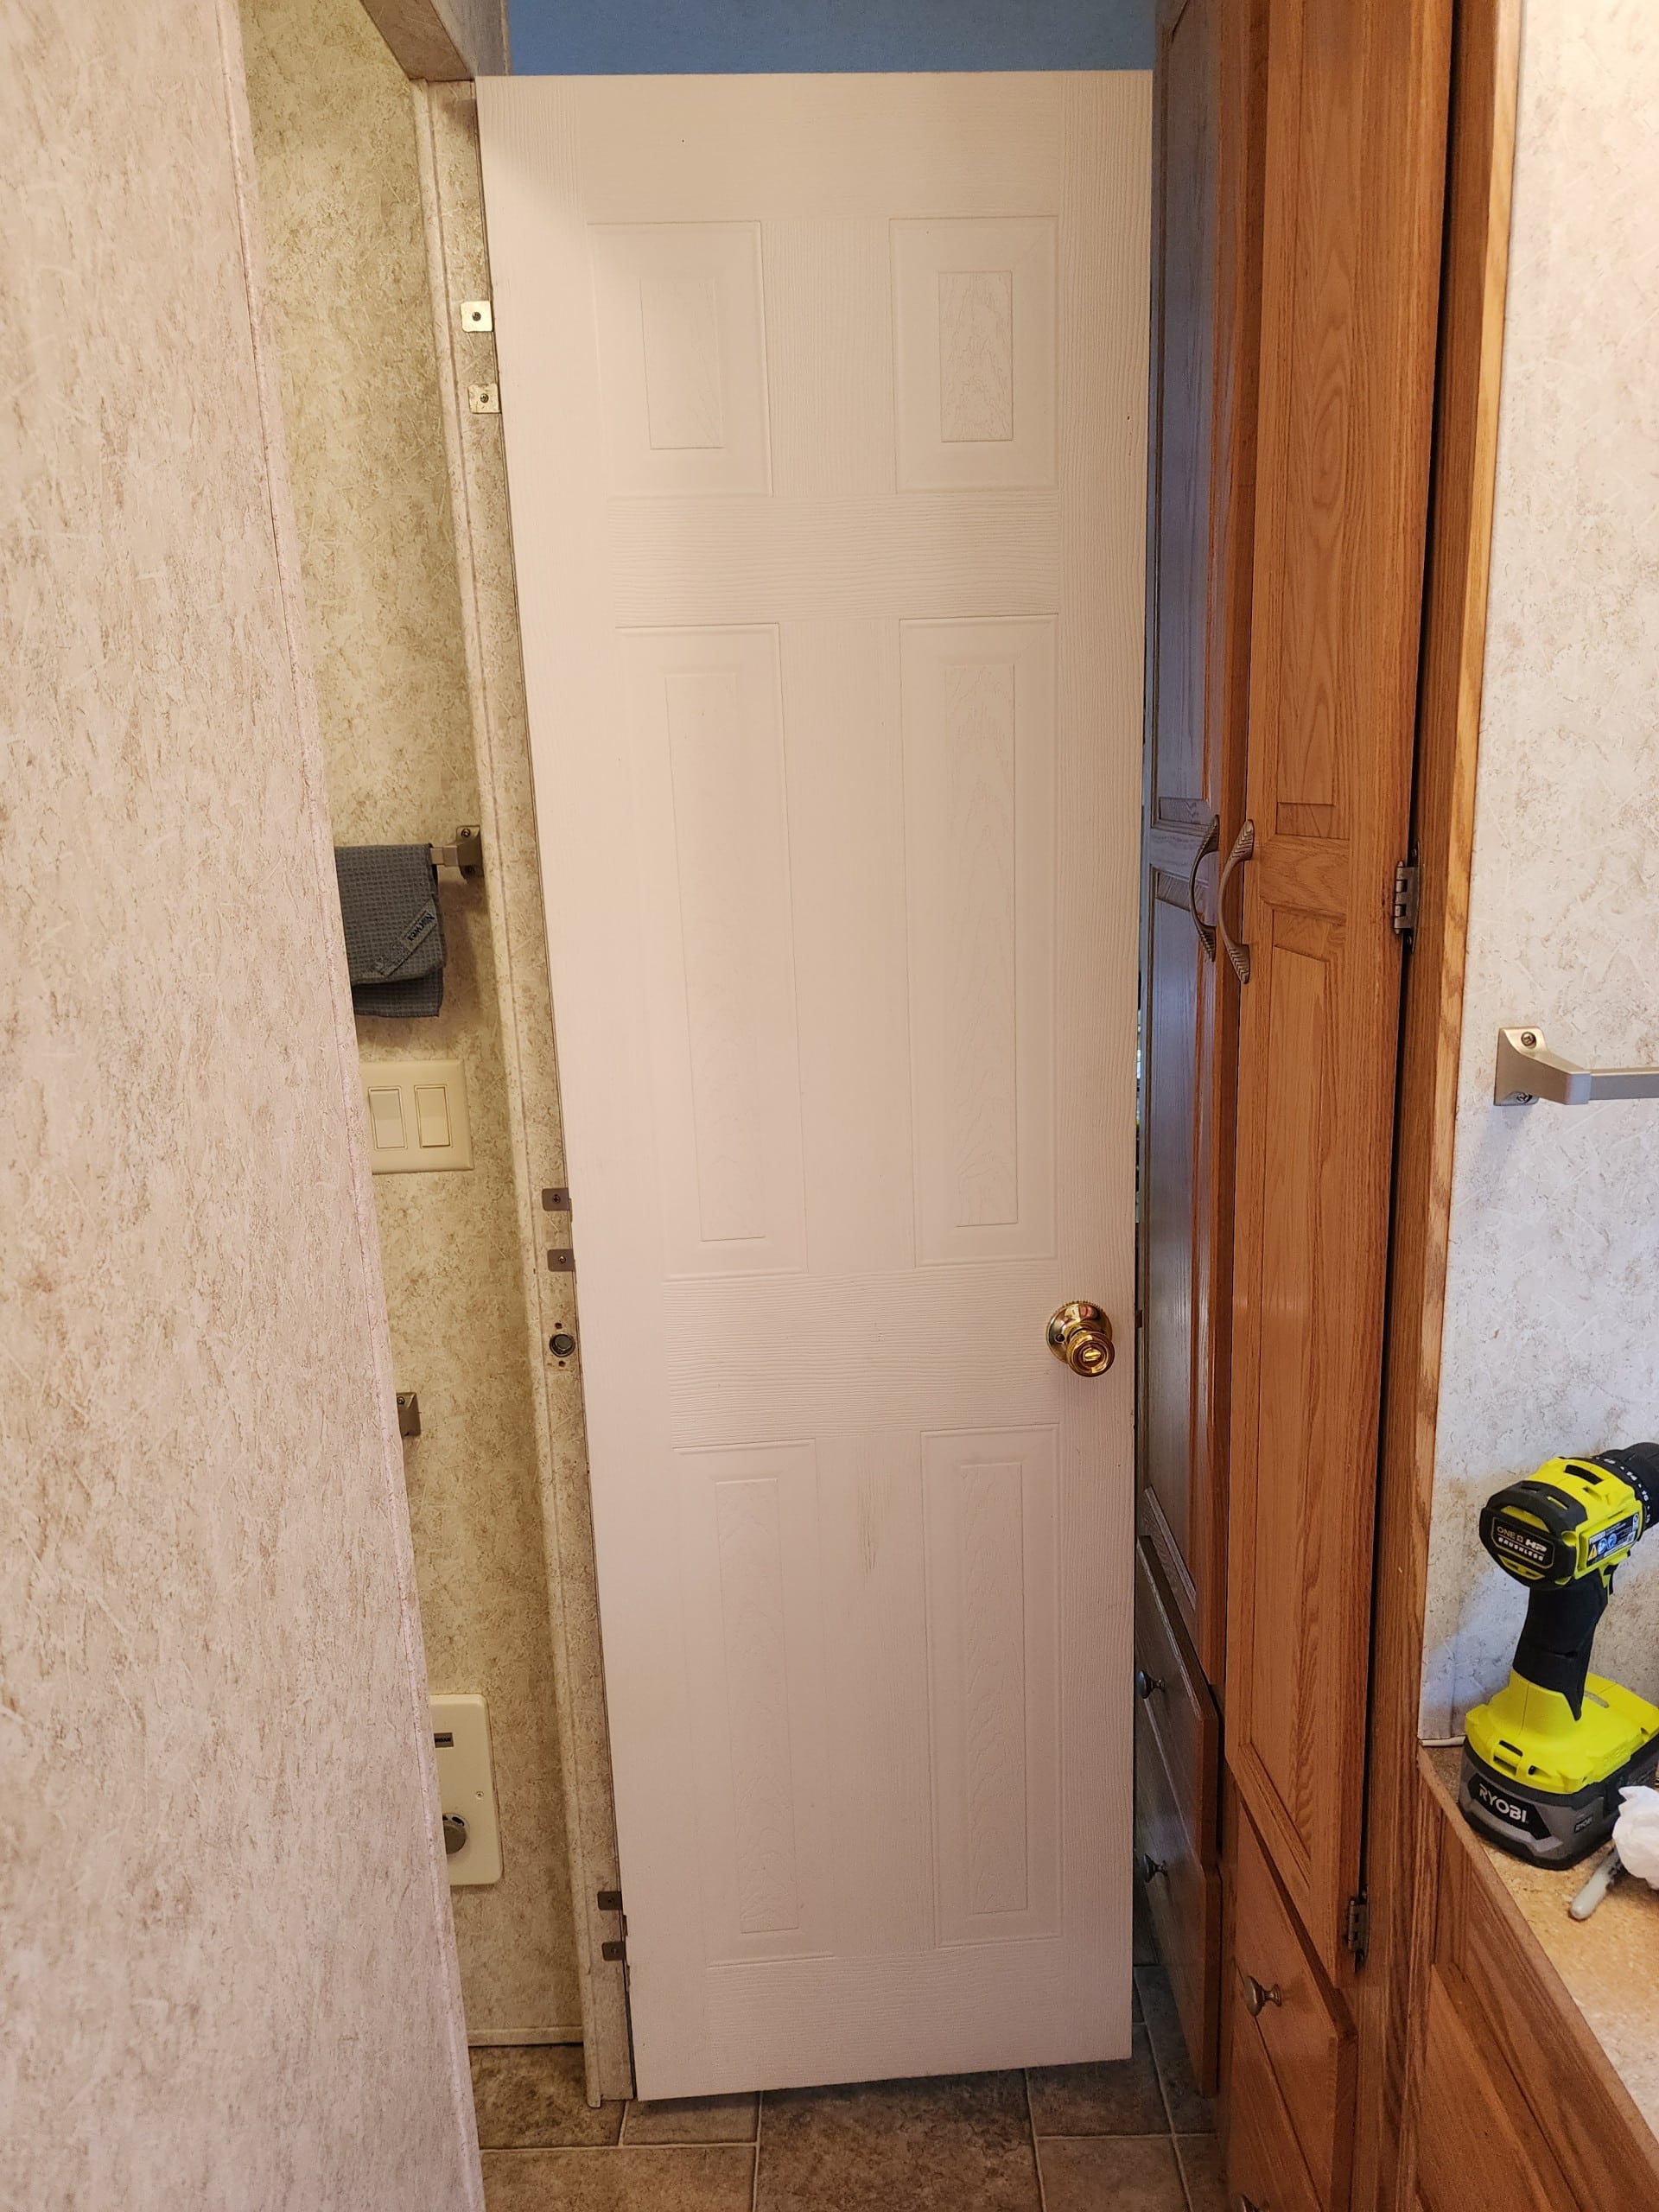
The bathroom door was right-handed, meaning you would walk right from the kitchen into the bathroom. I removed the door and switched the orientation. When you shower, you leave the door open, allowing access to the small hall and the hall sink.

For now, that is how far I have gotten. The only thing left to do is the guest room. I left two of the original bunks in place, and it will be challenging to paint the walls. I made a trundle bed out of an old futon. This is an old photo. The guest room looks much better now; it just needs to be painted.
The hallway bathroom is so tiny that I have decided not to paint it.
More Camper Renovation Projects
There are more items on my list to complete. Some are for the camper and others are for the property.
- Clean exterior of the camper
- Remove peeling decals
- Paint the camper
- Paint/stain the porch and posts
- Paint/stain the Hick’ry deck and railing
Outdoor Pictures
As promised, here are photos of the property and all the work Terry and I have done to make this our little retirement community.
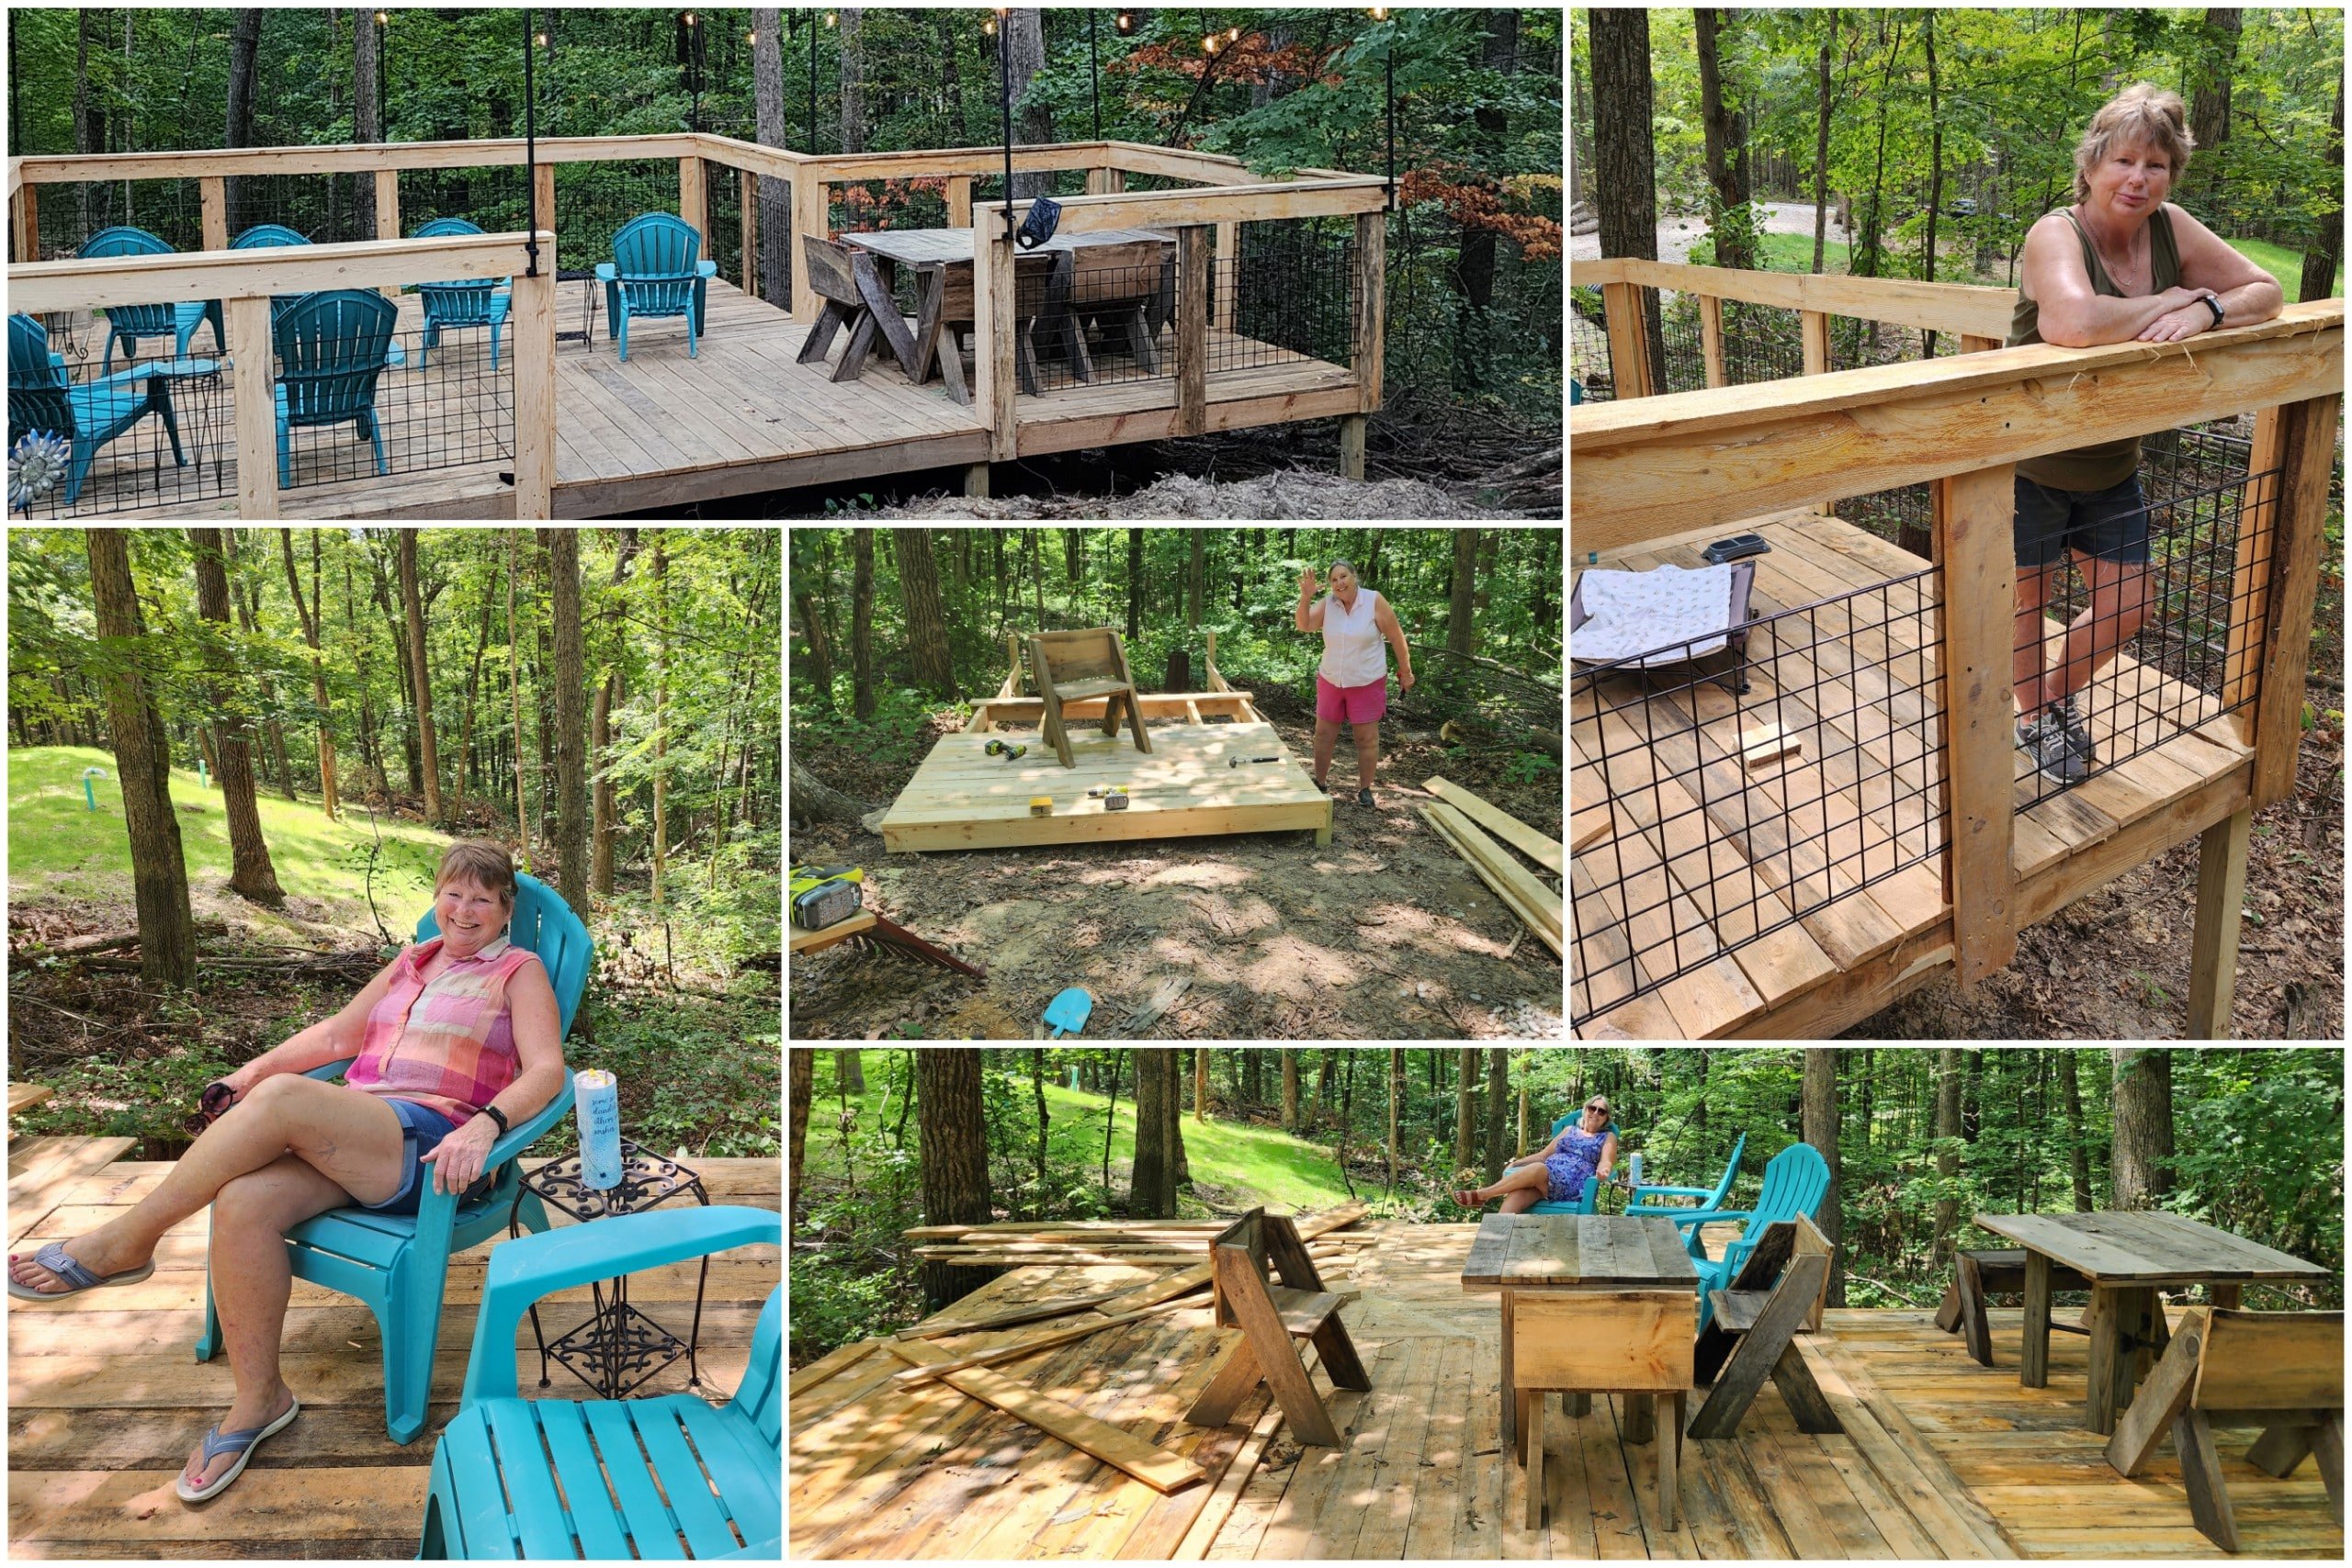
Terry and I have each paid for our own space. This is my space, known fondly as the hick’ry deck because hickory nuts fall on your head.

The porches at the hideaway are constantly changing. Terry has improved her porch by extending it with a roof. I extended mine slightly (for my grill) but didn’t put a roof over it.
Related Content: I painted a rug on my deck and porch!
Thomas and Ron (the guys who set up the campers) built the roofs over the campers and porches. As you recall, mine leaked terribly, but that’s no longer an issue. Terry and I built all of the porches and decks.
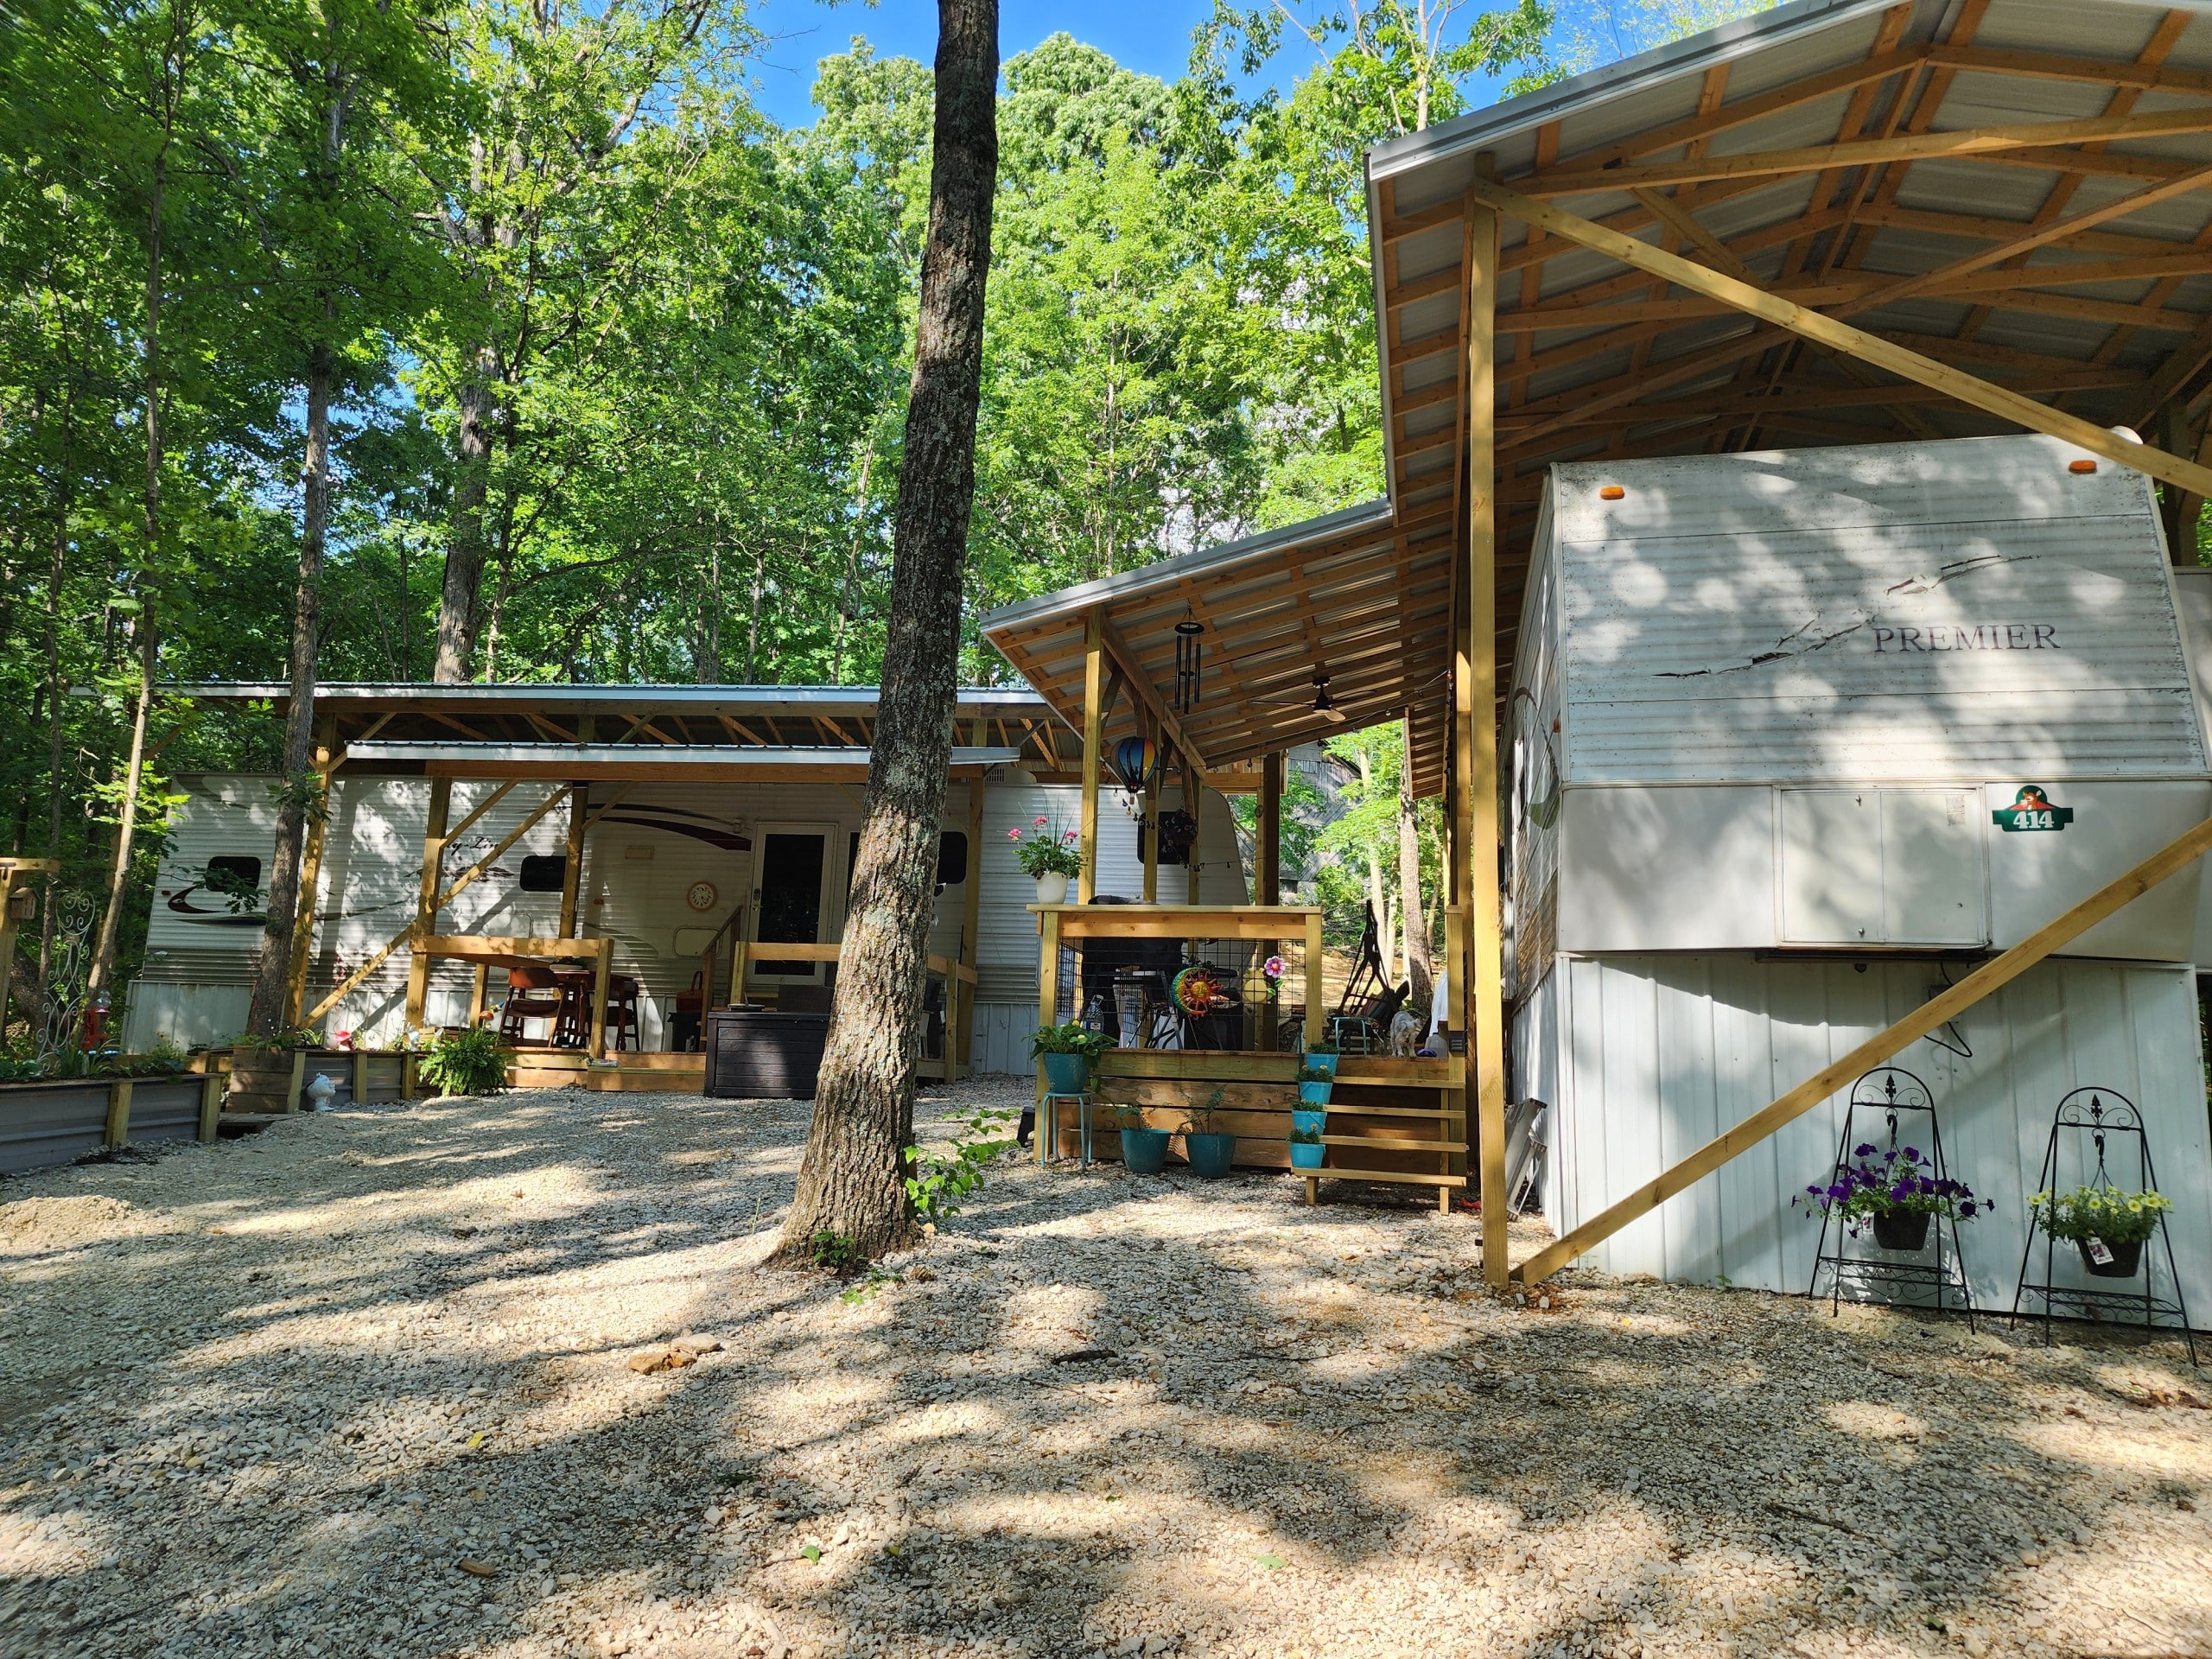
Terry’s camper is on the left. I have four front steps and two side steps, and I can also step off the back of the porch to go up to the “ridge,” where we installed a storm shelter.
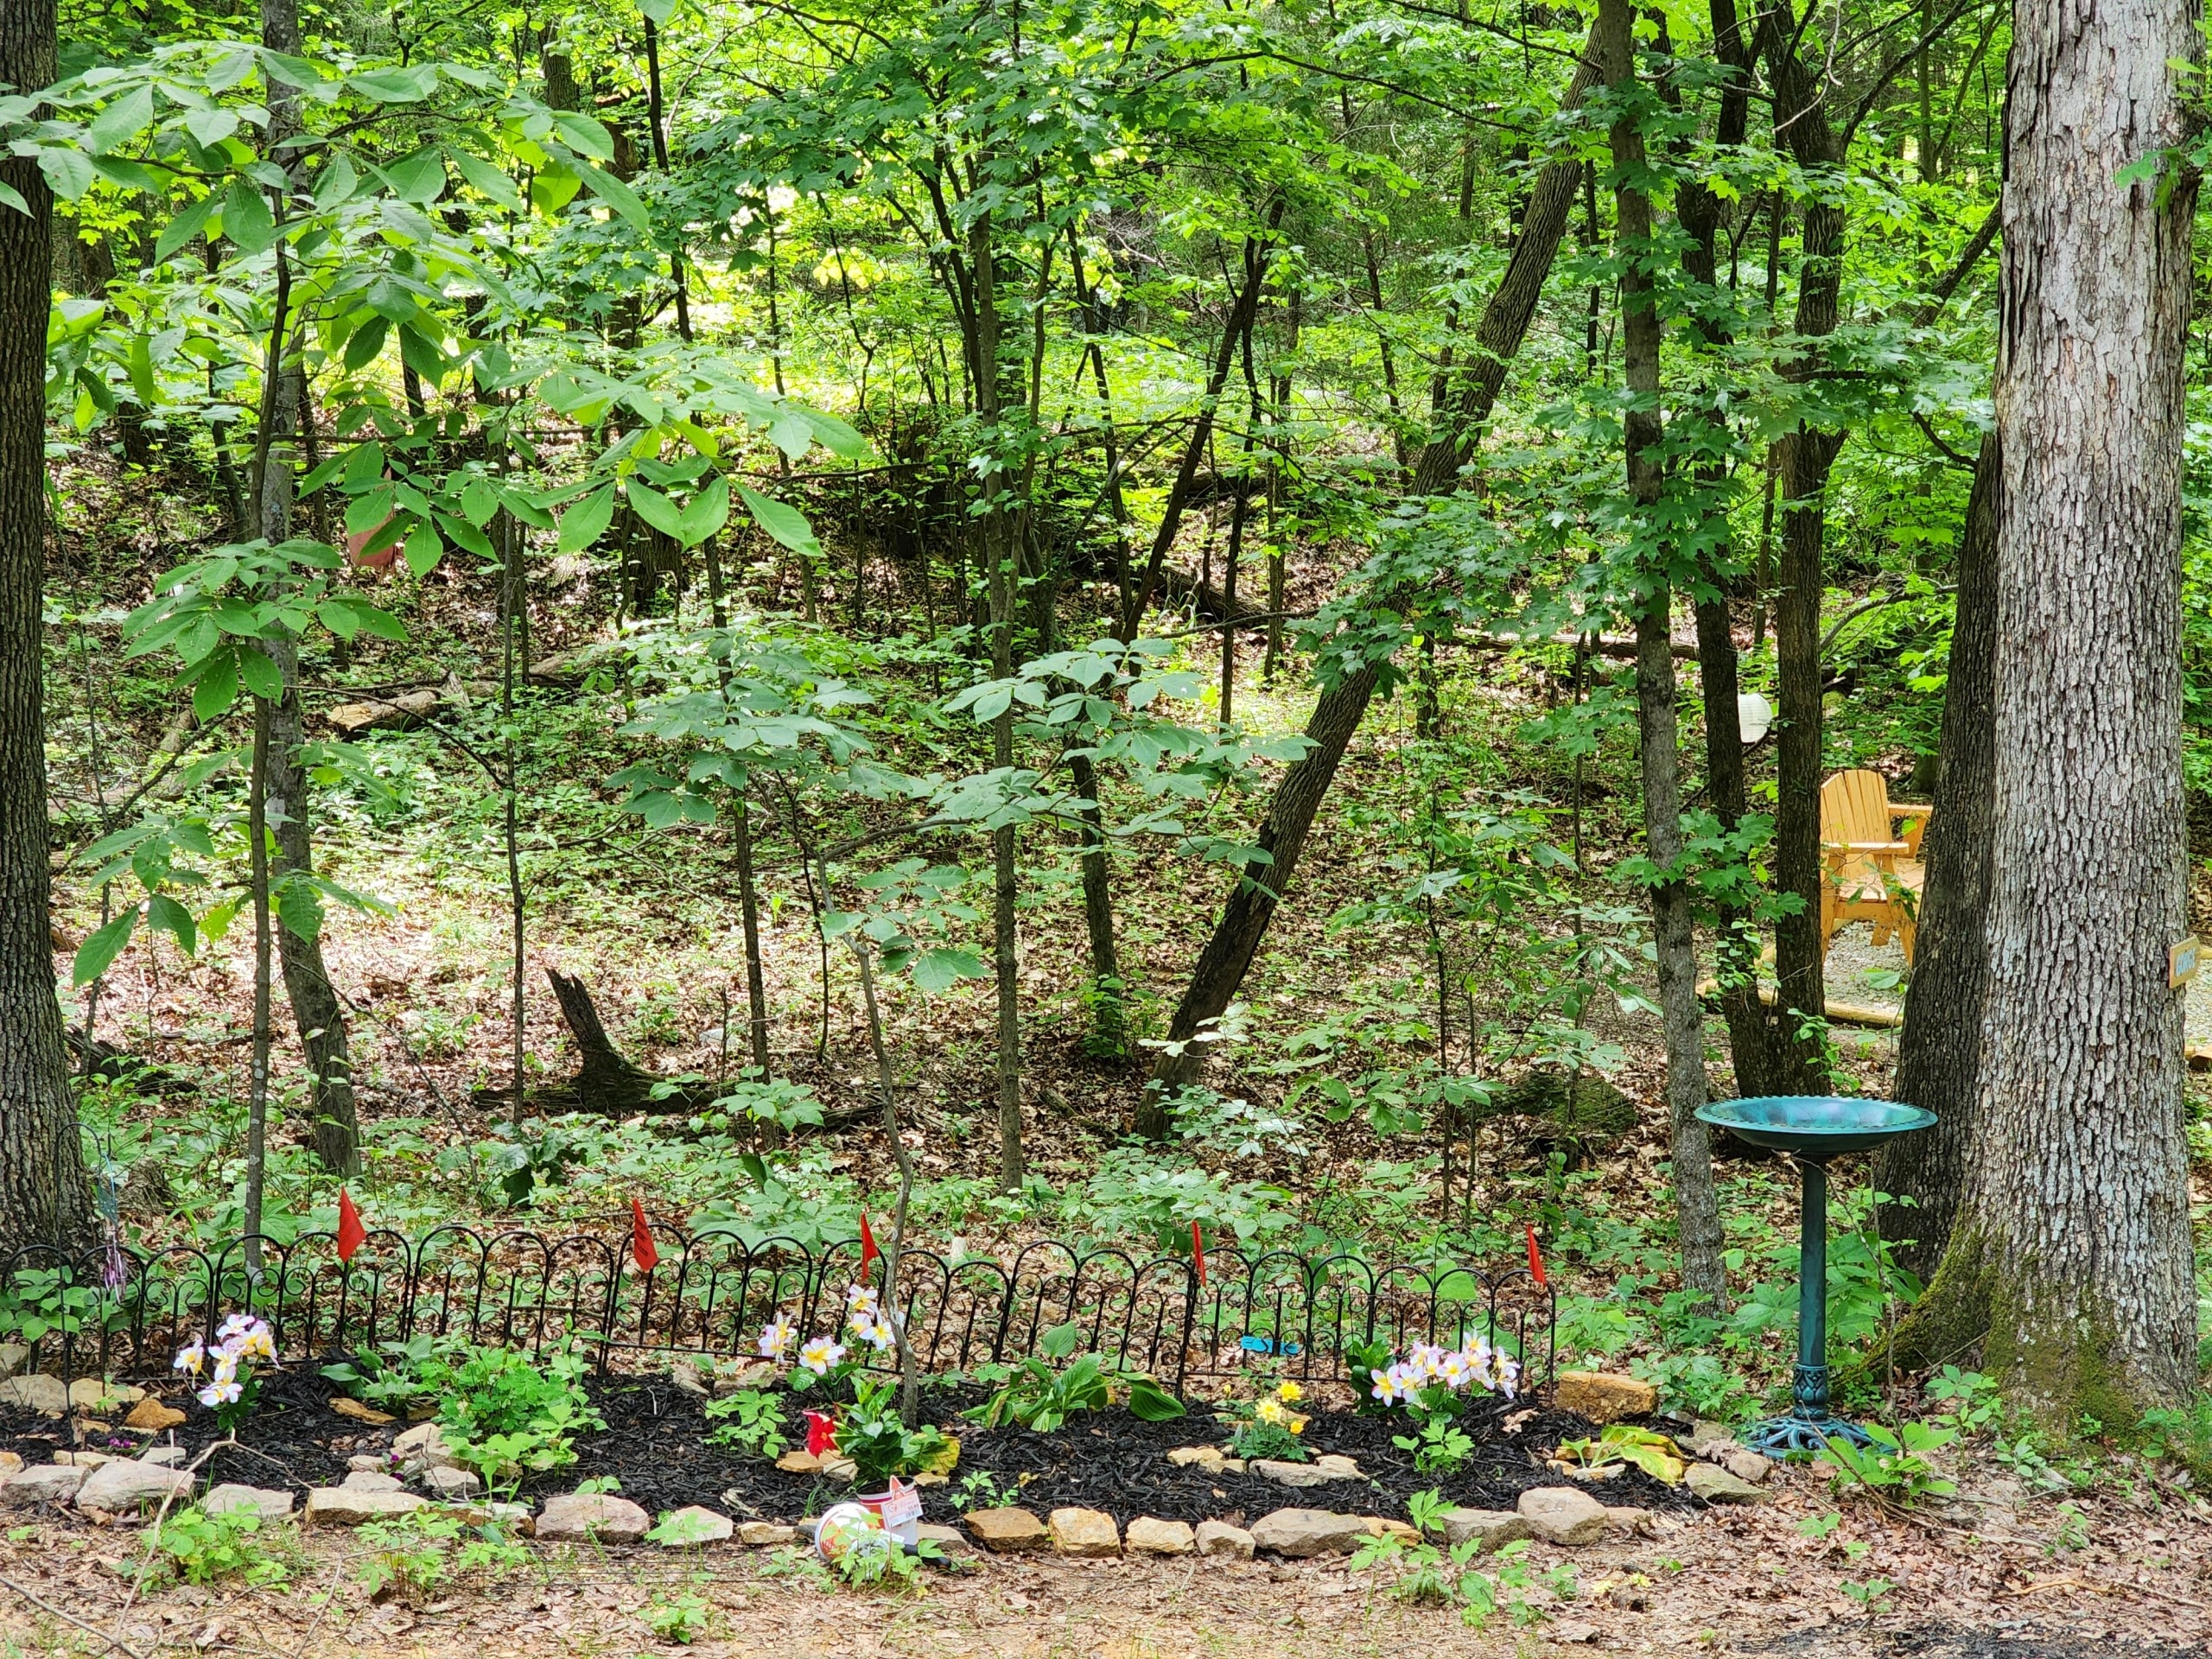
The deer have played havoc with my flower garden, but I don’t mind.
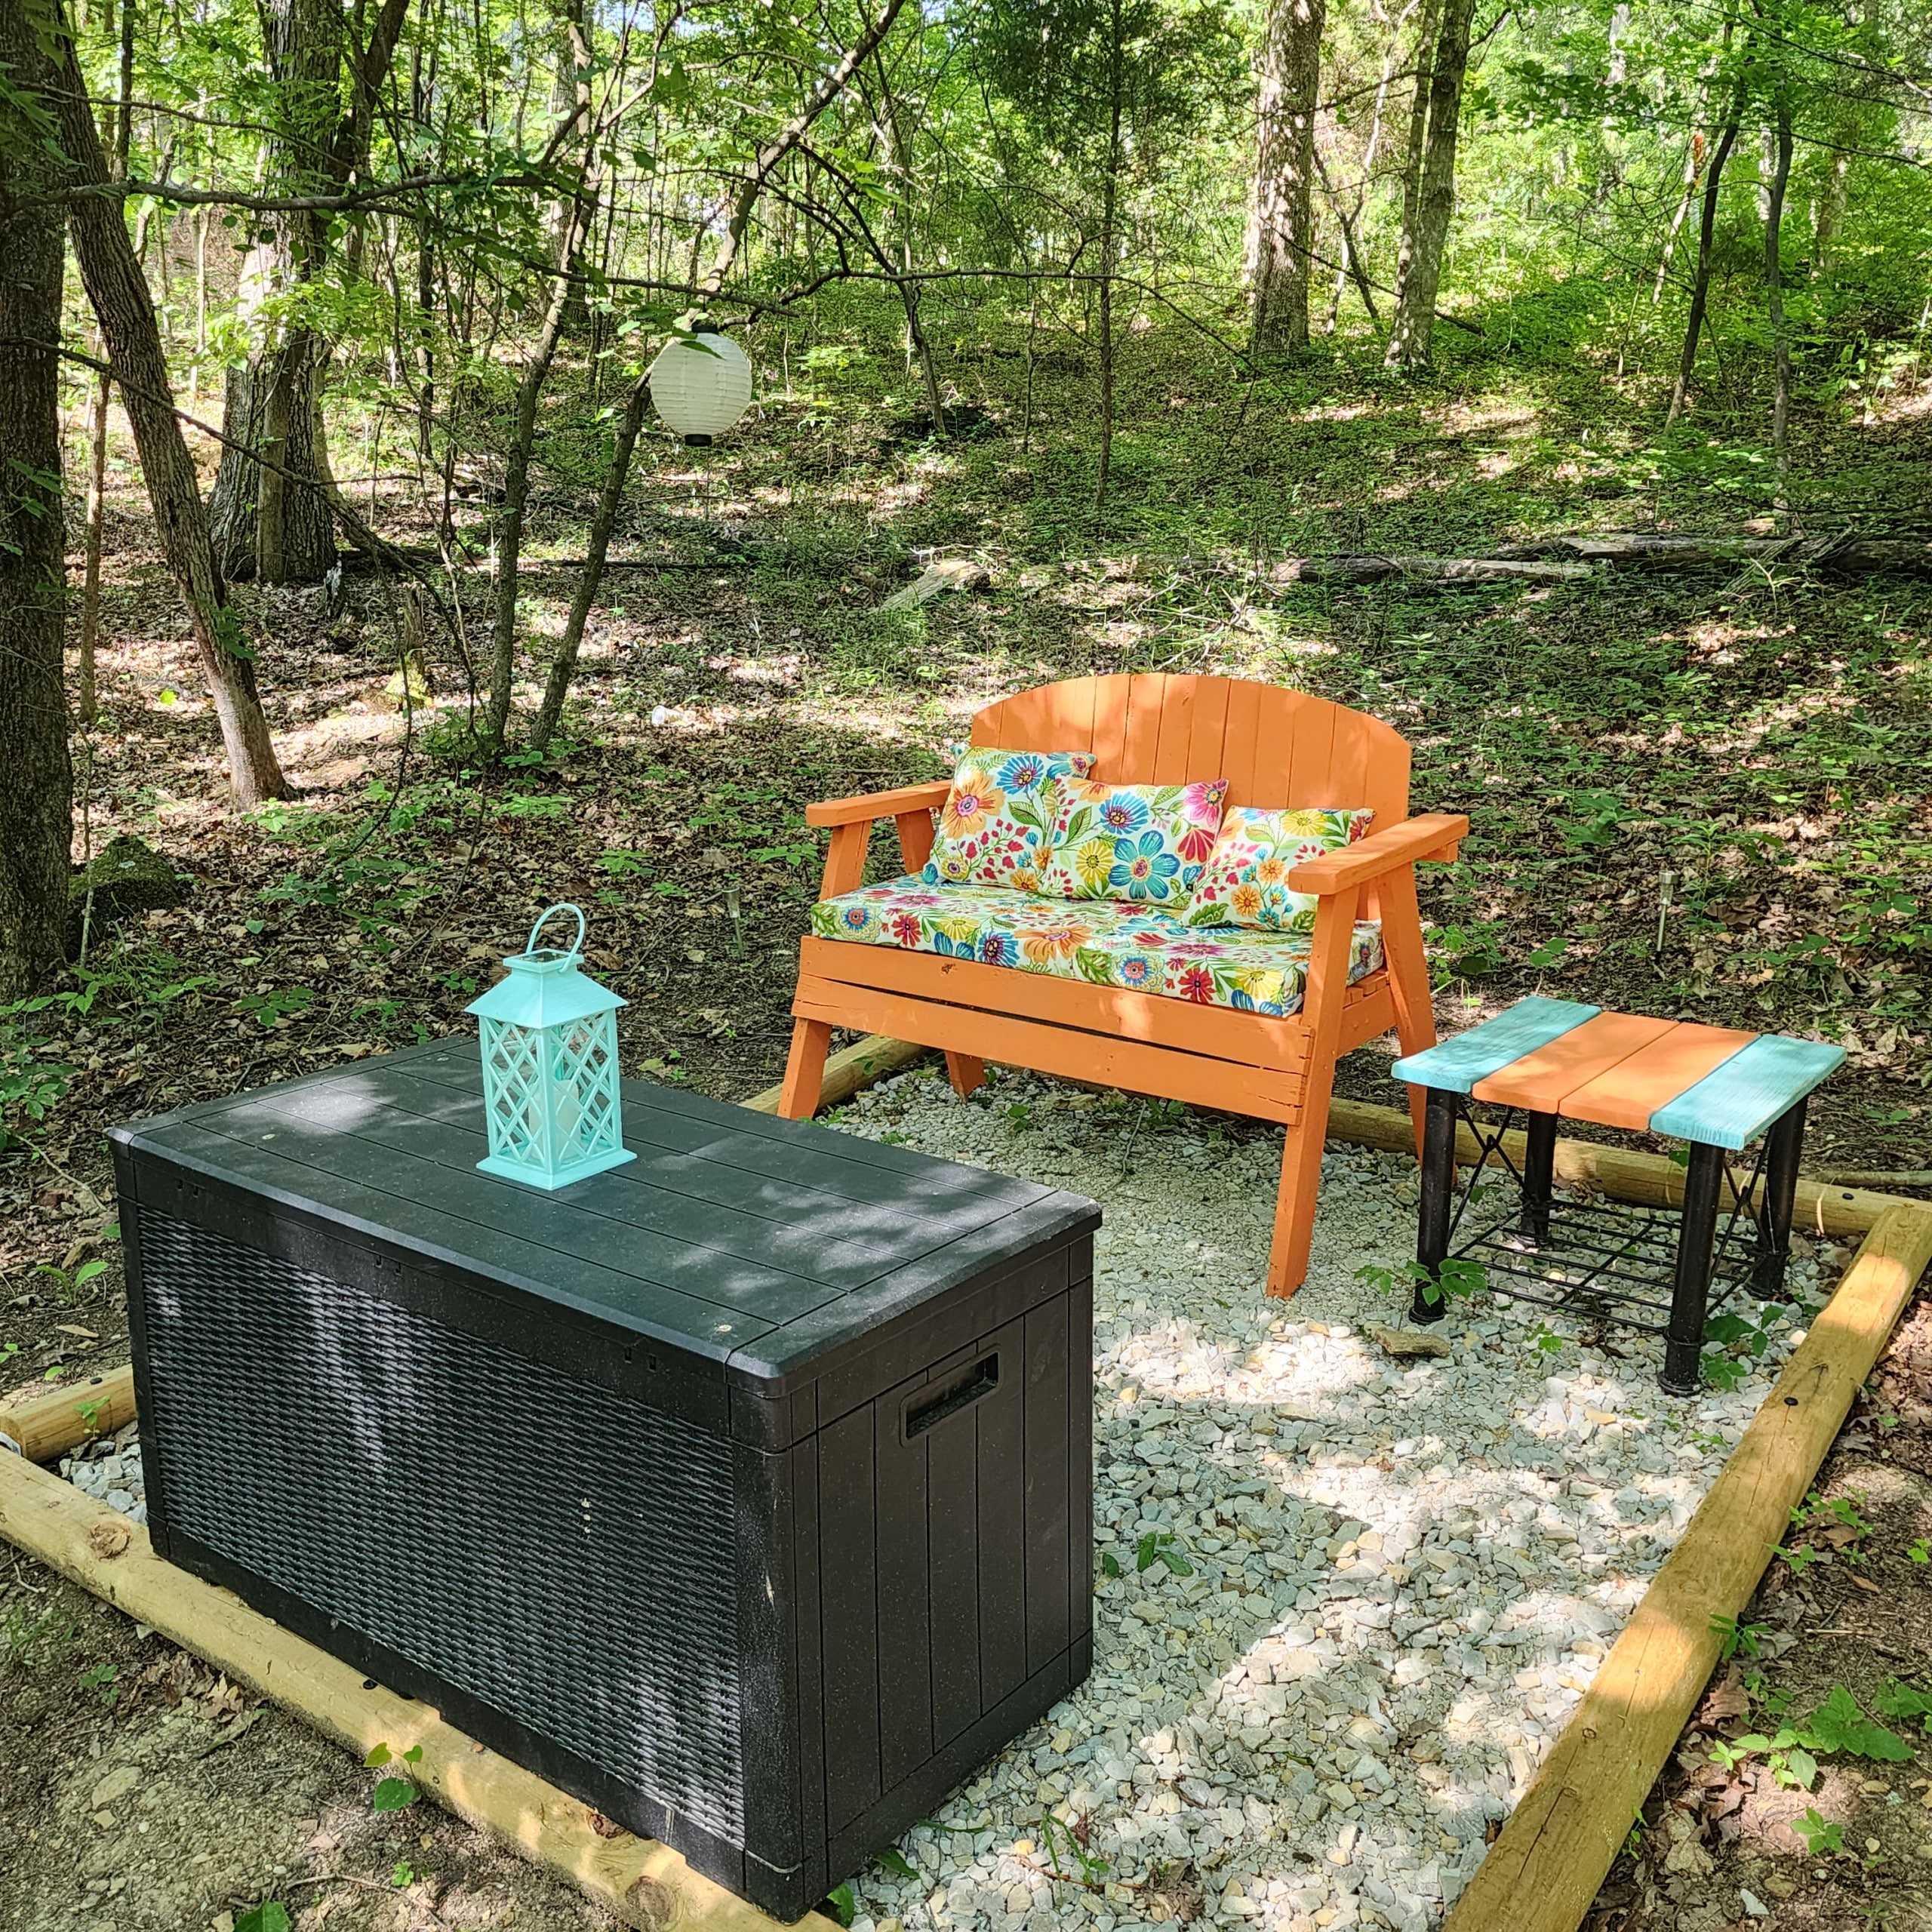
Do you remember the pallet bench from my backyard makeover a few years ago? The metal table got a little makeover when it went to the hideaway.
I have cleared several small hiking paths for Lulu Mae and me to explore. I hope to do more clearing during cooler weather.
In the meantime, there is lots of time for some R and R!
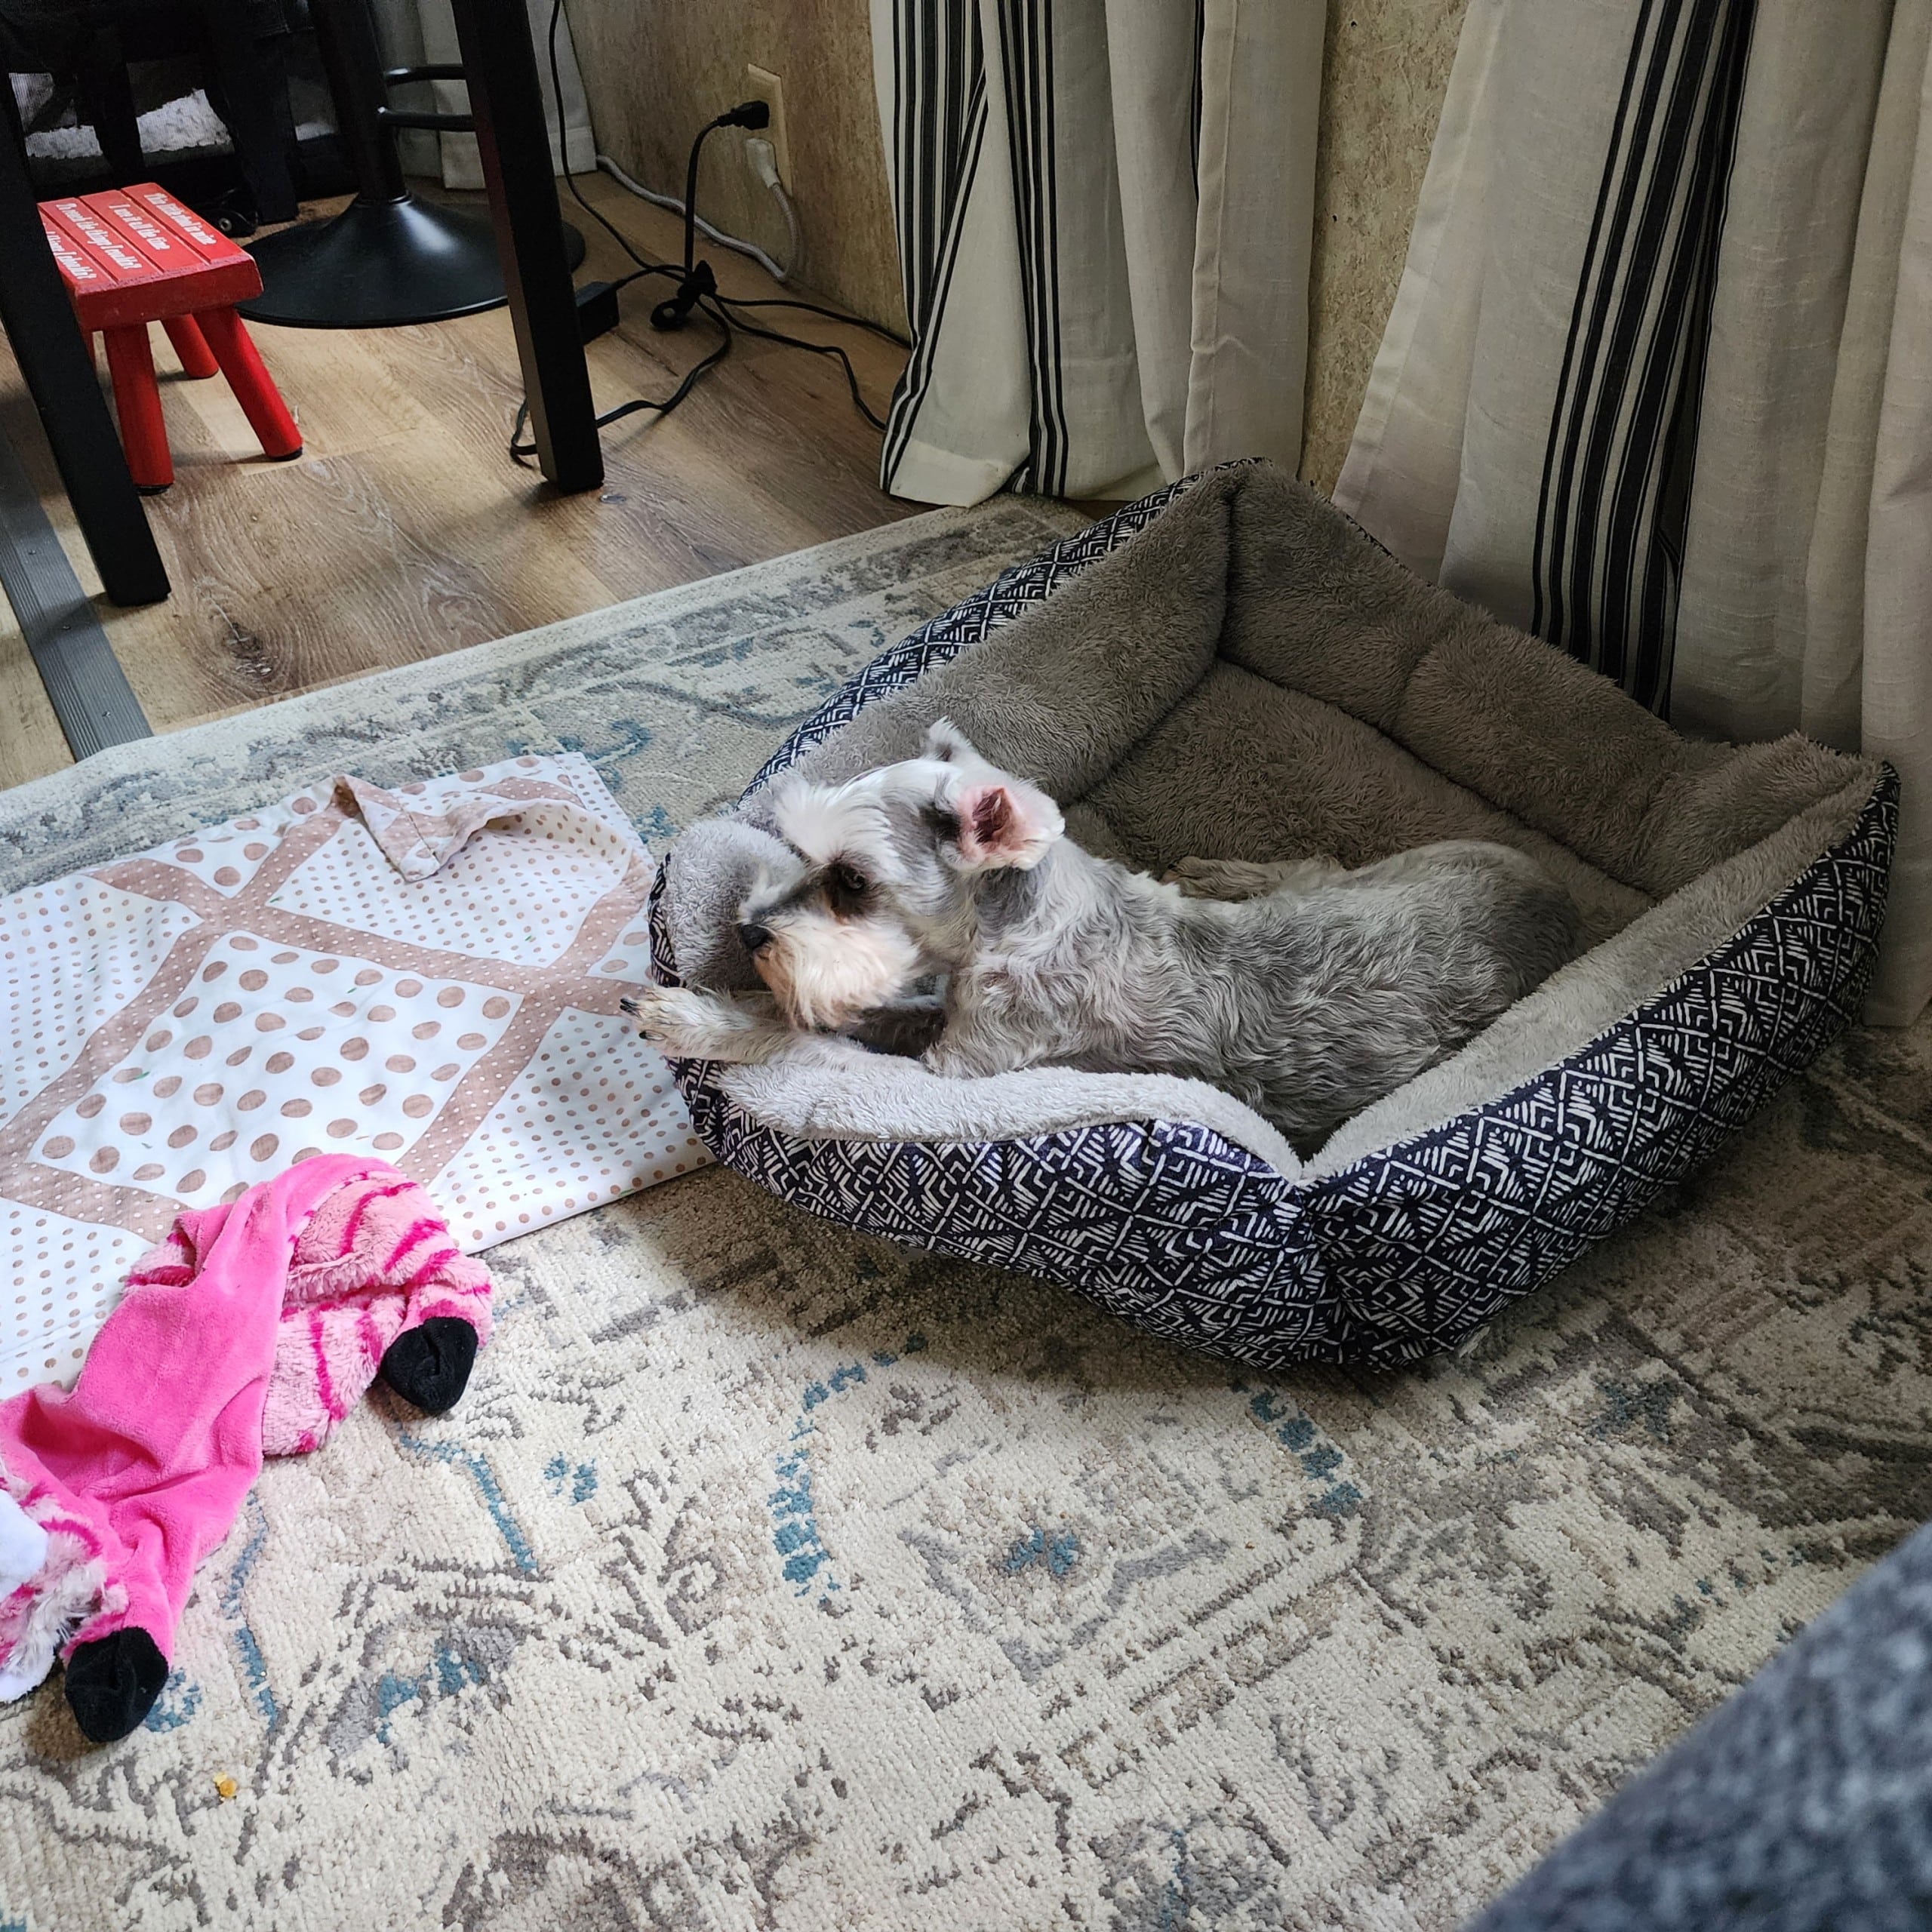
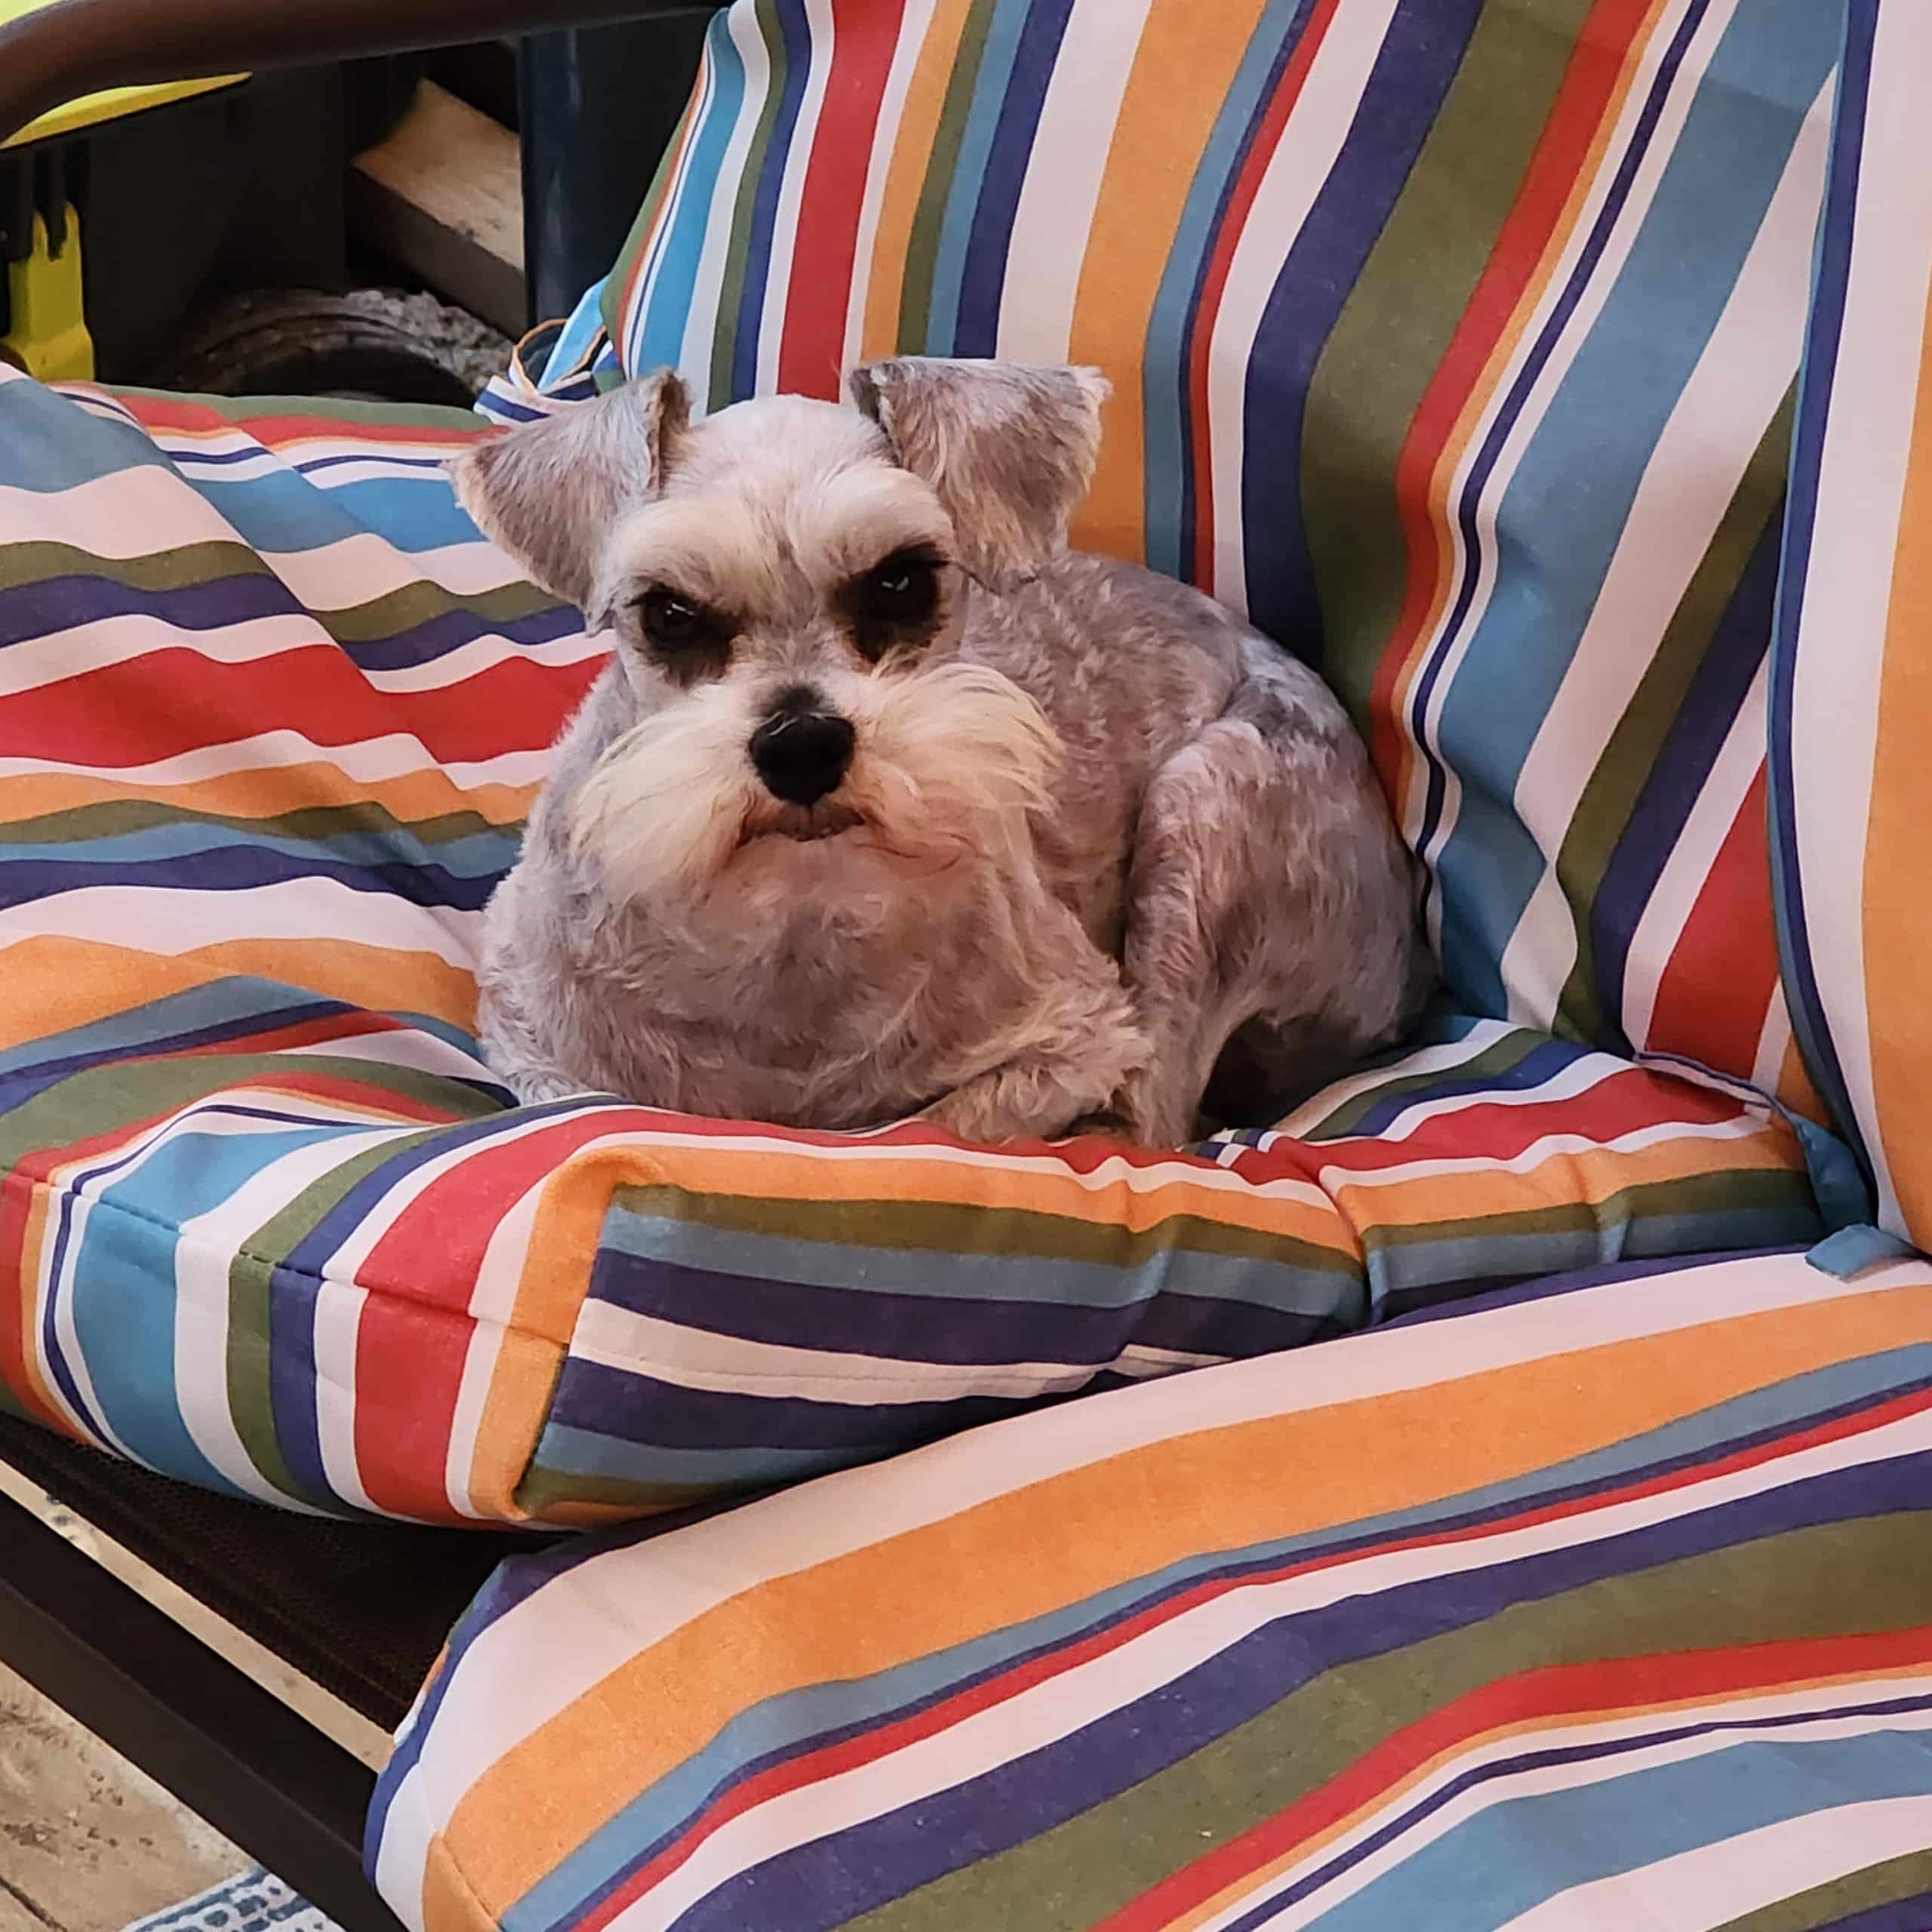
Cute Puppy Pics
Let’s end with a few cute pictures of Lulu Mae:
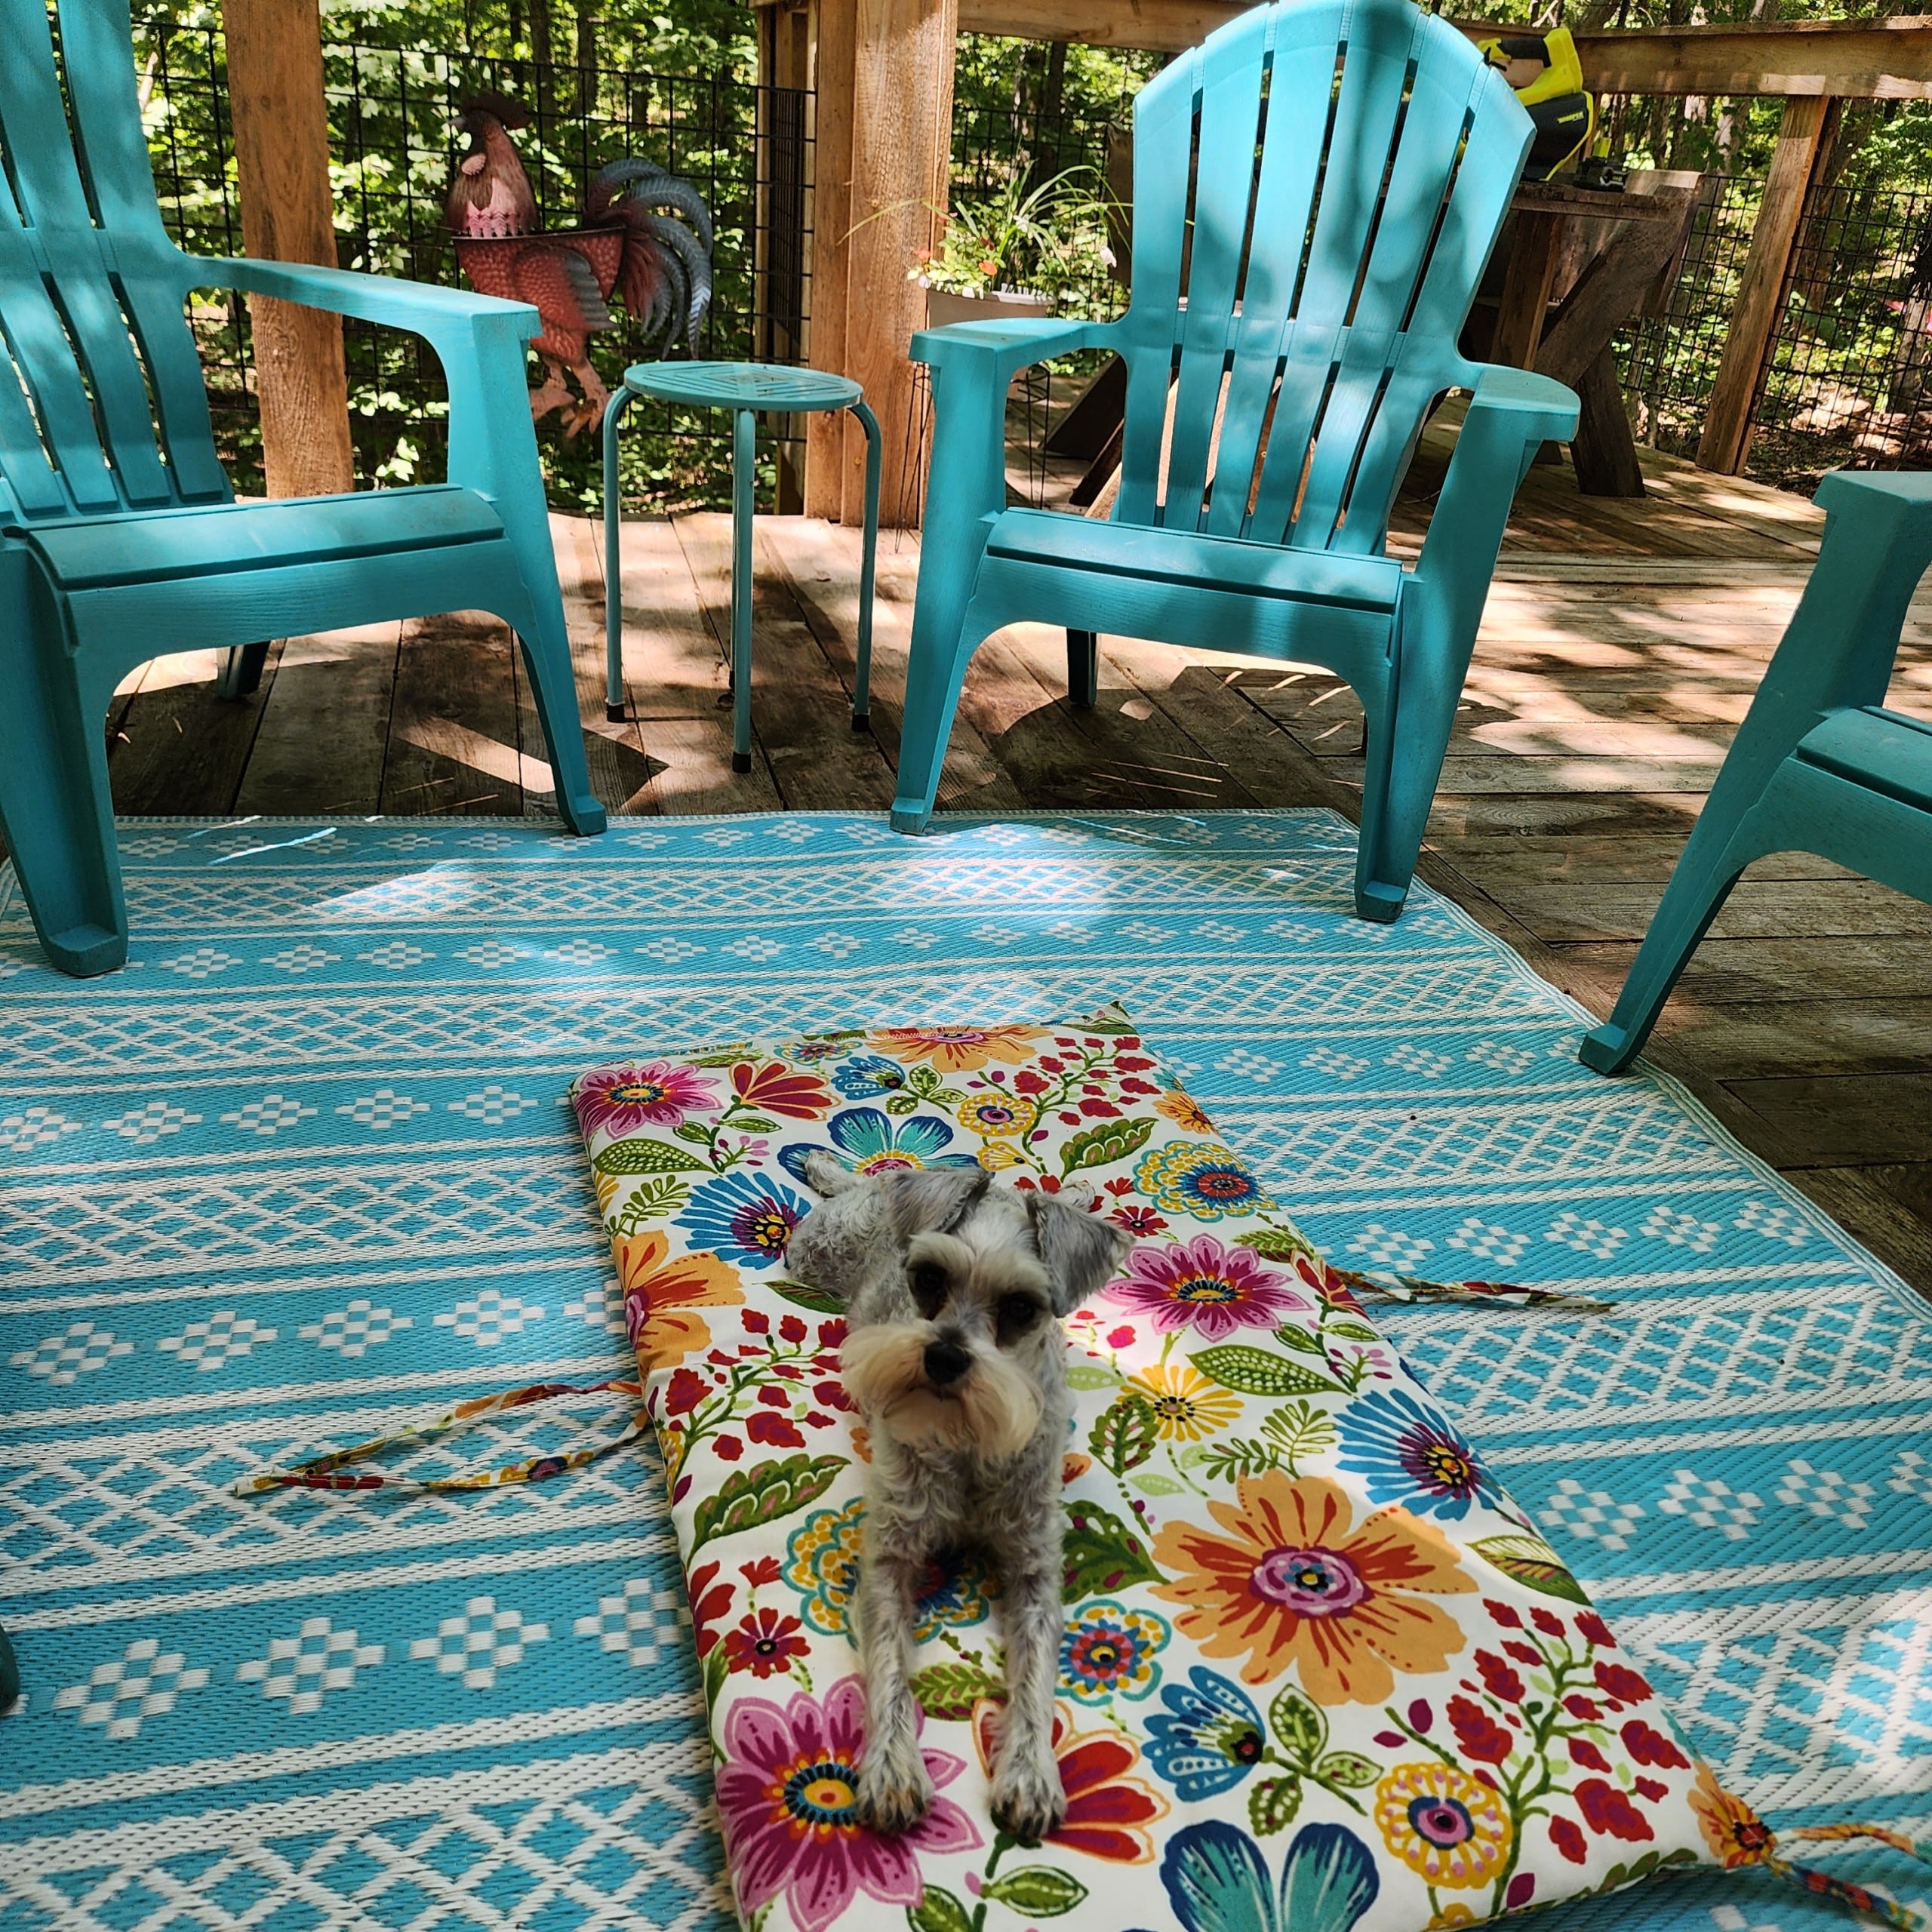
Lulu loves the new outdoor cushion covers on the 20 year old chair cushions.

We had “Camp Grandma” at the hideaway for the grandkids. One of our activities was canoeing on a nearby river. We had to get out where the water was shallow. I love this picture of the boys pulling the canoe while Lulu takes it all in.
Let me know in the comments if you have any questions about renovating an old camper.
Growing old has it’s perks! Semi-retirement in the woods.

WOW Gail, this is amazing! What a wonderful place to get away, I know how much time you spent on this, and it’s incredible!!!
Thank you so much for checking out my “hideaway” Kristen. I’m so excited for warmer weather so Lulu and I can go hiking the trails I’ve cut.
gail
What a wonderful job, a great Repurpose! I must visit one day.
thank you Sherry! I miss it, I can’t wait until the weather warms up! You’re welcome anytime!
gail
Looks wonderful. You have done so much progress on the place.
It looks so inviting, and comfortable. Perfect for exploring with or without kids. Fantastic makeover. I WANT to stay there, theres nothing like that near me. Great job.
Paula,
Thanks for reading all the way to the bottom! 🙂 My grandson is out of town, so it’s rare for him to visit, but it sure was fun! Mostly it’s just me and Lulu Mae hanging out with Cousin Terry. It’s so peaceful there, not like my long-term home.
gail