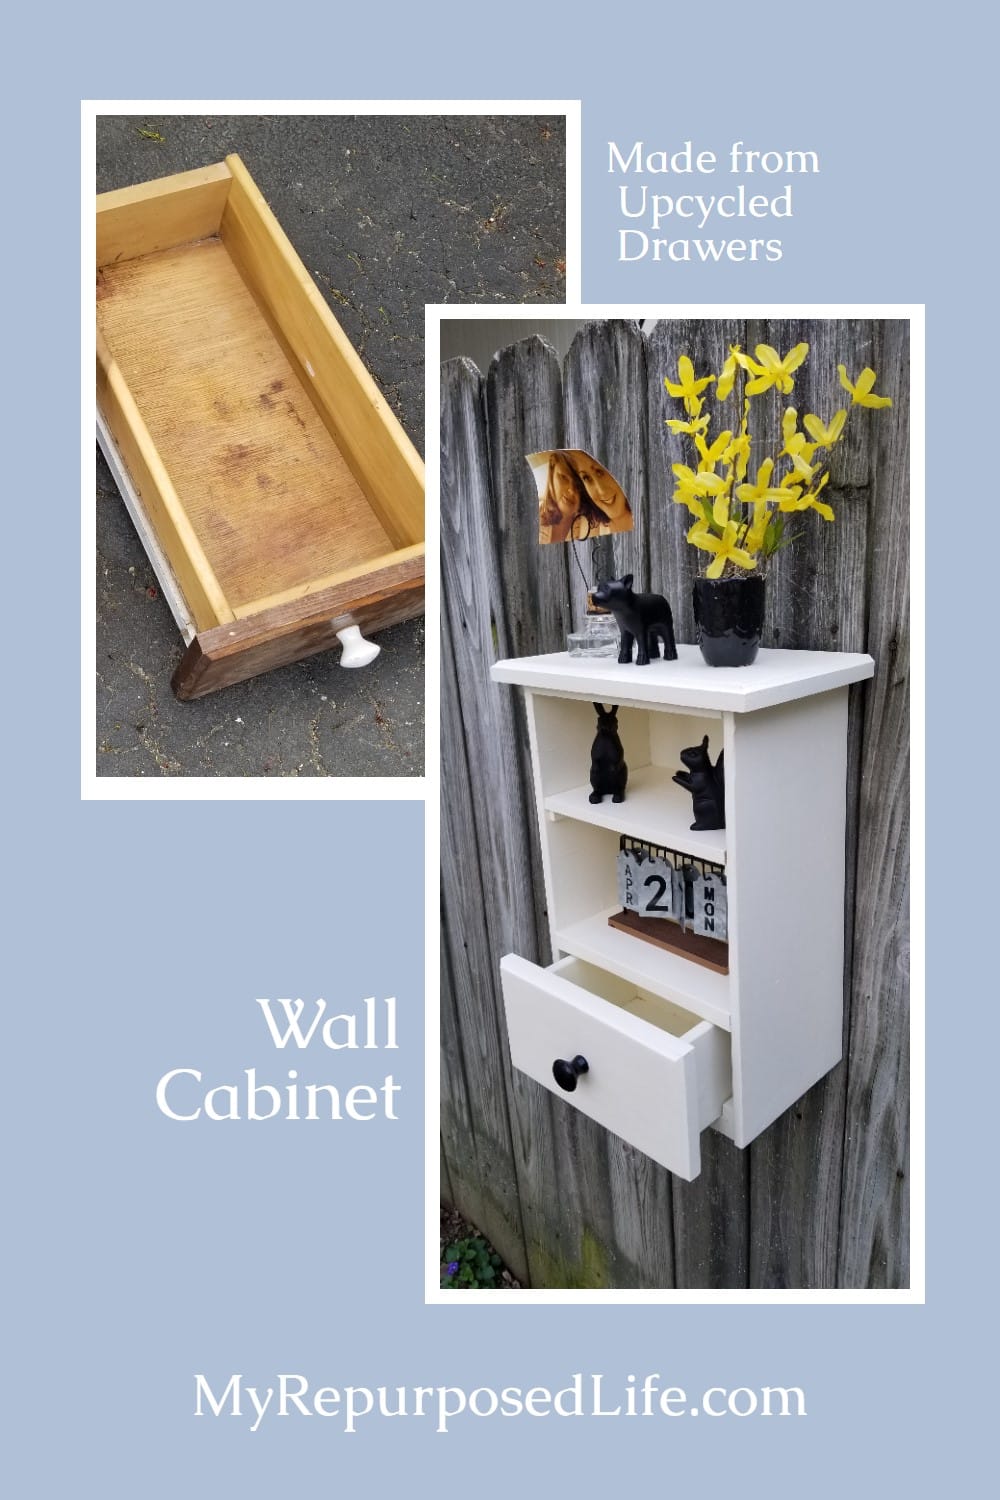
Repurposed Drawers Wall Cabinet
As an Amazon Associate, I earn from qualifying purchases.

I love our DIY Blogger Challenge. Especially this month because it’s “upcycle”. So, I have this repurposed drawer wall cabinet to share with you. When I showed it to cousin Terry, she said, “Now that’s original”. After doing this junkin’ thing all these years, it’s hard to come up with something totally new that nobody has done before. I think I did that with this wall cabinet made from repurposed drawers!
Be sure to check out the other fabulous upcycles from my blogger friends at the end of this post.
Repurposed Drawers Wall Cabinet

Can you see the two drawers?
Repurposed Drawers
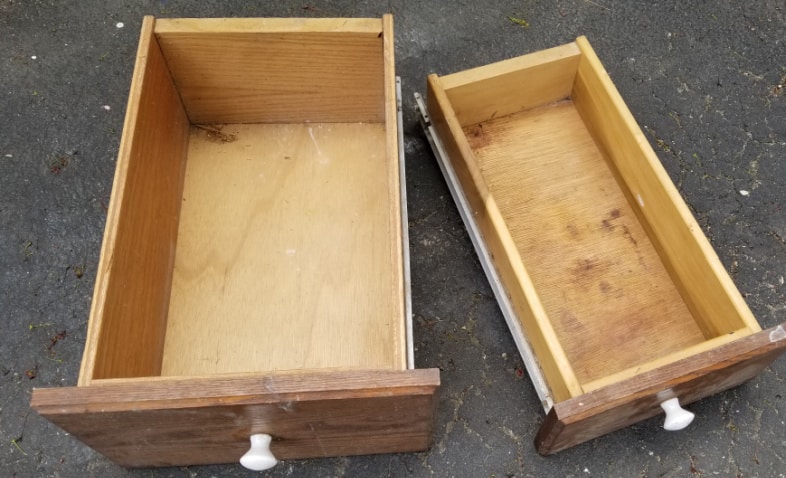
These two drawers were part of a huge hutch I got from Cousin Terry’s son. I’ve already created many projects from bits and pieces of it.

Top of the hutch: Door Chalk Board, Doors for Ikea Hutch, Photo Display Wall Shelf
Bottom of the hutch: Saw Stand, Craft Station
Although the drawers are not shown, you can see that three drawers haven’t been used yet. This is their time to shine!

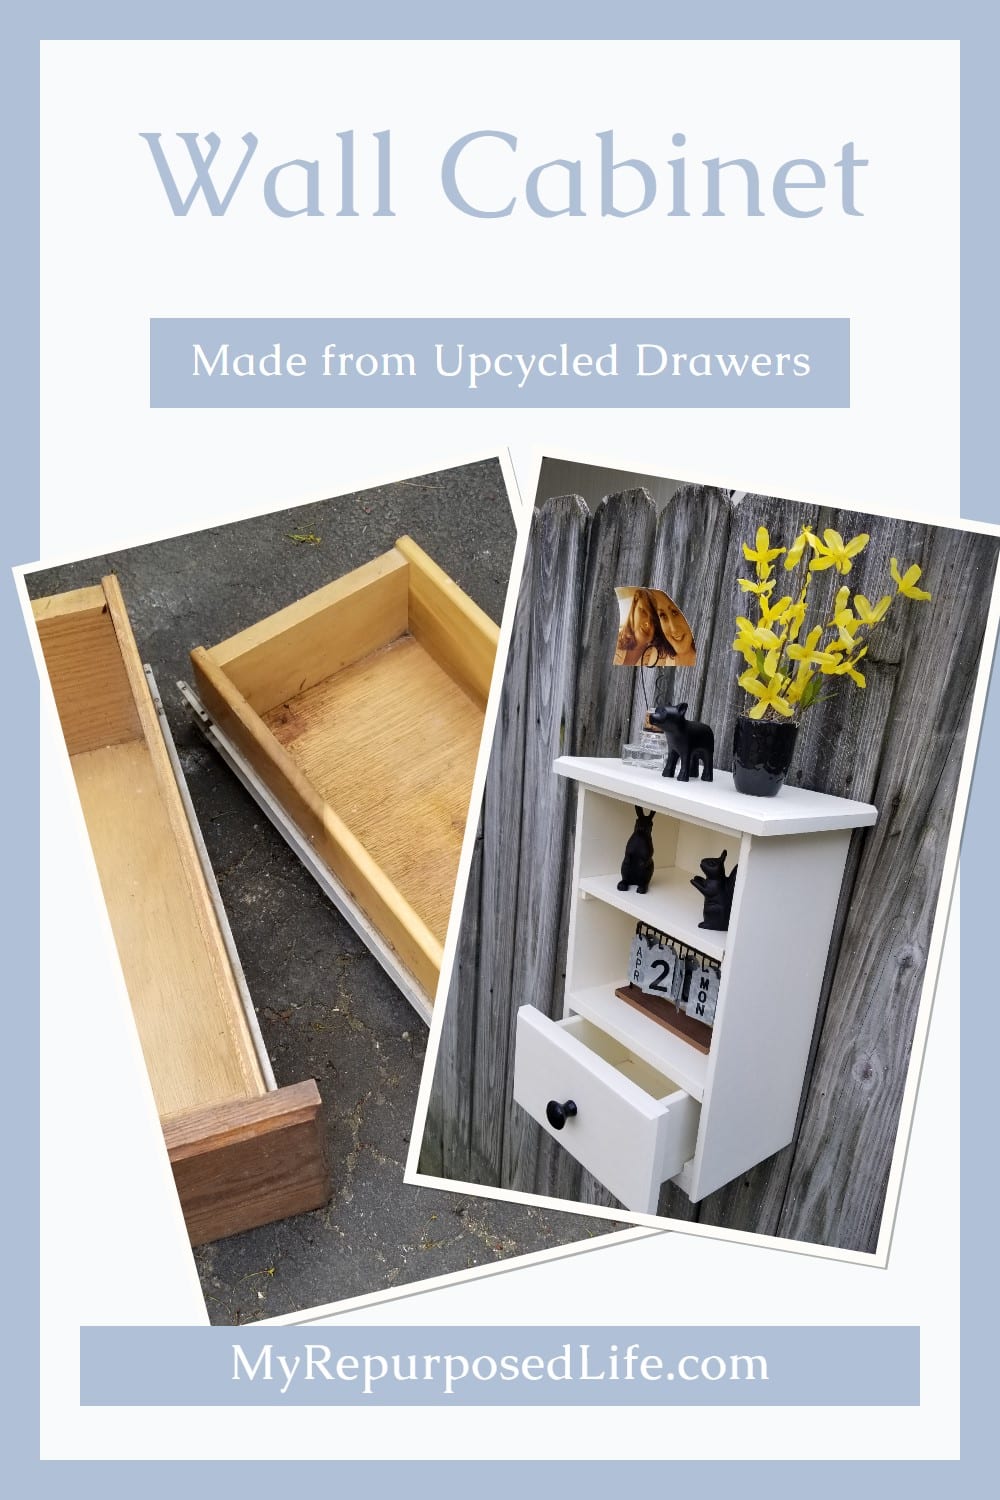
Here are the drawers as I start to design how I want my wall cabinet to come together.
Measure, Mark, Cut Drawer Down to Size
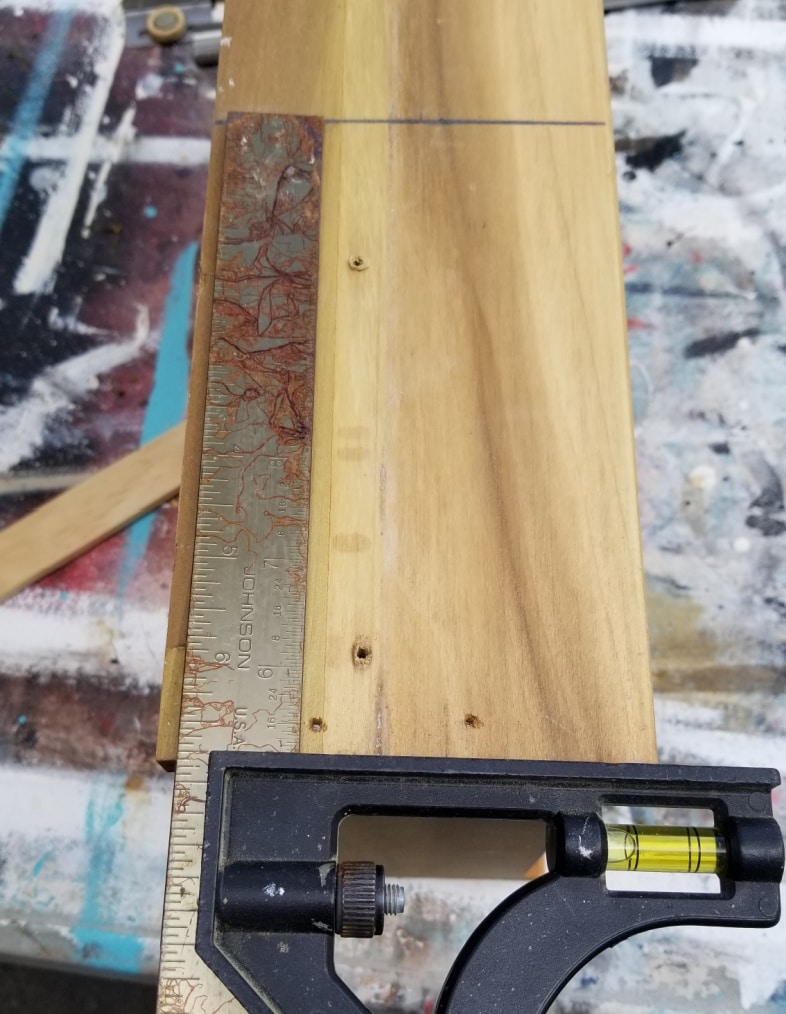
After removing the hardware (drawer slides), I use my combination square to measure and mark the drawer on all sides.
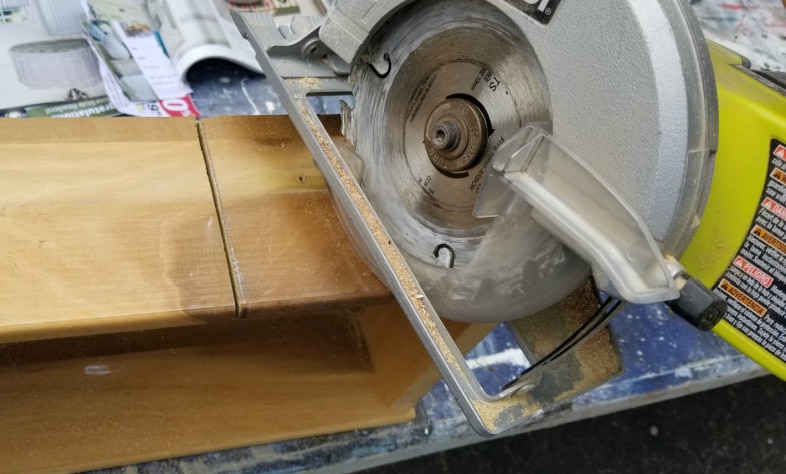
The small, battery-powered circular saw was perfect for cutting the drawer down to size.
At this point, I was thrilled about my brilliant idea. But there was still work to be done!
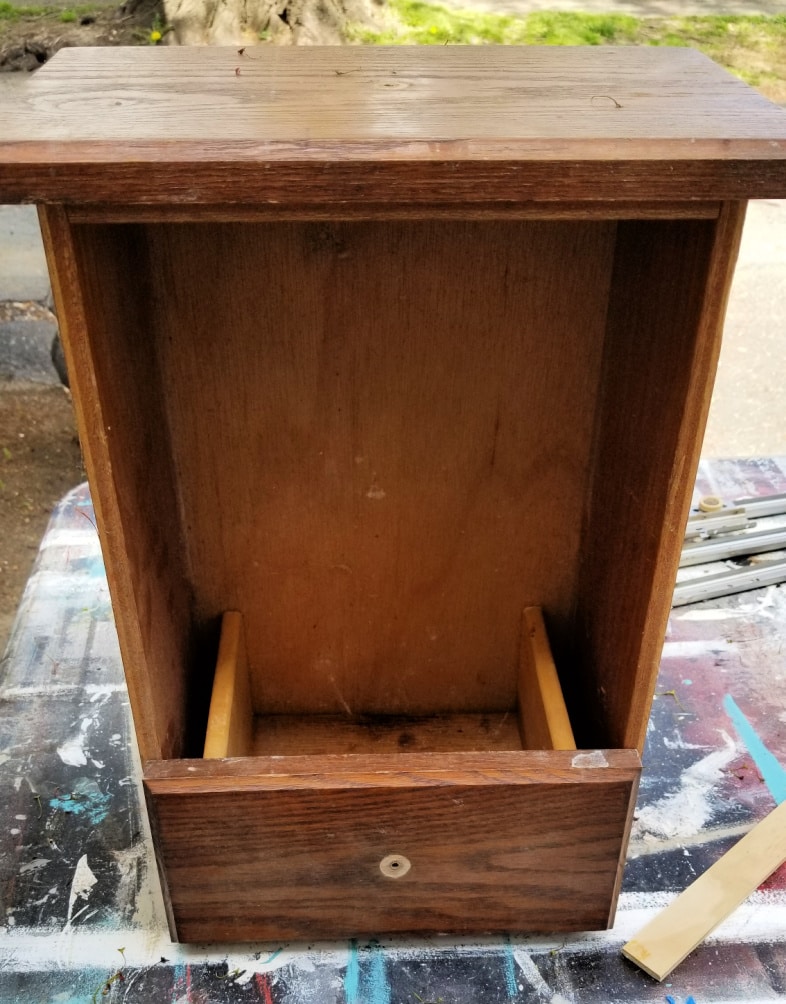
Shelf For Drawer

Don’t you love it when you find the perfect piece of scrap wood for your project?
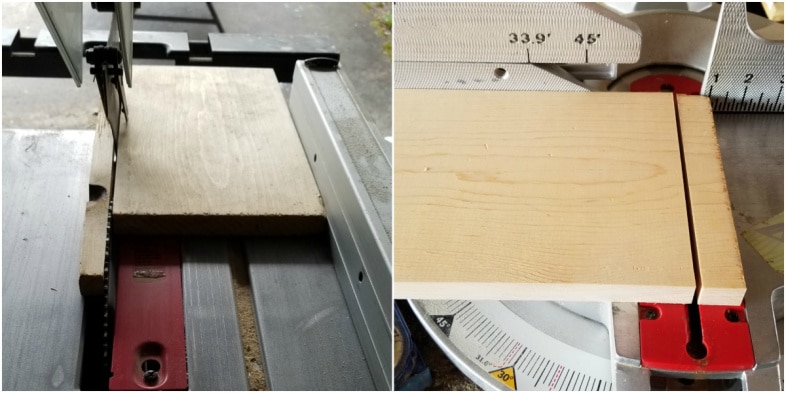
I cut the board to size using the table saw and the compound miter saw.
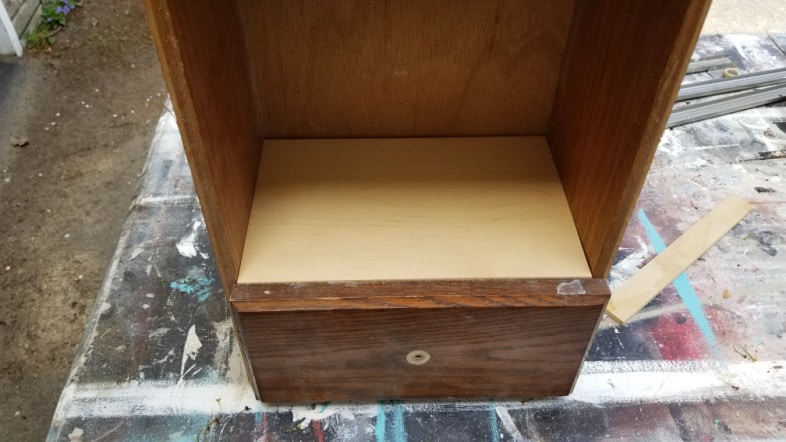
It’s just how I imagined it would be. This is the dry fit.
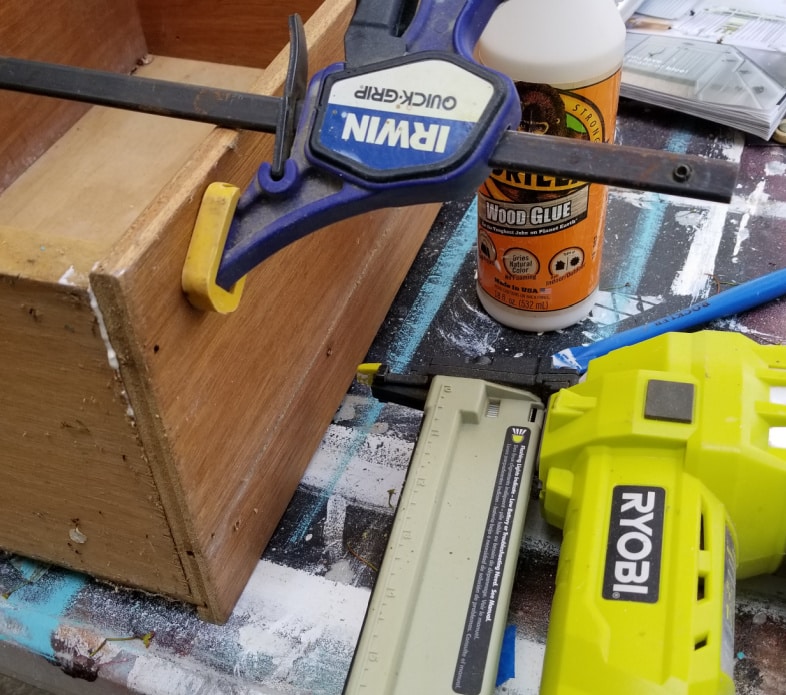
But first, I will need to make a few repairs to the drawer. Gorilla Wood Glue, quick clamps, and my nail gun definitely made this step quick and easy.
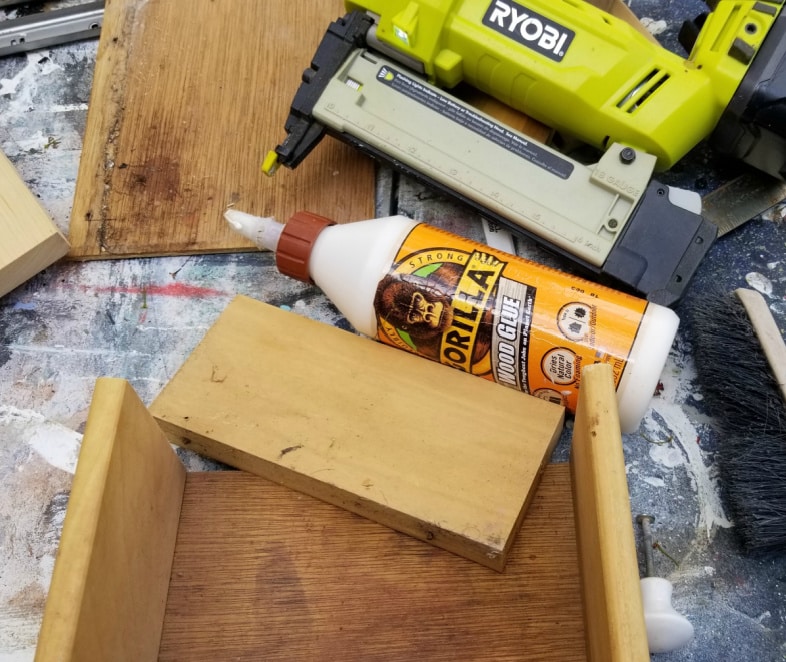
The same method was used to use the original wood to close in the back of the small (cut to size) drawer of the wall cabinet.
Add Drawer Glides
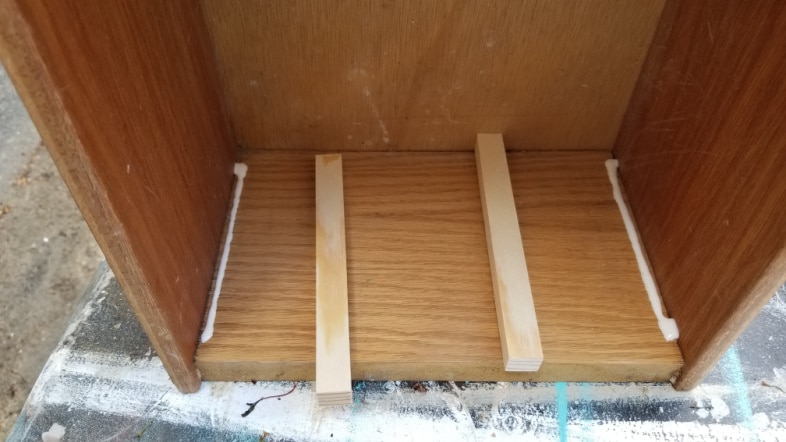
Small scraps of wood were cut to size to make the drawer guides that would be needed to keep the drawer in place. Again, I used wood glue and a nail gun to tack them in place.
Paint Repurposed Drawers Wall Cabinet
I lightly sanded the drawer fronts with the orbital sander.
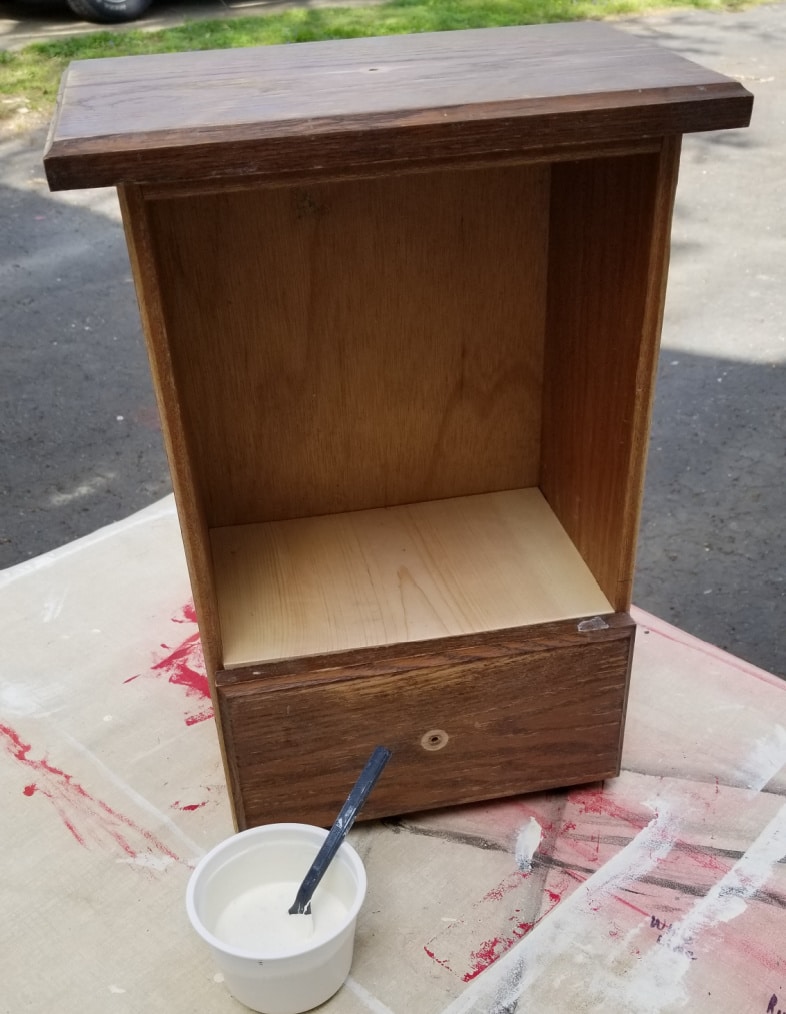
I sure can make a mess with even a small project! If you look closely, you will see the magazine image that inspired this repurposed drawer wall cabinet. It’s on the far right of the page. As soon as I saw it, I knew that I had the perfect junk in my stash to “sort of” recreate it.
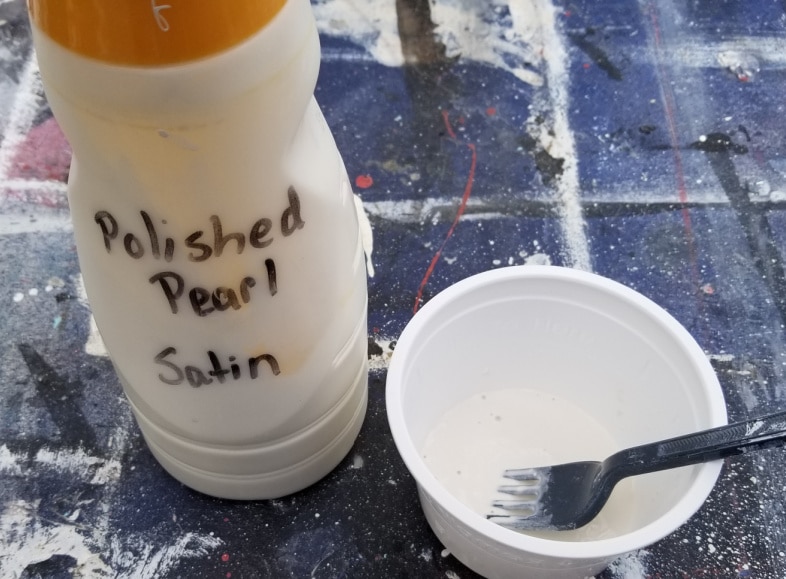
For smaller projects, I prefer to store latex wall paint in smaller containers, such as this creamer container. I love how easy it is to pour out small portions when needed, instead of grabbing a paint can opener, a paint brush (which causes drips), and a hammer to close the can. Before I poured the paint into the cup, I made a mixture of water and plaster of paris so I could make my own DIY chalky paint primer .
Related Content: Rusted Paint Cans
The drawer was removed, and everything got a quick coat of the flat primer I made.
Patch Holes with Drywall Mud
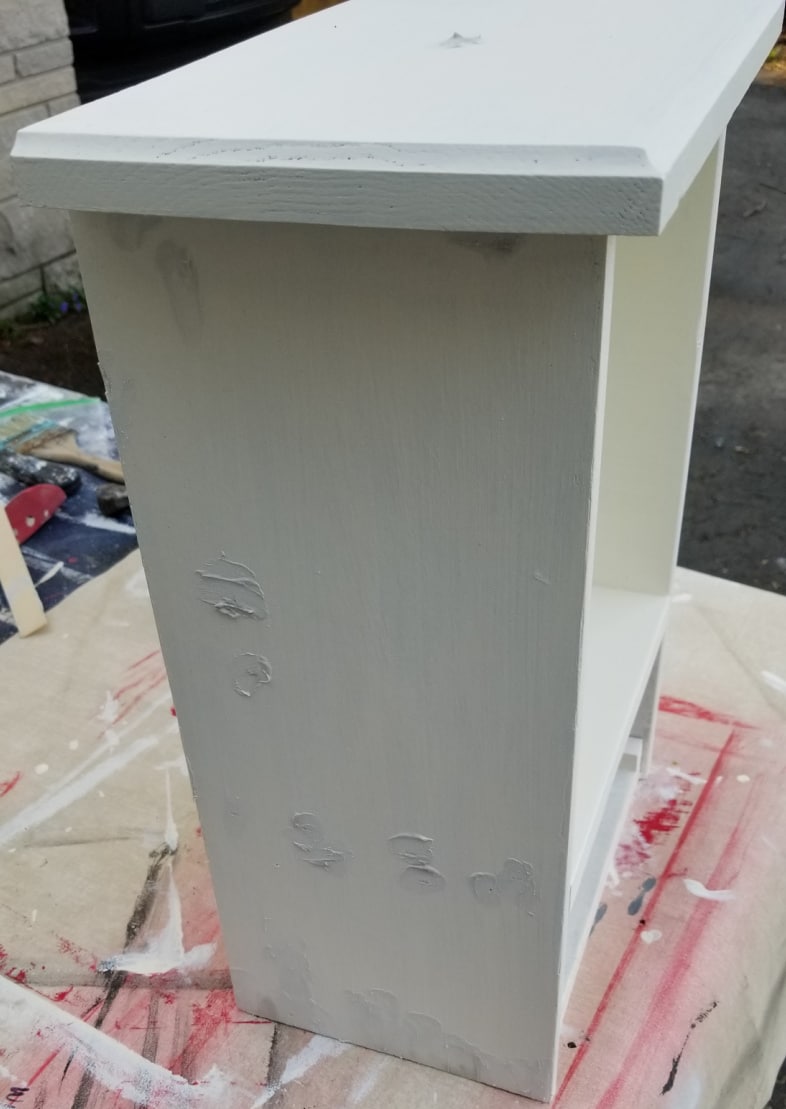
When the paint dried, I used drywall mud to patch the bad spots that were showing through the paint.
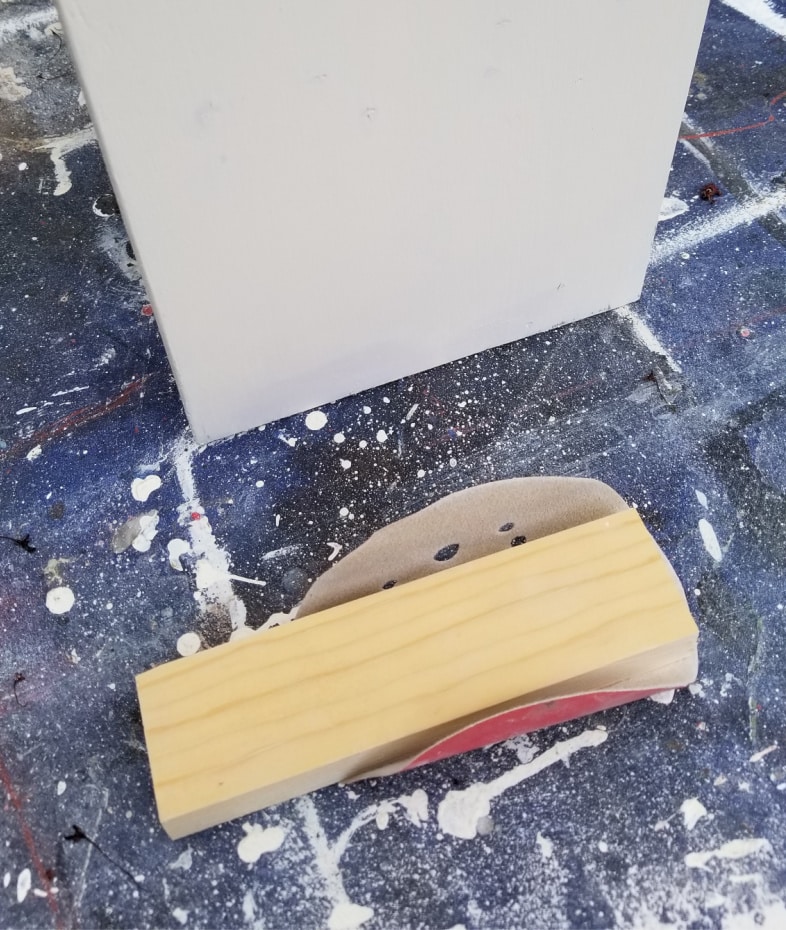
Sandpaper wrapped around a scrap piece of wood is helpful to use as a sanding block.
Spray Paint Cabinet Drawer Knob
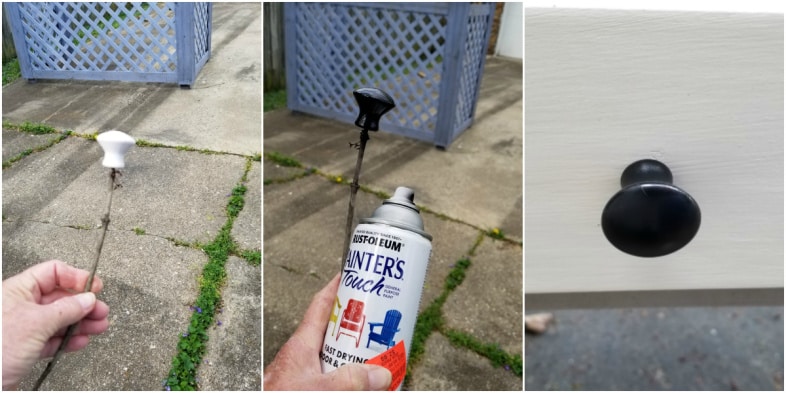
I looked in my stash for a nice handle/knob to use. But there wasn’t anything that struck my fancy. So, I decided to spray paint the white knob. A small twig was used to hold the knob while painting—I stuck it in a flower pot of dirt to let it dry well. Then I placed it in the small drawer I made for the wall cabinet.
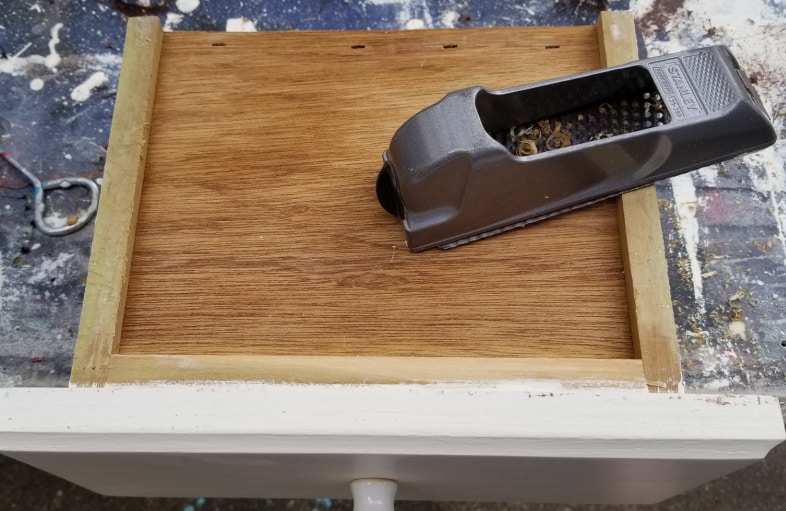
After a few light coats of paint, the drawer didn’t slide in and out easily. So I used the rasp to remove some of the bottom of the drawer. Now it works great!
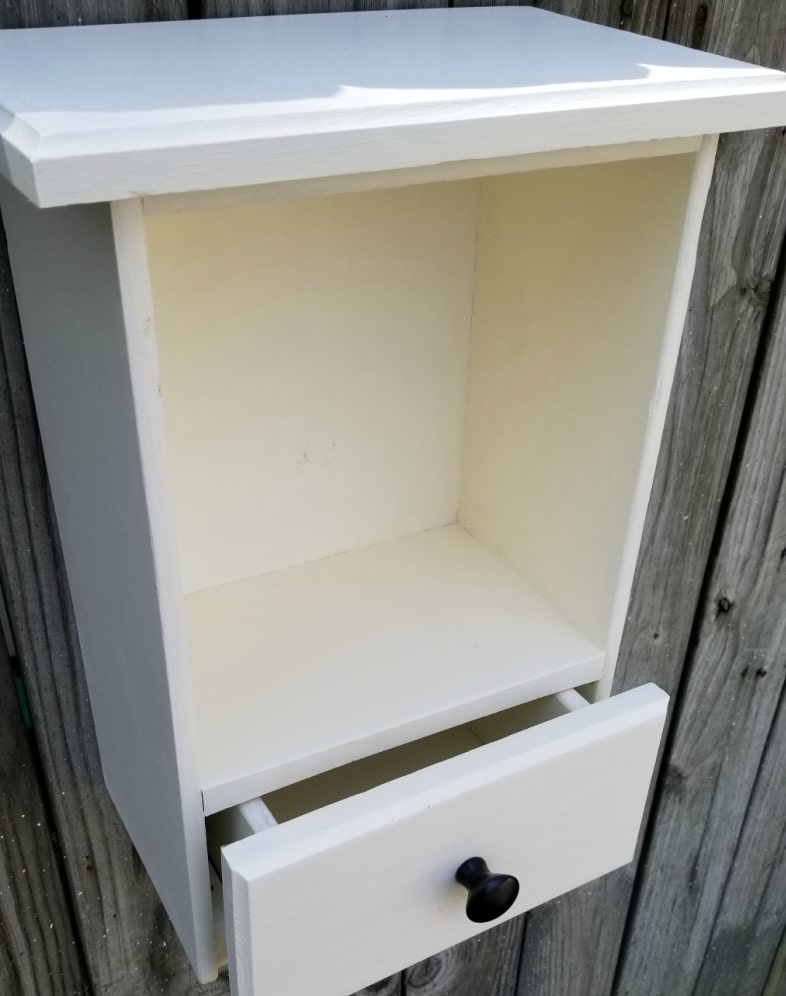
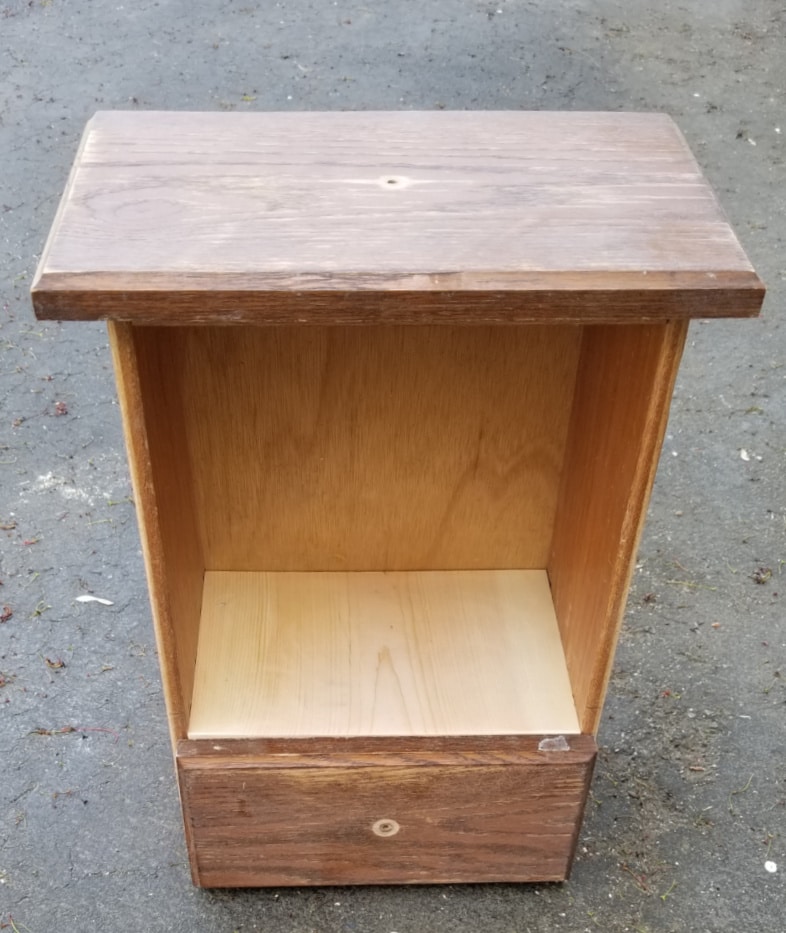
Then I hung it on the fence to take a look at it, and decided it needed a shelf!
Additional Shelf
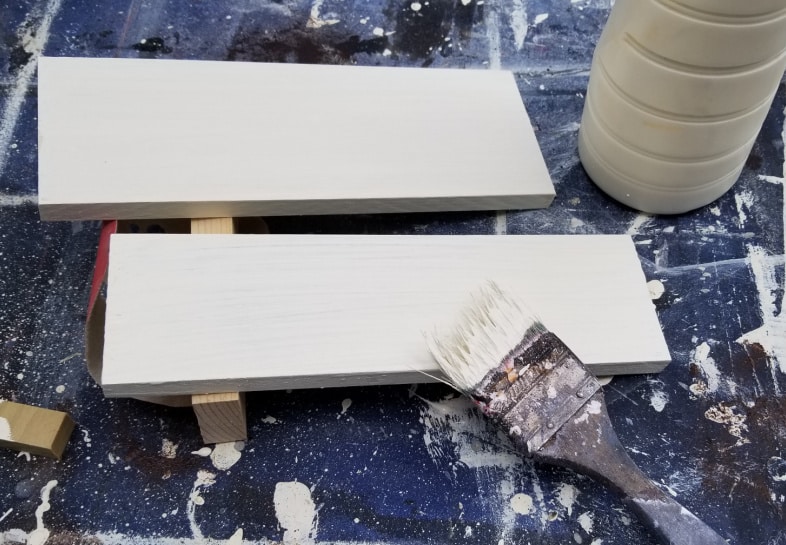
I used scrap wood to make a shelf, and painted it to match.
Small wooden cleats were glued and tacked in place to hold the small shelf.
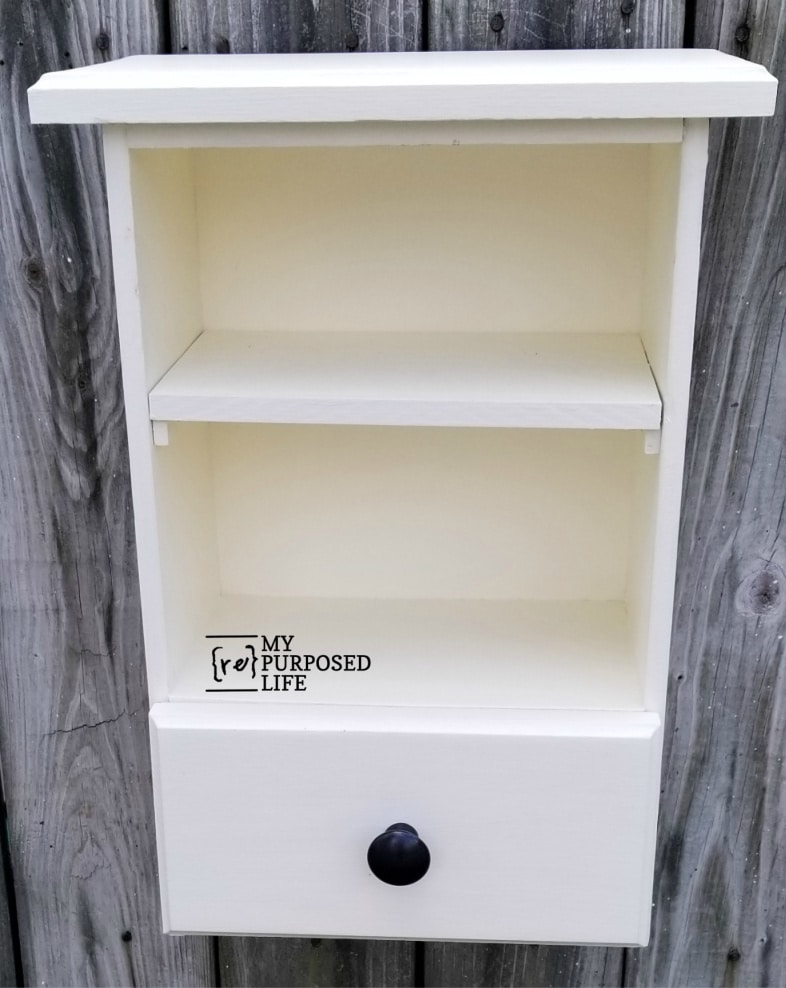
Small Wall Cabinet Made From Repurposed Drawers
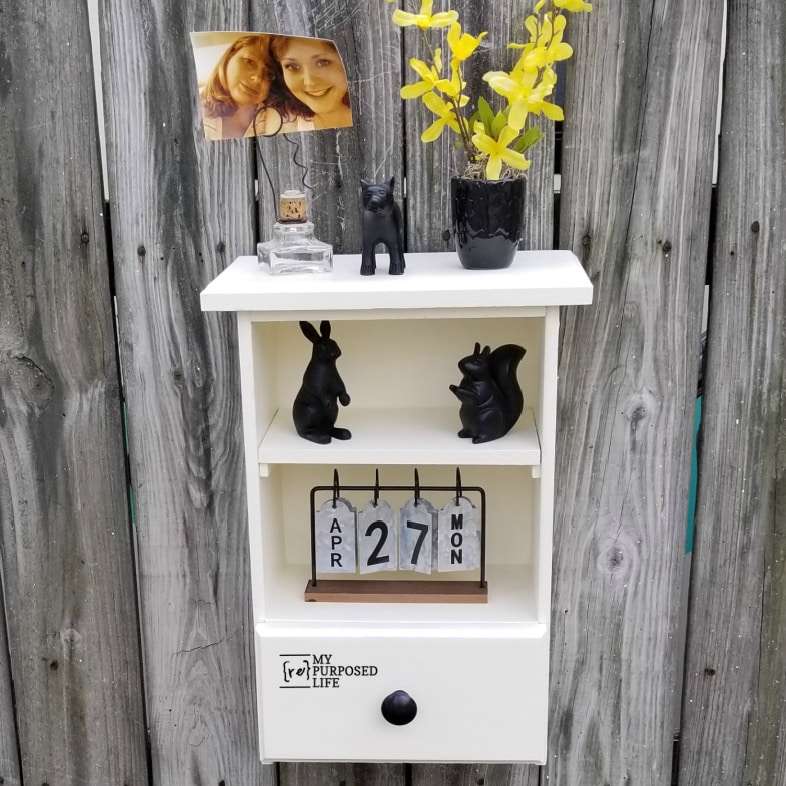
It looks great hanging on the fence, so can you imagine how nice it will look in someone’s home? Remember to think outside the box. When you see something you like, ask yourself, “What can I use to make that?”

Now, be sure to check out the upcycled projects from my friends below.
- Addicted 2 DIY Outdoor Section INTO Adirondack Chair
- The Awesome Orange Lobster Wall Art
- At Charlotte’s House Painted Globe Makeover
It’s so much fun to give something a new purpose and a second chance in life! What have you upcycled lately?
gail
Hi Gail! I’m a new subscriber and very impressed by all your projects. I’m ready to start one of my own. I’ve looked all over the internet & Pinterest and can’t find any projects to repurpose a bunk bed staircase with drawers. It’s too big to go through the door so I decided not to sell it & instead either repurpose it or take it apart & use the wood. Do you have any suggestions? I’m at a loss. Thanks!!
Jen,
First let me welcome you to my little corner of the internet! We always have room for one more friend! Honestly, I had to google to see what you’re talking about.
Since I’m not sure which type of bunkbed you have, I’ll just start by saying I would begin by dismantling the piece. It sounds like you have so many components that can be repurposed!
Do you need any kind of daybed? I would use either the top or the bottom and turn it into something more feminine with ruffles and pillows! I have repurposed sooooo many drawers, check out this post: https://www.myrepurposedlife.com/25-repurposed-drawer-ideas/
If you want to get more ideas, feel free to reach out to me via email with photos of your bunkbed!
Until then, stay safe, have fun!
gail
Sadly, this post will not Pin for me.
Thanks for letting me know Phyllis. It is working now. My blog gal changed out a plug-in over the weekend. Perhaps that was the issue.
I appreciate that you pin my projects!!!
gail
I love your projects! <3 I'm still trying to master the DYI chalk paint but no luck yet! Thank you for keeping me busy during this crazy time, much love to you!
Thank you so much!
Don’t give up on the chalky paint! It’s soooo worth figuring out. 🙂
Plaster of Paris, a little water, stir well. Then pour in a little latex paint. I’ve never used this with acrylic paints. Latex wall paint is what I use.
good luck!
xo
gail
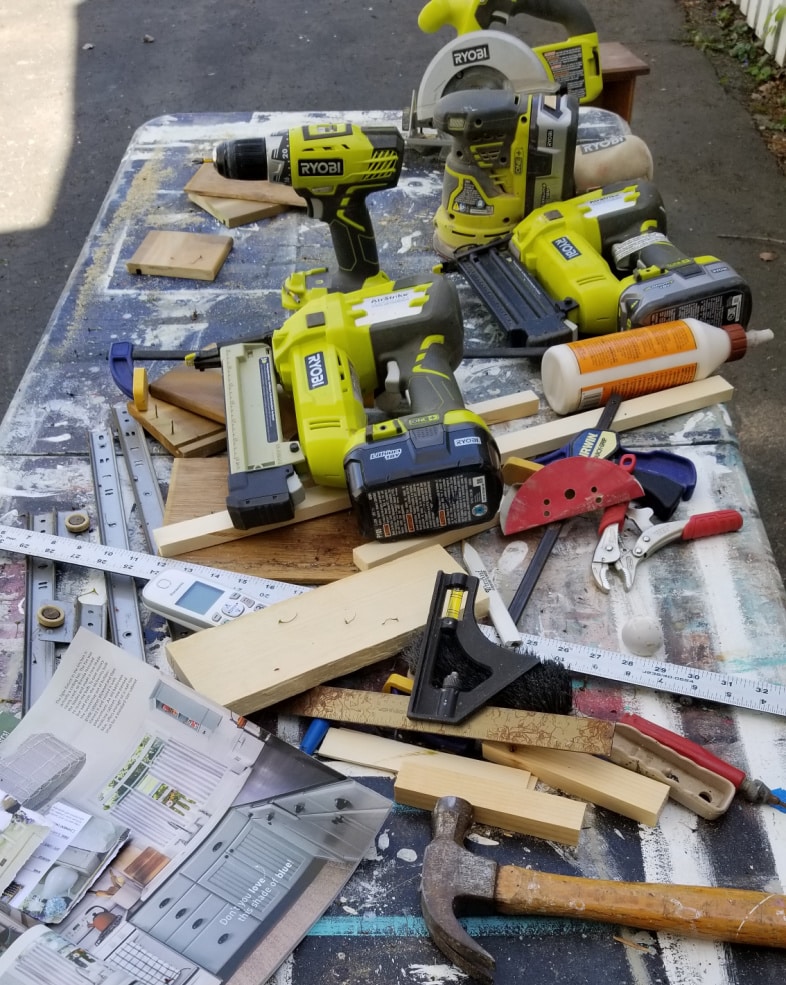
thanks so much for the reply Gail. i will be checking them out. most of my power tools are ryobi.
Excellent idea and inspiration! Looks great!
Thank you Carol. Some of it was quite challenging, but well worth it in the end.
take care,
gail
This I love! What a great idea. I’ve been in isolation because of my health for 47 days. I can’t wait to go out. Now I needs some drawers. Or maybe finish designing the cabinets between 2 built in bookcases. I need some storage in this tiny, downsized house.
Hope you and your family is safe.
Jennie,
I’m not in total isolation. I still go for walks, keeping social distance. I go out for essentials when necessary. I’m mostly anxious to go camping! Three of my reservations have been cancelled.
Stay safe!
gail
so cool! what kind of small nailer/tack gun would u recommend for somone doing projects like this?
Thank you Nova!
I would definitely recommend the Ryobi Air Strike, or some other electric or battery operated nailer. I do NOT like using (dragging around) a compressor. You know I use mine a lot for many applications. The nails very in length. It’s known as a “brad” nailer. Meaning the gauge of the nail is small, unlike a framing nail gun.
gail