Button Tufting 101 {3 easy steps}
As an Amazon Associate, I earn from qualifying purchases.
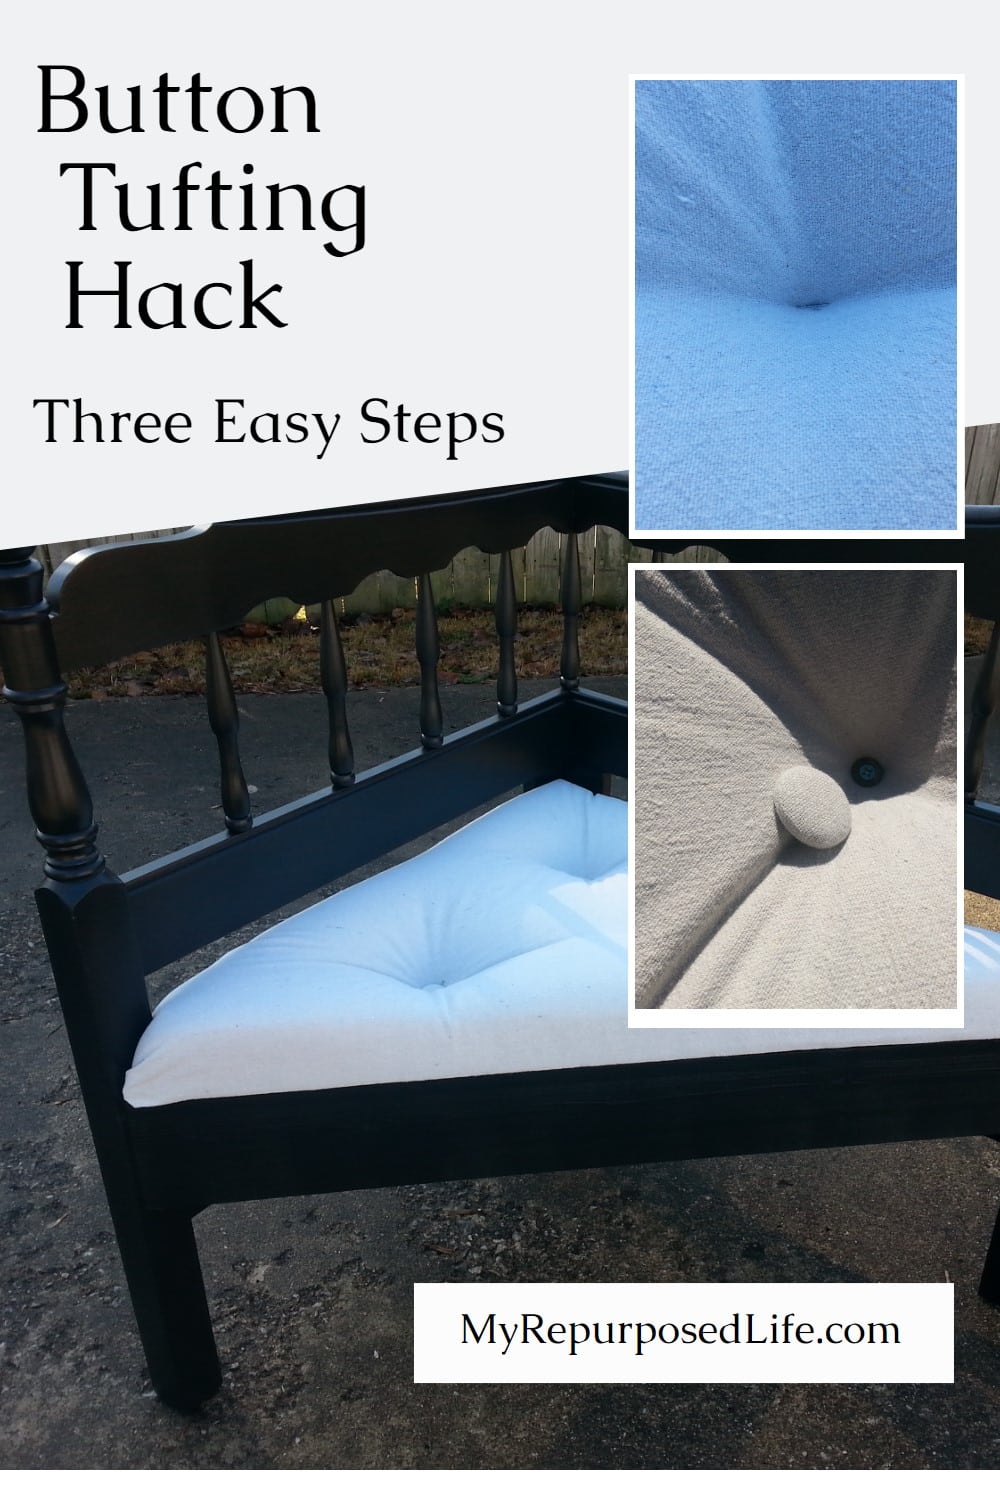
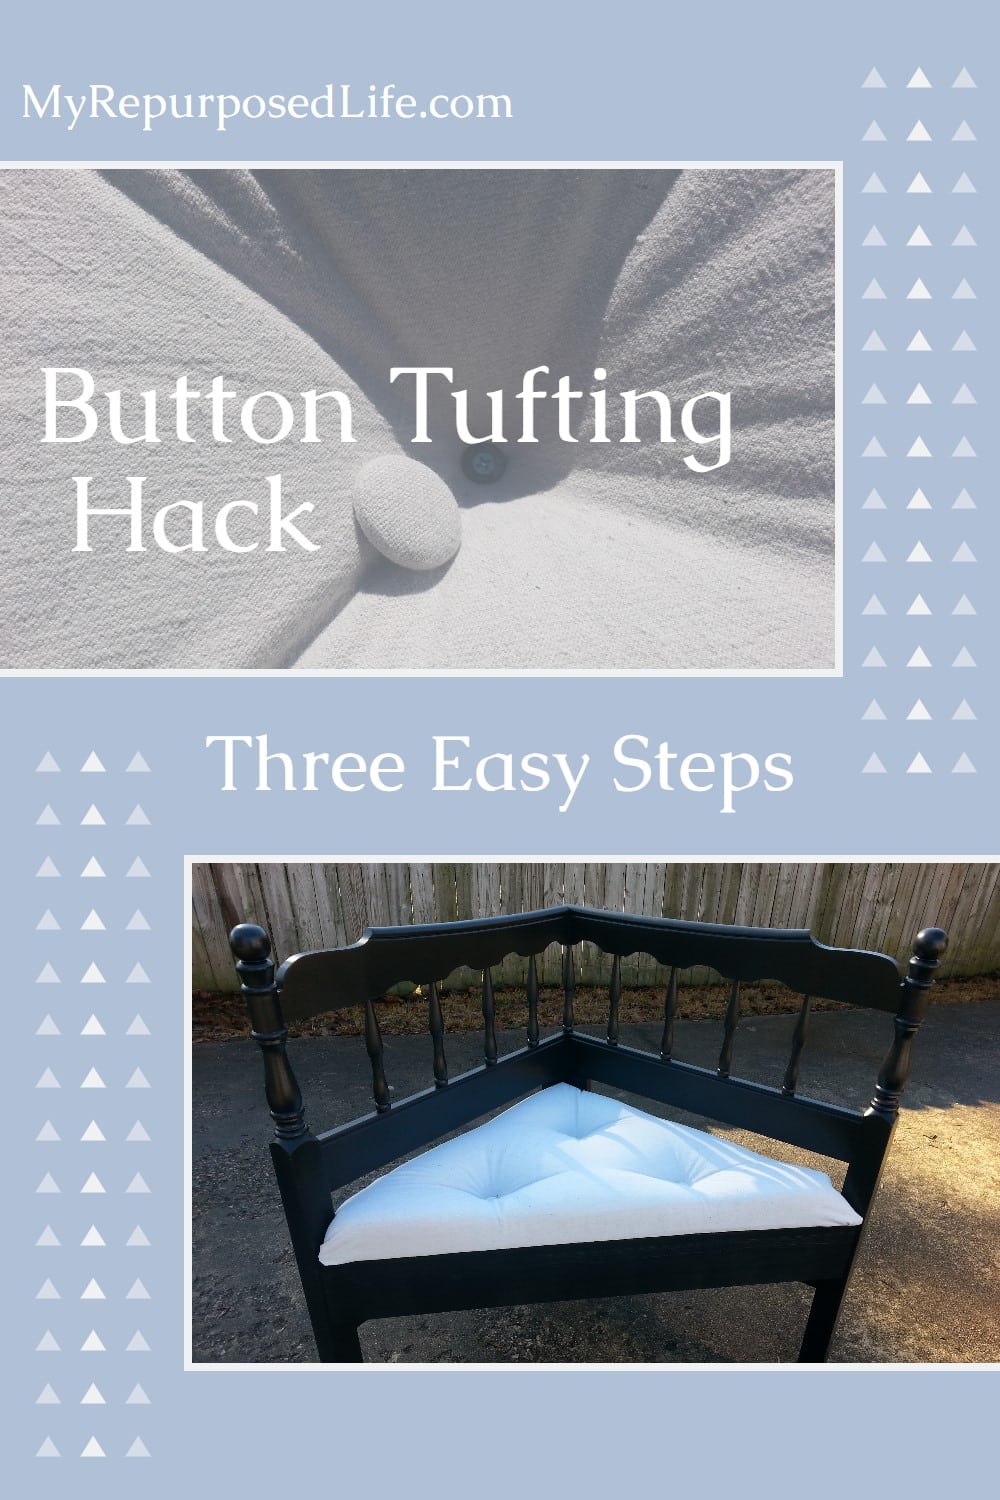
Everyone loves a good hack; how about this awesome button tufting hack done in three easy steps?

Please share this on Pinterest with your friends!
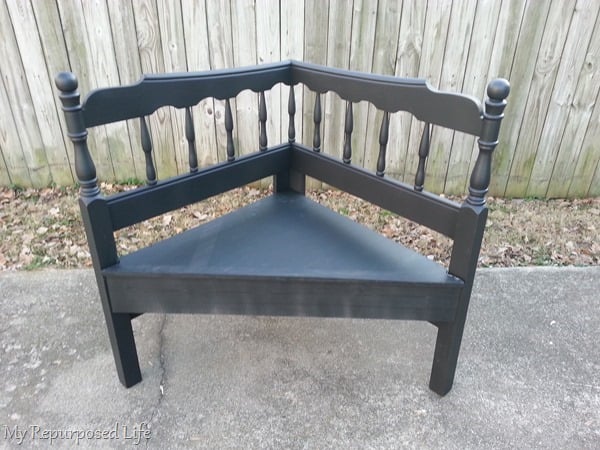
Do you remember this corner bench I built from a headboard?
Easy Button Tufting using Screws
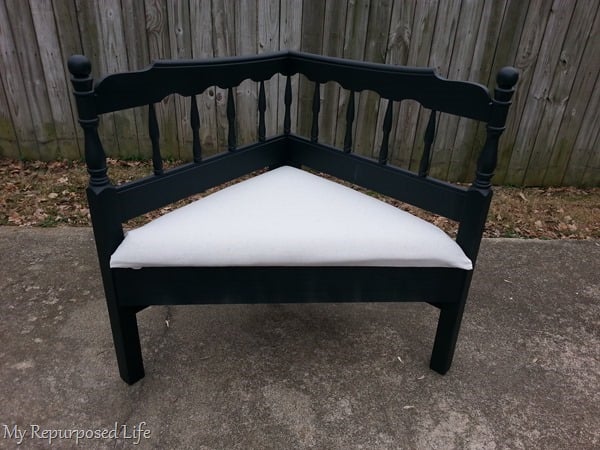
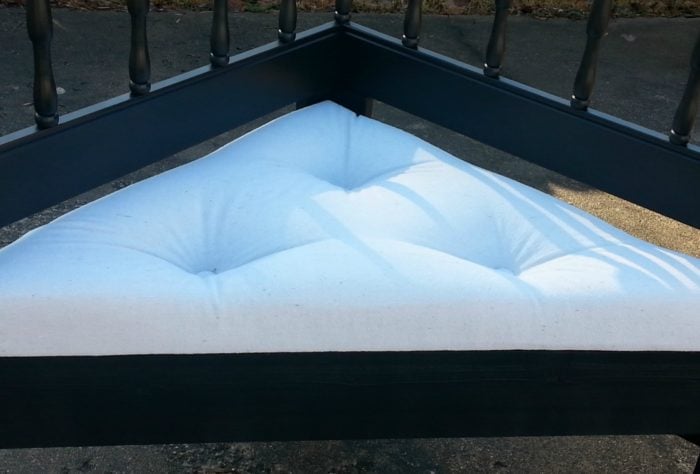
I hadn’t shown you that I attempted to upholster it with a button tufting technique, but I left too much overhang on the seat in the front. (wood seat) I had to remove all of the staples and foam and start over. After trimming the wooden triangle seat on the table saw, I put all the foam, batting, and fabric back together.
I decided I wanted to do some button tufting on it. I saw a tutorial using screws, but I added an extra step that makes this button tufting hack even easier.
Mark button areas and shoot a staple

It seemed easiest to make little marks where I wanted my buttons to go; then, I shot a small staple through all the layers into the wooden seat.
Add a washer and a small screw for easy button tufting
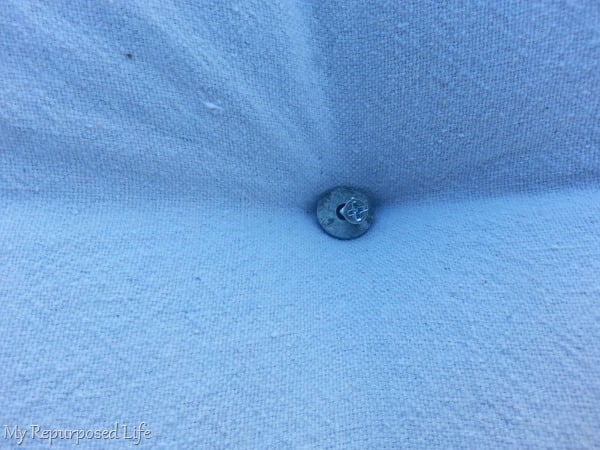
I started a screw (with a washer) right next to the staple. Stapling it first eliminated any snagging while securing the screw and washer as it held the material in place.
This picture shows the partially secured screw; I finished drilling it in after this picture.
Apply button cover to the area with a glue gun
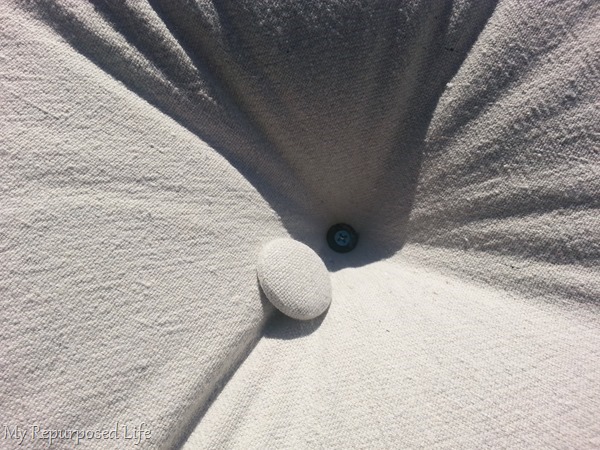
You can see the tight hold the screw and washer make. I made a puddle of hot glue where the screw was and pushed the button down into the hot glue. I did have to hold it for quite a while. If you use this technique, be careful; the button gets very hot.
Covering buttons with drop cloth material
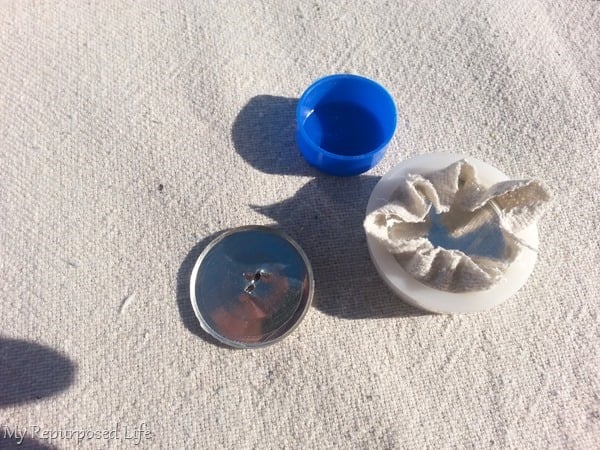
Now, about the buttons…have you ever covered your own buttons? I have a few times, but I didn’t have this kit before. OMG, it was so easy this time.
These are the types of buttons I used, and I LOVE how easy it was to cover them. Cut the fabric via the pattern from the package, place it in the white mold, insert the top of the button, fold the fabric over into the circle, place the other part of the button on top, and use the blue pusher to make it all come together. Removing the shank seemed the best way to do this. When, in fact, I realized that it was best to leave it intact.
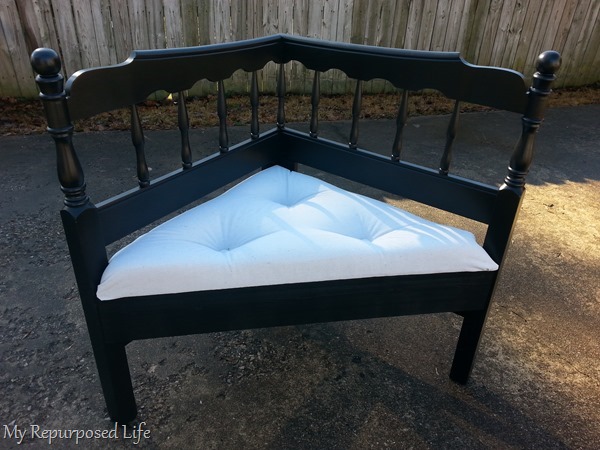
Voila! I LOVE how it looks with the upholstered, button-tufted seat.

Button tufted corner bench made from a headboard
Now you know the absolute EASIEST way to cheat on button tufting. No holes drilled, no long needles, with all that string tied and stapled on the underneath side. Easy Peasy Button Tufting in 3 simple steps.
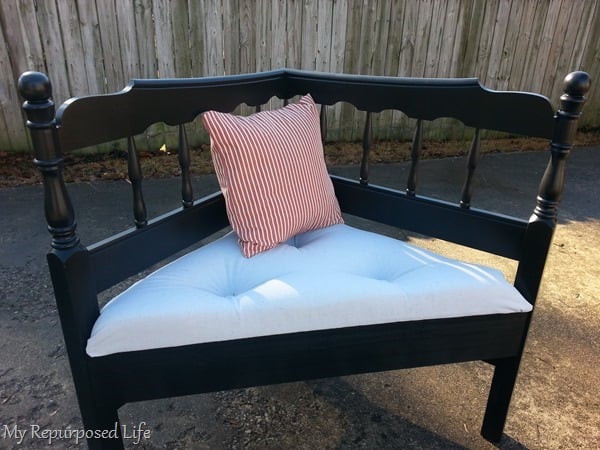
While the bench was stored in the garage, I made a couple of no-sew pillows for it. But after making one pillow and trying it out, I think it is too large.
I hope you try this technique; it is so easy. Or, maybe you already have tried one or both of these cheat options? Do tell!
Be sure to check out my Easy Coffee Table Bench with Button Tufting Project
gail
If you love this headboard bench, see my favorite Mission Style Bed Bench with Storage
Very clever, and super useful! Pinned.
Alexandra
EyeLoveKnots.com
Ohhh, I so appreciate you pinning this idea Alexandra!!!
I hope you find it helpful when you try it.
gail
I have always been afraid to try button tufting, but this seems easy! Your bench is beautiful!
Thanks Christina!
I’ve used this technique several times and it’s sooo much easier than threading!
gail
This may be easier than what I do. I put the screw through the button back, screw it down, then snap the top of the button down. I do put glue in the top to hold the fabric down so it snaps down easily.
hmmm, Jennie-that’s a good idea to do a cheat method on upholstery. Thanks for sharing that with us!
gail
Great finish! I’m thinking of doing some metal chairs for my breakfast nook area any suggestions on covering an egg crate mattress ? Not sure how well buttons would hold.
Natasha,
I think the buttons would hold okay, if the wood is thick enough to securely fasten the screws. I would make sure you turn the egg crate upside down. 😉
gail
Do you think this would work on a sofa?
Amanda,
I’m not sure if this is durable enough for a sofa that may get a lot of lounging (wallering) 🙂
gail
You are amazing. I’m teaching myself upholstery and I get in a Right mess with long needles and string so u have just solved a huge issue and my fingers lol.
Yippee! So happy you found this tutorial Angie. I love to share tips to help out new friends.
Thank you for taking the time to let me know you found this helpful. 🙂
gail
Miss Gail,
You my friend are my hero!
Oh I love how it turned out Gail! I use that button kit all the time, makes it so much easier. But sometimes when you have a lot of them to do, your thumb gets sore pushing the two together, especially if your are doing a lot of them!