Sewing Machine Cabinet Craft Table
As an Amazon Associate, I earn from qualifying purchases.

I’m really excited to share this sewing machine cabinet craft table with you. Although, it’s really not limited to a craft table, it could be used as a laptop table, or even a homework station for the kids.
Vintage Sewing Machine Cabinet
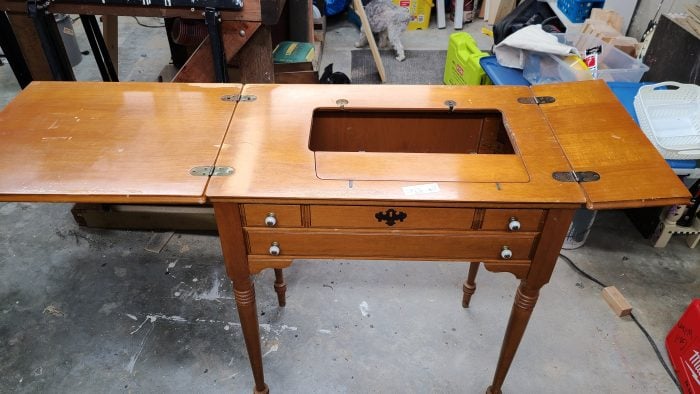
This sewing machine cabinet has been in the basement shop for a couple of years, just waiting for it’s big day. I recently turned a sewing cabinet into a Secretary Desk by adding a shelf on the top. This piece was on the list for that, but because the lid opens left and right, I had been saving it for a craft table.
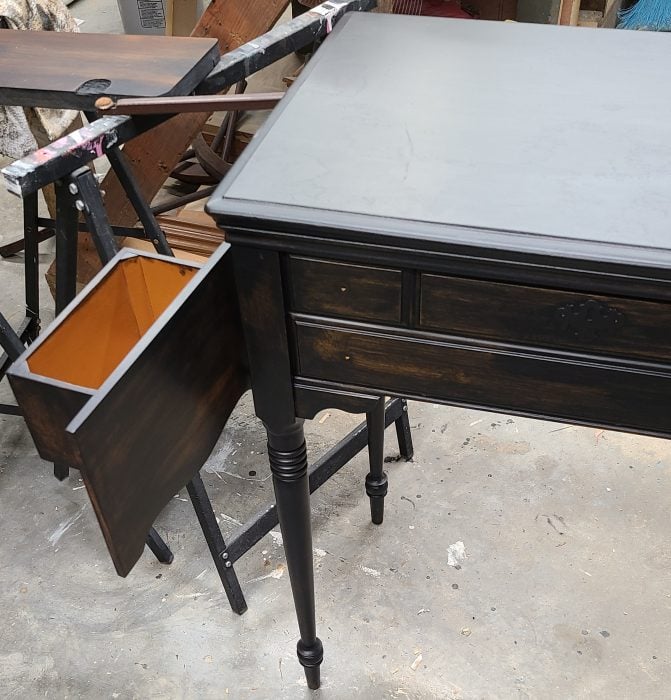
Do you see a problem of turning this sewing cabinet into a craft table? Like that big hole on the top? See below for the fix to that.
Remove Extra Hardware from Sewing Cabinet
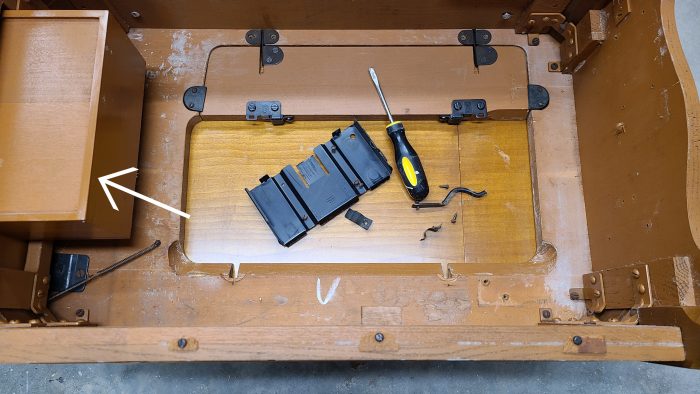
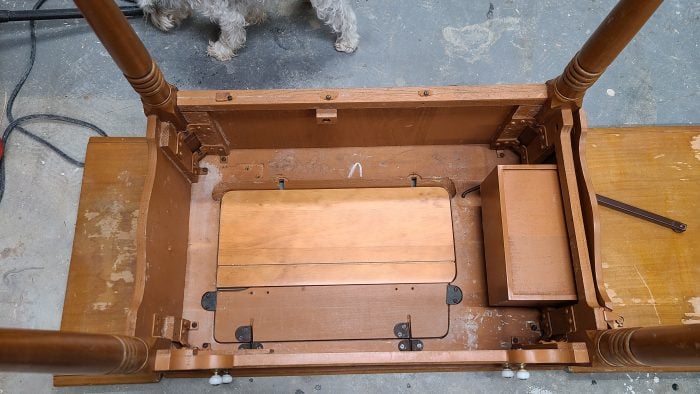
Even though the machine was already removed, there was still a lot random hardware that needed to be removed. See the white arrow pointing to that thing in the way? While the sewing cabinet was upright, I could see it, but it wasn’t until I turned the cabinet upside down that I figured out what it was!

It’s a small drawer! It opens all the way out for access in the front. That metal lever is a support that automatically pops out when the large lid is opened.
Modify the Inside of the Sewing Machine Cabinet so it can be a Craft Table
Okay, here’s the fix to the “not a craft table” problem. My resources are limited in the basement. When I work in the garage shop, I have many more options of scrap wood etc. This board you see that will eventually fill the void is left over from the Secretary Desk. It was originally a drawer front to a dresser. But while I was looking for a board to use, this was perfect.
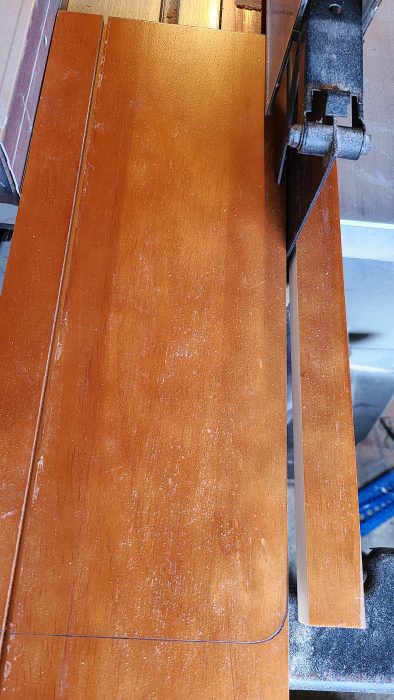
Out to the garage I went to use the table saw to trim the board.
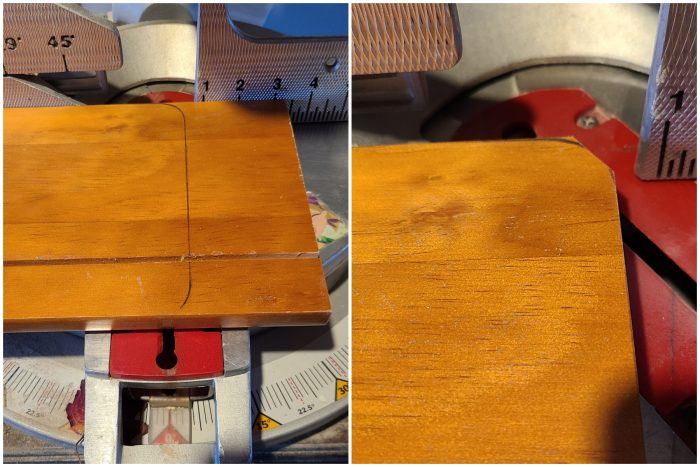
I’m not very precise with a jigsaw, but you could definitely use one instead. After making the rip on the table saw, I used the miter saw for the smaller cuts. For the small angled corner cut, the only thing left to do was to sand off the hard edges.
Voila! It’s a perfect fit.
Add Hinges
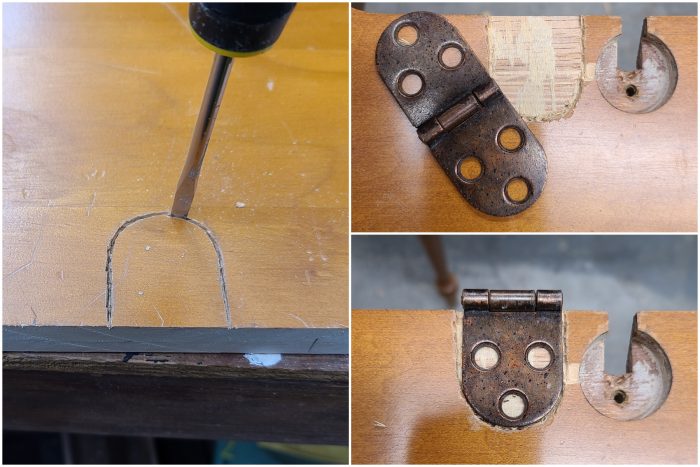
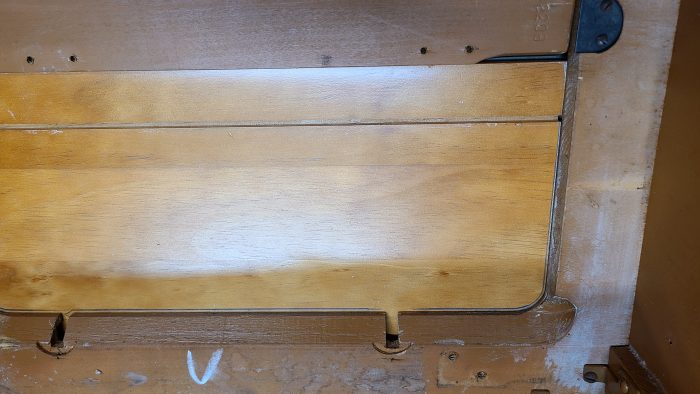
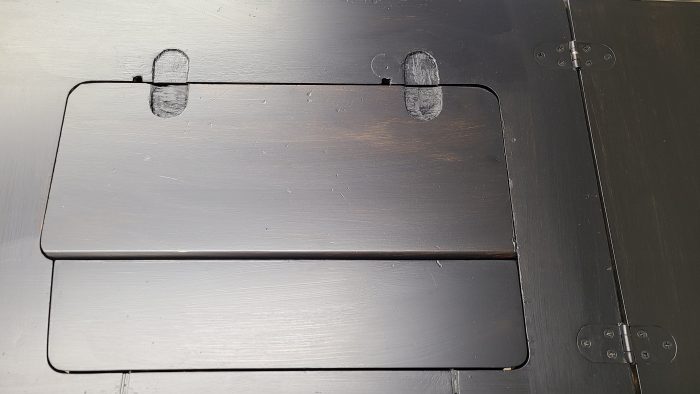
Making the hinges fit would be a lot easier if I actually had a chisel. Since I don’t, first I scored it with a razor blade, the tapped it with a screwdriver and a hammer. The hinge area on the sewing cabinet was a little easier, all I had to do was remove a couple of layers of veneer. The board I was adding was a little trickier. Note the holes where the sewing machine hinges used to be.
NOTE: The hinges were from the recent Secretary Desk project.
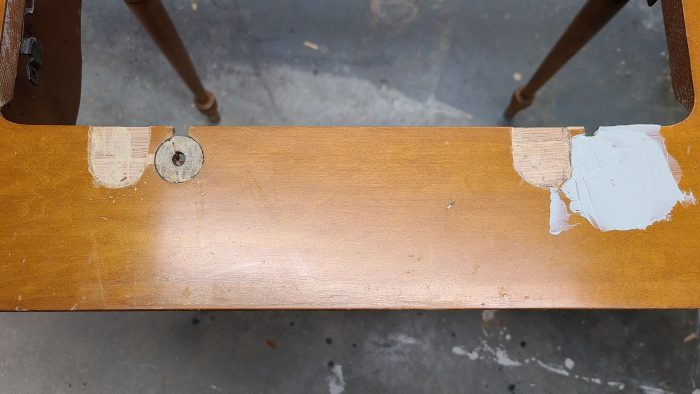
I found an old spindle and cut off the end and placed it in the hole. After I forced it in the area, I used drywall mud to patch it.
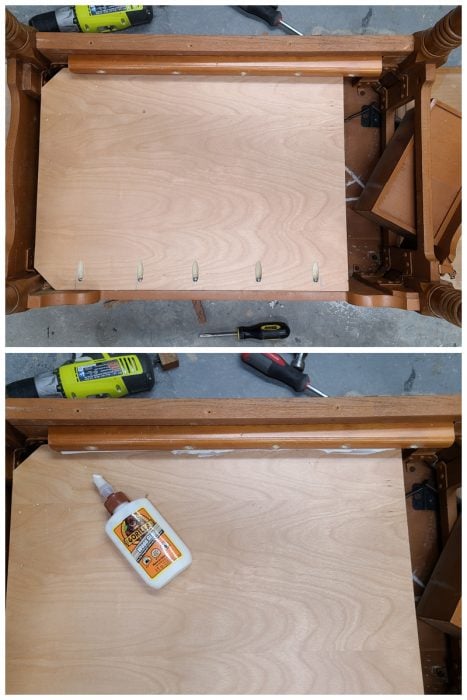
Now, it was time to add a shelf inside the frame where the sewing machine used to be. One the front side, I used pocket holes to attach it, on the back, I used a cleat–which was actually the piece of wood that I trimmed off on the table saw. I used Gorilla Wood Glue and later added Wood Screws.
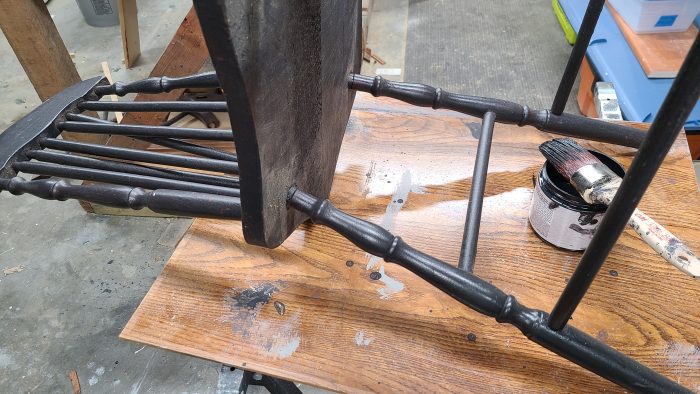
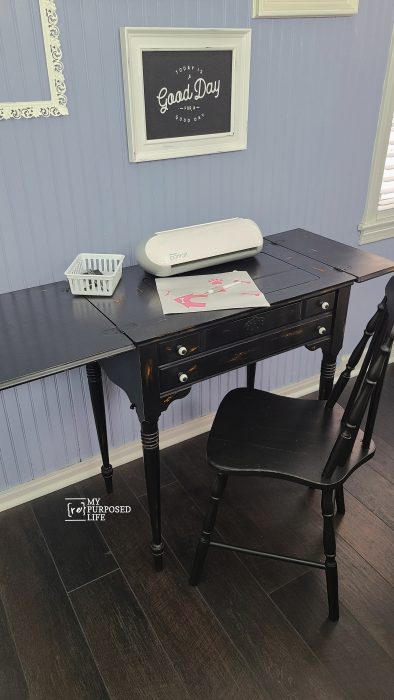
Time to Clean and Paint the Sewing Cabinet Craft Table
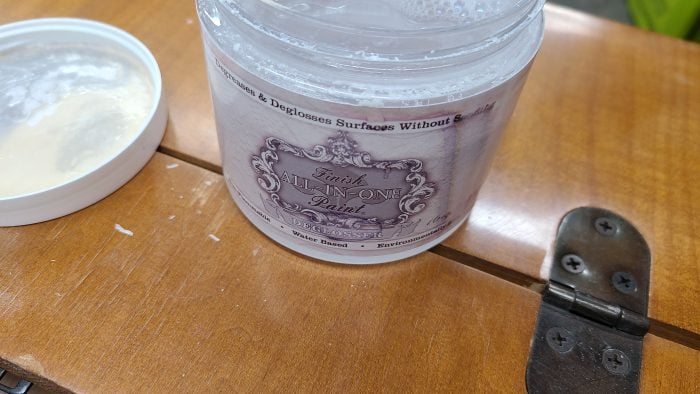
See how shiny the finish is? I used a deglosser for cleaning and dulling the shine, allowing the paint to adhere better.
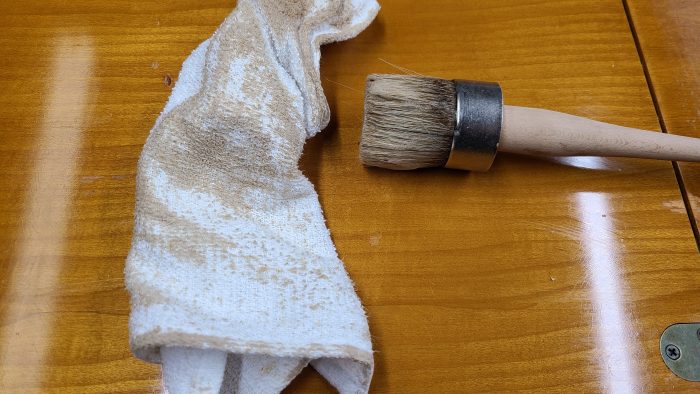
Simply apply the deglosser with a brush and wipe away with a cloth. We never really know the complete history of a piece, so we have to assume there’s plenty of grease and grime.
Let’s Paint the Sewing Machine Cabinet Craft Table
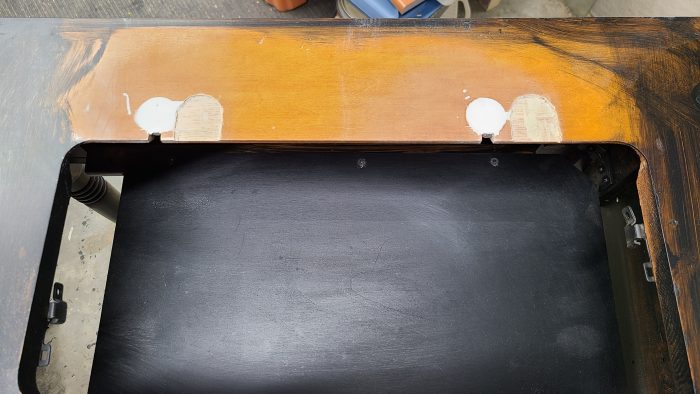
Looking inside the sewing cabinet craft table. I had painted most of the project, but had to add more spackling to the original hinge space. It had to set up overnight. After sanding, this portion of the new craft table is ready to paint. I used Iron Gate from All In One Paint by Heirloom Traditions.
After a first light coat of paint. Had I known I was going to distress the sewing cabinet craft table, I wouldn’t have done two more coats.
Paint Original Sewing Cabinet Knobs
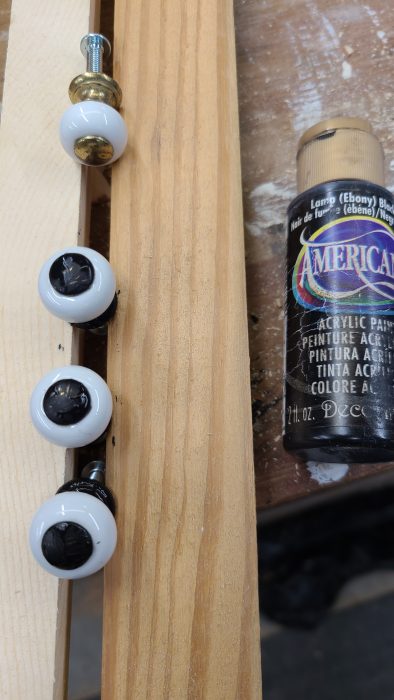
Do you like the brassy knobs, or, like me do you prefer the new updated painted ones?
Install New Lid for Storage Compartment
Although the new board fits very well, it was a little tight. I had to take it back to the saw and cut a little off on each side and a little on the front edge so it would open and close more easily.
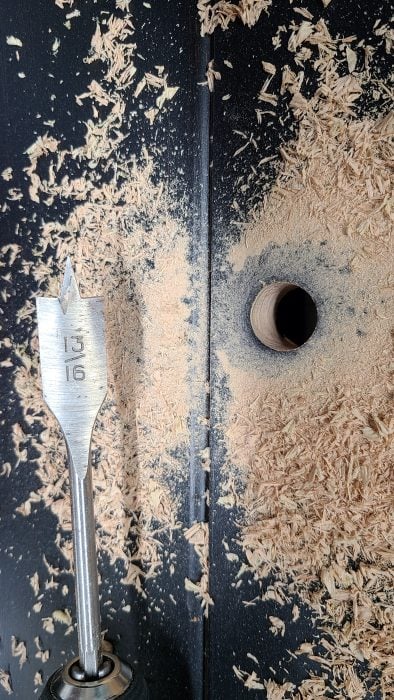
Because the new hinged board and the old one fit so tight, I drilled a hole in order to open the sewing cabinet craft table storage compartment.
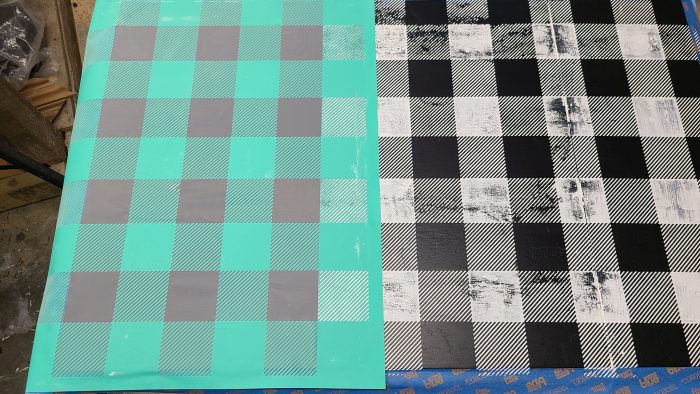
Apply Buffalo Plaid Stencil

Apparently I didn’t take any pictures of the top of the sewing cabinet. It was in bad shape. I was hoping the paint would disguise it, but it did not.
To take care of that, I opted with a Chalk Couture Buffalo Plaid Transfer, from The Junky Chalker Shop. You can also pick up a Buffalo Check Stencil on Amazon.
.
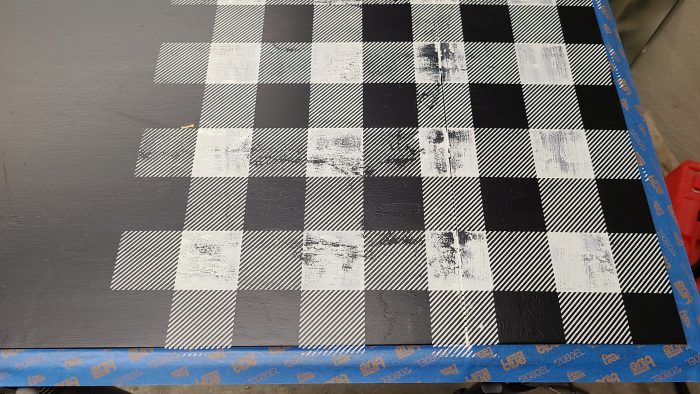
In order to keep the outer edge clean, I used some painter’s tape. The sewing cabinet craft table is large, so I had to apply the transfer twice. First on the right . . .
. . . then on the left side.
Can you see a difference? Definitely operator error. My Chalk Paste was a little too thick on the first try.
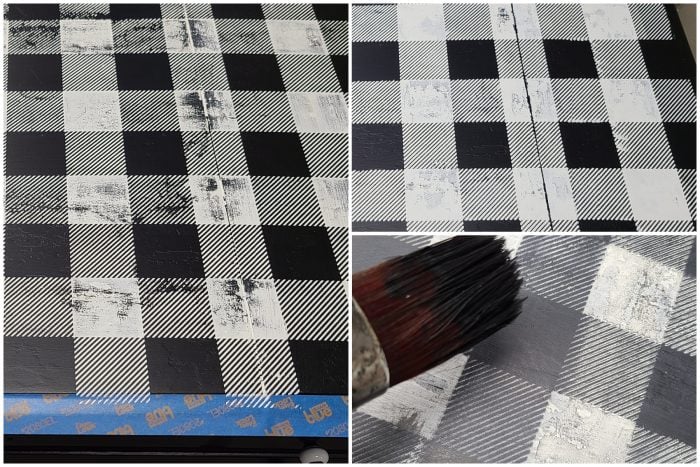 Because I wasn’t happy with how the (first one) right turned out, so I placed the transfer back on top of the already chalked surface and did it again. Finally, I sanded back some of the chalk, and did a very light dry brush over the entire sewing machine craft table top to make it look really old.
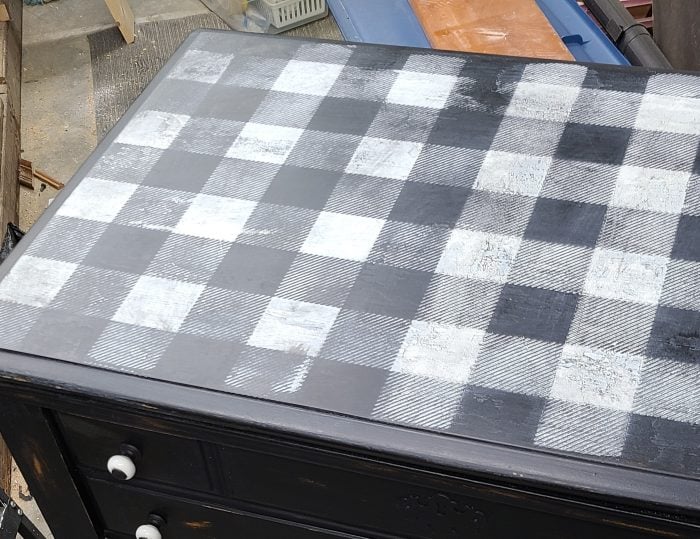
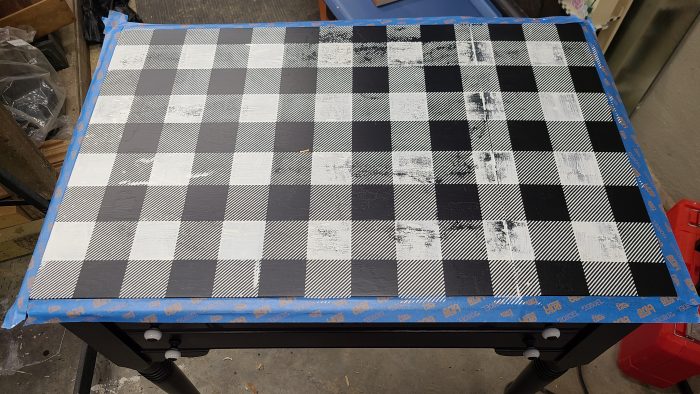
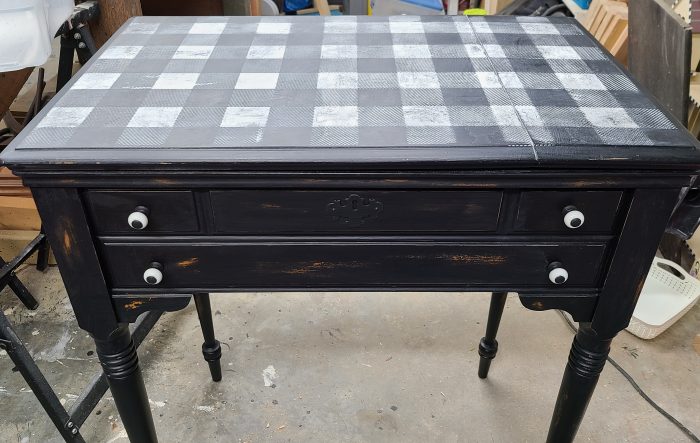
The final result, a heavily distressed buffalo plaid top to the sewing cabinet craft table.
Newly Painted Knobs
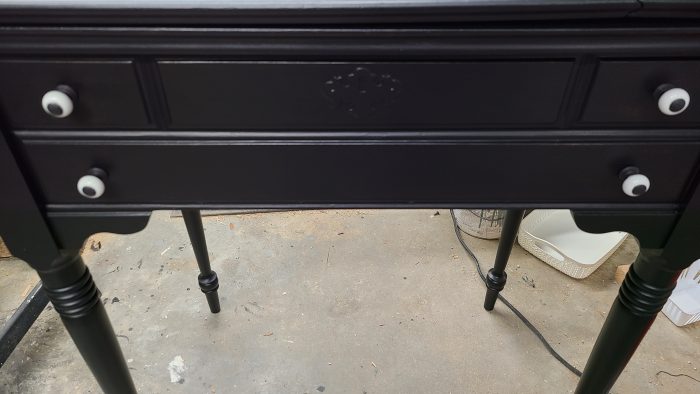
Do you love the new look of the old knobs as much as I do? I think they are perfect for the new sewing machine cabinet craft table.
Distress Sewing Machine Cabinet Craft Table
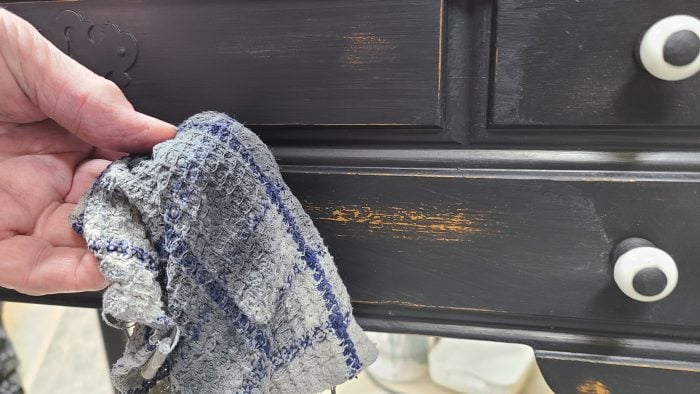
I chose to do some distressing. First I started with the edges, using an emery board. Then I grabbed a wet cloth and did some heavier distressing.
Not shown, I also wet distressed the inside a little. You’ll see that soon.
Sewing Machine Cabinet Craft Table Needs a Chair
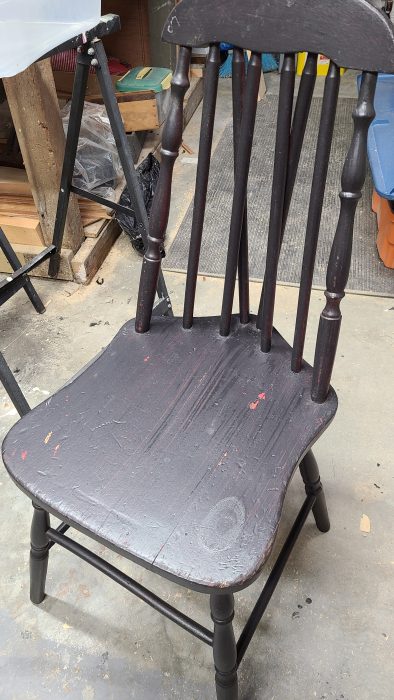
A craft table needs a chair, right?
I used Iron Gate on the chair as well. Don’t forget to paint the bottom of your projects! This was a really fast project! The paint covered so well, it only took one coat.
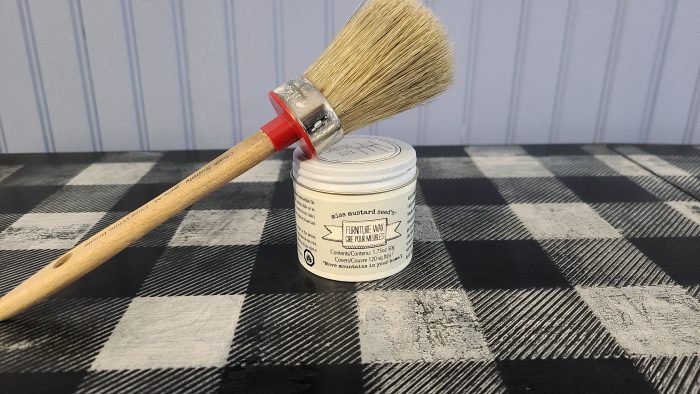
After distressing the cabinet and the buffalo plaid top, I did two quick, light coats of wax. This wax from Miss Mustard Seed is by far my favorite “go to” wax when I need to protect a finish. Because the chalk paste is not a permanent option, I felt I needed to seal it in some way. After waxing, the top feels very smooth, not chalky at all.
Because the wet distressing left the black paint a little dullish, I waxed it as well. Do you love it as much as I do?
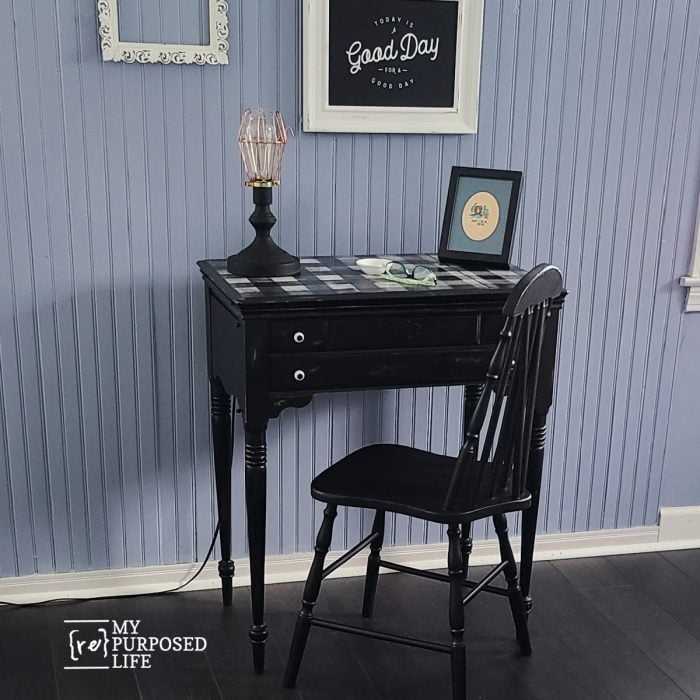
Old Sewing Machine | New Craft Table
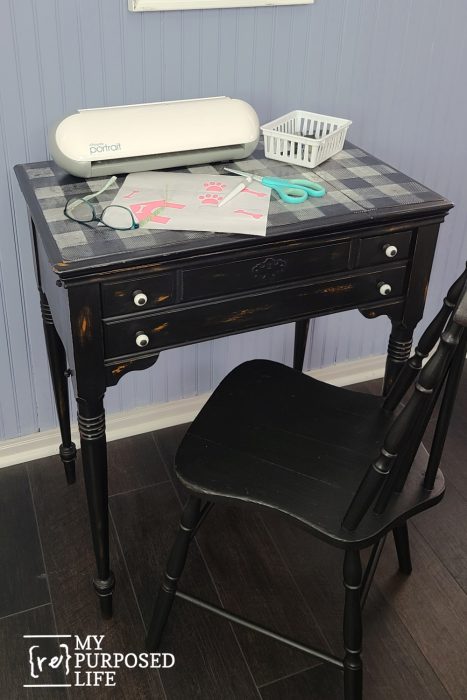
The sewing machine cabinet craft table is very versatile! But can we just take a minute to notice how perfect that chair is! The craft table will be re-homed, the chair will not. It’s part of my staging stash! 😉
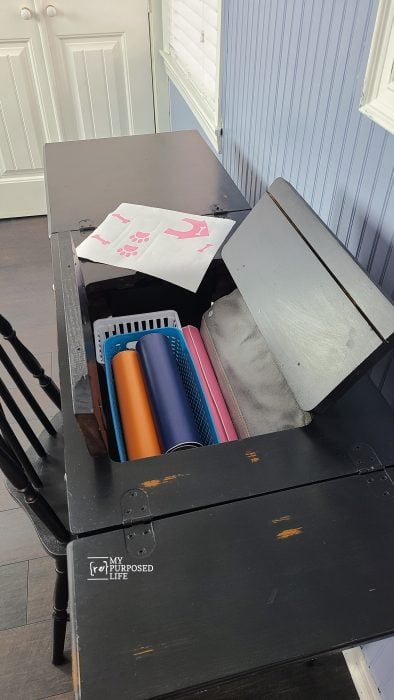
Everything stores away inside the craft table.
Plus there’s a lot of elbow room when the craft table is opened up.
These old sewing cabinets deserve to live on with a useful purpose! While it’s not being used as a craft table, it’s perfect as a writing desk or simply a hall table.

Isn’t the side panel drawer so handy! It’s like your own personal secret compartment. In this closeup, you can see how rough the top of the sewing cabinet was. THAT is why I added the oh so easy Buffalo Plaid pattern!
Have you ever seen my $1 lamp? Well, the BRASS touch lamp was $1, but then I painted it, added the cage and an edison bulb. Would you believe it’s a three way touch lamp?
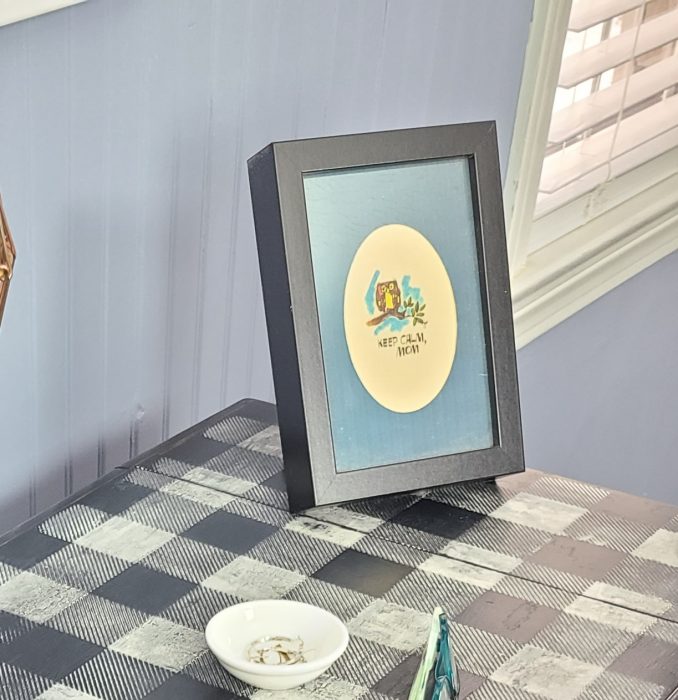
This little artwork is one of my favorite items on my hall table.
How would YOU use this repurposed sewing machine cabinet craft table? Would you use it for a writing desk, a side table, lap top, or homework?
gail
Looking for more Sewing Cabinet Ideas? I’ve made lots of projects using these old unwanted pieces.

I love it. You are so creative! I recently purchased a portable shed & I can’t wait for warmer weather so I can build some things. I get so many good ideas from you. That chair is the coolest!
ohhh, Debbie–you’re so kind. I appreciate your enthusiastic comment. It made my day! I’m here if you ever have any questions, once you get started.
gail
looks wonderful! i would use it at a writing desk or laptop desk.
It’s darling. I’m still using my parson’s sewing table as a serving table on the patio. I want my husband to add a gate leg to the side so I can put a full container of tea and some hors-devours on it as well. The side where the sewing machine went now has a busboy’s bucket I fill with ice for cold drinks. I think it gets the most use of any of the furniture i have. We ate outside last night. It was a beautiful 70 degrees. 6 months of gorgeous, 6 month of unbearable heat. It’s a desert 🌵. Hope you and your family are well.
I love furniture with gate legs!! 🙂
I’m so jealous of your weather, but definitely couldn’t take 6 months of unbearable heat!
take care,
gail