Shadow Box Hook Shelf | Repurposed Window
As an Amazon Associate, I earn from qualifying purchases.

How to Make a Shadow Box Out of a Window
I am calling this a shadow box hook shelf because it has all of those functions! What did I use to make it? A repurposed window, lumber, and bead board. The cubbies can hold many items, the top of the shelf can hold knick-knacks, and the hooks are also very functional!
How To: Shadow Box Hook Shelf

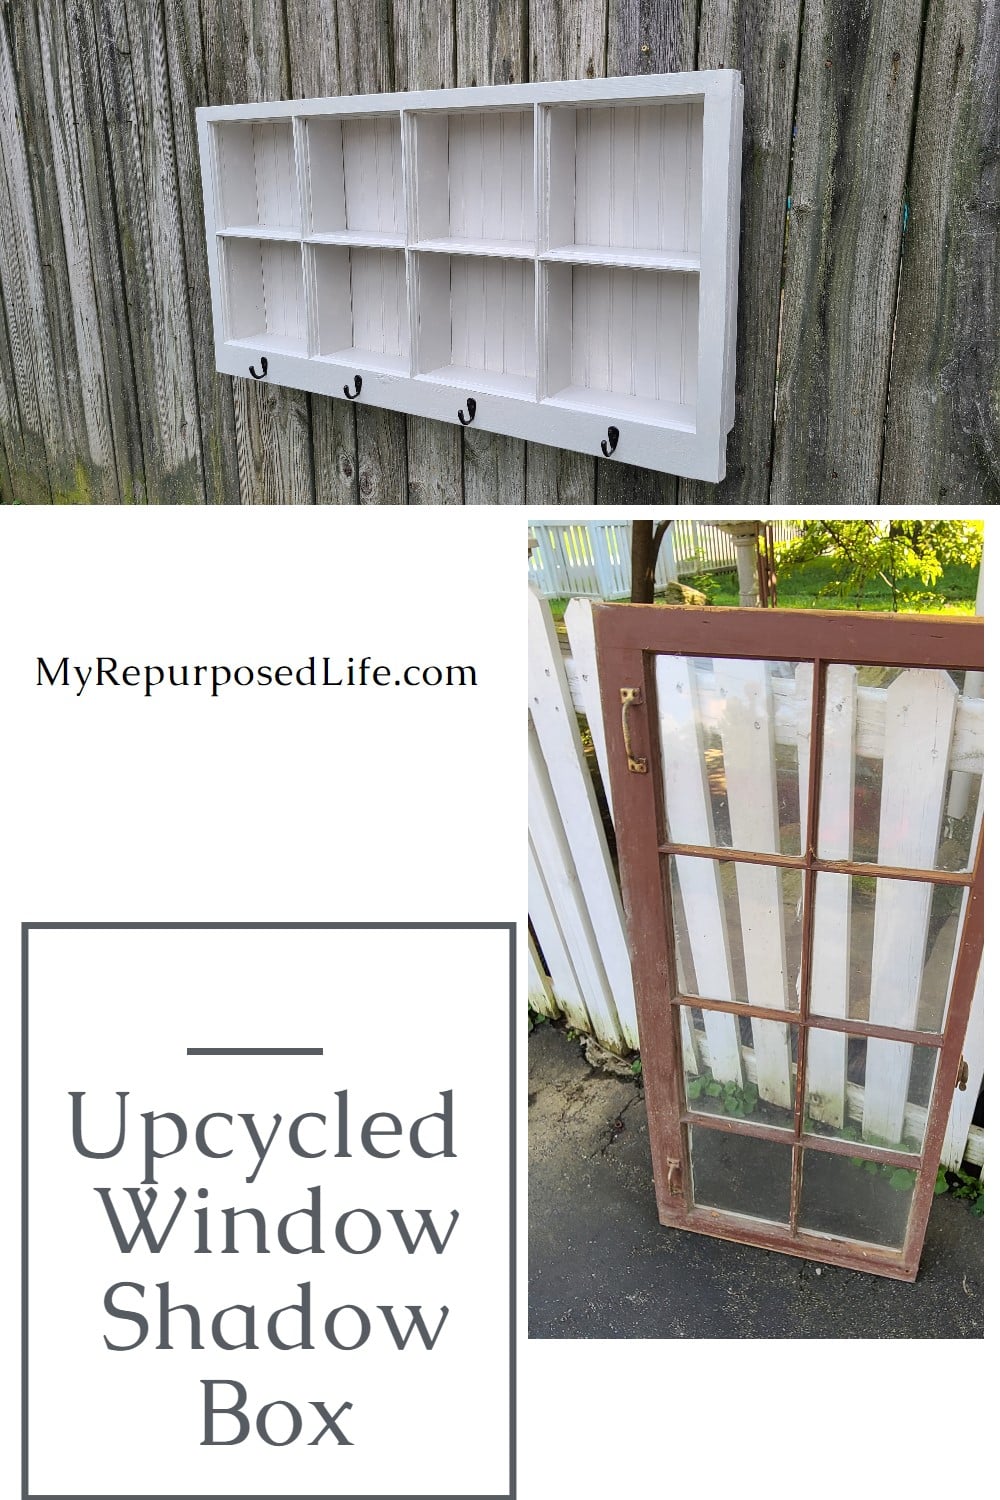
I keep a stash of old windows on hand at all times in the wood shed. I dug through the bunch and found this window that I felt would be perfect for the shadow box hook shelf. Rarely do I plan these things out, but I knew that I wanted this to resemble a shadow box—not a cabinet. I also wanted it to be functional and have coat hooks.
Let’s see how the shadow box hook shelf came together:
Break Window Panes

Because my recycling can accepts glass, I chose to break the glass right into the trash can. My tools? Safety glasses, a hammer, and . . .

… gloves! It may seem counterproductive, but it’s best to smash the window once, leaving larger pieces of broken glass. Carefully remove the glass with gloved hands.
Maybe you have a window in your stash with a few missing panes?
Visit the My Repurposed Life Amazon Store to shop my favorite items.
Remove Hardware From Window Project

I removed the two handles and the latch from the window using my power drill.
What is a Muntin?

The muntins that hold the window panes in place had extra wood that I wanted to remove so that my cubby boards would rest flush. I used a Dremel Multi-Max to remove the portions where the windows were originally glazed. After removing the extra wood, I used an orbital sander to smooth the pieces so that they would accept the new lumber.

What a mess! You can see why I needed to do some sanding, right?
Trim Window Sash

This part of the window sash needs to be removed in order to make the shadow box hook shelf. It originally slid up and down the jambs.

I marked the sash with a pencil and used my handy circular saw to trim it. This little guy runs off a battery and never lets me down. Corded circular saws with larger blades make me nervous!
Assemble Shadow Box Hook Shelf Cubbies

I used 1x4s for my cubby boards. First, I cut the cross board, then I cut the shorter vertical boards. Using Gorilla Wood Glue and Irwin Quick Clamps, I started assembling the shadow box hook shelf.

This image shows that the board that will make up the shadow box frame needs to be ripped on the table saw. This is due to the cubby boards’ inset resting on the muntins.
Rip Shadow Box Frame on Table Saw

I ripped the full length of the first board, which gave me the top and two sides. So, I needed a board measuring about 40 “for the bottom of the shadow box. I cut it on the miter saw and only ripped that length, so the remainder of the board is the full width for a future project.

I needed More Gorilla Wood Glue and more clamps! After the glue was set up, I was ready to assemble the frame of the shadow box hook shelf.
Shadow Box Frame Assembly

I used my nail gun wherever possible to “tack” my joints in place. Then, I drilled pilot holes and secured the frame with fine thread drywall screws. The wood is soft, so it was easy to countersink them.
Screws Secure Cubby Boards & Frame

I worked my way around securing all the cubby boards to the frame with more screws. There was no need to drill pilot holes for those.
Secure Window to Shadow Box Hook Shelf

After carefully flipping the entire project over, I secured the window to the shadow box with a few screws all around the window. Again, countersinking the screws so they won’t be visible on the finished project.

I call this a rough draft of the shadow box hook shelf BECAUSE one of the cubby boards is way too wonky. Do you see it on the top left? I ended up removing the screw and straightening up the board the best I could.
Patch Holes & Paint

I use drywall mud to patch holes on small projects like this. It’s cheaper than wood putty, especially if you buy it in the drywall department, not the paint department. ![]()
I mixed up diy chalky paint primer and applied a couple of coats.

After the primer dried, I was anxious to see how the shadow box hook shelf would look using this scrap piece of bead board I got from my neighbor Rodney after he remodeled their bathroom. It looks good, eh?
Heirloom Tradition All In One Paint

For the top coat, I used Heirloom Traditions All In One Paint, in Colosseum. Since the bead board had already been painted, it was easy to change the color.
Spray Paint Coat Hooks

I didn’t have any black hooks, so I spray painted these single-coat hooks for the shadow box hook shelf.
D Rings for Hanging

I used my nail gun to attach the bead board to the back of the shadow box. I prefer to use these d rings for my hanging projects. Because I wanted a good hold, I chose to screw the d rings into the 1×4 frame instead of into the bead board.

Of course, I couldn’t wait to see how it would look hanging up. This thing is huge and very heavy after I added the beadboard backing. Don’t you love the way the muntins frame out each cubby?
How To Add Coat Hooks
You may think adding coat hooks to a project is a no-brainer. But I’ve had many issues over the years with broken screws, and now I have it down to these five easy steps.

1) Place hooks on the project. A Self-Centering Tape Measure helps center the hook. Using an item below the hook ensures that all hooks match.
2) Mark and drill pilot holes
3) Use bar soap on lower threads only of screws.
4) Do NOT use a drill for this step—secure screws with a handheld screwdriver.
5) Drive screws in equally at the same time. Start #1, start #2, then work back and forth from one to the other. This is your last chance to make sure the hook is straight. Do NOT overtighten screws.
SAVE & SHARE these tips on Pinterest.

One last tip—I don’t want to insult your intelligence, but you may not be using a screwdriver in the easiest way for these kinds of projects. To turn a hand screwdriver into a ratcheting screwdriver, use one hand to pivot the screwdriver while holding the other palm firmly on top of the screwdriver. I could not take a picture of the process since it takes two hands to do this and another to take a picture! Let me know in a comment below if you already knew this or if it’s an a-ha moment for you. I hope the explanation makes sense.
Perfect Coat Hook Installation

Voila! Perfect coat hooks! No broken screws!
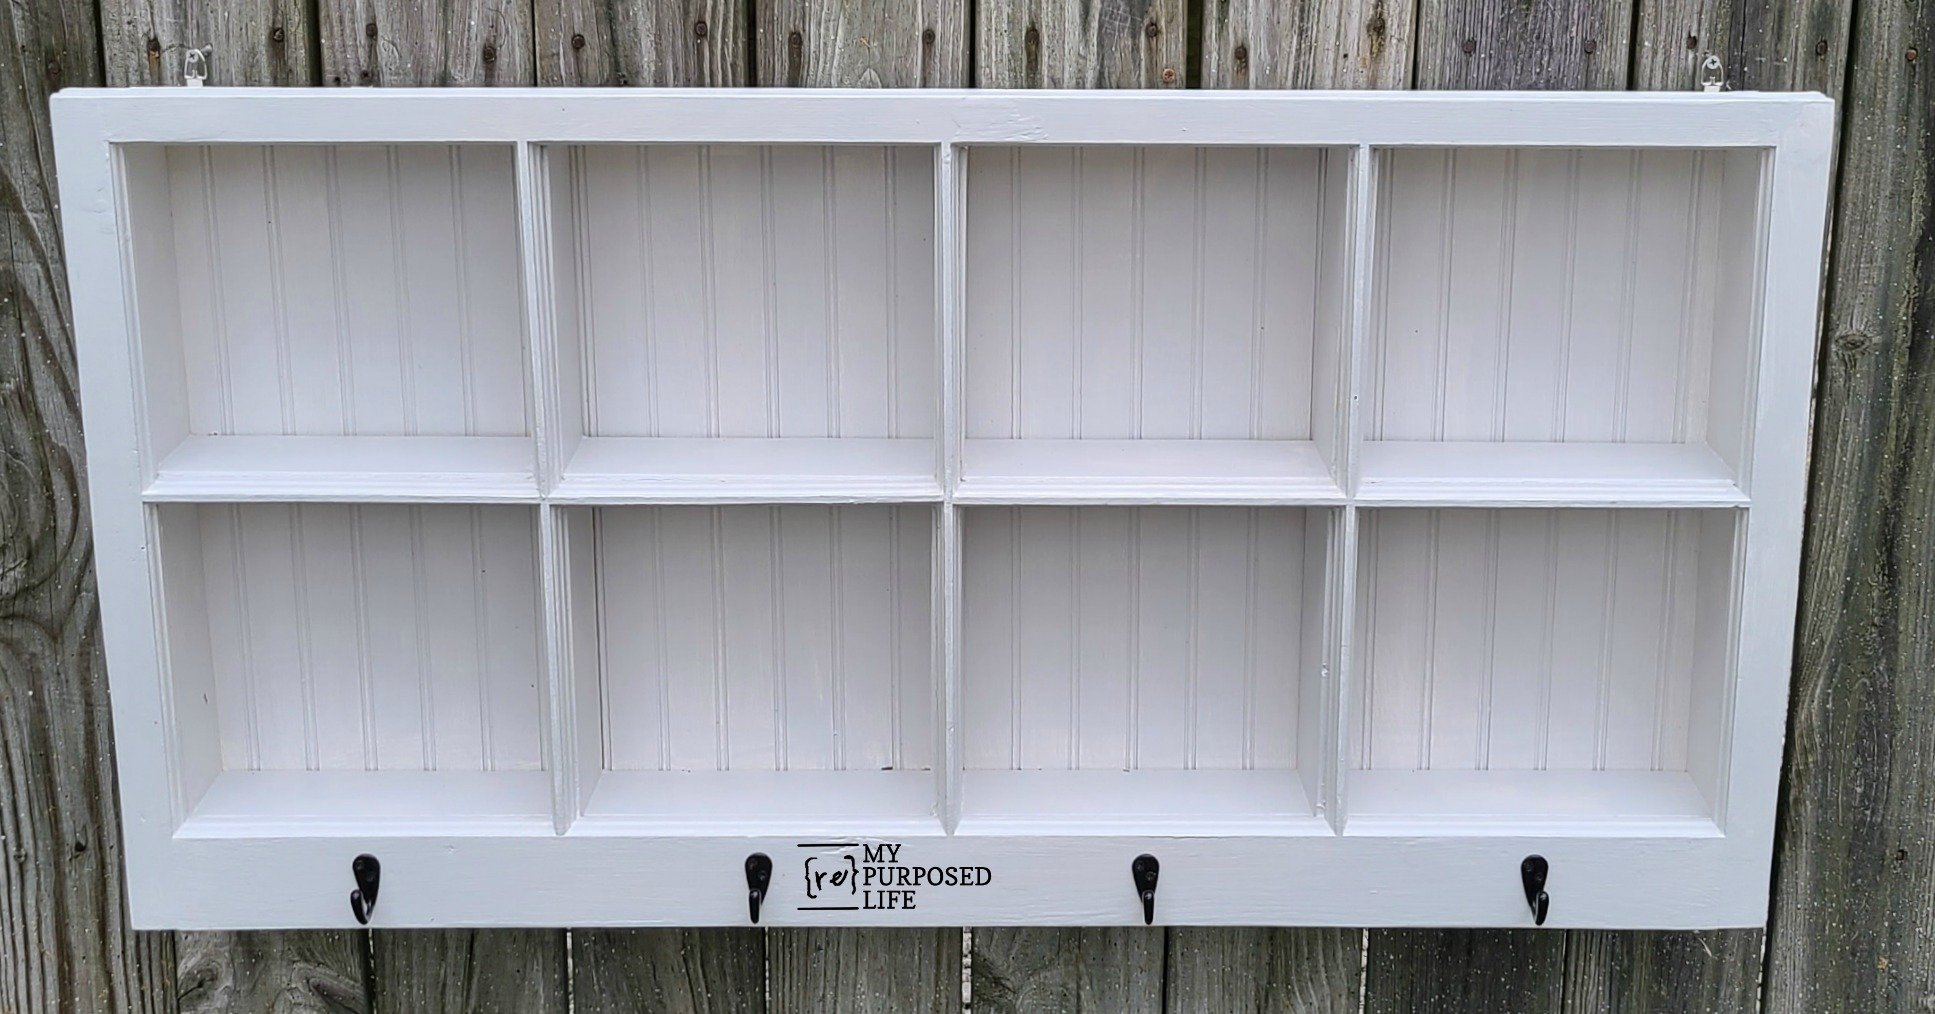
Can you believe this shadow box hook shelf was that nasty old window? Isn’t it so pretty now!!
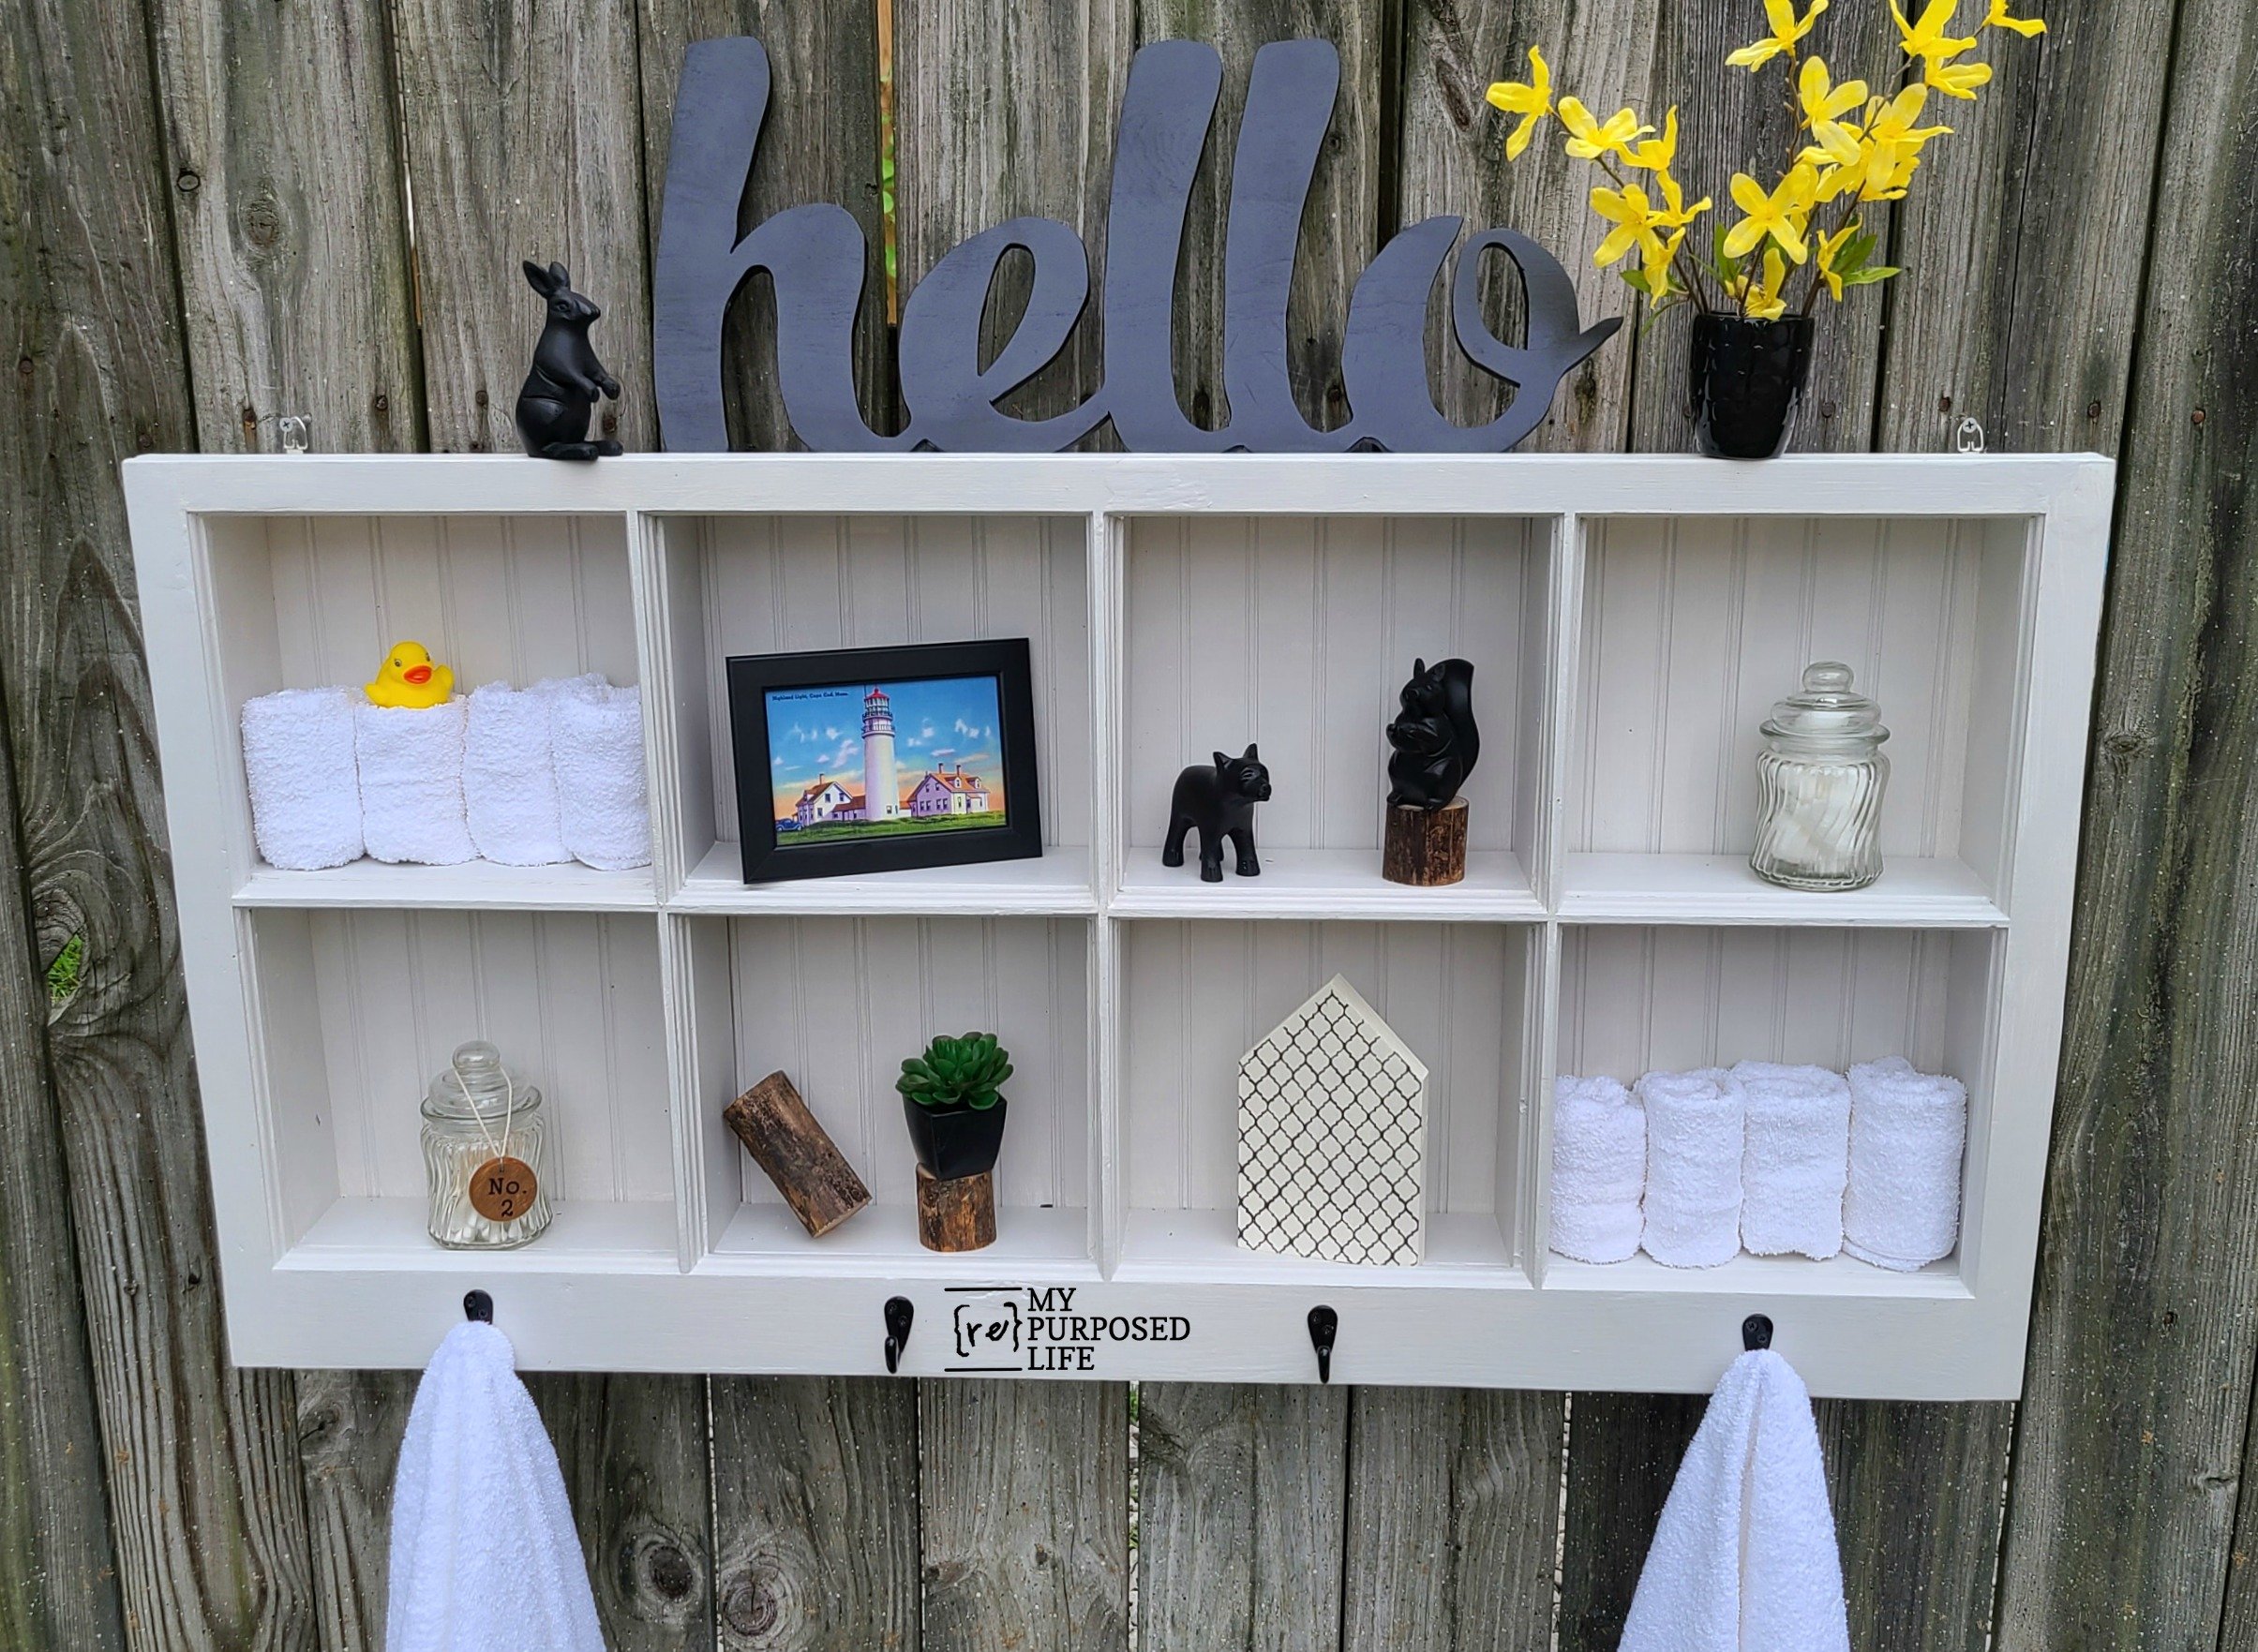
Of course, you wouldn’t use it on an old fence, but this shadow box is so large that I didn’t have a place to stage it. I can see it in a guest room, a bathroom, or hanging above a coffee station filled with cups, mugs, etc!
Could you save and share this repurposed window project on Pinterest for me? I’m always so grateful for social shares that inspire others to repurpose reclaimed junk!
gail
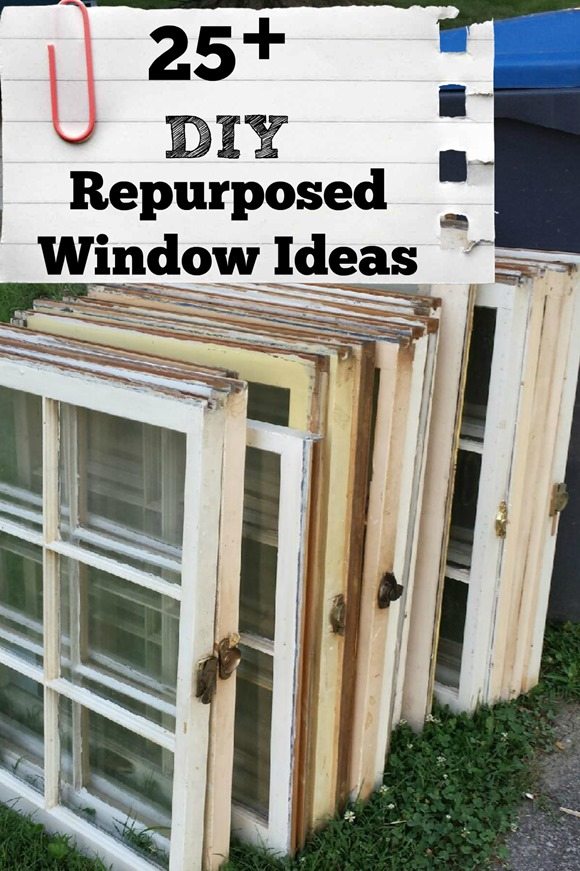
See More Window Project Ideas
So gorilla glue will be strong enough tol fasten the shelves to the center vertical board?
The wood glue really “clamps” the pieces in place. As I mentioned in the article, I used my nail gun where possible to hold the pieces in place. But you would be surprised how strong this wood glue actually is!
Good luck with your project!
gail
Thanks for showing us this great project… so many of us crafty types are hesitant to jump in with the power tools, and you show us we really can 🙂
I’m so happy to hear from you Becky! That is why I’m here, to encourage others to just get started somewhere!
Happy Repurposing!
gail
That’s gorgeous! I love the window before though, especially with the handles. It would be a great top for a cold frame on a raised garden bed.
Just FYI, I don’t know of any recycling centers that can accept broken glass. It is generally considered a serious hazard to the workers who have to sort the recycling and it can’t be reused if it’s broken (that applies to all glass, like bottles and jars too). Sanitation companies ask that people either double bag broken glass or wrap it in newspaper and then dispose of it in the garbage. Also, even centers that take glass usually can’t take treated glass like window glass, light bulbs and wine glasses.
Here’s a bit from earth 911 if it helps:
“How to Recycle Glass
When it comes to glass recycling, there’s container glass … and everything else. That’s because non-containers are treated with chemicals to make them more durable, but this reduces the recycling market for things like windows, mirrors, light bulbs and glassware.
Glass Recycling Tips
Do your best to prevent glass from breaking. Not only is broken glass dangerous for you, but it has little recycling value. If glass breaks, wrap it in a plastic bag before throwing away so sanitation workers won’t get injured handling it.
For windows and mirrors, you’ll need to find a construction and demolition (C&D) recycler to process the material. These companies don’t want to take one unit (especially if it’s broken), so unless you are a contractor, you’ll likely need to schedule a bulk waste pick-up with your local municipality’s solid waste office for your mirrors and windows.”
I love your blog and always enjoy seeing what you’ve come up with. 🙂
Another great project.Everytime I hear the buzz of tools I come a running.To be nosey a little but also to see what you invisioned this time.👍to you and looking forward for your next DIY✌️