Spool Bed Bench Video Tutorial
As an Amazon Associate, I earn from qualifying purchases.
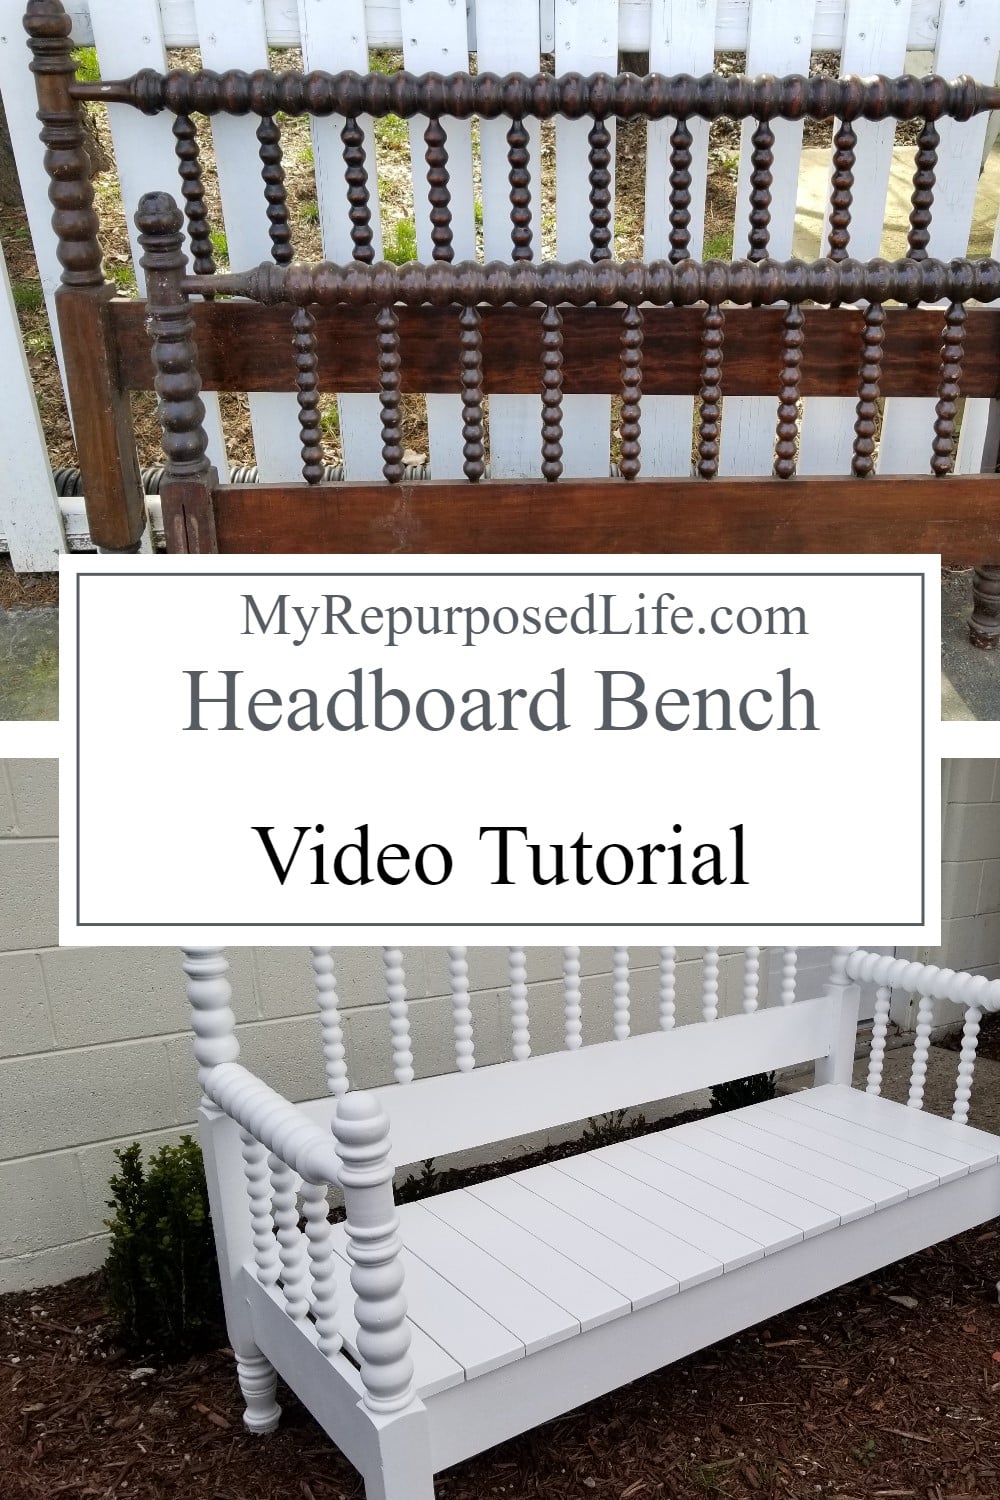
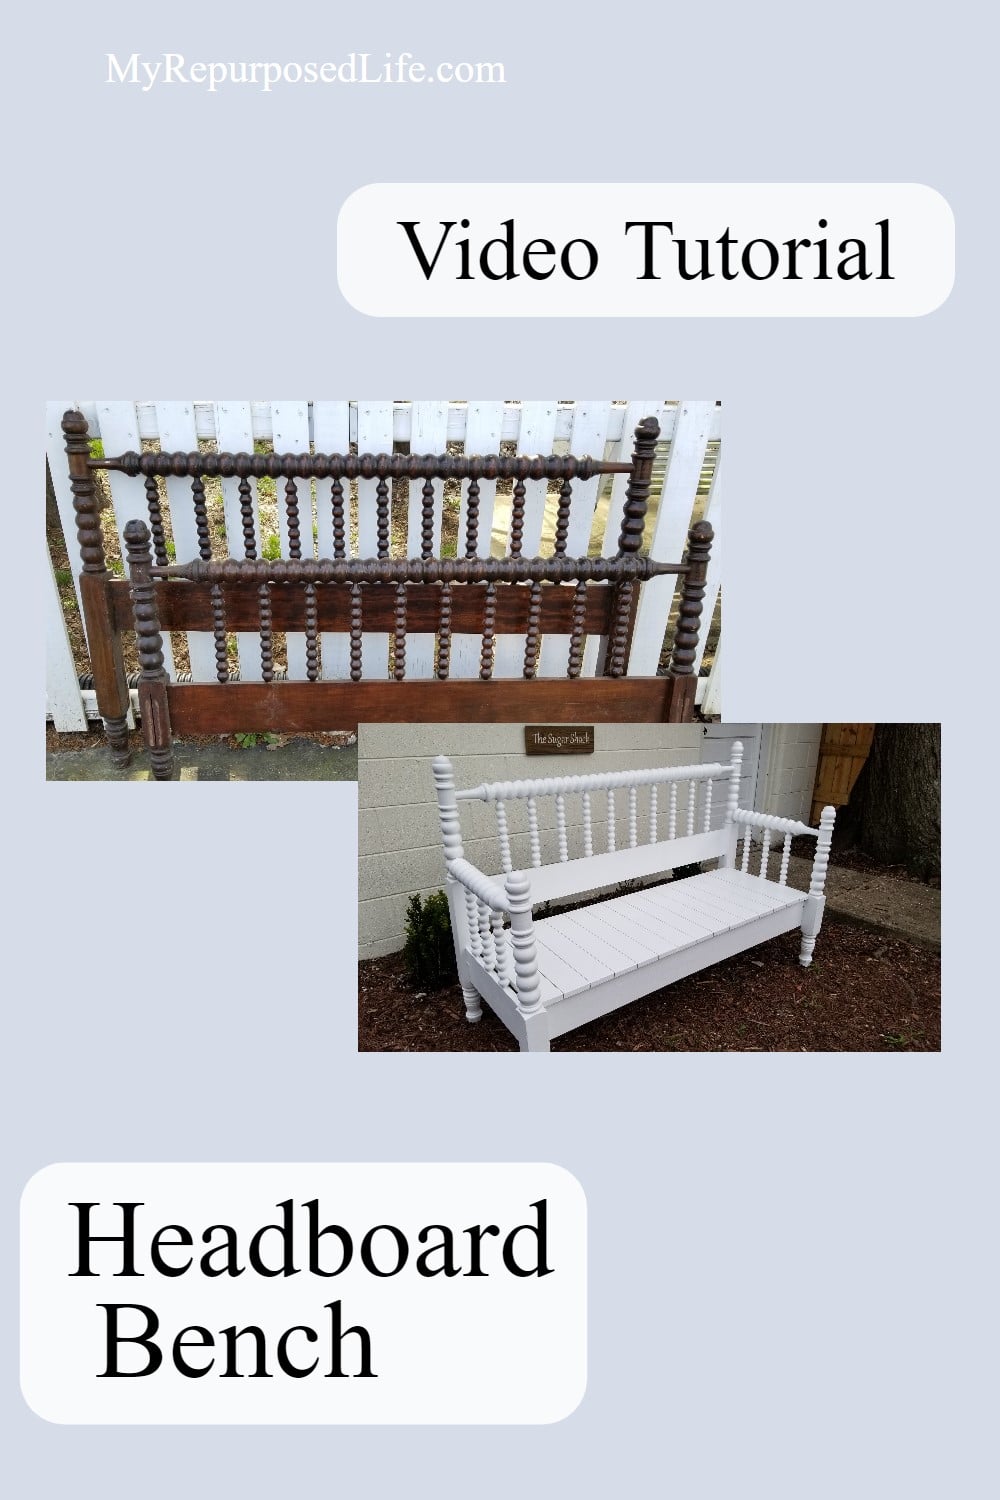
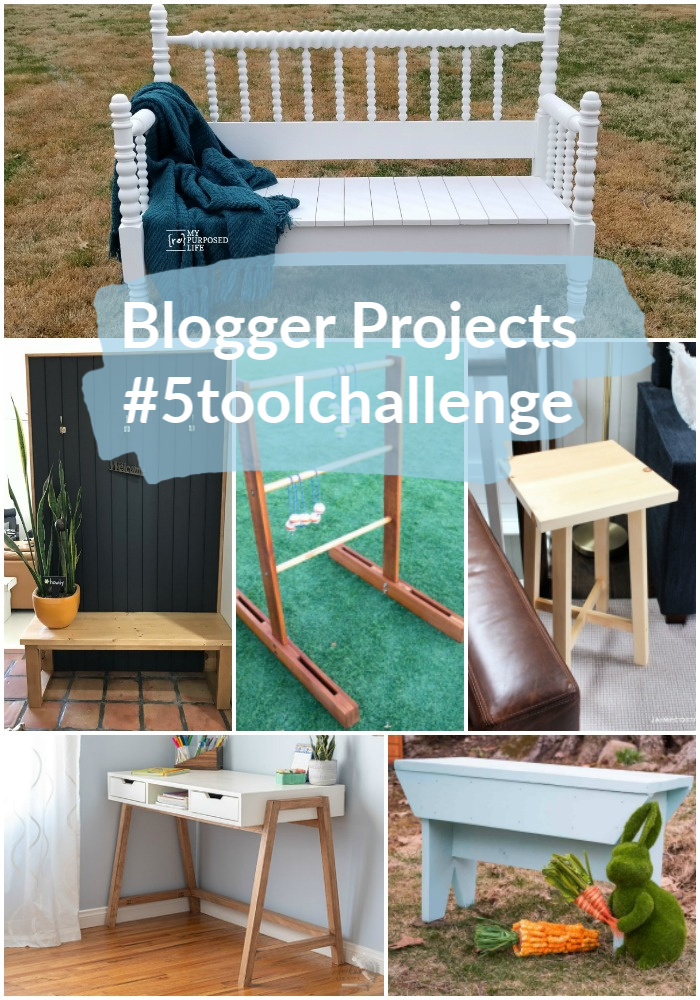
Today’s Spool Bed Bench project is part of this month’s DIY Five Tool Challenge. Make something using a drill, sander, miter saw, jigsaw and a nail gun. I was definitely up for THIS challenge, so why not show you how to make a headboard bench out of a jenny lind bed? Most of you probably know I’m well-known for building benches out of headboards. Headboard benches were the first thing I started making in 2009, and they are still one of my favorite projects. Would you believe I’ve had this bed since August of 2012? You can see it in my post: Recent Finds | Slim Pickins.
Spool Bed Bench Video Tutorial

Please save and share on Pinterest
Antique Spool Bed | Jenny Lind

I’ve had this headboard and footboard in my stash for several years now.

I paid $10 for it. It’s in decent shape except for one of the bed posts you’ll see later.
Assess your Footboard | Armrests

Using a jigsaw to cut the pieces that will become the sides (armrests) is a quick and easy job.

This is the first armrest cut.

It may be best to cut the sides a little longer, as you may need to square them up with the miter saw. ![]()

See? Now the sides are even and square.

This is the piece that was left over. What would you do with it?
Attach Armrests to Spool Bed Bench

I set the Kreg Jig for the thickness of the bed. I would be using 1 1/4-inch pocket hole screws. But you’ll see that something went wrong along the way.

Do you see it? I had the Jig set at a different length from a previous project. The three pocket holes that are high, were drilled wrong. But it’s all going to work out. I used the proper screws for the two holes, and I added a 2.5 “pocket hole screw for that middle one. This spool bed bench is going to be solid!

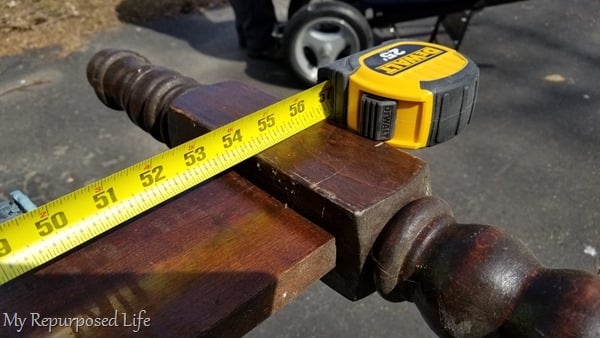
You can see I laid the bed bench on my table to install the sides. The placement is determined by measuring from the back leg up to the side brace.

Can you see it all coming together now? It’s going to be awesome!
Related Content: Jenny Lind Headboard Bench

In order to secure the top of the armrest, I drill a pilot hole.
Soaped Up Screws Drive Easier

My mom taught me this trick years ago—use bar soap to make it easier to drive really long screws. I chose to countersink them slightly so they could be patched and become invisible.
Add Front and Back Supports to the Headboard Bench

It’s time to add the front brace to the spool bed bench. The measurement is derived from the width in the back. Because I don’t have a clamp long enough, I join two clamps together while I secure the board with pocket hole screws.
This is the messed up bedpost I mentioned earlier.

After patching and sanding all the holes, I get busy adding back support for the seat.
How to Repair Damaged Bedpost

Although the damaged bedpost was on the back side of the bed, I chose to whittle away the bad piece and patch it. I used the orbital sander to soften the profile to match the original post better.

- Remove bad parts of the bedpost and sand smooth
- Use scrap wood for patching
- Cut wood to size
- Apply wood glue
- Secure wood to post
- Fasten with a nail gun
- Mix patch of sawdust and wood glue
- Patch seams of scrap wood
- Sand new profile of bedpost
The Headboard Bench Needs a Seat

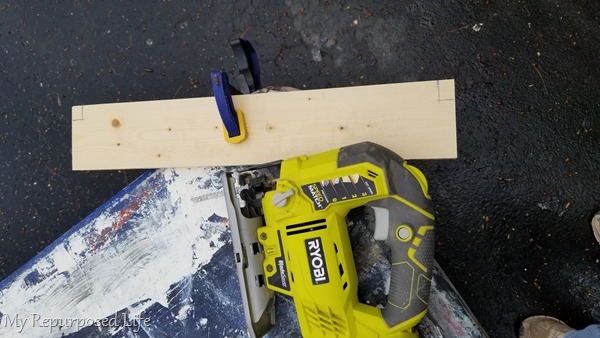
I’m using 1×4’s for the seat. I always begin by cutting off the rough sawmill edge.

All the boards are cut for the spool bench seat.

I like to use a sanding sponge to remove all the rough edges of the boards I cut. Removing all the stickers is a good idea, too!

I begin by marking the notches around the bedposts of the spool bed.
Cut the notches for the bedposts with a jigsaw.

The seat is attached with gorilla wood glue and a nail gun.

In this photo, you will see I used my Kreg Multi-tool for the overhang on the front and a metal yardstick to space the boards slightly as I worked my way across.

Because some of the glue oozed out, I grabbed a baby wipe to clean it up before it dried.

Patch nail holes and sand the seat of the spool bed bench with an orbital sander. The Jenny Lind headboard bench is complete using the FIVE power tools listed in the challenge.
Five Power Tool Challenge
- Drill
- Sander
- Miter Saw
- Jigsaw
- Nail Gun
So, now you know that you don’t need a complete arsenal of power tools to make an awesome project. In fact, if you check out all the projects from my friends at the bottom of this post, you will see any other projects you can make with minimal tools!
Paint Spool Bed Bench with Paint Sprayer

Unsurprisingly, I mixed up some chalky paint primer to paint the Jenny Lind Headboard Bench.

Can you imagine painting all those spindles by hand? That’s not gonna happen around here. I used my Super Finish Max paint sprayer, starting on the underneath side.

Think outside the box, even when it comes to painting. Standing the headboard bench on the end made painting all of the underside very easy.
I prefer to paint a couple of coats of chalky paint with Plaster of Paris, then finish it off with the original paint without the POP. This is Behr paint, white semi-gloss, which gave it a flat finish initially, but without the POP, it has a very nice protective sheen.
Jenny Lind Spool Bed Bench

The spool bed bench is similar to one of the first benches I made. However, my friend Cathy and I raised the seat on the original bench. You may want to check it out if you have a bed that might sit too low. We painted that bench white as well. I guess that’s why I chose white for this new spool bed bench.
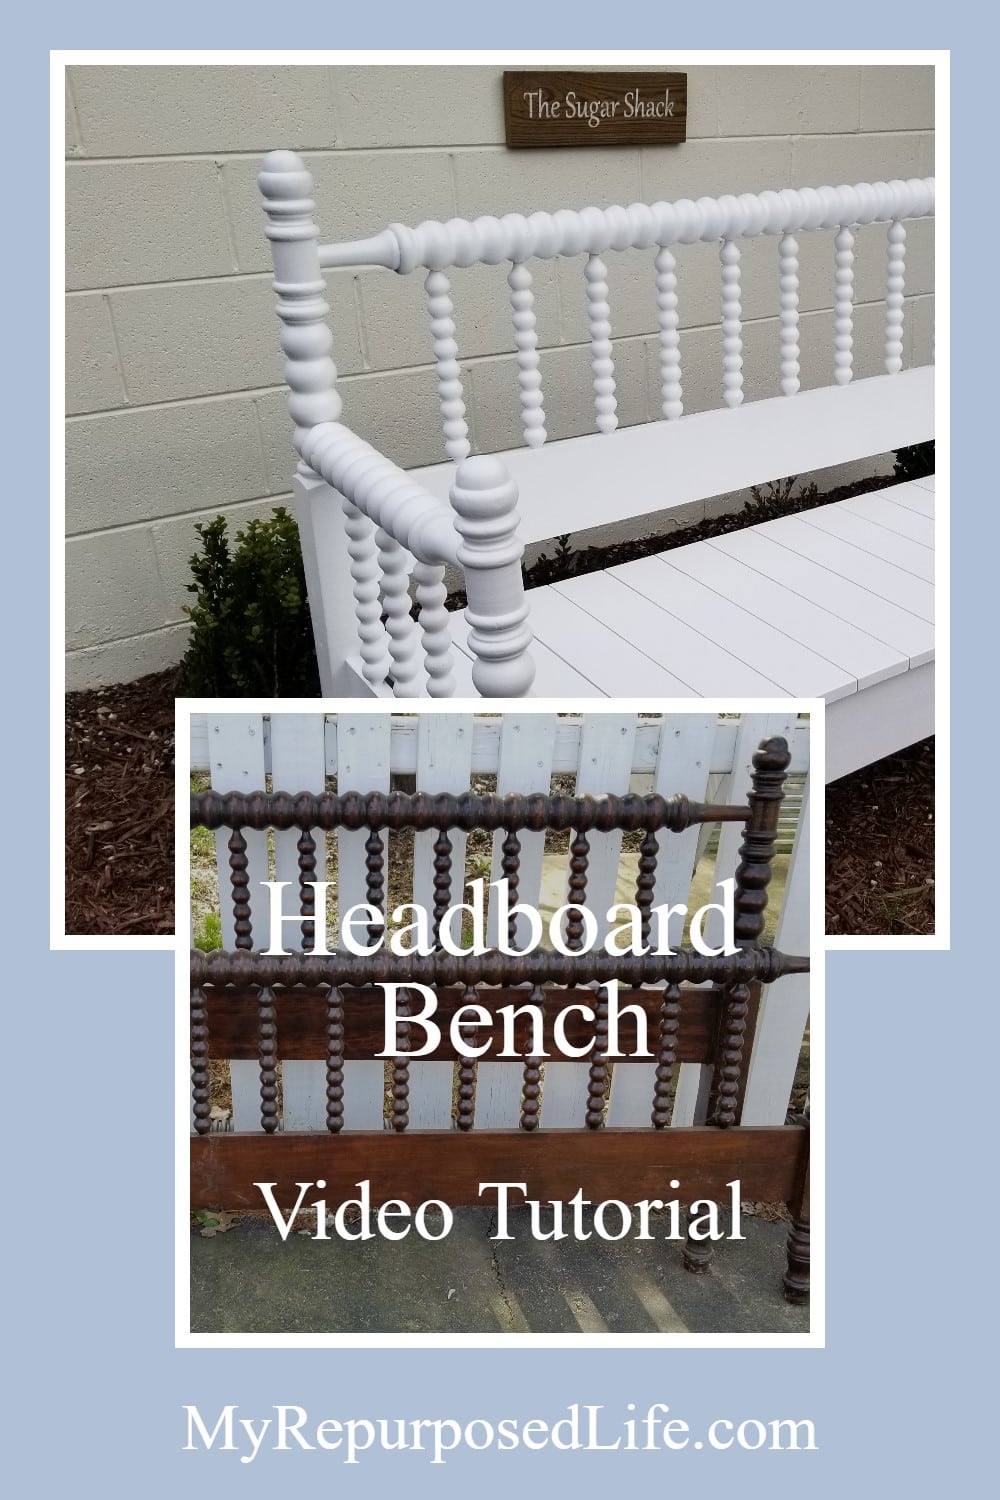
I’m so, so happy with how this bench turned out. I seriously could make headboard benches every week. Because headboards are so different, there are always new challenges to tackle. Remember, this spool bed bench was made with just FIVE power tools. You don’t need a fancy workshop to keep busy with fun repurposed furniture projects. As you can see by the images in this tutorial, I work outside in my driveway. No fancy shop with a dust collection is necessary.
Save & Share this Image on Pinterest
Shiplap Hall Tree Bench The Awesome Orange
5 Tool Challenge DIY Ladder Golf Game Addicted 2 DIY
DIY Simple Side Table Jaime Costiglio
A Frame Desk Anika’s DIY Life
How To Build a Rustic Wooden Bench At Charlotte’s House
I LOVE headboard benches !!!! I’ve never attempted making one tho.
Maybe…. with your detailed instructions I can finally try one.
I really do need a Kreg jig. I can think of a few projects that it would certainly help me to do.
Thanks for sharing ! Your skills Are appreciated 🙂
I love headboard benches too! Every time I think about them, I want to make another. However, for some reason the last one I made hasn’t sold at my booth. I guess maybe it will sell this Spring.
The Kreg Jig is awesome!
gail
Do you have printable instructions? It is very difficult to follow this on the phone with all the ads in the way. And if you accidentally touch an ad it takes you to a different website. The you have to go back and find your place again. Its really frustrating. I would love to make a bench like this. I already have the bed frame.
No, I’m sorry I don’t have printable instructions for this project. Did you watch the video? It’s on YouTube and in my Facebook Group (My Repurposed Life and Friends)
There shouldn’t be any ads on the video.
gail
This is brilliant! You are certainly handy and have me impressed. I don’t think I use 5 power tools ever! You are making me think I need to keep my eyes open for some old headboards and bed! Bravo!
Thank you so much Chloe! I love, love, love making headboard benches. I so appreciate your enthusiastic comment!
Take Care!
gail
Gail you are officially queen of the headboard benches! This one is a beauty and wow that repair is top notch. Love all the curves and fresh white, just stunning.
Thank you so much Jaime! This one will be hard to let go. 🙂
gail
Looks super cute! Impressed with that patch job! Love a good upcycle!
Thank you Charlotte! It was very tempting to just clean up the bed post and leave it, since it will most likely be up against a wall. But a neighbor mentioned . . “I know you’ll make it look pretty”. So, I just had to do the best I could with it!
gail