Wooden Rocking Chair Makeover | Curb Find
As an Amazon Associate, I earn from qualifying purchases.

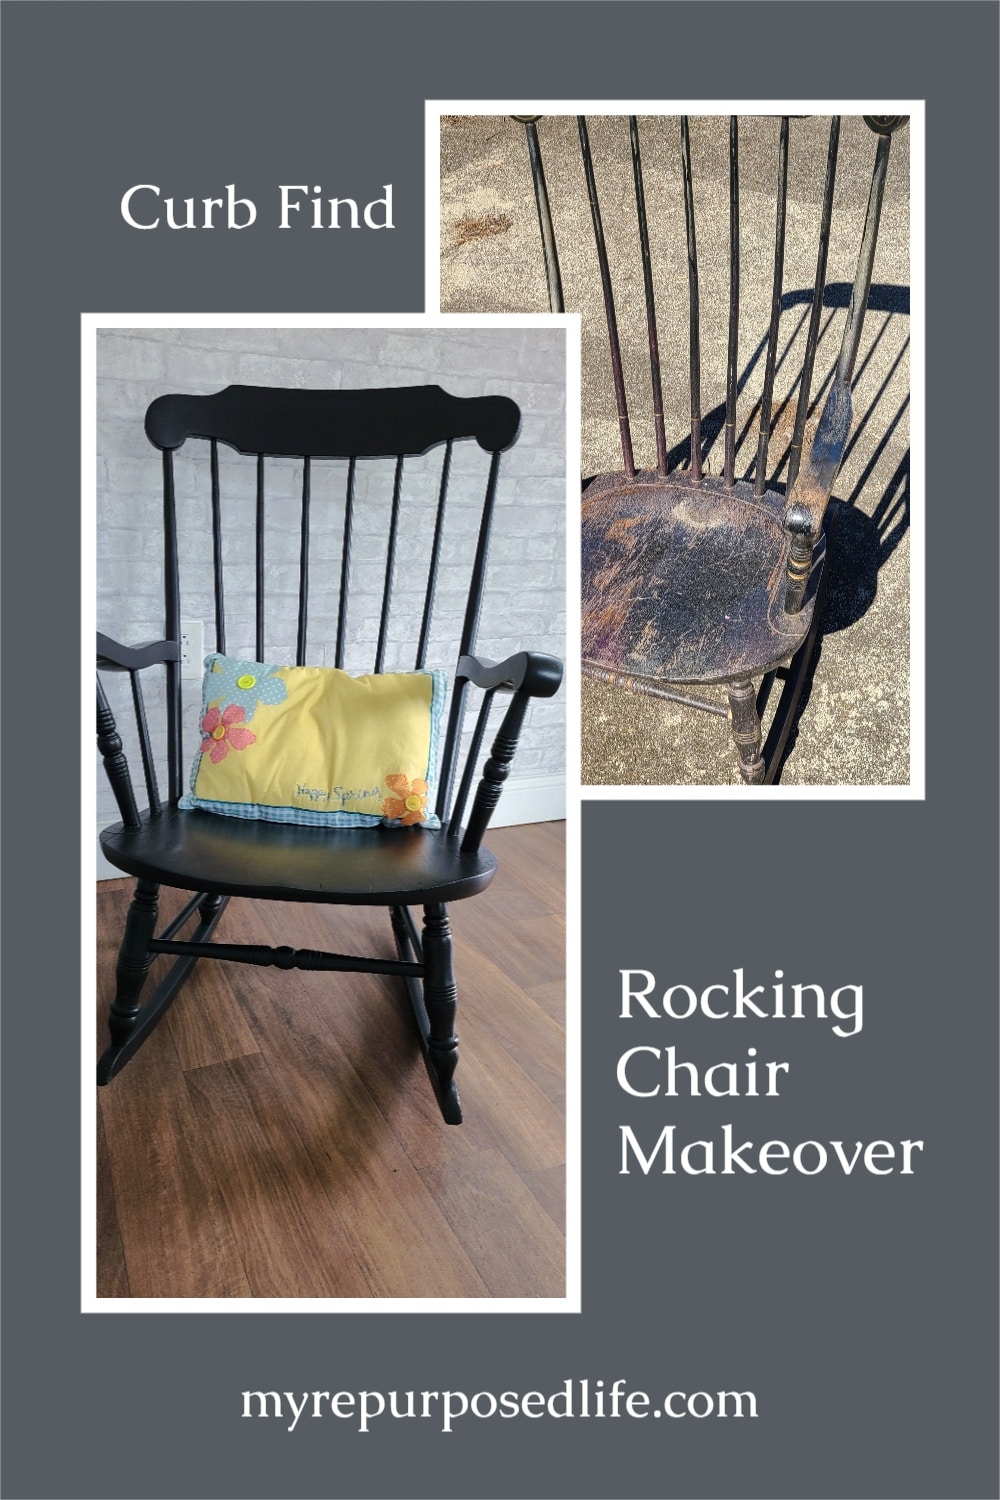
I’m sharing a wooden rocking chair makeover for this month’s Thrift Store Decor Team project. I guess it’s a little more than a makeover. The wooden rocking chair needed some repairs. But you can just skip that part if your rocking chair just needs painting. Yes, this rocking chair makeover involves painting, but I think that’s okay because it was already black.

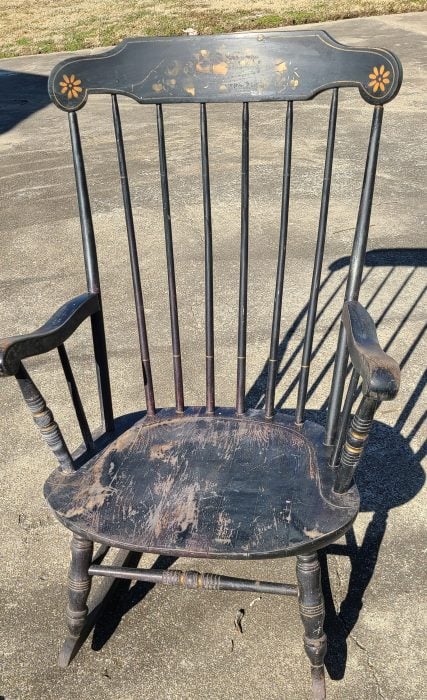
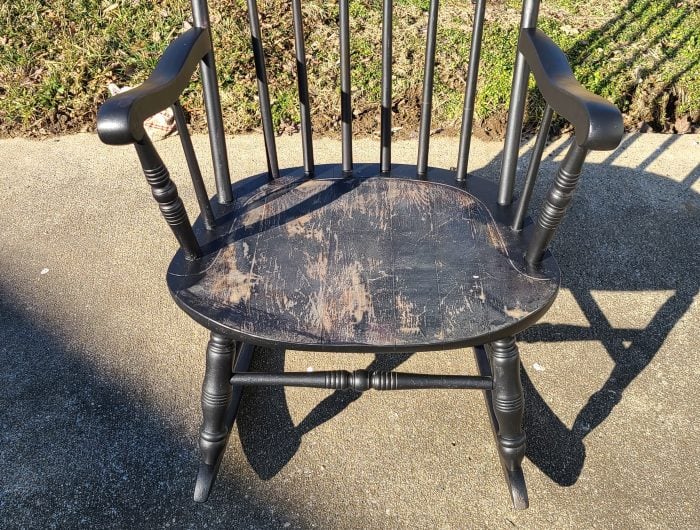
Would you have passed on this wooden rocking chair in such bad shape? I scooped it right up (from a neighbor).
Related content: Furniture fixer upper wooden rocking chair makeover
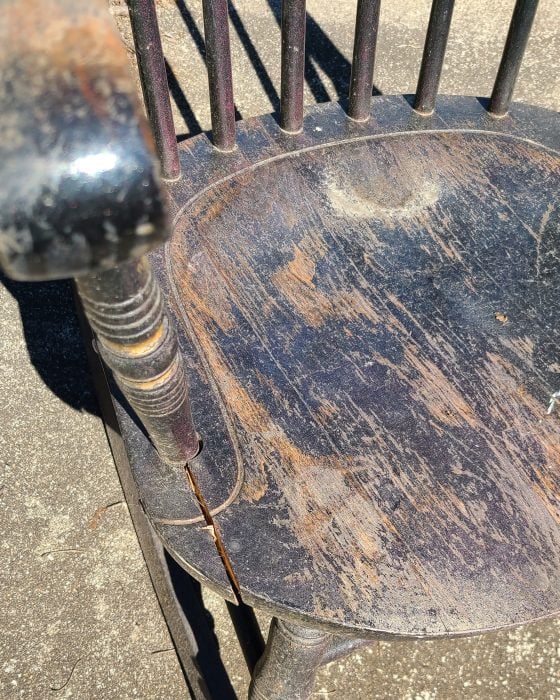
But, after I got it home, I saw this! Yikes!
Repairing Broken Furniture, Where To Begin?
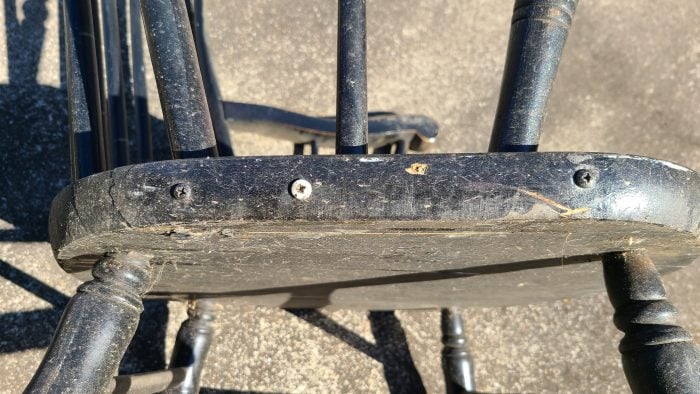
For this broken wooden rocking chair, I had to remove the screws someone had used to hold the chair seat together.

I added Gorilla Wood Glue under the chair spindles and all along the side edge of the wooden rocking chair.
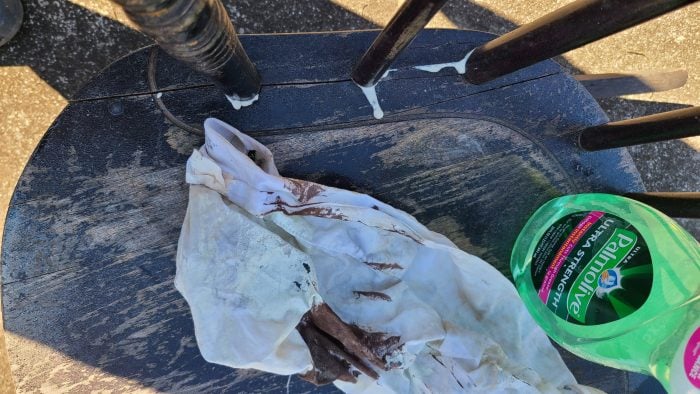
Since I used a lot of wood glue for good measure, I needed to clean up the excess. For tasks like this, I use a bottle of diluted dish detergent. It cleans up messy hands and more with no need to rinse.
Countersink Screws to Repair Seat
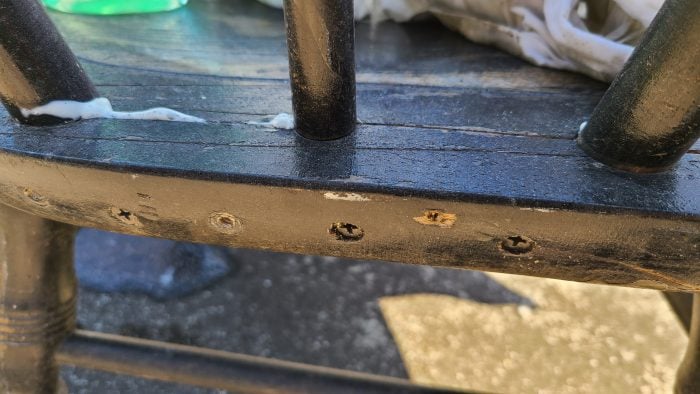
In order to insure the glue sets up with the broken part of the seat in place, I secured it with fine thread drywall screws. Countersinking the screws helped draw the pieces tight, and will make them invisible on the wooden rocking chair makeover.
How to Prepare Wooden Rocking Chair for Painting
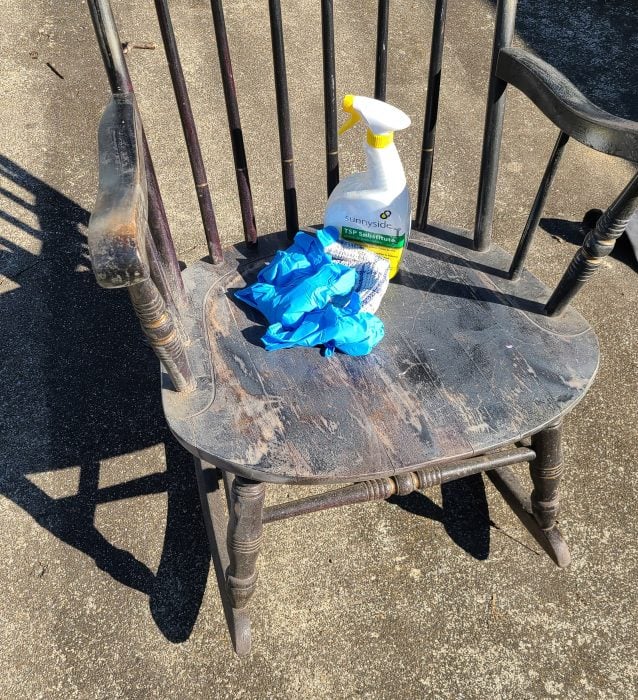
After the seat was repaired and patched, it was time to paint the wooden rocking chair. But before that can happen, all the years of grime and dirt need to be removed. I prefer to use TSP or TSP substitute for this.
Now that the wooden rocking chair is clean, it’s time to paint.
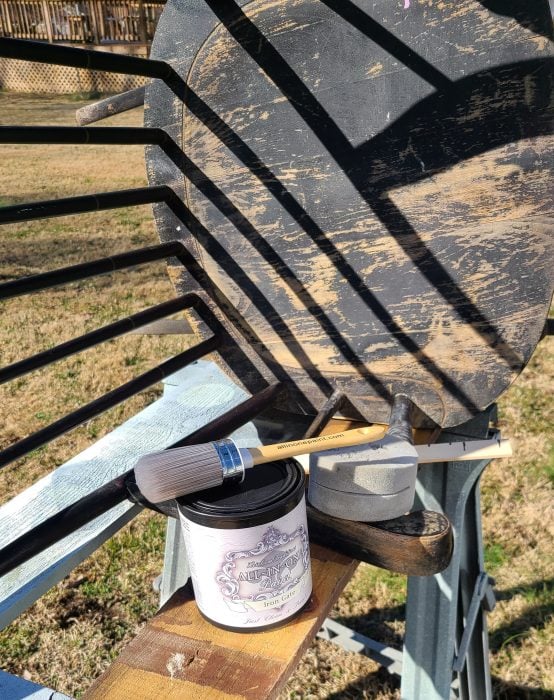
I’ve been using HTP All in One Paint a lot lately. It worked fabulously when I painted my kitchen countertops. Iron Gate is quickly becoming my favorite color, and I’m going to show you why! I used their paintbrush, and sponge applicator to get a smooth finish on this wooden rocking chair.
To begin, I start with the rocking chair up on sawhorses. While it’s elevated, I paint the underside of the chair. Brushing on the paint, then using the sponge applicator to stipple the paint to remove any brush strokes.
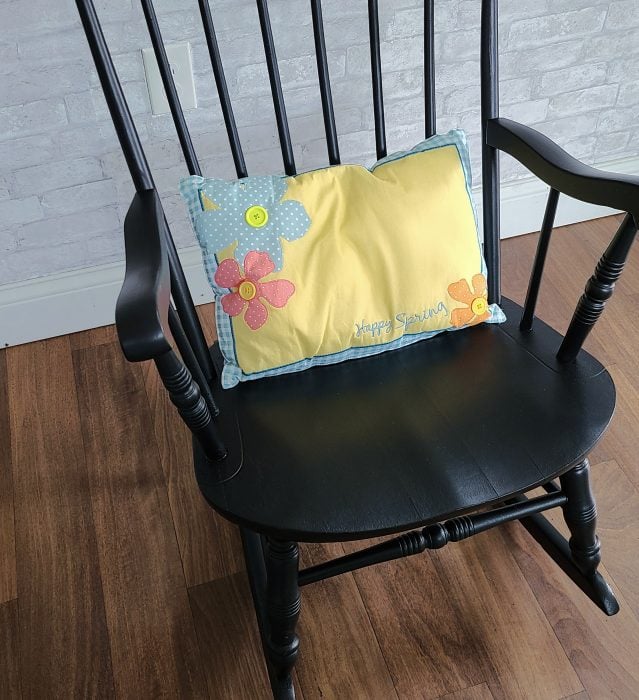
oohh la la! Look how good the freshly painted wooden rocking chair is looking! At this point I’ve painted everything but the seat. I knew it may be the hardest area to achieve a nice smooth finish.
Wooden Rocking Chair Makeover Complete!
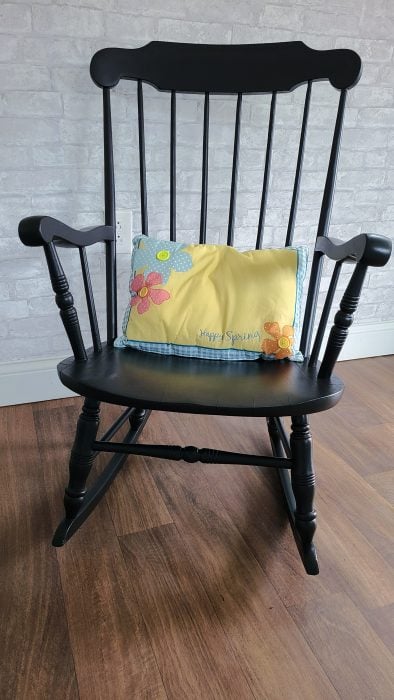
Can you believe it’s the same chair? Let’s take another look at the before . . .
This was a great save, eh?
Remember the busted seat?
I think the previous owner wouldn’t even recognize it.
Now, be sure to check out the awesome projects from my friends!!!
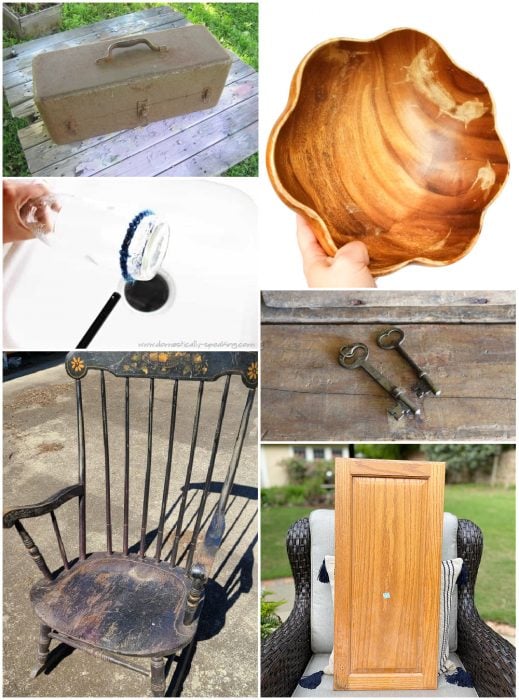
Repurposed Toolbox Jewelry Box Petticoat Junktion
Cutting Glass Domestically Speaking
Clam Shell Bowl With Baking Soda Sadie Seasongoods
Wooden Rocking Chair Makeover My Repurposed Life
Antique Skeleton Key Makeover House of Hawthornes
DIY Lake Sign Our Southern Home
Antique Hitchcock chair!!!!
Worth $250.00 as is.
Mary,
Thanks for that information. I had no idea what it was called.
gail
Nice job! Love that you gave it new life. How about a pic of where you sank the screws?
I sent you an email with the image you requested. The quality wasn’t good enough to include it in the article.
gail
Really nice job – great work!
Thank you Becky! I love giving new life to curb finds. 🙂
gail
Goodness! You really took the chair from the dumpster to fab! Great tips for repairing. I love the black paint on it. Well done!
Another wonderful completed project! Every time I look at what you’ve accomplished, it makes me want to learn how to do all this stuff. But alas….the motivation just isn’t there!!!!!
Cheri,
I totally get the not being motivated part. That happens to me a lot. Thankfully I have this group of wonderful ladies (once a month) that are expecting me to produce a thrift store project!!! 🙂
Hoping you get your mojo back soon.
gail
what a wonderful job! looks very nice!
That is a great save! Restored to its beauty!
Wow! That’s a great transformation. It looks like something that could be bought in a store.
So many people would have walked past that rocking chair with the thought that they should have tossed it in the trash. But you saw it’s beauty. I want to try that new paint. The finish is so smooth. I wonder how many children were rocked to sleep in it. Do you think it needs cushions for it that tie to the back? I know I’ve had a lot of rump time in my rocker in the last 4 years. Especially with the 18 month old grandson who never sleeps.
Thanks for stopping by Jennie!
I seriously love that Iron Gate color. I just ordered the same color paint I used in my kitchen to use in my camper! It’s all wood and dreary in there, so I’m going to have a new project to work on this summer. 🙂
Maybe the new owner will decide to put some cushions in the rocking chair.
gail
That rocking chair reminds me of my Grandmother’s. Not because it looked like that but because it was held together with screws and nails and just about anything she could find. Love how you fixed this one up. It looks great!
Awwww, Pam–that’s sweet about your grandmother’s rocking chair. Sweet that she must have loved it enough to want to keep a rockin’
gail