• Skip to primary navigation
  • Skip to main content
  • Skip to primary sidebar
  • Start Here
  • Shop Favorites
  • About
    • Welcome To My Repurposed Life Home of Repurposed Furniture
    • More About Gail
    • Disclosure
    • Privacy Information
  • Gallery
    • Repurposed Furniture
  • Repurposed Items
    • Building Supplies
    • Miscellaneous Household Items
    • Picture Frame/Chalk Board
  • DIY
    • Home Reno
    • outdoor living
    • Painting
    • Shop Talk
    • Tips for Around the House
    • Build It
      • Furniture
      • Home Decor
      • Storage
    • Crafts
      • Dollar Store
      • Easy
      • Holidays Seasonal
  • Furniture
    • Chair
    • Desk
    • Dresser/Chest
    • Headboard | Bed Parts | Cribs
    • Kids Furniture
    • Table
    • Kids Furniture
My Repurposed Life® Rescue Re-imagine Repeat
menu icon
go to homepage
subscribe
search icon
Homepage link
  • About
  • Start Here
  • Project Index
  • Furniture
  • Subscribe
    • Email
    • Facebook
    • Instagram
    • Pinterest
    • RSS
    • Twitter
  • ×

    Home » DIY » Build It » You Have My Whole Heart (reclaimed fence sign)

    You Have My Whole Heart (reclaimed fence sign)

    Published by Gail | Published April 16, 2012 | Updated February 26, 2023
    As an Amazon Associate I earn from qualifying purchases.

    Pin
    Share
    Tweet
    Learn how to make a unique and rustic reclaimed wooden sign with these easy steps! Follow this step by step guide and create a one-of-a-kind sign for your home. #MyRepurposedLife #MyWholeHeart #diy #sign via @repurposedlifeLearn how to make a unique and rustic reclaimed wooden sign with these easy steps! Follow this step by step guide and create a one-of-a-kind sign for your home. #MyRepurposedLife #MyWholeHeart #diy #sign via @repurposedlifeLearn how to make a unique and rustic reclaimed wooden sign with these easy steps! Follow this step by step guide and create a one-of-a-kind sign for your home. #MyRepurposedLife #MyWholeHeart #diy #sign via @repurposedlife

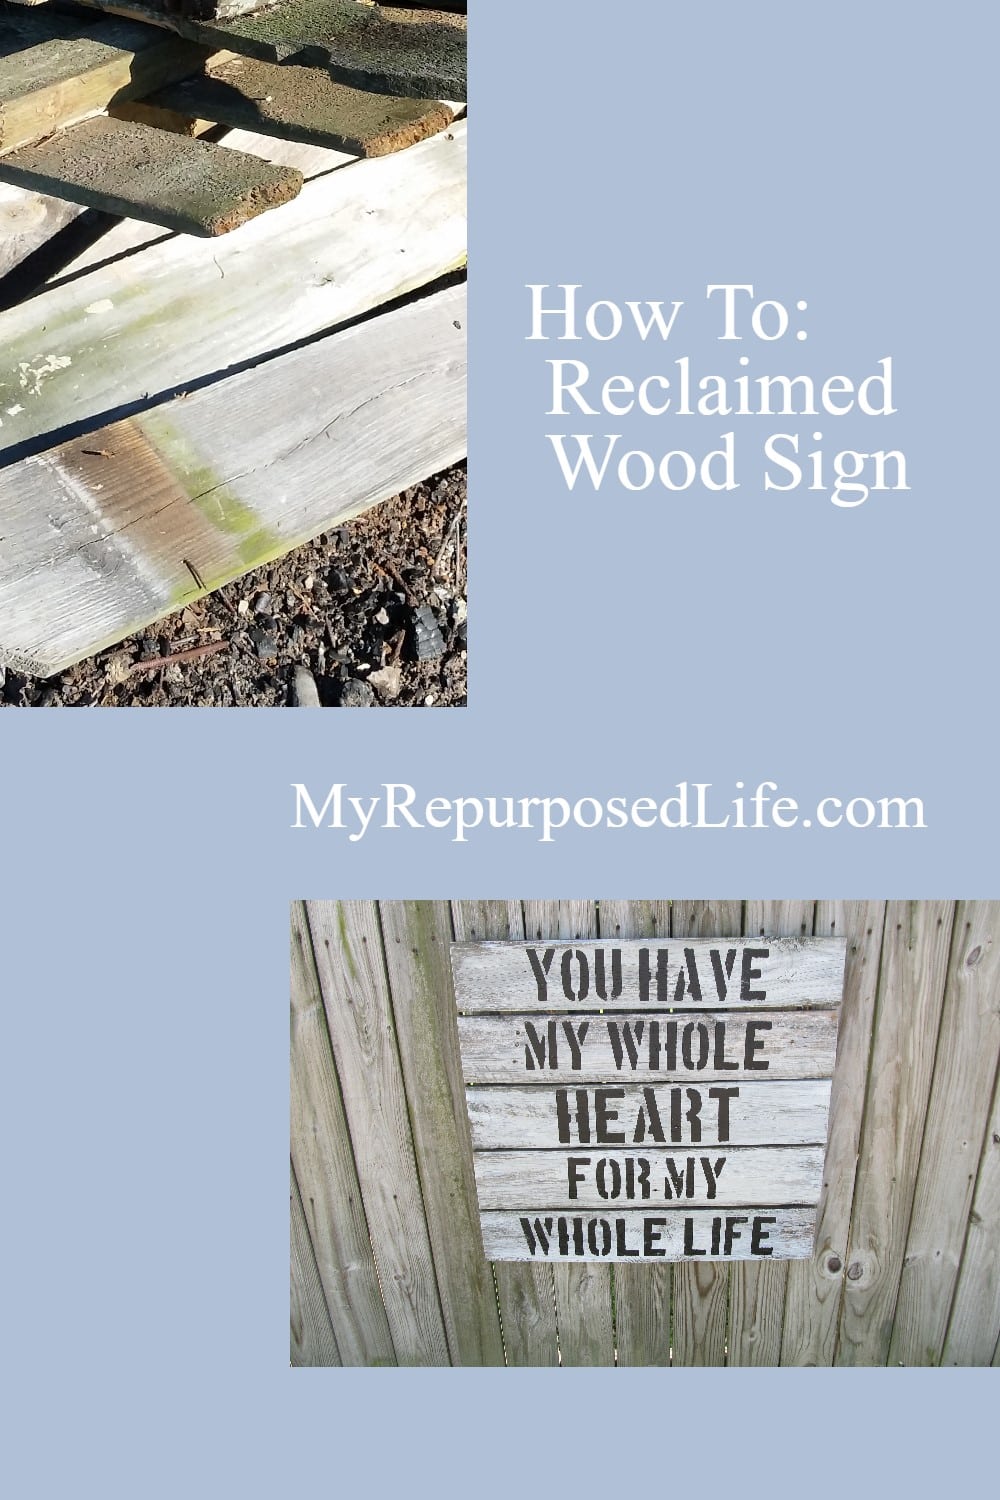
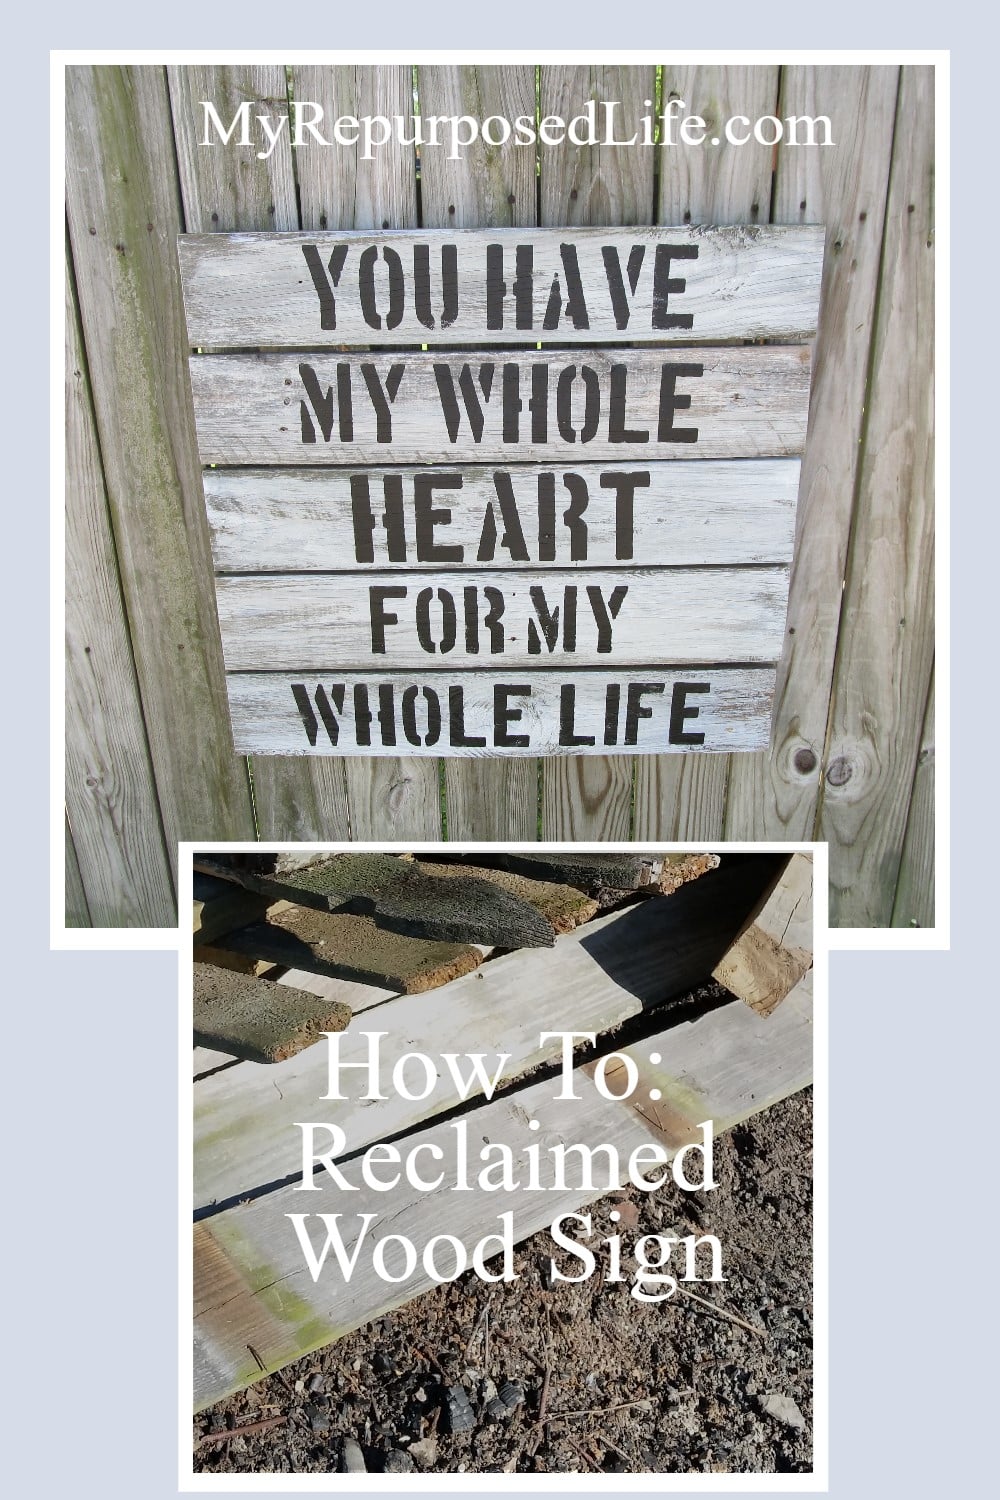
    Reclaimed Wood Sign | You Have My Whole Heart

    I have wanted to make one of these You Have My Whole Heart  signs ever since my friend Stephanie blogged about one she made for her daughter and son-in-law . . .

    If you don’t have a Silhouette, you could easily make this using stencils.

    Suggested Materials

    • Reclaimed wood board
    • Sandpaper
    • Stencil or design for the sign
    • Jigsaw or handsaw
    • Paint or stain
    • Paintbrush or sponge
    • Optional: sealer or varnish, hanging hardware

    Using Reclaimed Fence

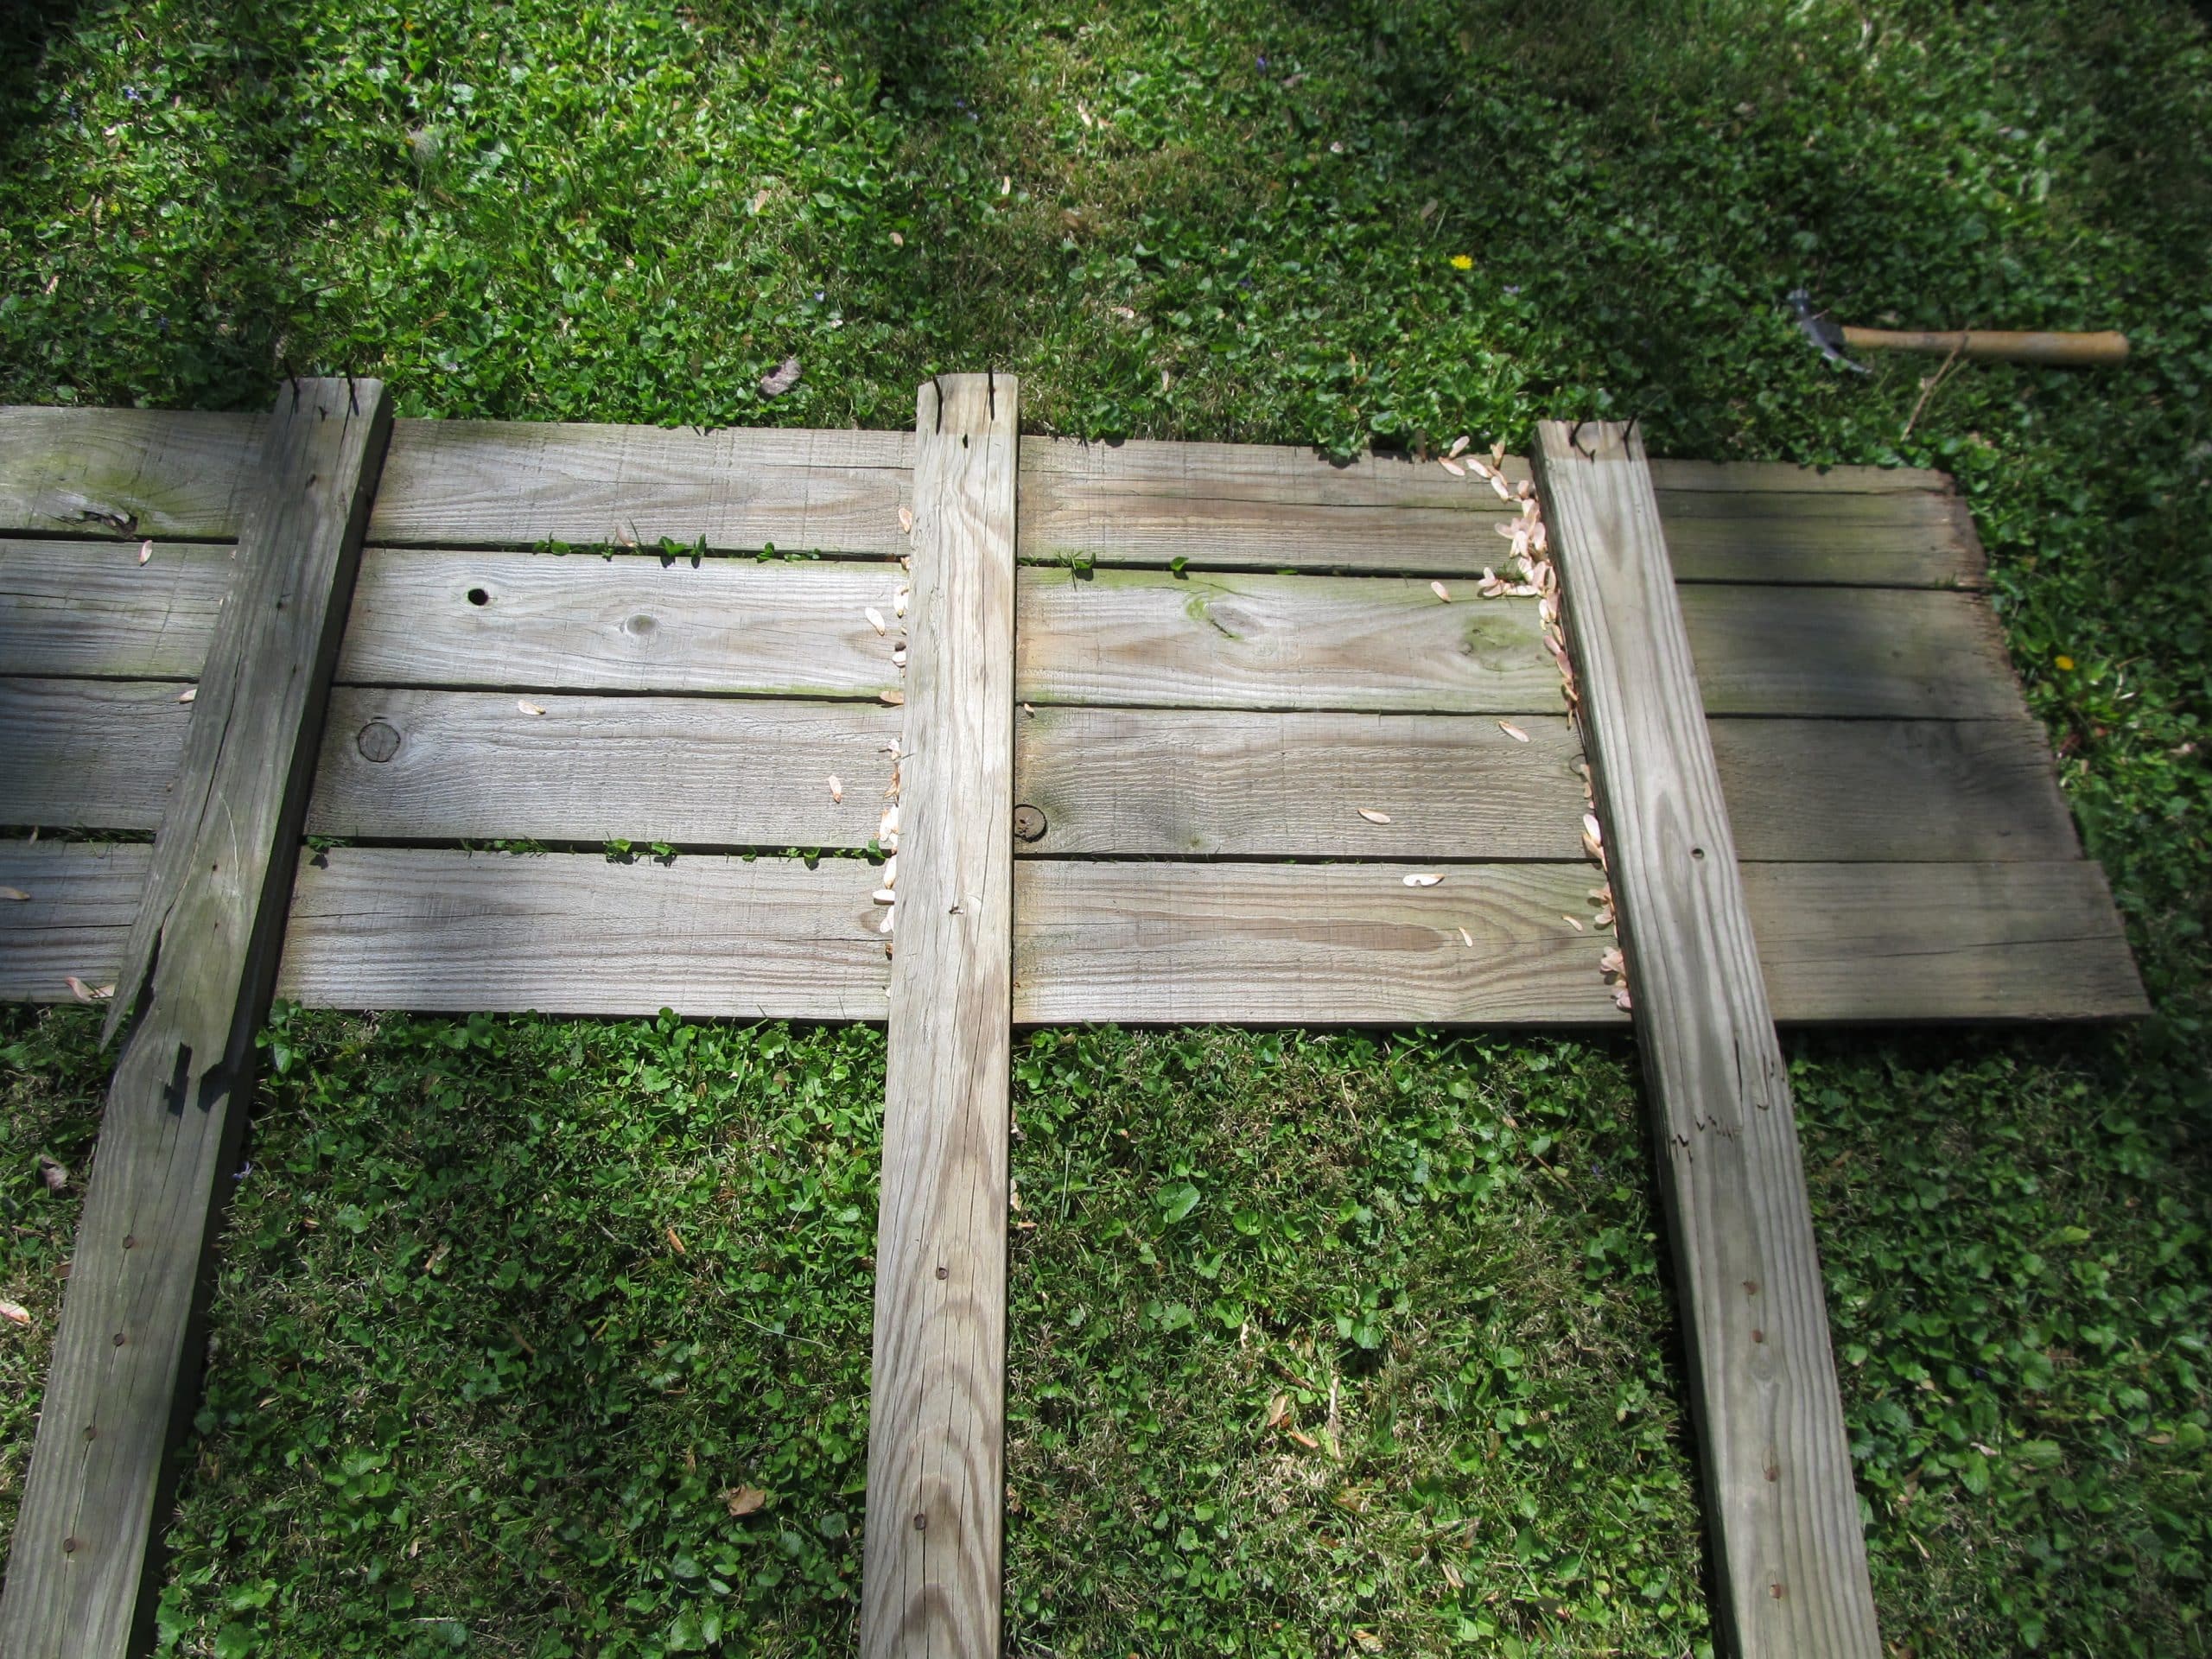
    You may remember I had some old fence around after the tree fell on my house.

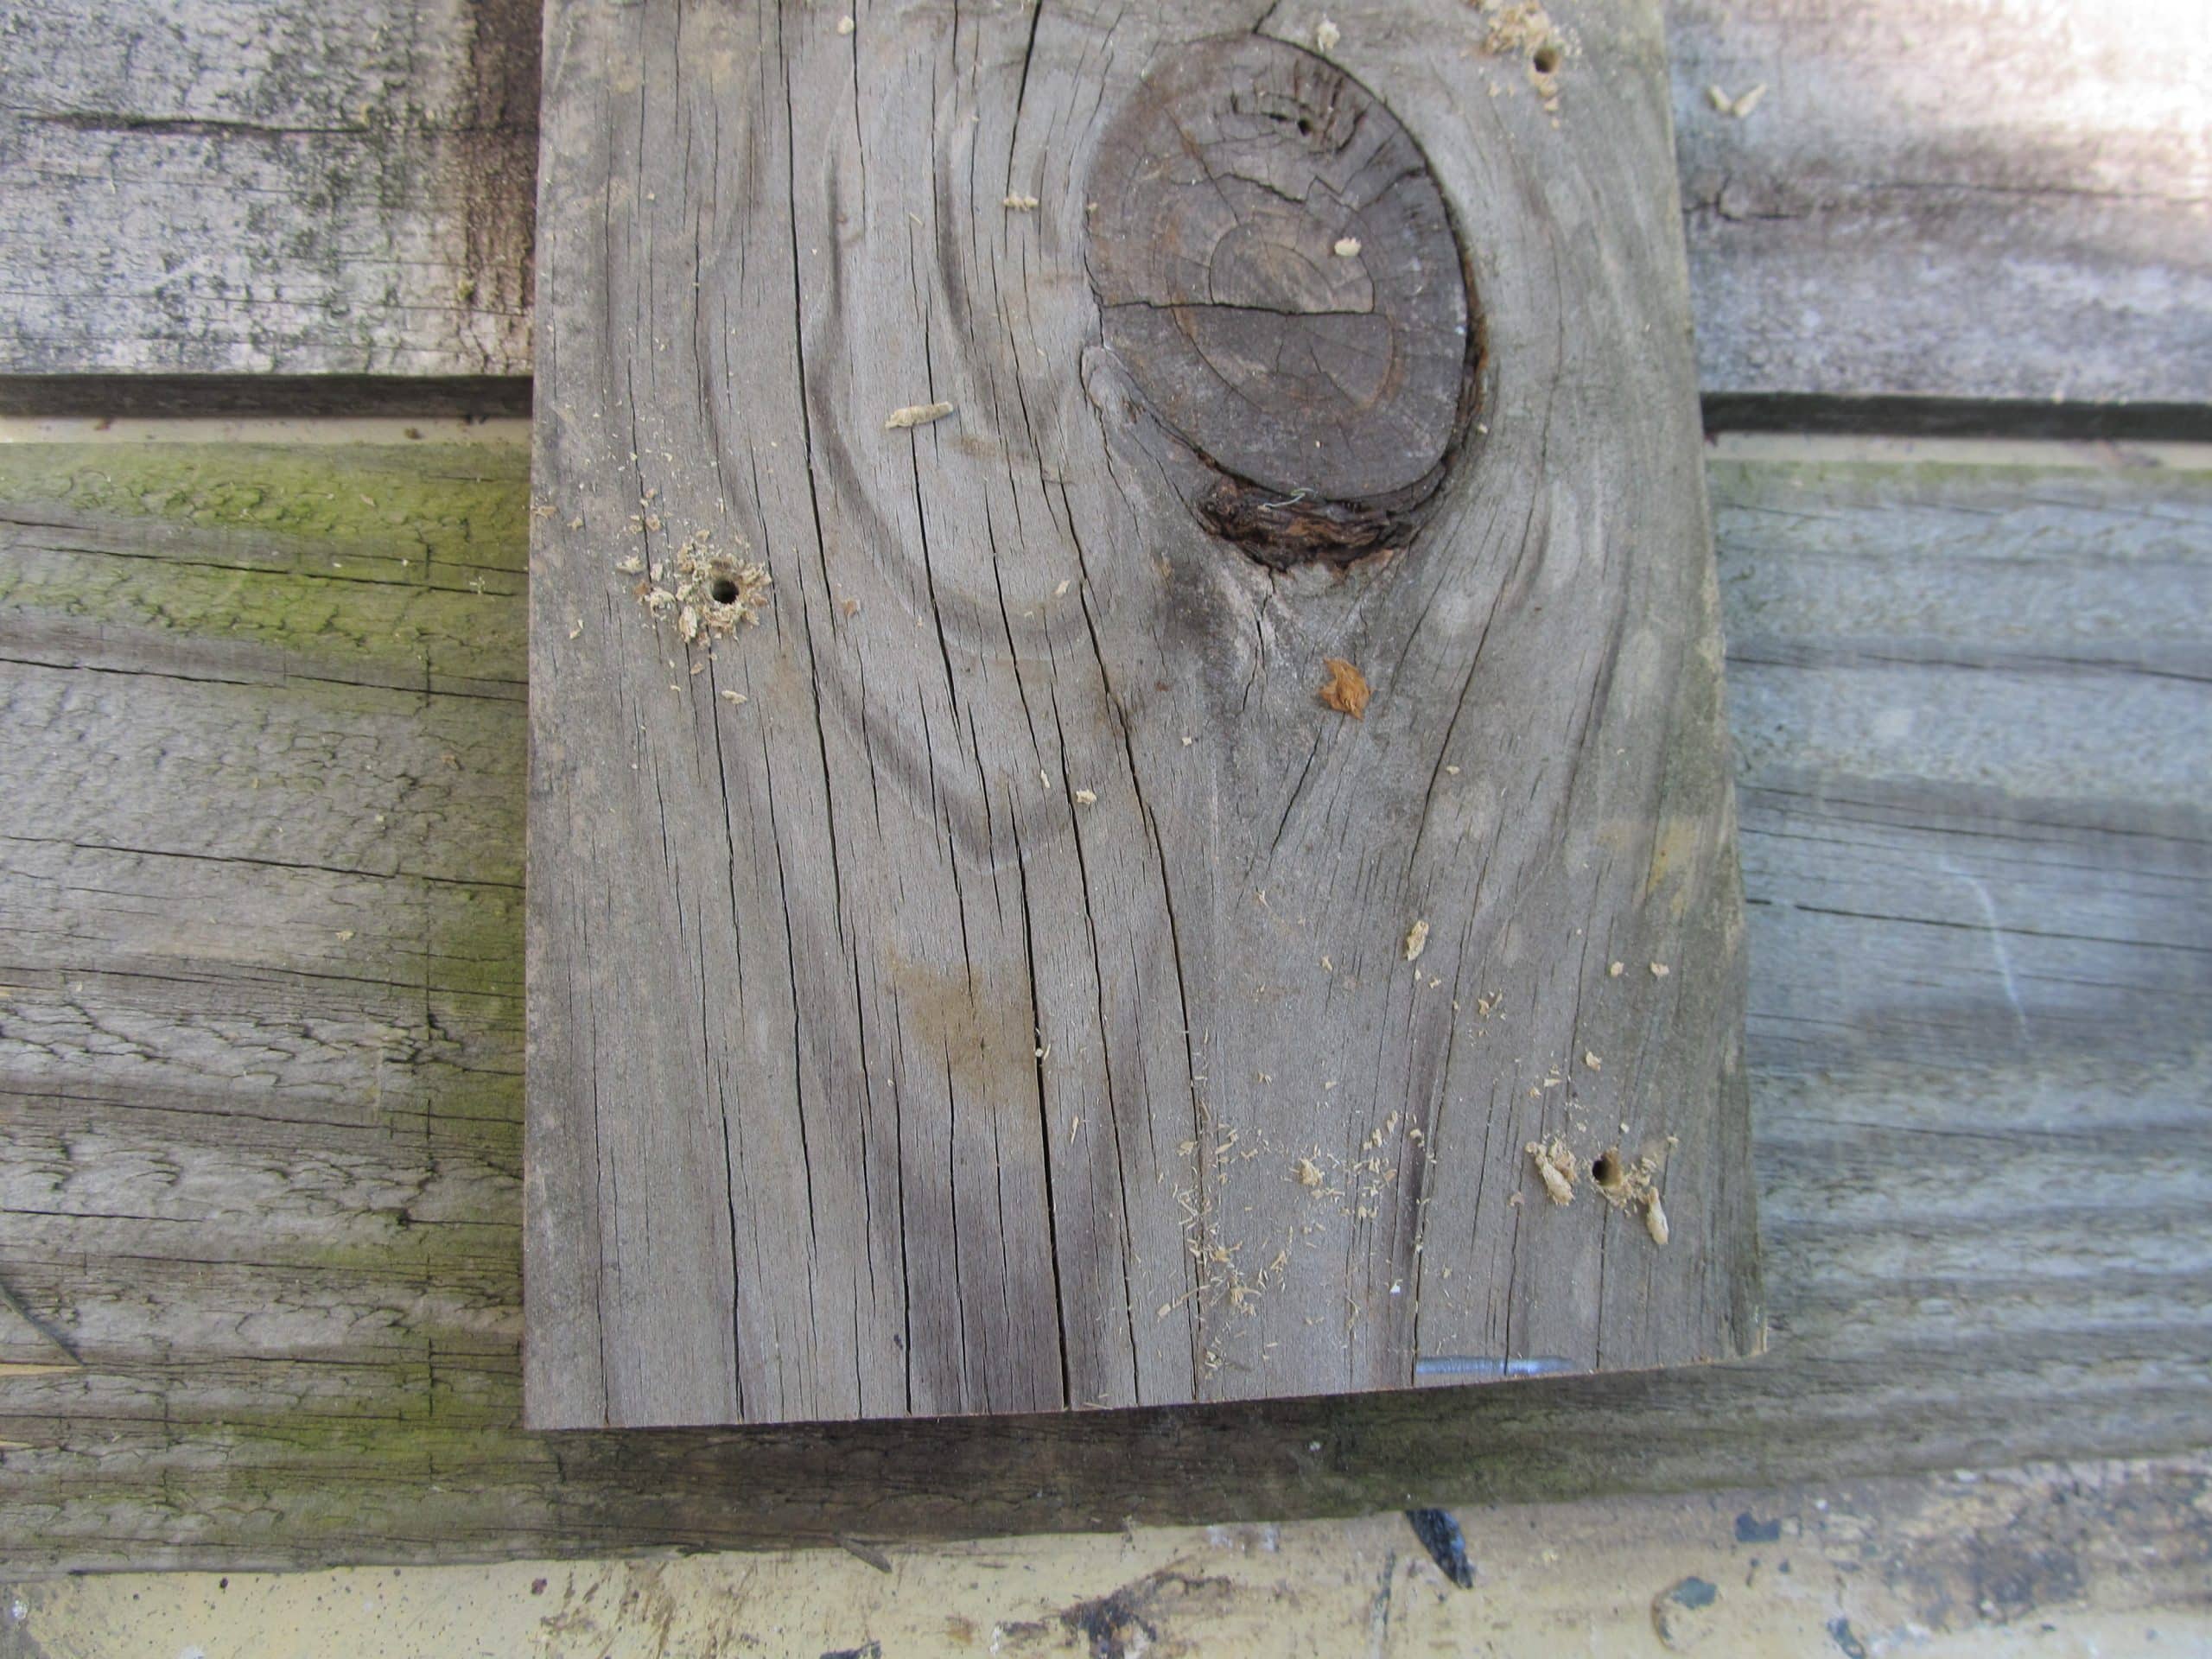
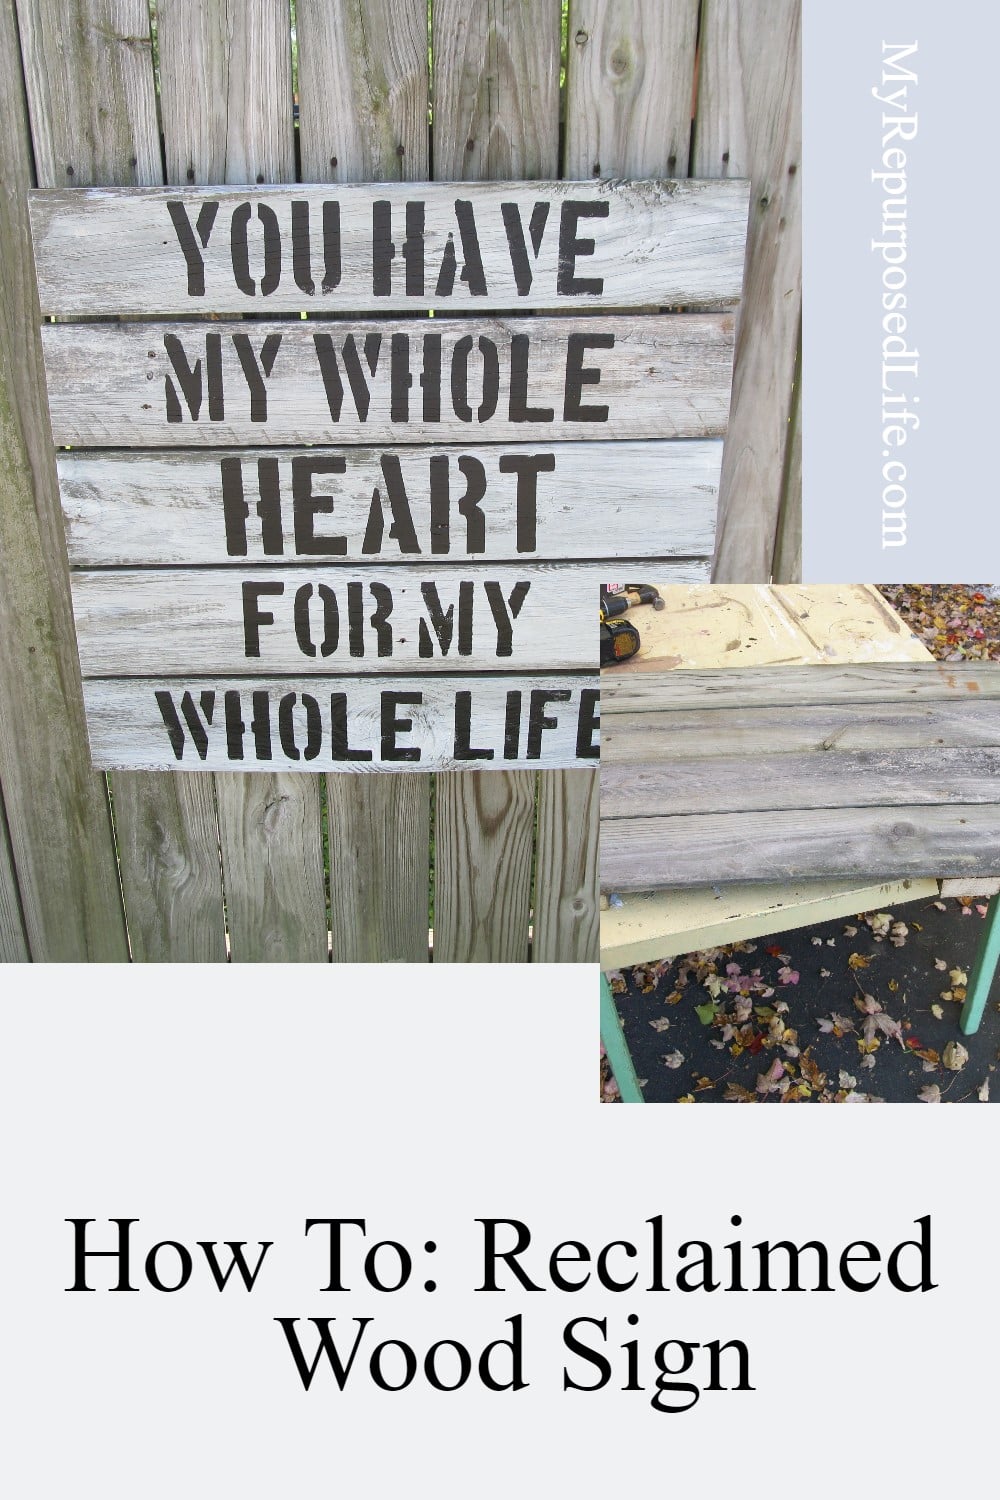
    After dismantling the fence, I cut my boards and pre-drilled some holes, then used some drywall screws to hold everything together.

    Constructing the You Have My Whole Heart Sign

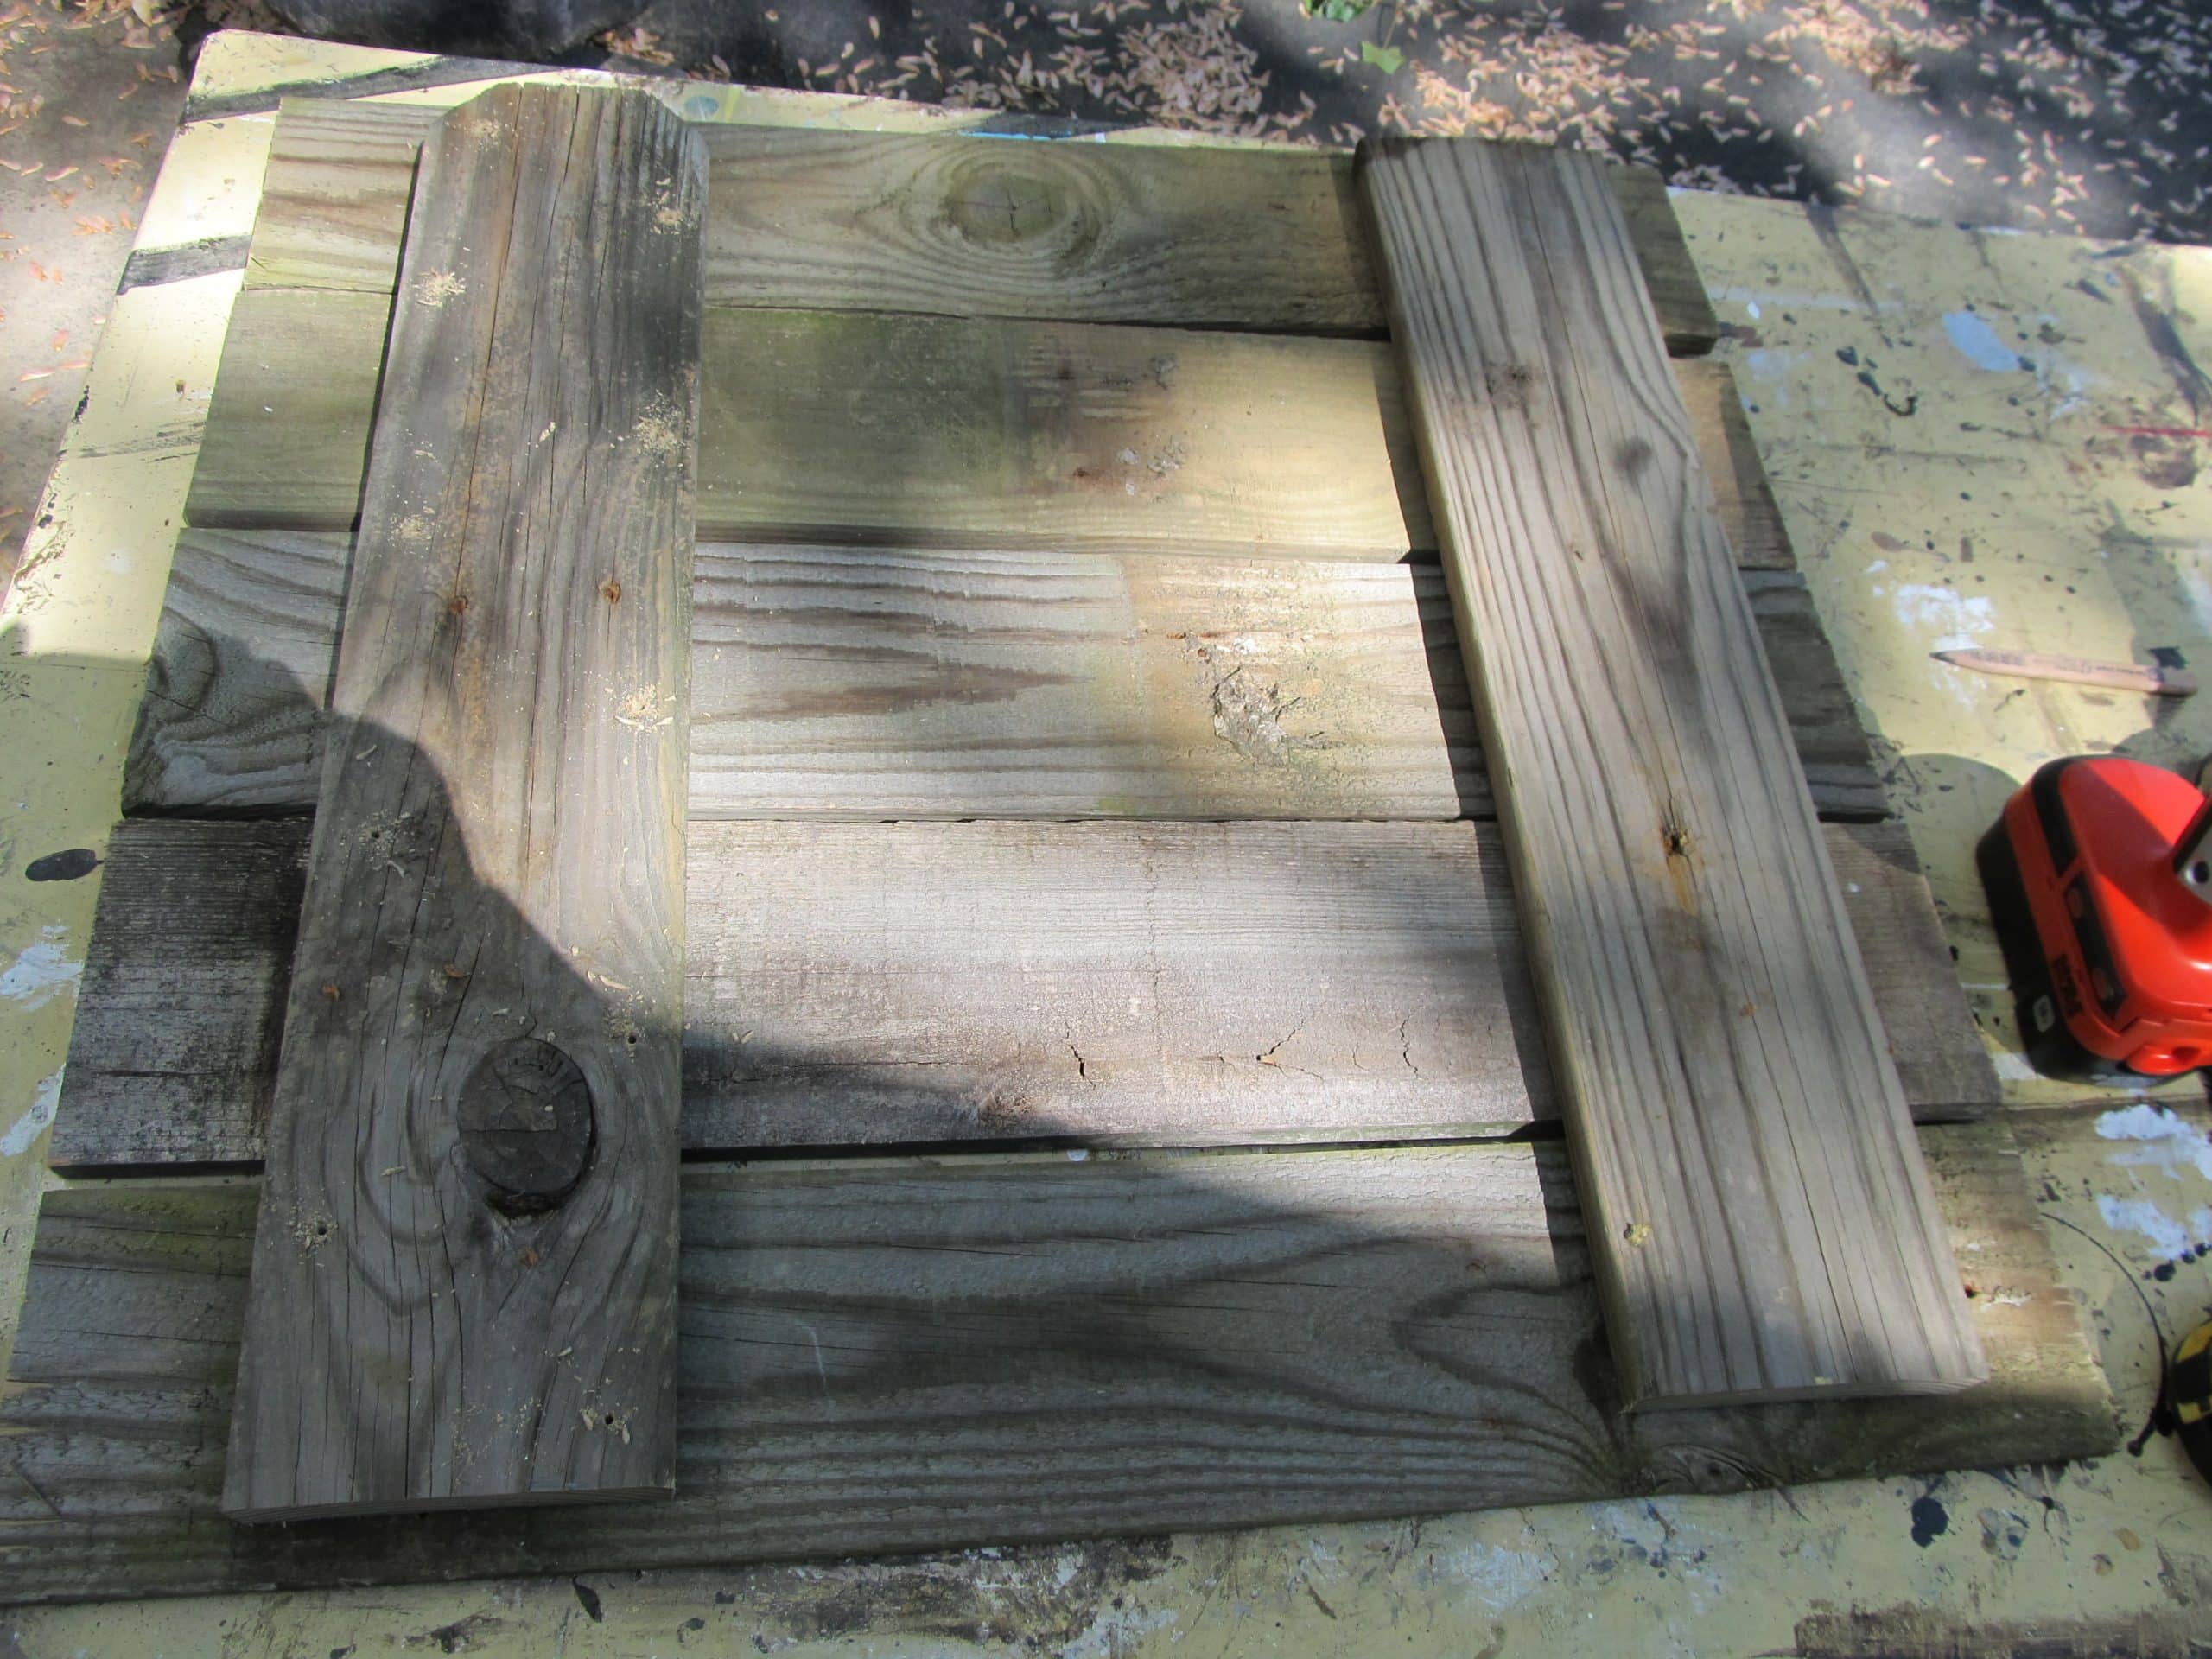
    There are two boards on the back that run the length of the five boards.

    White Wash for the Perfect Finish

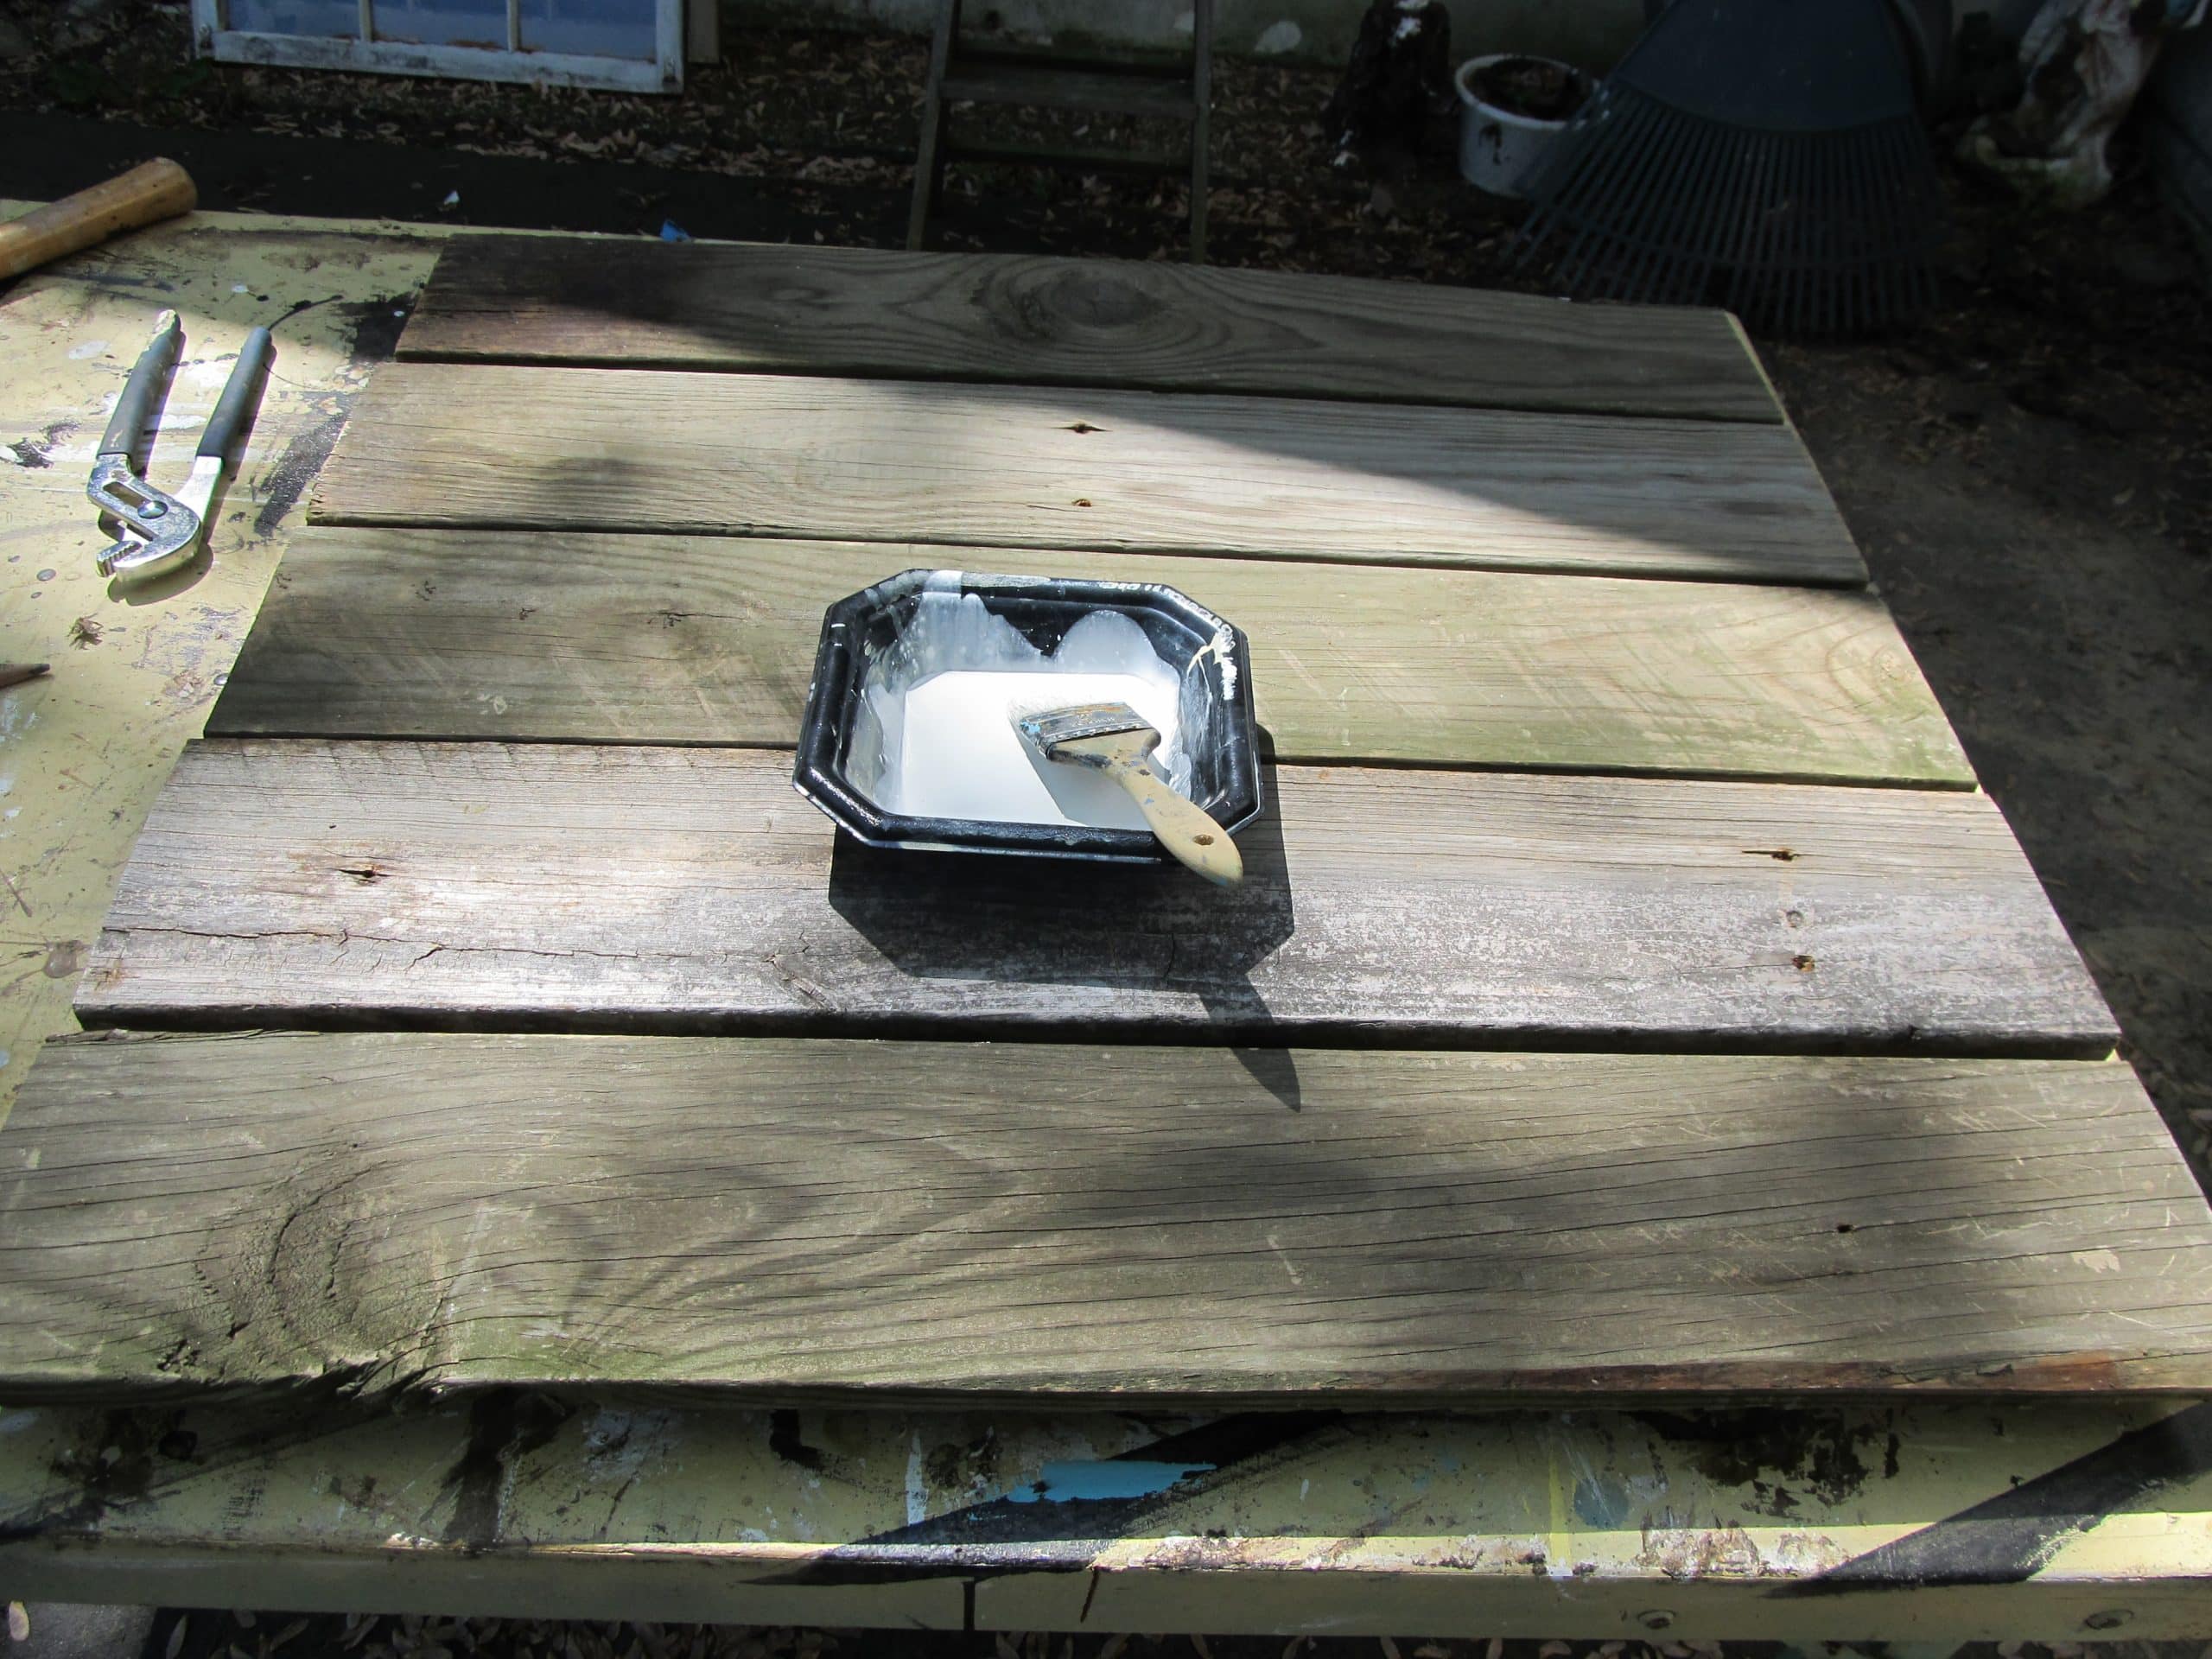
    I used some white paint to do a “wash” on the sign.

    Design Your Stencil

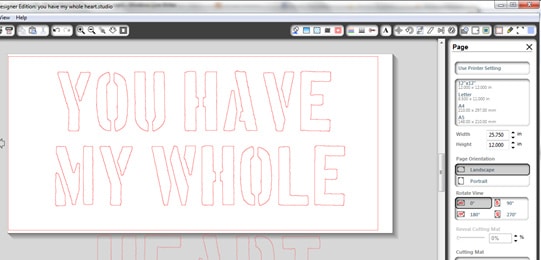
    I designed my stencil in the Silhouette Studio Designer Edition. When I make a sign of this size I use one text box, and move it around into the “cut” area. The font is Boston Traffic.

    You Have My Whole Heart Stencil

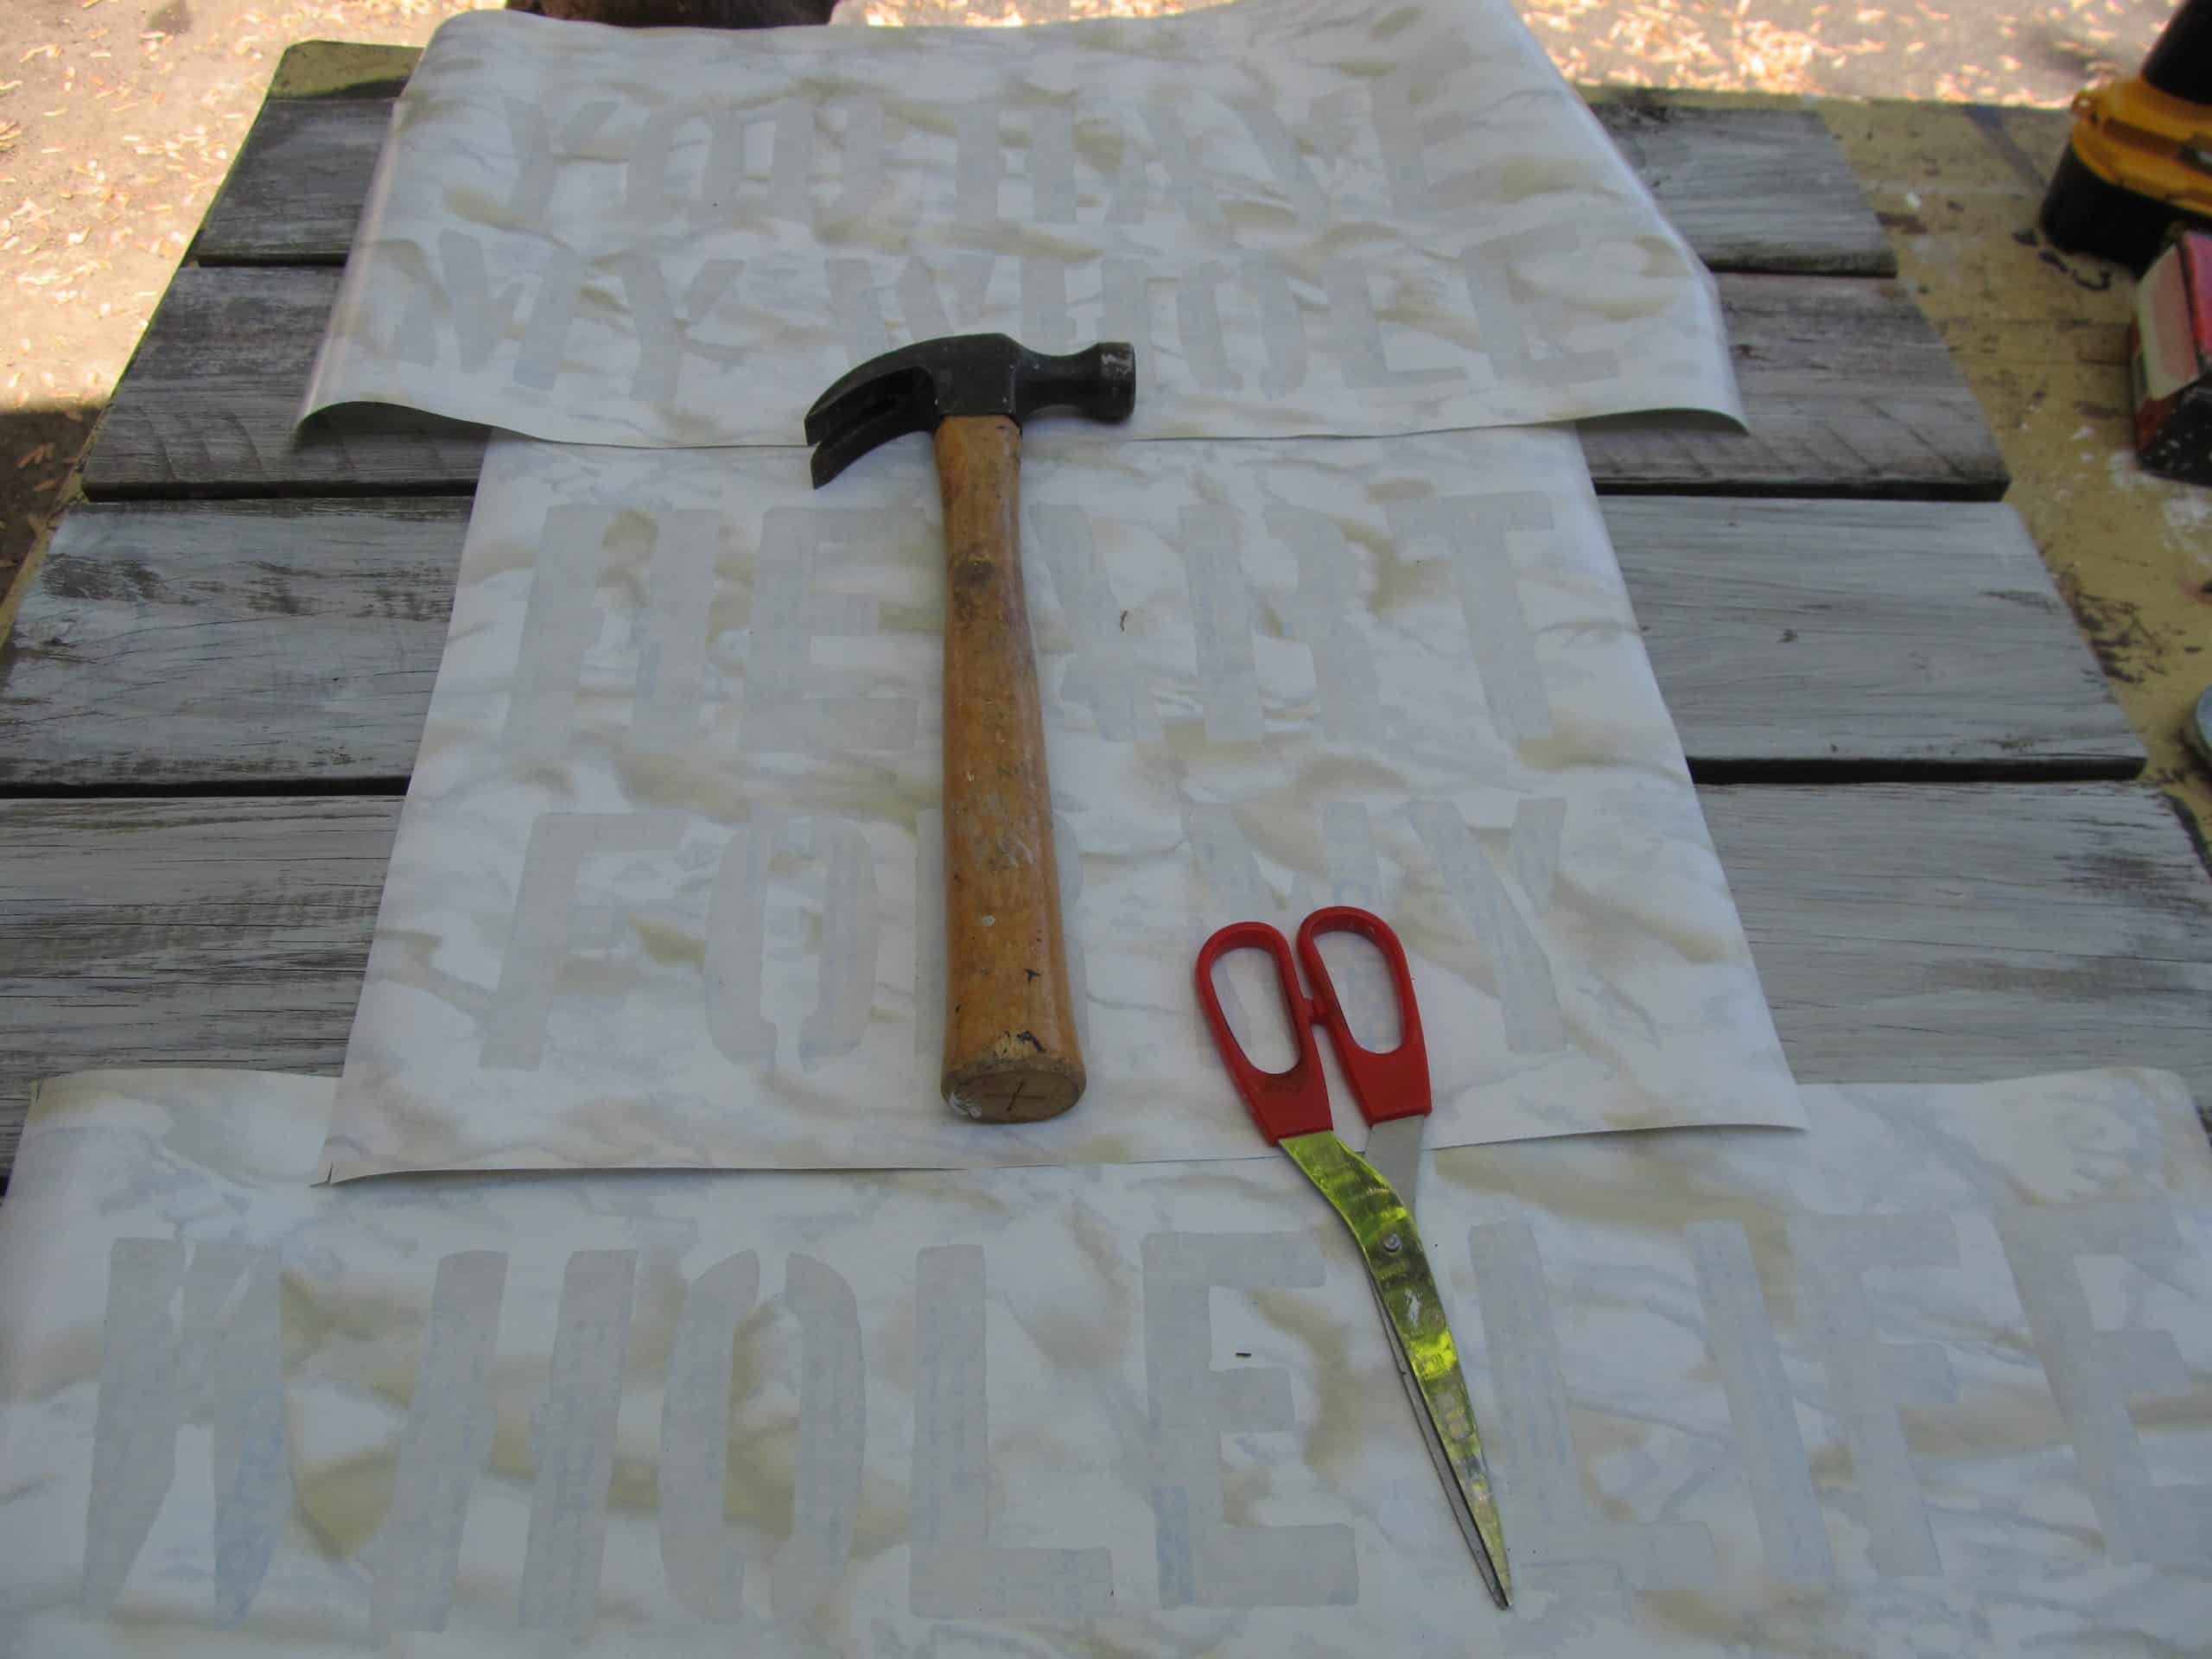
    I cut my stencil out of contact paper. My blade was on 2, with a thickness of 3. I weeded all of the letters out. The stenciling will be done with the negative part of the design.

    Tape Down Contact Paper Stencil

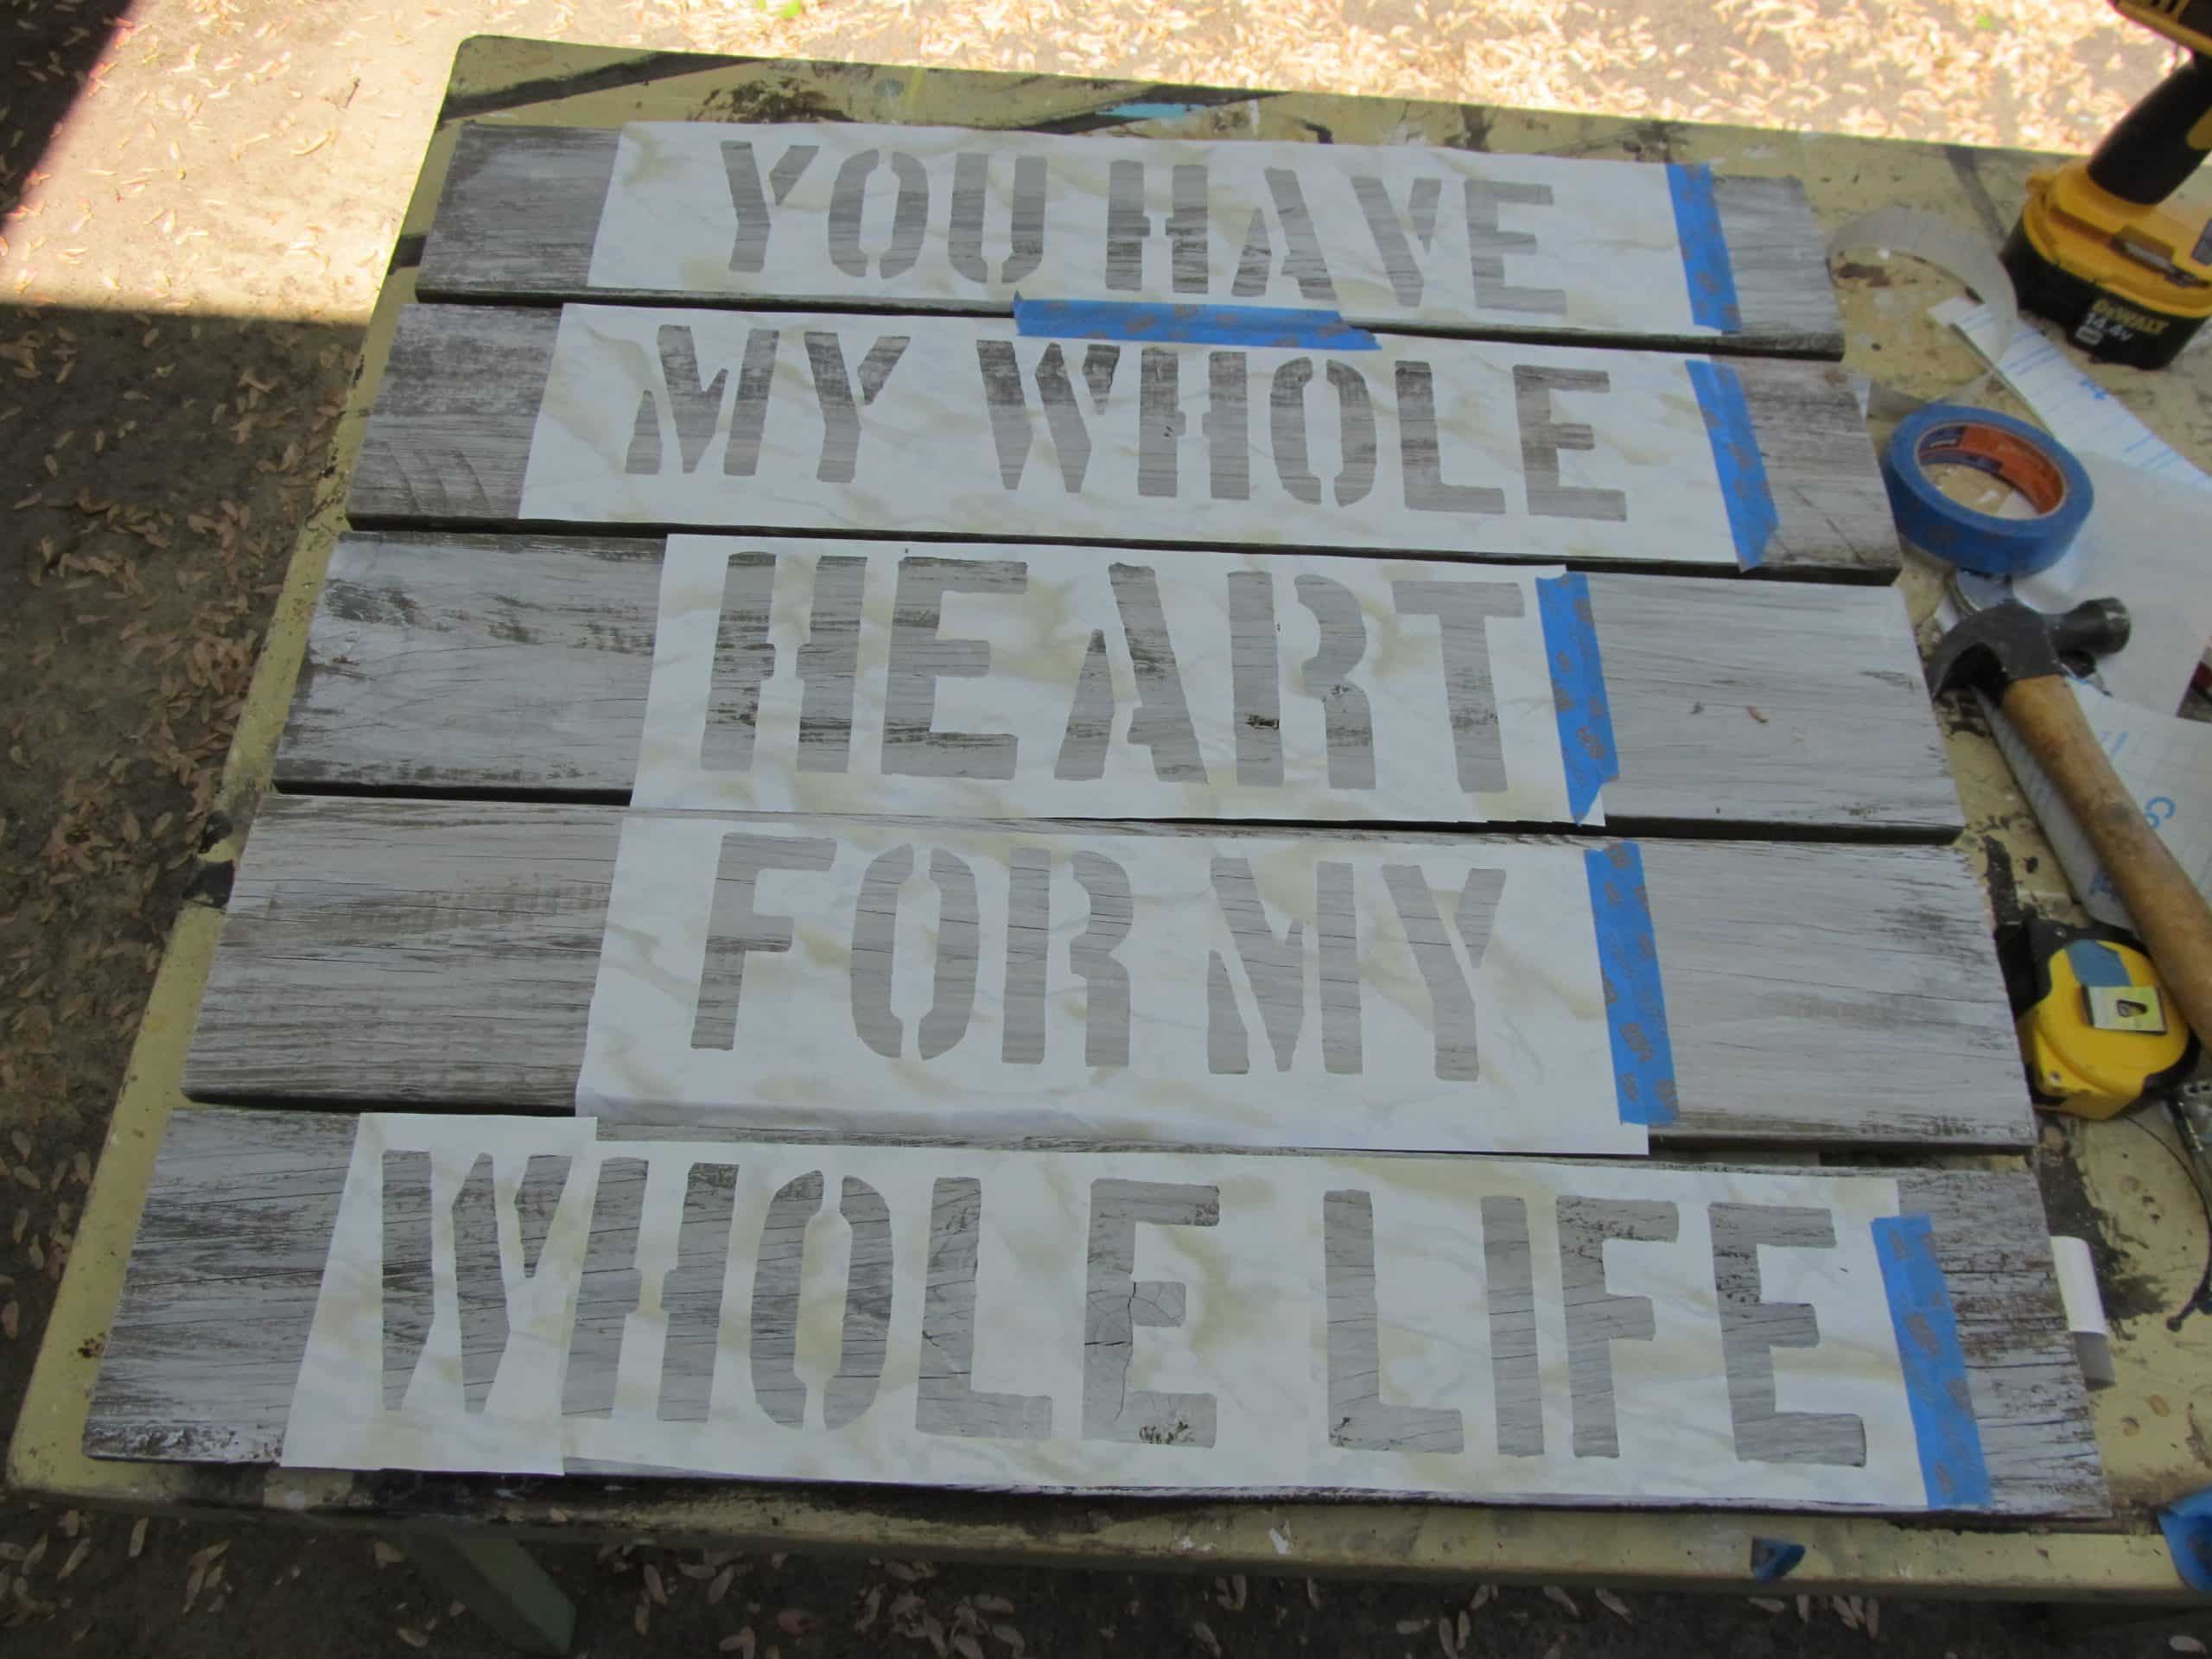
    As I was laying it out, I realized I should cut each line separately. I used some painter’s tape to hold the stencil in place as I removed the contact paper from the backing. I did not use transfer paper for this, as there were no oodles and boodles with this font.

    edited to add: I have a new way of stenciling large signs like this. You can see a video with my step by step instructions in my post Repurposed Pallet Coffee Cup Rack.

    Stencil with Pouncer

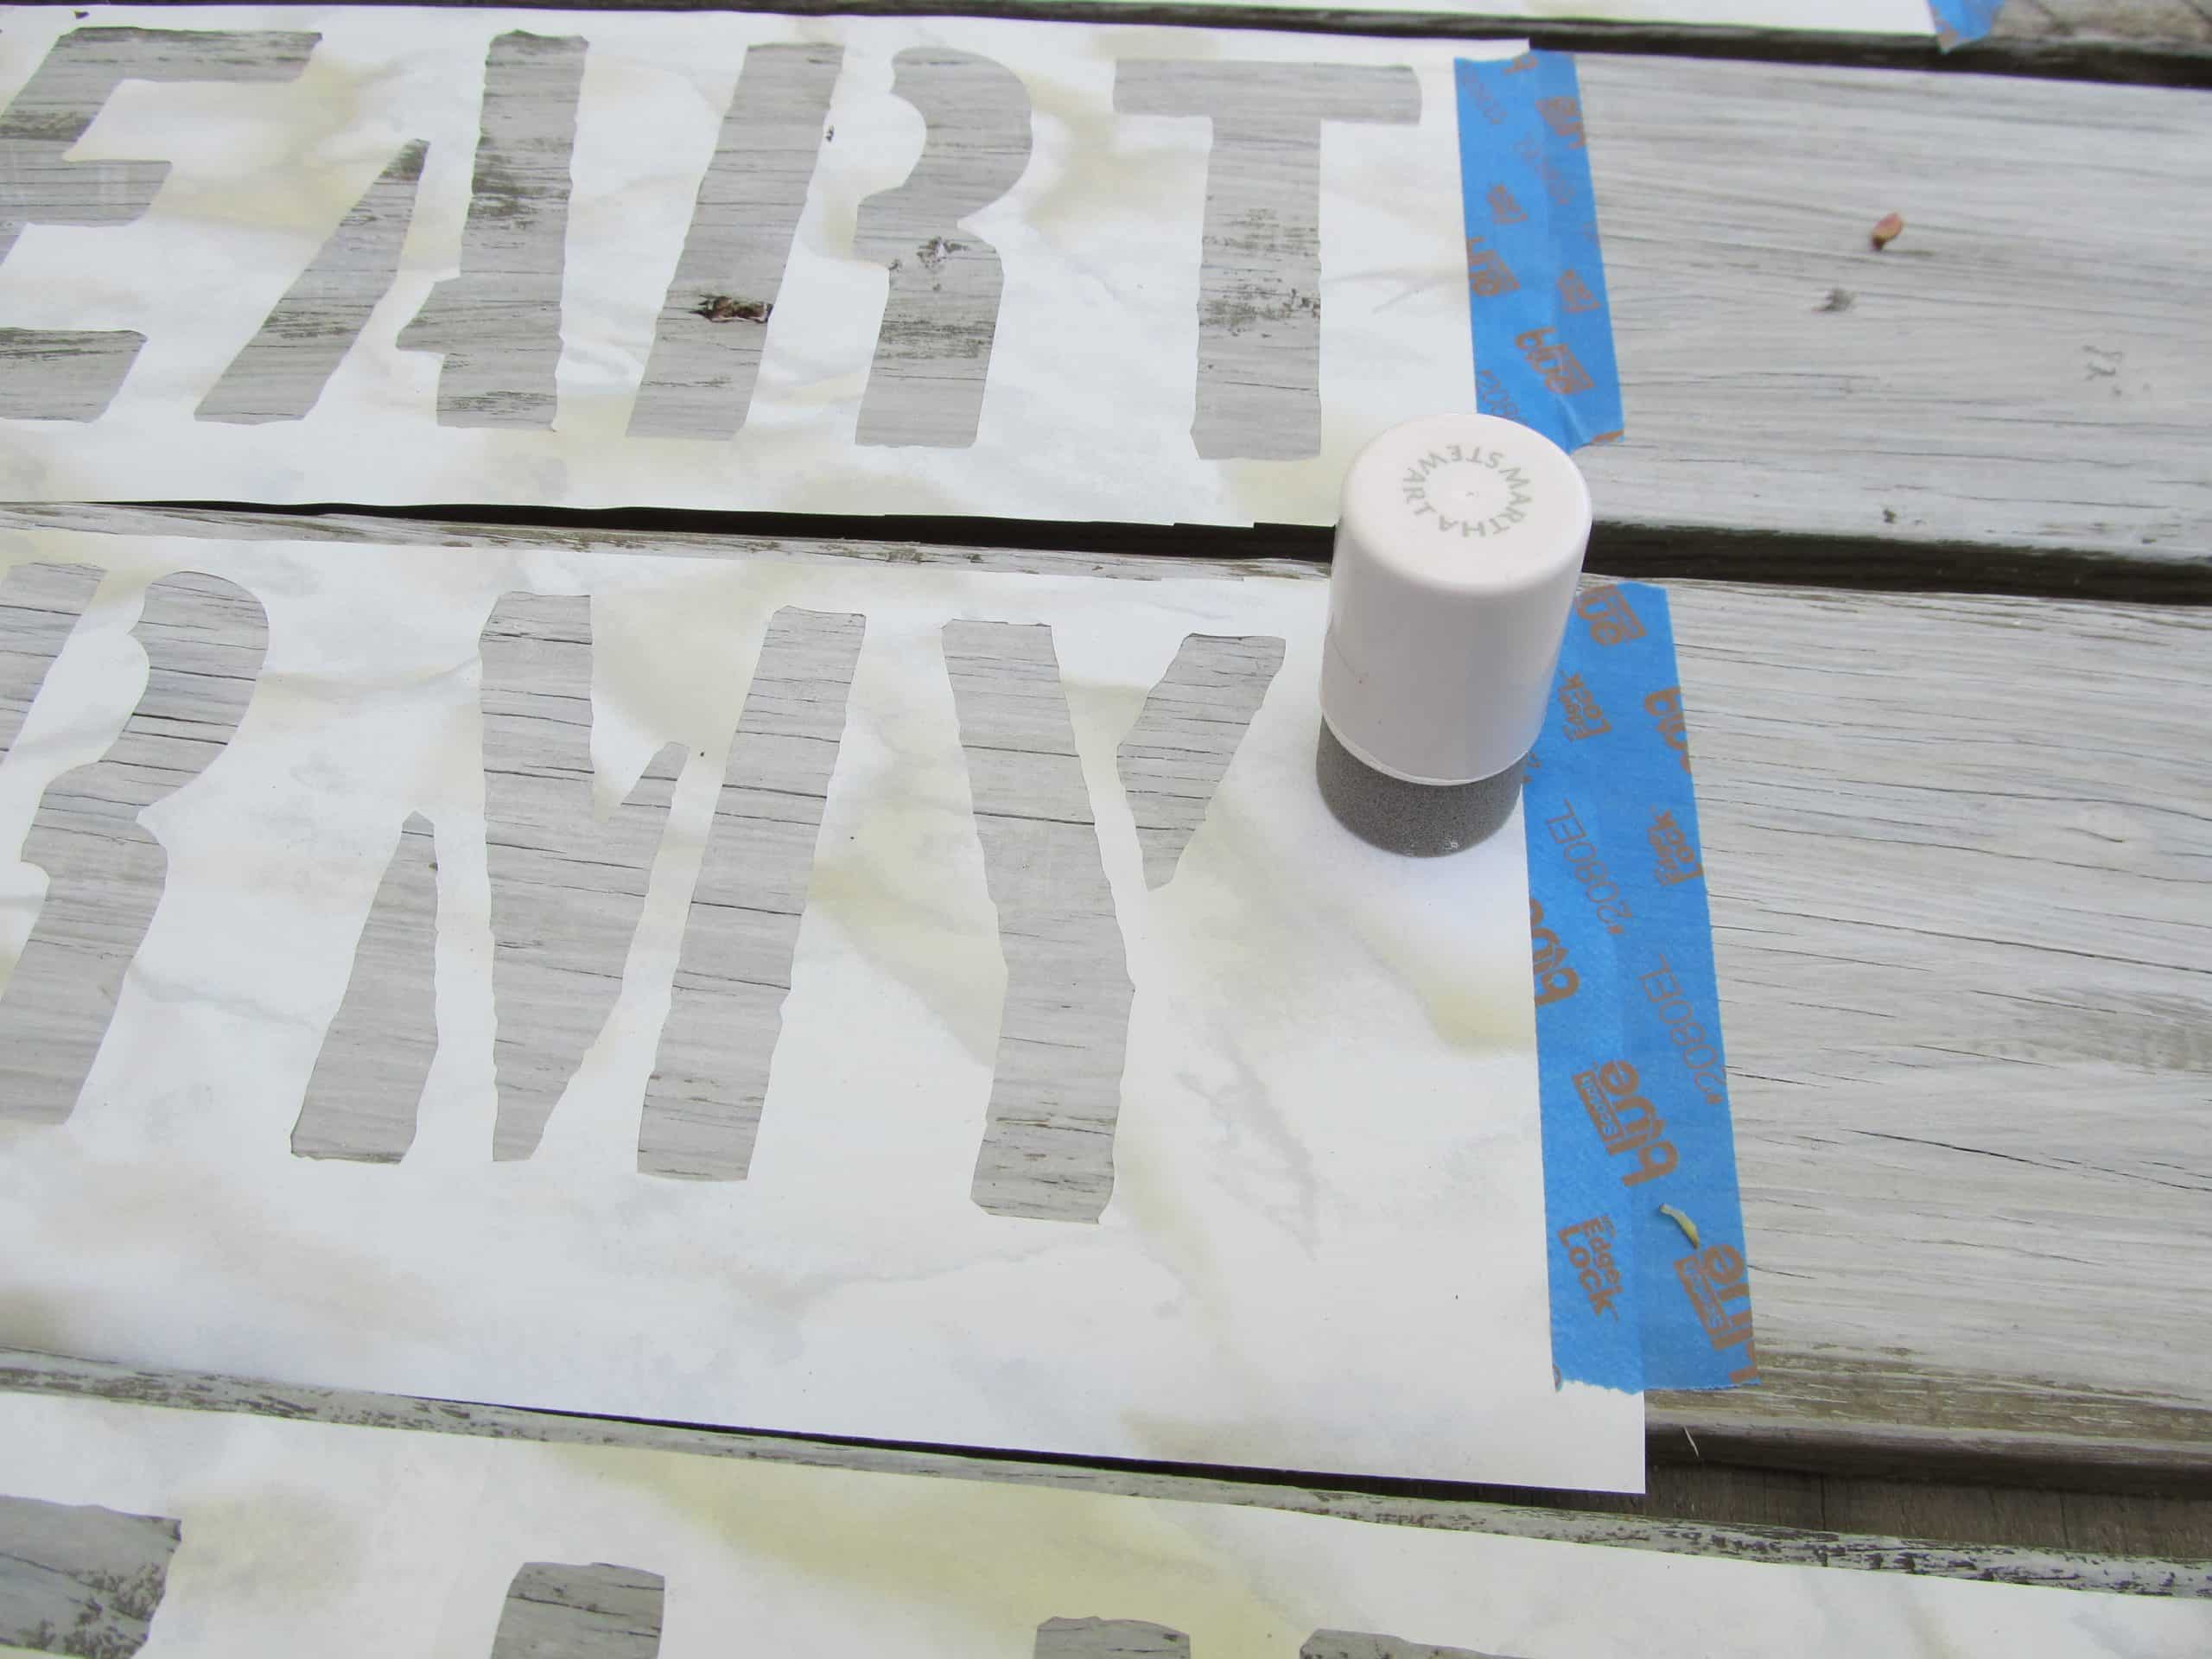
    I used a Martha Stewart foam pouncer to apply my black paint.

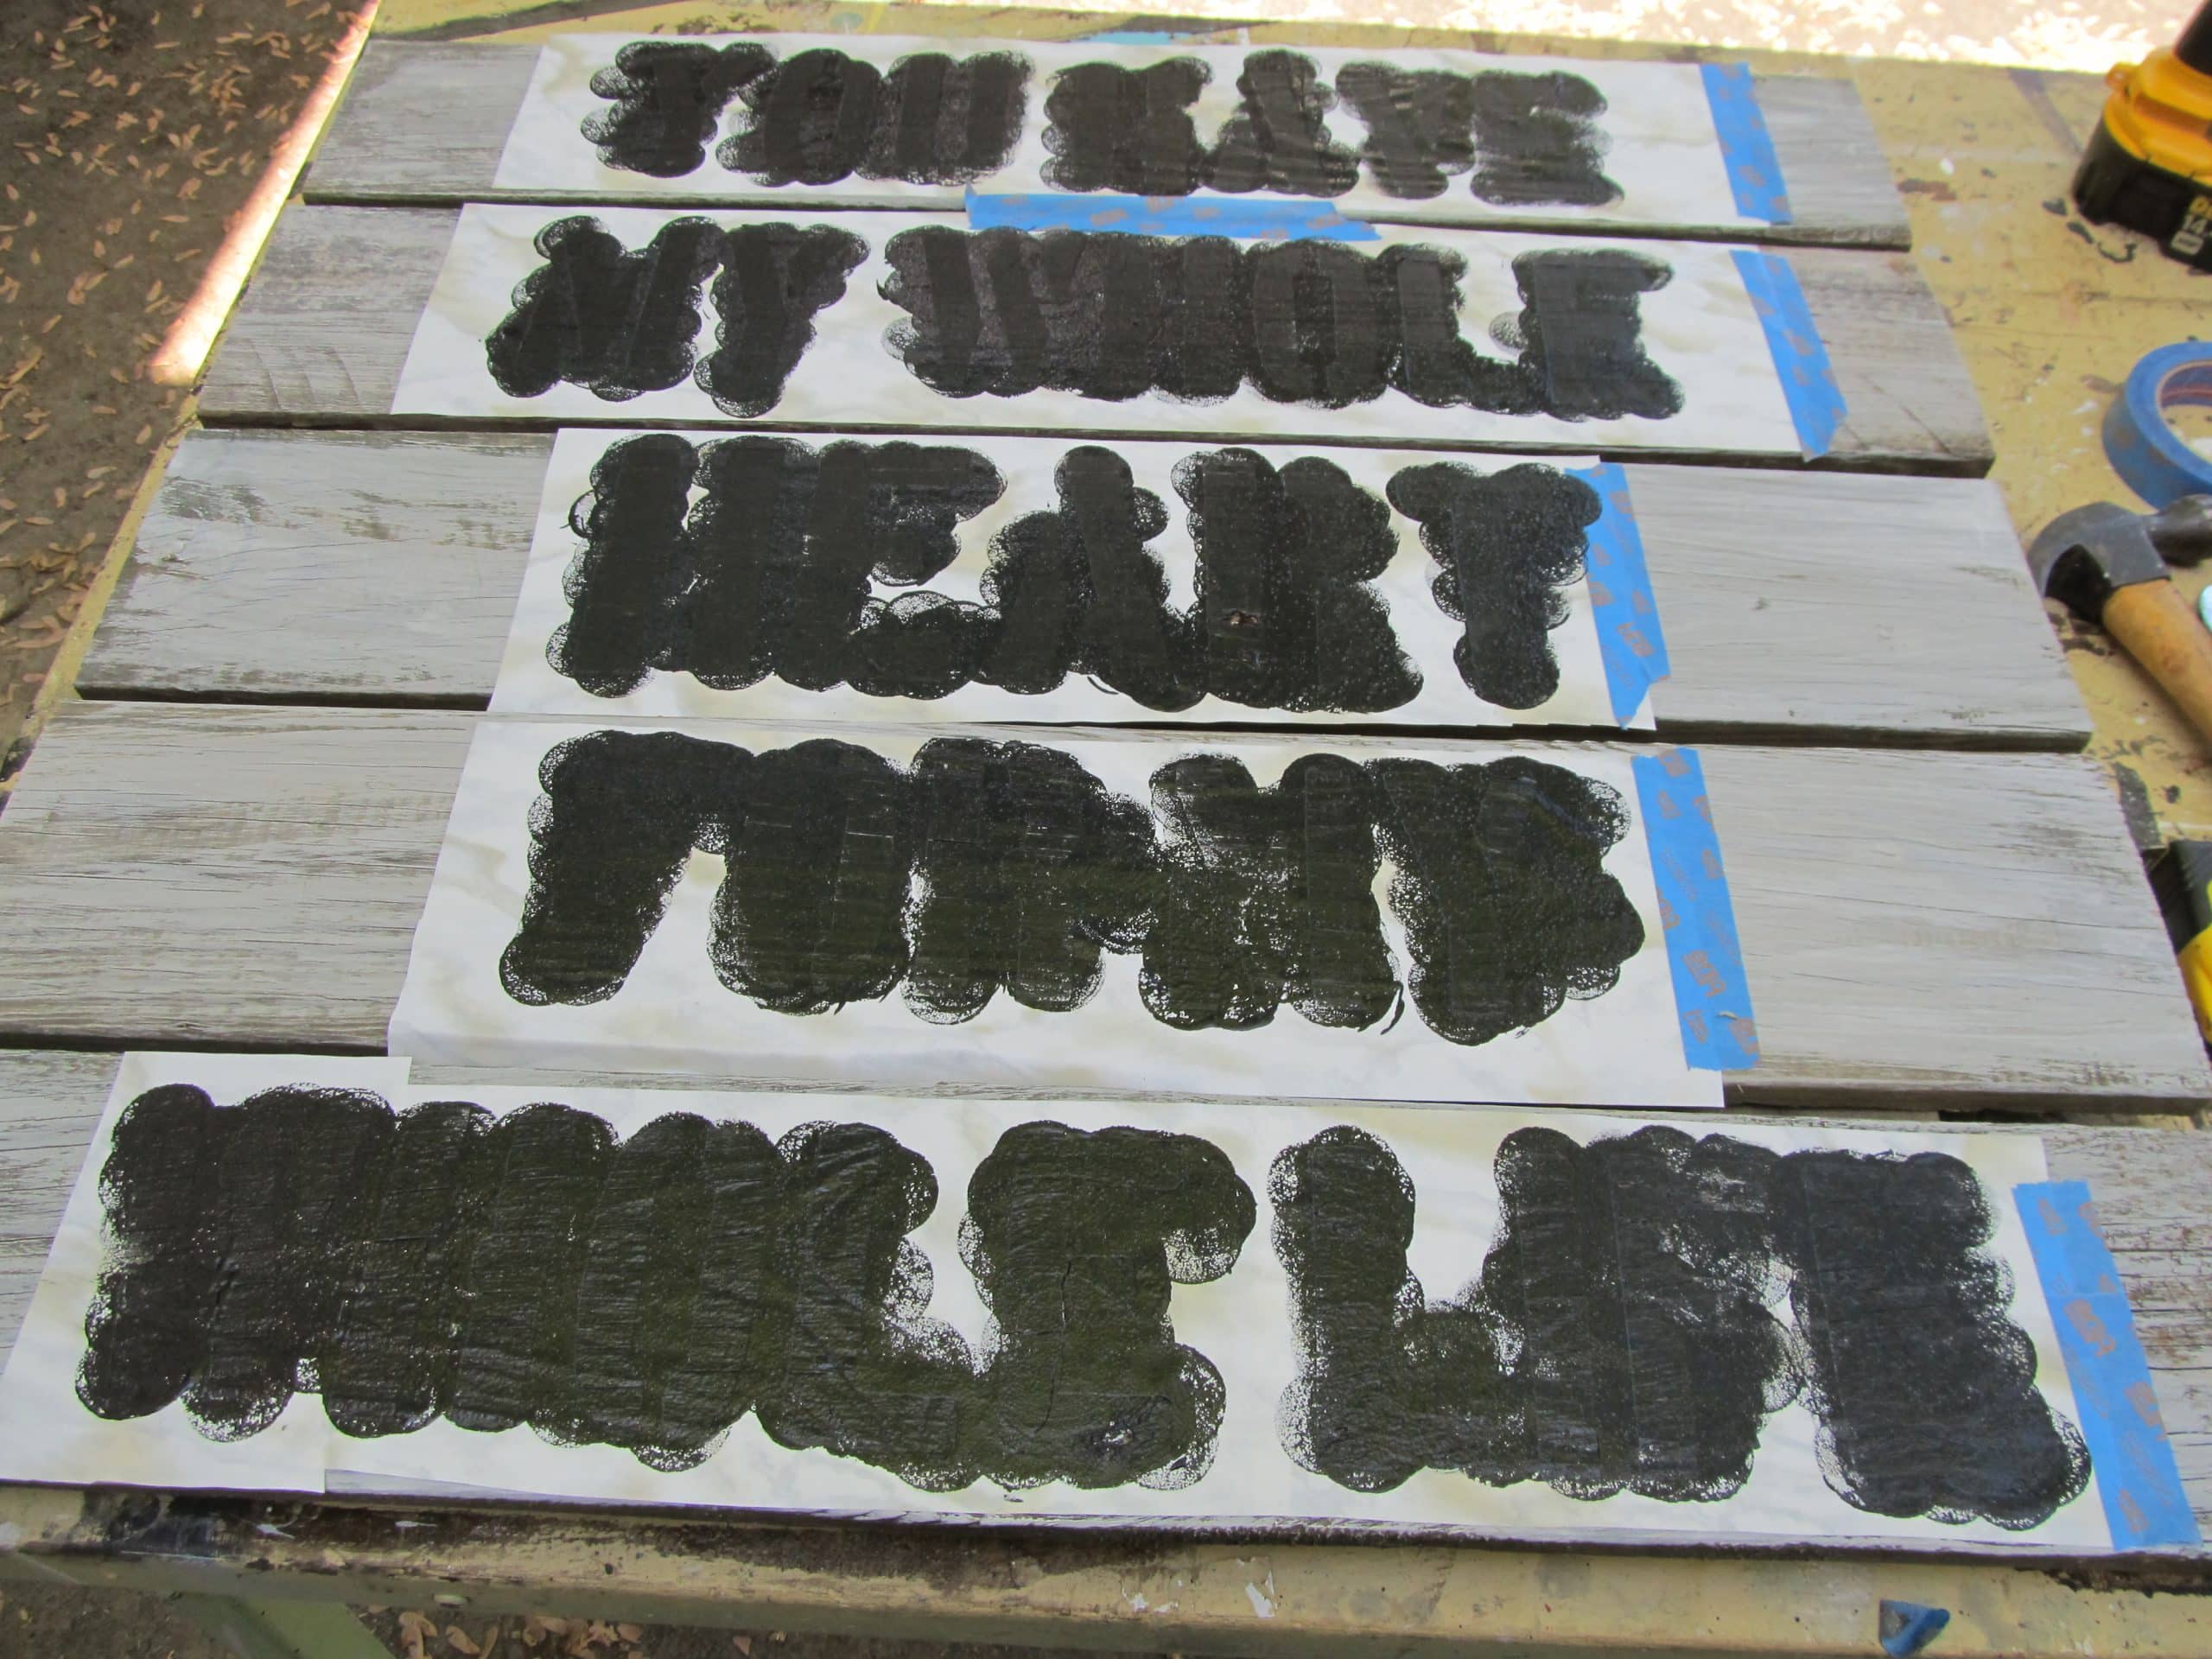
    Then, I removed my stencils when they were mostly dry, but not quite dry all the way.

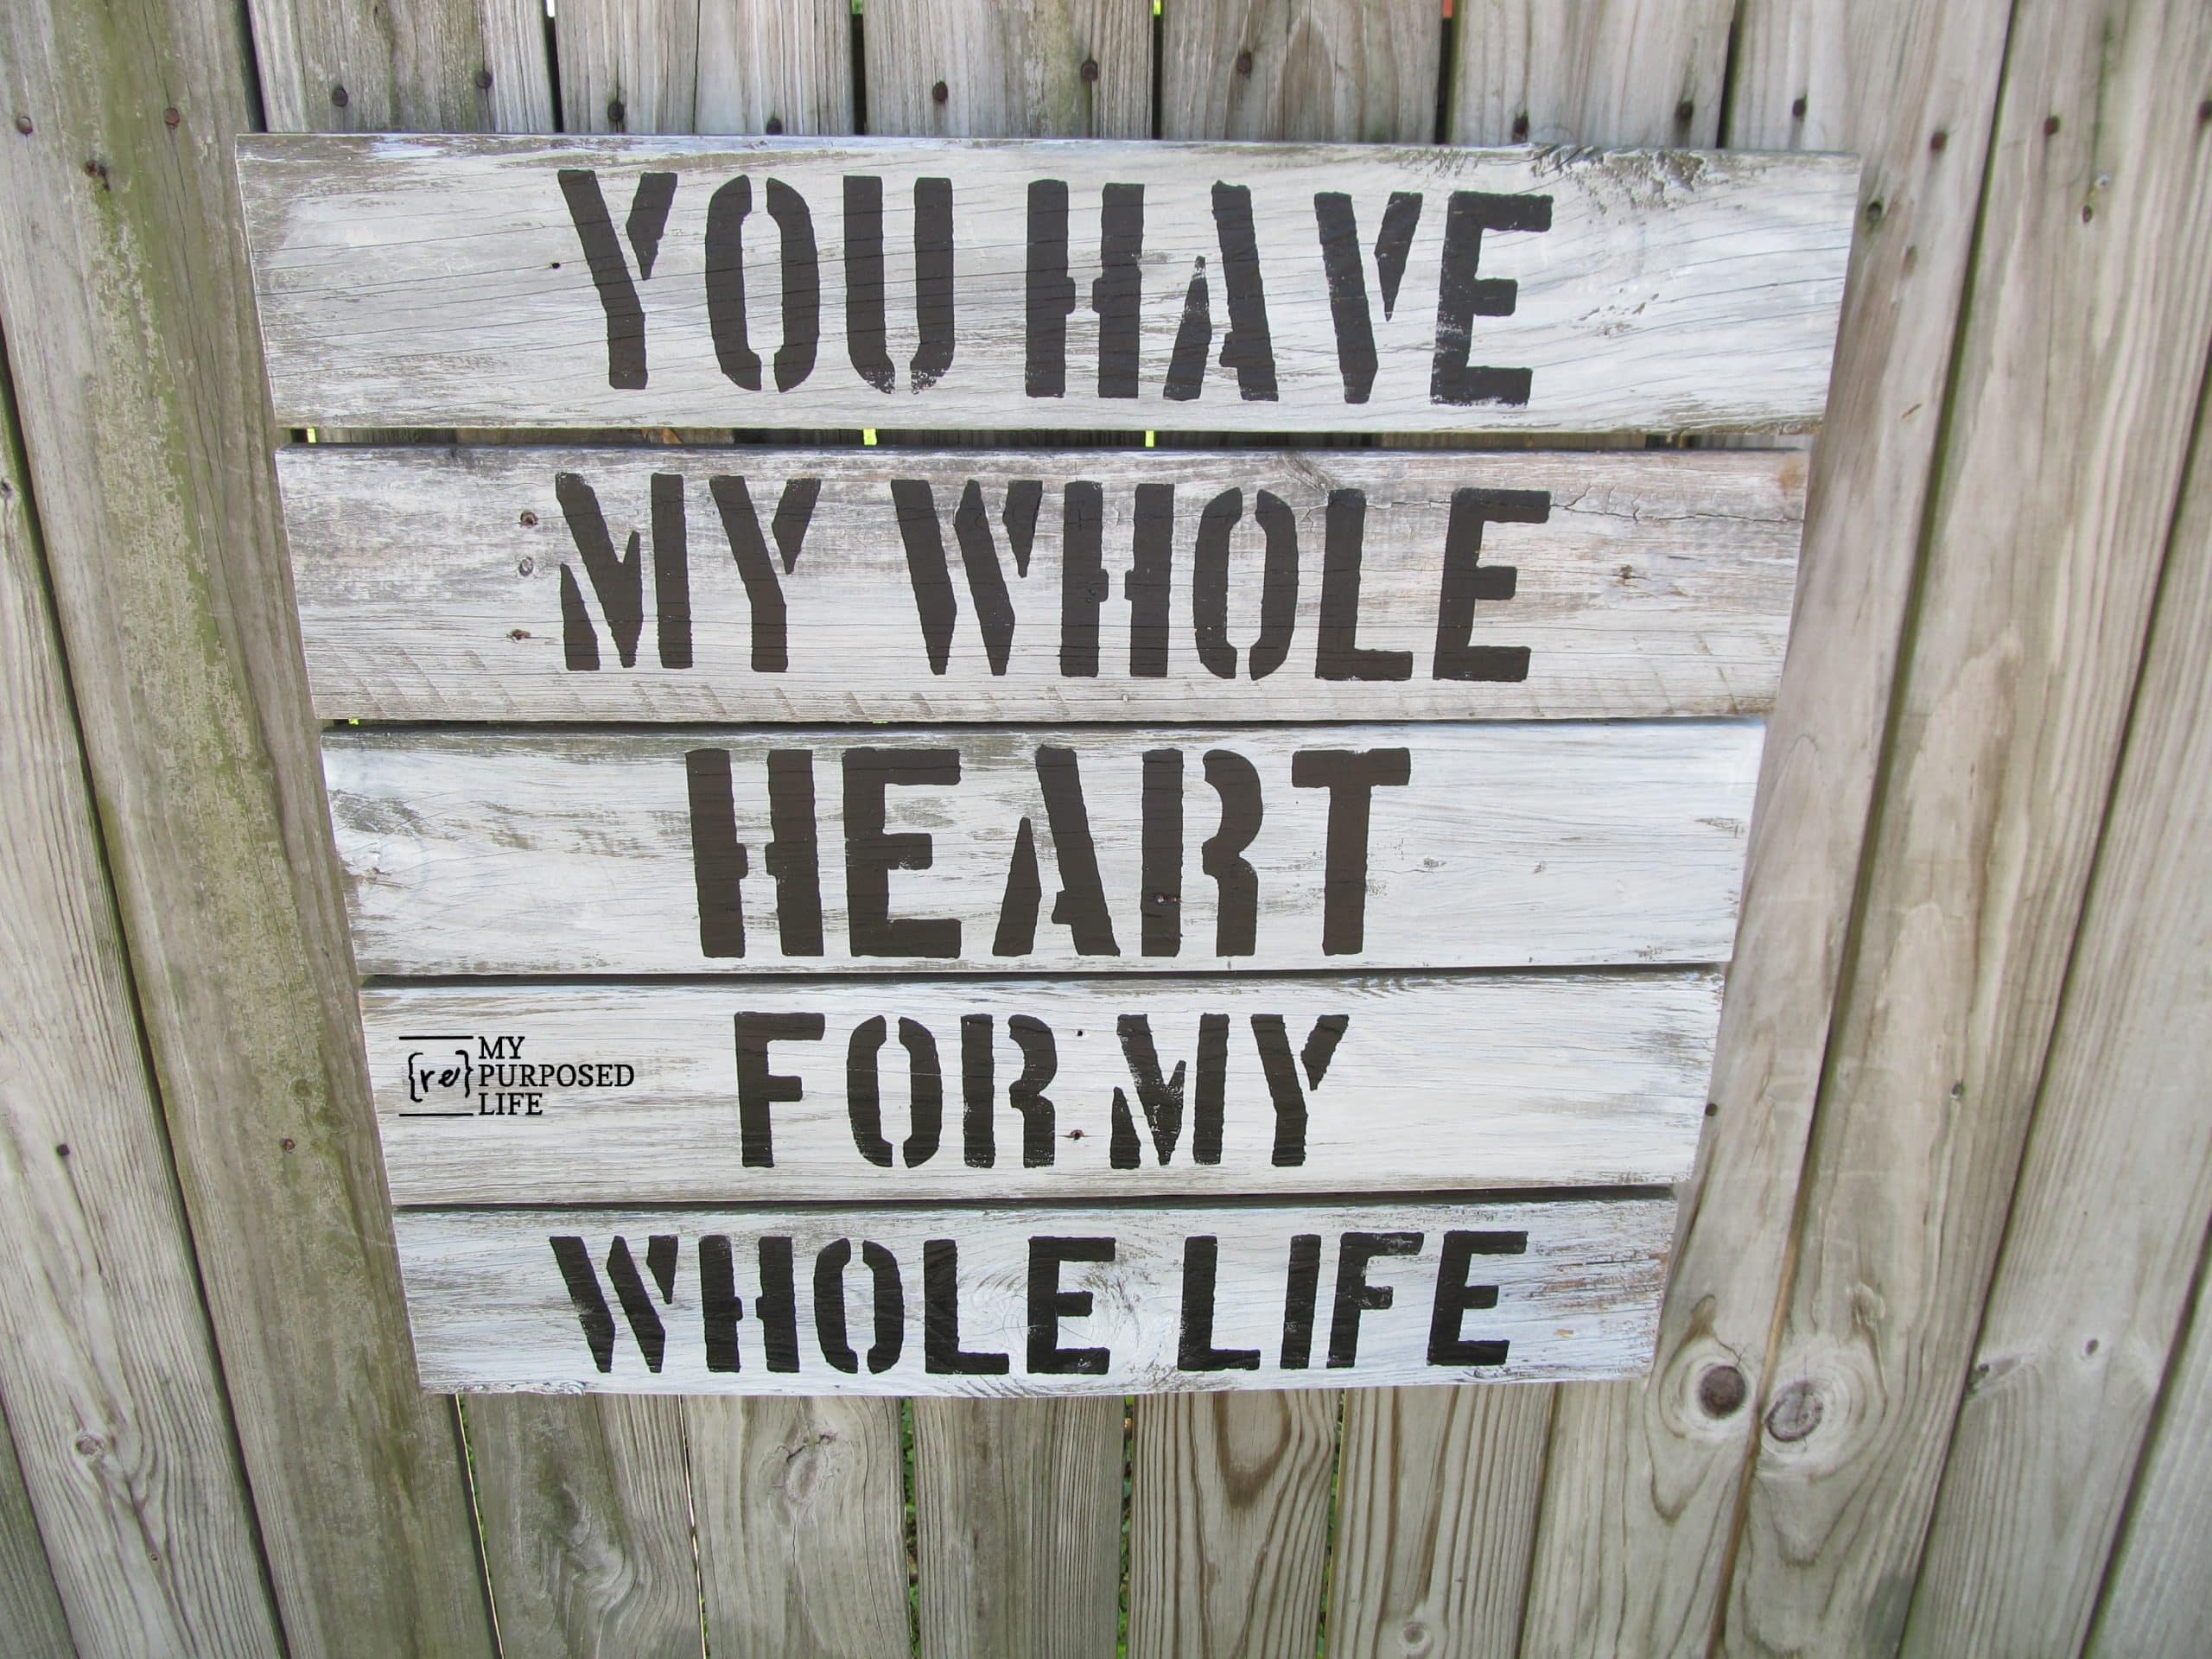
    I really like this sign, but I think I applied the black paint a little on the heavy side. It needs a little distressing, don’t ya think?

    Distress DIY Sign

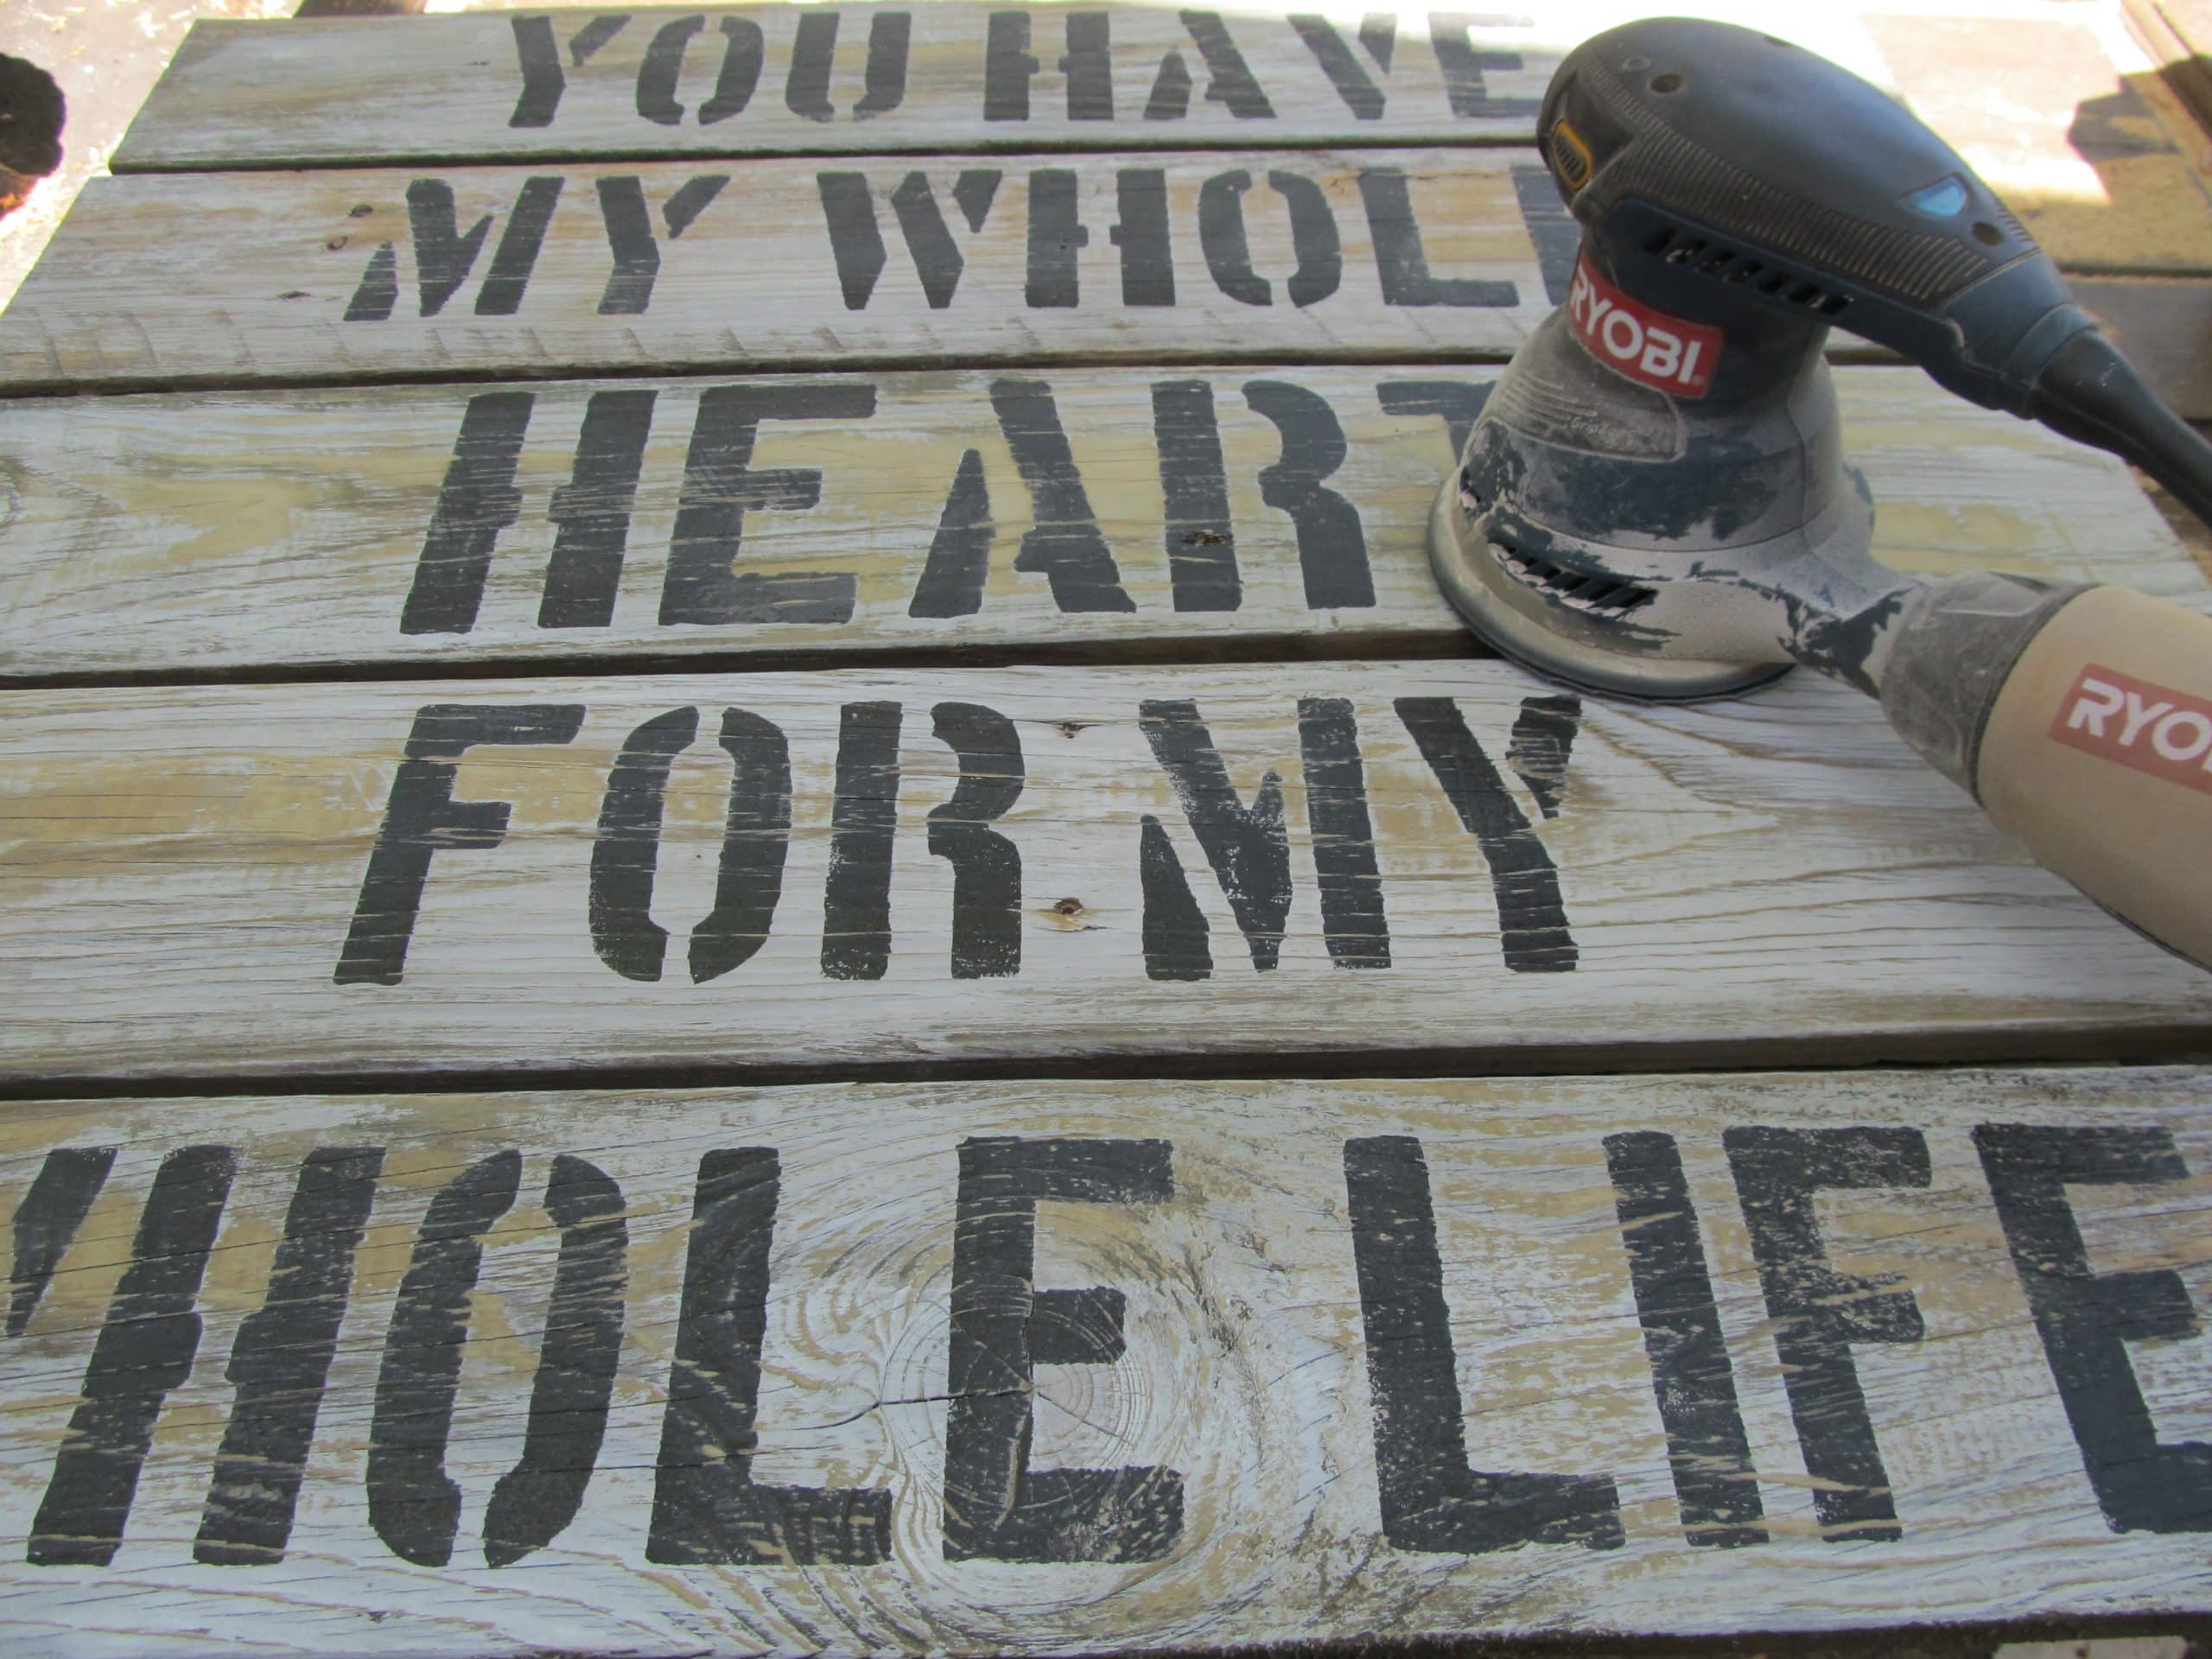
    I got out my orbital sander and gave it a once over.

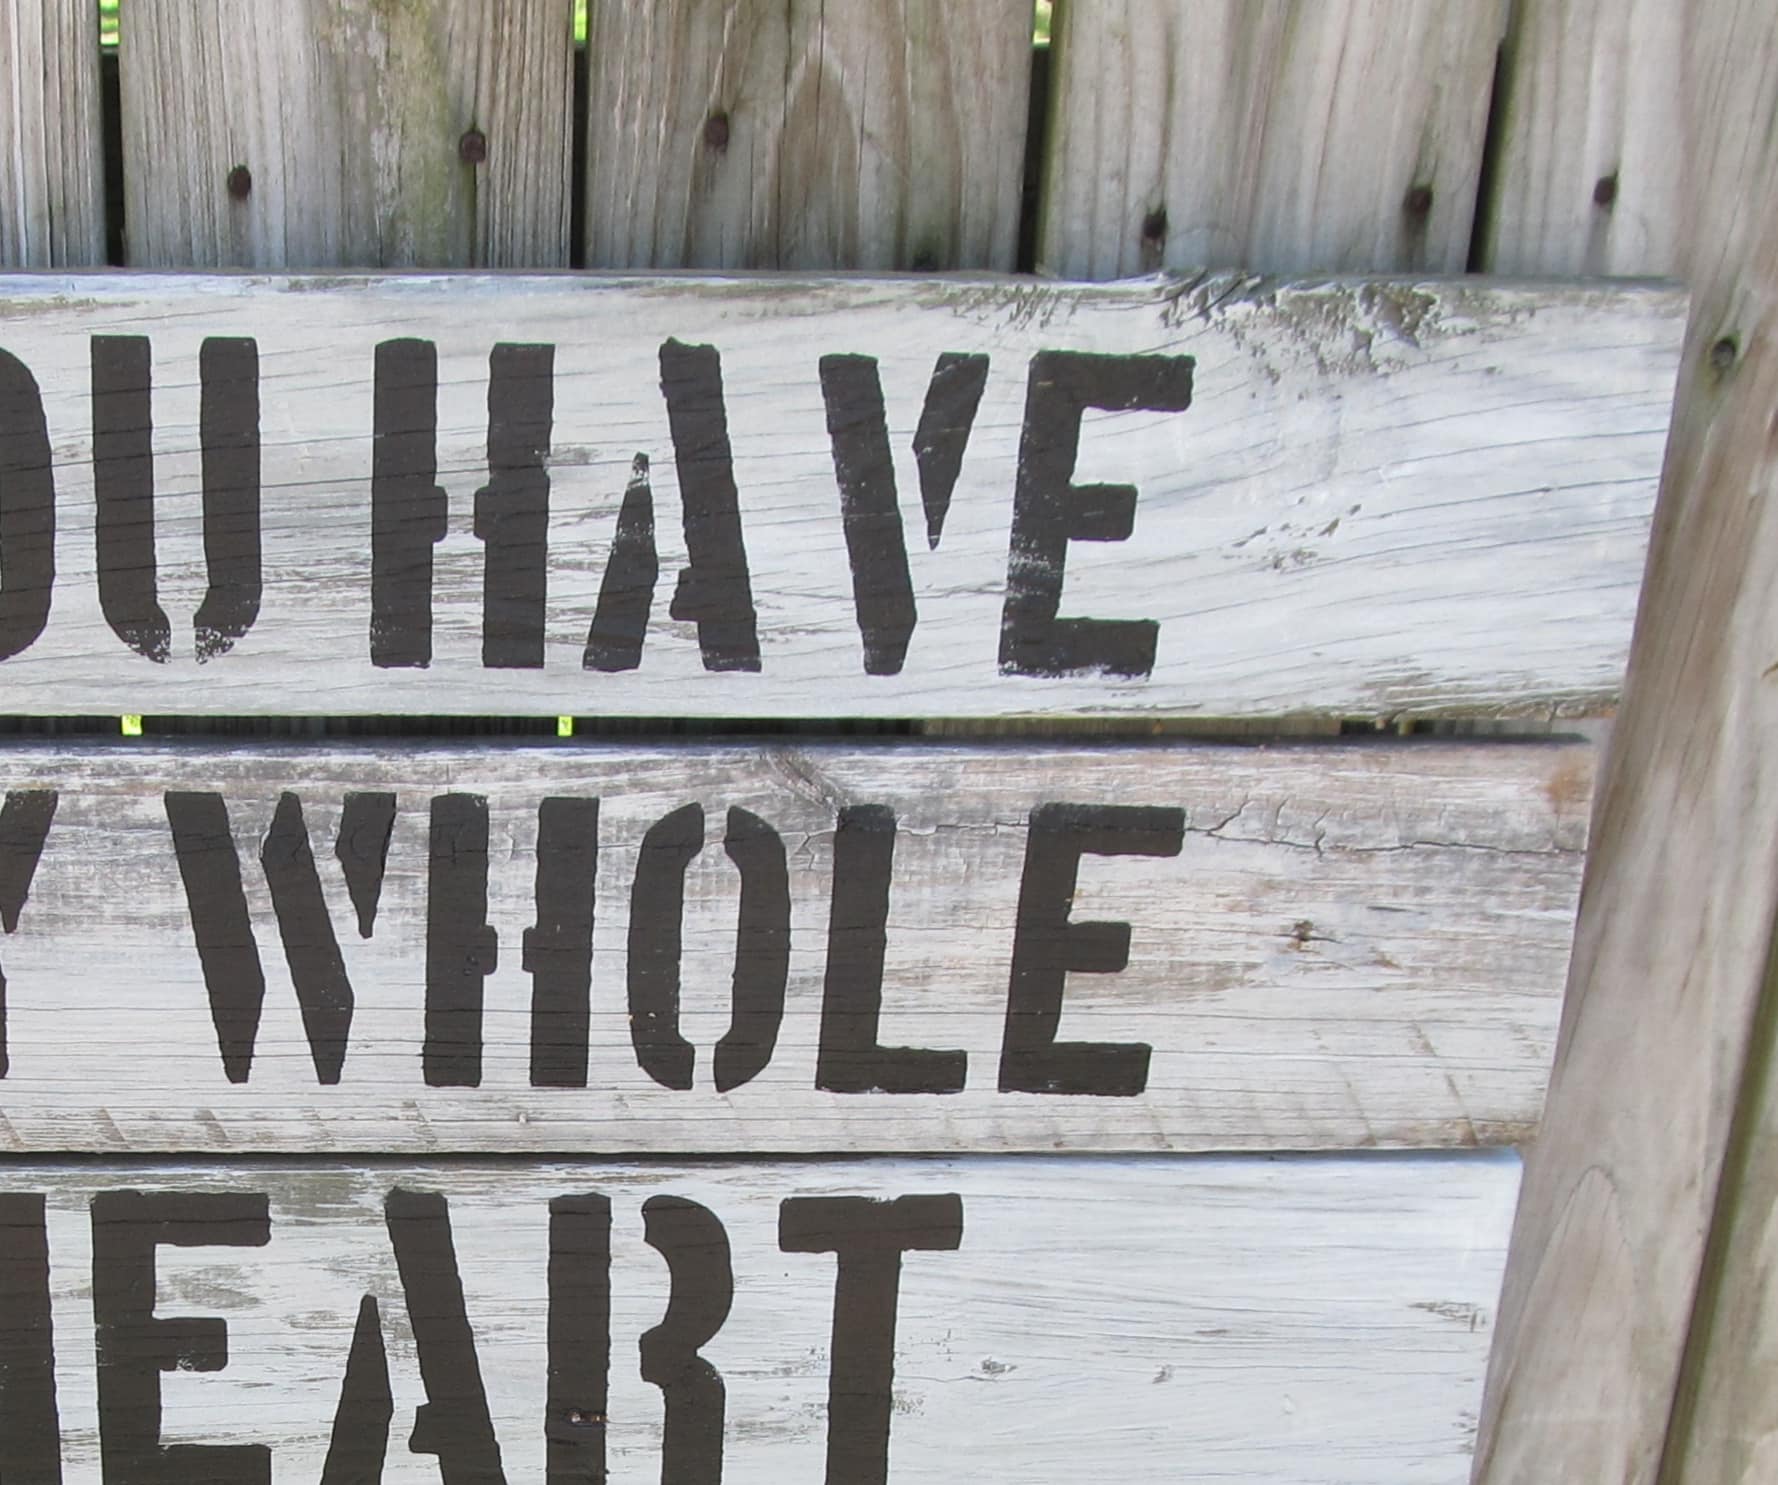
    You Have My Whole Heart for My Whole Life

    It looks funny staged on my fence, being that the sign is horizontal fence boards while the fence is vertical!

    Directions to Make Your Reclaimed Wood Sign

    Making a reclaimed wooden sign can be a fun and creative project. Here are the general steps you can follow to make your own sign.

    1. Choose a piece of reclaimed wood that is suitable for your desired sign size and shape. Sand the surface of the wood with sandpaper to smooth any rough areas or splinters.
    2. Decide on the design or message for your sign. You can use a stencil or hand-draw your design onto the wood using a pencil or chalk. Poster/sign stencils would also work well.
    3. Use a jigsaw or handsaw to cut out the shape of your sign from the wood. Sand the edges of the sign to smooth any rough areas or splinters.
    4. If you're making a large one, construct your sign using extra support boards on the back. (as shown above)
    5. Paint or stain the wood to the desired color. You can use a paintbrush or sponge to apply the paint or stain, depending on the look you want to achieve.
    6. Let the paint or stain dry completely before adding any additional layers or designs.
    7. Optional: Once the paint or stain has dried, you can apply a sealer or varnish to protect the wood and give it a glossy finish.
    8. Attach any hanging hardware, if desired, to the back of the sign. My go-to hardware are D-rings, they work great for heavy items.

    Your reclaimed wooden sign is now complete! You can display it in your home or business, or give it as a unique and thoughtful gift.

    I’m going to be sad when that old fence is all used up. What say you, would you have distressed it, or left it alone?

    Related Content: Bushel and a Peck Wooden Sign Bless the Food Sign There is Always, Always, Always, Something to Be Thankful For

    gail

    More rustic fence projects here

    see more bits and pieces projects here

    Pin
    Share
    Tweet

    Reader Interactions

    Comments

      See comments Cancel reply

      Your email address will not be published. Required fields are marked *

      This site uses Akismet to reduce spam. Learn how your comment data is processed.

    1. Glo.

      June 12, 2014 at 7:26 am

      A big 'Yes!' on the distressing! And I like the horizontal/vertical thing you've got going!

      Reply
    2. Amanda

      November 20, 2013 at 3:15 pm

      I really LOVE this one. And you made it look so easy!! Thanks for the tute!

      Reply
    3. Sharon @ Elizabeth & Co.

      April 23, 2012 at 2:51 am

      Just perfect Gail! I love that saying and the rustic feel of the wood!

      Reply
    4. Vicki C

      April 19, 2012 at 1:31 am

      LOVE this project! Glad Malia shared your link. I'll be back 🙂

      Reply
    5. Vickie @ Ranger 911

      April 18, 2012 at 7:49 pm

      Love it! Yes, definitely distressed.

      Reply
    6. Erin

      April 18, 2012 at 6:41 am

      Well, like everyone else, I'm chiming in on the "love it distressed" side. Also, just wanted to say brilliant idea to use contact paper as stencil vinyl. Thanks for sharing that little tip...

      Reply
    7. Tam

      April 17, 2012 at 9:02 pm

      I think it looks better distressed - like it's been arouund the block a few times 🙂

      Reply
    8. Chase the Star

      April 17, 2012 at 3:13 am

      Love this Gail!!! Looks awesome!

      Barbara @ Chase the Star

      Reply
    9. Sue

      April 16, 2012 at 11:40 pm

      Love it distressed! The `new look`is gone, but it looks great! I just checked out Stephanie's tute, thanks for sharing, since I don't have a Silhouette.
      Have a great sunny week,
      Sue

      Reply
    10. Kelli

      April 16, 2012 at 10:27 pm

      I love that sign, and I really like the distressed look! Great job...you always make it look so easy, I actually think I can do it myself! 🙂

      Reply
    11. Paige @ Little Nostalgia

      April 16, 2012 at 9:46 pm

      I like it distressed! It feels warmer this way.

      Reply
    12. Cassie @ Primitive & Proper

      April 16, 2012 at 7:53 pm

      i love this one! i love the more weathered look!

      Reply
    13. The Star Gal

      April 16, 2012 at 5:53 pm

      I love old distressed signs. I would have probably beat it up a little more...say maybe with a hammer or an old chain.

      Very cute!

      Reply
    14. Mimi@blueroofcabin

      April 16, 2012 at 4:14 pm

      Distressed! It's perfect, I just adore that saying!

      Reply
    15. Sue at Serendipity

      April 16, 2012 at 3:58 pm

      Distressed for sure!!

      Looks like almost all agree-a terrific job!

      Reply
    16. Proper Prim

      April 16, 2012 at 3:35 pm

      I think you already know my answer... distressed for sure. Love the rustic look... love the saying too. Another fabulous job by Gail.

      Hugs,
      Deb

      Reply
    17. Debilou ~ Mississippi Mama

      April 16, 2012 at 3:24 pm

      I"ve been wanting to do one of these too.. Love the way yours turned out. Looks really good distressed.

      Reply
    18. Midwest Cottage and Finds!

      April 16, 2012 at 3:16 pm

      distressed!! it turned out perfect!!

      Reply
    19. Angie

      April 16, 2012 at 2:54 pm

      Definitely distressed! Turned out great!

      Reply
    20. Cindy @ Le Chaise Parfait

      April 16, 2012 at 2:27 pm

      I really like it distressed, I think it looks really good.

      Reply
    21. Julie @ followyourheartwoodworking

      April 16, 2012 at 2:26 pm

      YES, it had to be distressed and you knew it! Great sign, love the old wood fence for that. I have an old horse shelter falling down on my property that I am going to make things with. Silly hubby thinks we will burn the wood... LOL.

      Reply
    22. Roisin

      April 16, 2012 at 2:16 pm

      Distressing made it look a lot better. I also like the contrast between the vertical & horizontal boards.

      Reply
    23. Korrie@RedHenHome

      April 16, 2012 at 1:45 pm

      I like the contrast of the horizontal vs. vertical when it's displayed on your fence! I really love this sentiment; you did a great job with it.

      Reply
    24. Carwin Candids

      April 16, 2012 at 1:40 pm

      Yes! Distressed it looks awesome! Thanks for sharing!

      Reply
    25. DearHelenHartman

      April 16, 2012 at 1:39 pm

      Amazing. And the distressing makes it look even better.

      Reply
    26. Nicole @My Thrafty Life

      April 16, 2012 at 12:46 pm

      I love it, and like it a lot better distressed!

      Reply
    27. Terri

      April 16, 2012 at 12:43 pm

      So cute...you always make projects look so easy...this one actually might not be too difficult! Love it...I am sure it will sell quickly!

      Reply
    28. I Play Outside The Box

      April 16, 2012 at 12:14 pm

      I just love this!! Great tutorial Stephanie shared. Thanks for sharing it with us, Gail!!

      Reply
    29. Rose @ Confessions of a Curbshopaholic

      April 16, 2012 at 9:54 am

      Ooh, I like this sign! You were right to distress it, looks a lot better that way, imo.
      Hmm, I just brought home a small pallet that would be just the perfect size for this sign.......

      Reply

    Primary Sidebar

    Hi, there! I’m Gail Wilson, the author and mastermind behind My Repurposed Life. I’m obsessed with finding potential in unexpected places and believe that with a little hard work and imagination, any old thing can be made useful again—myself included! I hope you’ll enjoy the journey and pick up a few tools along the way… literally!

    More about me →

    Join Our Mailing List

    ​

      Click the topics you're interested in below:

      Subscribing above means you agree to our Privacy Policy​

      Footer

      ↑ back to top

      SEEN ON

      Might I Suggest

      • Start Here
      • Furniture Makeovers

      Newsletter

      • Sign Up! for emails and updates

      About

      • Gail's Favorites on Amazon
      • About

      As an Amazon Associate I earn from qualifying purchases.

      Copyright © 2023 My Repurposed Life · Privacy Policy · Disclosure