• Skip to primary navigation
  • Skip to main content
  • Skip to primary sidebar
  • Start Here
  • Shop Favorites
  • About
    • Welcome To My Repurposed Life Home of Repurposed Furniture
    • More About Gail
    • Disclosure
    • Privacy Information
  • Gallery
    • Repurposed Furniture
  • Repurposed Items
    • Building Supplies
    • Miscellaneous Household Items
    • Picture Frame/Chalk Board
  • DIY
    • Home Reno
    • outdoor living
    • Painting
    • Shop Talk
    • Tips for Around the House
    • Build It
      • Furniture
      • Home Decor
      • Storage
    • Crafts
      • Dollar Store
      • Easy
      • Holidays Seasonal
  • Furniture
    • Chair
    • Desk
    • Dresser/Chest
    • Headboard | Bed Parts | Cribs
    • Kids Furniture
    • Table
    • Kids Furniture
My Repurposed Life® Rescue Re-imagine Repeat
menu icon
go to homepage
subscribe
search icon
Homepage link
  • About
  • Start Here
  • Project Index
  • Furniture
  • Subscribe
    • Email
    • Facebook
    • Instagram
    • Pinterest
    • RSS
    • Twitter
  • ×

    Home » Home Reno » How to paint oak cabinets

    How to paint oak cabinets

    Published by Gail | Published December 14, 2010 | Updated May 14, 2021
    As an Amazon Associate I earn from qualifying purchases.

    Pin
    Share
    Tweet
    My Repurposed Life-How to Paint Oak Cabinets


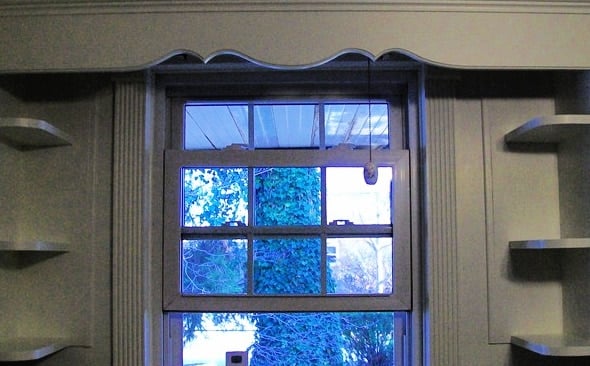
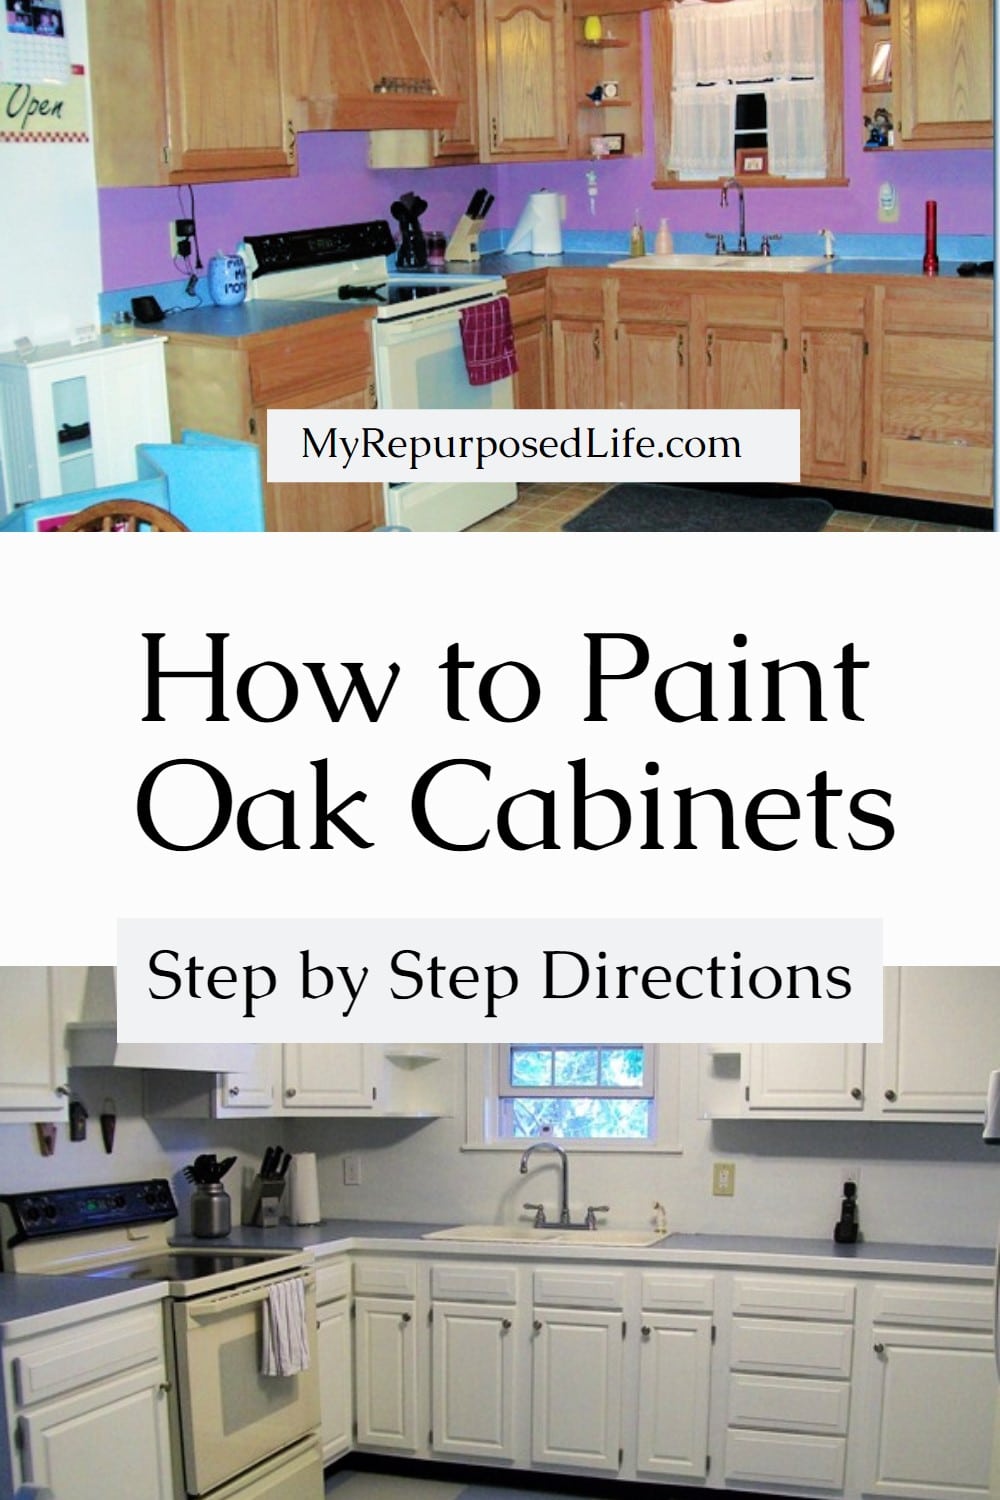
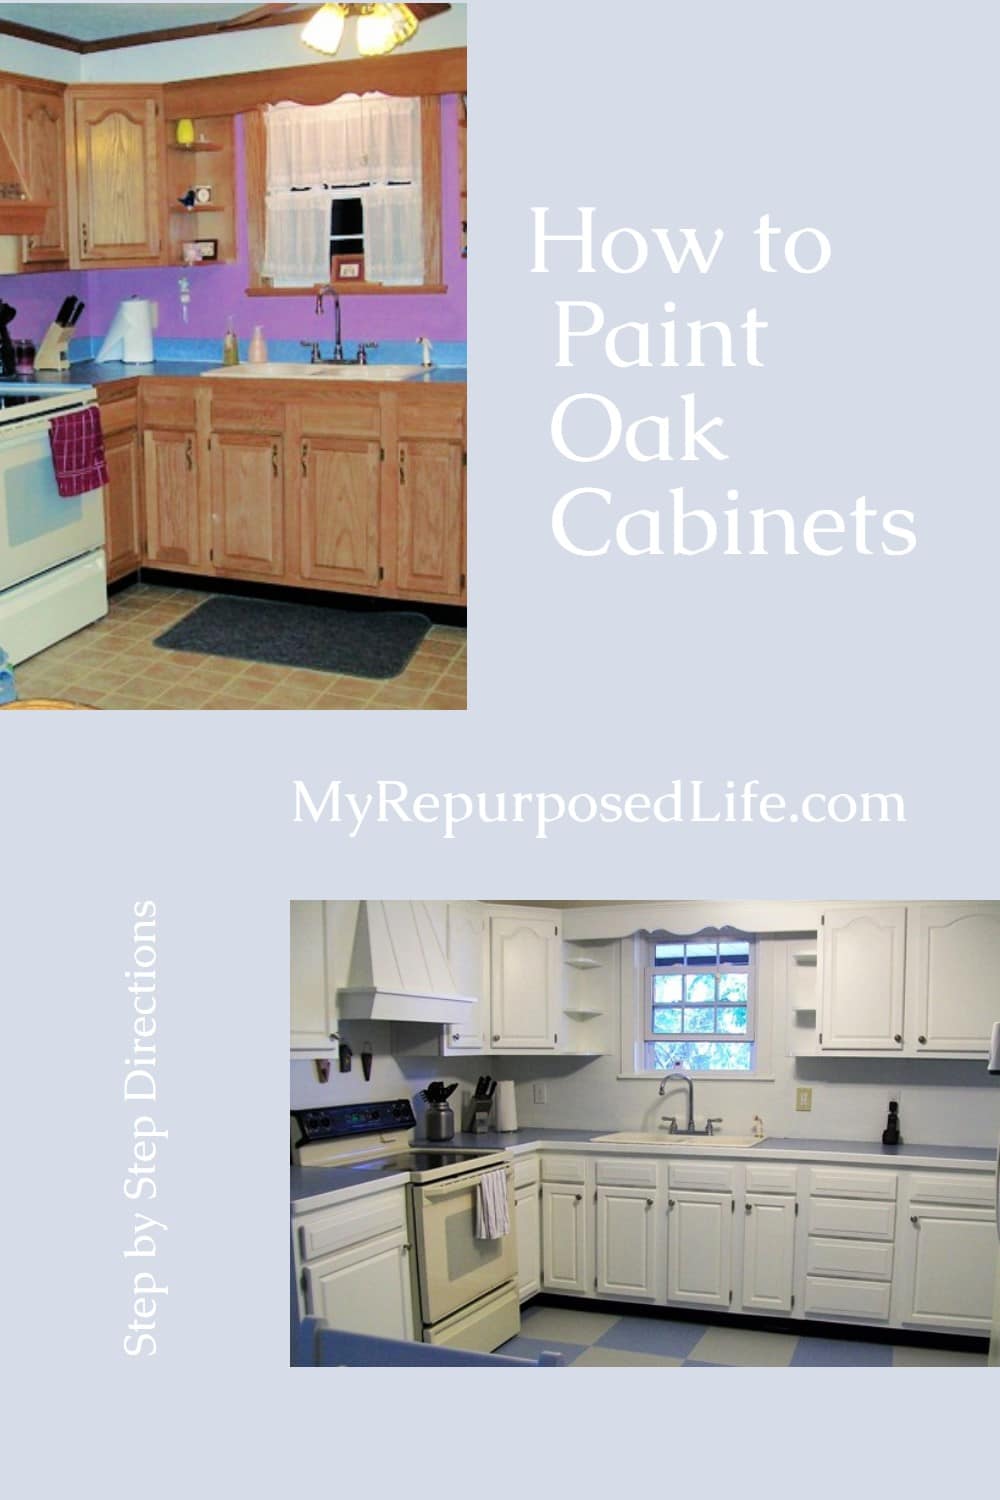
    Because my kitchen makeover was so drawn out, I am writing a new post with my tips and tidbits for painting kitchen cabinets and cupboards.

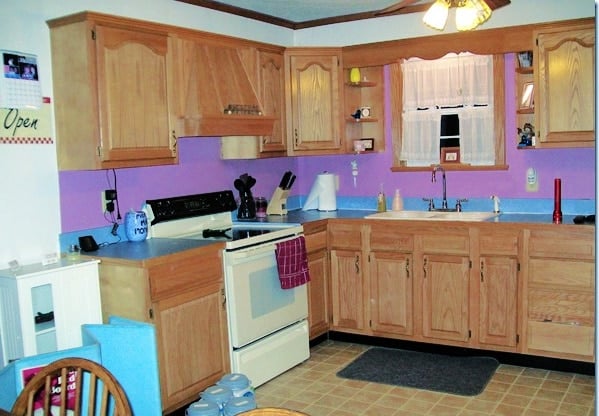
    before
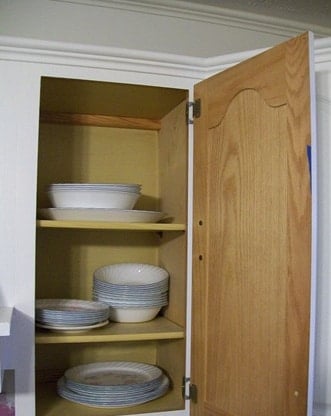
    This is the before picture of my kitchen.

    *this post contains affiliate links*

    Step by step how to prep and paint oak cabinets:

    1. wash down all doors, drawers and facings with warm soapy water, rinse and dry
    2. use TSP (following manufacturers instructions)  You can buy it on Amazon. The TSP will clean any remaining grease and help remove some of the shine.
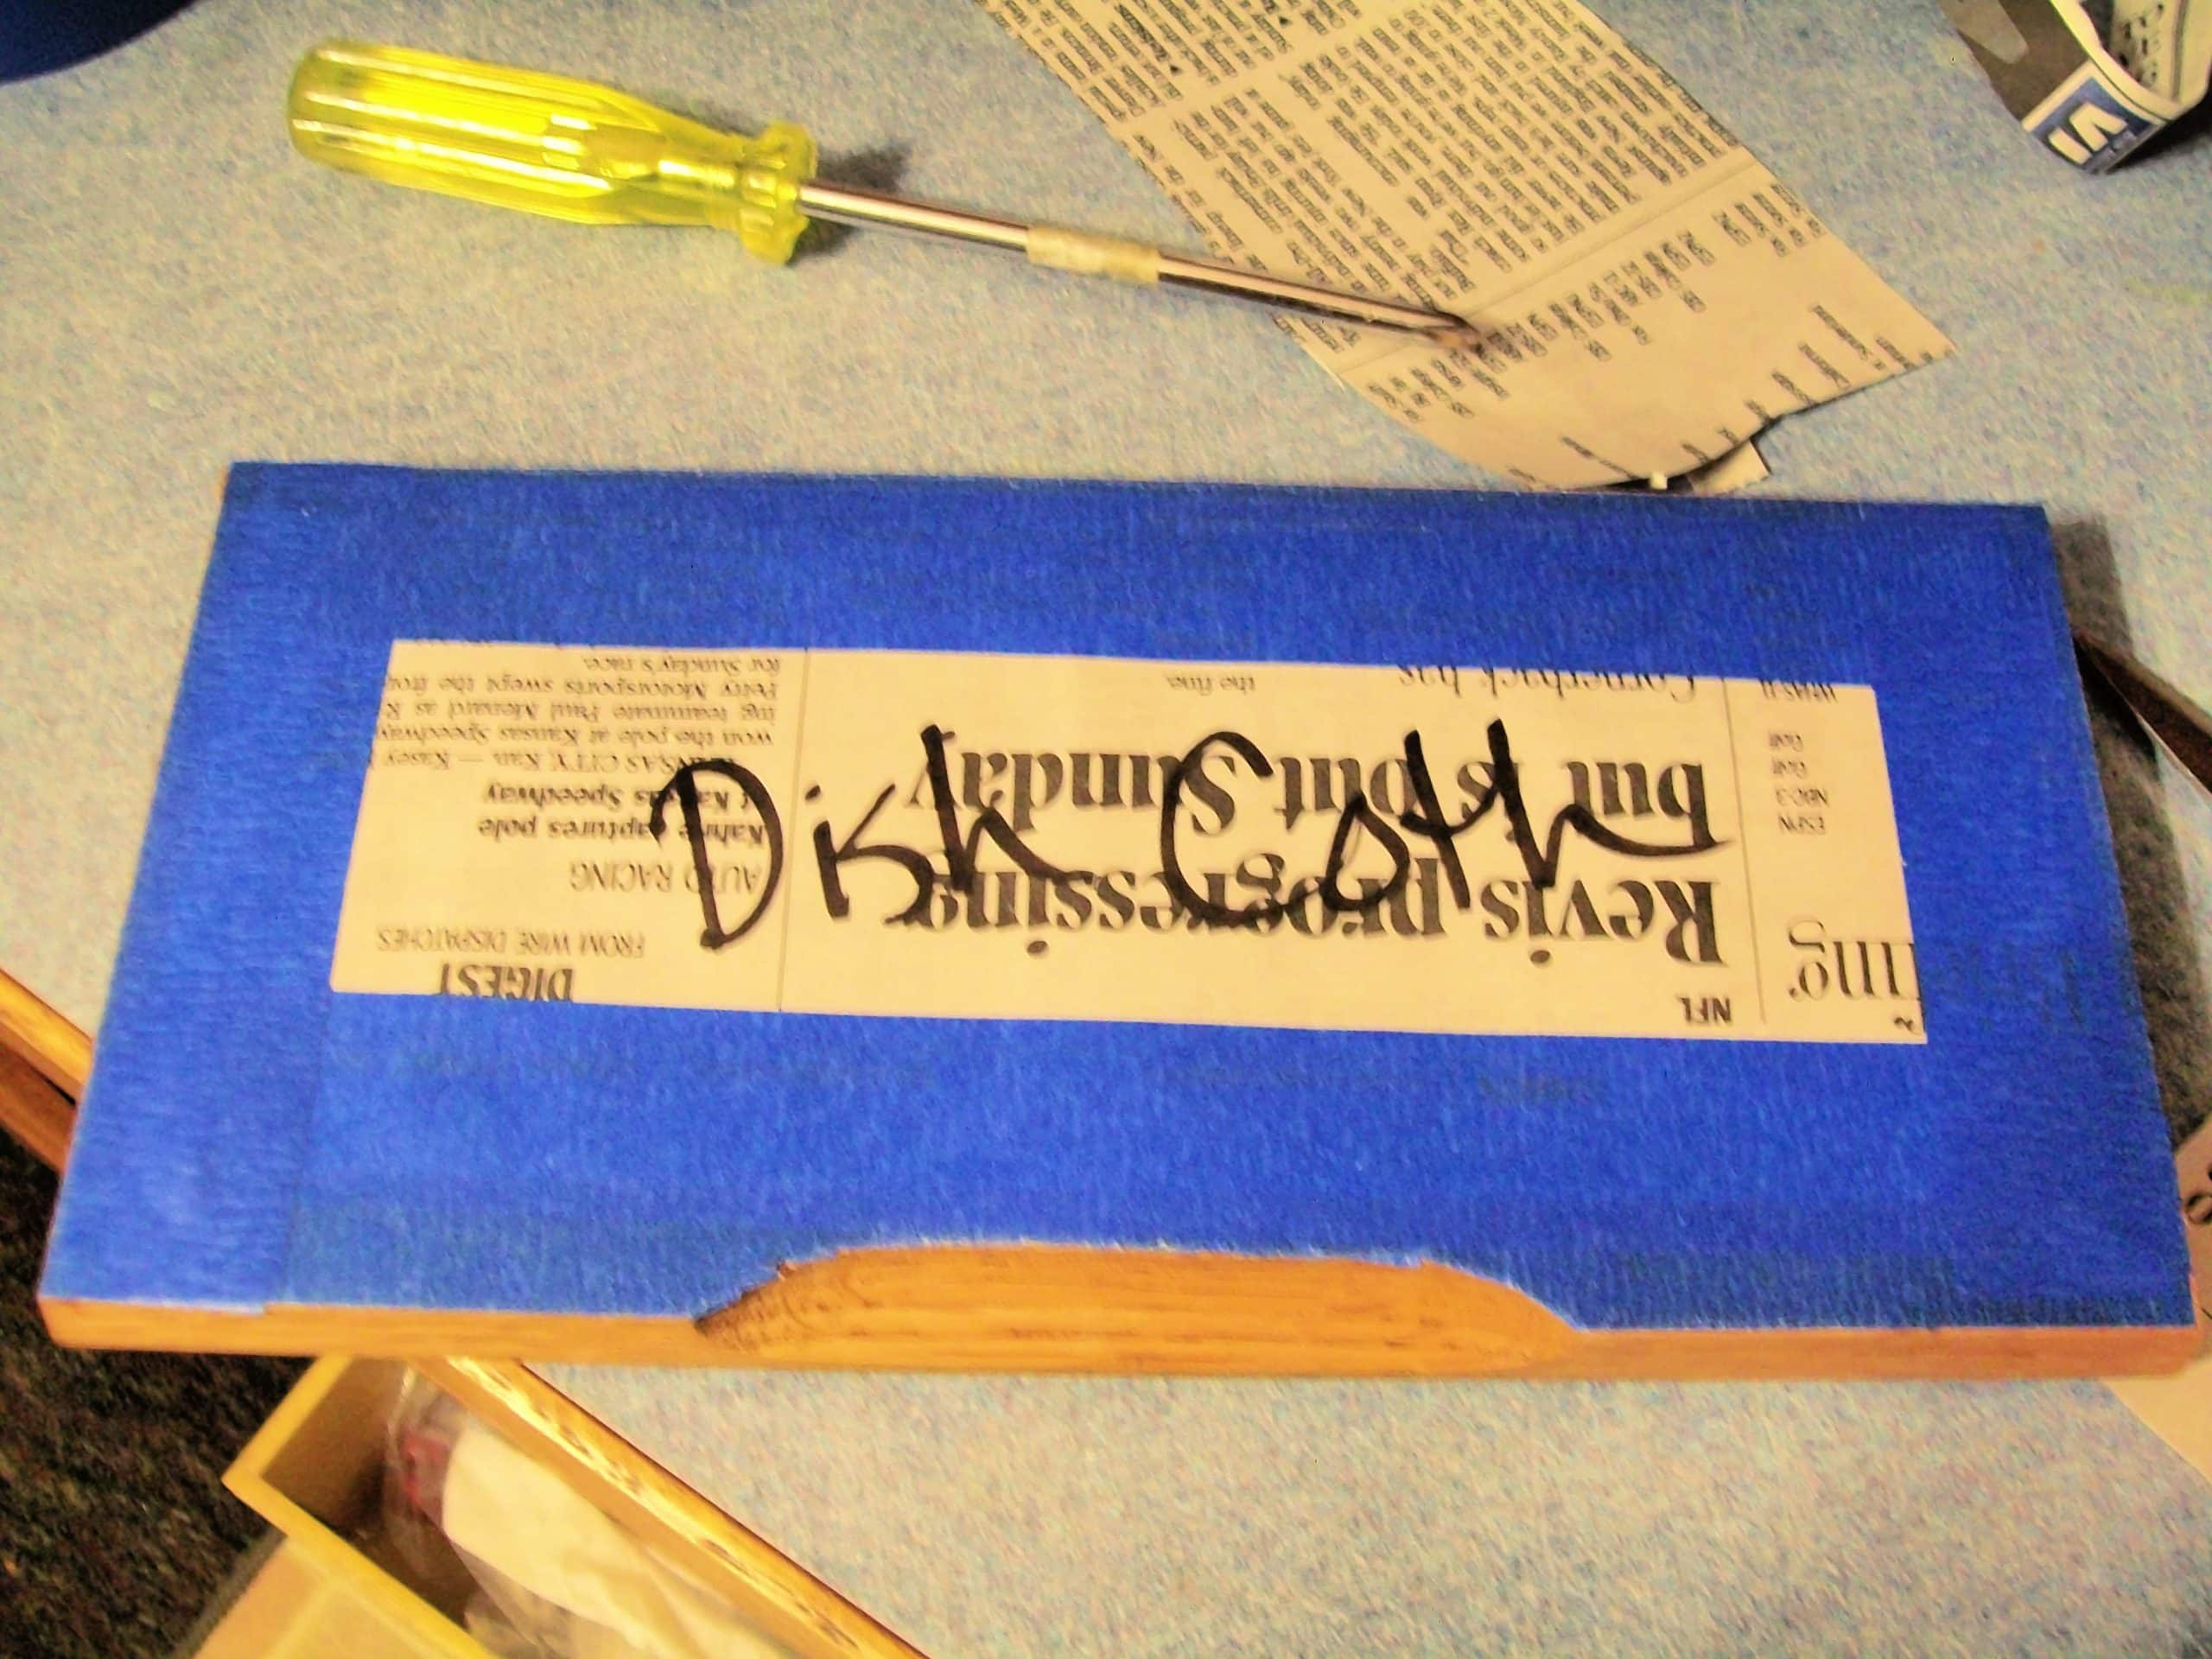
    3. remove doors and drawer fronts, and all hardware. Identify each door and drawer so that you know where each goes when it’s time to reinstall.
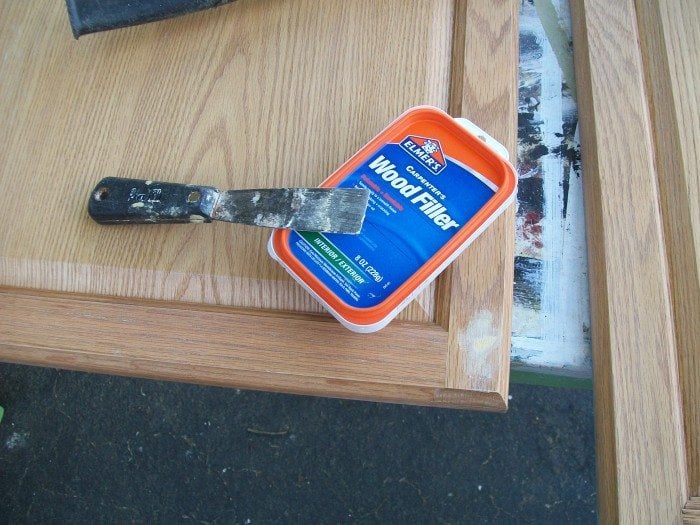
    4. fill holes if you are changing out handles. I switched from handles to knobs so I only filled one hole on each door. On the lower doors I filled the lower hole, on the upper doors I filled the upper hole. I used Elmer’s wood filler. (hint: put a piece of Scotch Blue Painter’s Tape on the inside of the hole to keep the putting from going all the way through)  Let dry, lightly sand.
    5. tape inside edge of all doors and drawer fronts. (I did not paint the inside of my cabinets.)
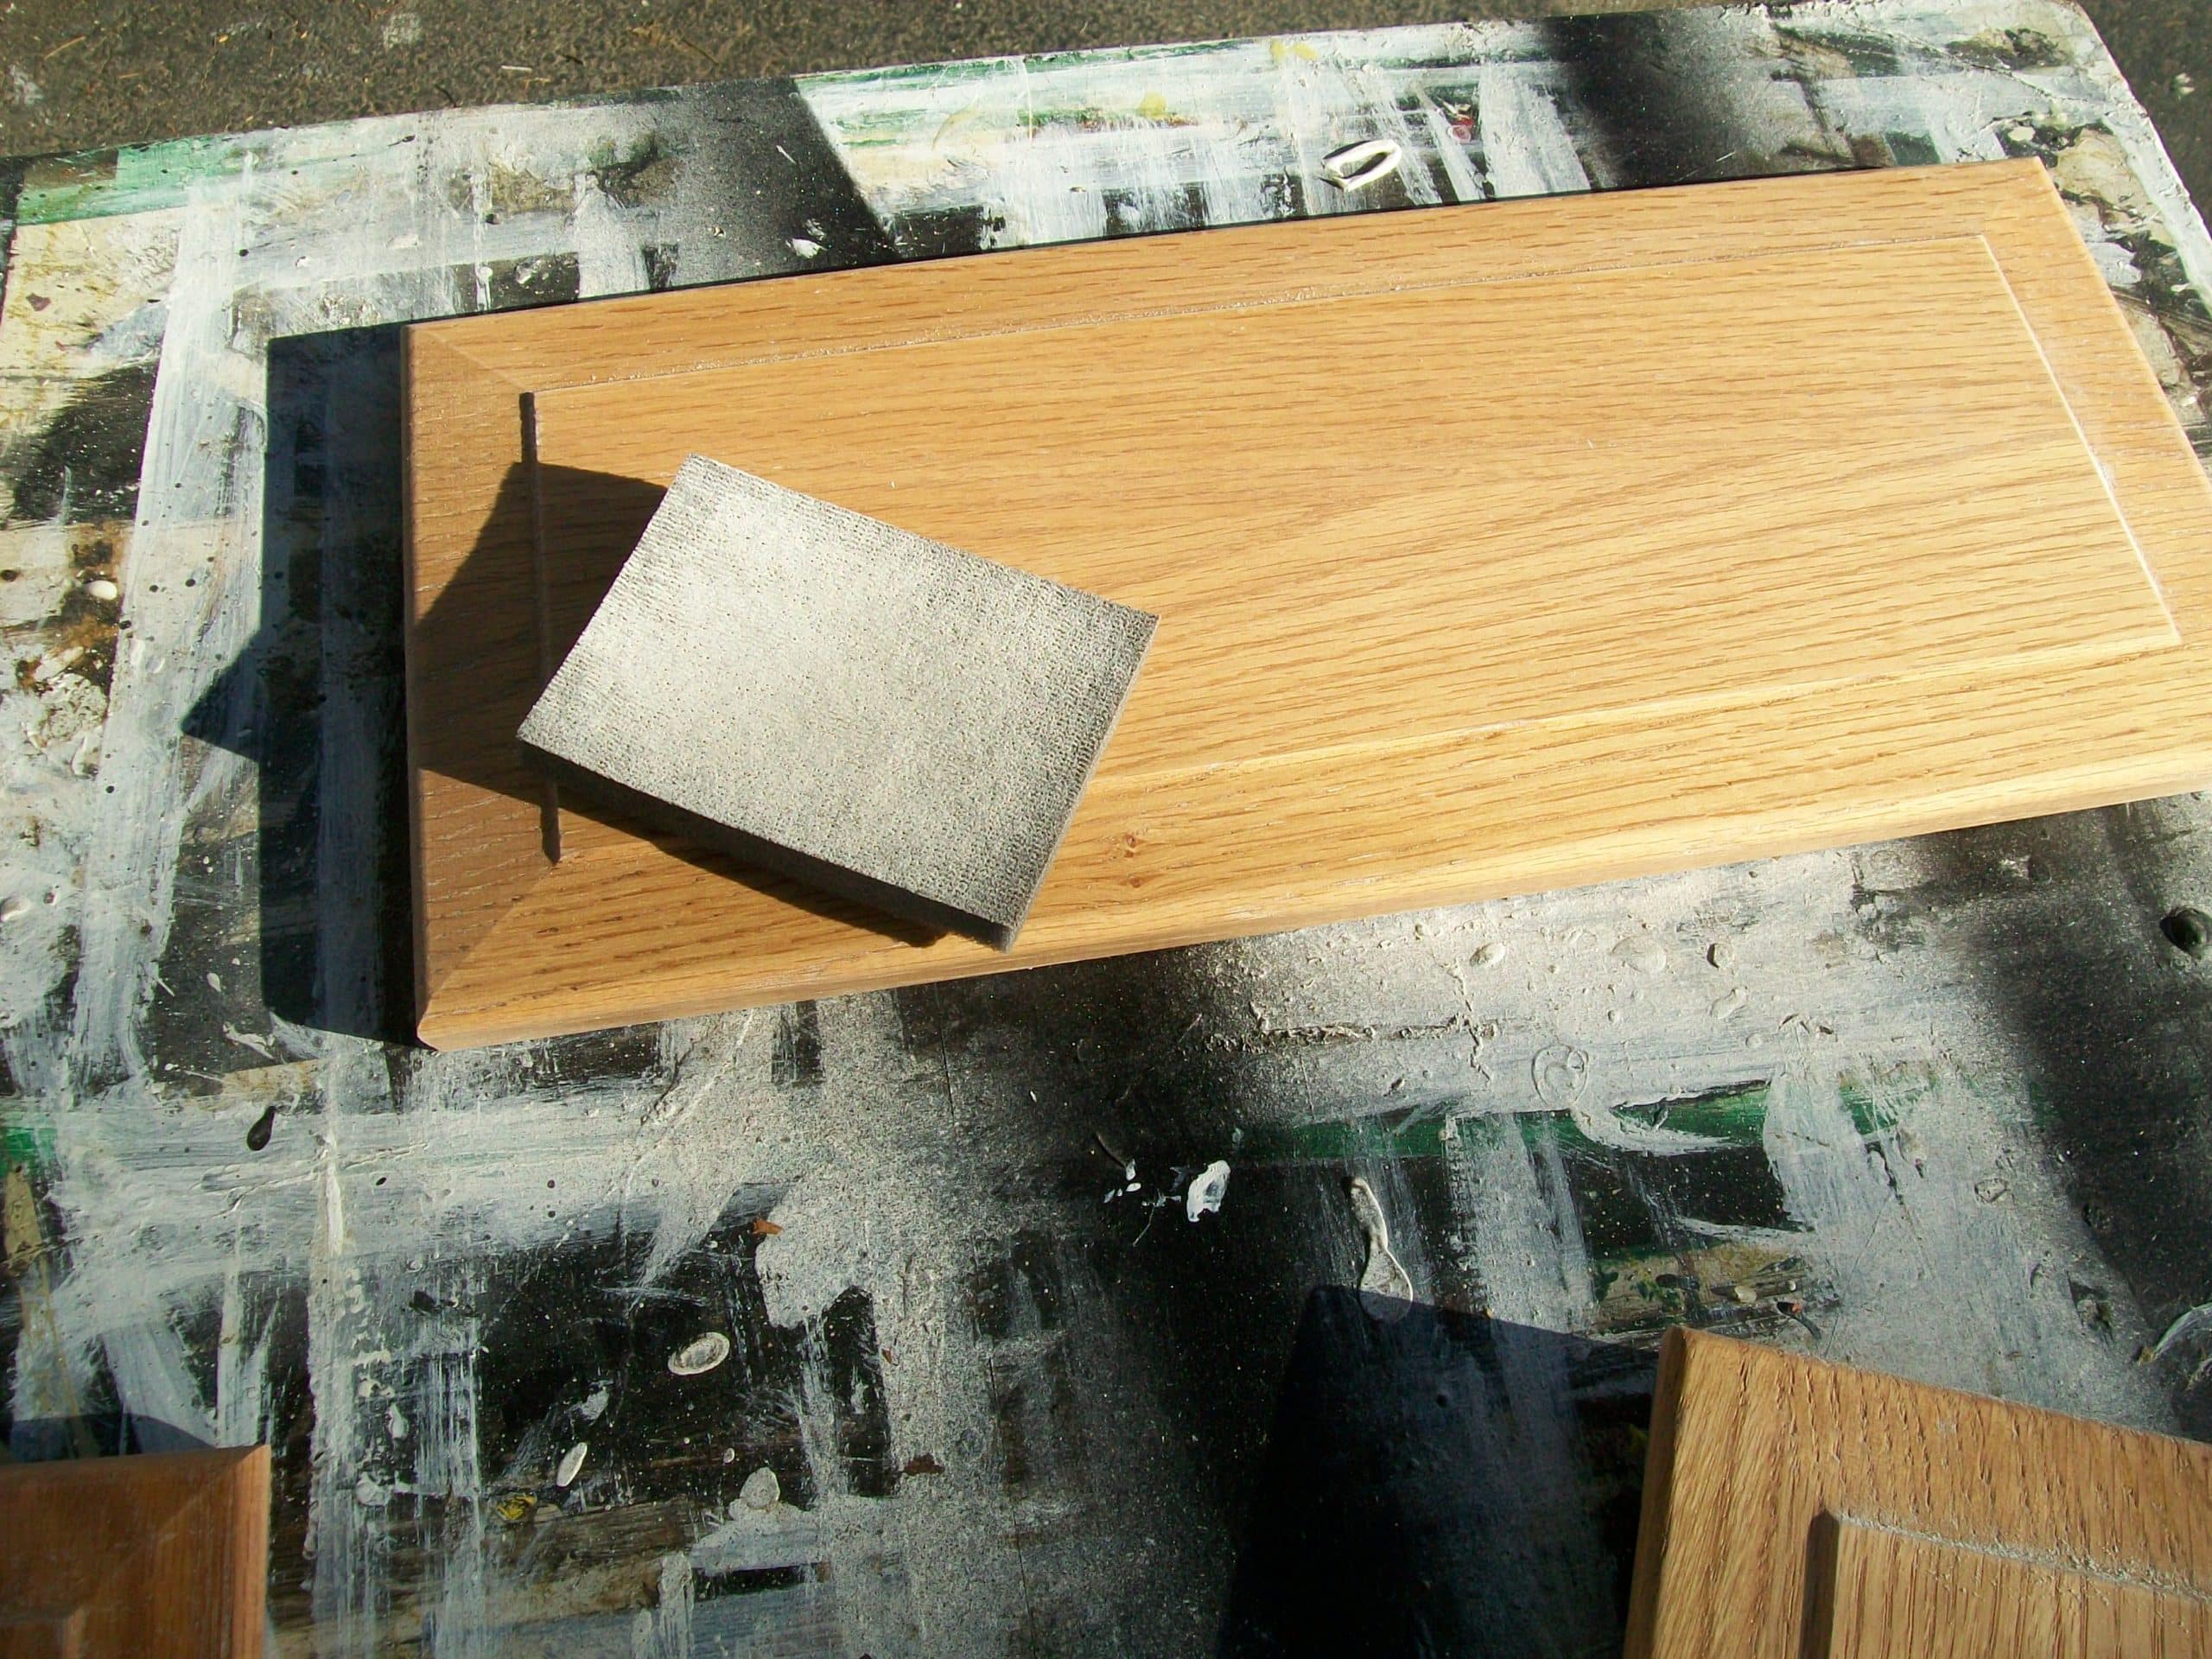
    6. lightly sand doors and drawer fronts to remove any sheen. I used 220 grit sand paper. I did the doors and drawer fronts outside. Make sure to wipe off ALL dust from sanding.
    7. lightly sand the front facings and ends of cabinets. I never emptied my cabinets, however I had some small cheap garbage bags that I used to cover up my contents. After I finished sanding, I removed the plastic and threw it away. Wipe down all dust. (Not Pictured Below)
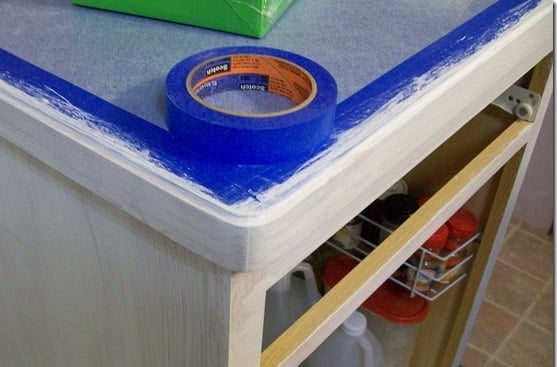
    8. tape off any areas that will be too difficult to keep paint from splattering. (I taped the edge where my counter top meets the front of the counter. See pictures) I always use ScotchBlue Painters Tape.
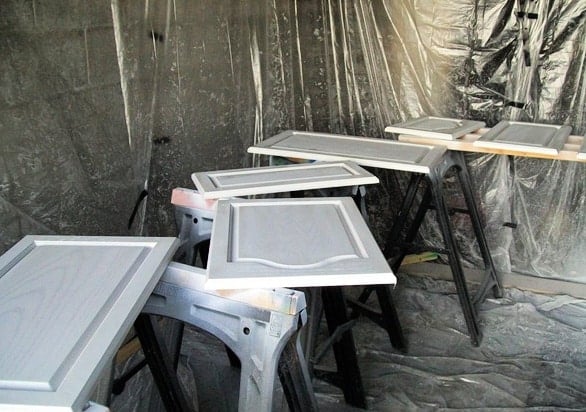
    9. I used oil based primer as a base for all wood surfaces. I used a sprayer from Harbor Freight. (outdoors) for doors and drawer fronts. (please follow all safety precautions using an approved respirator and safety goggles) I used a small foam roller for the front facings. Two coats of primer, lightly sanding in between coats. I used an “in-between coats”  sponge sandpaper. Allow paint to dry thoroughly before moving ahead on any of these paint steps. I allowed 24 hours in between EVERY coat. I did not tape any front facings. Using a foam roller helps the paint not to get inside the cabinets. UPDATE: I now use a Fine Finish Sprayer from HomeRight.
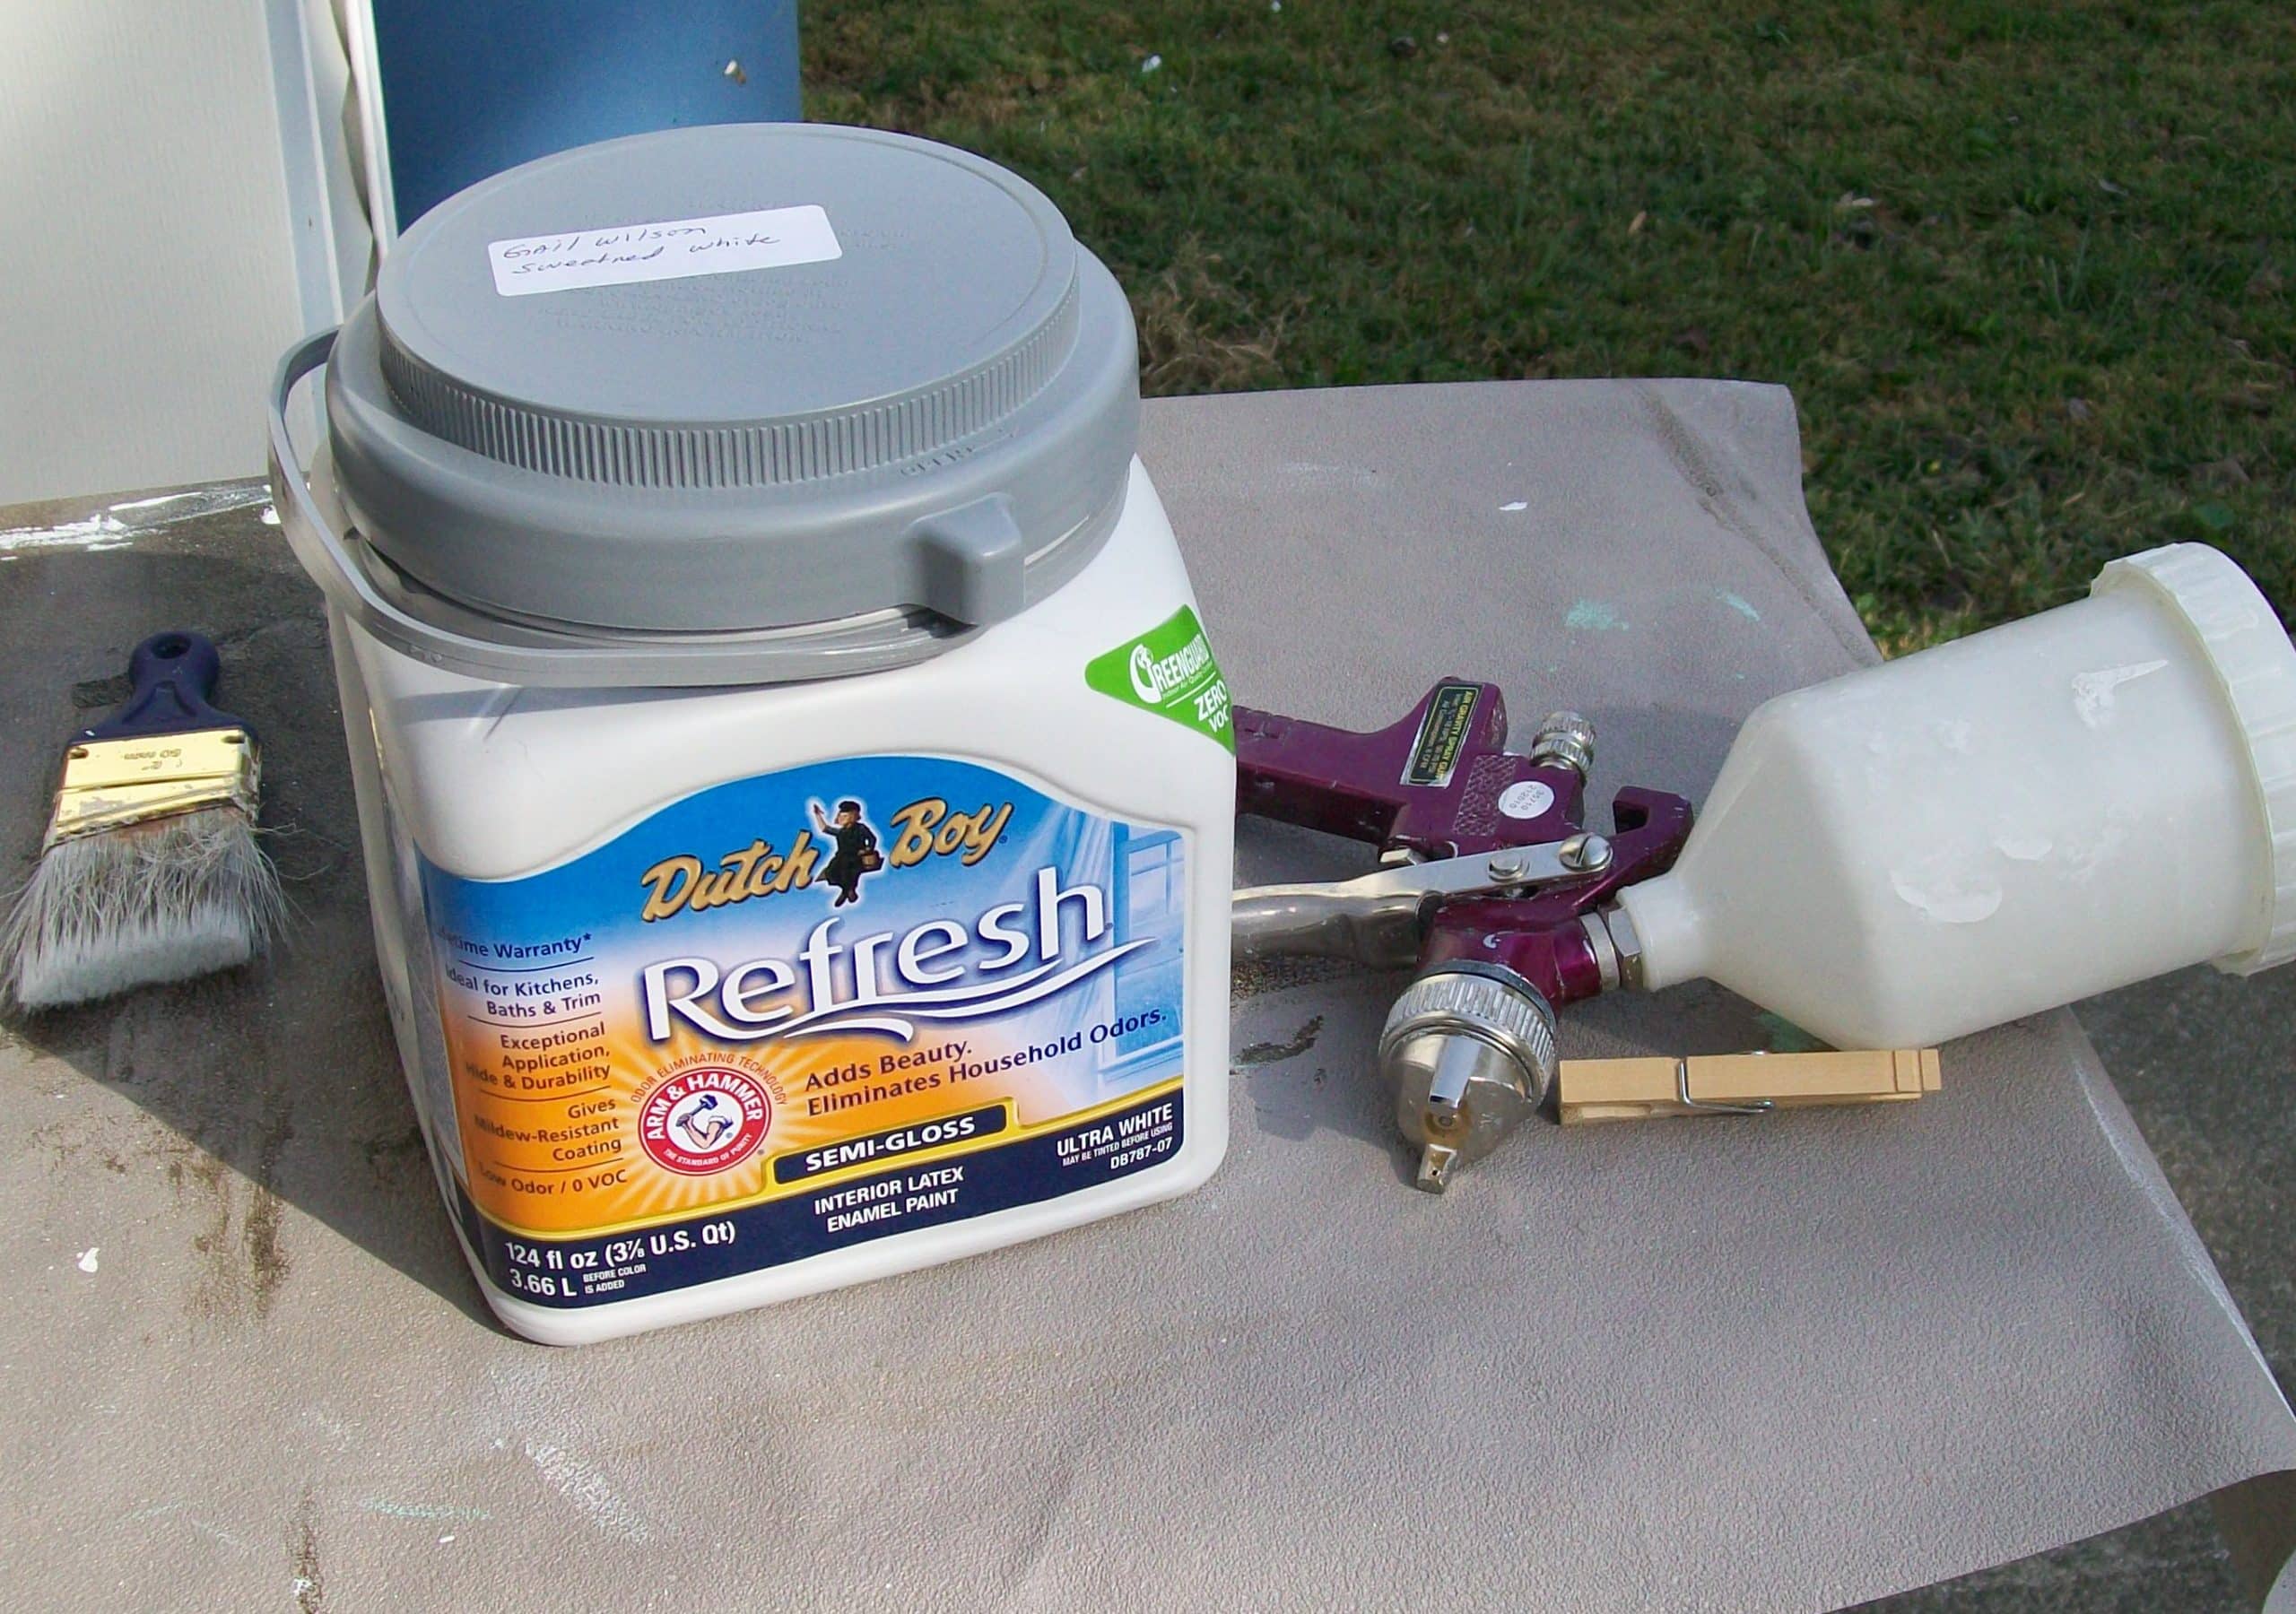
    10. Spray (outdoors) doors and drawer fronts with latex paint. I used Dutch Boy Refresh (quart)   Semi-gloss in Sweetened White.
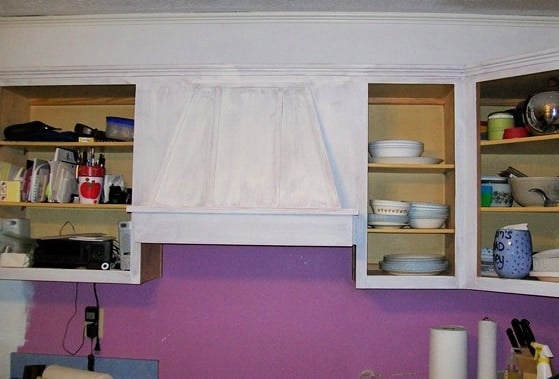
    11. Use a small foam roller to paint the facings and ends of cabinets. Again, I let this coat dry 24 hours. All in all, I did about 4 light coats on the doors and drawer fronts with my sprayer. I did three light coats (foam roller) on all the facings and cabinet ends.
    12. Allow all wood surfaces to fully cure before reinstalling. I waited about two weeks, storing the doors and drawer fronts indoors while they cured.
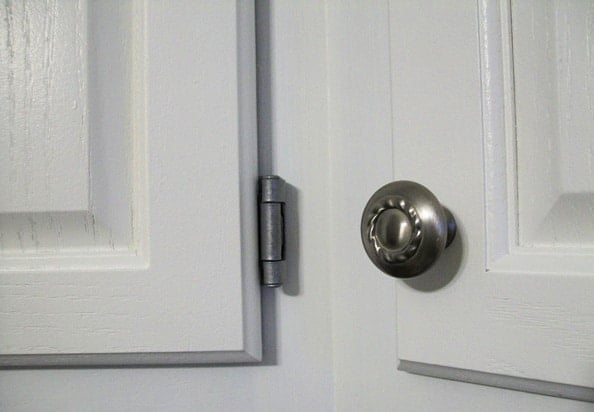
    13. Install all hardware and reinstall all doors and drawer fronts in their original places.
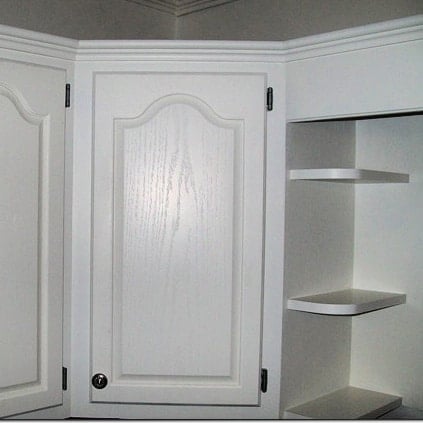
    prepping cabinets

     4) fill holes if you are changing out handles. I switched from handles to knobs so I only filled one hole on each door. On the lower doors I filled the lower hole, on the upper doors I filled the upper hole. I used Elmer’s wood filler. Let dry.
    oak cabinets
    5) tape inside edge of all doors and drawer fronts. (I did not paint the inside of my cabinets.)
    sanding oak cabinets
    6) lightly sand doors and drawer fronts to remove any sheen. I used 220 grit sand paper. I did the doors and drawer fronts outside. Make sure to wipe off ALL dust from sanding.
    oak cabinets (taping)
    8) tape off any areas that will be too difficult to keep paint from splattering. (I taped the edge where my counter top meets the front of the counter.)   I always use Scotch Blue Painter’s Tape

    prime oak cabinets

    9) I used oil based primer as a base for all wood surfaces. I used a sprayer from Harbor Freight. (outdoors) for doors and drawer fronts.
    easy paint tip
    I used a small foam roller for the front facings. Two coats of primer, lightly sanding in between coats. I only bought one little tray for this job, so using a plastic bag allowed me to reuse it without cleaning it with mineral spirits.
    Allow paint to dry thoroughly before moving ahead on any of these paint steps. I allowed 24 hours in between EVERY coat.

    priming oak cabinets

    I did not tape any front facings. Using a foam roller helps the paint not to get inside the cabinets.


    spray painting oak cabinets

    10) Spray (outdoors) doors and drawer fronts with latex paint. I used Dutch Boy Refresh Semi-gloss in Sweetened White. My sprayer was from Harbor Freight.
    100_6499
    EDITED TO ADD:  This is the air compressor I used. It was a little too small, but it’s what my budget could afford. I suggest a larger compressor if you don’t want to have to wait for your compressor to catch up. This one pretty much ran all the time I was spraying.

    A more affordable and easy to use option is a HomeRight Finish Max Fine Finish Sprayer. 


    white oak cabinets

    12) Allow all wood surfaces to fully cure before reinstalling. I waited about two weeks, storing the doors and drawer fronts indoors while they cured.


    oak cabinets get new paint

    white (oak) cabinets

    spray paint hinges

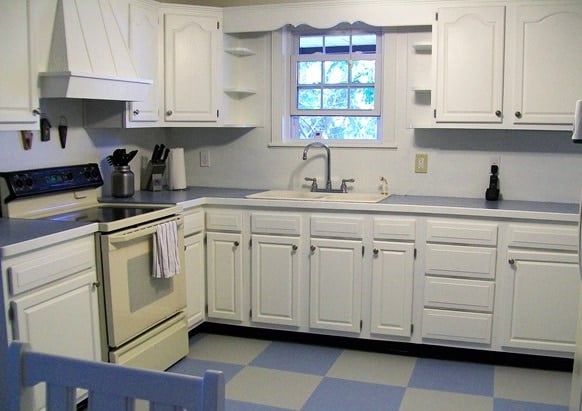
    oak cabinets painted white

    painted vinyl floor

    I also painted my vinyl floor.

    white (oak) cabinets The almond color plate cover has been replaced, please overlook it.

    stainless steel spray paint

    You can see how I painted my utensil holder and my wooden knife block in my post Kitchen Accessories/Krylon Paint
    white painted cupboards
    I love the way the white cabinets helped to brighten up the room. I get very little natural light in this room.

    Update: I also painted my counter tops.

    painted counter tops
    Another Update: I finally got new appliances, and I painted my kitchen island, plus—have you seen my DIY Barn Doors?

    How To Paint Oak Cabinets

    For more great kitchen makeovers, stop by The Kim Six Fix's How to Paint Your Kitchen Cabinets 
    gail
    Pin
    Share
    Tweet

    Related Content:

    • Paint Tips
      Paint Tips
    • Double Pedestal Oak Table and Chairs
      Double Pedestal Oak Table and Chairs
    • Chest of Drawers Makeover
      Chest of Drawers Makeover
    • Tractor Supply Barn Door Hardware
      Tractor Supply Barn Door Hardware
    • Wall to Wall Closet | French Doors using Bi-Fold Doors
      Wall to Wall Closet | French Doors using Bi-Fold Doors
    • Antique Chest Of Drawers Easy Makeover
      Antique Chest Of Drawers Easy Makeover

    Reader Interactions

    Comments

      See comments Cancel reply

      Your email address will not be published. Required fields are marked *

      This site uses Akismet to reduce spam. Learn how your comment data is processed.

    1. Peggy

      November 18, 2013 at 10:24 pm

      Looks beautiful! You choose everything including color so well. Love your further additions . . . like your countertops. Question for you... Would you ever consider using chalk paint on your cupboards instead of sanding and priming, etc. Then latex top coat? If so, do you think your outcome would be the same? Your opinions please!

      Great Job! Beautiful and elegantly done!

      Peggy

      Reply
      • gail@myrepurposedlife.net

        November 19, 2013 at 6:07 pm

        I do that kind of paint treatment for my furniture, so I don't know why it wouldn't work. I haven't put latex over REAL chalk paint, only DIY chalk paint made from Plaster of Paris.

        Thanks for your kind words on my kitchen cabinets. 🙂

    2. Madeline

      November 12, 2013 at 6:16 pm

      I am planning to paint my oak cabinet but was not sure how to do it, right now I am having a hard time getting the grease off. The more I see the more I am thinking I can do this. Thanks for the inspiration.

      Reply
      • gail@myrepurposedlife.net

        November 12, 2013 at 7:35 pm

        Madeline,

        I think you can do it as long as you don't rush it and take the proper prep precautions. 🙂 TSP, sanding, priming, it's all very important, as is curing time. 🙂

        good luck! have fun!

        gail

    3. Anonymous

      December 24, 2012 at 3:29 pm

      Why didn't you paint the inside of the cabinet doors?

      Reply
    4. Laura G

      November 21, 2012 at 2:21 pm

      Wow, this looks beautiful! My kitchen was built in 1957, updated in 1976, and is pretty much frozen at that stage until we figure out what to do to update for low cost. I was considering painting the floor, it's Terrazo and badly stained. What's held me back is durability- how has your floor paint held up since you posted this a couple of years ago? Also, how has the countertop paint fared? I am a stay-at-home-mom and my kitchen gets a LOT of heavy cooking use as one necessary way to conserve funds.

      Reply
    5. Anonymous

      October 22, 2012 at 9:17 am

      Thank you so much for posting this, I am planning to paint my oak cabinet but was not sure how to do it, right now I am having a hard time getting the grease off, I will try the soap and tsd, I hope they come out as good as yours.

      Reply
    6. Heather Shayne

      August 19, 2012 at 7:43 pm

      I really want to take some time to thank you for sharing this wonderful post and all the details. I can't tell you whole many times I looked through this before I had the courage to attack my kitchen. Again, thank you so much! If it wasn't for this blog, then I dont know if I would have remodeled my kitchen.

      Here is a link to my blog that shows my b&a pics-

      http://www.mrsshayne.com/2012/08/kitchen-remodel-its-finished-before.html

      Reply
    7. Anonymous

      June 27, 2012 at 3:48 pm

      Thanks for the instructions! I have been considering painting my cabinets for a while now, wondering how to go about it where they wouldn't chip. Now I know! Now just can't decide if I want white or black! Want to paint my walls gray and I have a vinyl floor that looks like gray marbled tile. Wanting metal or black table and chairs. Any suggestions?

      Reply
    8. Beth

      June 08, 2012 at 8:08 pm

      I think I have those exact cabinets!

      I have been thinking about re-painting for years since the cabinets are in good condition--just really dark in a small kitchen. I don't know if I'd do white, but I do like the lighter color.

      Thanks for the tips--now I just need to do it! I'll bookmark your page. 🙂

      Reply
    9. Elena

      April 15, 2012 at 4:13 pm

      Wow!! I have super-ugly oak cabinets that I would love to paint. (Or better yet, I'd love to have *you* paint them 😉

      Reply
    10. Joel

      August 15, 2011 at 4:04 pm

      Nicely done!

      My only question was how well the pressure sprayer worked with the latex paint. I prefer to use latex, but have had terrible luck with pressure sprayers in the past for latex. Did you dilute the paint? If so to what extent? Even with Flotrol I have always seen my sprayer clogging. Thanks!

      Reply
    11. Anonymous

      July 10, 2011 at 4:52 pm

      Beautiful job! Is there a clear coat used over the paint? I have the same cabinets and would like to updated without replacing. I have bathroom cabinets that were painted and now paint is wearing from washing and I can imagine the kitchen would be worse in less time. Thanks!

      Reply
    12. ItsLiz

      July 01, 2011 at 7:06 pm

      GORGEOUS ... love the painted floor ... came out spectacular ...

      Reply
    13. Mandy

      July 01, 2011 at 5:14 am

      That floor is gorgeous! I love the colors!

      Reply
    14. Peggy

      June 06, 2011 at 12:59 pm

      Gail,
      What was your total start to finish time? I want to do this but there is someone in our house who it would drive crazy to have the doors off for that amount of time. Thanks!

      Reply
    15. Creative Escapes

      April 06, 2011 at 1:44 am

      I keep going back and forth on if I want to paint my cabinets - your before look just like my now. The more I see the more I am thinking I can do this. Thanks for the inspiration.

      Reply
    16. Melanie {The Tiny Tudor}

      February 02, 2011 at 2:18 am

      The power of paint! I am hoping to paint my oak cabinets this Summer. I don't get much natural light in my kitchen either, so I'm hoping white cabinets will brighten it up. You did an amazing job! Thanks for all the tips!

      Reply
    17. Shawna

      January 22, 2011 at 6:40 pm

      That is the paint sprayer I am looking at purchasing. Do you like it? Would you recommend it? I will be using it less frequently than you do, but often enough that I think the $20 would be worth it, so long as it works as it is supposed to! 🙂

      Reply
    18. vanpeltium

      January 19, 2011 at 3:28 pm

      I love your kitchen redo!!! I'm not sure I could pull that off but I'm getting motivated 🙂 Did you paint your hinges too? What did you use?
      sharvp (at) hotmail (dot) com

      Reply
    19. Kathy

      January 09, 2011 at 2:38 pm

      great job, my kitchen desperately needs this!

      Reply
    20. cucumbers and vinegar

      January 09, 2011 at 5:20 am

      I also have oak cabinets and I am DYING to paint them but have been too afraid. Thank you for giving me the know-how and inspiration to get them painted!!

      Reply
    21. Parents of a Dozen

      January 04, 2011 at 8:22 am

      Looks so much better.

      Reply
    22. Candace

      January 04, 2011 at 6:26 am

      I have this high on my to-do list. Thanks for the tips!

      Reply
    23. Jayna Rae

      December 18, 2010 at 6:20 pm

      I really want to paint my cabinets white next summer. They are faux maple, blah, cheap

      Reply
    24. Leslie @ Farm Fresh Fun

      December 16, 2010 at 9:02 pm

      Wow ~ just GORGEOUS transformation Gail! I love the fresh clean look and color palette. The floor too is amazing. Your patience is clear and yielded awesome dividends. Congrats! Hope you're enjoying it all with friends n family this Christmas!
      hugs,
      Leslie

      Reply
    25. Anne at Bird/Like

      December 15, 2010 at 4:39 pm

      Whoa! that's a lot of work! You did such a good job, it looks amazing!

      Reply
    26. Erin

      December 15, 2010 at 6:19 am

      It is absolutely gorgeous...you'd never guess this was a DIY job...absolutely fabulously executed. YOu should be so darned proud of yourself.

      (Thanks for the tip about curing 24 hours between EVERY coat. I think it made all the difference.)

      Reply
    27. Amy Kinser

      December 14, 2010 at 6:48 pm

      Oh how I would love to do what you just did. I have the 90s oak cabinets that are so 90ish and not so pretty.

      Great for you! I don't know that my hubby will let me attempt this. I may have to try to convince him, though.

      Reply
    28. Cassie @ Primitive & Proper

      December 14, 2010 at 5:36 pm

      boy, that was a lot of work. but so worth it!

      Reply
    29. Cassie @ Primitive & Proper

      December 14, 2010 at 5:36 pm

      boy, that was a lot of work. but so worth it!

      Reply
    30. Suzanne@Meridian Road

      December 14, 2010 at 2:56 pm

      The guy at our hardware store could stand to take a few classes from you. He left out some steps when he told me how to paint our kitchen cabinets, so now they're starting to chip.

      Your cabinets, however, look fabulous! And I'd be very surprised if they ever chip.

      Reply
    31. Bonnie@Creative Decorating

      December 14, 2010 at 2:38 pm

      I just did mine as well. It is quite the job but so worth it for the cost!! You did such an awesome job!

      I am having a giveaway if you would like to enter! Have a great week!

      Reply
    32. Paige (Final Clothes-Out)

      December 14, 2010 at 2:31 pm

      Ooooh, there's MORE? I want you to hurry!

      Reply
    33. Peggy

      December 14, 2010 at 2:22 pm

      I must say your kitchen is absolutely gorgeous! Each time I look at it I just can't get over the difference! Is it highly visible from the other rooms? Because it now flows so nicely with your living room! Great job Gail! You never cease to amaze me!! I have to admit I really want to paint my cabinets but am always intimidated by the amount of time it is going to take....

      Reply
    34. Krysstyllanthrox

      December 14, 2010 at 1:39 pm

      What size compressor do you use with your spray gun? I've been thinking of investing in a compressor/spray gun to help with my furniture refinishing but am so confused by all the options out there!

      Reply
    35. Suzanne

      December 14, 2010 at 12:38 pm

      Thank you for posting these directions. Even I could try this after reading these detailed steps. Your cabinets are incredible. Love the white.

      Reply
    36. Rose @ Confessions of a Curbshopaholic

      December 14, 2010 at 11:31 am

      Good directions, I'm so bad about prepping. It's the most important step but I'm always too impatient to get started and skip over some of the important details.
      Your kitchen paint job is just fabulous, what a difference that paint made! Well done!

      Reply
    37. Connie

      December 14, 2010 at 11:22 am

      I love how your whole kitchen turned out! I have been planning to paint my cupboards for a while. I will just print out your step by step instructions. Appreciate all your wisdom.

      Reply
    38. Kim

      December 14, 2010 at 9:52 am

      Oh my goodness, that really makes your kitchen look so much bigger, I guess its all the wonderful chrisp and clean white paint, and I am digging the silver knobs on the cabinet doors! Great job, projects that take the longest always look the best!
      - Kim
      Upcycle On Everyone!
      http://www.mrgnomesblog.com/

      Reply

    Primary Sidebar

    Hi, there! I’m Gail Wilson, the author and mastermind behind My Repurposed Life. I’m obsessed with finding potential in unexpected places and believe that with a little hard work and imagination, any old thing can be made useful again—myself included! I hope you’ll enjoy the journey and pick up a few tools along the way… literally!

    More about me →

    Join Our Mailing List

    ​

      Click the topics you're interested in below:

      Subscribing above means you agree to our Privacy Policy​

      Footer

      ↑ back to top

      SEEN ON

      Might I Suggest

      • Start Here
      • Furniture Makeovers

      Newsletter

      • Sign Up! for emails and updates

      About

      • Gail's Favorites on Amazon
      • About

      As an Amazon Associate I earn from qualifying purchases.

      Copyright © 2023 My Repurposed Life · Privacy Policy · Disclosure