how to repair broken furniture
As an Amazon Associate, I earn from qualifying purchases.
My regular readers know about my friend Jan. Some of you who are new around here may not know the backstory. Jan has been reading my blog for awhile now. She’s a local lady, actually living just a few miles from me. Jan is a collector of junk stuff. She collects some really good stuff! I’ve already made Jan a bookshelf out of shutters, a headboard bench, a repurposed door shelf/nightstand, teapot lamps, and a shutter cupboard. Jan and her husband bought a rocking chair at an auction. She asked me if I’d work on it.
This is how it came to me:
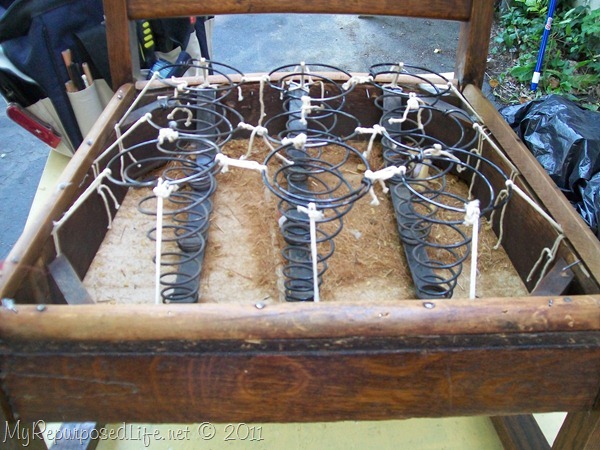
After I got it, I had to phone her to ask if it was a “family” piece, or was it an auction find. If it had been a family piece, I may not have worked on it. I wouldn’t have wanted to mess it up.
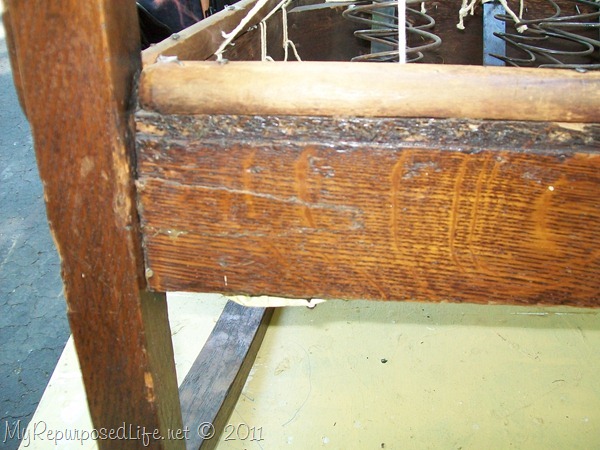
The chair definitely had seen better days. It was a little wobbly. Heck, as we get older, aren’t we ALL a little wobbly? (I know I am)
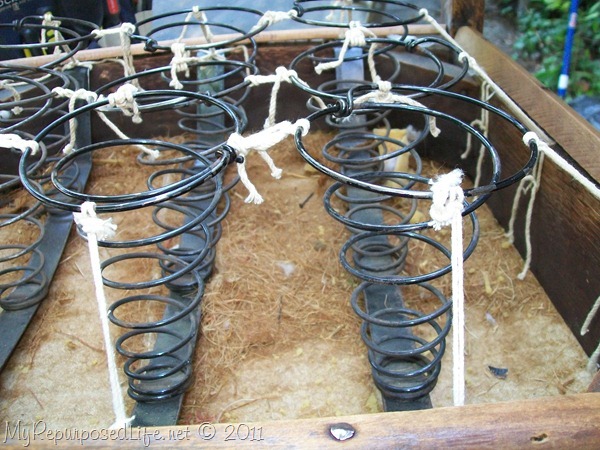
I really wasn’t a fan of upholstering over these springs, mostly because I’m not very knowledgeable of such.
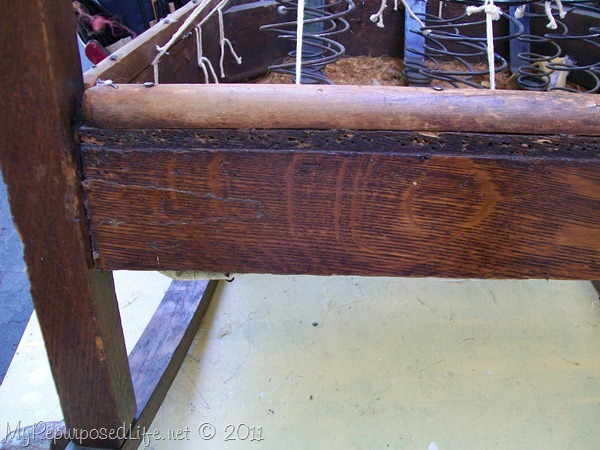
Do you see all of those nails/tacks? Have you ever taken apart upholstery? Back in the day, they really wanted things to stay put together!
This post contains Affiliate Links

I got my small pry bars and my hammer and got to work.
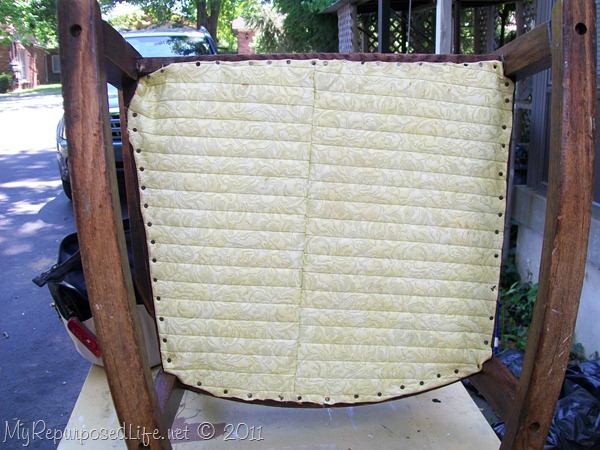
More tacks!
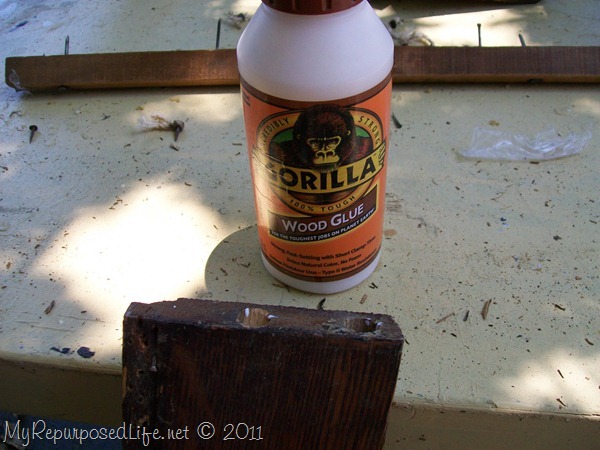
Because the chair was wobbly, I worked on stabilizing it. The front piece came apart quite easily. I grabbed for my Gorilla Wood Glue to make sure that the repairs held.
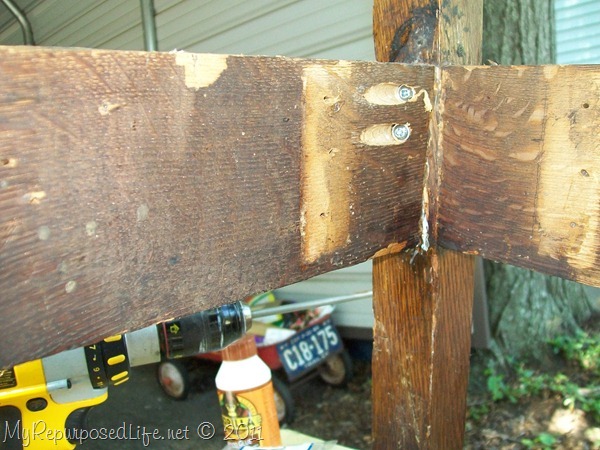
In addition to the Gorilla Wood glue, I used my Kreg Jig to make some handy pocket holes. Learn how to use a pocket hole jig.
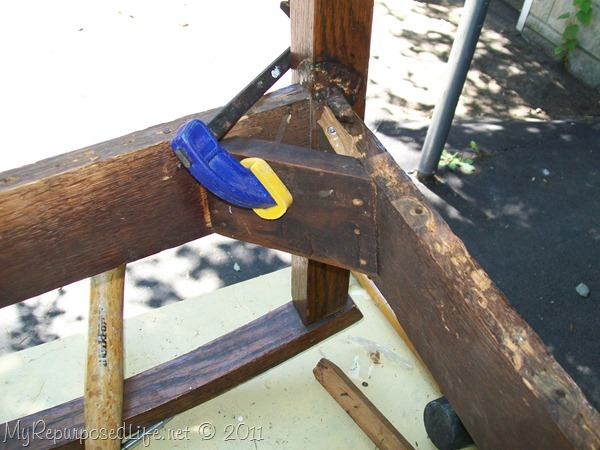
I glued and nailed the corner brace back in place.
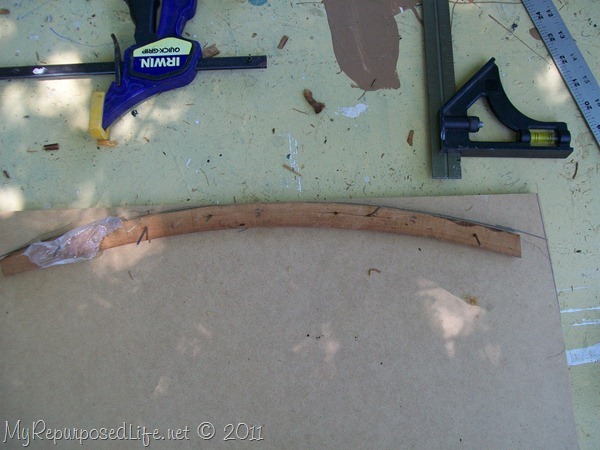
When Jan told me it was an auction piece, I asked her if she were “married” to the springs. lol She said, “no”. So I went with plan b. I used a piece of 1/2 mdf to make a new seat. The back of the rocking chair has a curve to it. I used the trim piece as a pattern to mark the new seat.
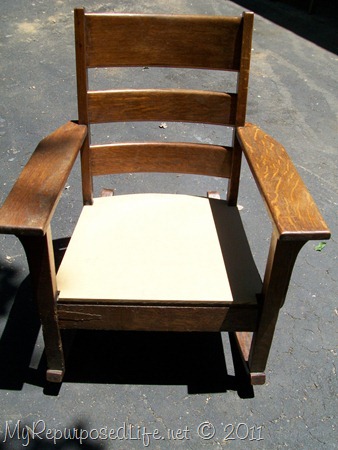
I cut out the curve and the notches with my jigsaw. Then the chair took a hiatus. It turned HOT, really hot. After a few weeks I brought the chair out again so I could work on it.
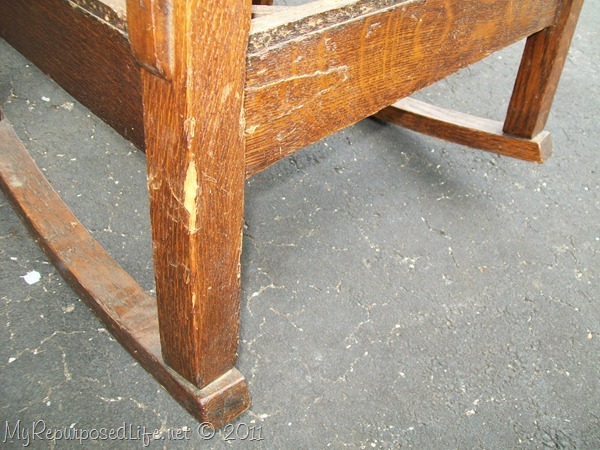
The finish was pretty rough. I decided to sand off the gloss and re-stain the chair.
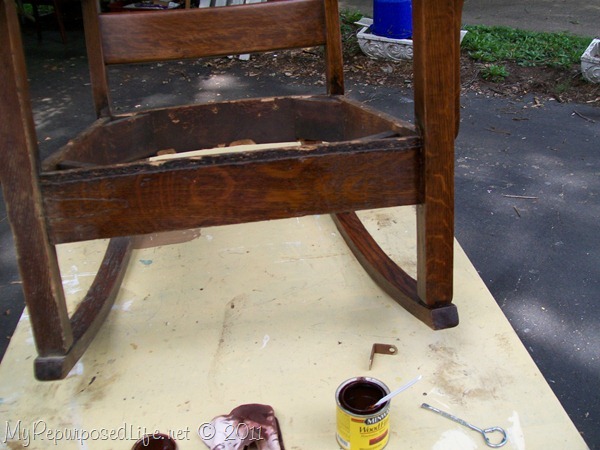
I did a little test on the front board (because I knew it would be getting covered up) to see what color matched the best.
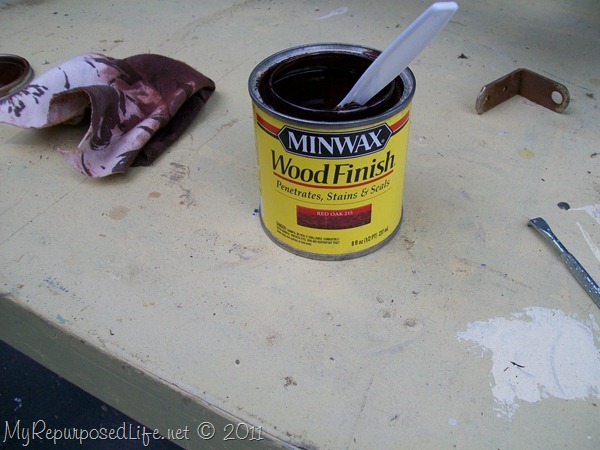
Red Oak was the winner. (I use plastic utensils to stir my paint and stains in small cans)
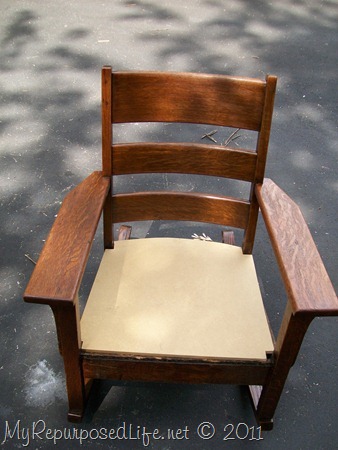
It’s difficult to tell, but the finish came out beautifully. The wood tone is so much prettier. The gouges are much less noticeable with the stain on them.
Stop by tomorrow where I show you how to use leather to recover/upholster this antique rocking chair.
gail

It’s alot of work to refinish it the way you did. Great job! Love the way it turned out!
Holly
This rocking chair reminds me SO MUCH of one that my grandmother had. It had leather covering the cushion on the seat. (I wonder what happened to that chair??? Hmmm…) You’re doing a great job (as always!)
I am a rocking chair fanatic, I now sit excitidly awaiting to see the fabric you use for the cushion.
beautiful rocker! look forward to the seat covering and final reveal. thanks for the tips for fixing the chair…good stuff to learn.
judi
Today I just started on a rocker I have had for a couple years. Bought the perfect fabric, decided on the paint. All the fun stuff. Then starting pulling tacks – 2.5 hours later, still not done and I have a blister. Could not believe how many tacks were in this item! I feel your pain! Thanks though, for feeling mine!
Lots of work, but that chair is well worth the effort! The finish looks great! Now I can’t wait to see what you put on the seat!