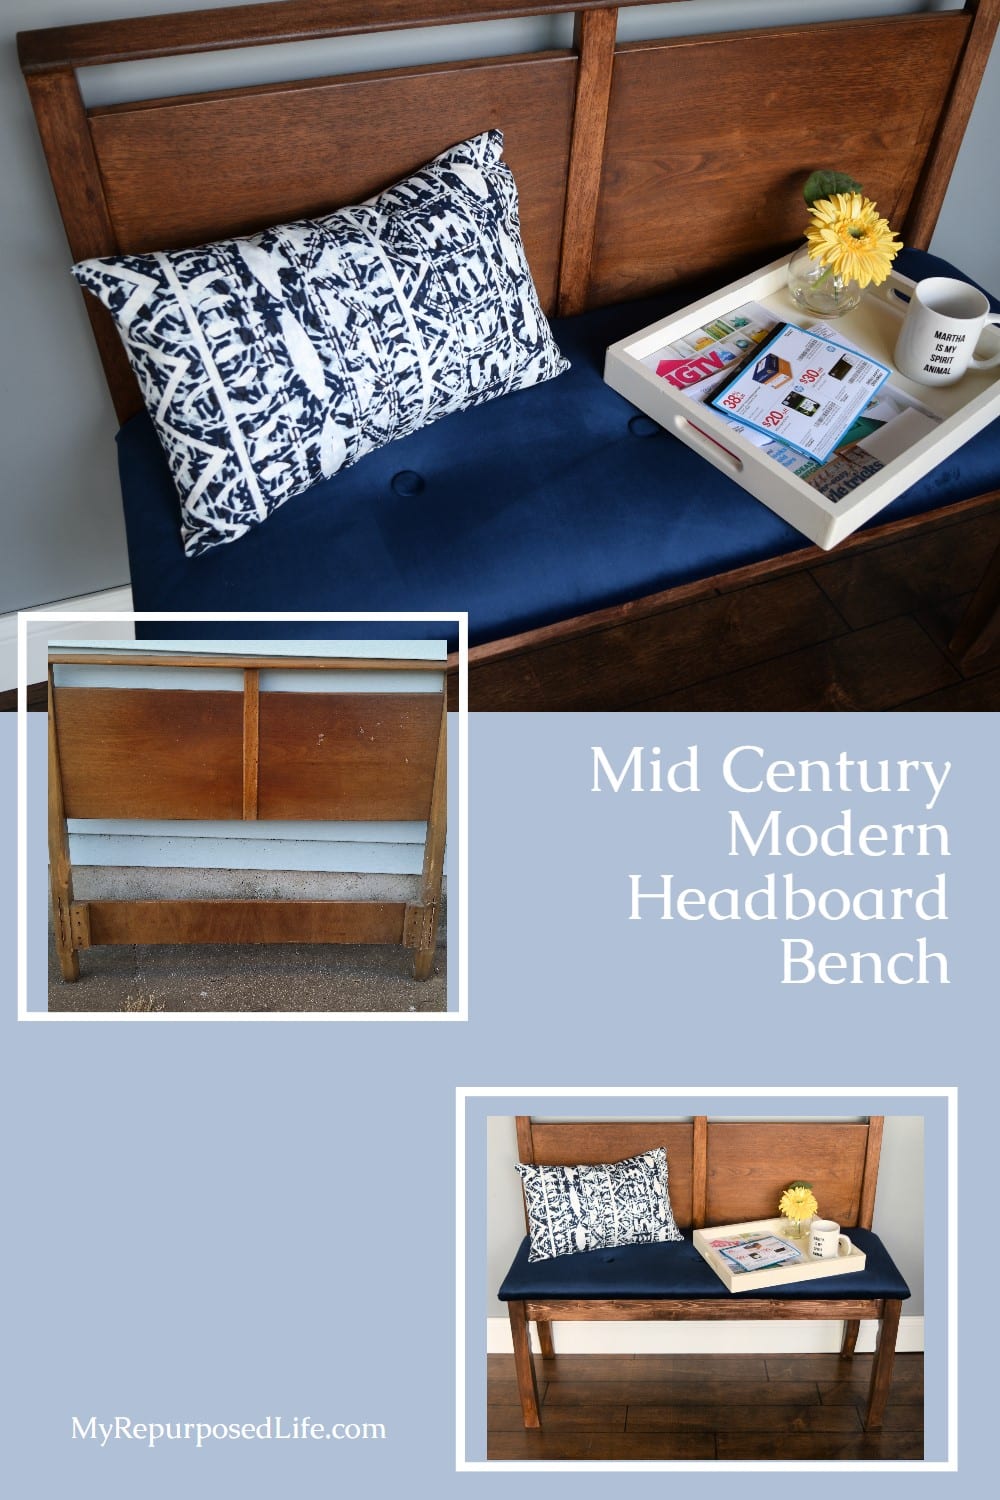
Mid-Century Headboard Bench
As an Amazon Associate, I earn from qualifying purchases.
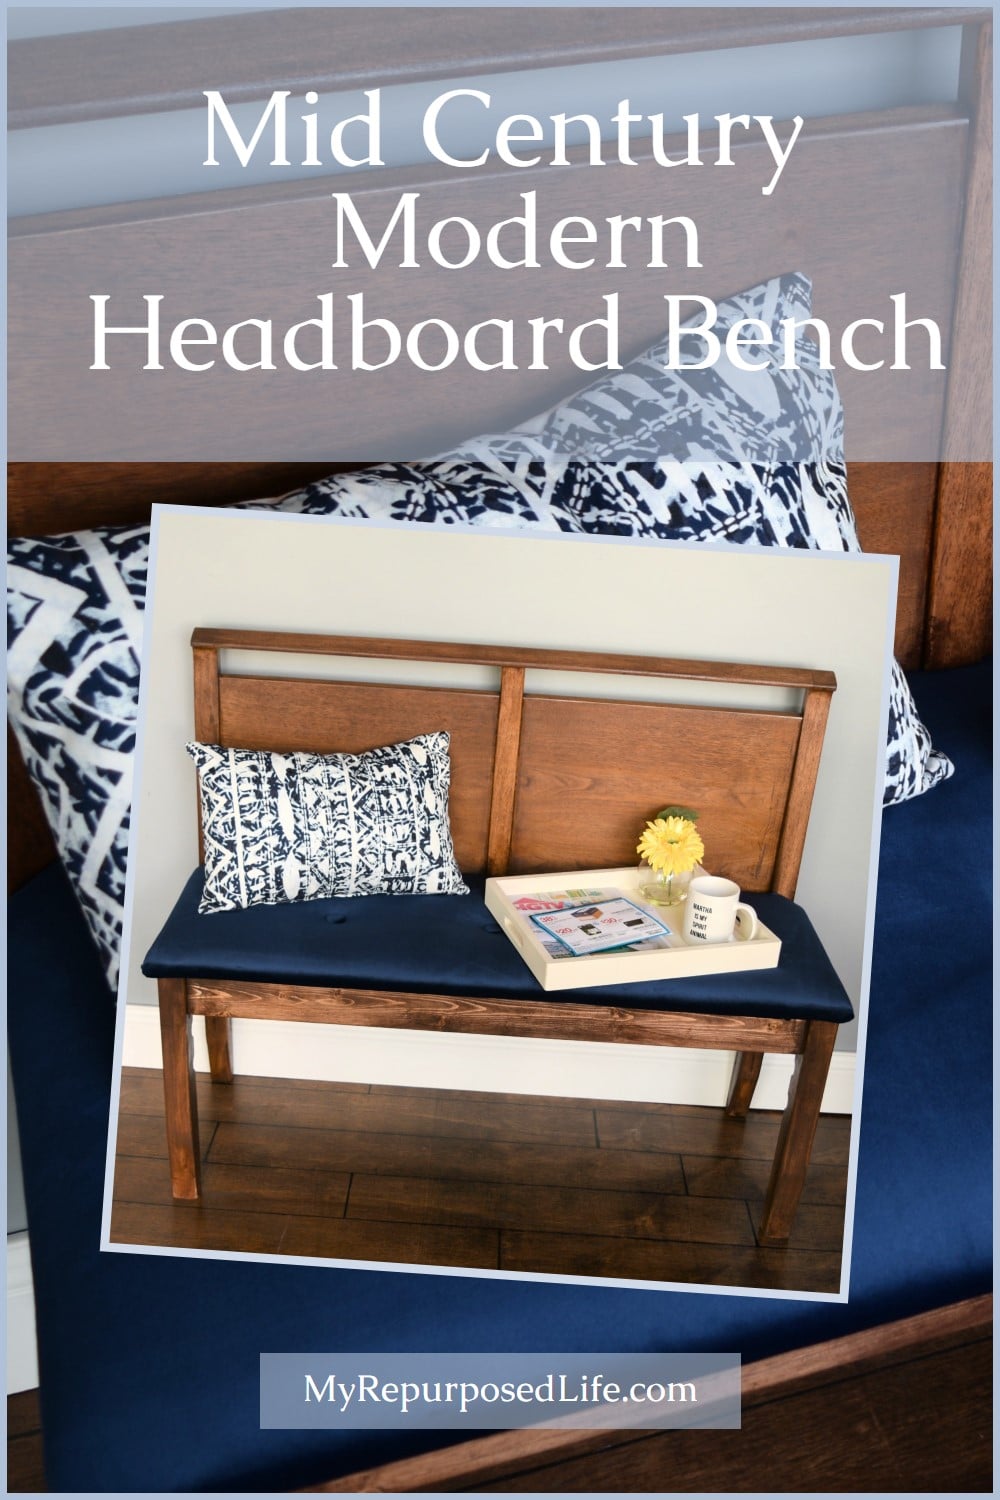
I have a great mid-century headboard bench to share with you as part of the monthly Power Tool Challenge with some of my favorite DIY bloggers! Be sure to check out all of the other great projects shared below.
The theme was “repurpose”, so easy for My Repurposed Life! Because headboard benches are what I’m known for, and it’s been a while since I’ve made one—I thought it was the perfect project for this challenge.
Free Twin Mid Century Headboard
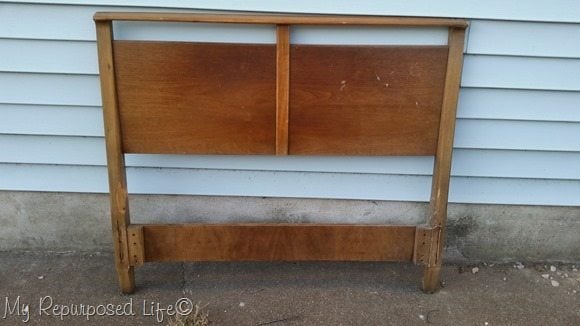
Do you remember me blogging about my DIY picket fence? I hired Rodney, a nice neighbor from across the street to help me build it. Recently while Rodney was rummaging through his garage, he came across this cute little Mid-Century Modern twin headboard and delivered it to my driveway.
How to Taper a Leg
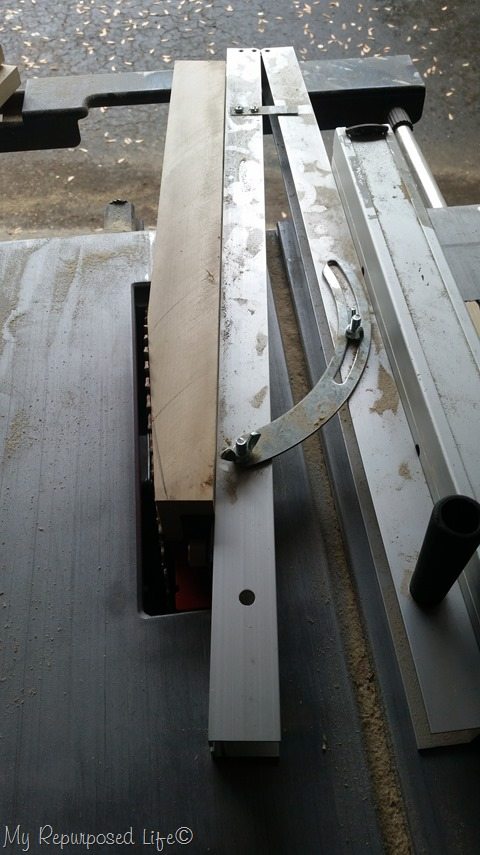
I used this taper jig to get a tapered “foot” on the end of the front leg to match the back leg of the original headboard. *I rarely use my table saw without the guard installed. If you do not have the proper skills, do NOT attempt this cut yourself.
What is the first step to making a headboard bench?
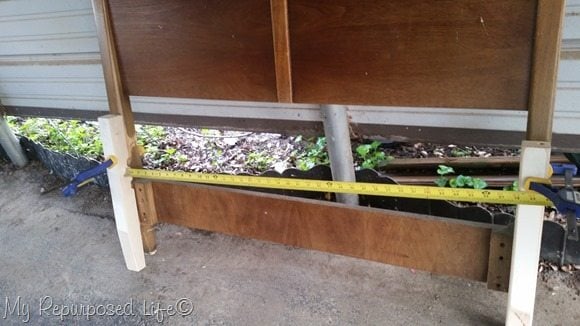
After sanding the legs I measured to see how wide my front brace should be. By the way, the pieces I used for the legs were from another headboard I dismantled. They were a little chunky so I ripped them before using the taper jig. So, the first step to making a headboard bench without a foot board is to decide on what you will use for front legs.
Pocket Hole Assembly on Mid-Century Headboard Bench
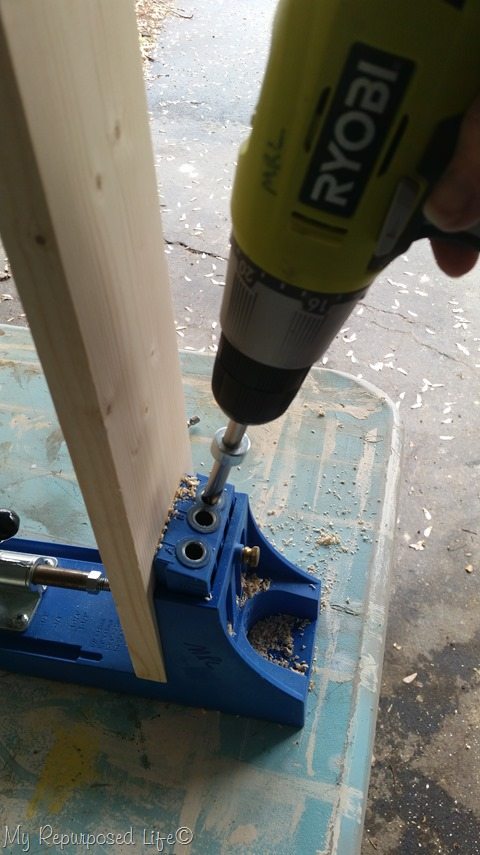
I used a 1×4 for the front and side braces. I attached these by using pocket holes made with my Kreg Jig.
Assemble Headboard Bench Frame
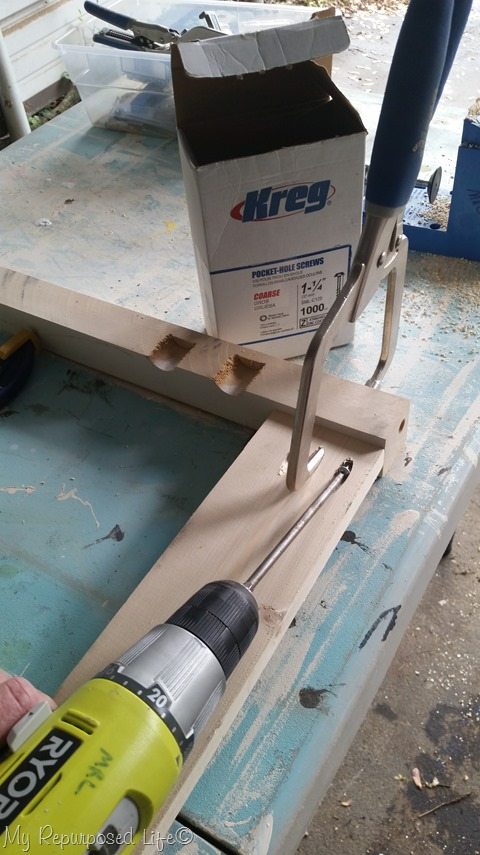
I use these pocket hole screws so much I buy them by the box on Amazon. Using a right angle clamp helps hold the boards in the right place.
You may have to add a brace in the back to support the seat

I made this bench shallow at only about 14” so I needed my right angle drill to secure the screws on the sides.
The board in the back is merely for extra support. Many times when I make headboard benches there will be a board there already. This mid-century bed’s brace was very low, and I ended up removing it because it wasn’t needed.
Install a Center Brace
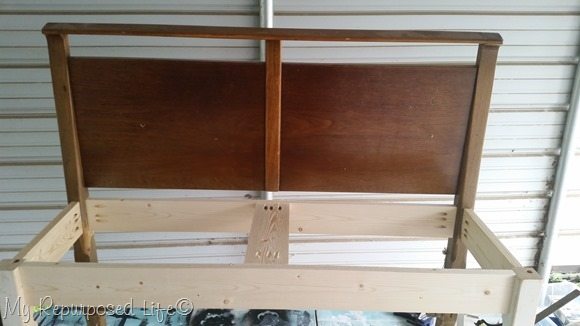
I added a board in the middle for more support. Securing the pocket hole screws from the top made it easier to get to, and they will be covered up when the seat is in place.
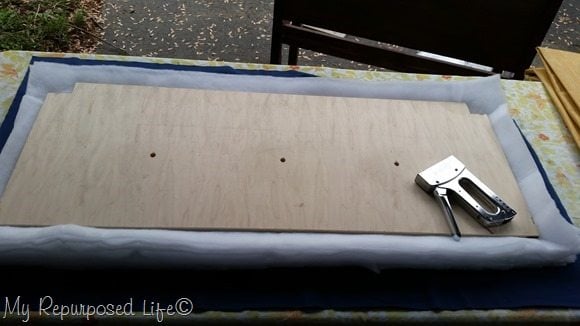
Notch Plywood Headboard Bench Seat with a Jigsaw
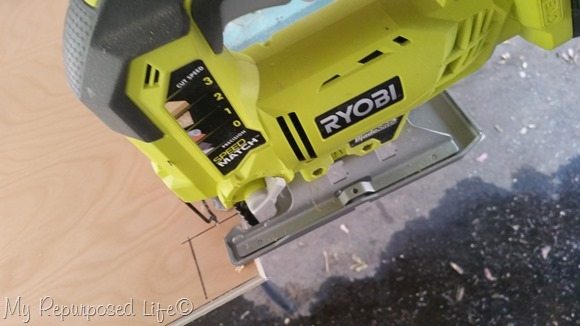
I used some plywood that I buy at a thrift store to make the seat to this headboard bench. I cut it to size on the table saw, then used a jigsaw to cut out the notches for the back of the seat.
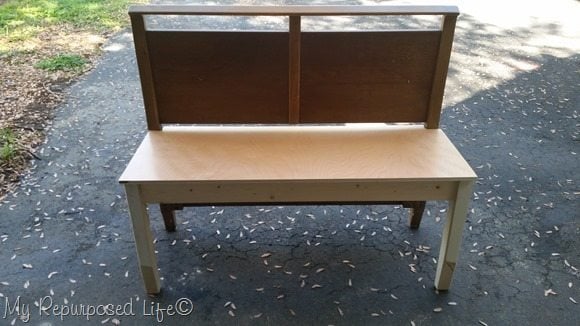
This is a dry fit to make sure the notched seat worked okay. If you look closely, you can see the (lower) back brace is still in place at this time.
Cut away lower brace and clean up rough wood
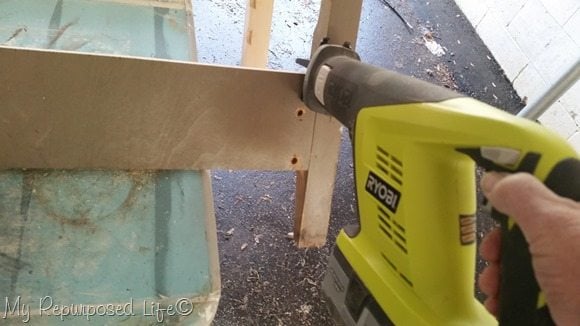
I used my reciprocating saw to cut the lower brace away from the headboard. (I can’t help myself, I get a little giddy when it comes to sawing furniture) ![]()
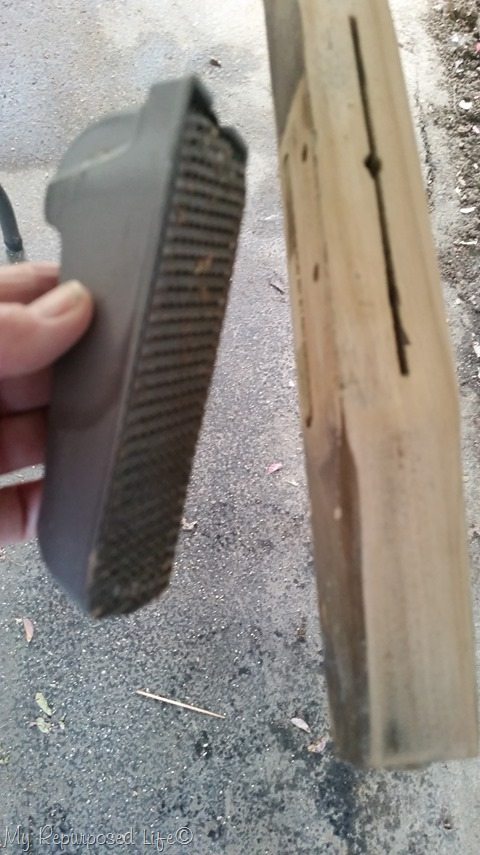
Sorry for the blurry picture, but I wanted to show you how I cleaned up the extra wood left over from the reciprocating saw. A rasp (pocket plane) is a handy tool to have in your collection.
Gel Stain is Great for Matching Original Color


After sanding the headboard, and legs—I used some Hickory Gel Stain to give the bench a cohesive look. The front legs were originally painted white, I sanded the paint away so I could stain them.
Choosing Clearance Upholstery Fabric
Then it was off to look for some fabric. Are you surprised that I’m actually using a fabric covered seat for this headboard? I don’t do it very often, but I should! I’ve only done it a couple of times, once on this ruffled seat headboard bench, and again on this repurposed drawer headboard bench.
I was texting with my daughter Jamie and she helped me decide which fabric to get—a very pretty velvet (NOT on clearance) lol
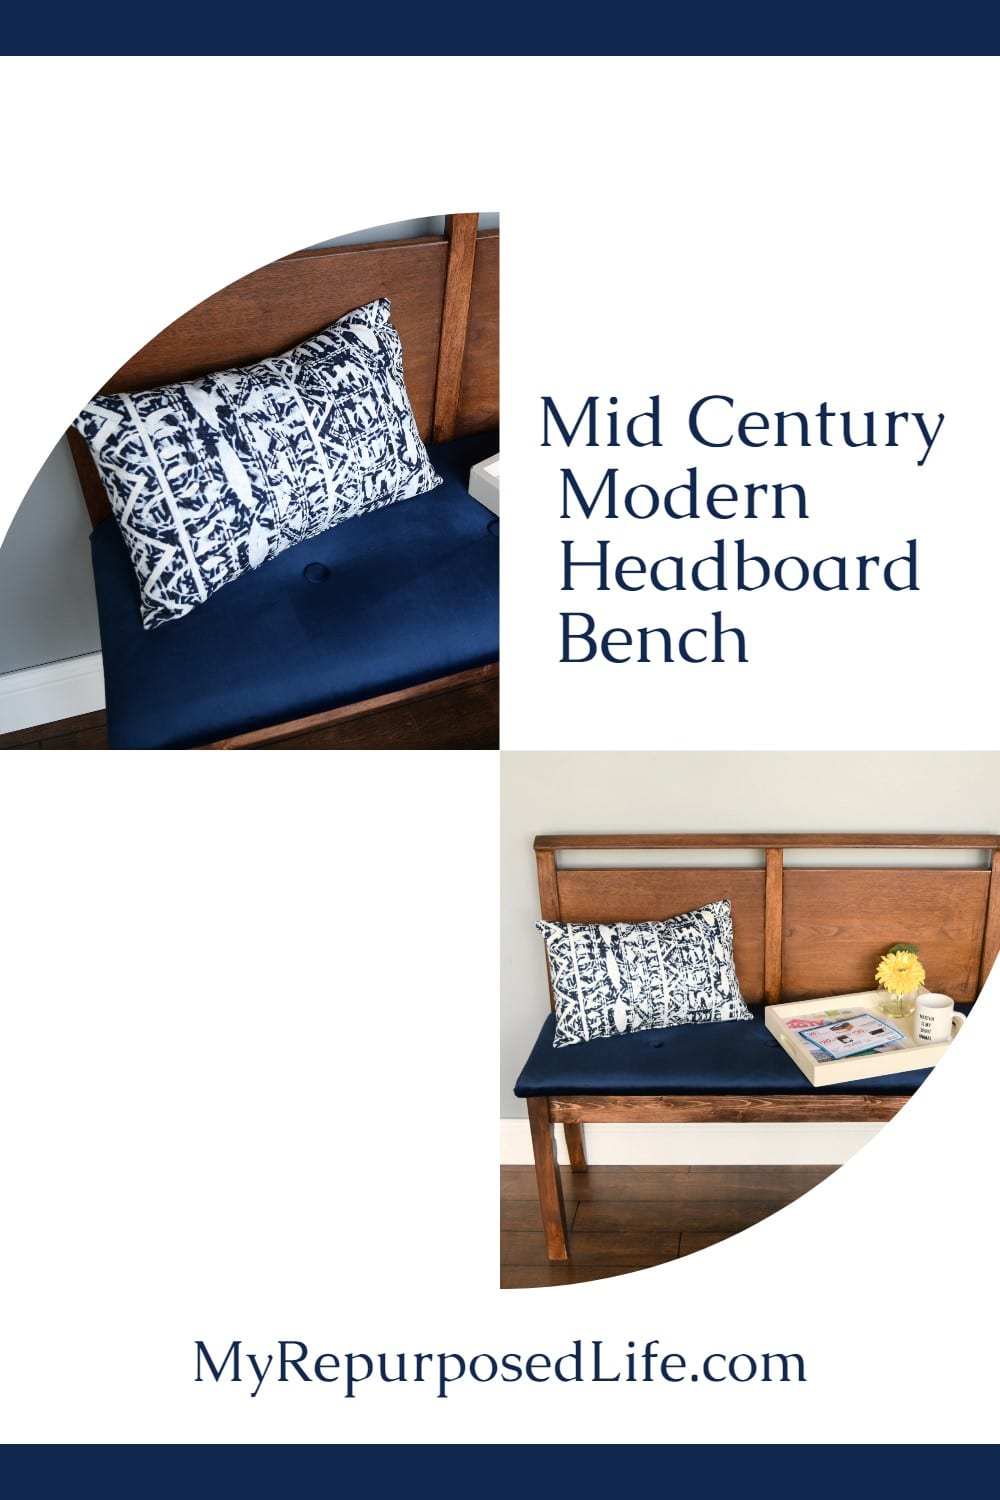
Blue Velvet Fabric for Mid-Century Headboard Bench
I cut several layers of batting (I used an entire queen size package of batting) and the blue velvet fabric to fit my bench seat. You may notice the three small holes . . .
Make Your Own Fabric Buttons
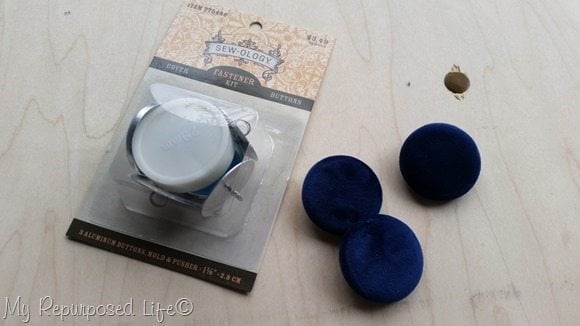
Here’s a sneak peek at the fabric on the covered buttons. I wish I had invented something this cool!
Button Tufted Velvet Upholstery
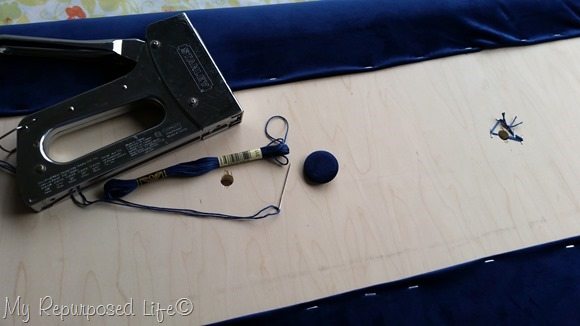
I am by no means an expert at button tufting. In fact each of these three buttons was probably secured in a different way.

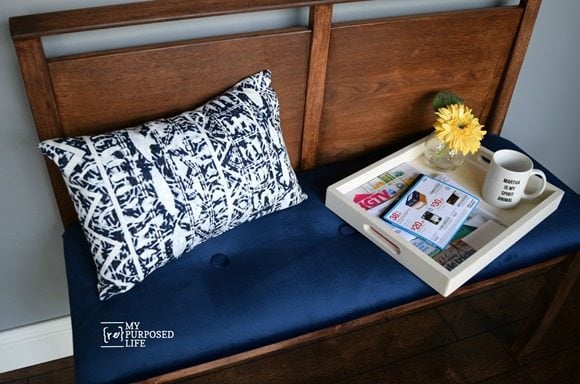
I love it! It’s difficult to see how well the legs match in these pictures, but it was definitely worth the trouble to figure out how to use that taper jig.
Related Content: Navy Blue Furniture Projects
I’ve never worked with velvet fabric before. It was pretty easy, but I think owning it would drive me bonkers!


I’m so happy to have made a new headboard bench! I seriously could make these every single day. Each one is so different, including this mid-century version!
gail
See my favorite Mission Style Headboard Bench with Storage-The Complete Tutorial
sharing at Inspiration Monday
Check out these other great projects from some of my best DIY blogger friends:
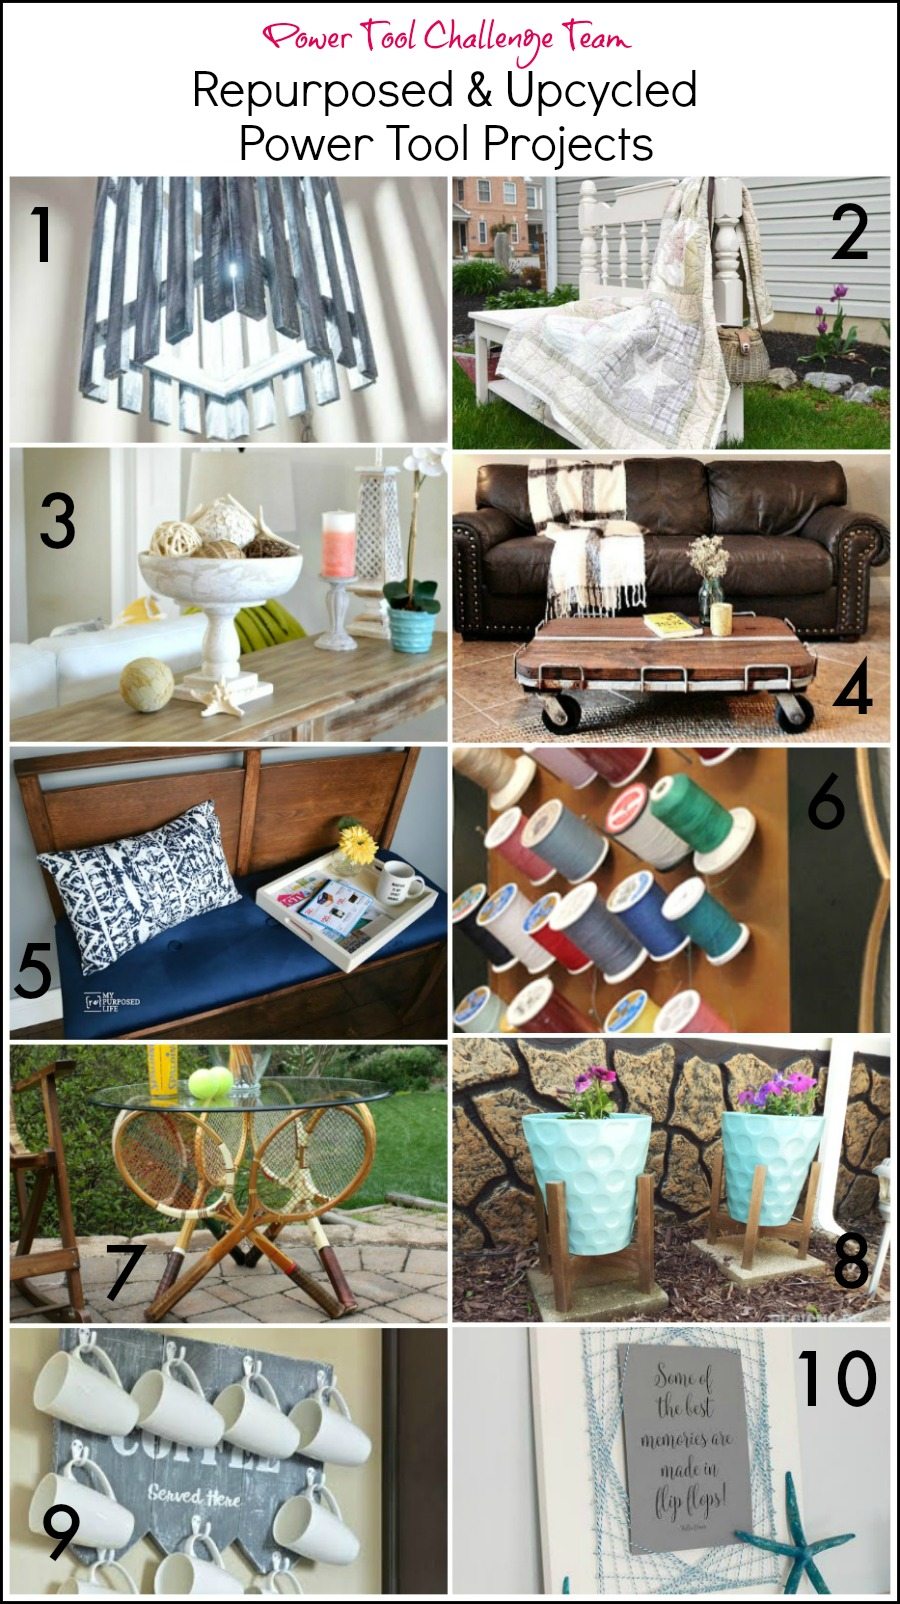
1 Hanging Picket Pendant Light by Designed Decor
2 Garden Bench by Create and Babble
3 Bed Spindle Pedestal Bowl by H2OBungalow
4 Industrial Cart Coffee Table by Refresh Restyle
5 Mid Century Headboard Bench by My Repurpose Life
6 Framed Wall Spool Rack Upcycle by Kim Six
7 Vintage Tennis Racket Table by Virginia Sweet Pea
8 Recycled Wood Plant Stands by Designs Bt Studio C
9 Rustic Coffee Mug Holder by Interior Frugalista
10 Repurposed Cabinet Door String Art by Domestically Speaking
Ohhh Gail, this is gorgeous !
I love simple furniture designs. This MCM bench is stunning.
The velvet fabric looks so rich on the color of this bench.
Your headboard benches are always beautiful.
Thanks for sharing your process – Very helpful.
I hope someday to find an outcast headboard / footboard to work with.
Thanks !!!
Thank you so much for your sweet comment. It brought a smile after a long day of working on the blog. Friends like you are what keep me going. 🙂
gail
Beautiful! I love the color stain you used too.
Alexandra,
My goal was to match the original color the best I could. It just didn’t seem natural to paint this little beauty!
gail
You probably know this but you can get cushion foam at Lowe’s. They sell it as pads for sleeping bags.
Love your work. And I really want one of those key hole jigs!
Dagne,
I have been buying my foam on Home Depot (.com) It’s so much cheaper than buying it at the fabric store. I rarely shop at Lowes, but thanks!
You would love your Kreg jig. so handy! 😉
gail
I should have known you were sourcing well! Same type of thing. I have that jig on my list don’t you sorry and I am going to put it to good use.
Awesome bench! And for not being a button tufter they all look great, nice job!
I love everything about this bench! It’s beautiful and I love a padded seat! Hope you’re having a good weekend!
What a transformation Gail! Love the color of the velvet. Yes – I agree! Velvet is tricky – it’s so slippery but it looks really pretty!!
I wrote a comment this morning but don’t see it here, maybe it’s lost in outer space?
Anyway, I LOVE the bench you made, so original and just beautiful!
(Can you please email me about the taper jig, I have a question on how you used it.)
For some reason your comments were landing in spam! I went there and un-spammed them. 🙂 I appreciate you emailing me to let me know.
That is GORGEOUS Gail!!!
I liked learning how to taper legs using your table saw and a jig. This bench turned out so pretty and I really love the tufted bench.
LOVE this! love the color, the style, the tapered legs & the velvet fabric!!!