Wood Veneer Problems | Peeling, Cracking, Chipping
As an Amazon Associate, I earn from qualifying purchases.

Does your antique furniture have wood veneer problems? Is the veneer missing, peeling, or cracking? I’ve dealt with many wood veneer issues and have used just about every trick in the book to deal with bad veneer on antique furniture.
Removing Wood Veneer

In my article, Vintage Record Cabinet Makeover and Repair, I dealt with several issues, including bubbled veneer. I removed the veneer on the top and repaired the sides. You may be amazed at how pretty some of the wood is UNDER the veneer on the top of your project.

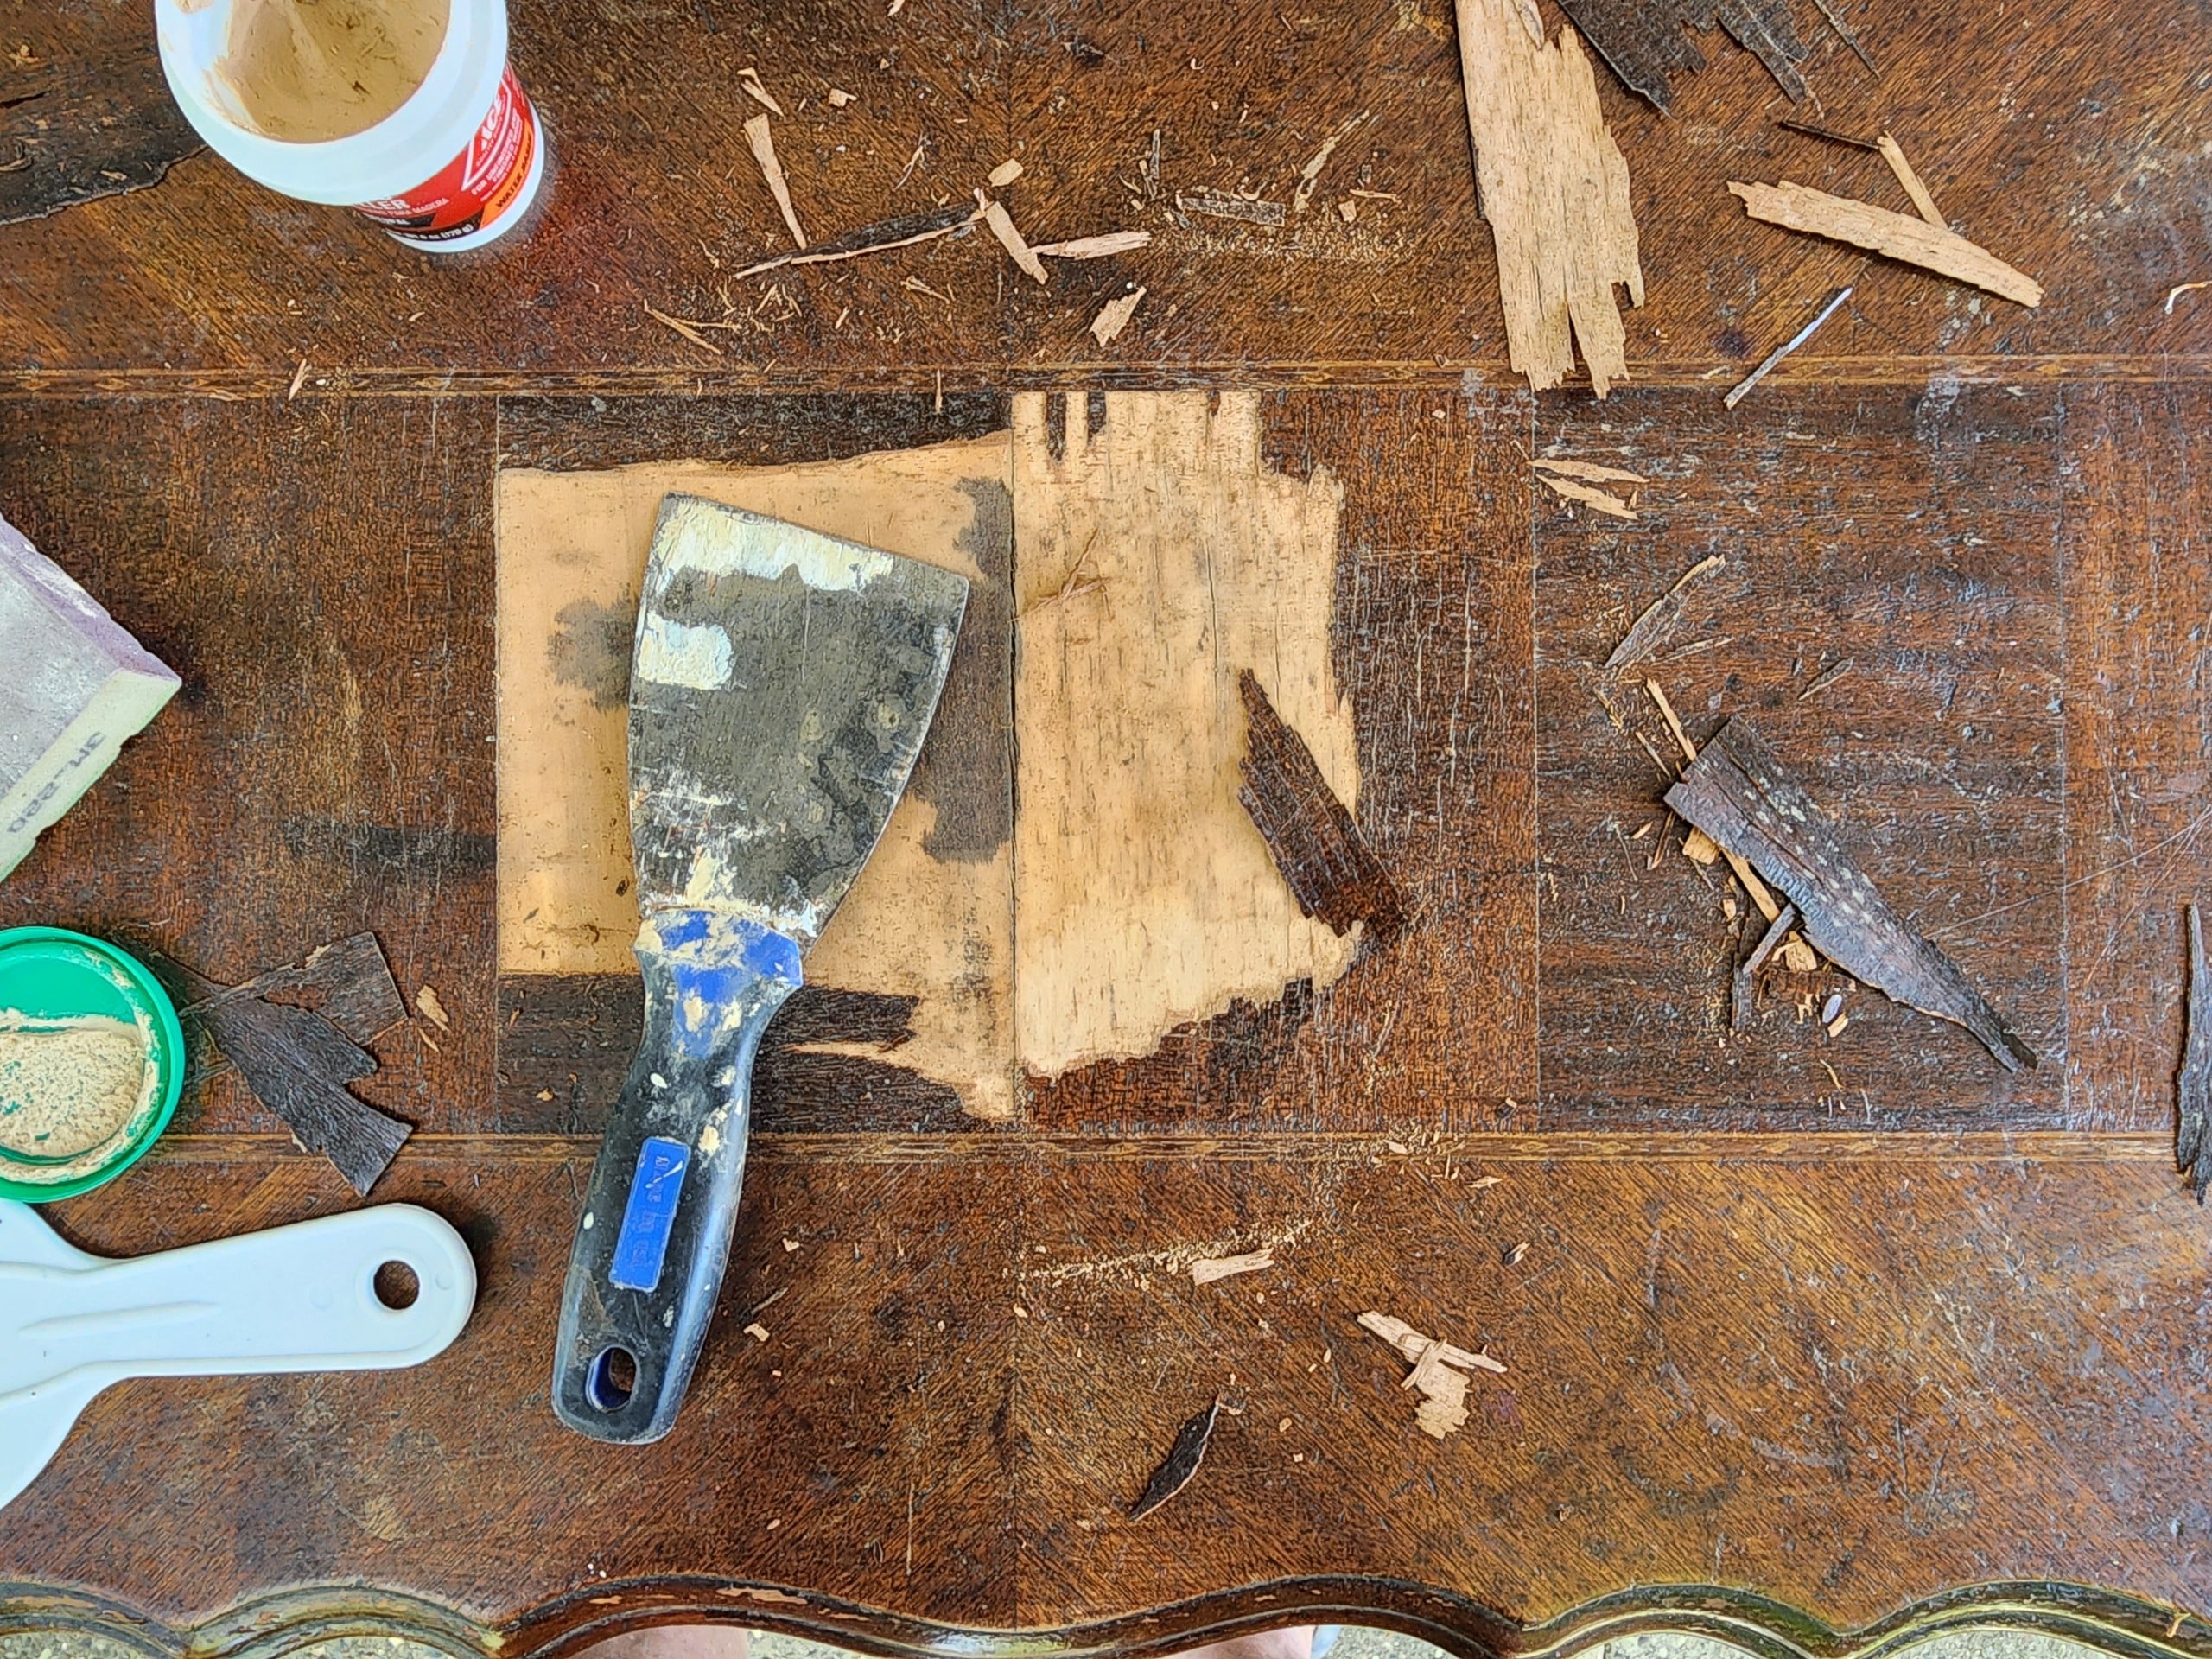
Removing chippy wood veneer from a sewing cabinet was pretty easy using a wide putty knife.
This dresser makeover had bad veneer on the drawer front and on the drawer bottom.

Many antique furniture projects involve a lot of wood veneer. Not all techniques work for each of these areas. For example, on this buffet makeover, I fixed some and removed others. Each project needs to be evaluated carefully.
Covering Up Chippy Issues With Other Wood
Sometimes, you can add trim to cover up bad wood. I did that with this repurposed dresser into a bench. I cut a dresser into two pieces and used the lower half to make a storage bench.

Sometimes, you don’t want to deal with bad wood veneer, so you just cover it up! See my nightstand makeover for all the details!
Tips for Gluing
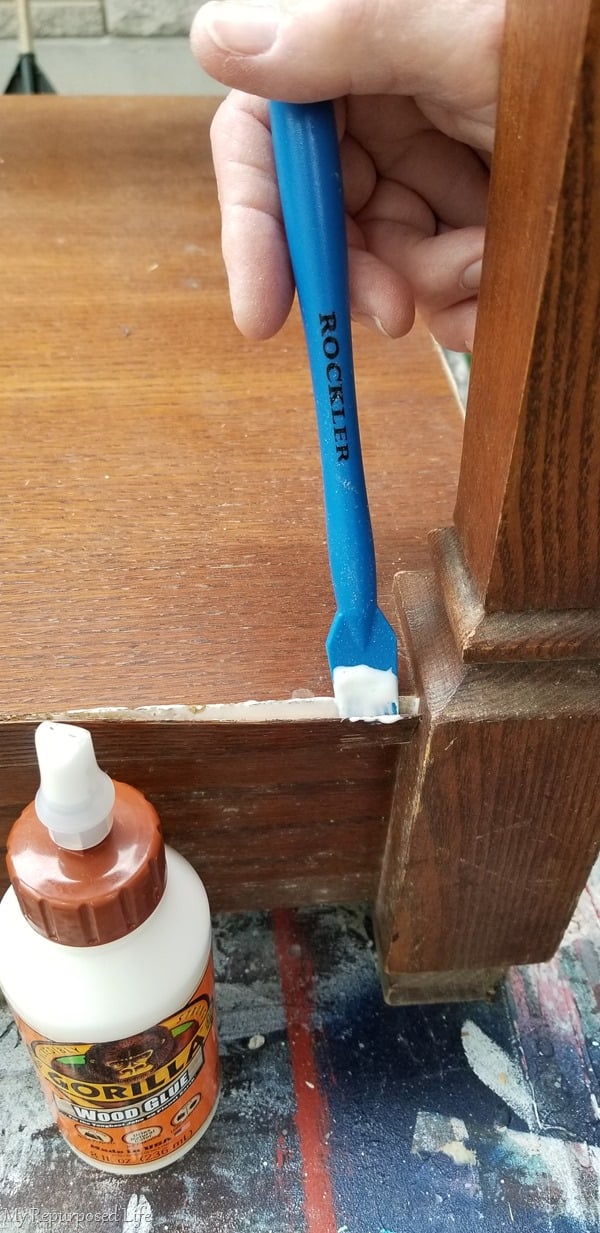
This topless table, a curb find, had some loose veneer that needed to be glued. This silicone brush from Rocker is so handy!

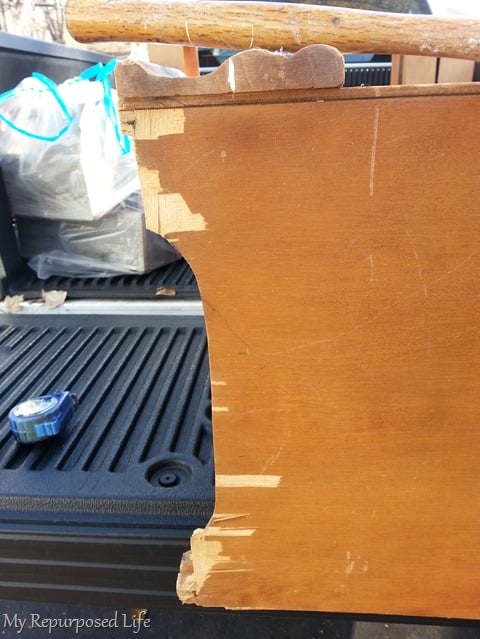
This extra-large veneer issue definitely needed special attention. In this article, “How to repair/clamp veneer on a headboard,” I’ll show you how you can easily fix/glue this with only a few clamps.
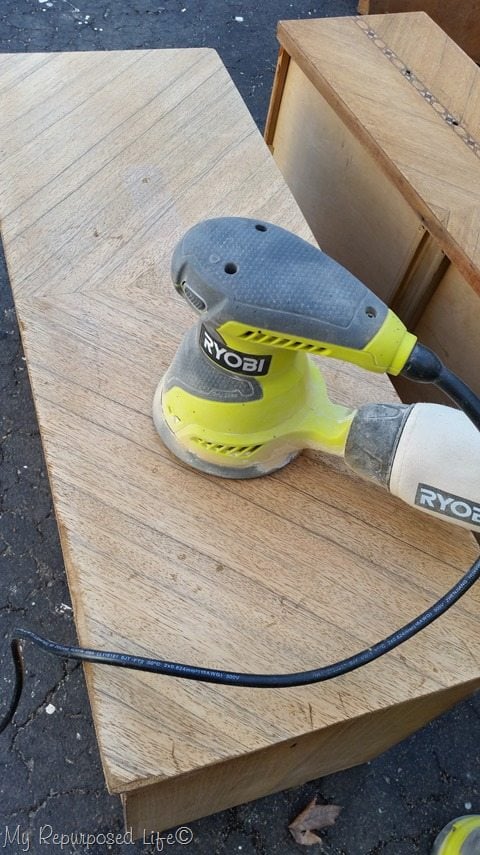
Using a Sander to Repair Wood Veneer

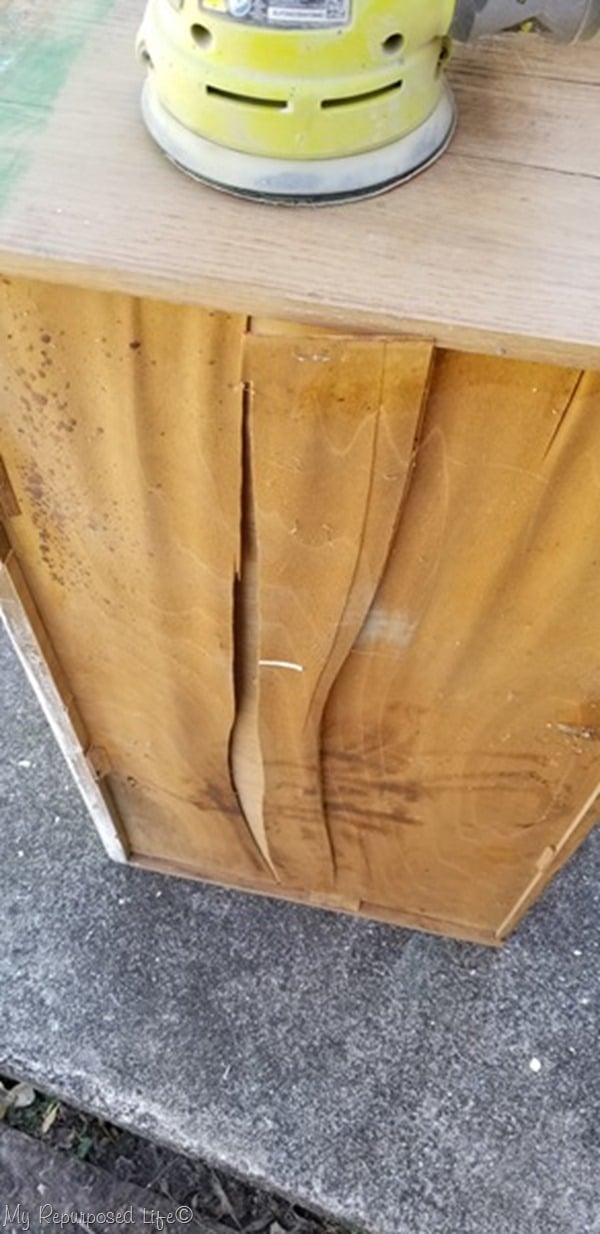
If you’re lucky, your vintage furniture only needs gentle sanding to blend in the damaged veneer. This antique side table was a quick and easy makeover.
Use caution when sanding near chippy wood veneer. If done properly, you can disguise it and leave it as is. I don’t paint everything I do. Even though I did use a little paint on this waterfall dresser makeover, I think you will LOVE it.
Decoupage Over Damaged Wood Veneer

When most of the surfaces are bad wood veneer, you have to think outside the box. Have you ever heard of the brown paper bag technique?

What do you do when the veneer is easily removed on three sides of this repurposed vanity? You improvise with wallpaper!
Cut Off Damaged Wood

This desk had too much damage to repair, so what did I do? I cut it off to make the knee hole closer to the ground, making it perfect for children. See the details of the Camouflage Desk.
Patching Missing Veneer

This waterfall dresser was in terrible shape! It had been stored for years in a very damp environment, and water is veneer’s worst enemy. In this chest of drawers makeover, you will see how I used drywall mud to patch the area where I removed the damaged veneer.
So, there you have it–many ways to deal with lousy wood veneer. Although I said water is wood veneer’s worst enemy, it can also be your best tool. If you’re trying to remove peeling veneer, you can use a wet towel to help loosen the glue still holding tight to some of it.
I have also used a heat gun to help loosen the glue.

Mindi used several techniques to remove the problematic wood veneer on this piano bench makeover.
Using Bondo to Replace Bad Veneer
A yard sale coffee table with damaged veneer was patched with Bondo.

So, do tell me! What are your tips for dealing with wood veneer issues on antique furniture?