Craft Station made from kitchen cabinet
As an Amazon Associate, I earn from qualifying purchases.
I’m going to show you step by step how to make a craft station that doubles as a kitchen island out of an old cabinet.
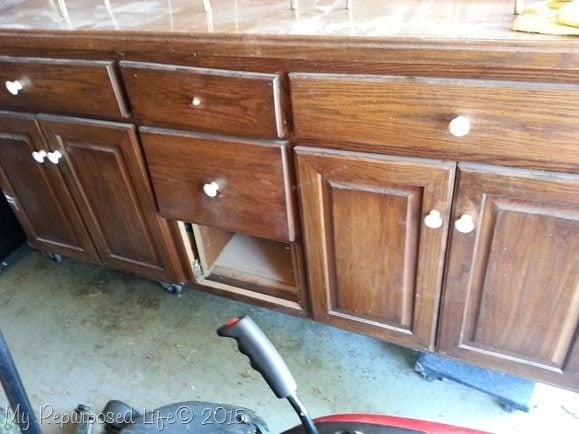 Once upon a time I got this huge base cabinet. Not only was it taking up a LOT of room, it was resting on three of my furniture dollies.
See that humongous top? I used it on my diy portable fold-up pallet bar!
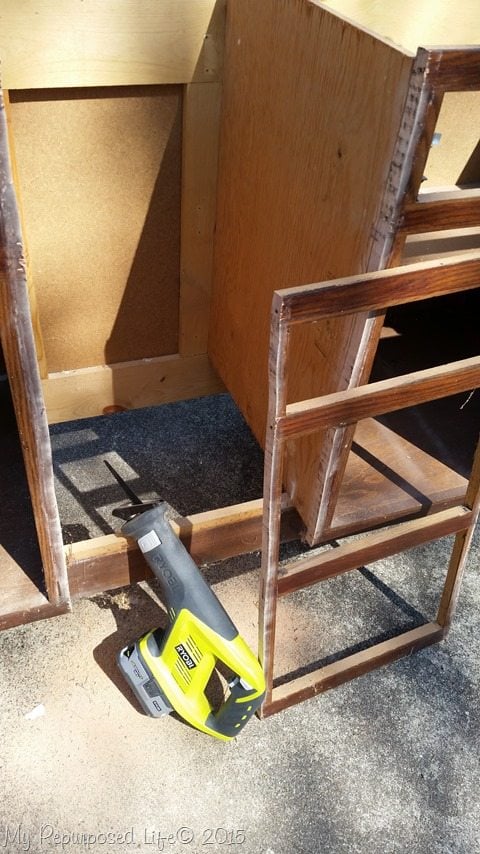 I grabbed my saws and started cutting it apart.
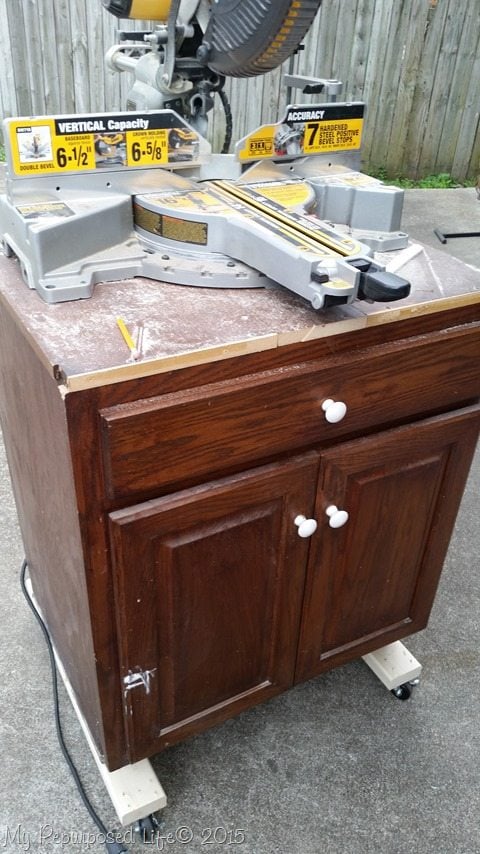 I used one side of the former monster to make a portable saw stand for my DEWALT Sliding Compound Miter Saw . Don’t you agree that the other part of the base cabinet wanted to be a craft table?
Build a bookshelf to add to the end of the cabinet – craft station
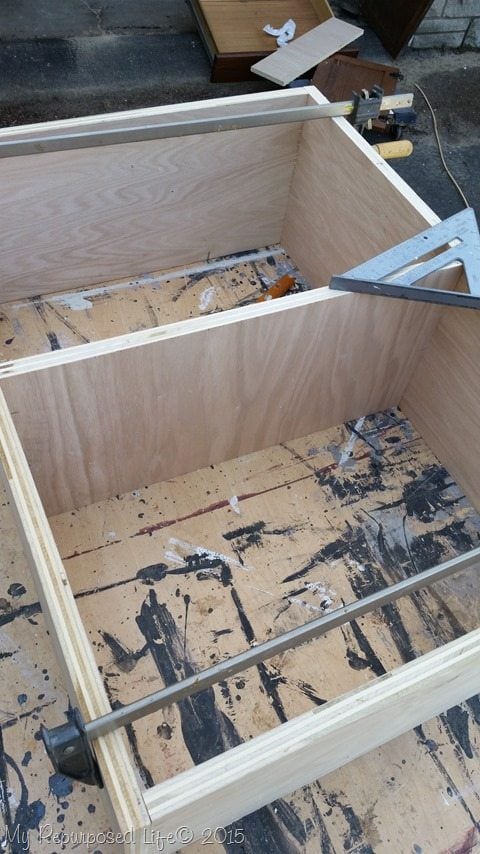 To make the craft station a little more substantial, I built a shelf to attach to one end of the cabinet. I used 3/4” birch plywood left over from making a top for Jamie’s coffee table. (I loved when SewWoodsy beefed up their island this way)
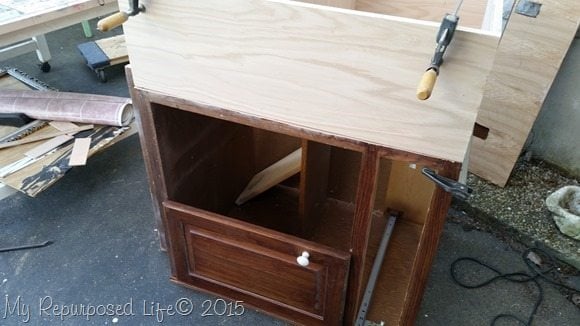 The bookshelf was put together with Kreg K4 pocket holes, then attached it to the cabinet using pocket hole screws.
Attach bookshelf to end of craft station with Kreg Jig Pocket Holes
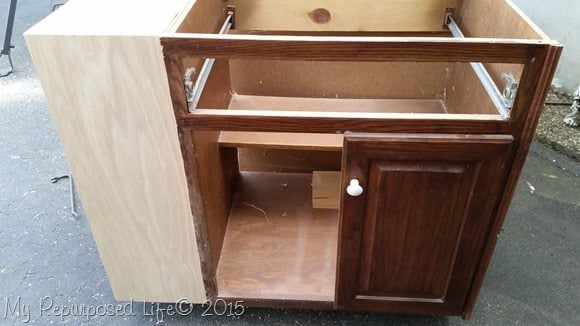 To make things easier, I removed the one door temporarily.
Add a bead board facade to the craft station
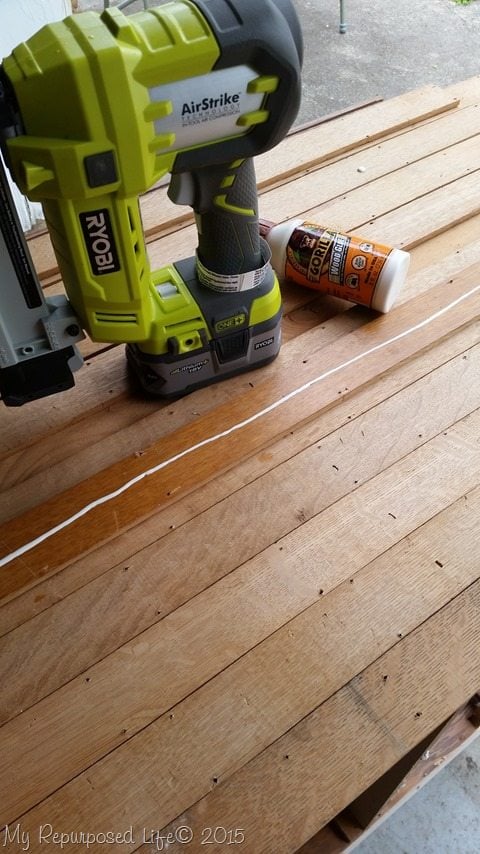 I thought the craft station project would look good with bead board, but I didn’t have any and wasn’t keen on buying anything for this project. So, I used the oak plank flooring I got last Spring from a good friend. I used the same method on my IKEA Tarva Hack.
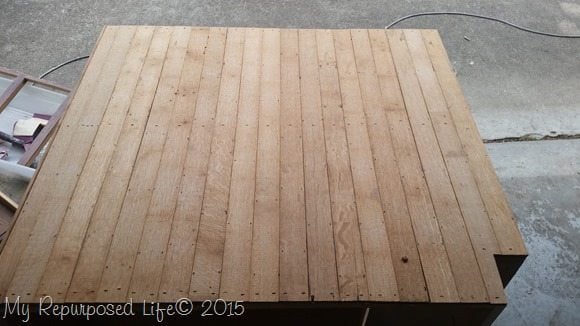 I used my AirStrikeStapler and Gorilla Wood Glue to make quick work of adding this faux bead board made from oak plank flooring.
Easy painting with a Finish Max Paint Sprayer
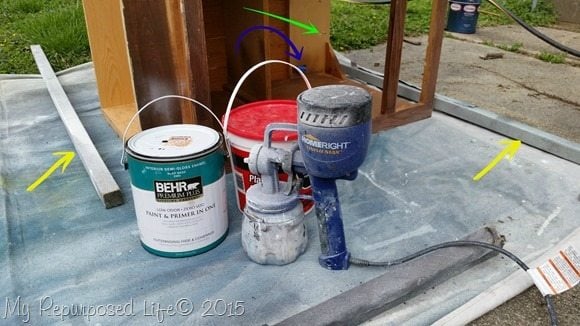 It was time for some paint. This is my favorite part where all my mismatched pieces gain some cohesiveness. I used my chalky paint primer recipe mixed with semi-gloss paint and plaster of paris. The HomeRight Finish Max made it easy to get inside all the nooks and crannies. The cabinet is laid on it’s side because I always paint the underneath of my pieces.
The picture above has a lot going on. The yellow arrows above show how I use 2×2’s when I paint. I rest my pieces on 2×2’s to keep them up off the drop cloth as well as using them to hold the drop cloth down to keep the wind from blowing it up on the painted piece. The blue arrow shows you that I have painter’s tape on the drawer glide anchor piece. (I removed the glide so I could add the pocket holes indicated with the green arrow. I didn’t replace the glides until after I painted the cabinet.
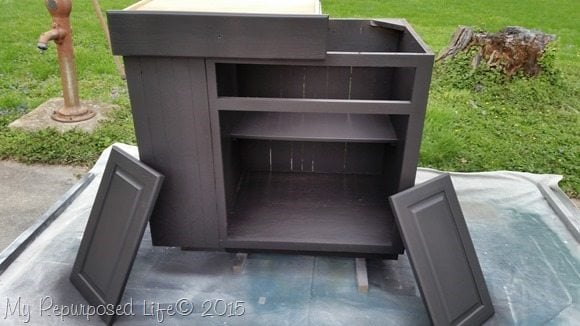 see? Now it all matches and looks so much better!
Add trim to give craft station a finished look
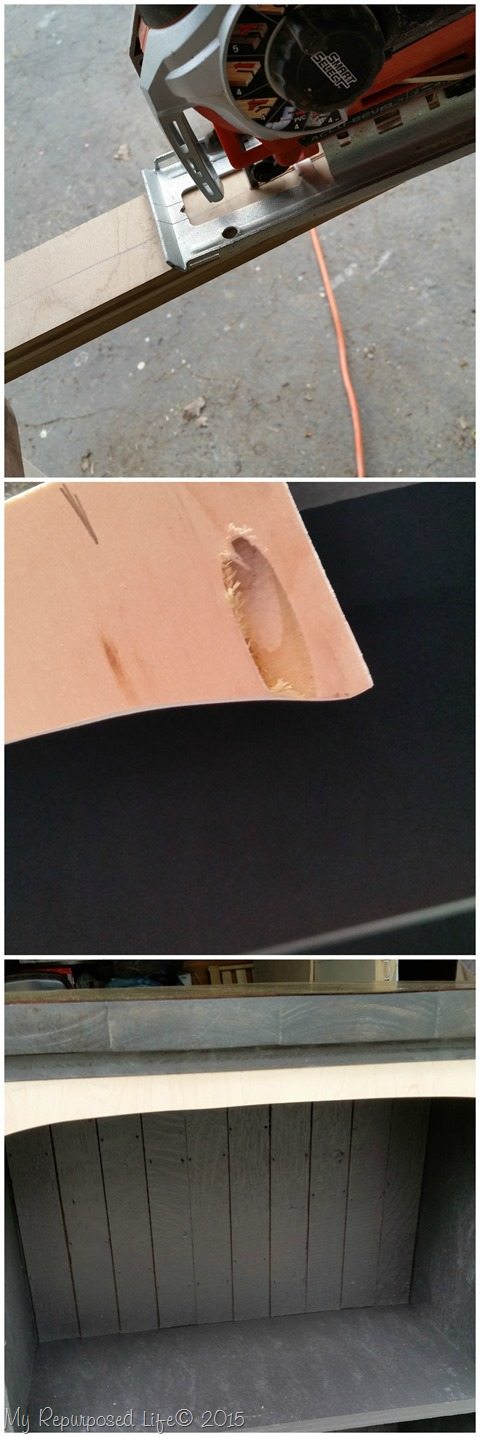 After looking at the bookshelf storage unit on the end, I thought it would look better with a little piece of trim to give it a more finished look. I drew it out on a piece of paper, traced it on a scrap and cut it with my Jig Saw . I attached it to the cabinet using pocket holes.
More painting of the craft station
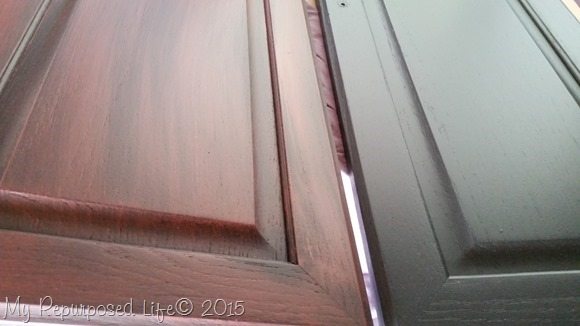 After painting everything with the chalky paint primer, I gave it all a quick coat (with a chip brush) of Primer Red (ASCP)
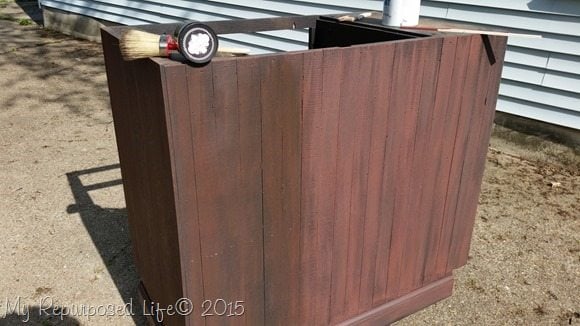 Then, I needed to wax it—so I used Heirloom Traditions wax in Dark Umber applied with a wax brush.
Applying wax to craft station with a buffer
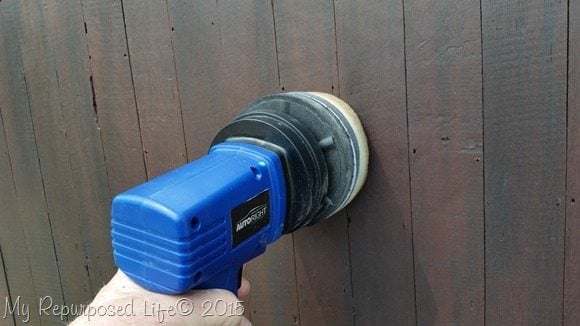 I buffed the craft station with my AutoRight Polisher .
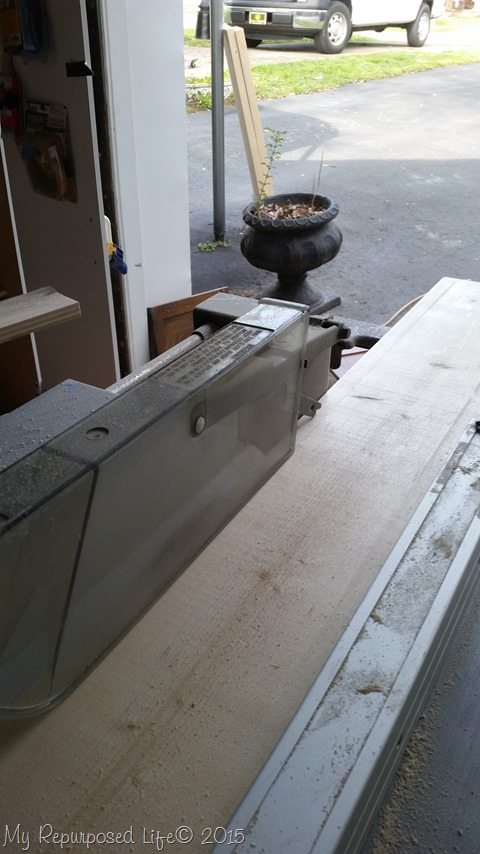 To make a farm table plank wood top for the craft station, I ripped the edges of some 2×6’s. I did this to give them a straight edge instead of that slightly rounded edge they have. I left the rounded edge on the first and last board.
How to Farm Table Plank Top
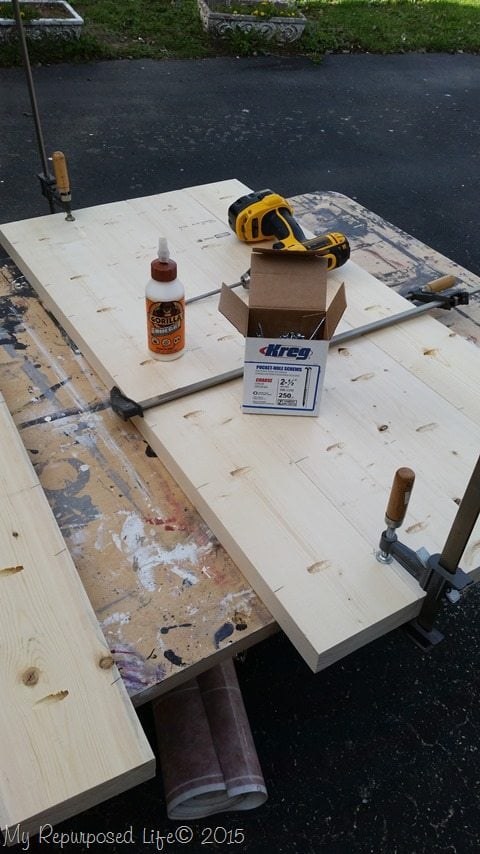 Finally, I drilled the pocket holes with my Kreg Jig, clamping and gluing as I worked my way from one side to the next. Clamps were used to hold the joints together as well as large clamps to get a nice tight fit (front to back) while securing it with Kreg 2 1/2″ screws.
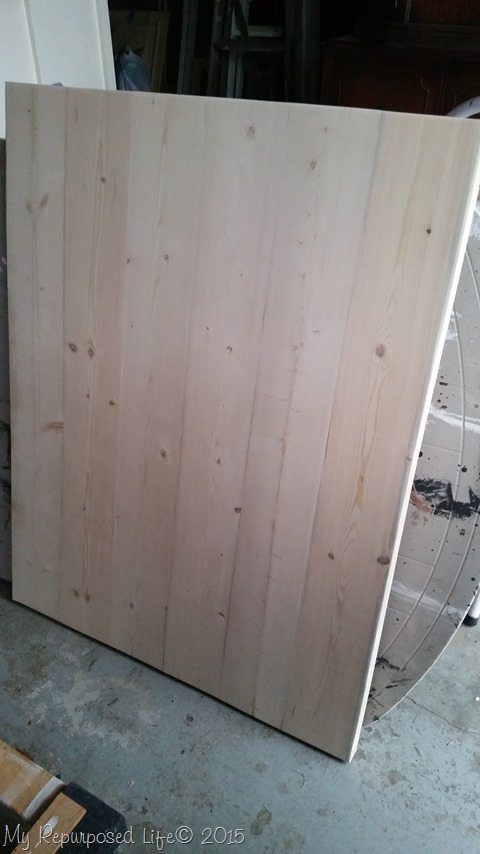 This is after the glue set up, and the first sanding with 80 grit.
Stain and Seal plank table top
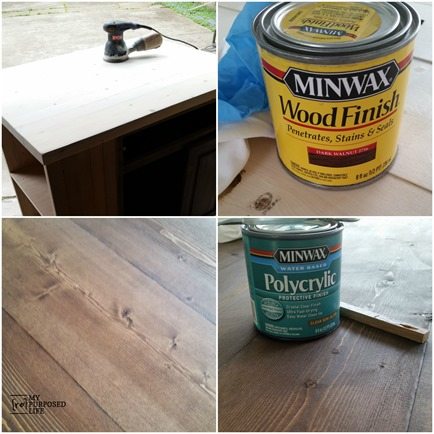 I continued sanding both sides with 150, then 220 grit. A Minwax Dark Walnut stain was applied. Then sealed with 3 light coats of Minwax polycrylic sanding in between with a piece of brown paper bag.
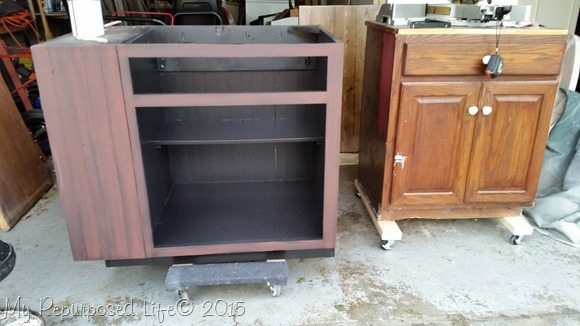 I rolled the craft station into the garage at the end of the day, and realized it was right next to the other cabinet that became my saw stand. You can see how the addition of the shelf unit adds to the width of the piece. In this photo you may notice that I added a “toe kick” to help support the addition of the shelf.
How to attach plank top to craft station
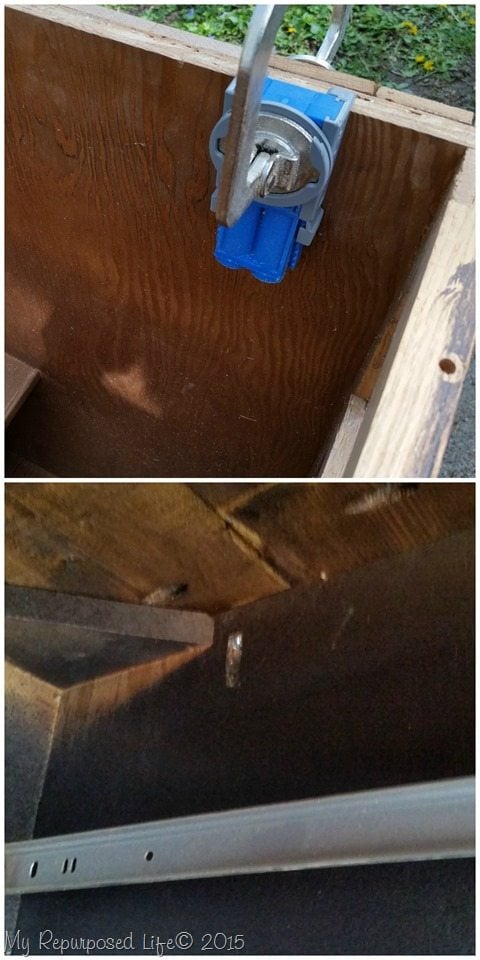 I drilled some more pocket holes around the cabinet to get a secure connection when I attach the top to the cabinet. After attaching the counter top, I replaced the drawer glides.
DIY Craft Station made from a kitchen cabinet
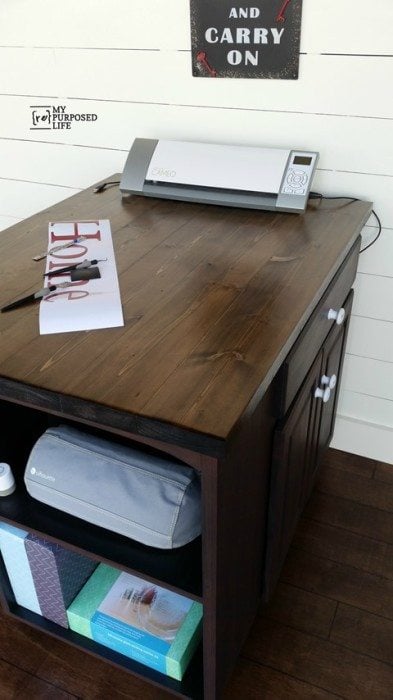
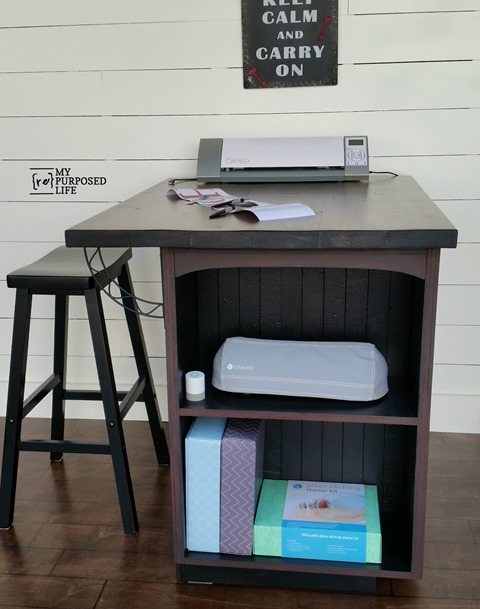
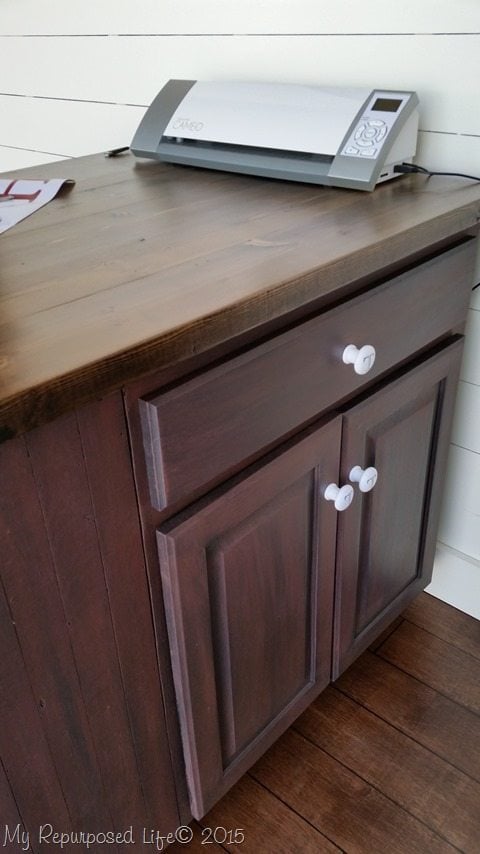 Although I have this set up as a craft station, it would be perfect in the kitchen as an island. The end I have butted up against the wall, would be great for towel hooks or something similar.
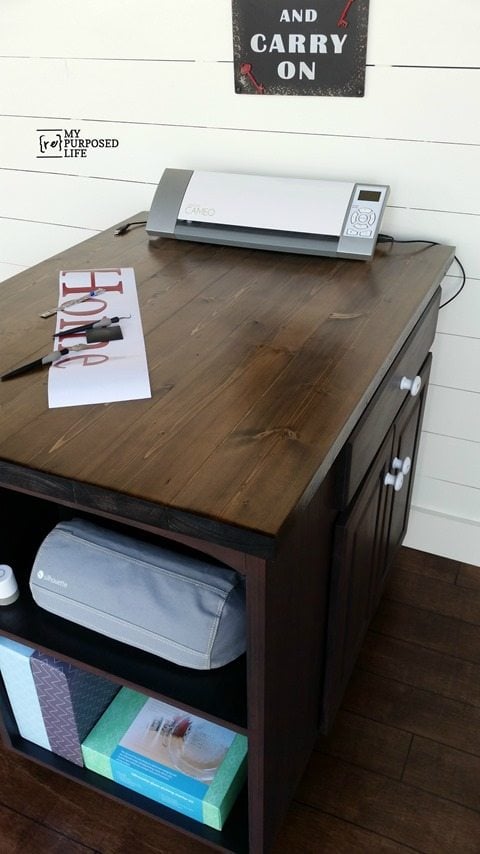 I have made other wood plank counter tops, including one for my kitchen island that doubles as a craft table. I did not trim the 2×6’s and I was left with crumb catchers in the cracks. You can see in this picture that that’s not going to be a problem with this top.
This end shelf would be perfect in a kitchen to hold your KitchenAid mixer and or cookbooks. I added some metal brackets to help support the top that has an overhang to allow extra work space.
Did you notice that I also used the oak floor boards to give the faux bead board look in the back of this shelf?
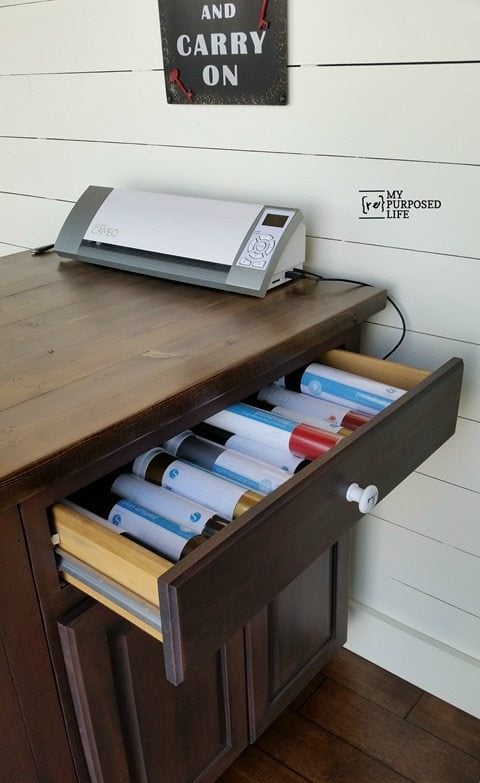 This piece offers tons of storage whether used in the craft room or the kitchen.
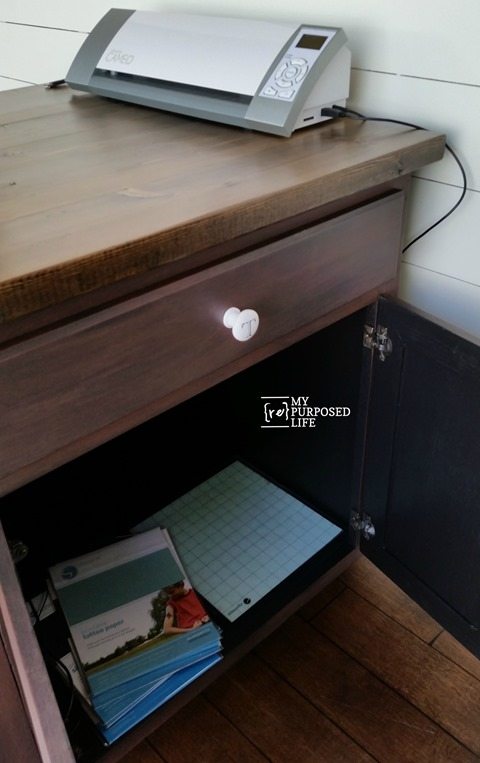 More storage behind the doors. The inside was painted with the chalky primer, then I used the Finish Max to do a semi-gloss topcoat for durability. (I did the same with the shelving unit on the end)
I reused the original hinges, and put on some random knobs I had.
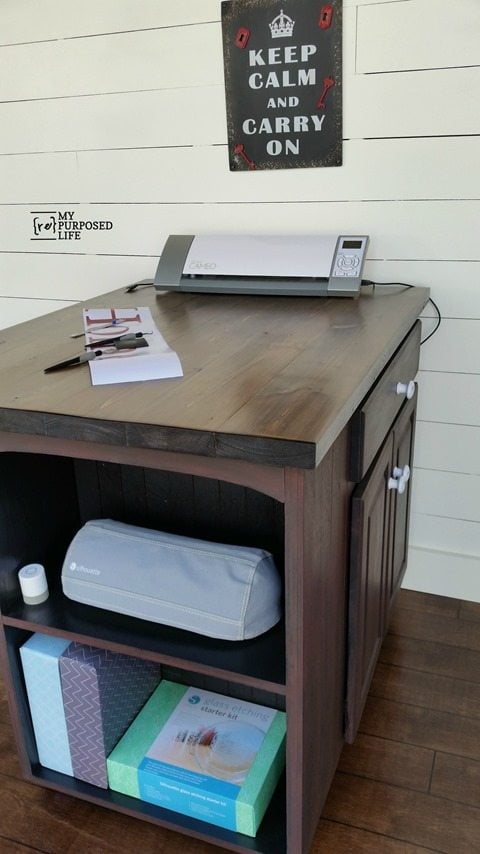 This was a fun piece to make, and I’m so glad that large cabinet isn’t taking up all that room in the garage.
Do you see it as a kitchen island or a craft station?
gail

Wow, Gail, I am in awe of you! Amazing results!
Well done, Gail!!! I see it as either a kitchen island or a craft station. Whatever you need it for, it can be!
What a clever idea…..I love it!!
hi Gail, another job well done; you are terrific. have u heard of reclaimed paint? just saw it today at cottage@the crossroads. jump over there if u have not. sounds amazing. there are no places close to me to find it. will check home depot . im still not ready to start anything. waiting for more warmer weather. its been so great watching all your work. hope u are doing great.
take care,
Phyllis
i would use it as a kitchen island!!! looks really good.
Wow, I am just loving how you thought to add the shelf onto the side of the cabinet! The faux beadboard looks great, and the trim, and well everything! It really is perfect for either a craft table or kitchen island! Just curious, how many coats of stain did you apply, the top is SO pretty! Amazing job as usual Gail!
Mindi,
Thanks for your sweet comment. I only did one coat of stain on the top…. just because I’m impatient. I worked hard on the top, so I’m happy you appreciate it’s beauty. 🙂
gail
Wow another top notch transformation. I have said it before, and will say it again, you are a genius when it comes to transforming, re- purposing and turning left overs into spectacular furniture!
What a wonderful idea. Thank you for sharing the step by step to re-create. I think I will be making one of these once I’m settled into my new house!!! thank you thank you! {ChicByTab}
Tabatha,
thanks for stopping by and taking the time to leave a comment on my project. Please share if you make your own.
gail
I wish I had a kitchen large enough for a kitchen island, and this would be just the ticket. So much wonderful storage area and a big worktop. What a fabulous project, Gail!
Gail, all I can say is “Wow!!!” Brilliant transformation. I need one of these! 🙂
This is one of the best craft/kitchen island. You have really transformed this piece into a very functional one. I love the top. Great Job!!