How to paint oak cabinets
As an Amazon Associate, I earn from qualifying purchases.
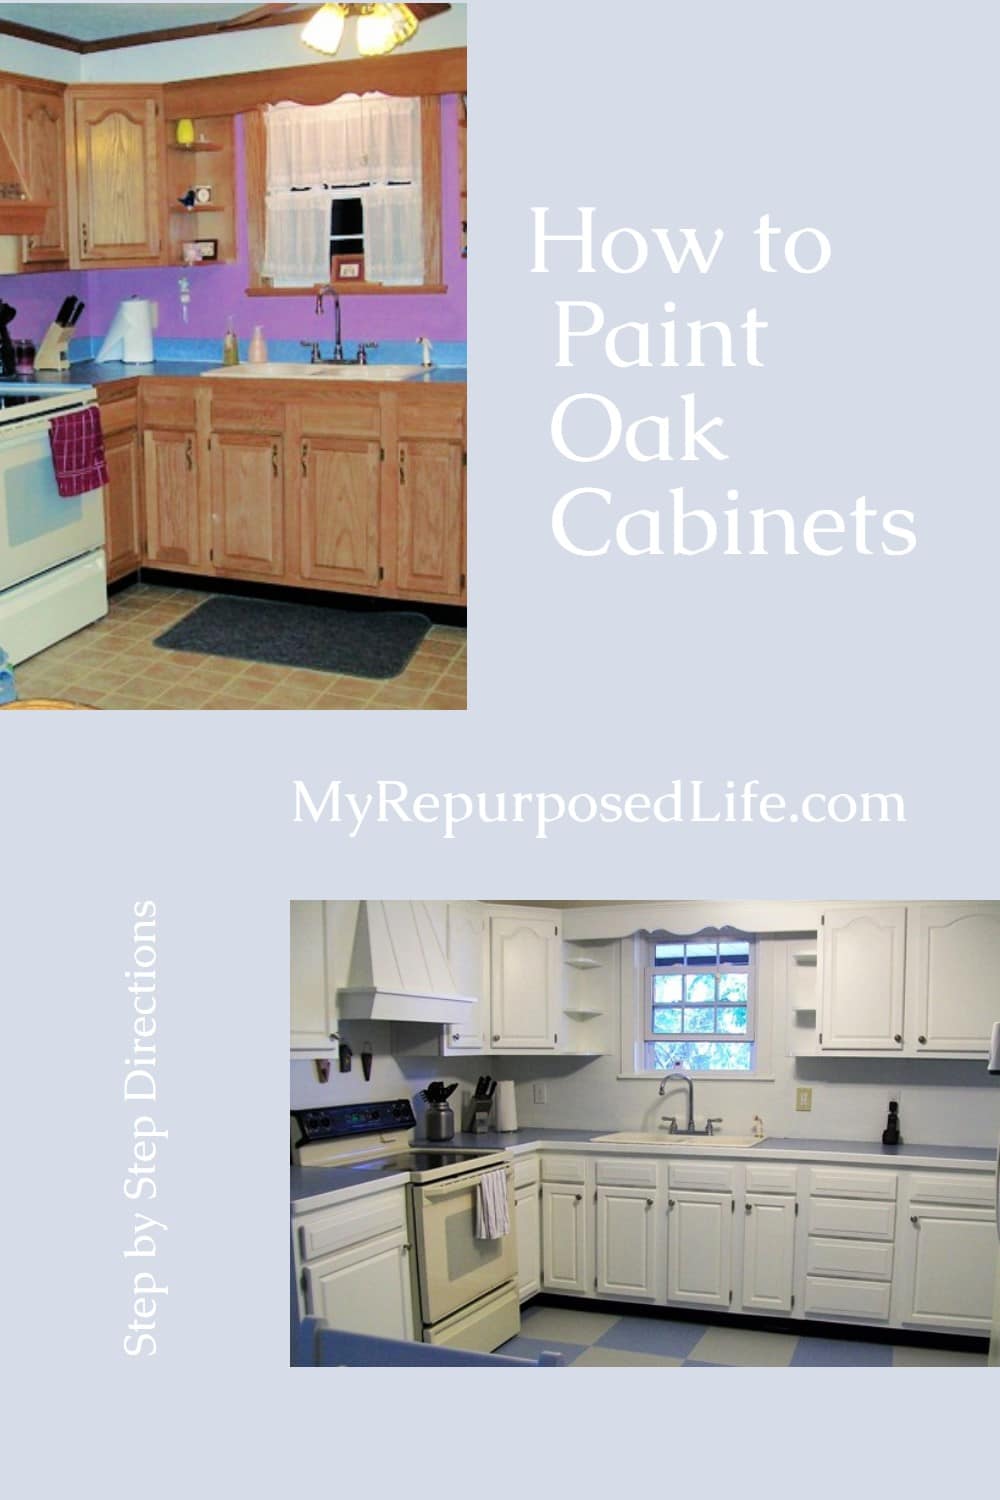
Have you been looking for a great tutorial on how to paint oak cabinets? I have painted cabinets in three different homes. These are the best steps to take to ensure the paint adheres.
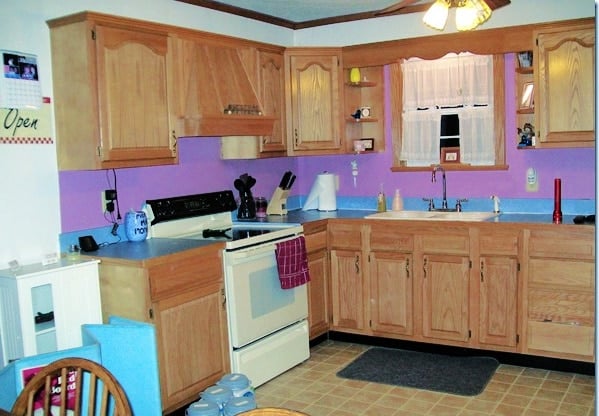
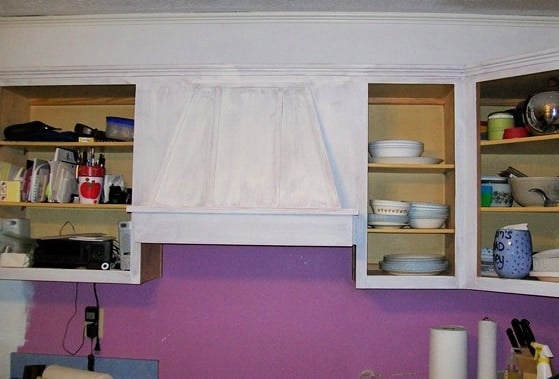
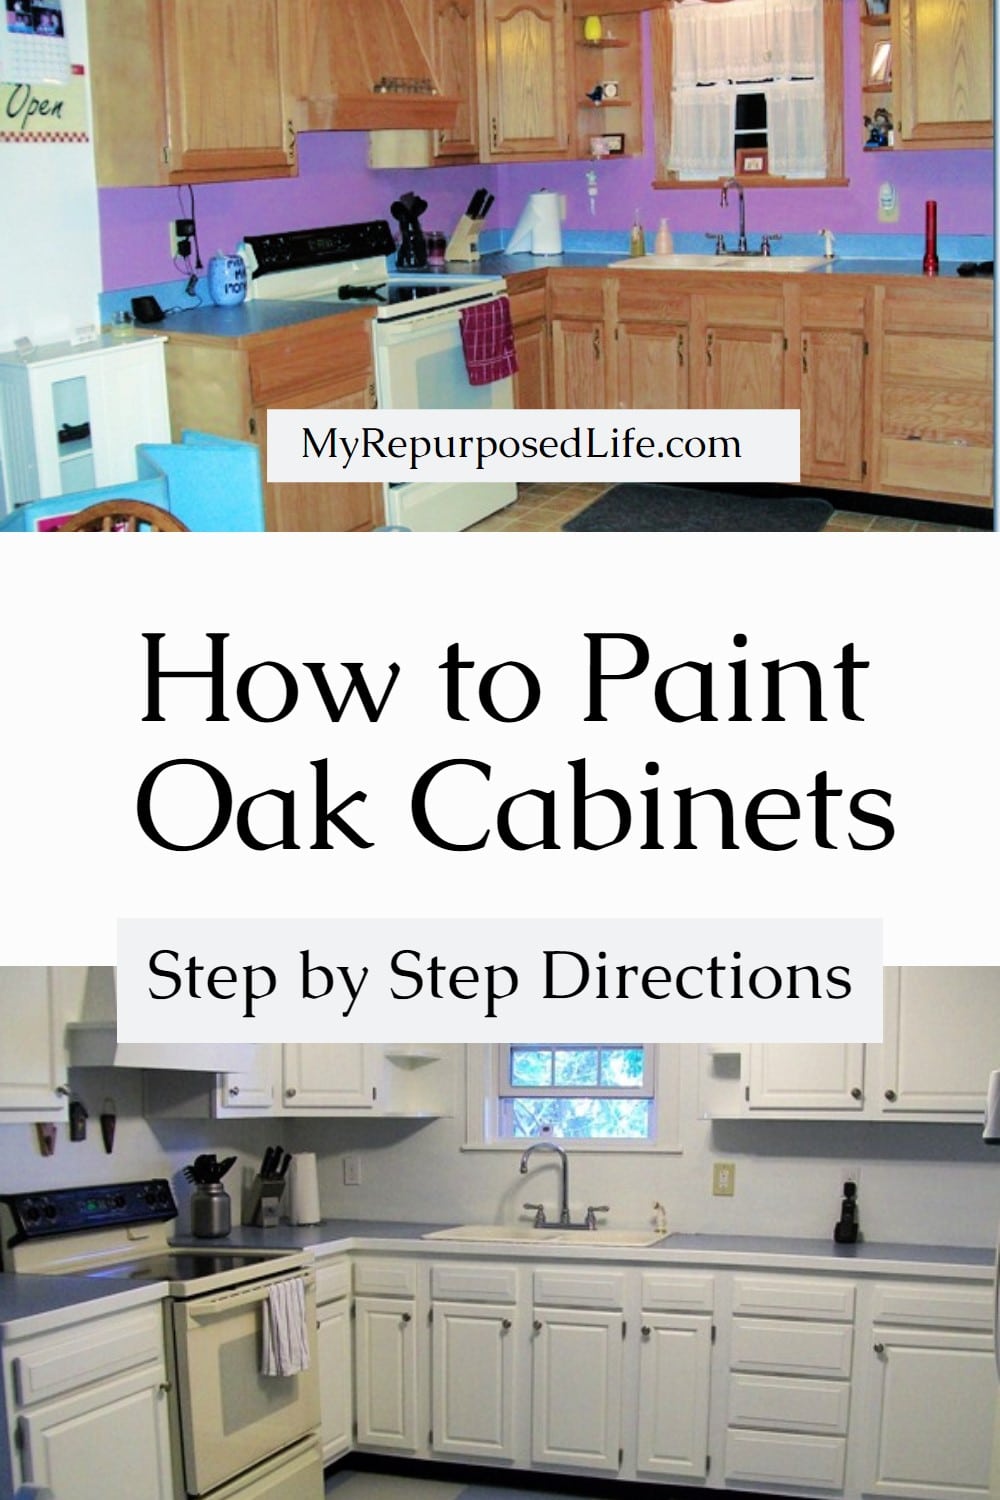
This is the before picture of my kitchen. Please don’t judge me.
Visit the My Repurposed Life Amazon Store to shop my favorite items.
Step by step how to prep and paint oak cabinets:
Wash down all doors, drawers, and facings with warm soapy water, rinse and dry
Use TSP (following the manufacturer’s instructions). You can buy it on Amazon. The TSP will clean any remaining grease and help remove some of the shine.
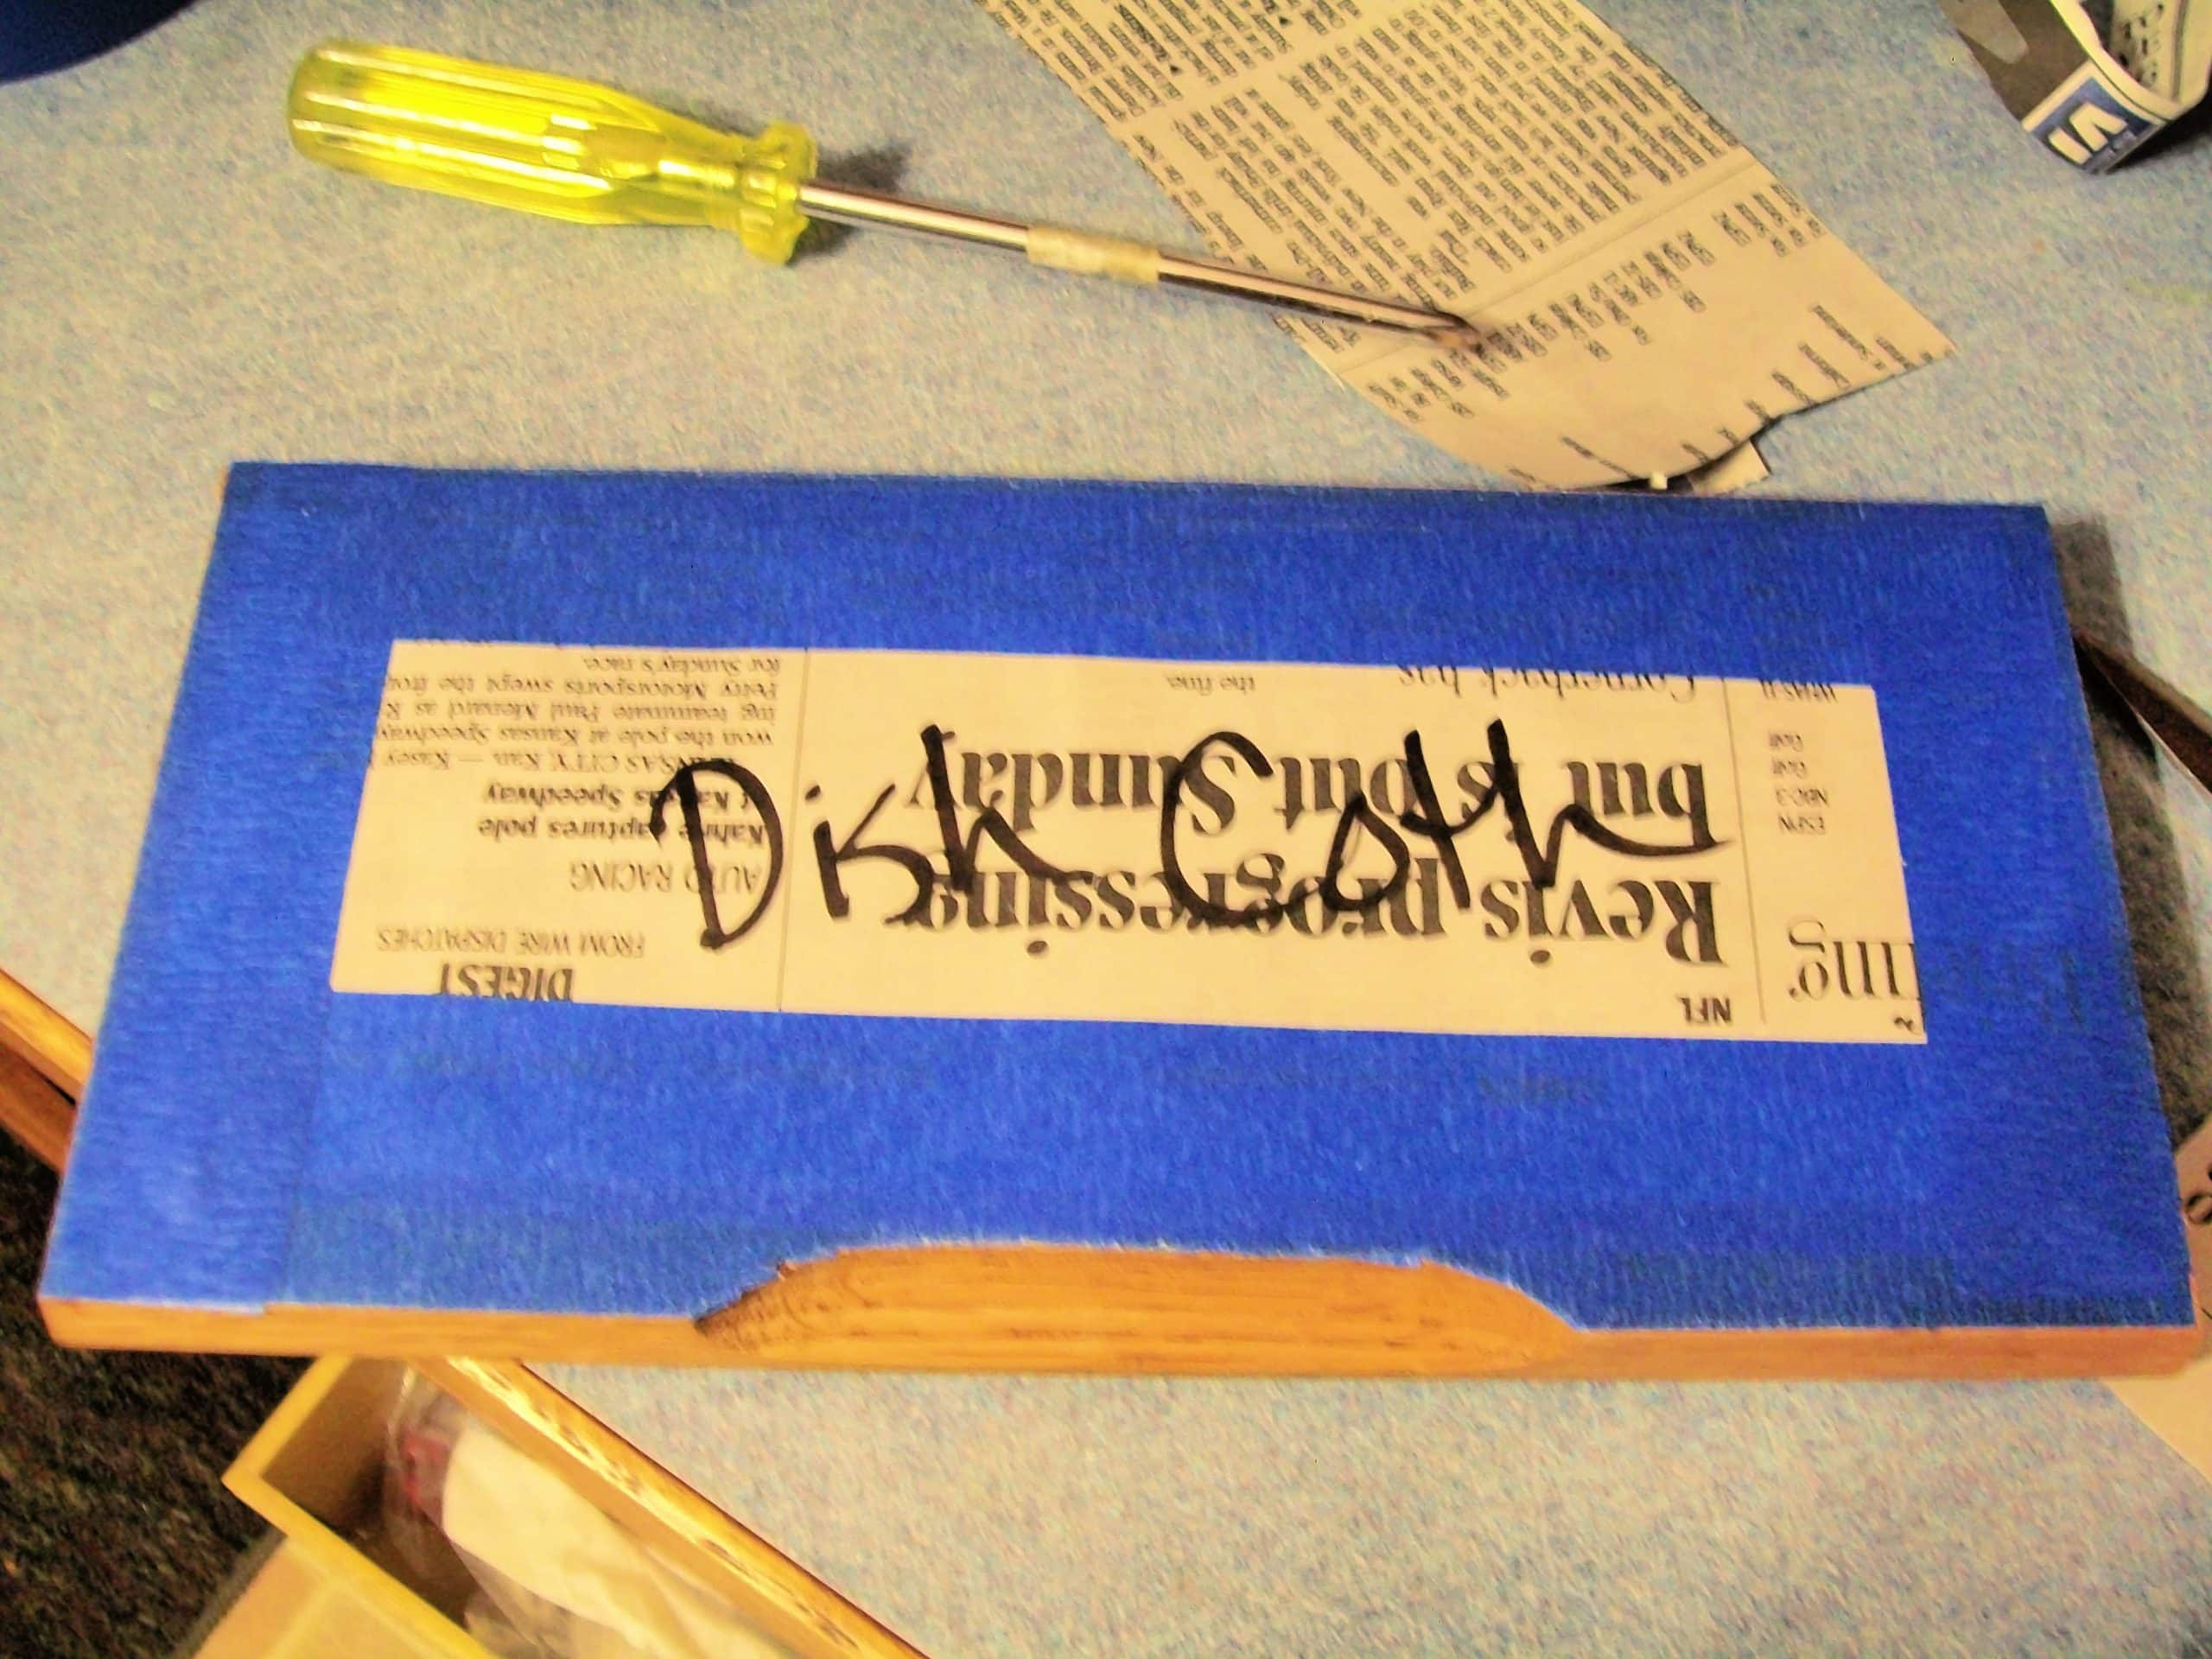
Remove doors and drawer fronts and all hardware. Identify each door and drawer so you know where each goes when it’s time to reinstall.
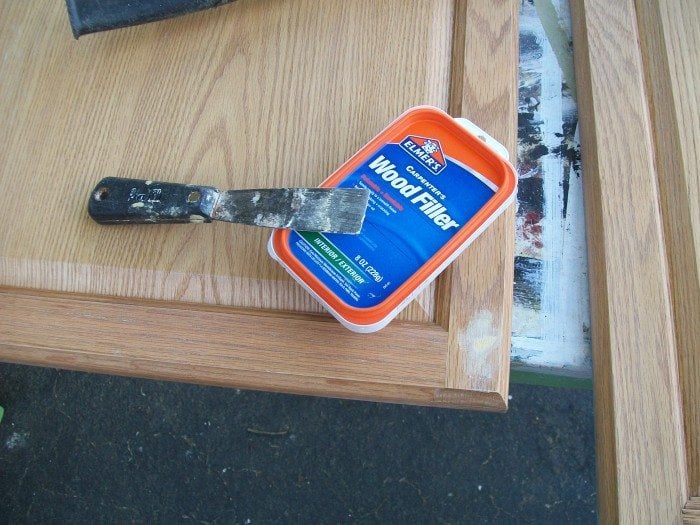
Fill holes if you are changing out handles. I switched from handles to knobs, so I only filled one hole on each door. To do this, I filled the lower hole on the lower doors, and on the upper doors, I filled the upper hole. I used Elmer’s wood filler. (hint: put a piece of Scotch Blue Painter’s Tape on the inside of the hole to keep the putting from going all the way through) Let dry, and lightly sand.
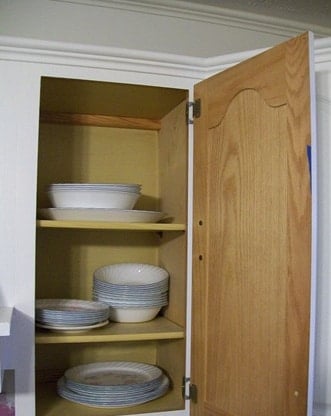
Tape the inside edge of all doors and drawer fronts. I highly recommend that you do NOT paint the inside of your cabinets. Nobody will see them, and they’re likely to get very scuffed.
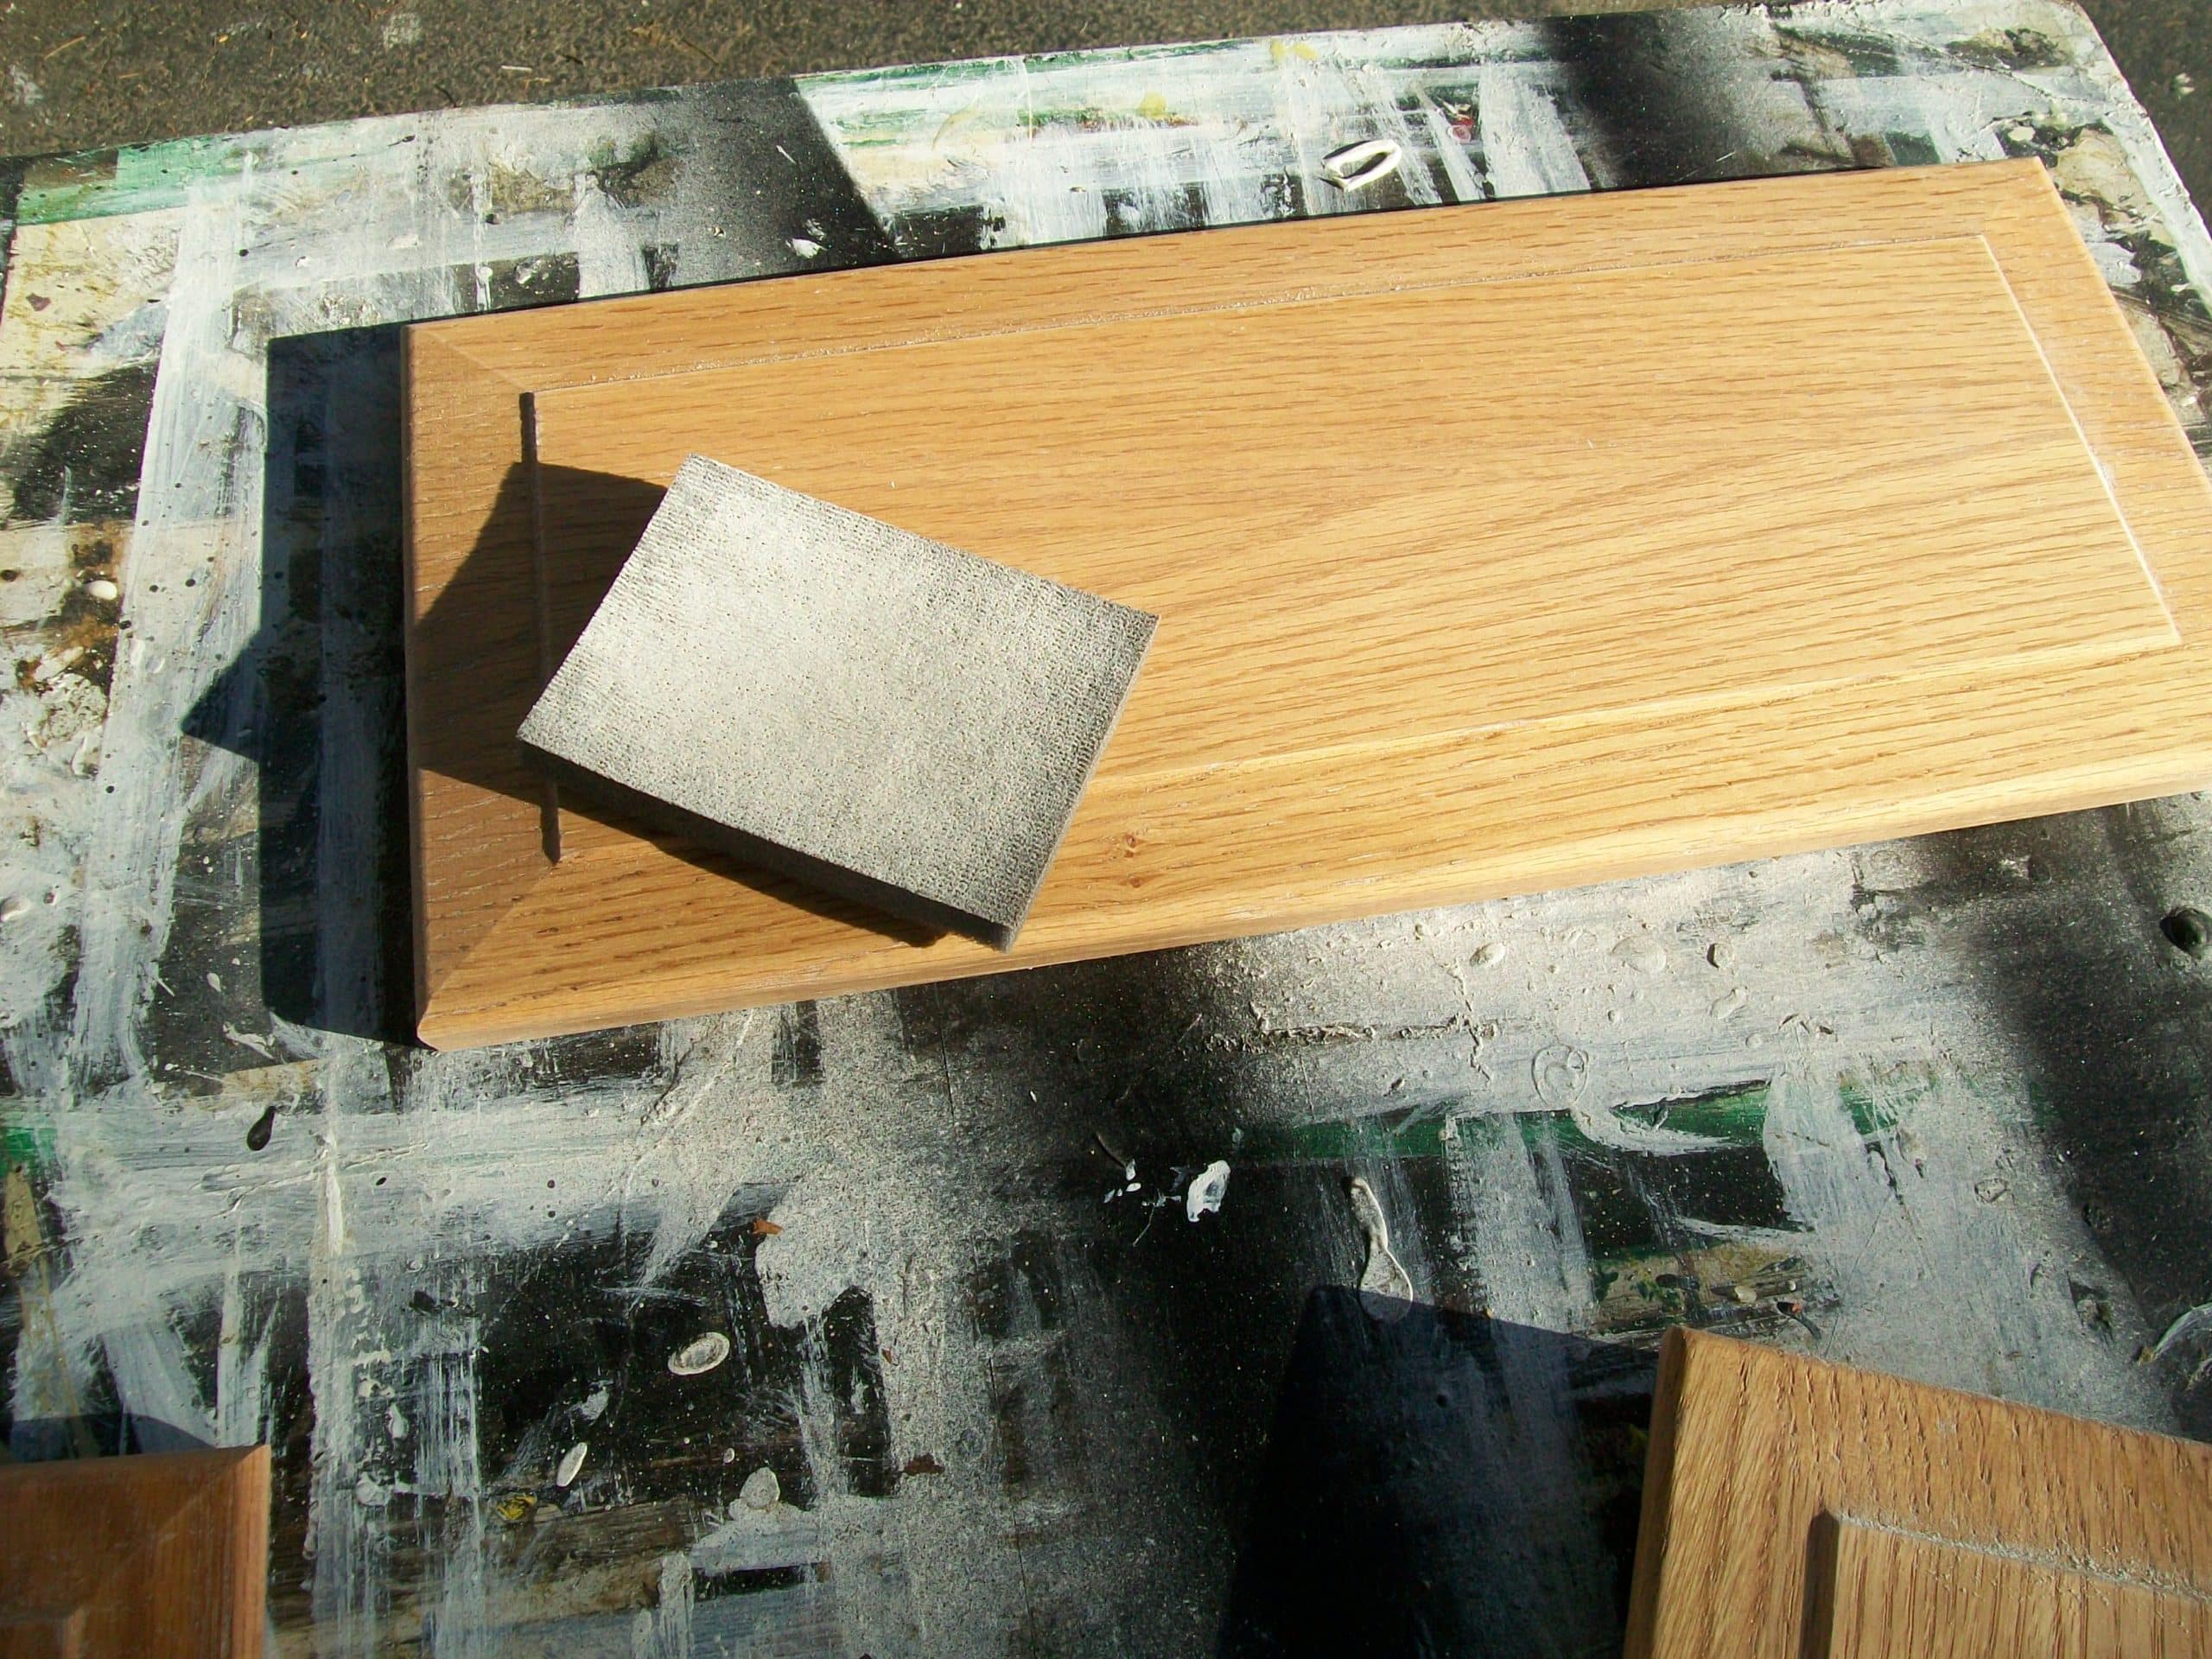
Lightly sand doors and drawer fronts to remove any remaining sheen. I used 220 grit sandpaper. I did the doors and drawer fronts outside. Make sure to wipe off ALL dust from sanding.
Lightly sand the front facings and ends of cabinets. I never emptied my cabinets. However, I did cover the items with cheap garbage bags to keep things neat. After I finished sanding, I removed the plastic and threw it away. Wipe down all dust.
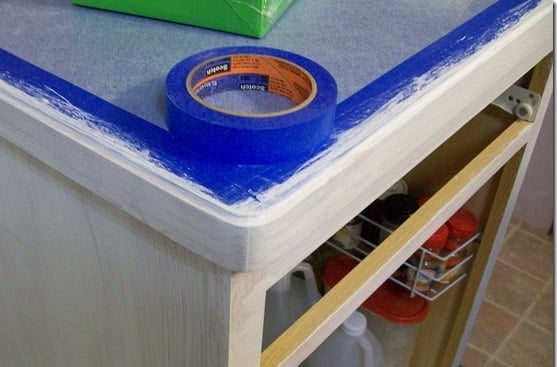
Tape off any areas that will be too difficult to keep paint from splattering. I taped the edge where my countertop meets the front of the counter.
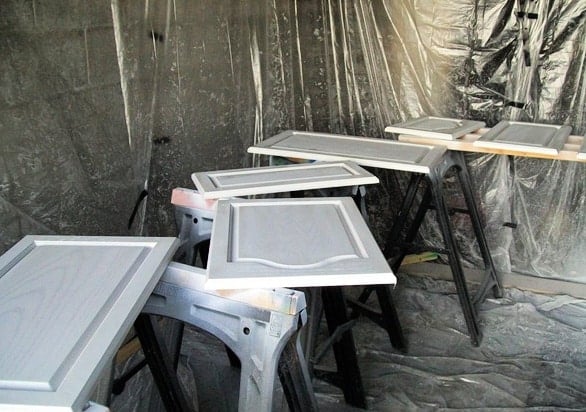
I used oil based primer as a base for all of the wood surfaces. For painting outdoors, I used a sprayer from Harbor Freight on the doors and drawer fronts. Please follow all safety precautions using an approved respirator and goggles.
Two coats of primer were used, lightly sanding in between coats. I used an “in-between-coats” sanding sponge. Allow paint to dry thoroughly before moving ahead on any of these steps. I allowed 24 hours in between every coat.
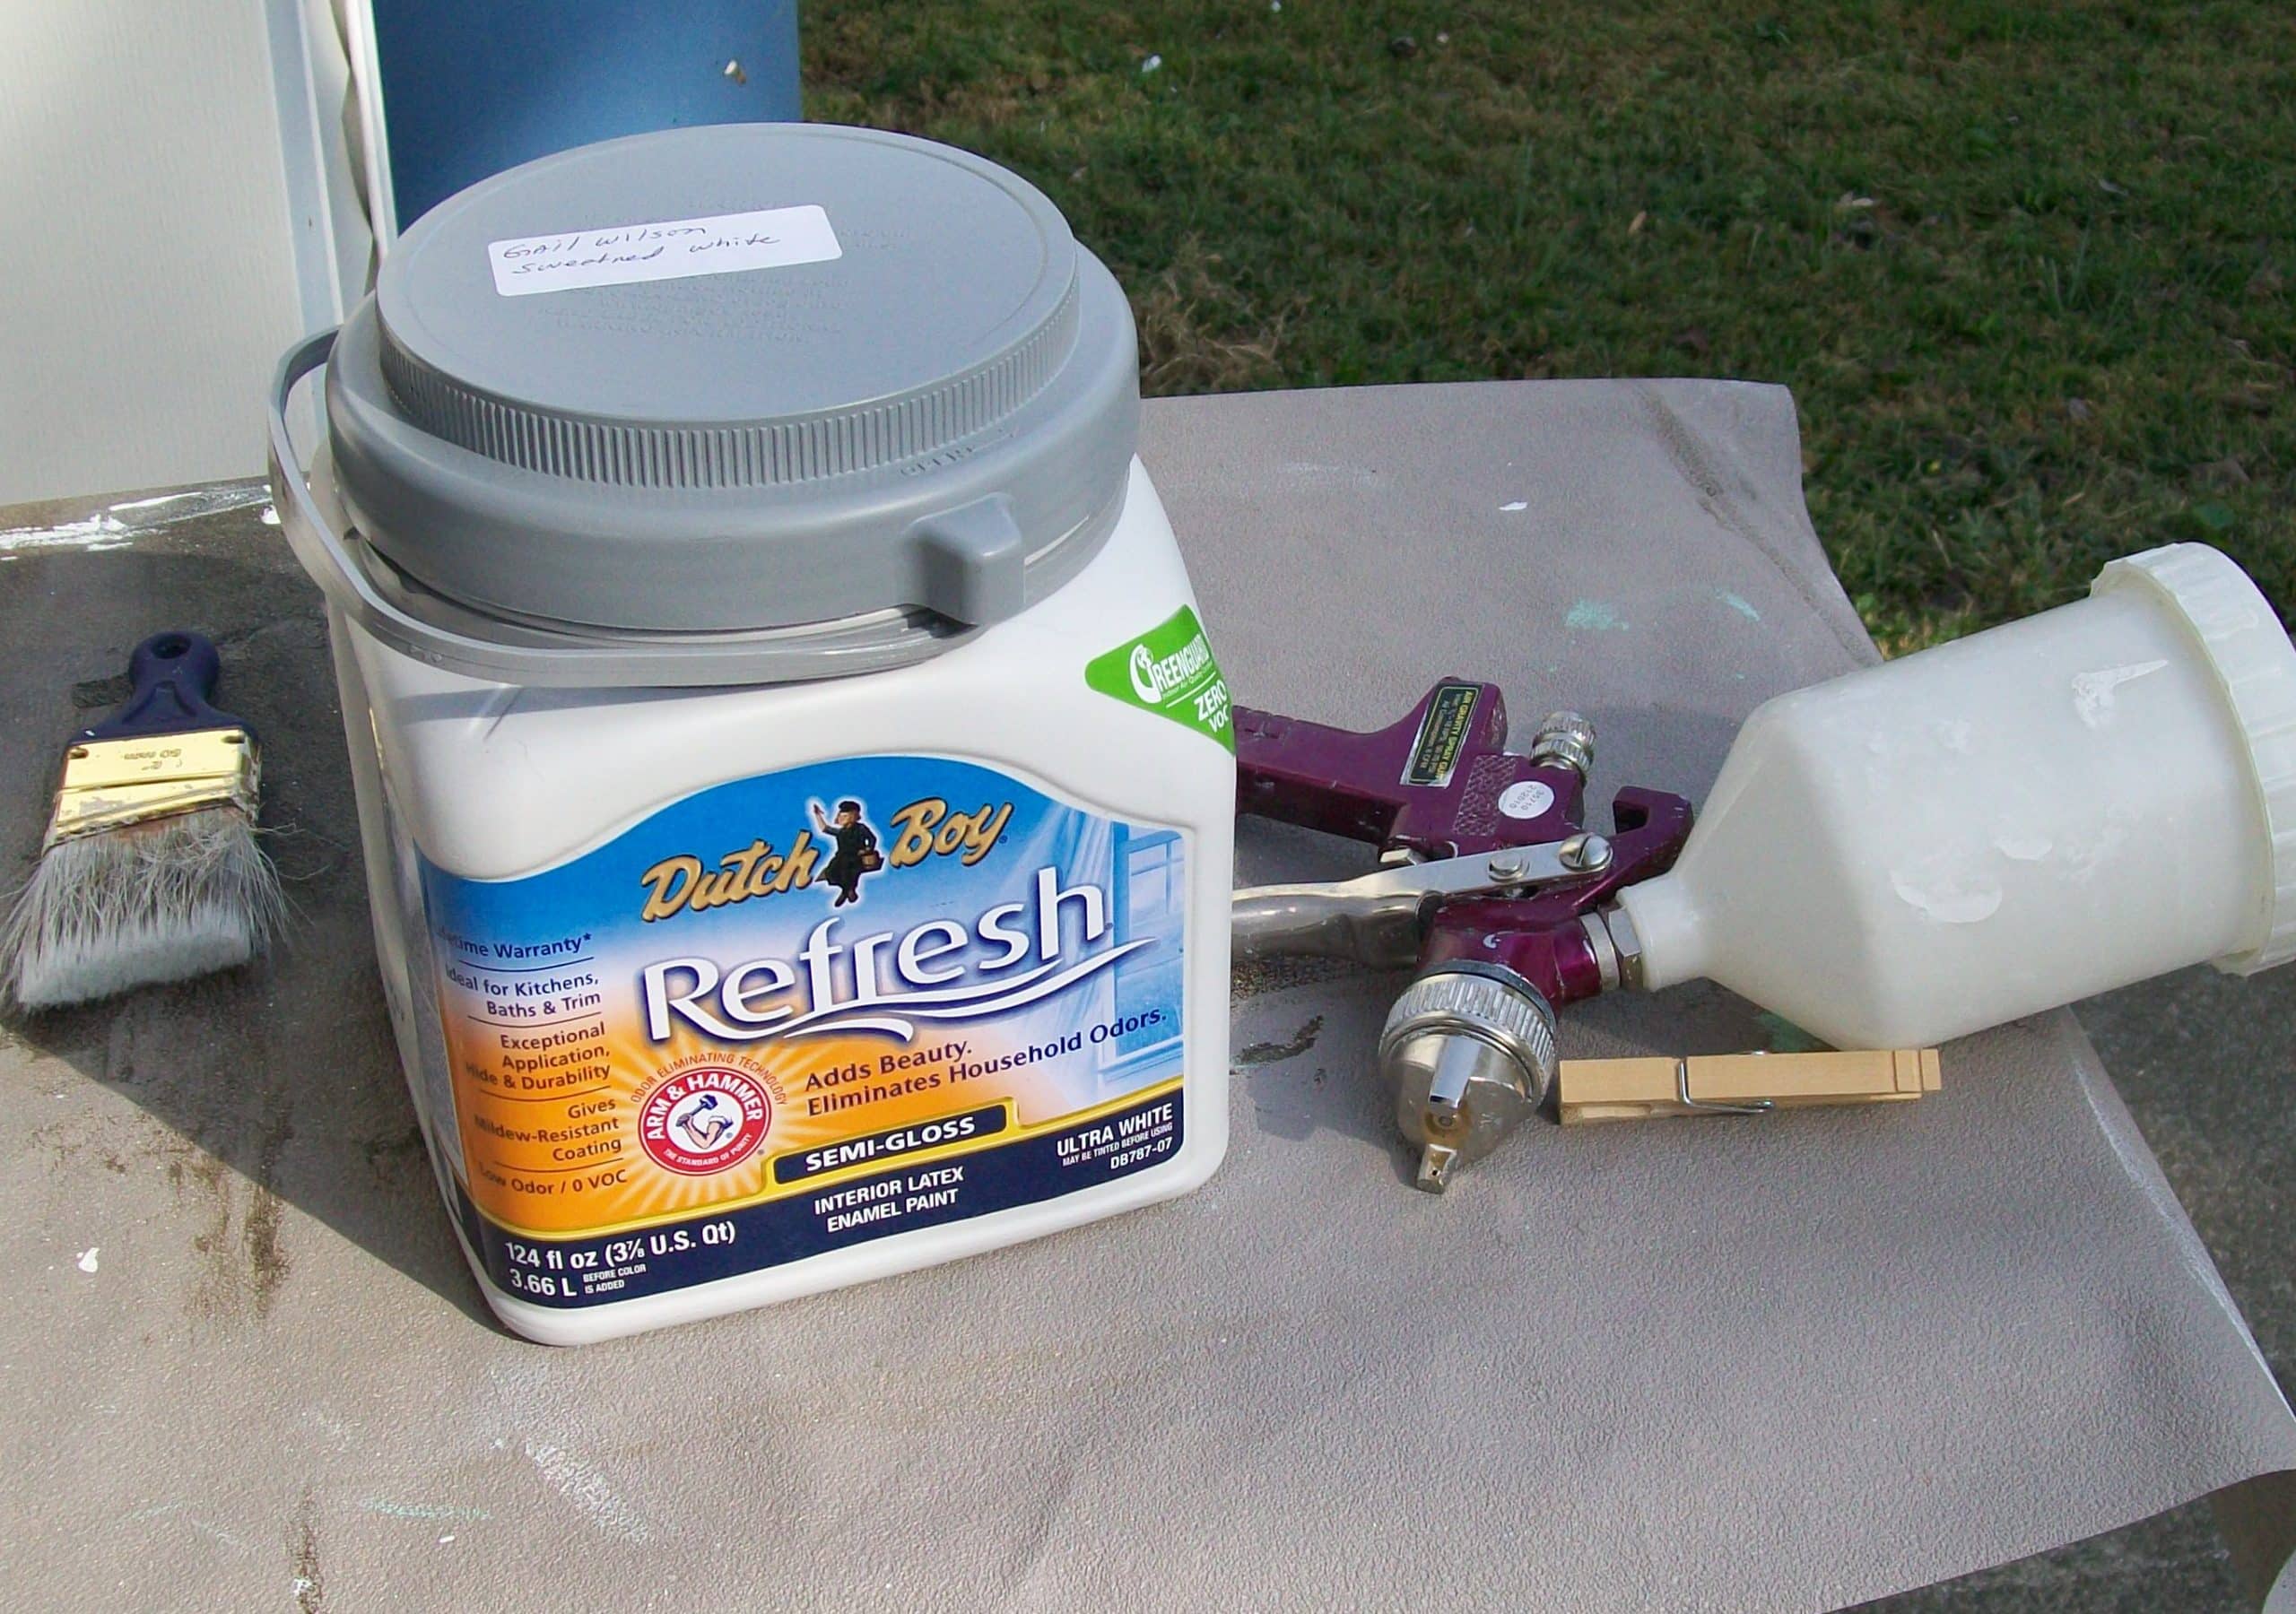
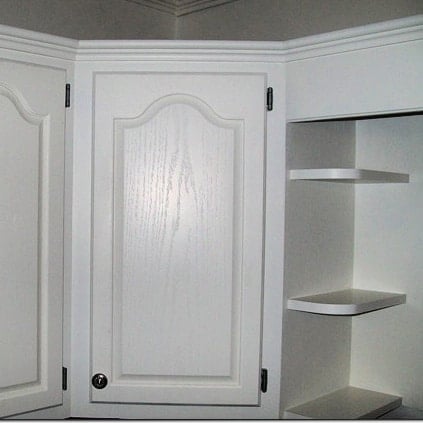
Spray doors and drawer fronts with latex paint. I used Dutch Boy Refresh (quart) Semi-gloss in Sweetened White.
I used a small foam roller for the front facings. Two coats of primer, lightly sanding in between coats. I only bought one little tray for this job, so using a plastic bag allowed me to reuse it without cleaning it with mineral spirits.
Again, I let each coat dry for 24 hours. I did about four light coats on the doors and drawer fronts with my sprayer.
I did three light coats with the foam roller on all the facings and cabinet ends.
Allow all wood surfaces to fully cure before reinstalling. I waited about two weeks, storing the doors and drawer fronts indoors while they cured. Allowing the paint to cure fully is the secret to longevity.
Install all hardware and reinstall all doors and drawer fronts in their original places.

You can see how I painted my utensil holder and my wooden knife block in my post Kitchen Accessories/Krylon Paint
The white cabinets helped to brighten up the room. I get very little natural light in this kitchen.
Edited to add: Over the last 13 years, I’ve made many changes to the kitchen, but the painted oak cabinets still look great.
I also painted my vinyl floor.

Update: I also painted my counter tops.
Another Update: I finally got new appliances, and I painted my kitchen island, plus—have you seen my DIY Barn Doors?
One last update, I installed new laminate wood flooring.
For more great kitchen makeovers, stop by The Kim Six Fix’s How to Paint Your Kitchen Cabinets
My new favorite option for spraying is the HomeRight Finish Max Fine Finish Sprayer.
Why didn’t you paint the inside of the cabinet doors?
Wow, this looks beautiful! My kitchen was built in 1957, updated in 1976, and is pretty much frozen at that stage until we figure out what to do to update for low cost. I was considering painting the floor, it’s Terrazo and badly stained. What’s held me back is durability- how has your floor paint held up since you posted this a couple of years ago? Also, how has the countertop paint fared? I am a stay-at-home-mom and my kitchen gets a LOT of heavy cooking use as one necessary way to conserve funds.
Thank you so much for posting this, I am planning to paint my oak cabinet but was not sure how to do it, right now I am having a hard time getting the grease off, I will try the soap and tsd, I hope they come out as good as yours.
I really want to take some time to thank you for sharing this wonderful post and all the details. I can’t tell you whole many times I looked through this before I had the courage to attack my kitchen. Again, thank you so much! If it wasn’t for this blog, then I dont know if I would have remodeled my kitchen.
Here is a link to my blog that shows my b&a pics-
http://www.mrsshayne.com/2012/08/kitchen-remodel-its-finished-before.html
Thanks for the instructions! I have been considering painting my cabinets for a while now, wondering how to go about it where they wouldn’t chip. Now I know! Now just can’t decide if I want white or black! Want to paint my walls gray and I have a vinyl floor that looks like gray marbled tile. Wanting metal or black table and chairs. Any suggestions?
I think I have those exact cabinets!
I have been thinking about re-painting for years since the cabinets are in good condition–just really dark in a small kitchen. I don’t know if I’d do white, but I do like the lighter color.
Thanks for the tips–now I just need to do it! I’ll bookmark your page. 🙂
Wow!! I have super-ugly oak cabinets that I would love to paint. (Or better yet, I’d love to have *you* paint them 😉
Nicely done!
My only question was how well the pressure sprayer worked with the latex paint. I prefer to use latex, but have had terrible luck with pressure sprayers in the past for latex. Did you dilute the paint? If so to what extent? Even with Flotrol I have always seen my sprayer clogging. Thanks!
Beautiful job! Is there a clear coat used over the paint? I have the same cabinets and would like to updated without replacing. I have bathroom cabinets that were painted and now paint is wearing from washing and I can imagine the kitchen would be worse in less time. Thanks!
GORGEOUS … love the painted floor … came out spectacular …
That floor is gorgeous! I love the colors!
Gail,
What was your total start to finish time? I want to do this but there is someone in our house who it would drive crazy to have the doors off for that amount of time. Thanks!