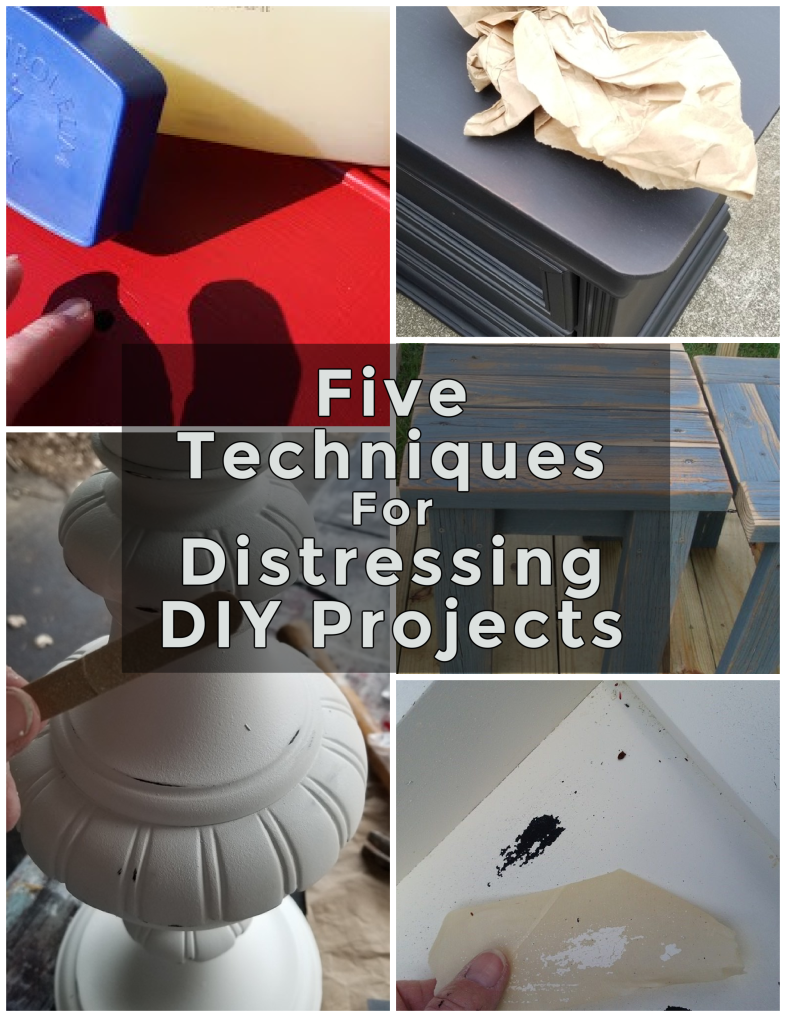
How To Distress DIY Projects
As an Amazon Associate, I earn from qualifying purchases.
Do you stress about how to distress DIY projects? I used to really worry about getting the perfect look. But it’s not as difficult as you may think. The key to a great distress technique is not taking it too seriously and overthinking the process.

There are 5 general ways to distress furniture projects and thrift store decor items.
- Sandpaper
- Wet distressing
- Emery Boards
- Tape
- Resist Technique
Distressing Wood Projects with Sandpaper
Distressing wood projects with sandpaper can be done by hand or with an electric sander.
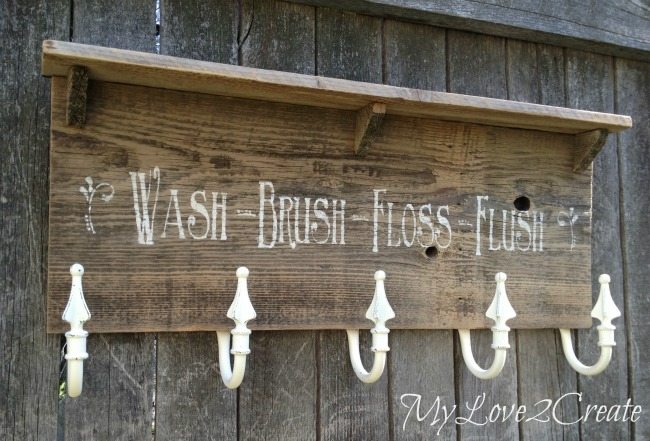
Mindi distressed both the Curtain Tie Backs used as Towel Hooks and the weathered board sign. You can distress before or after stenciling depending on the look you’re going for.
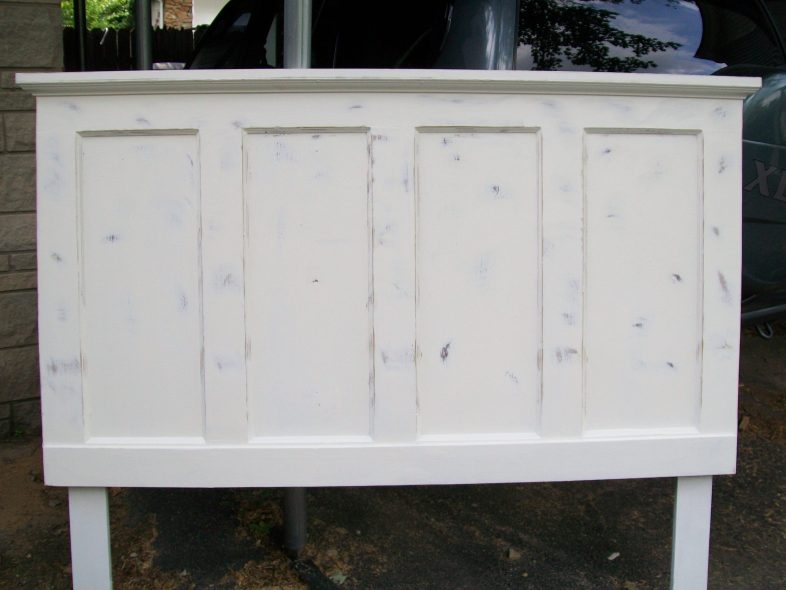
For my Door Headboard project, I used an electric sander. This is one of those cases where you need to trust your instincts and not stress over it. This headboard is still in use in my master bedroom!
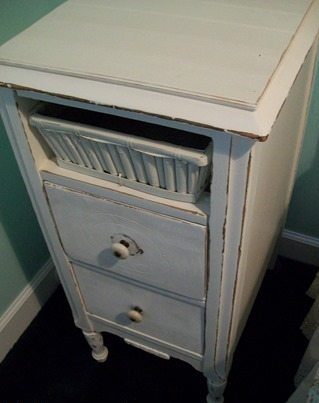
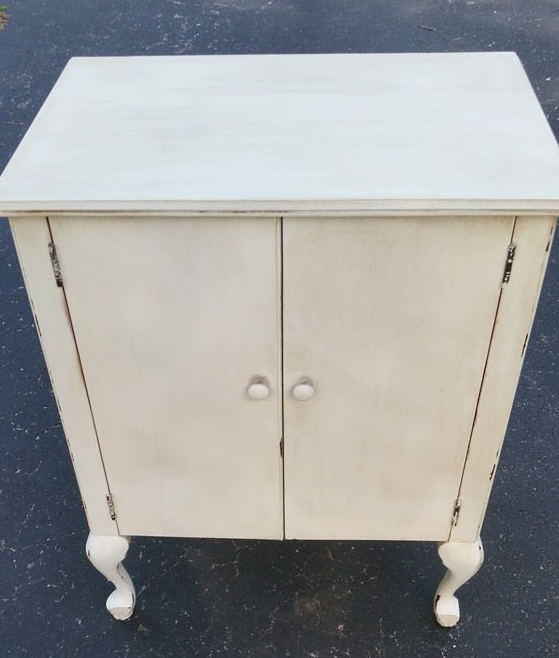
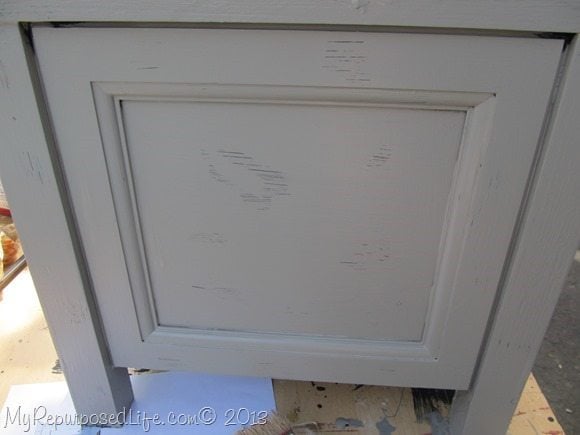
When furniture is really old, like this Distressed Antique Night Stand, it might be better to have a heavy hand when you distress.
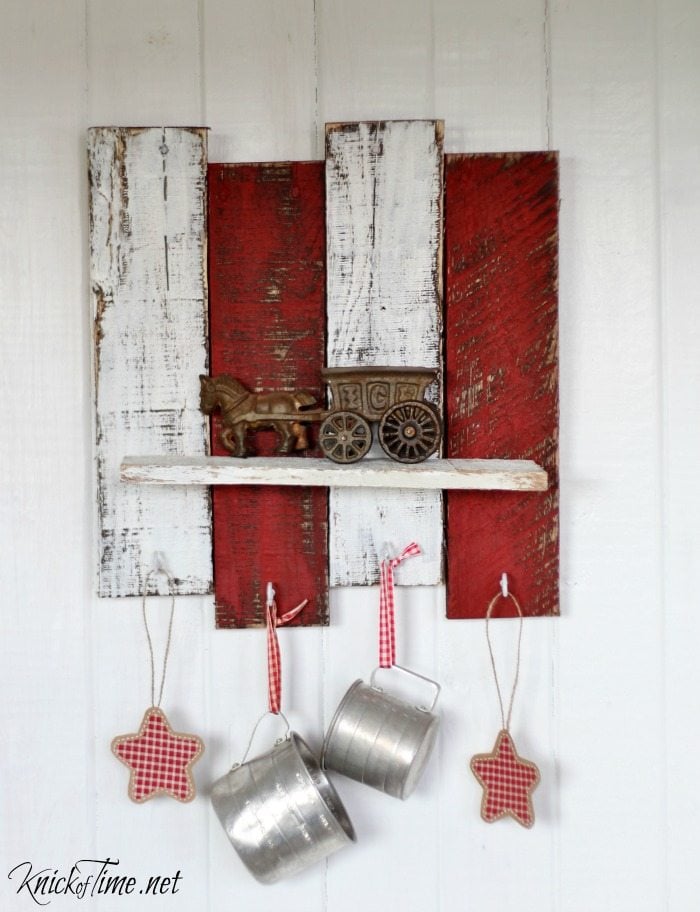
Using reclaimed wood for this Scrap Wood Christmas Shelf with Hooks, Angie sanded the new-looking paint to give it more of a vintage look. In my opinion, reclaimed wood is the easiest to get a rustic look.
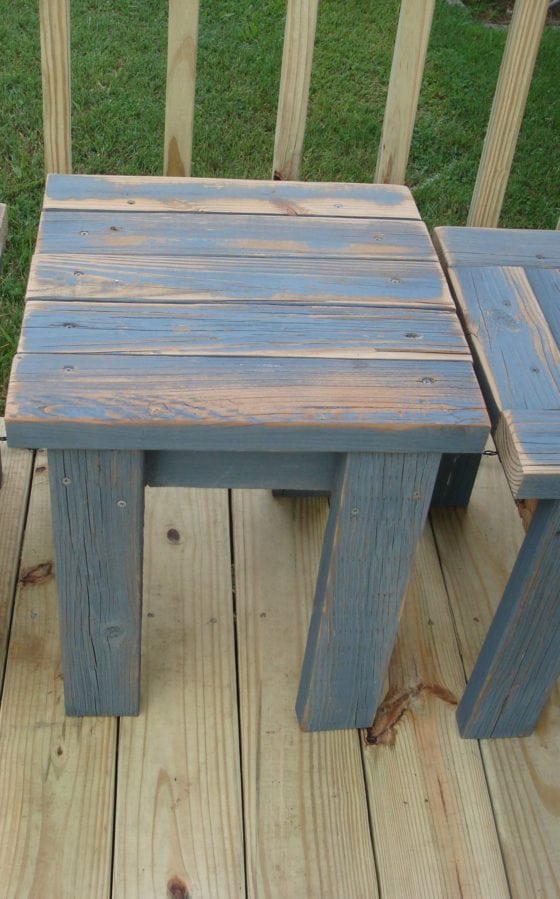
As is the case with this Simple Bench Made from 2×4’s project. The table and benches looked okay before I sanded them, but afterward, I was in LOVE with them!
If something will naturally weather outdoors, sanding works great to make this Chair Planter fit in! Joan does awesome projects!!!
Isn’t this French Inspired Piano Bench Makeover fabulous? You can see the white paint looks so much better after it looks a little worn!
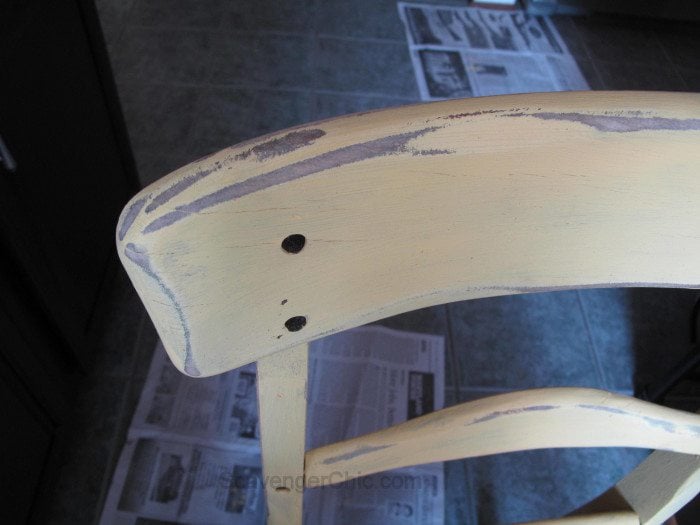
Mimi took her palm sander to all edges of this Bifold Door Bookcase. I know a heavy hand of sanding isn’t for everyone. It really depends on the project you’re working on.
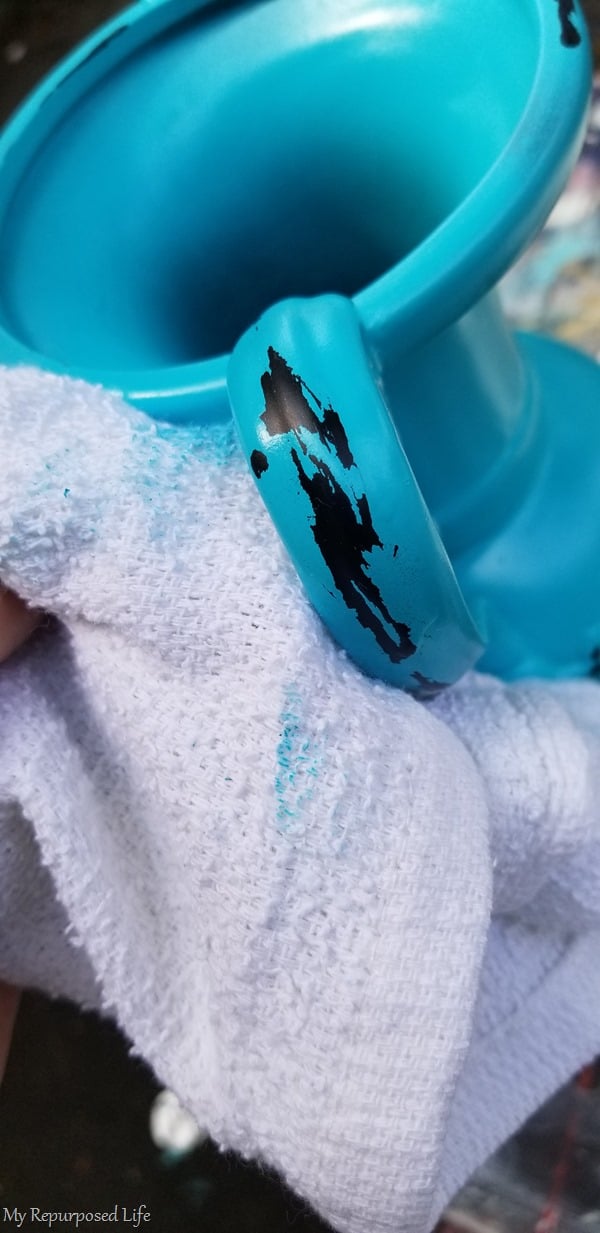
Wet Distressing

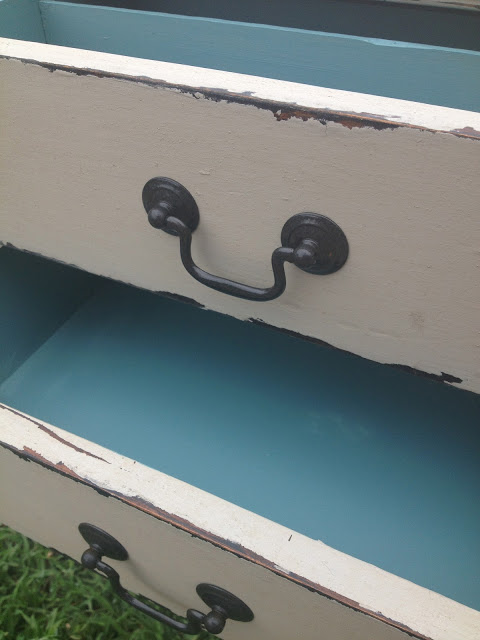
I knew just the look I wanted on this pair of Vintage Black Night Stands. Using a damp rag to wipe back the paint on the edges gives a really natural sort of primitive look.
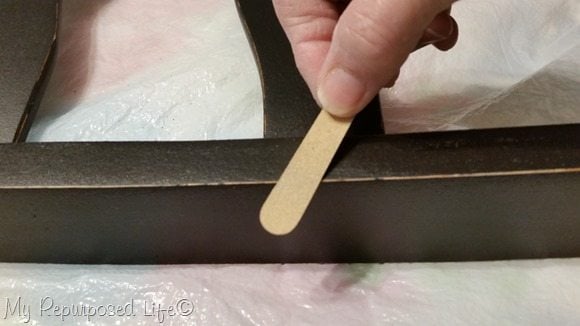
Distressing with Emery Boards
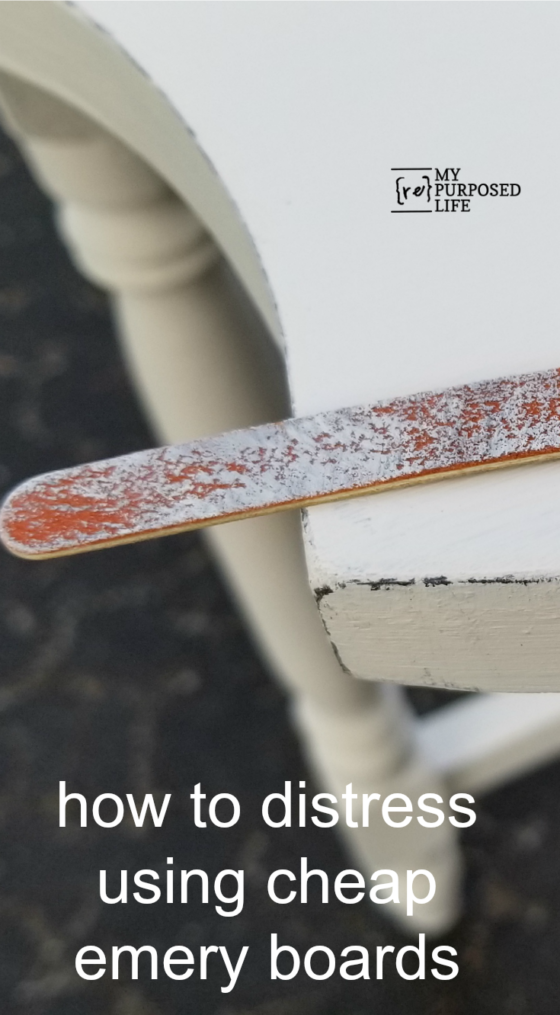
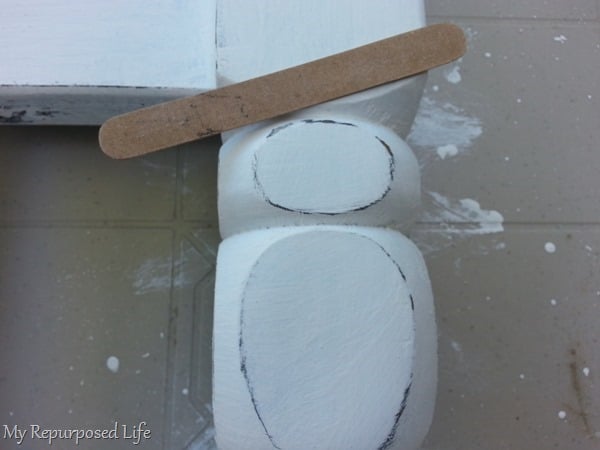
If you’re nervous about getting the perfect look, I recommend using emery boards like I did for this Upcycled Side Table. It’s sort of working in baby steps.
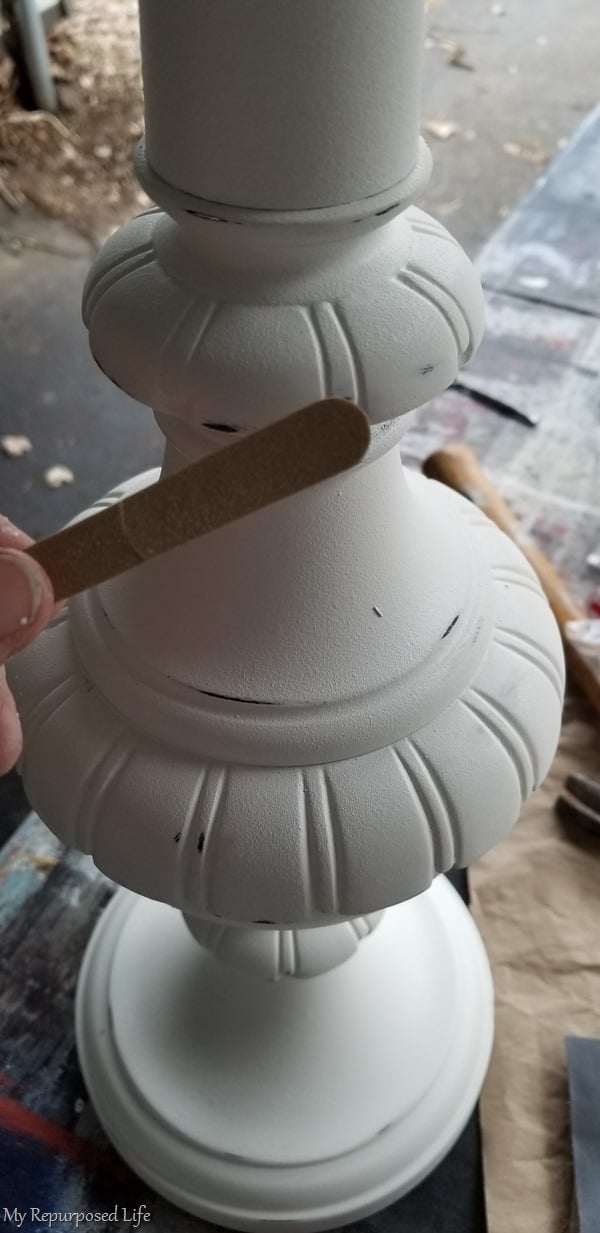
Making things look worn and old is not just for wooden furniture! These metal Repurposed Lamp Plant Stands looked so much better after their “treatment”.
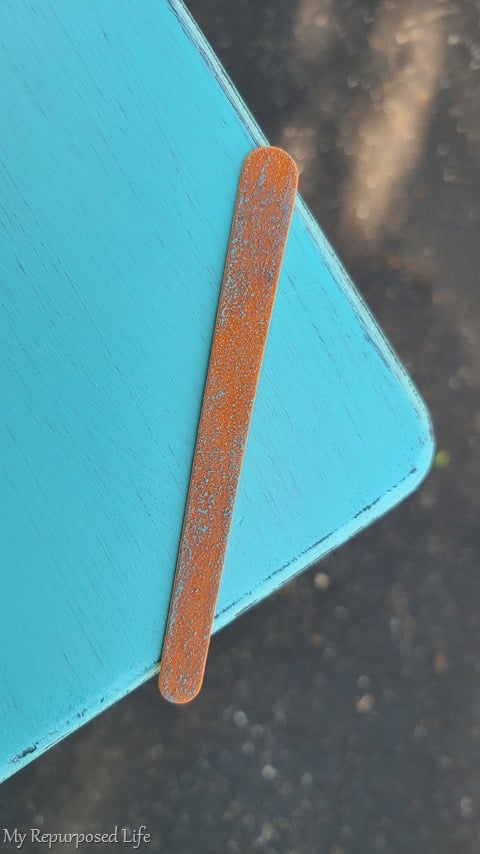
What’s the best thing about using emery boards? You can see on this T.V. Tray Table Makeover I used the heavier grit side of the emery board. Having two options is a win/win.
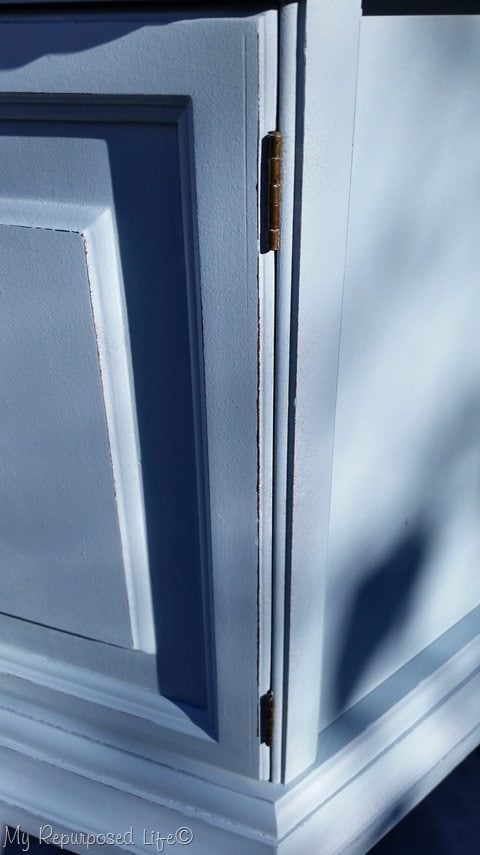
See, really old furniture looks better with a heavy hand. Check out this unique Vintage Sewing Cabinet with storage.
Here is another lightly distressed Chair Back Wall Shelf project.
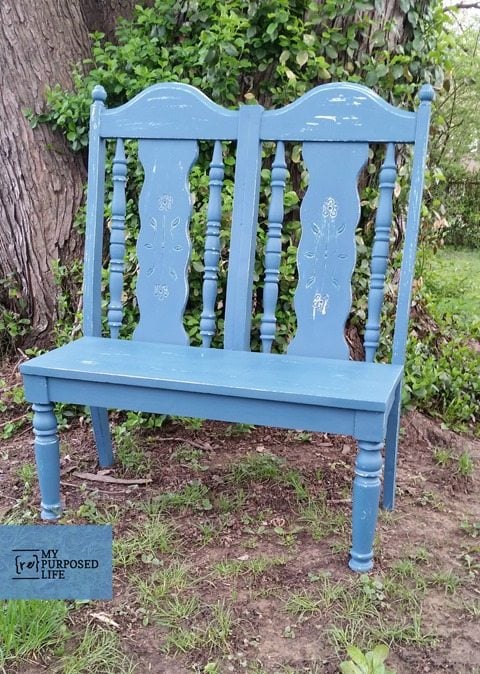
Don’t be afraid to mix techniques depending on the area you’re working on, like with this Garden Bench made from Chairs.
This Coat Rack | Repurposed Bunk Bed is probably the project that made me fall in love with using emery boards.
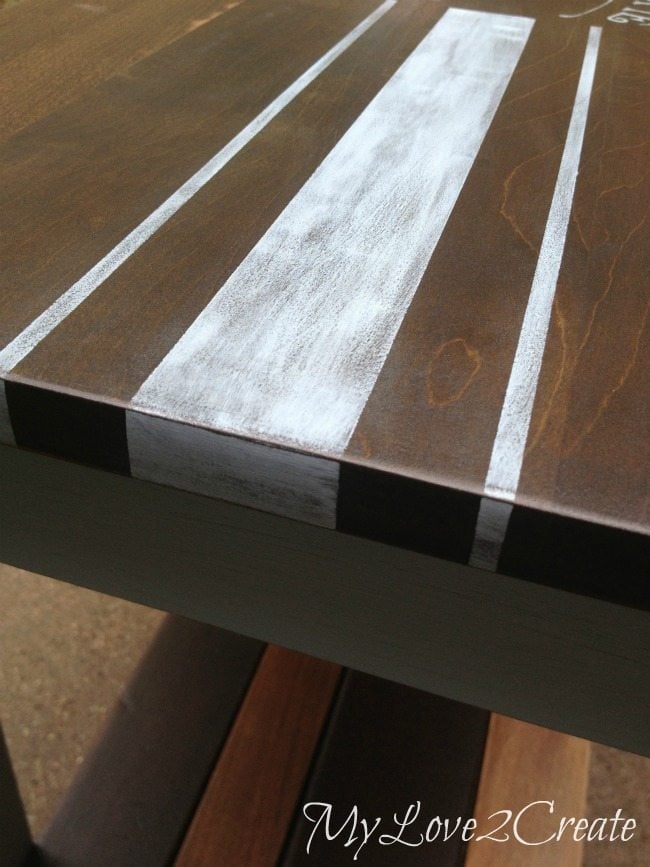
They seriously give such a fabulous, light way of changing up the look of thrift store furniture, especially when there are lots of lines, in the case of this Hexagon Side Table Makeover.
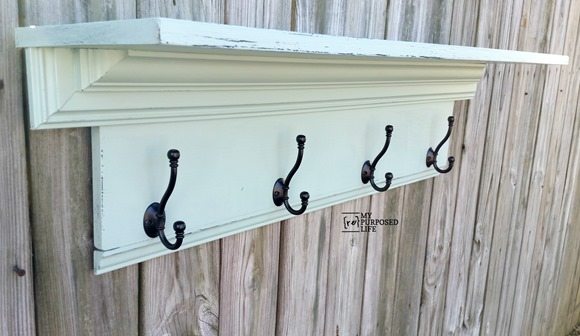
It really works best when there is a base coat or dark wood tones to show through. See the black peaking through on this Large Coat Rack Shelf?
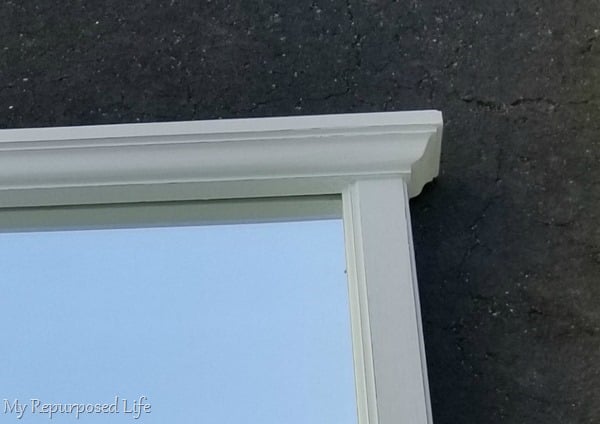
Sometimes the distressing is barely noticeable. Let the lines of your project guide your design as I did in this Spindle Mirror Makeover,
Did you know you can Use Tape?
Yes, you can use tape to distress painted projects. You won’t want to do a perfect paint job, nor wait too long before applying and removing tape. This Grateful Thankful Blessed Headboard Sign project went through plan B!
Resist Technique
A resist technique can be done with a candle, beeswax, or petroleum jelly.
You can see on Easy DIY planter made from cabinet doors project that I applied vaseline, then painted over it. Of course, you could leave it like this, or wipe back the paint–that’s what I did.
Guess what! For this 2×4 Farmhouse Bench, I applied Vaseline and then used a paint sprayer to apply the paint.
I love how this Sewing Table Makeover turned out with the resist technique!
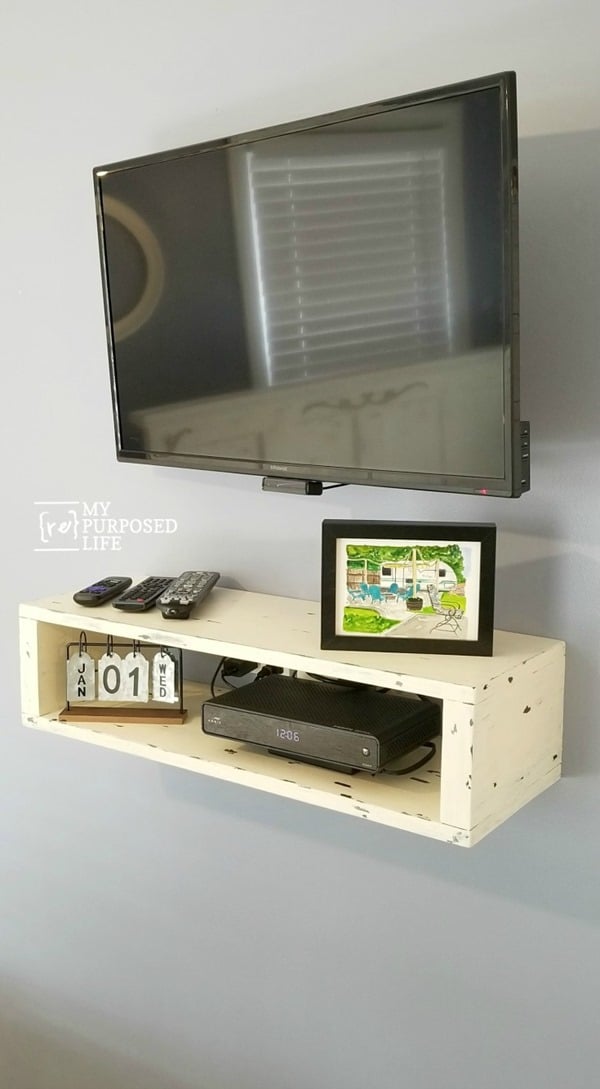
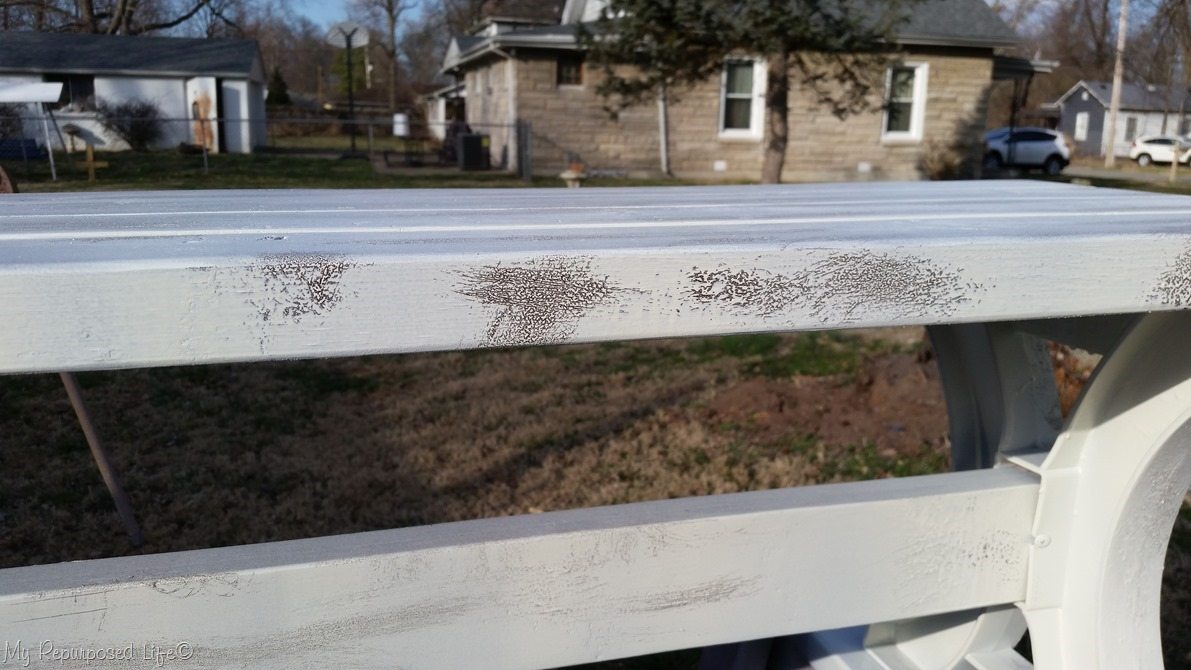
As with all of these distressing options, you can do a little or a lot. For my Rustic Farmhouse Floating Shelf I went a little heavy because the other furniture in my bedroom is heavily distressed.

Don’t be afraid of color! You will love this Sewing Cabinet Bar reveal.
Remember when I said I used the paint sprayer? Well, on this Over Sized Vase | Easy Thrift Store Makeover I used spray paint over the vaseline!
Do you have a different way of distressing your projects? Please share it with us in a comment below!
gail
Hi Gail,
I love all of your projects.
Do you have a recommendation for drawer handles? I am having difficulty finding some that are 3 and a quarter inches centre. And I thought you might have a source.
Thank you in advance,
Theresa
Theresa,
I do have a source for handles! I buy all my hardware from D Lawless Hardware (.com) The three D’s will hook you up! Their prices are very reasonable.
Good luck!
gail